Yacht Assembly
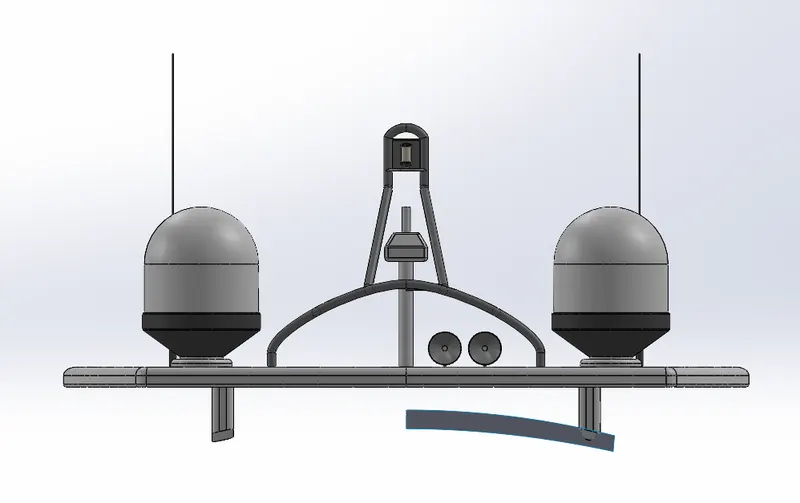
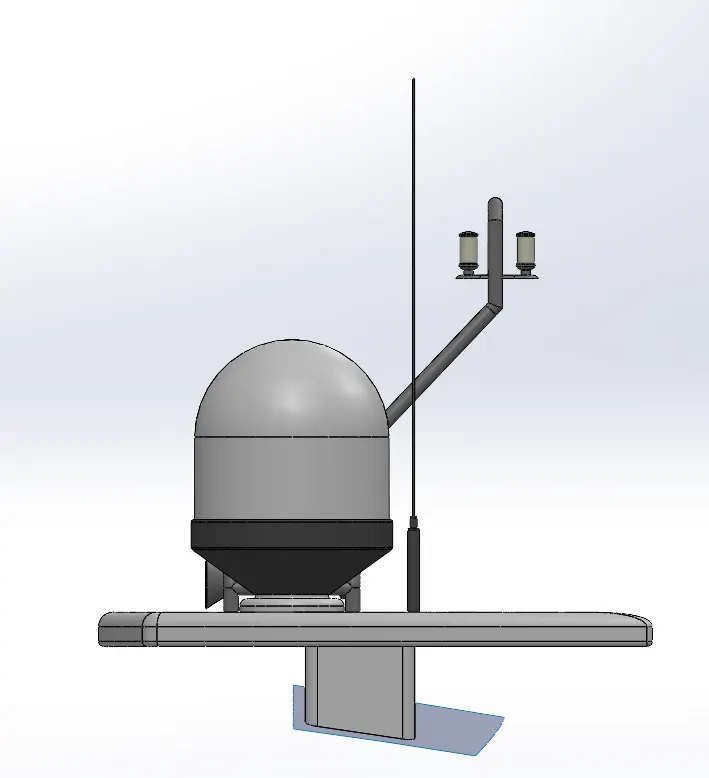
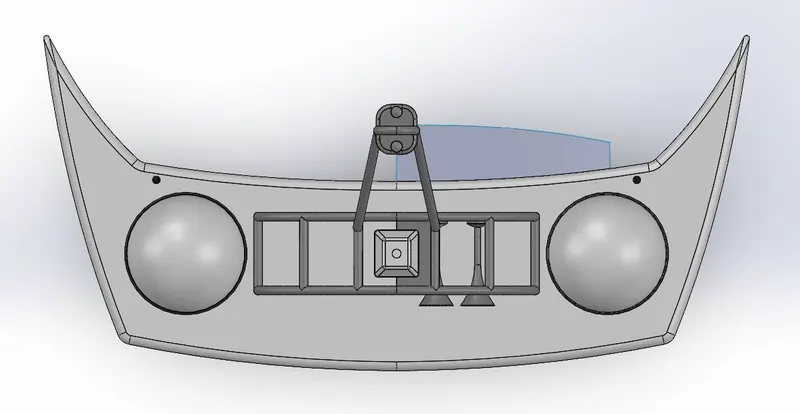
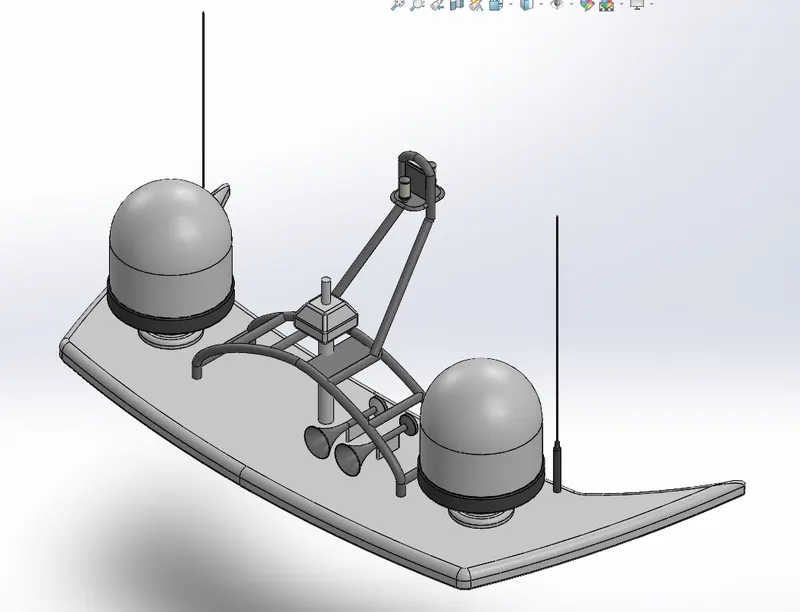
Radar mast
Front
Side
Top
Isometric
FT1
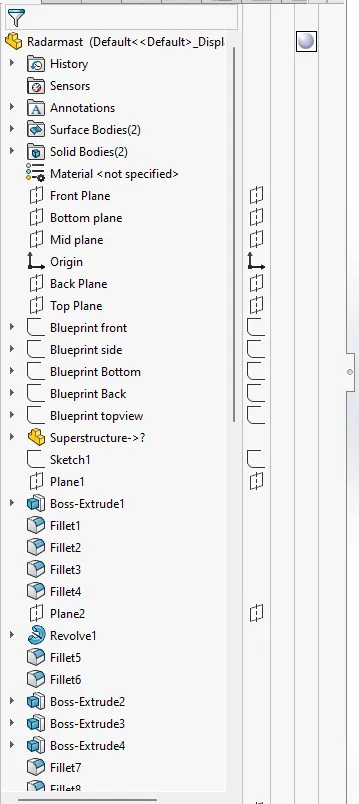
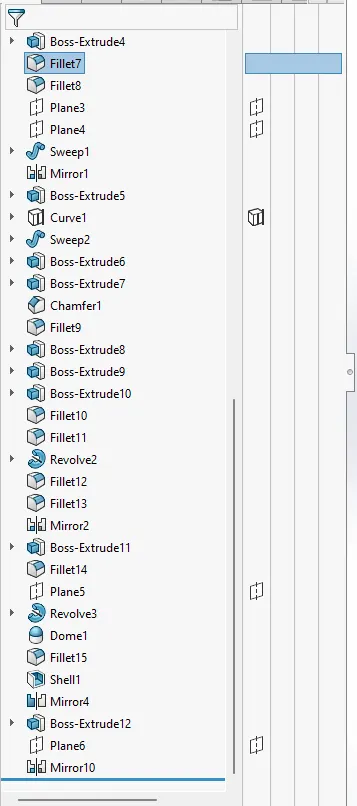
FT2
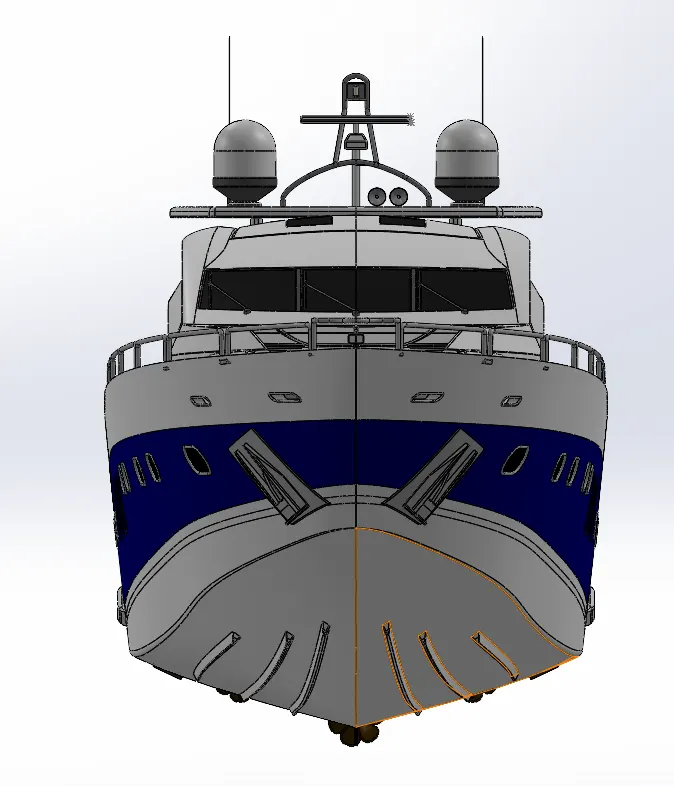
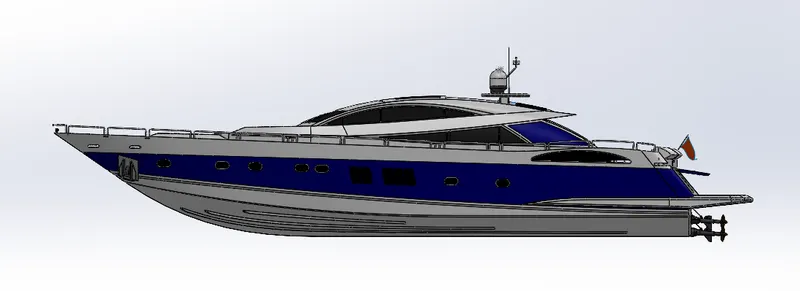
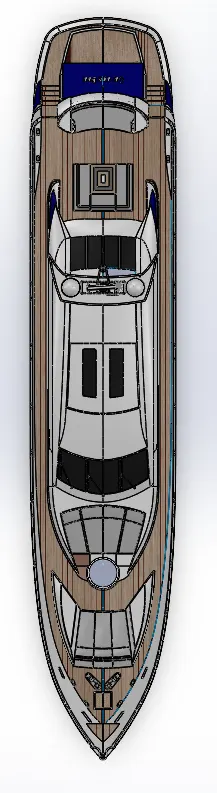
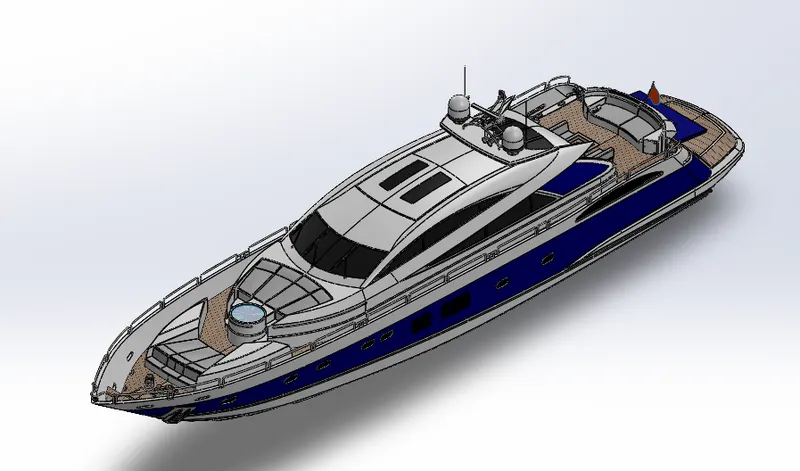
Assembly
Front
Side
Top
Isometric
Feature Tree
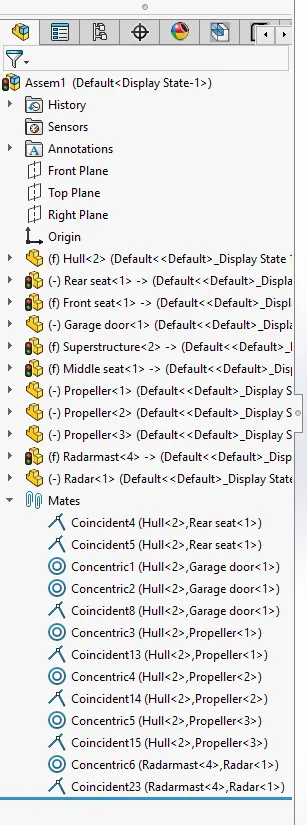
Yacht Report
Objective: To assembly of the Yacht in Solidworks and then render in best possible background with best possible lighting.
Introduction: e are creating the different parts of the chopper with proper appearance and then assembling the part to create a final chopper assembly. We also have to add decals on the different body parts of the chopper for a better and realistic look. After successfully creating the assembly of the Yacht final render is need to be done with the help of Solidworks visualize. Solidworks visualize will render the assembly or any part to realistic image which will make our chopper or any part looks almost real.
Design Approach:
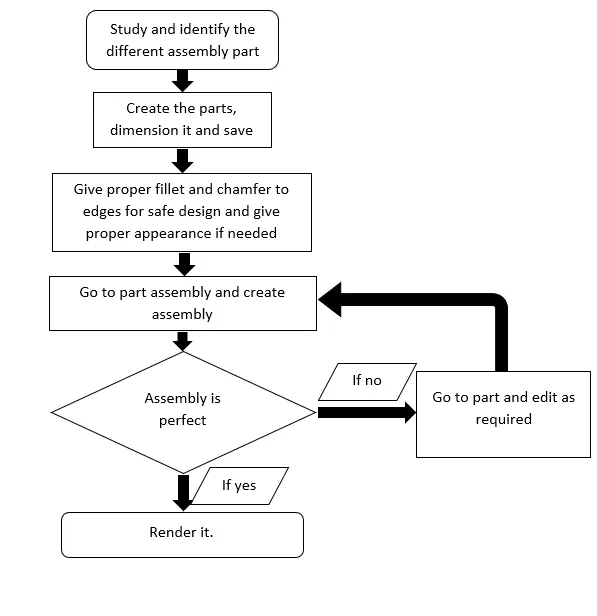
Yacht parts:
- Blueprint setup:
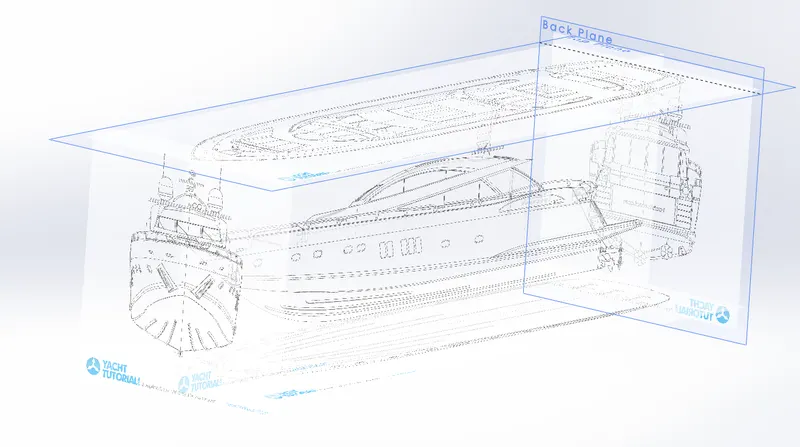
Model starts with the blueprint setup, just like American Chopper engine part we insert the blueprint of the yacht and give dimension and its specific distance so that we can easily create the parts without any difficulties. to insert sketch plane, select the plane edit sketch and then go to insert-sketch tool- sketch picture and then you can give desired dimension to the sketch picture to create the sketch.
- Hull:
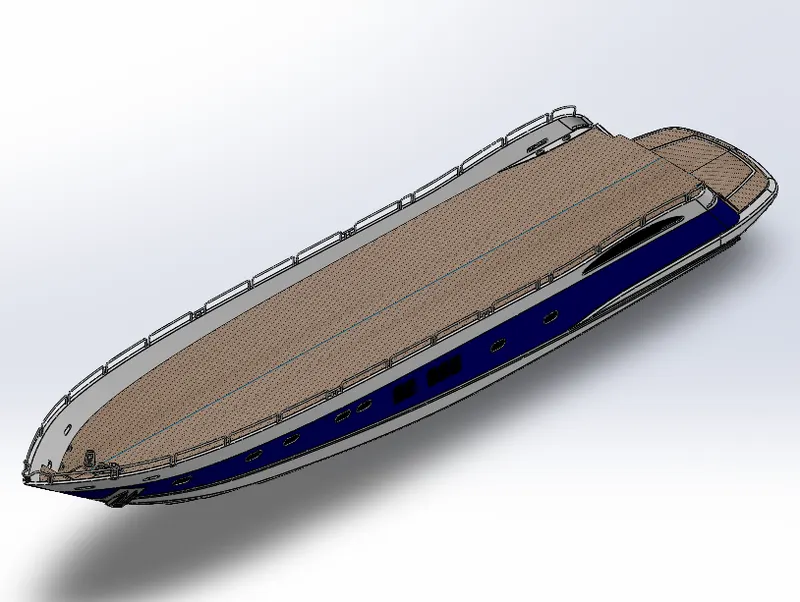
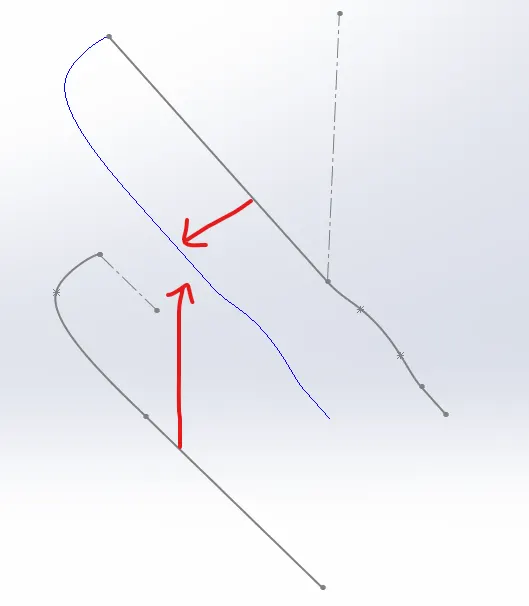
The hull is mostly made of lots of surface swept with projected curves. The Projected Curves are made by taking two views and creating a curved line between those two views. For example, in figure we can see those two black curves a projected in such a direction that they will somewhere meet and that meeting line is called a projected curves which we can see in image in blue color.
We did use a lot of 3D sketch, which help us to create a sketch in 3 dimensional. For example, I can convert entities or draw line between two surfaces which will ease the job. We don’t have to create lots of references planes. And we offset the surface of the hull 0mm to create seats and superstructure on it.
One important thing I learn is split tool where we can save the bodies that we split and then we use that same body to create a new part. We end the model by making mirroring it.
- Superstructure:
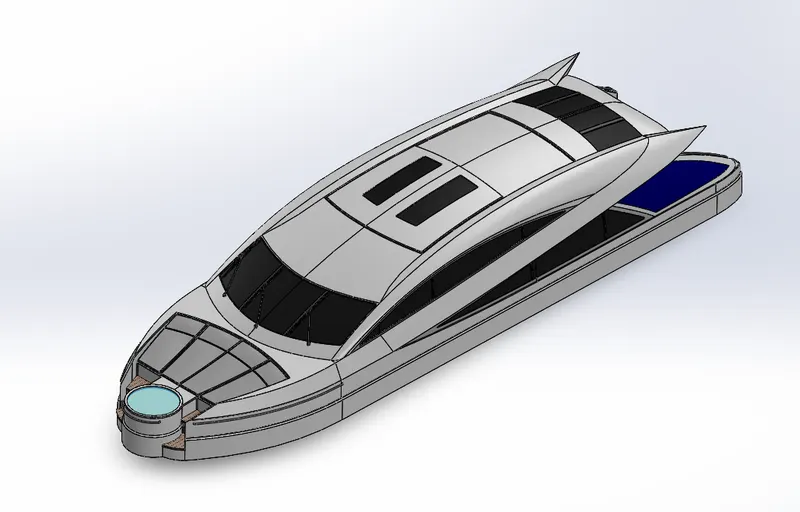
Superstructure is also created by lots of lofted surface but impotant part is it was created on the surface of the hull which we import by Tools-Insert part- Select Hull- Disselect all parameter except surface this will bring the offset surface 0mm from hull to this part. The superstructure was also created same way as the hull with lots of lofted surfaces. While surface knit function is used make sure the knitted edges are turn black. Or else it will create problem turning the surface to solid.
- Propeller:
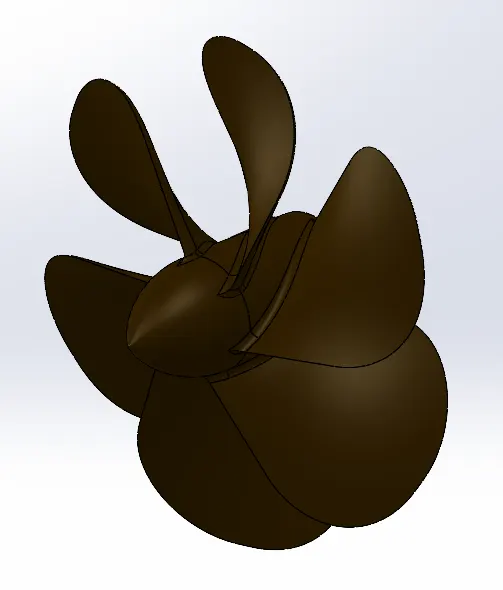
This propeller was easy to create as we had already made the other part. We did revolve extrude and then lofted extrude by creating two sketch one on top and another on middle plane and then give fillets.
- Front Seat:
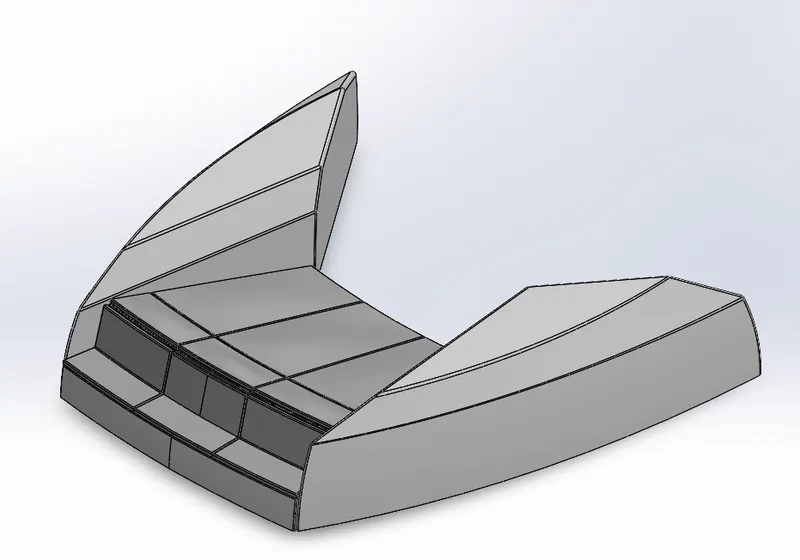
Front seat is started with inserting surface from the hull and then started with swept surfaces to create the outer surface and then knitting surface and creating solid. After that lofted surface is created to give seat structure and then using different feature like revolve cut, dome, fillet and chamfer etc., to end with mirror the half body to finish the front seat
- Rear Seat:
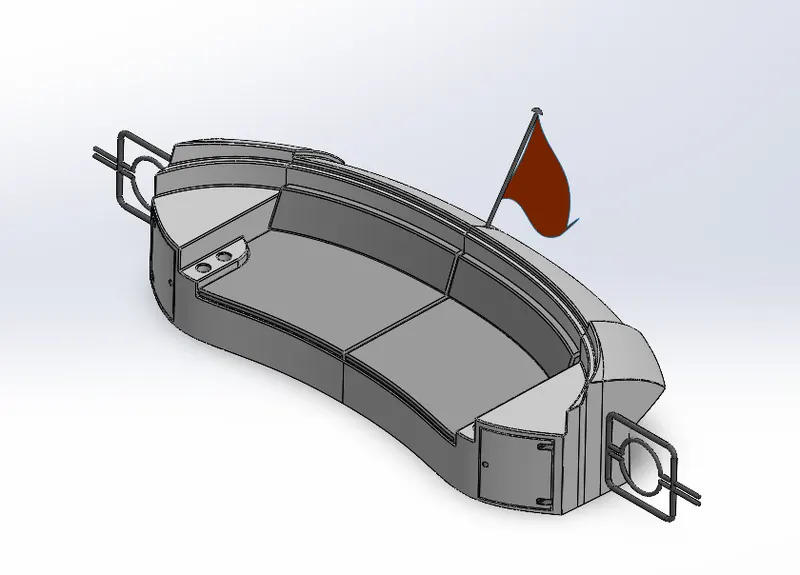
Just like front seat this part started with insert surface from hull and then creating surfaces and swept surface to create the outer surface which we will turn into solid while knitting the surface. Then we create seat just like the previous one. Now its time to add some details to the seat like cup holder and door at bottom side and railing to enter the upper deck of the yacht. And finally, we created 3D sketch of splines to make a flag at the rear part of the rear seat to finish it with mirror the bodies and giving fillets.
- Middle Seat:
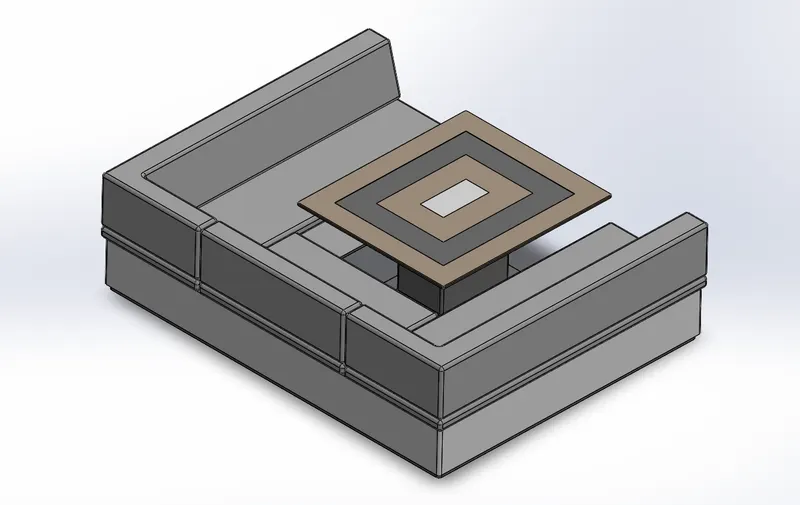
After inserting the surface bodies from the hull, we started creating the middle seat. We use boss extrude to create the body of middle seat and then mirroring bodies in the end top finish the seat and then we create table along with the seat which is lot of boss extrude to finish the final rear seat.
- Radar mast:
Radar mast is created by making offset surface on the super structure roof as a reference to start with. This was not so complex part to made because it required boss extrude and revolve extrude which are pretty easy to use, we created base and dome on top the base then create pretty small detail like antenna and mount of antenna also horns. At last, we give stand to the mast.
- Radar:
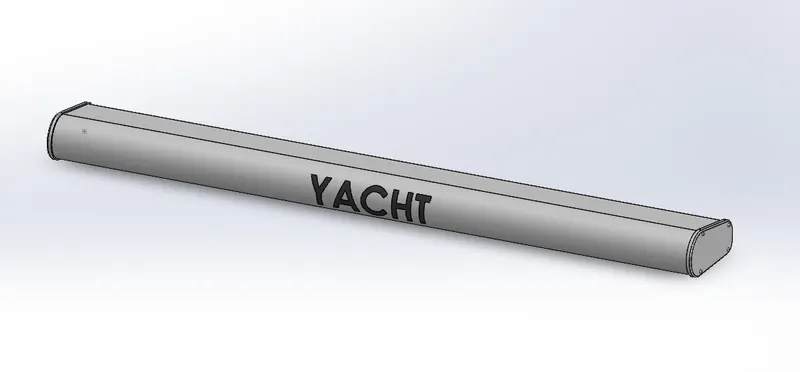
Radar was created with boss extrude, then we create sketch pattern on side face of the radar. For name on the radar, we create sketch on plane and write name on the sketch and to project on the surface we use split line and select the surface where you want to project.
- Garage Door:
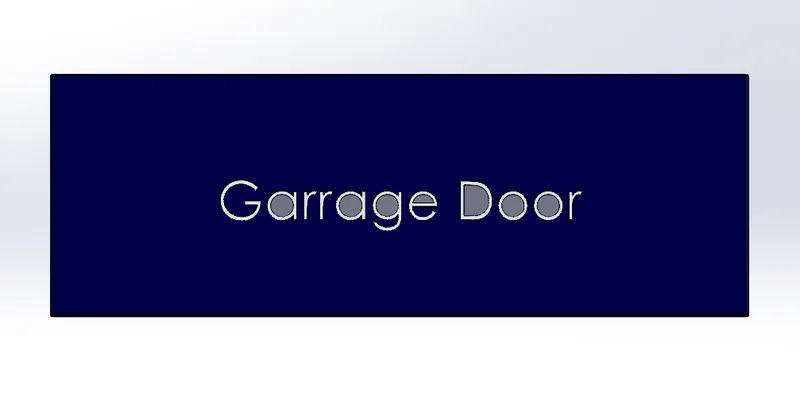
The garage door is created from the split part from the hull. We edit that part and create garage door and at the end we put name at the part by extrude cut.
Assembly
Camera view
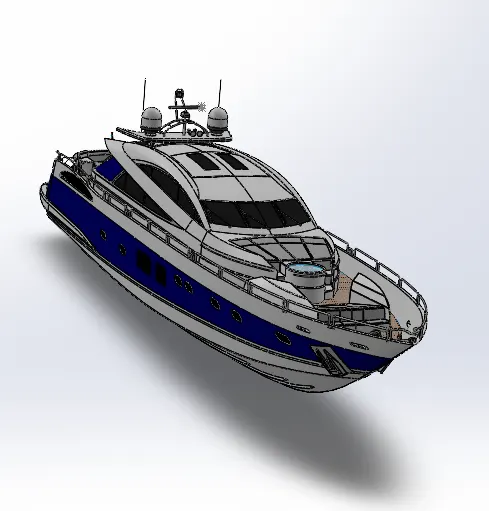
Front view
Side view
Top view
Isometric view
Render Image
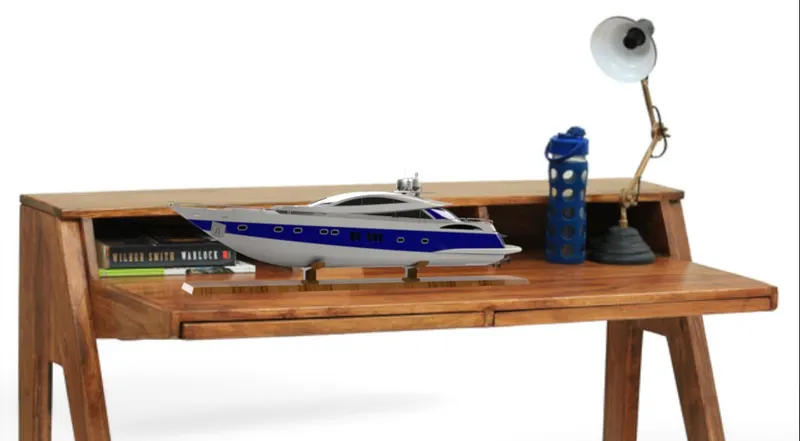
Isometric
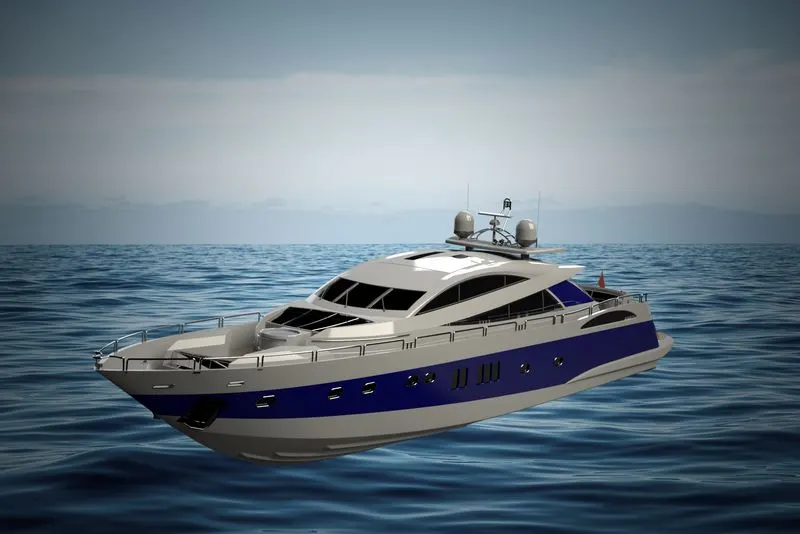
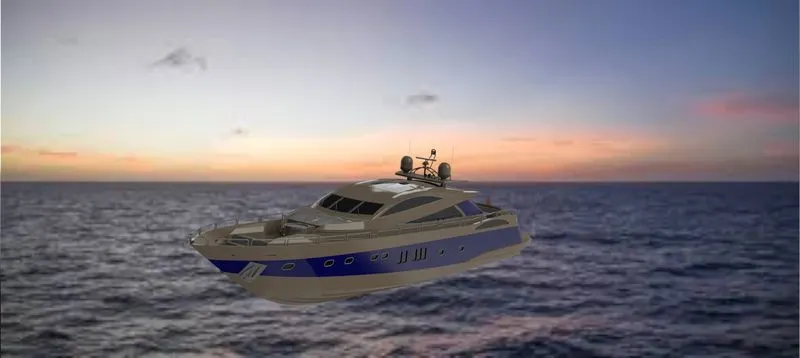
Camera view
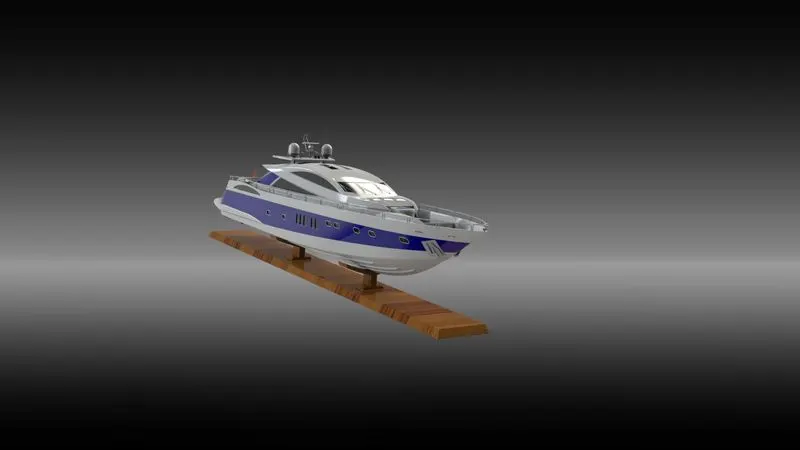
Top view
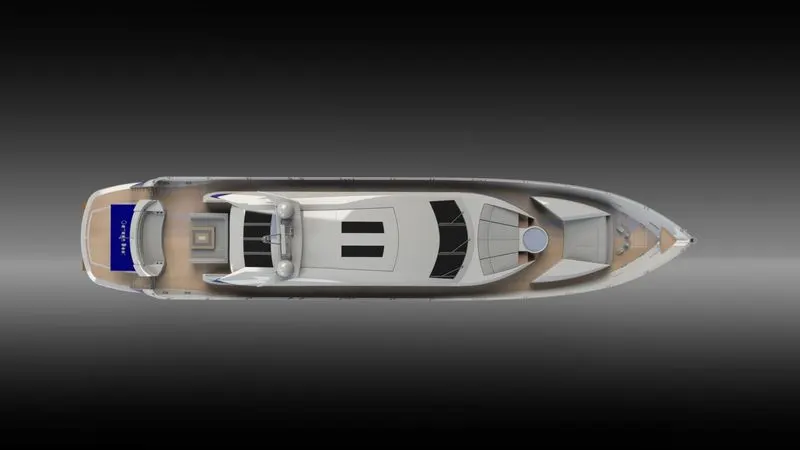
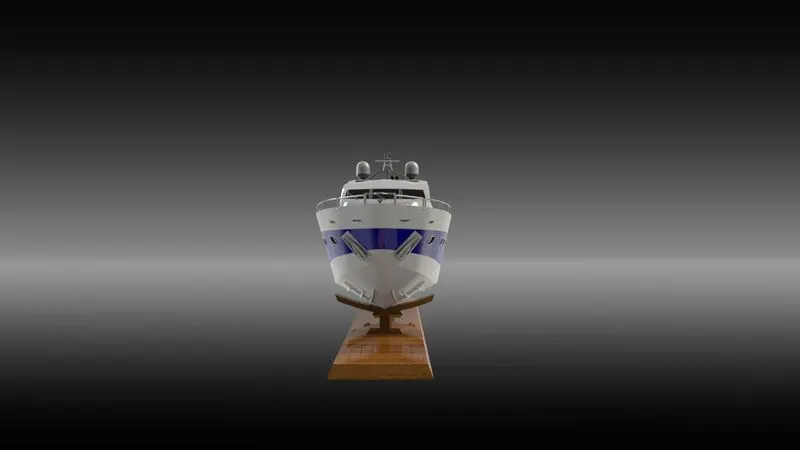
Front View
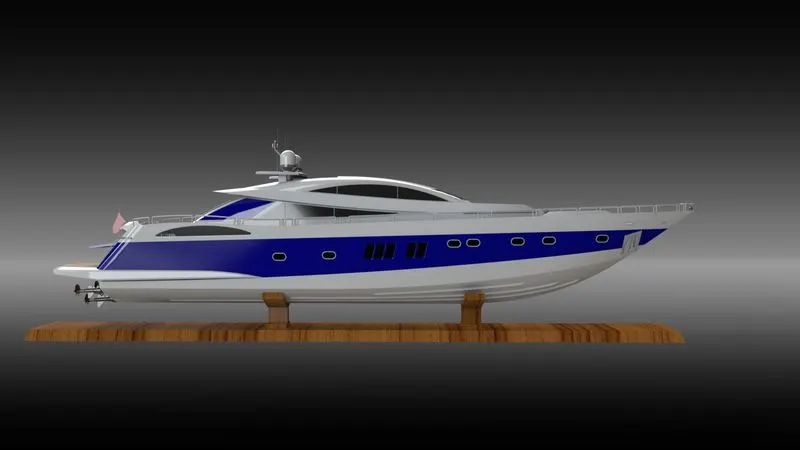
Side View
Conclusion:
Finally, we created the completed Yacht assembly in solid works and also render the image in real world image to visualize a real image with the help of solid visualize.
ZIP File Link
https://drive.google.com/file/d/10asoVNSaGKzFv0i30iUPOPNs9dbg-zPN/view?usp=sharing