Bike Assembly and Rendering
American Chopper
Objective: To create and assemble the parts of the American chopper in Solidworks and then render American chopper in best possible background with best possible lighting.
Introduction: we are creating the different parts of the chopper with proper appearance and then assembling the part to create a final chopper assembly. We also have to add decals on the different body parts of the chopper for a better and realistic look. After successfully creating the assembly of the American chopper final render is need to be done with the help of Solidworks visualize. Solidworks visualize will render the assembly or any part to realistic image which will make our chopper or any part looks almost real.
Design Approach:
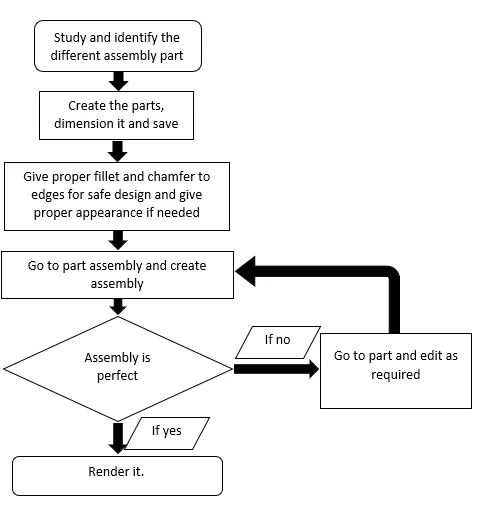
American chopper parts:
- Front fender:
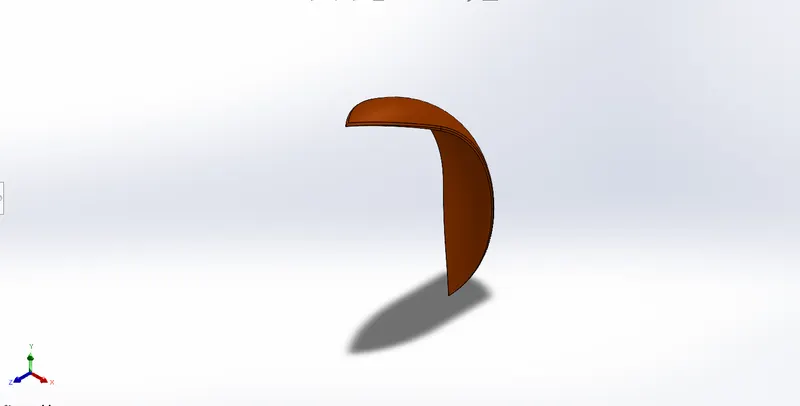
This is a front fender and the first part was created as it is the easiest part to create. We first create a revolve and then create a split to give the corner on the end of the fender and as usual ended with hole outer edge fillet.
- Rear fender:
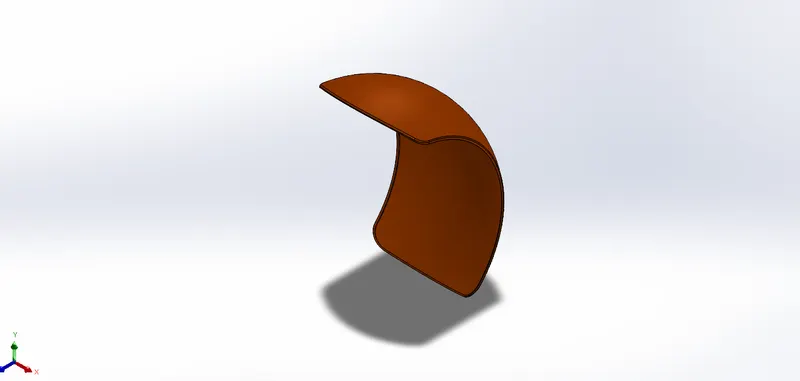
this was created just as same as the front fender and in addition to that we created a shell on the inner surface as the surface was to big compare to front fender and we made good concave shape.
- Peddle:
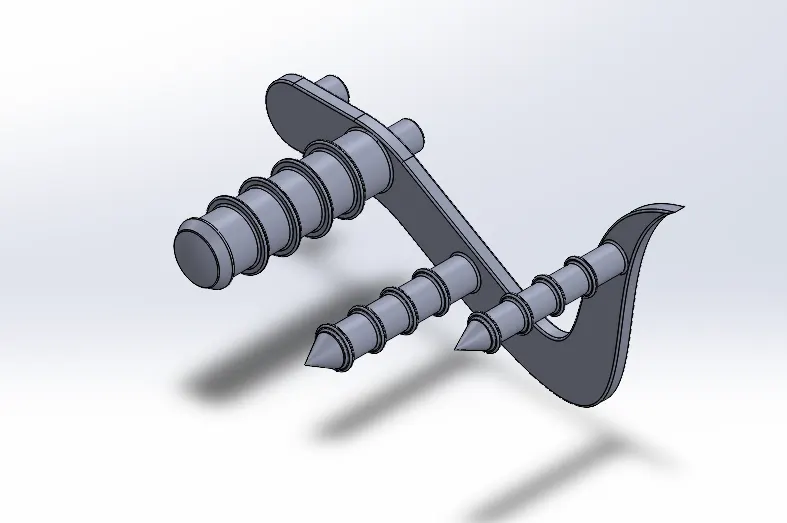
This part was created with boss extrude which is use to expand some solid body and we also use dome feature to create the dome at the end of the foot rest along with linear pattern feature which we use to create multiple rings on the foot rest.
- Transmission belt:
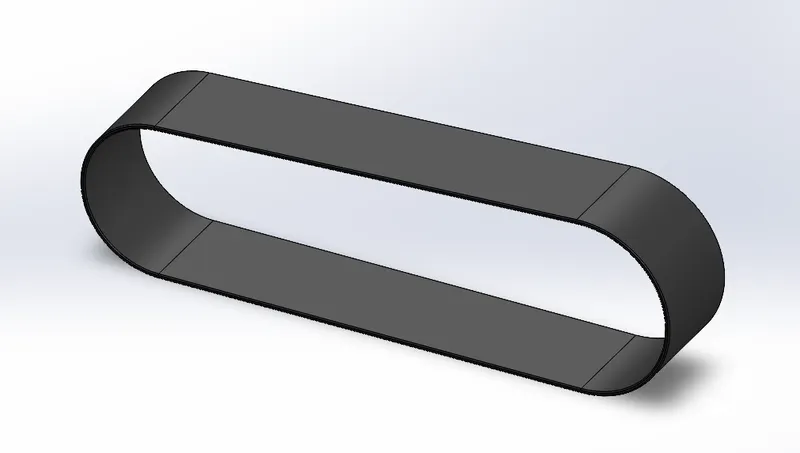
The transmission belt was created with boss extrude and fillet.
- Kick stand:
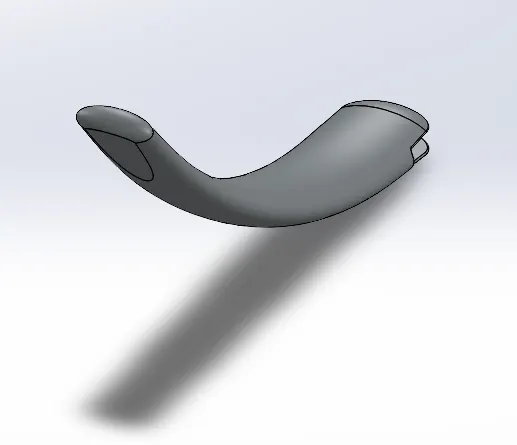
The kick stand needed some feature like loft and cut extrude extra from the previous ones. So the loft is used to create a structure like cone or pyramid, in which the start and end of the model are of different size like in our stand where bottom was much bigger diameter compare to top but the shape is same. So in this cast we create, curved line and at the end of the line we created top and bottom surface of the kick stand which is of different dimension but same structure and using lofted surface we created kick stand. We choose the surfaces where loft is to created and the path of the loft to give smooth bend and in the end, we create again split to give flat surface to the kick stand to stay put on the ground.
- Oil tank:
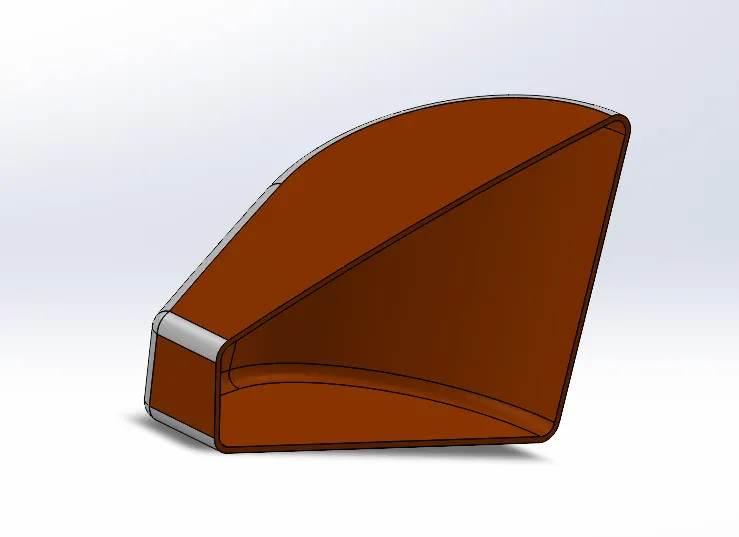
The oil tank was created with extra feature of combine and shell where we created the top and side view of the model and then extruded and then using common feature in combine to make a one uni body, but the body was complete solid from inside so we use shell feature to create the hollowness in the body.
- Chain:
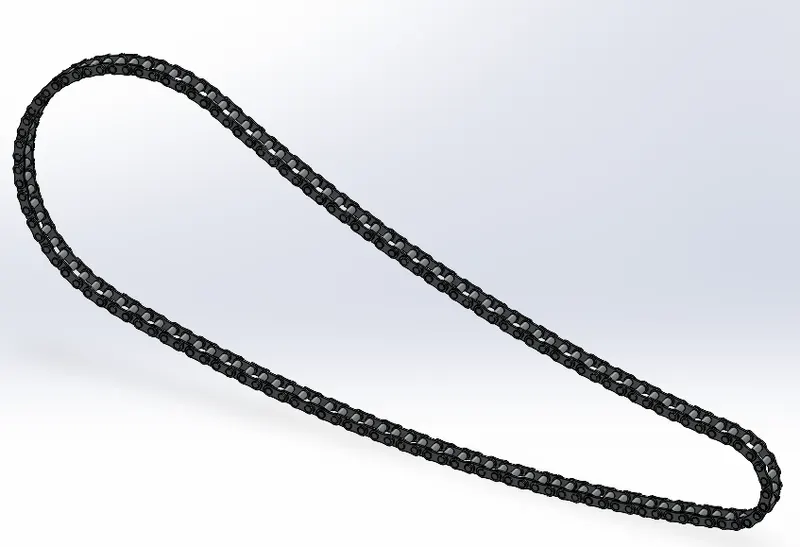
The chain was created in very simple manner i.e, with boss extrude and lots of linear pattern. We created a block of the inner, outer plate and pins so that we do not have to create the plates again and again, just insert the block and it is done. Then we create linear pattern and make the change. Important thing to keep in mind is at curves we have to be care full with pins and plates because sometime they may not engage properly so we have to be careful around the curves and we may have to manually make the chain with some relations like coincide.
- Front wheel:
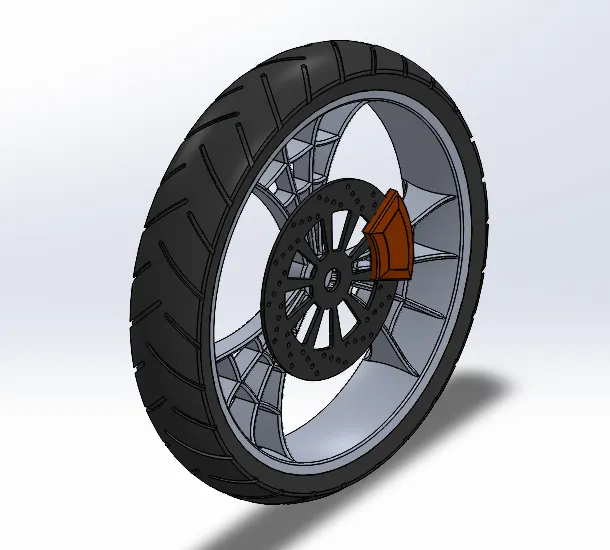
In front wheel we use circular pattern instead of linear pattern and also off set extrude for disc plate. For circular pattern we created one fork of the rim and then we selected circular pattern and body feature in it to create the rims. And for path we select any round surface no need to create any construction geometry. And for wheel cut outs we choose the offset cut out. Because we create the sketch on the plane and then offset it outside the tyer and then make the cut out. It is important that we don’t merge any unnecessary extrude like tyer and rims because if we do the software will consider whole body as one even though they are separate.
- Rear wheel:
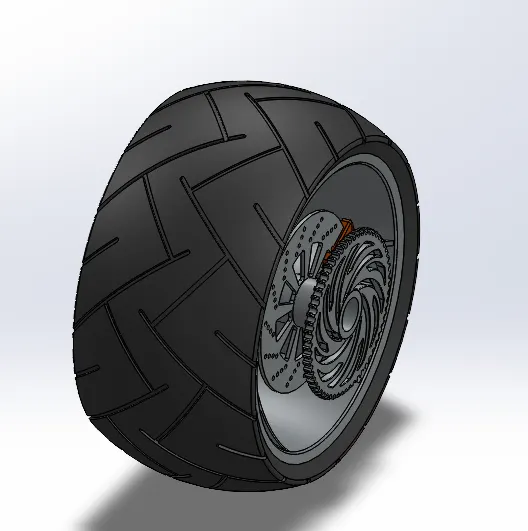
The rear wheel is created just as same as the front wheel just we add another sprocket to it for chain mounting and rest of the things is almost same as the front wheel.
- Front fork:
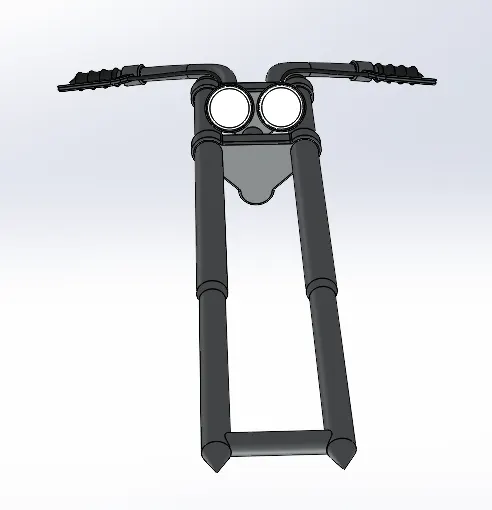
The front fork was one of the challenging one because of lots of work needed to done to make a front fork. Most of the things are done pretty easy but the handle are needed to done with projected curves. Basically, projected curves are those curves which takes bend in third dimension so we create two curves or basically the side views of the actual curve and then from those to side view curves we create a projected curve which will be between these two curves, which will give us a curve in third dimension. These curves are very useful for this kind of the extrude.
- Engine
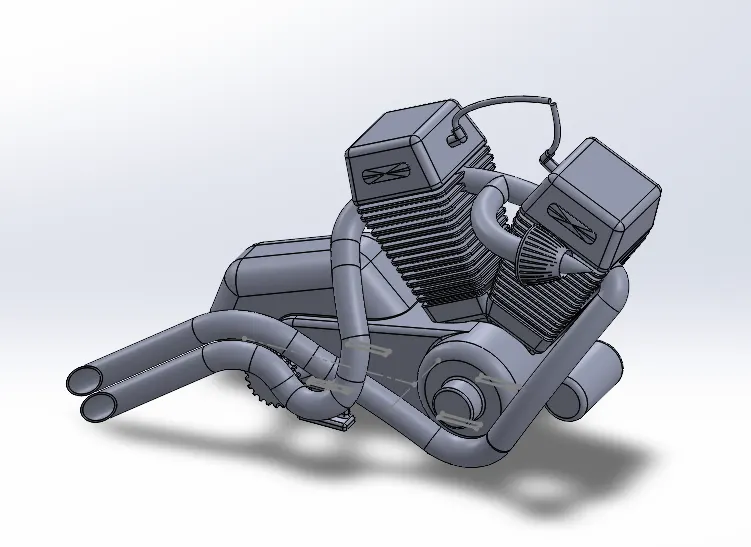
The engine dose takes all of the previous knowledge to create the full part. The engine includes all the feature like projected curves for exhaust, circular pattern for sprocket, combine for the two hull of the engine gear box and oil chamber, linear pattern for fins and mirror the entire cylinder and composite curve to create the exhaust. This was indeed a challenging part also lot of to learn from.
- Chassis:
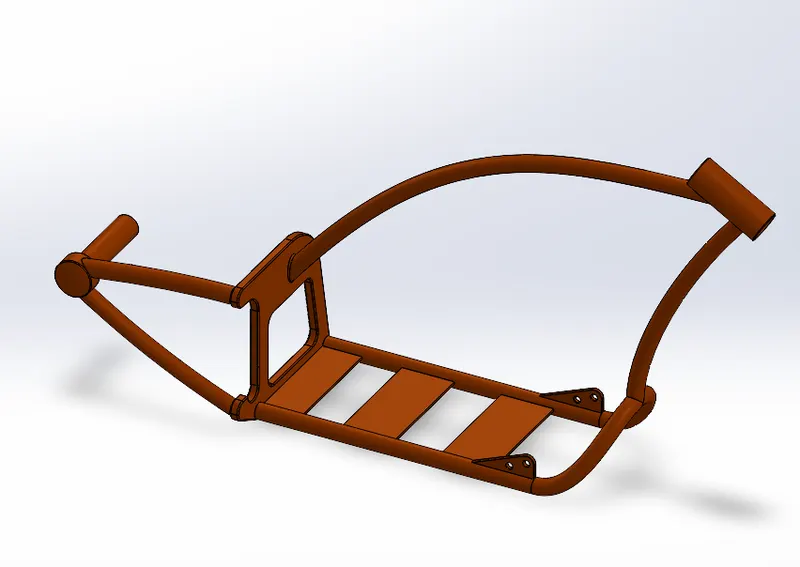
The chassis on the other hand is made with most of the projected curves and split for creating the three-rod connecting a one proper or uni body joint. This helps me get the deeper knowledge about the projected curves.
- Gas tank:
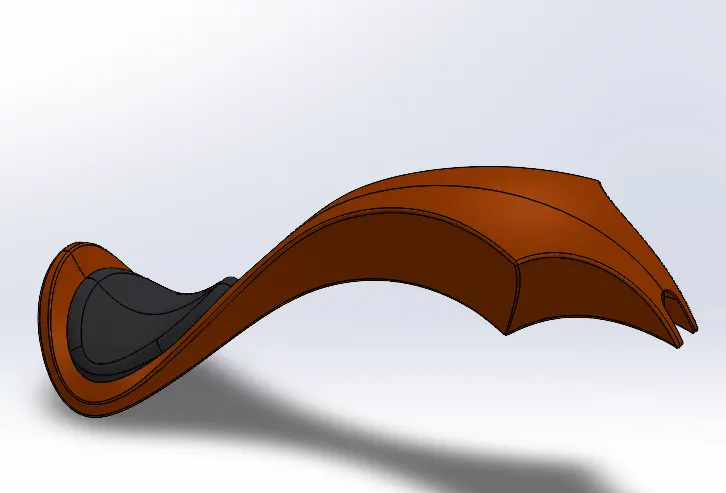
This is the only body part which was created with the help of surface. The surface tools are almost as similar as the feature tools. In this also we created lots of projected curves and then create surfaces. Also, the combine tool is called as surface knit which we use to add the mirror part of the tank. This was a very good learning for the creating the hollow parts like this tank.
American Chopper Assembly
Camera view
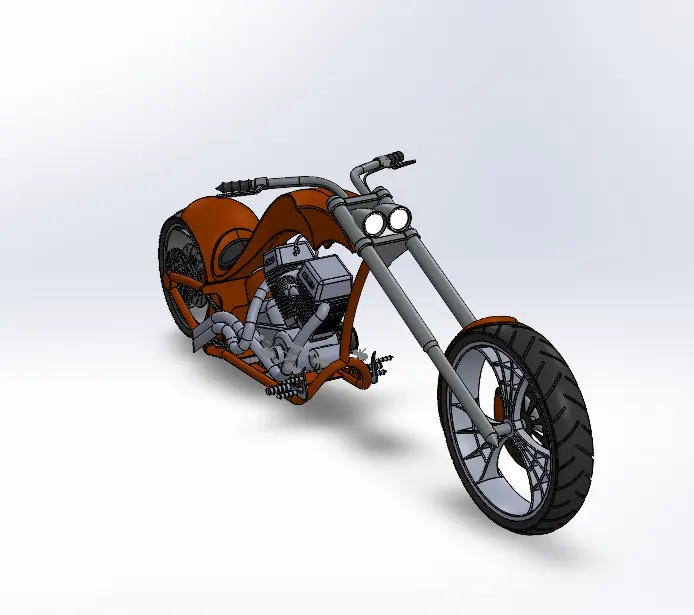
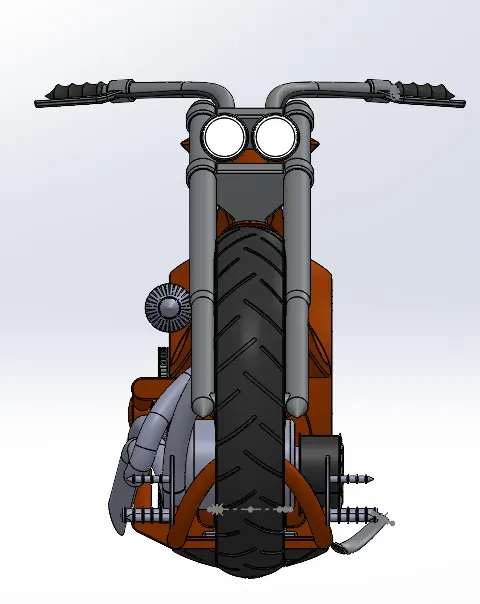
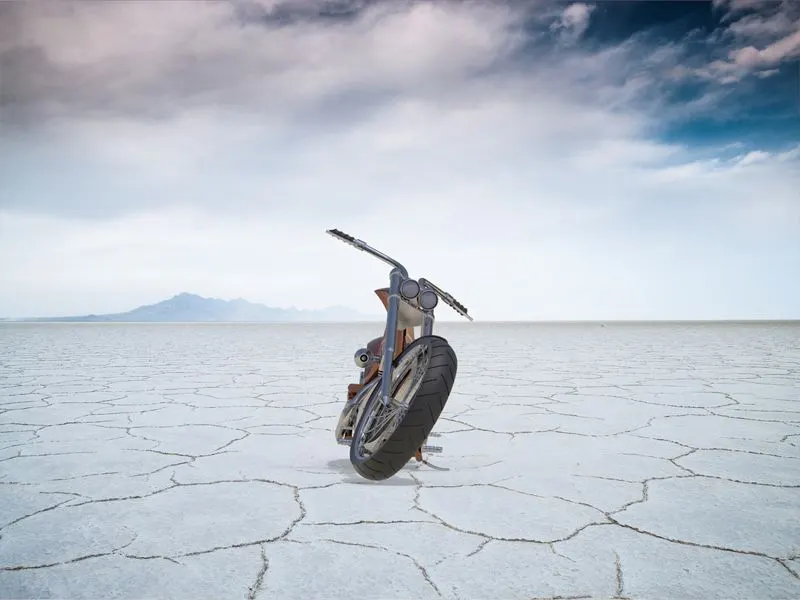
Front view
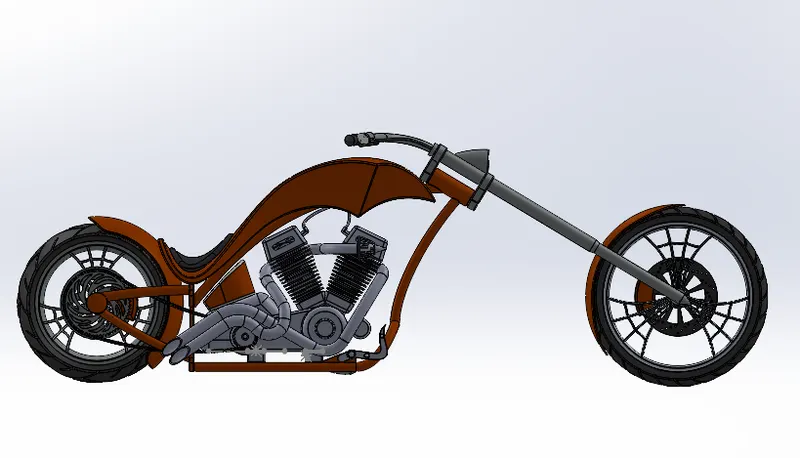
Side view
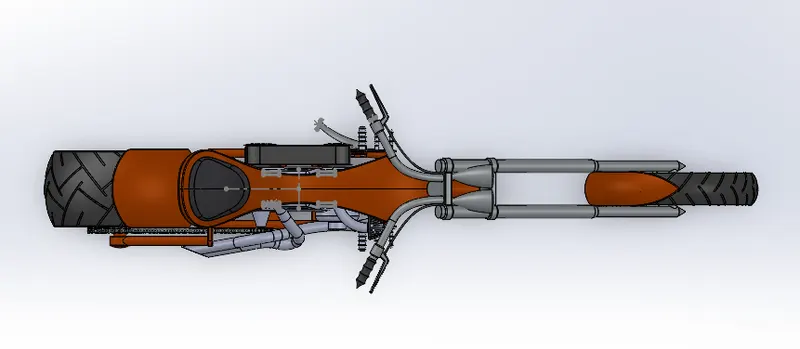
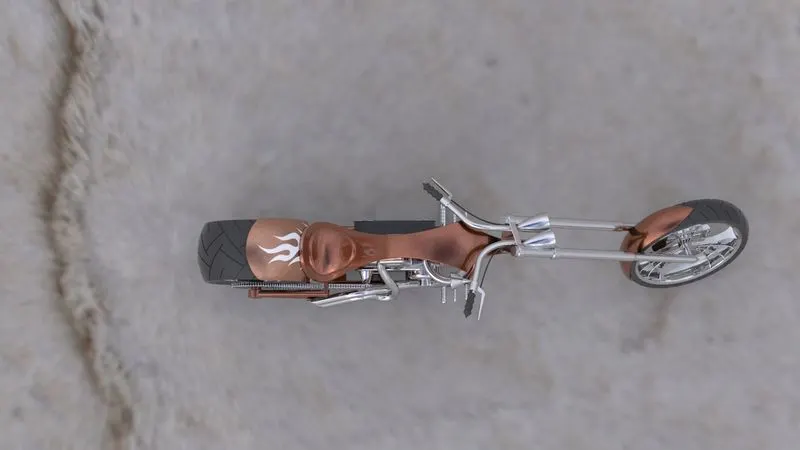
Top view
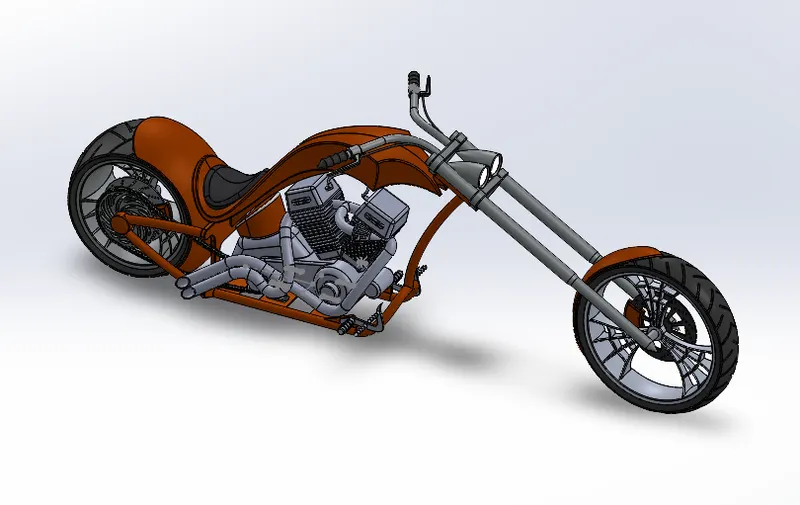
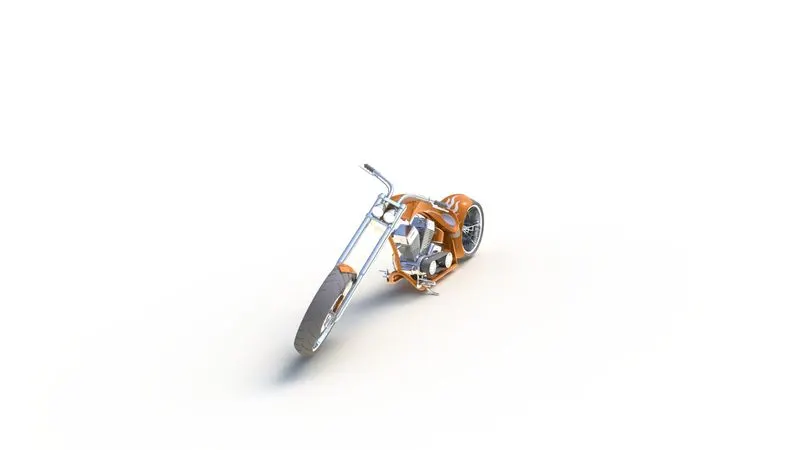
Isometric view
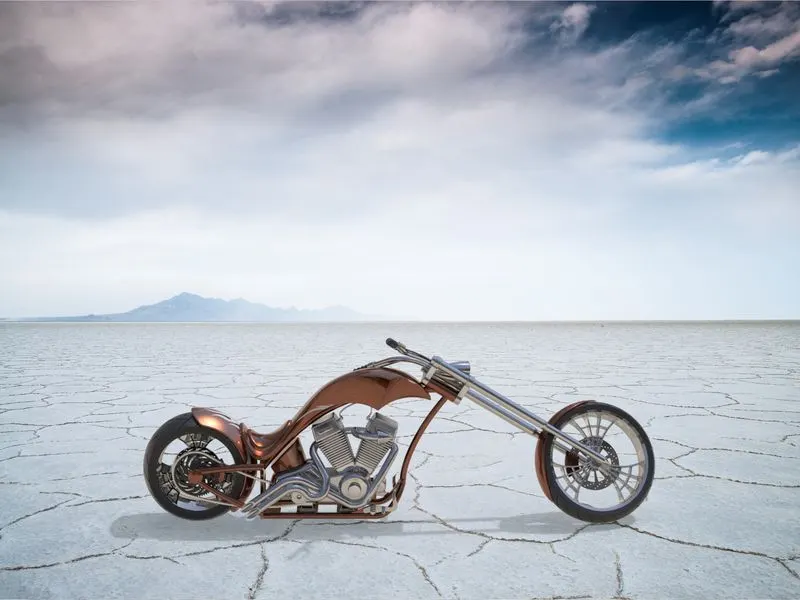
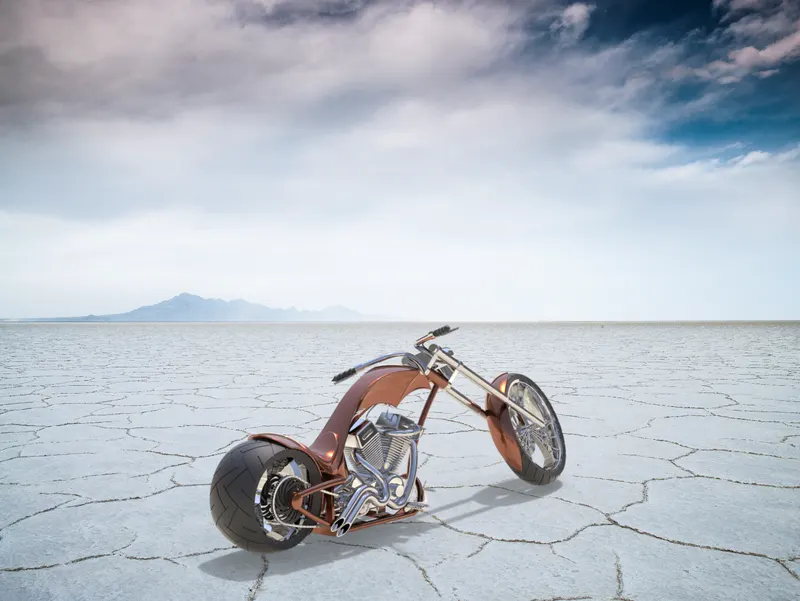
Render Image
Conclusion:
Finally, we created the completed American Chopper assembly in solid works and also render the image in real world image to visualize a real image with the help of solid visualize.
Note: I had created the model in solidwork 2022 and render it in 2021 so I did not get full accesses to the parts so it was difficult for me to put decals but I tried my best to create the render.