Radar Mast & Final Assembly of Yacht
1. Radar Mast
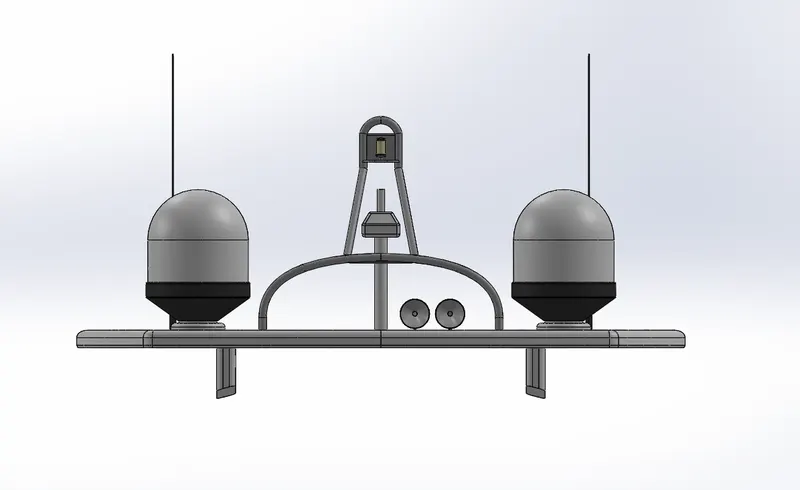
Ankush_Radarmast_Front_View
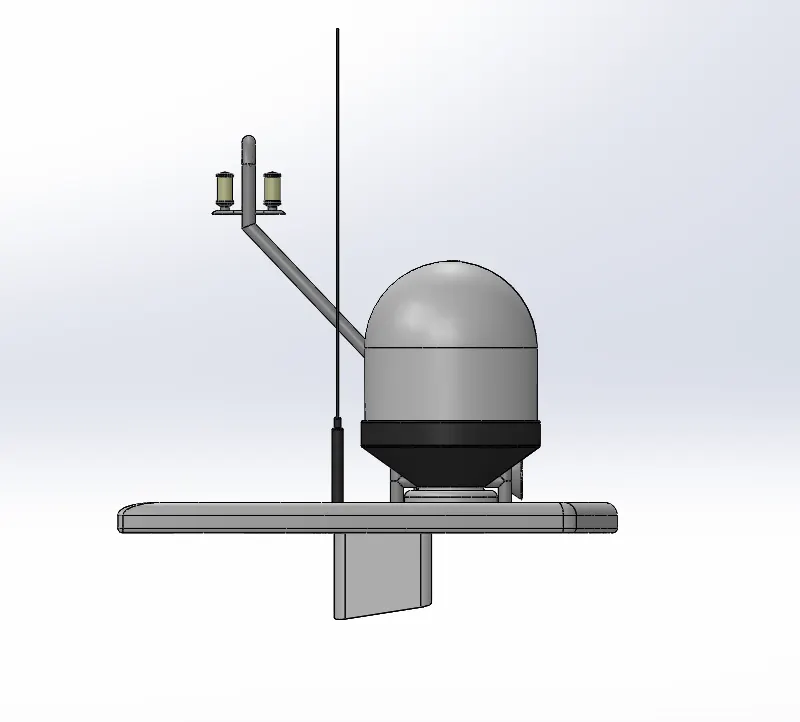
Ankush_Radarmast_Side_View
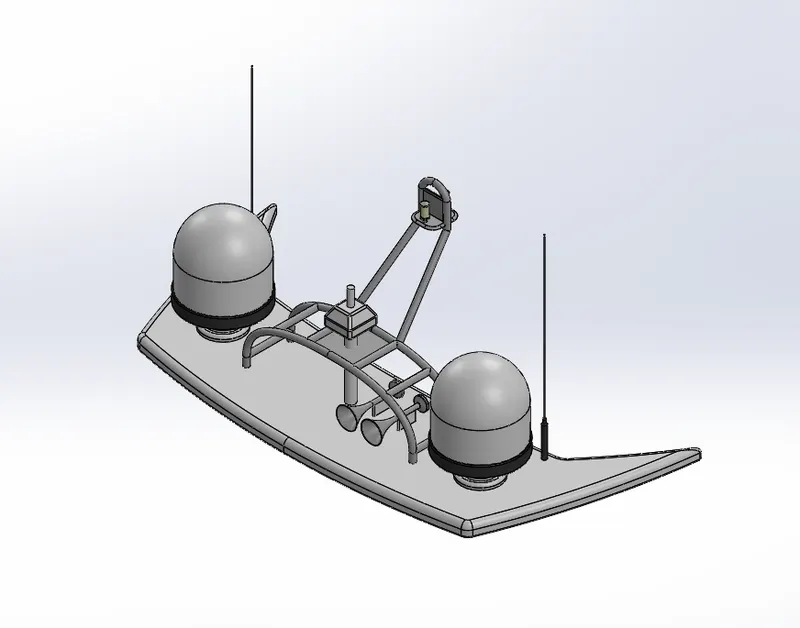
Ankush_Radarmast_Isometric_View
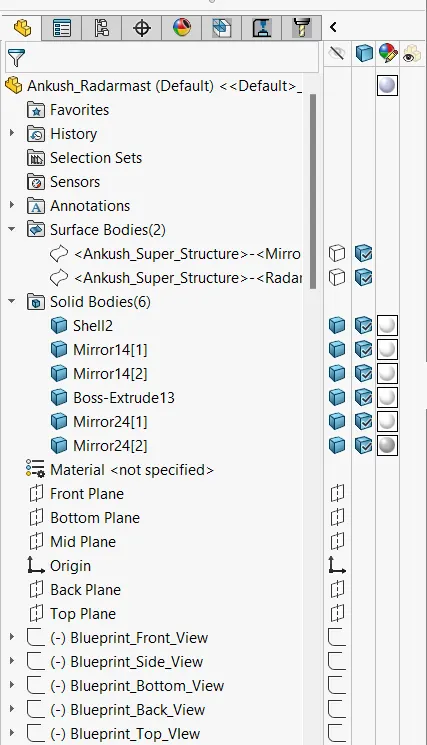
Ankush_Radarmast_Feature_Tree1
Ankush_Radarmast_Feature_Tree2
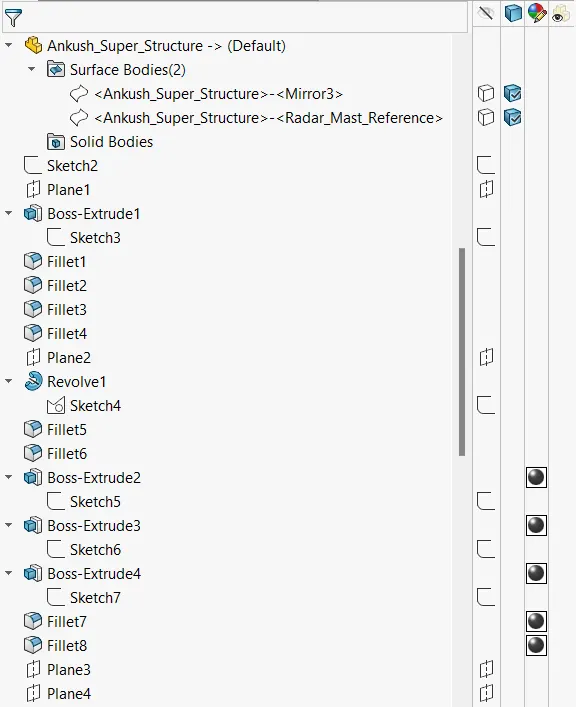
Ankush_Radarmast_Feature_Tree3
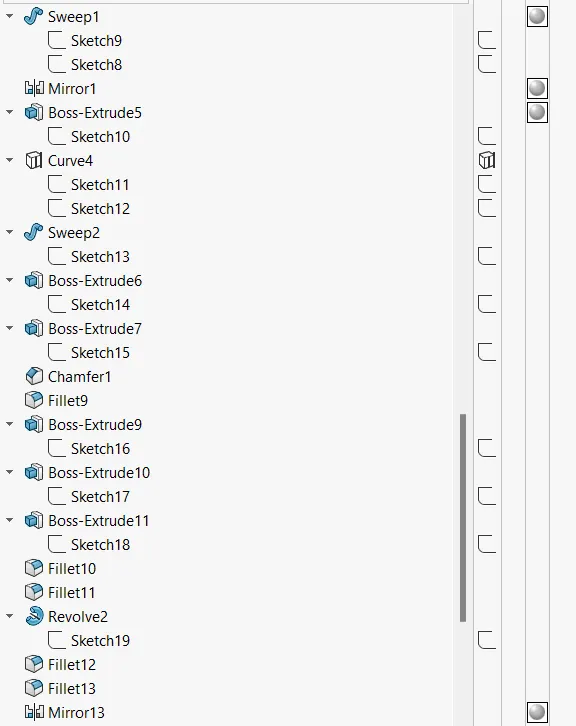
Ankush_Radarmast_Feature_Tree4
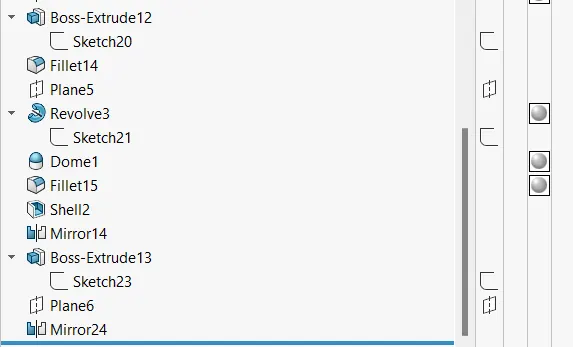
2. Yacht
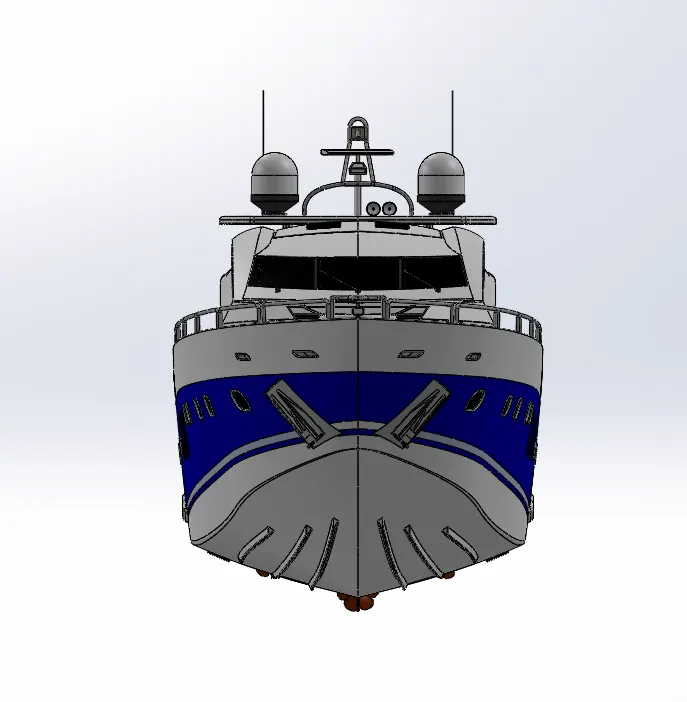
Ankush_Yacht_Front_View
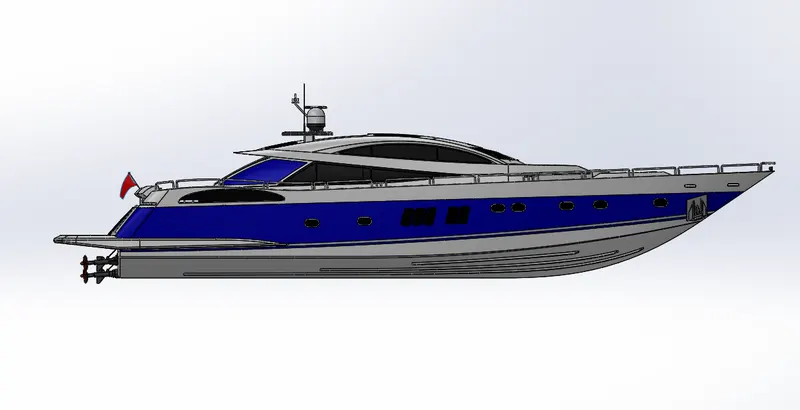
Ankush_Yacht_Side_View
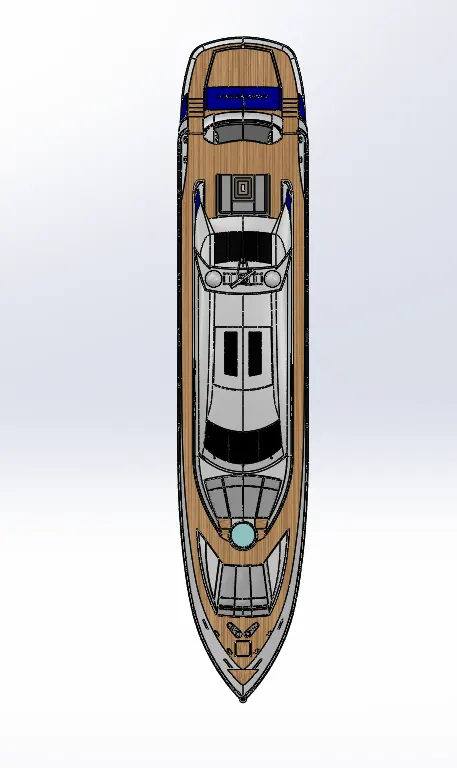
Ankush_Yacht_Top_View
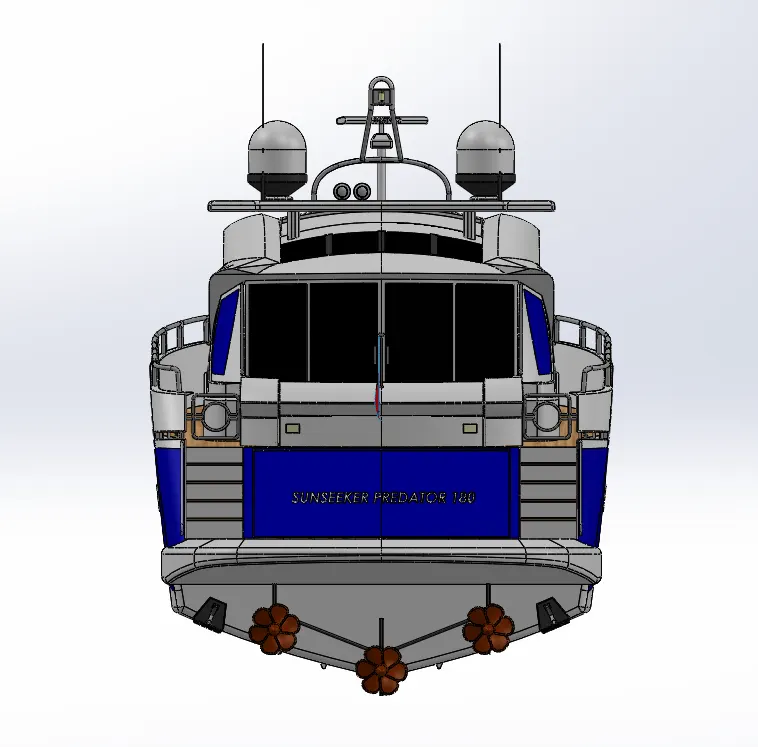
Ankush_Yacht_Back_View
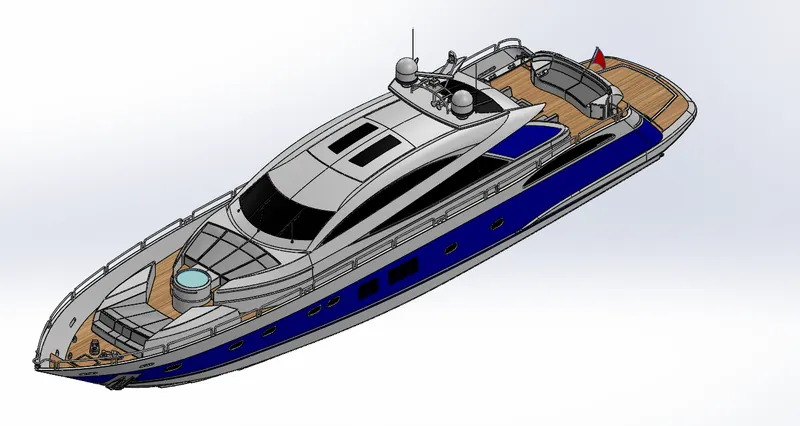
Ankush_Yacht_Isometric_View
Ankush_Yacht_Feature_Tree1
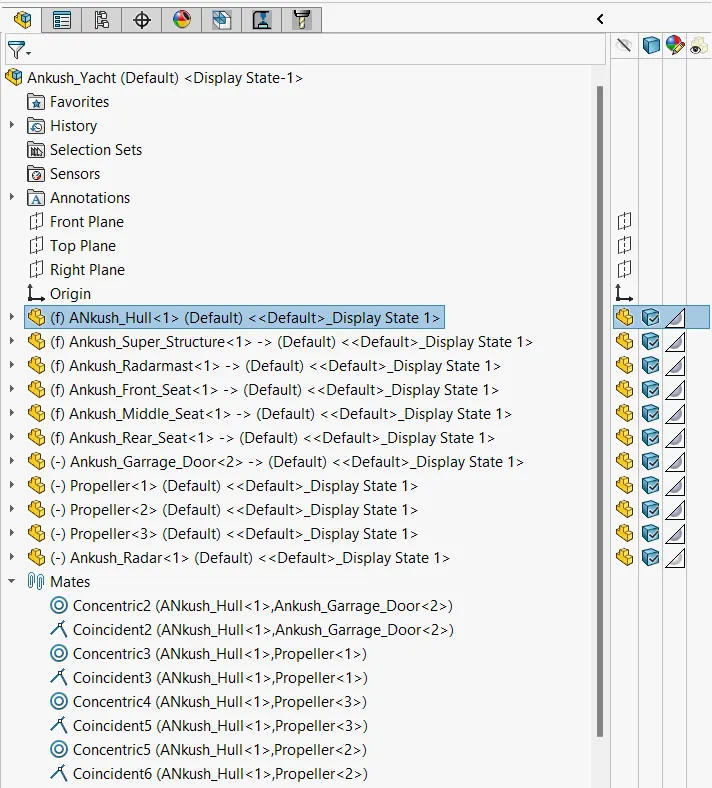
Ankush_Yacht_Feature_Tree2

Project Report
Sunseeker Predator Yacht
- Objective:
The objective is to give brief description about the modelling of Sunseeker Predator Yacht. This includes the design of each and every part of the yacht and to give them appearance and to assemble the parts to complete the yacht.
- Introduction:
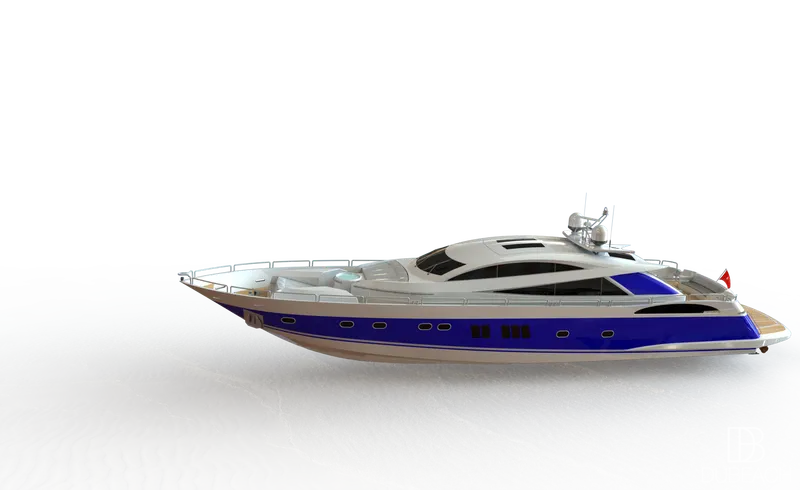
Yacht, a sail- or power-driven vessel, usually light and comparatively small, used for racing or for recreation. In recreation, the term applies to very large craft, originally powered by sail and later by steam or internal-combustion engines. It is in this sense that the generality of Non yachting (Non sailing) people usually think of the term. Technically, the word yacht excludes boats propelled by paddles, oars, or outboard motors. Also, recreational powered craft below the largest size are usually called cabin cruisers. Some of the features or the parts of the yacht are hull, propeller, radar, seats, jacuzzi, garage, cabin, and others.
Sailing yachts for cruising versus racing embody different trade-offs between comfort and performance. Cruising yachts emphasize comforts over performance. Racing yachts are designed to compete against others in their class, while providing adequate comfort to their crews.
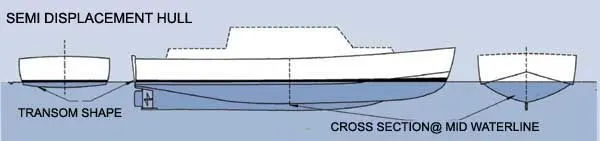
- Hull – There are three basic types of motor yacht hull: full-displacement, semi-displacement, and planning.
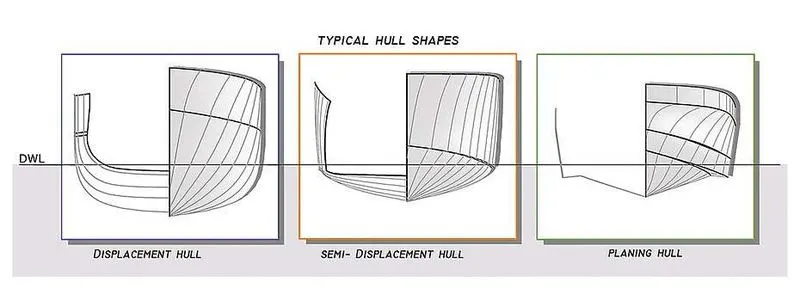
1. Full-displacement hulls – moves the water up and out of the way of the vessel, making a wave. They are limited in speed by the square root of the waterline length multiplied by a factor, depending on the units used.
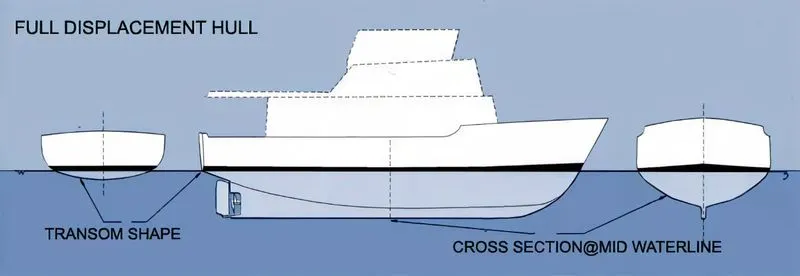
2. Semi-displacement hulls – allow speeds that are the faster than the hull speed of a displacement vessel because they rise somewhat out of the water and create smaller waves. It also provides greater comfort than planning hulls.
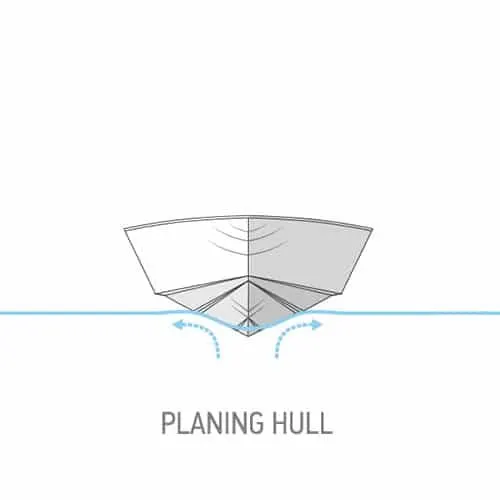
3. Planning hulls – require sufficient power for the boat to slide up onto the surface, which avoids the need to use power to lift water out of the way of the vessel. Such vessel has flat surfaces on the undersides.
- Style – A motor yachts style can both be functional and evoke as aesthetic-trending towards the modern or the traditional.
1. Cruiser – A cruiser has displacement hull for economical, long-distance passage-making.
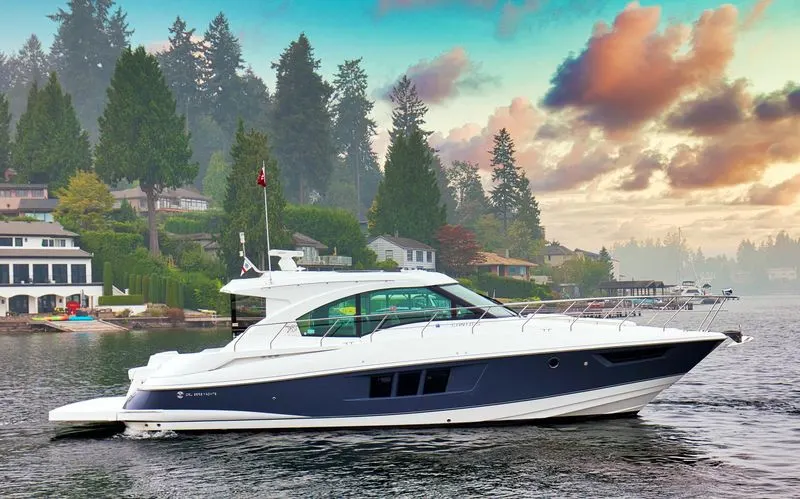
2. Sprots cruiser – A sports cruiser has a semi displacement or planning hull for fast trips.
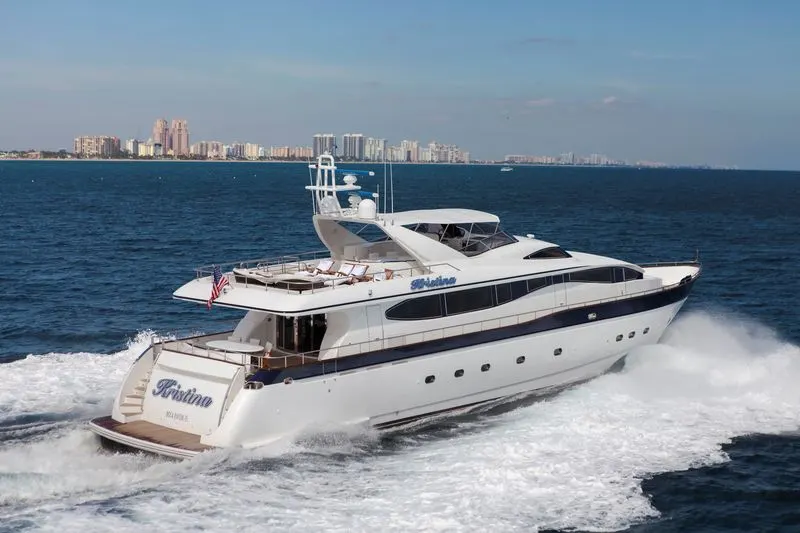
3. Sprots fisherman – A sports fisherman has a semi displacement or planning hull for fast trips and carries gear for recreational catching of large fish.
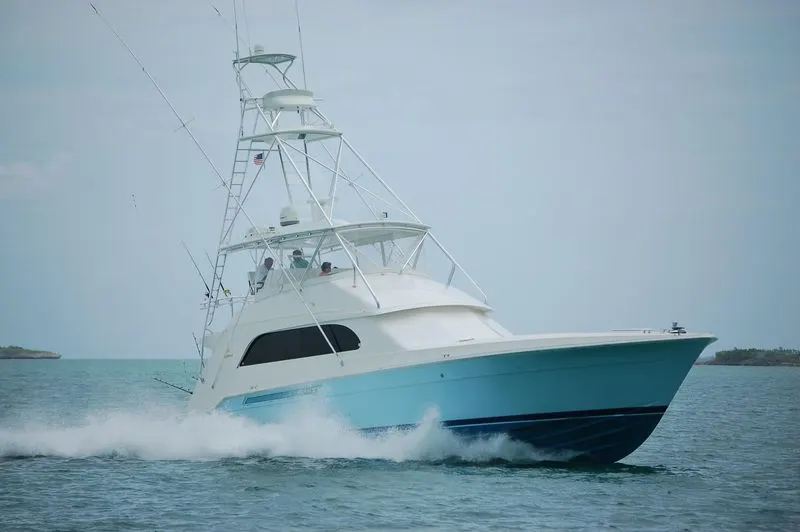
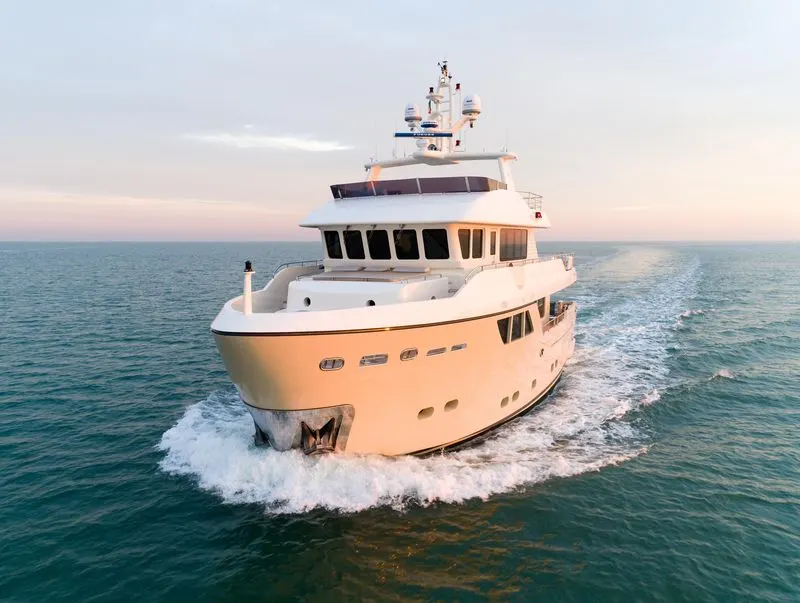
4. Expedition – An expedition yacht has displacement hull for economical, long-distance passage making to remote destinations. These are also called explorer yachts.
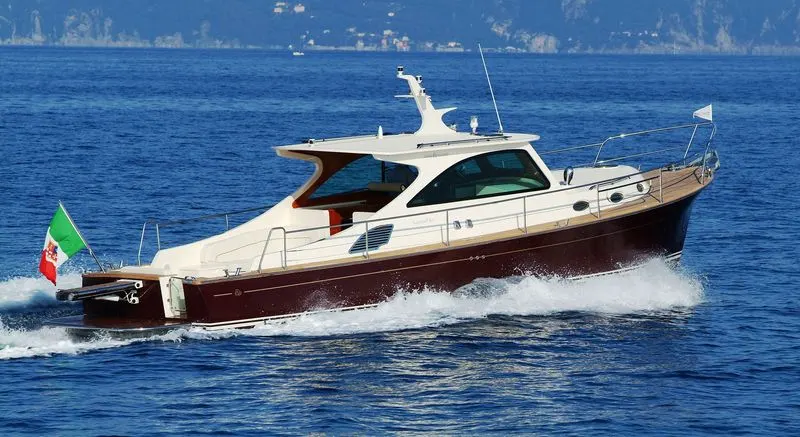
5. Lobster – A lobster yachts is styled like a Maine Lobster boat and has a semi-displacement for planning hull for fast trips.
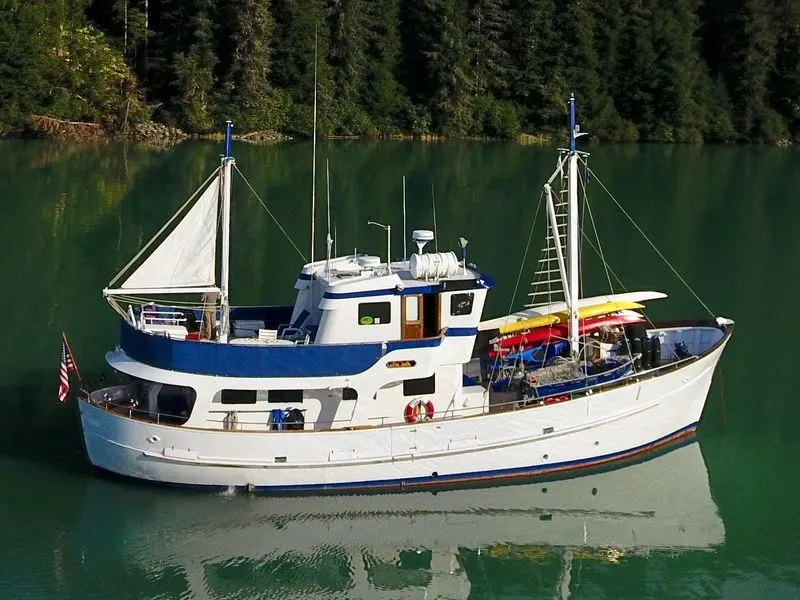
6. Trawler – A trawler has conservative, traditional styling and has displacement hull for economical, medium-distance passage-making.
- Onboard Systems -
- Electrical power, provided by batteries recharged by a motor-driven alternator (sail) or by a generator set (motor).
- Water, stored in on-board tanks, refilled on shore or replenished with a desalination water maker.
- Sanitation, provided by toilets using seawater and discharged into holding tanks.
- Refrigeration by ice or an engine-driven mechanical system
Modern yachts employ a suite of electronics for communication, measurement of surrounding, and navigation.
- Communications equipment includes radios in a variety of bandwidths, specifically for maritime use.
- Instrumentation also provides information on depth of water under the vessel (depth sounder), windspeed (anemometer), and directional orientation (compass).
- Navigation electronics include units that identify a vessel’s location (GPS) and display the vessel’s location (chart plotter) and other vessels and nearby shore (radar).
- Design Considerations:
Design considerations for a cruising yacht include seaworthiness, performance, sea kindliness and cost of construction,
- Seaworthiness addresses the integrity of the vessel and its ability to stay afloat and shelter its crew in the conditions encountered.
- Performance hinges on a number of factors, including the waterline length (longer means faster), drag in the water (narrower hull with smooth appendages), hull shape, and sail shape and area.
- Sea kindliness is an indicator of steering ease, directional stability and quelling of motion induced by wind and waves.
- Designing Methodology/Approaches:
The designing of yacht starts with the design of propeller, radar, hull, superstructure and so on. Each part is designed according to the style required or the purpose like racing or cruising. Cruising yachts are designed for more comfort and economical use. Cruising yachts has low speed has compared to racing yachts. Cruising yachts has displacement hull for long-distance. While designing the yachts the following points to be considered as mentioned above to get the good result.
The design of the yacht also depends on the length or the size of the yacht. Basically, they are in three range
- small yachts are typically shorter than 33 feet length overall.
- Near-shore yachts typically range in size from 33_45 feet length overall.
- Offshore yachts typically exceed 45 feet length overall.
The designing of all the parts starts with sketching some lines or circles or rectangles or splines. Then the proper sketch of the part is drawn and then the dimensions and relations are provided to the sketch to fully defined the sketch. Then if a surface is needed, we use the extrude surface option or if a body is needed, we use the extrude boss base feature.
While designing the curvy surfaces proper curves should be drawn with proper dimension, otherwise the produced surface will not possess a good curvature and this will produce a bad surface with too many stress regions.
- Tools and Features
Now we will discuss about the tools and the features we used in the solid works to create our American Chopper.
1. Line Tool: This tool is used to draw lines. These lines can be centre line, construction line, solid line and these lines can be horizontal, vertical, or at any angle.
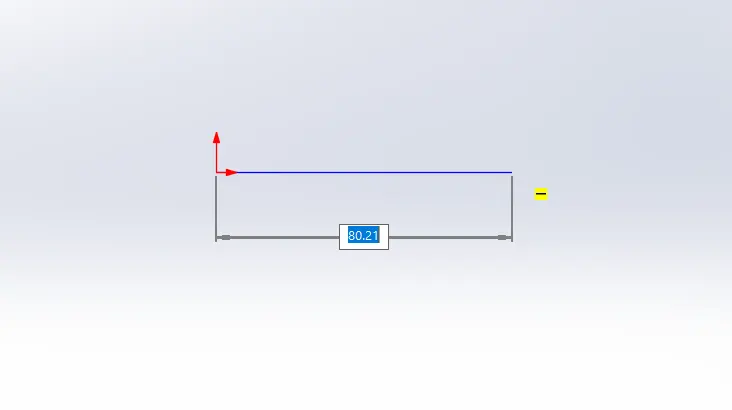
2. Smart Dimension: It is used to give a dimension to our sketch so that it is fully defined.
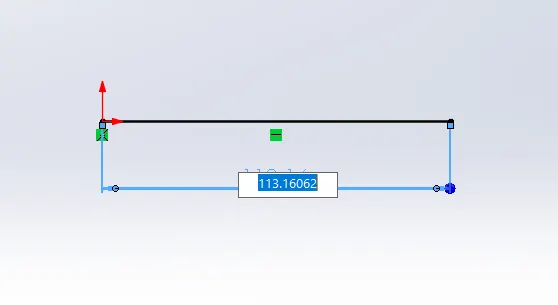
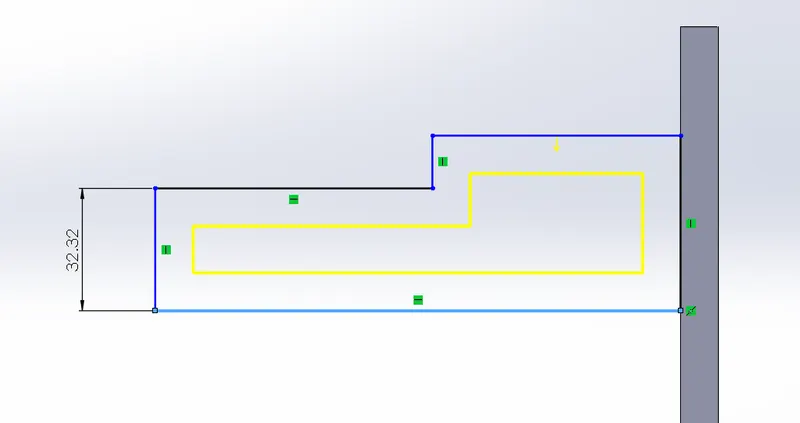
3. Offset Tool: This tool allows us to offset any line or shape quickly and easily.
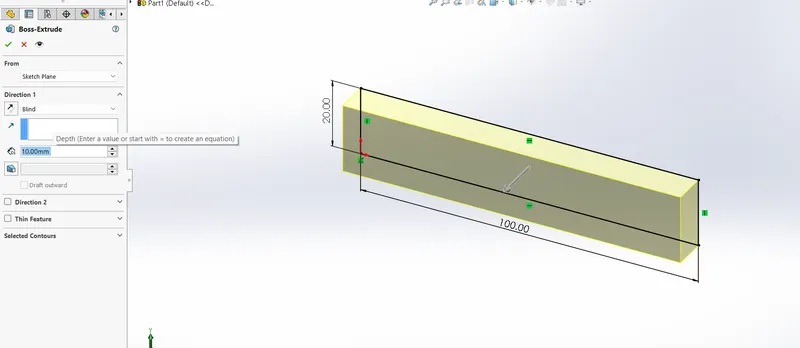
4. Extrude Boss Base: This tool helps us to make our sketch a solid body. It converts our sketch from 2D to 3D by adding one more dimension to it. Extrude boss can be done in one or two directions.
5. Appearance: This feature allows us to add a realistic appearance to our sketch depending on our requirement we can add metal, paint, light, cloth, rubber, or any material which we want to add on our part.
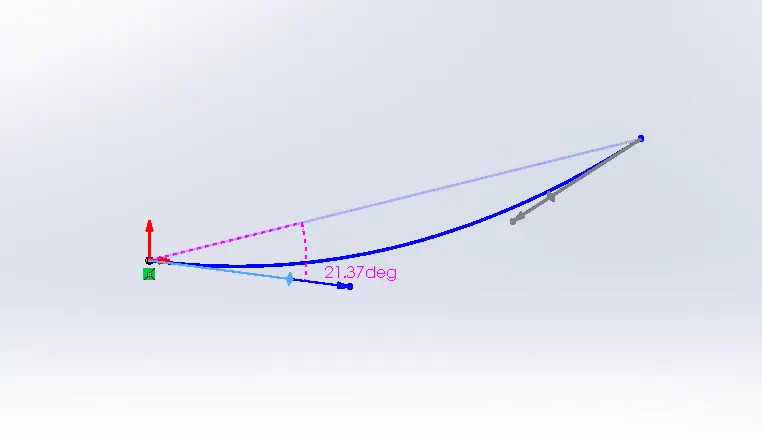
6. Spline Tool: This tool helps us in sketching curves which are difficult to draw with the help of other arcs or to give accurate curves according to our need. The splines also need to be activated by giving them dimension, direction, and weight.
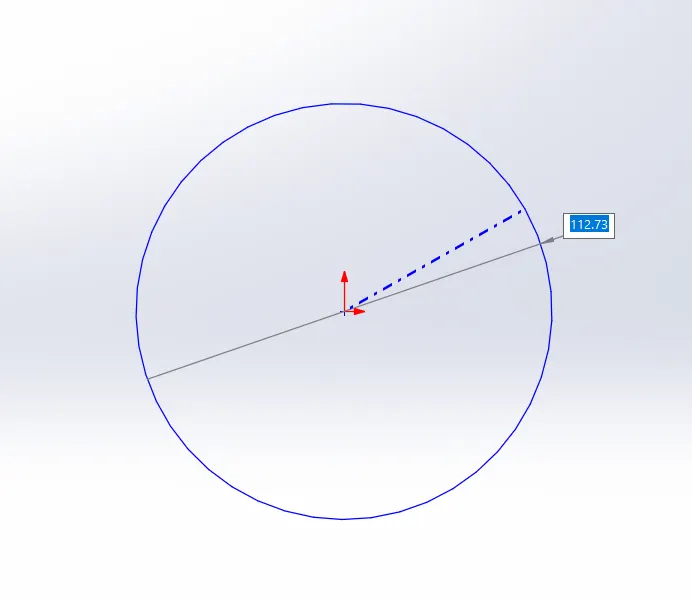
7. Circle: This tool is used to draw circles.
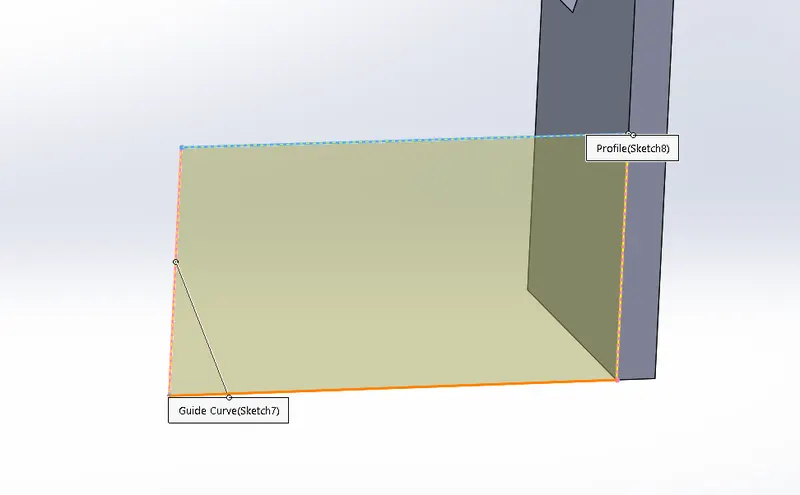
8. Loft Surface: Loft surface tool is used to generate surfaces by multiple 3D curves or existing edges creating a smooth tangency between the selected curves. Match points are created between each selection denoting the and the path of the loft surface.
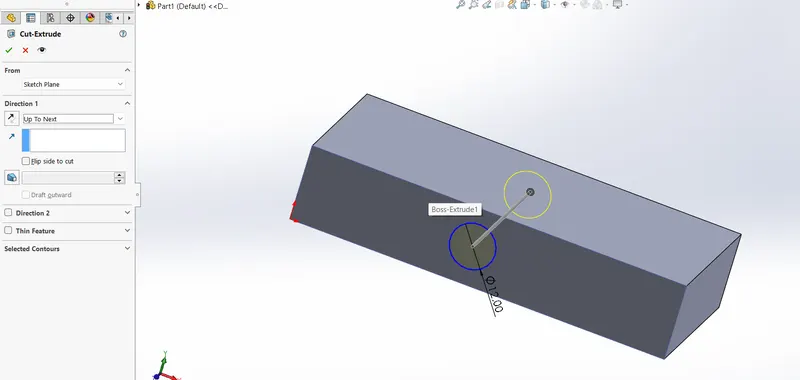
9. Extrude Cut: This tool is used to cut material from the existing solid body.
10. Split Line Tool: This tool trim or cut the material from the solid, surface, curve, plane, or surface spline.
11. Fillet Tool: This tool is used to round the corner or smooth the sharp edges of the parts.
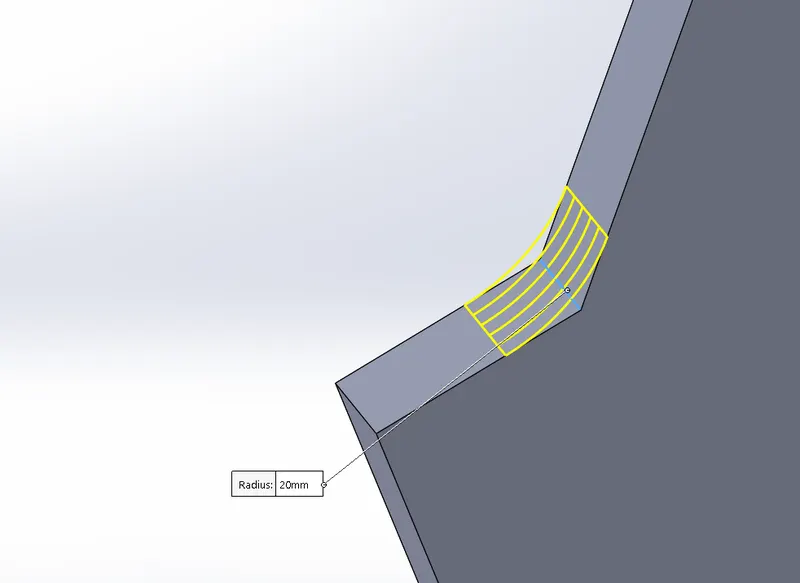
12. Arc Tool: This tool is used to draw arc. Arc can be drawn with help of points and the edges of other shapes.
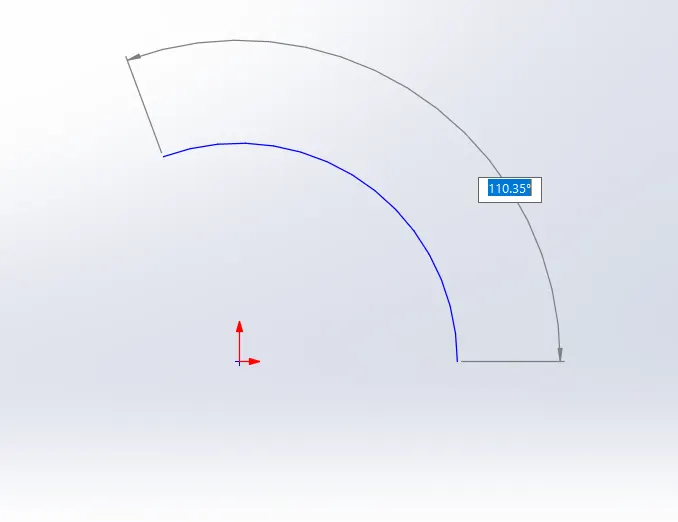
13. Linear Sketch Pattern: This feature helps us to create number of patterns from a sketch entity in a linear manner and we can offset distance between them.
14. Trim Tool: This tool is used to trim the excess lines and curves from the sketch.
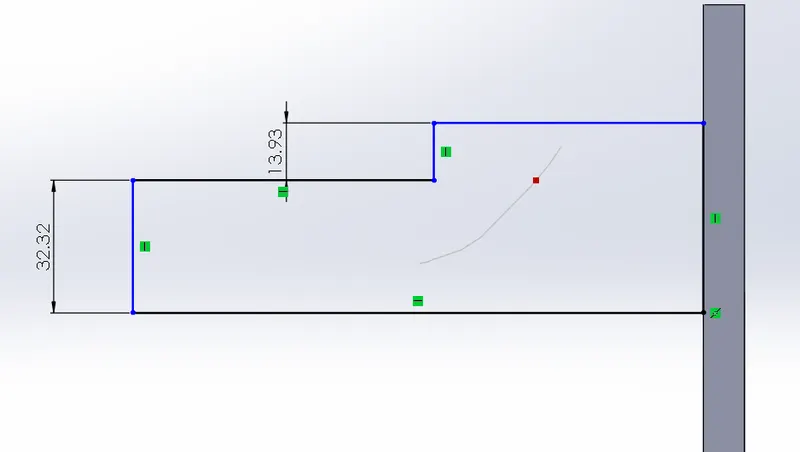
15. Straight Slot: This tool is very helpful in creating closed shape with arcs and lines tangent to it. This tool is like rectangle or circle tool.
in circular direction.
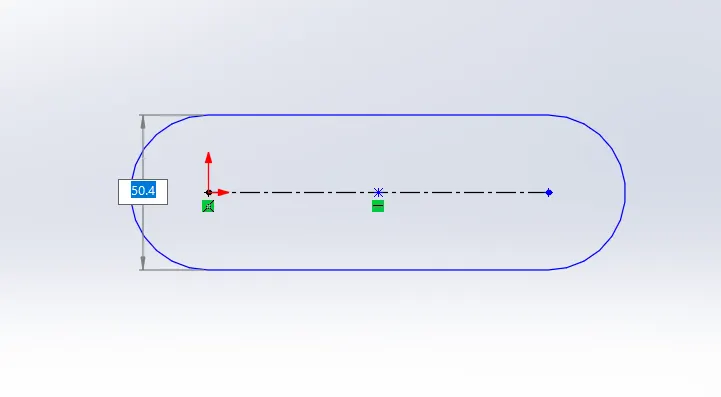
17. Revolve Boss Base: This feature is used to create a 3D solid model around an axis. The sketch can be revolved around an axis to add material to it.
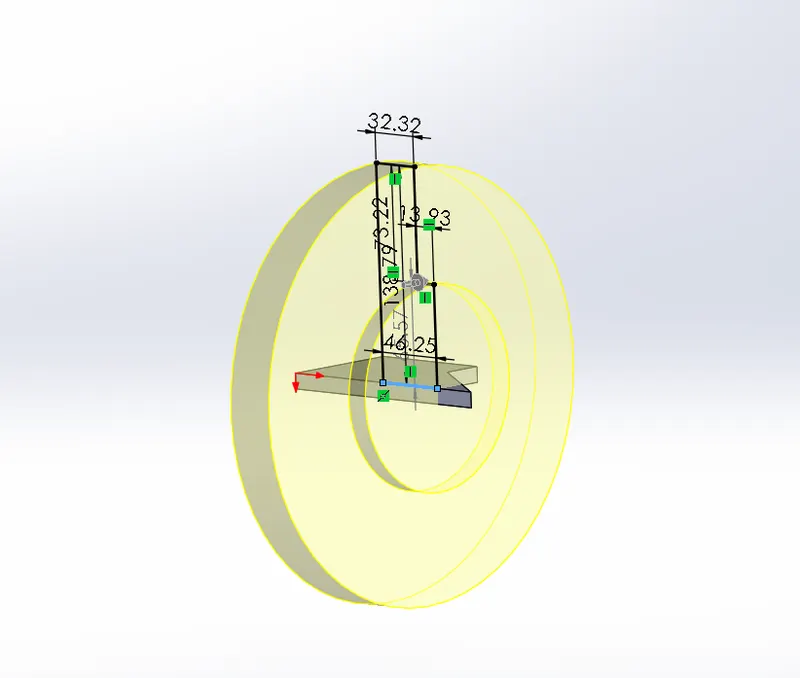
18. Mirror Entity: This tool is used to mirror the sketch horizontally or vertically about an axis.
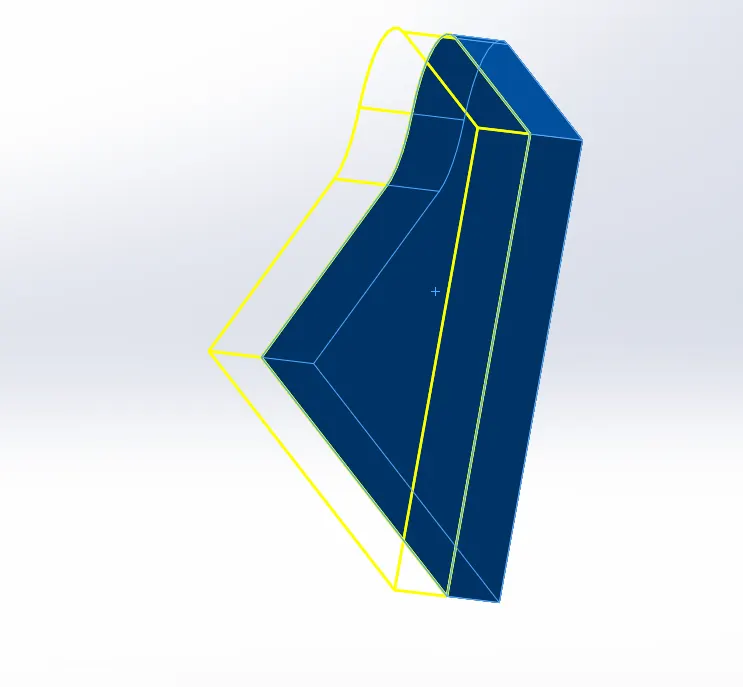
19. Combine: This feature is used to combine to solid bodies or 3D models to create a new model or bodies. It is most often used in surface modelling as it allows us to take moulds of created parts for moulds operation.
20. Shell: This tool hollows out a part, leaves the selected faces and creates a thin-walled features on the remaining faces.
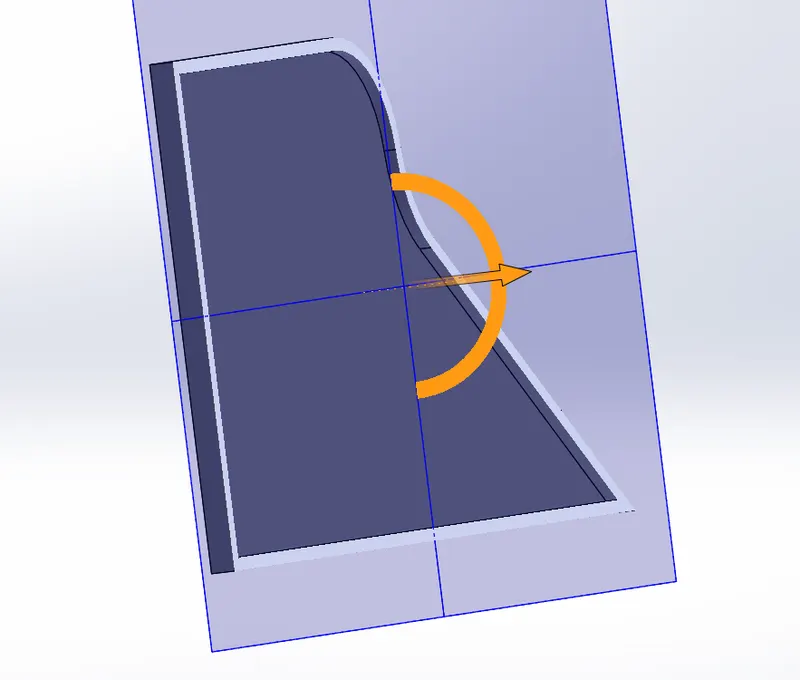
21. Extend: This tool is used to extend the lines and curves in the sketch.
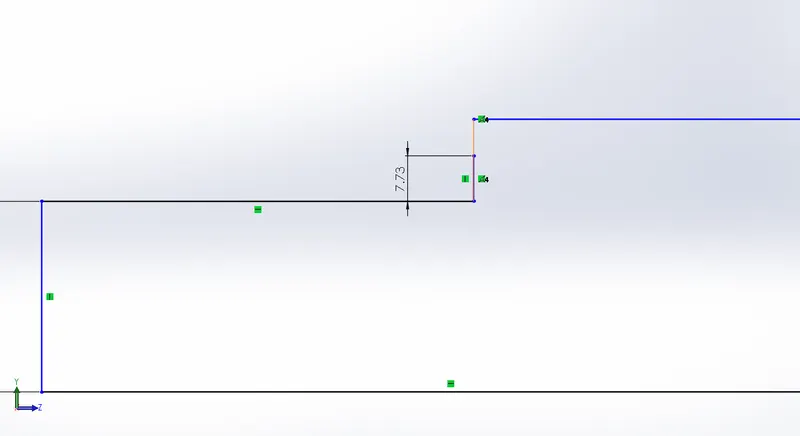
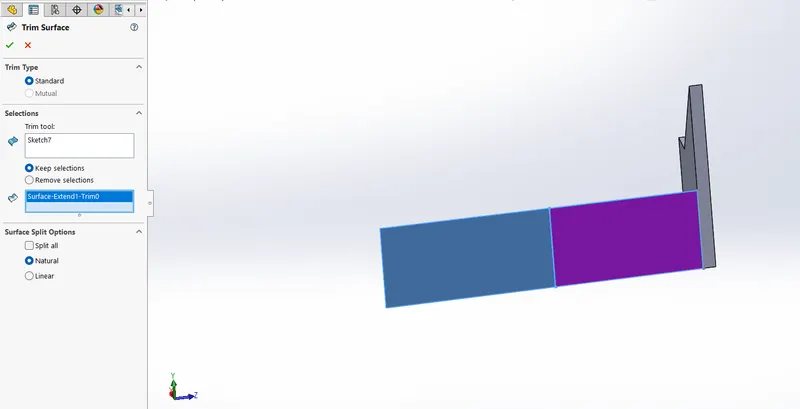
22. Trim Surface: This tool is used to trim the surfaces or create two or more surfaces that intersect at one or more points, or create a surface that intersects with a plane or has a sketch on its face
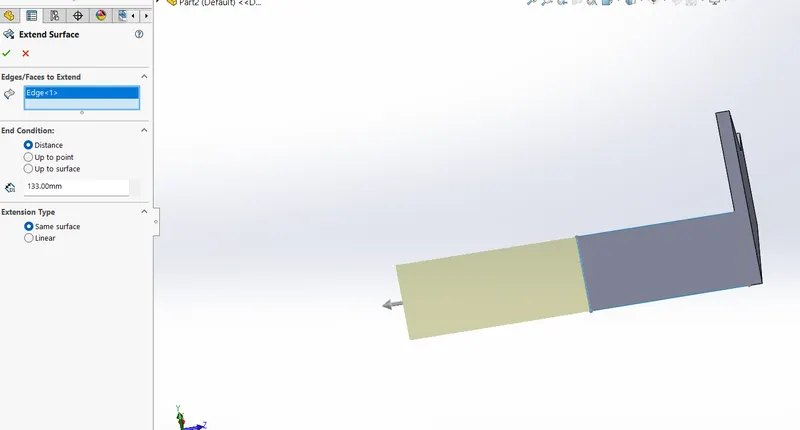
23. Extend Surface: This tool is used to extend the surface from the edges or face.
24. Knit Surface: Knit surfaces absorb the surface bodies we used to create them. Create a solid body when the knit surfaces form a closed volume, or leave as a surface body.
25. Offset Surface: This tool is used to offset the surface from the previously generated surface.
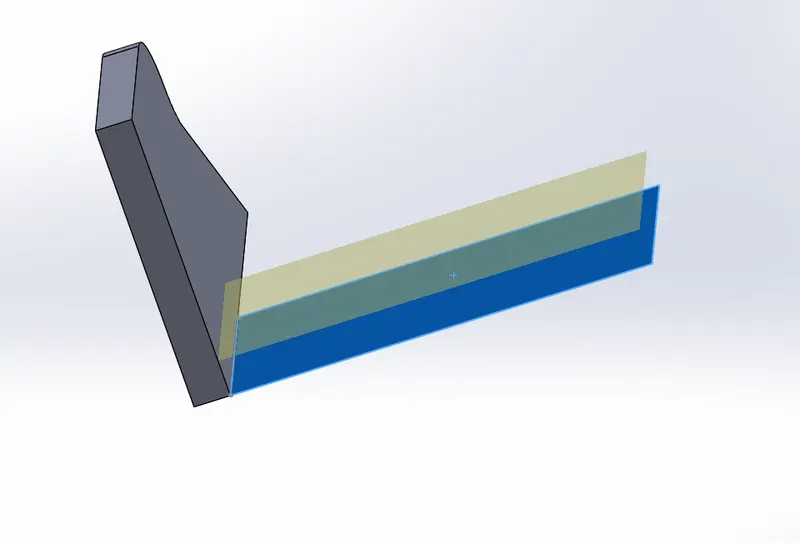
26. Fill Surface: Fill can patch holes including holes with more than four edges, as well as gaps with irregular shapes. The Fill surface is usually bounded by edges, but you can also use sketches and internal constraint curves.
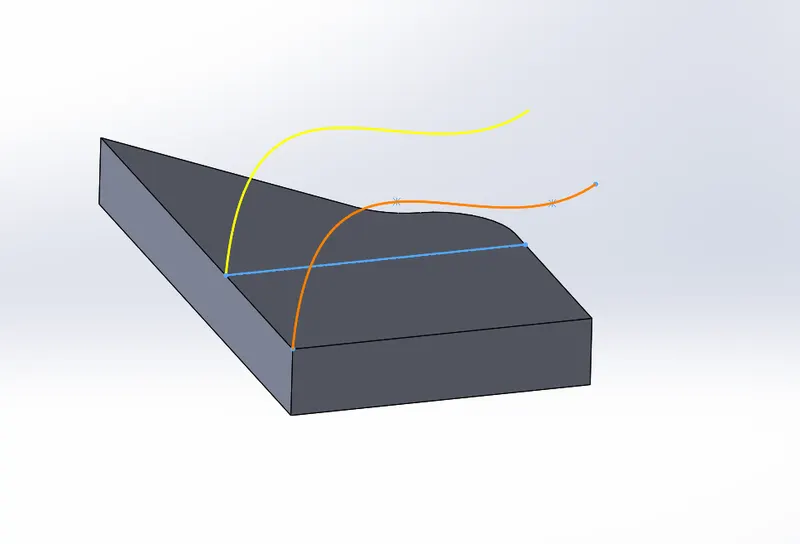
27. Project Curve: This tool is used to project curve in 3D with the two 2D sketches as reference.
Flow chart of parts of Yacht
Description of parts:
1. Propeller
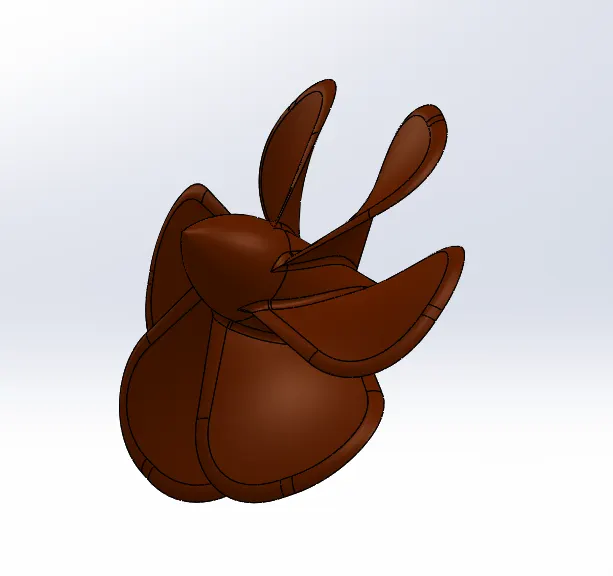
- The designing of propeller starts with the sketching of some circles so that we can produce a cylindrical body.
- Now we will produce the blades of the propeller with the help of splines and extrude surface option.
- Now will make a hole in the cylindrical part so that we can mount the propeller with the engine.
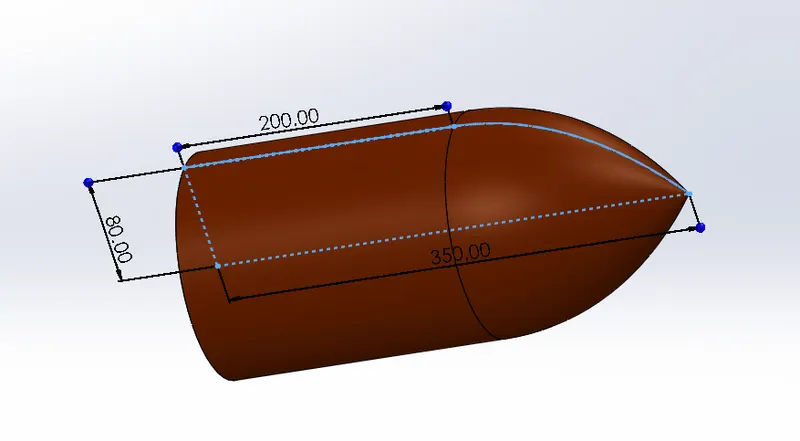
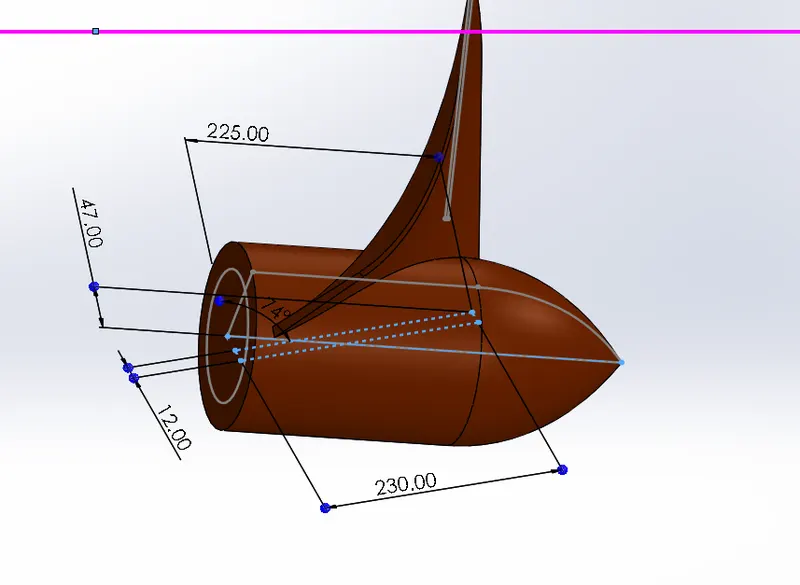
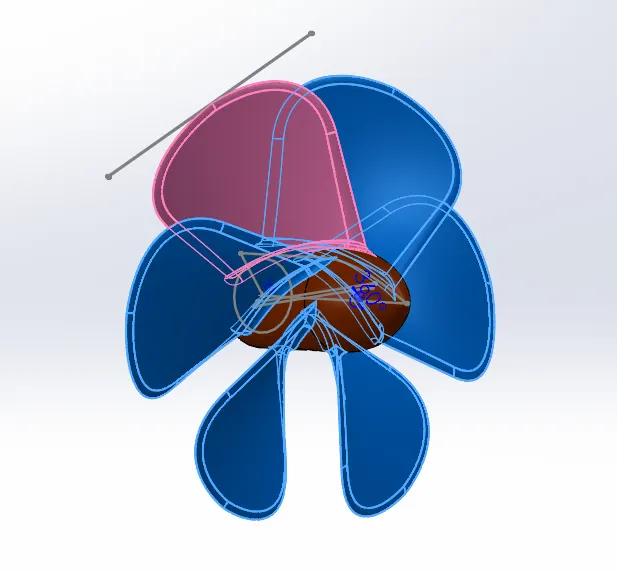
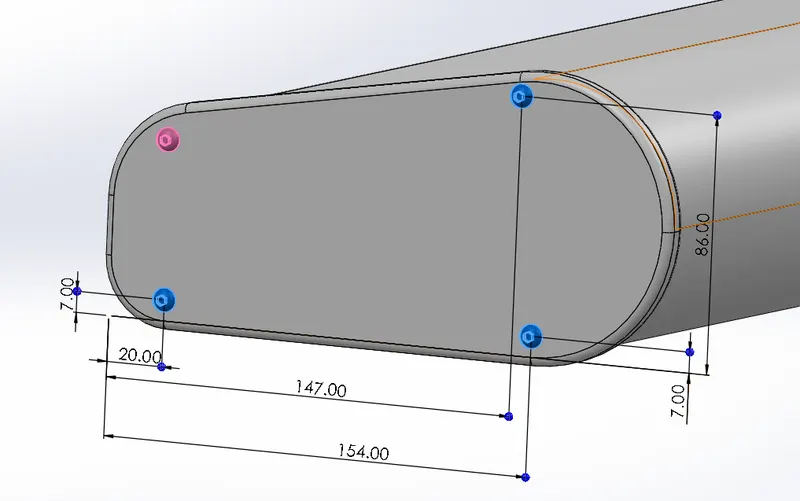
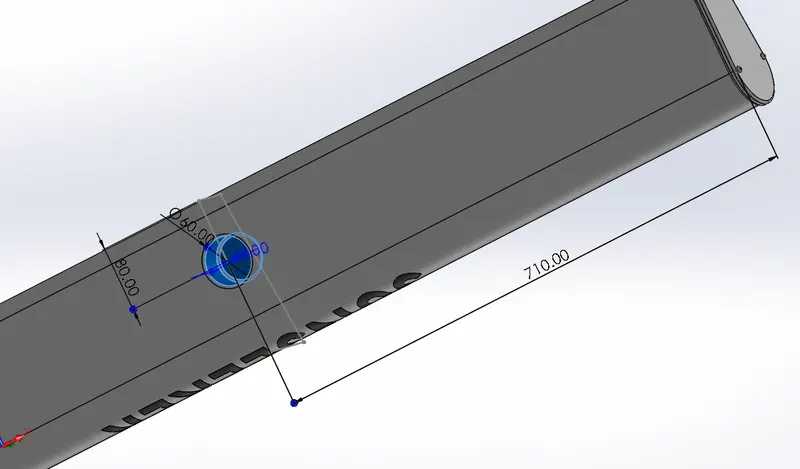
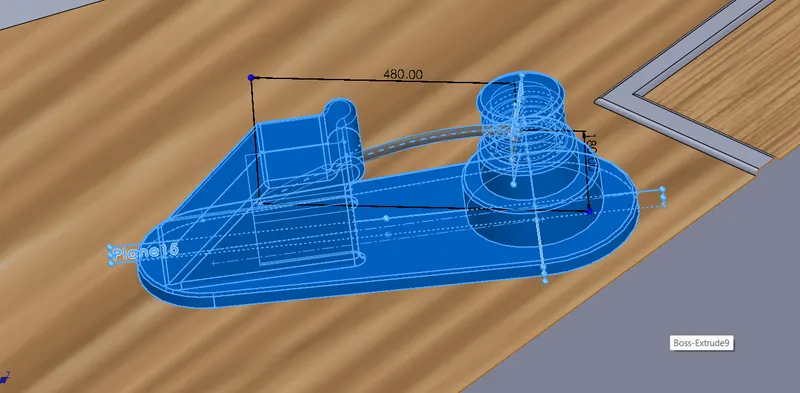
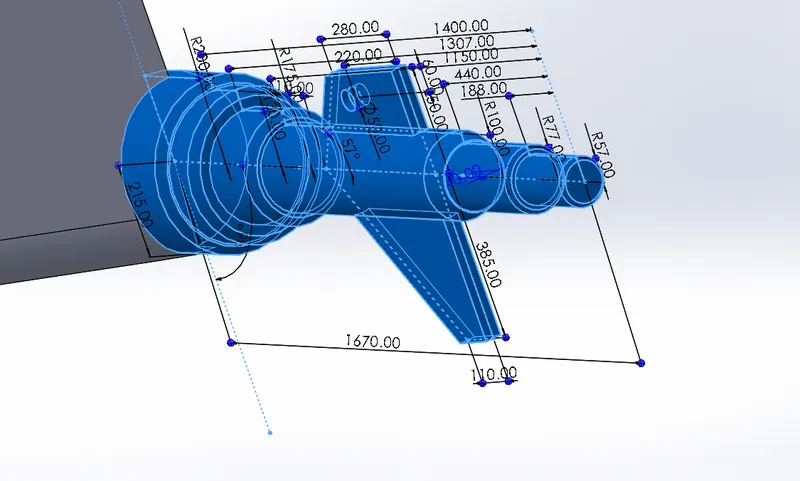
2. Radar
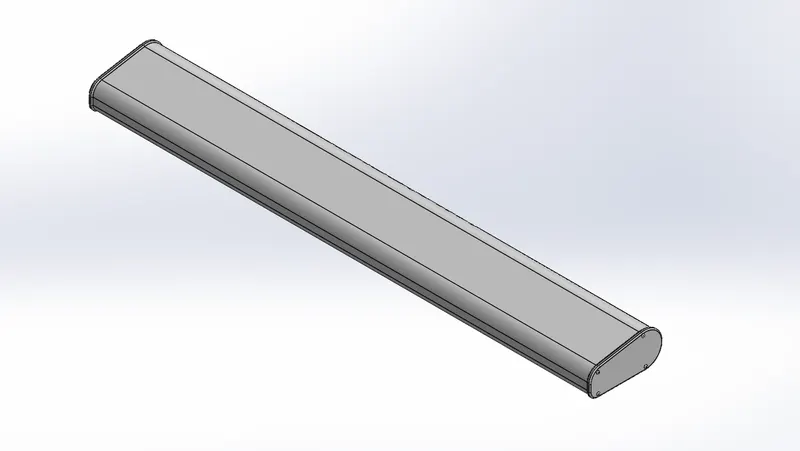
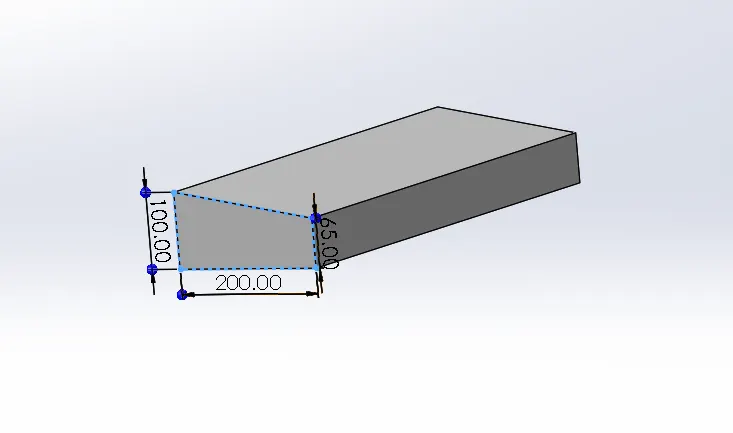
- We will start with drawing lines and circle. Now we will trim the sketch and make a boss extrude.
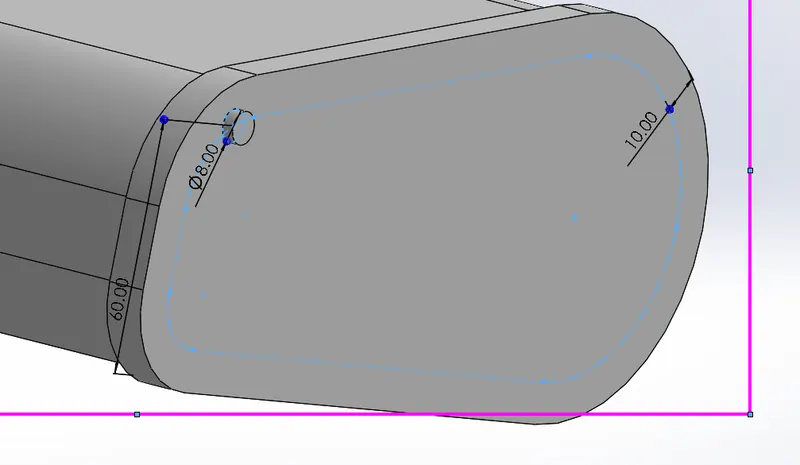
- Now we will add fillets to it. Now we will draw circle at the surface of the new sketch and extrude it and will give it a fillet.
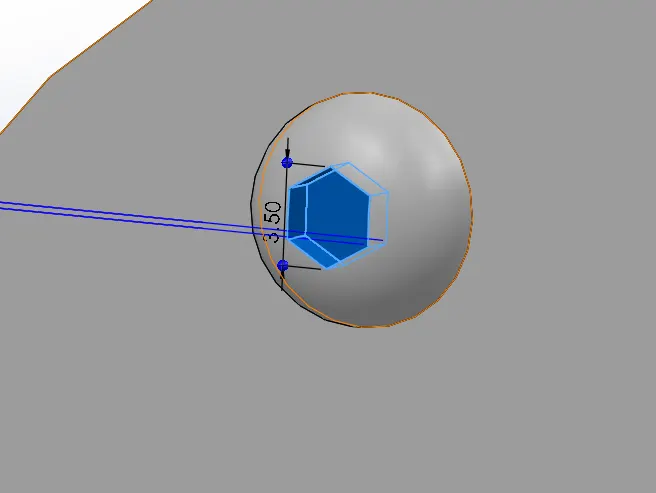
- Now do a extrude cut of the shape of hexagon at the centre of the extruded surface then do a sketch pattern and add fillet.
- Then mirror the complete body along mid plane.
3. Blueprint Setup
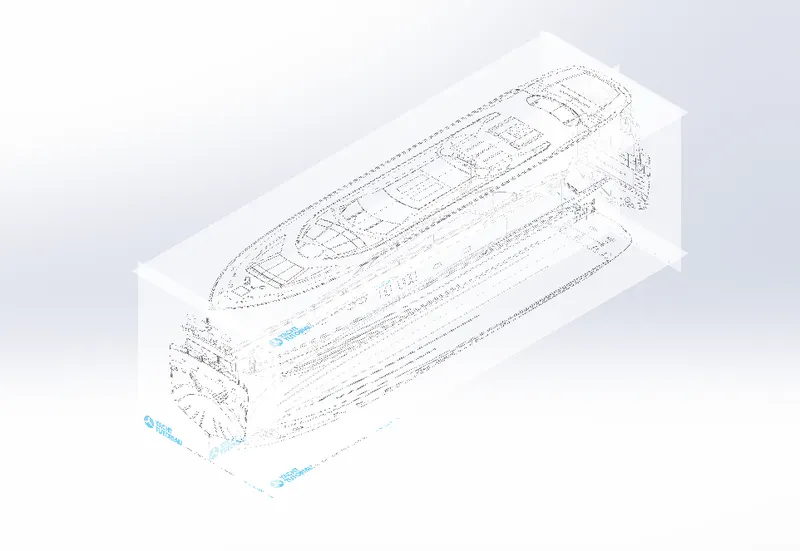
- In this we will add the sketch picture of the yacht in the different planes and providing them the dimensions.
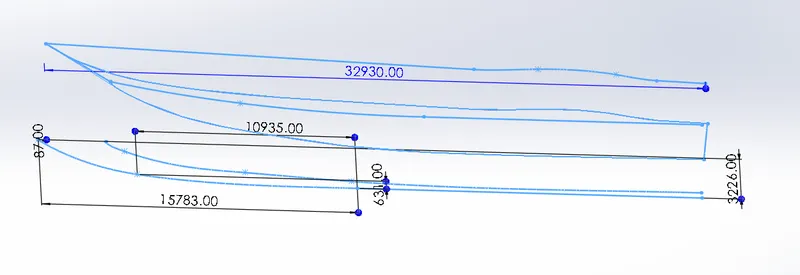
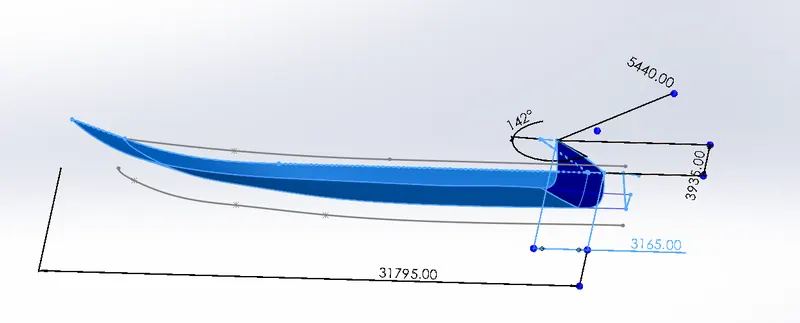
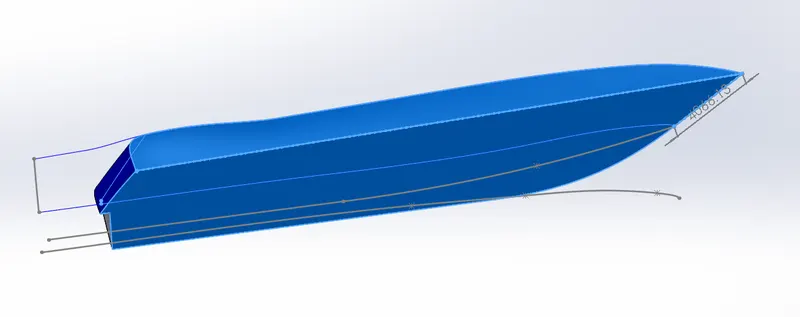
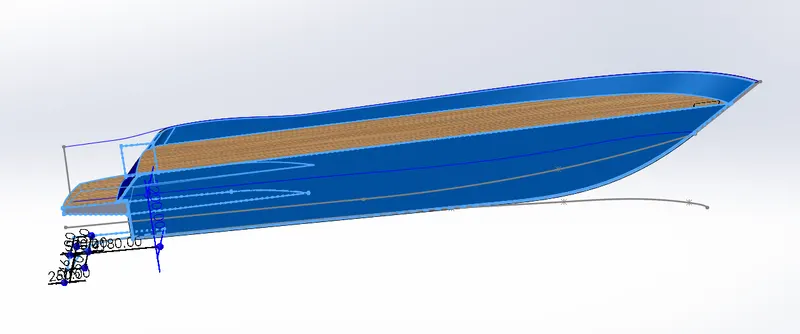
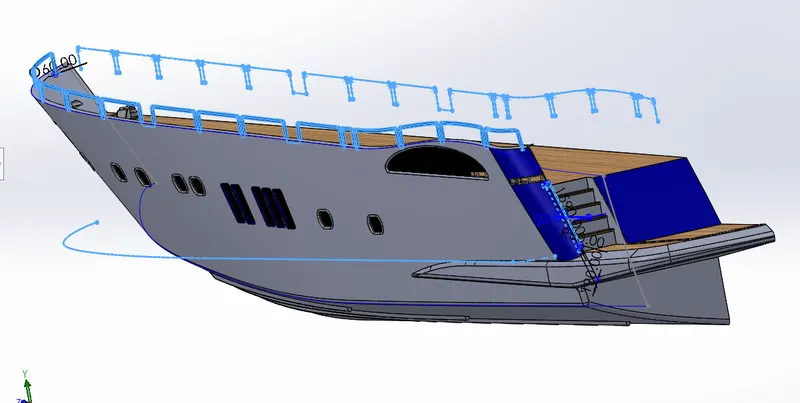
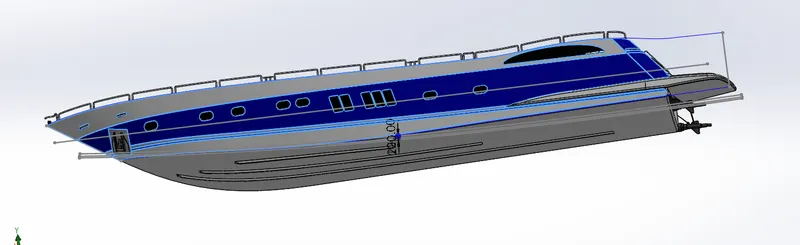
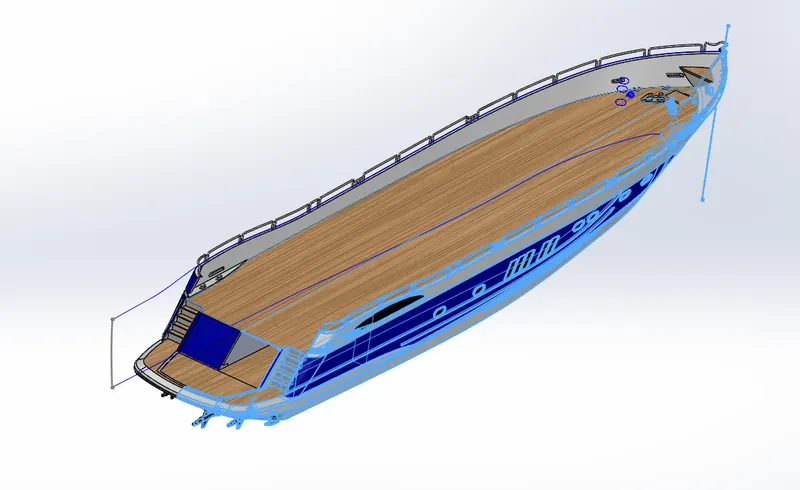
4. Hull
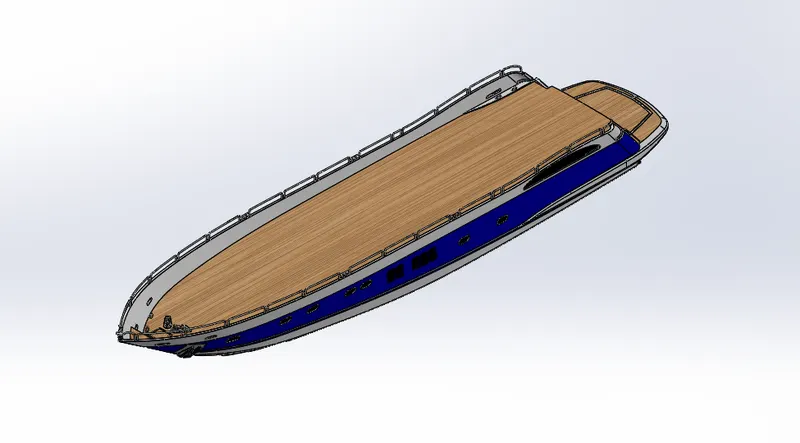
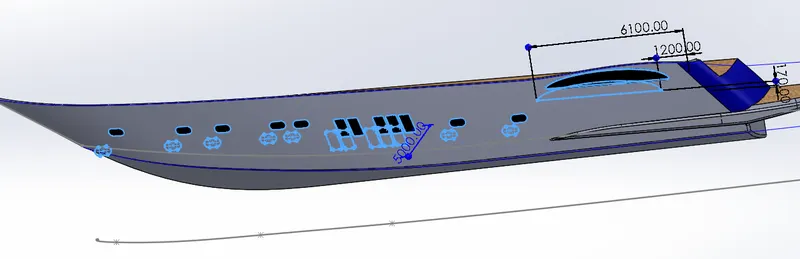
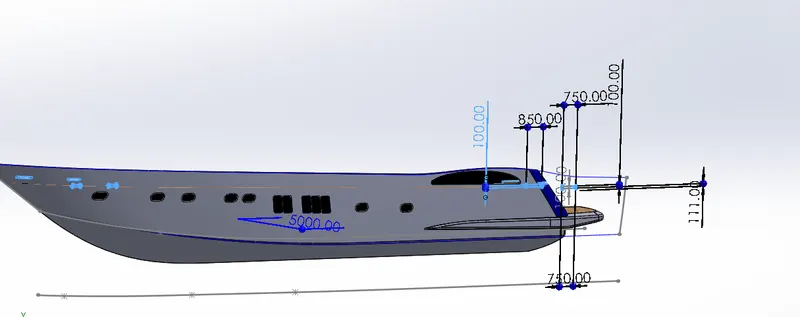
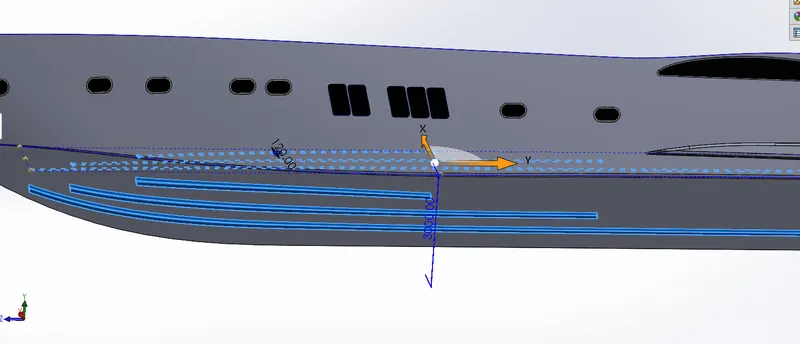
- The complete hull is designed by creating surfaces with the help of splines and lines.
- We will only design the one half of the hull and after completing it we will mirror and obtained our hull in single body.
- We create the surface according to the design required and provide the curvature to the surfaces. And we also remove the unwanted surfaces by using trim surface tool.
- The gap between the two surfaces is eliminated with the help of knit surface.
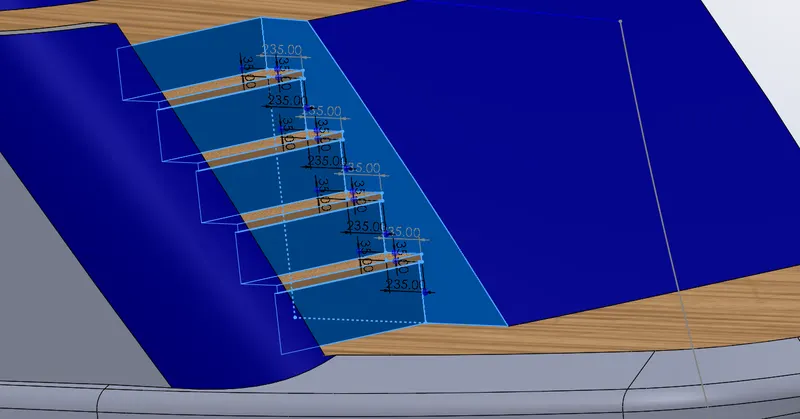
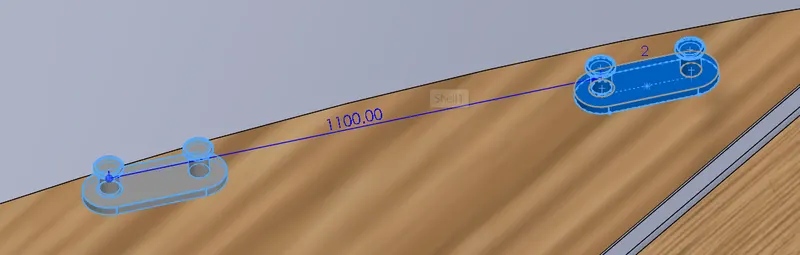
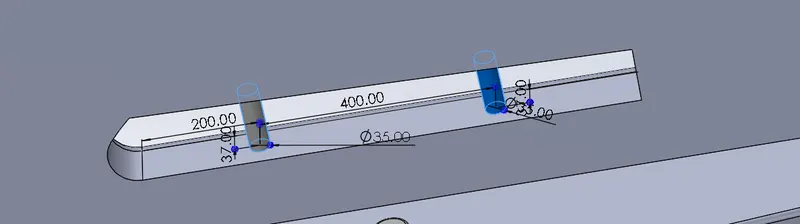
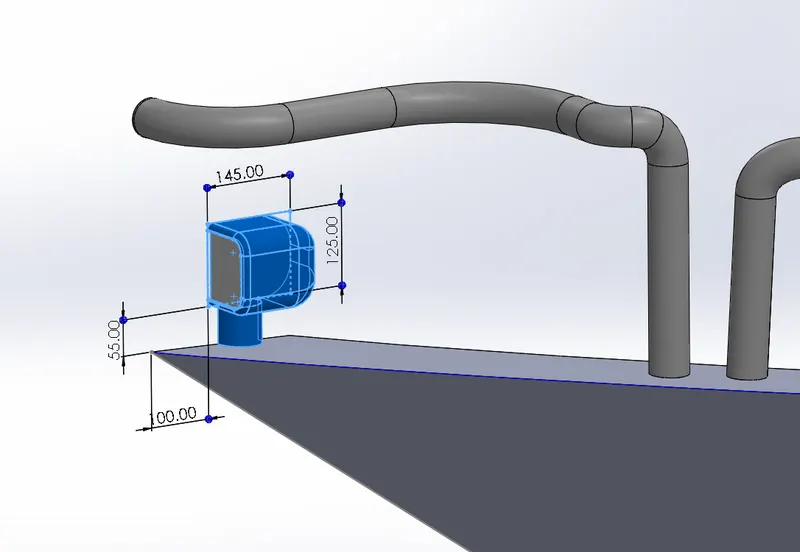
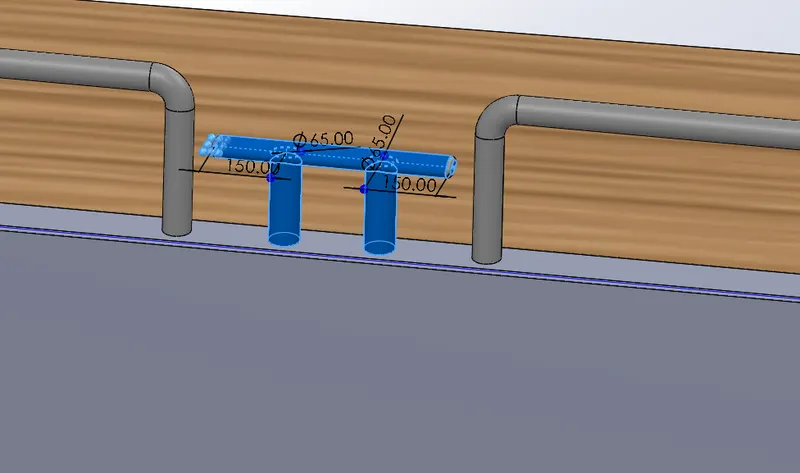
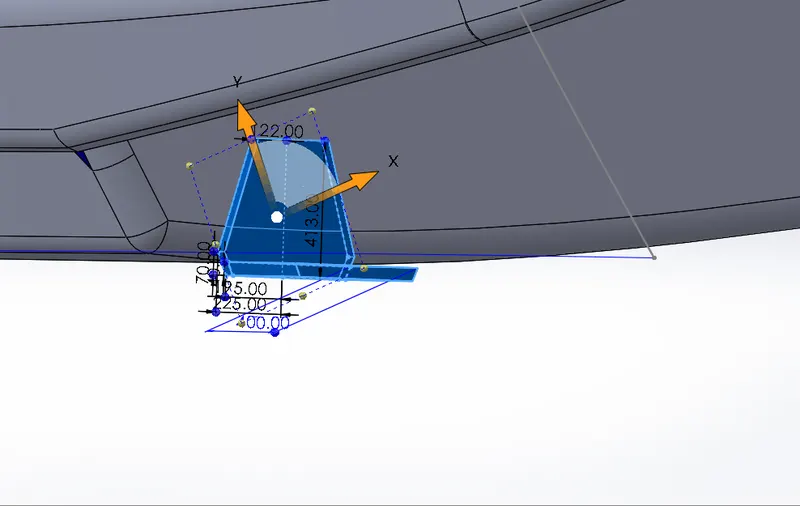
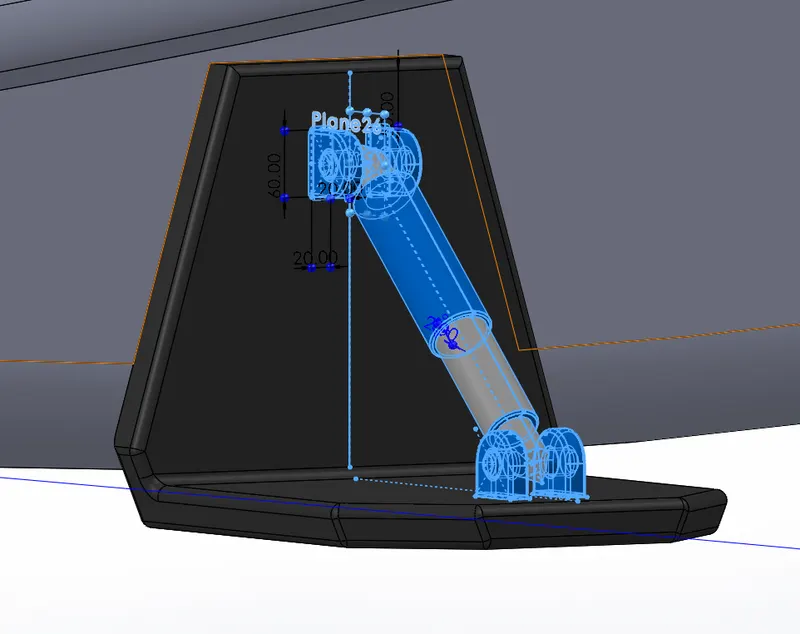
- The anchor, railing, windows, cable holes, pot holes, are also created on the hull.
- All these are produced in the same way by using different values of dimensions and the different tools.
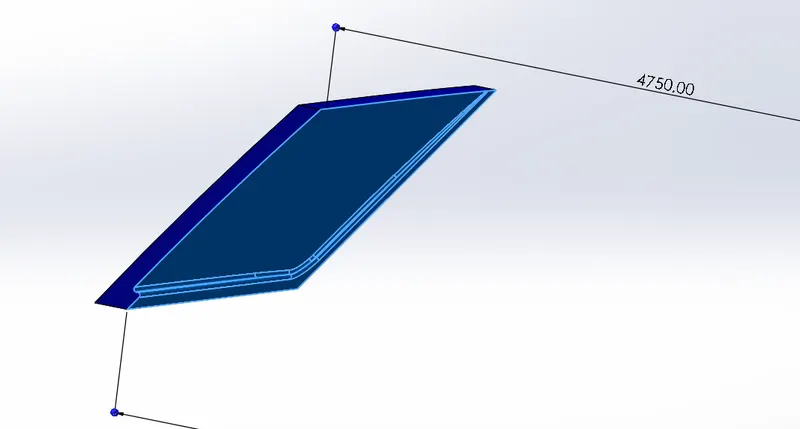
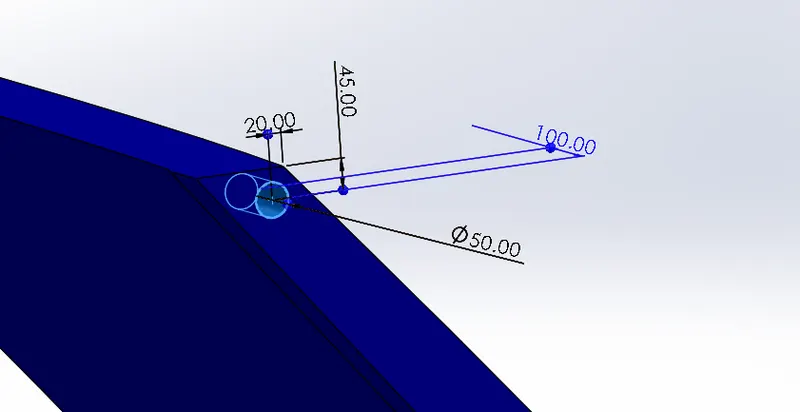
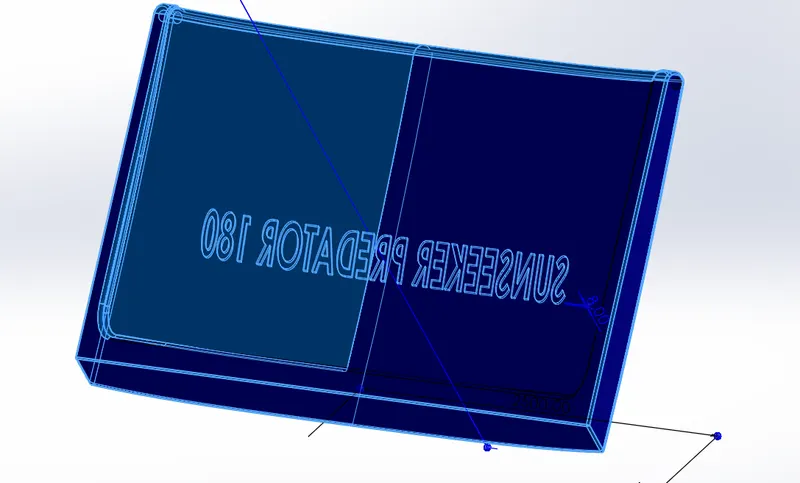
5. Garage Door
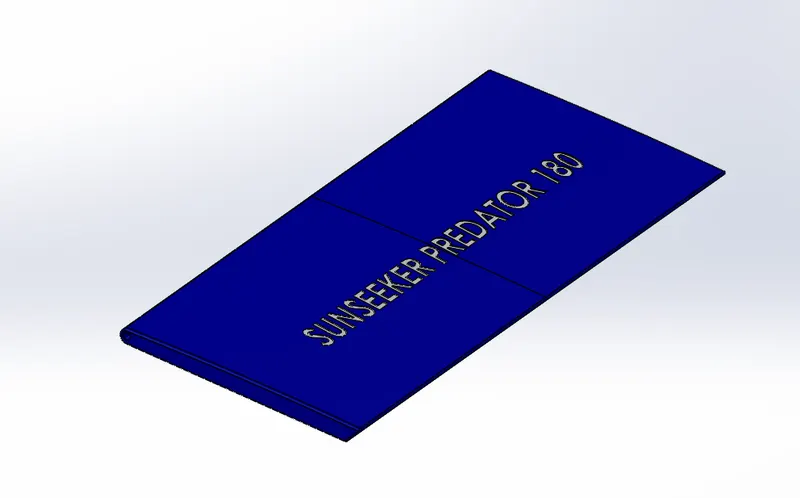
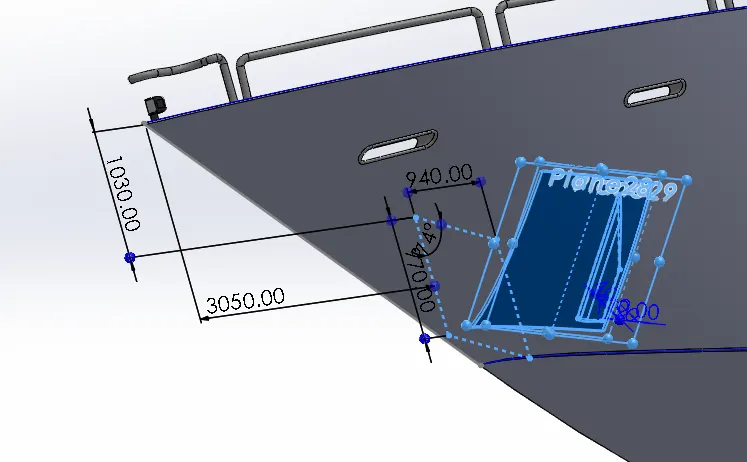
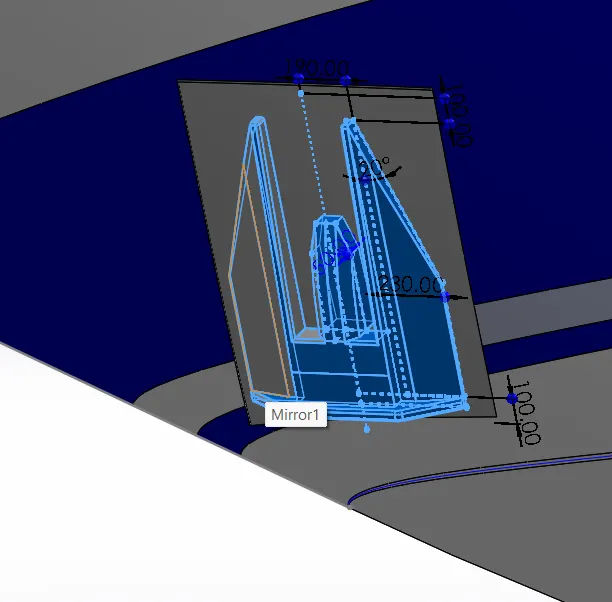
- The garage door body is taken from the hull with the help of split tool.
- Then the body of the garage is extrude cut to get the required object.
- Now we will create the hole in the side of the door so that we can mount it on hull.
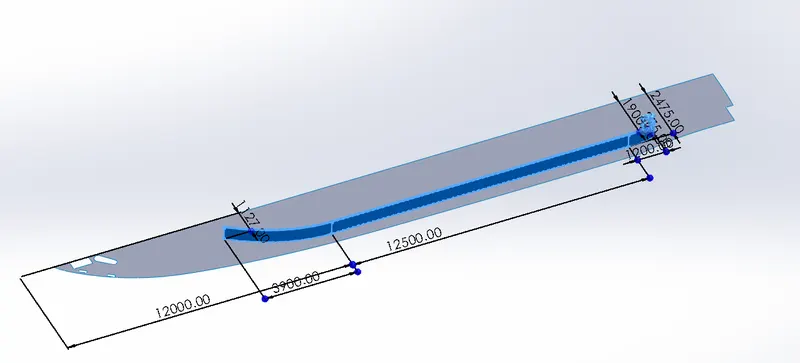
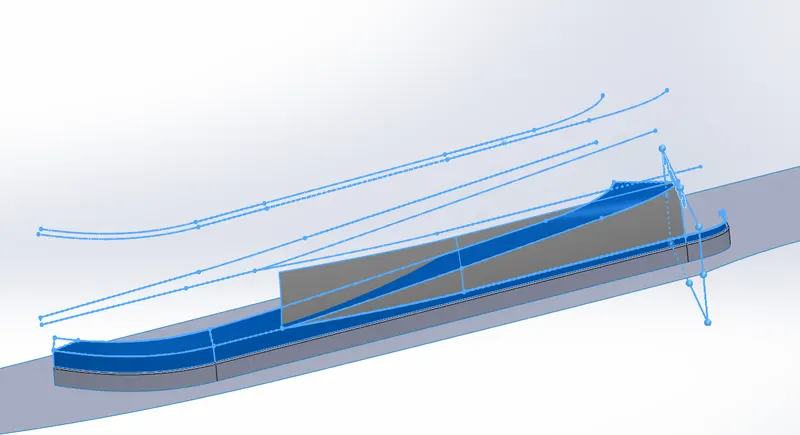
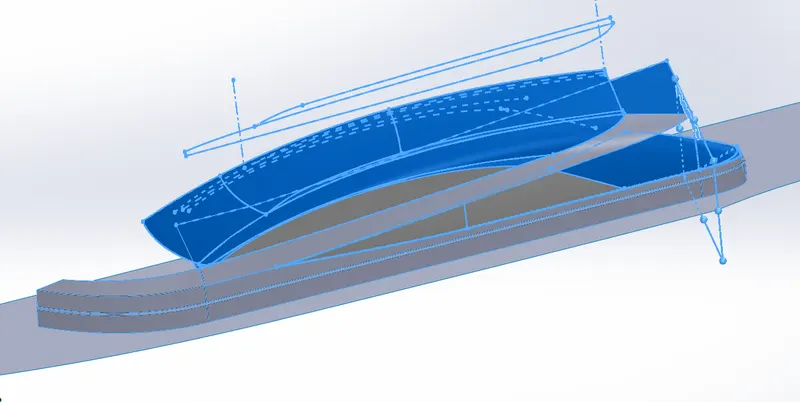
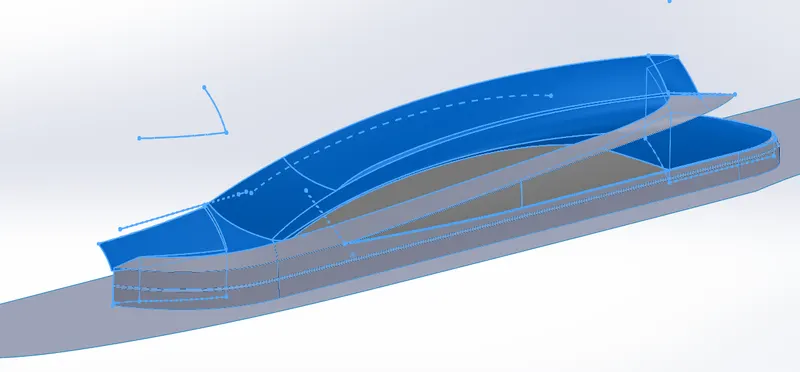
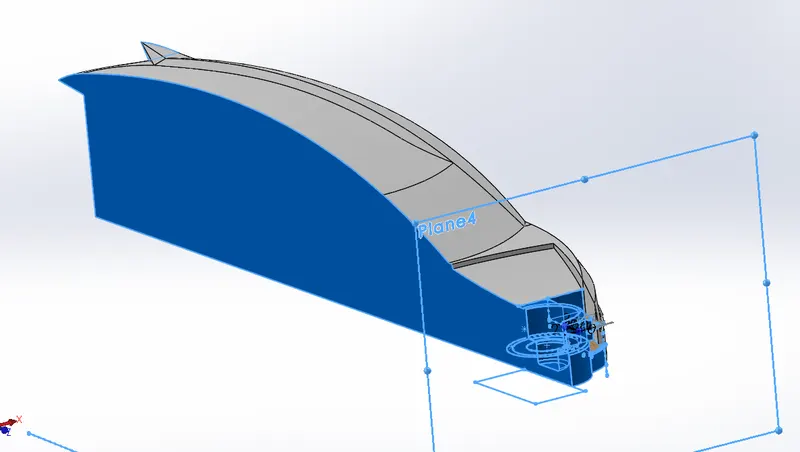
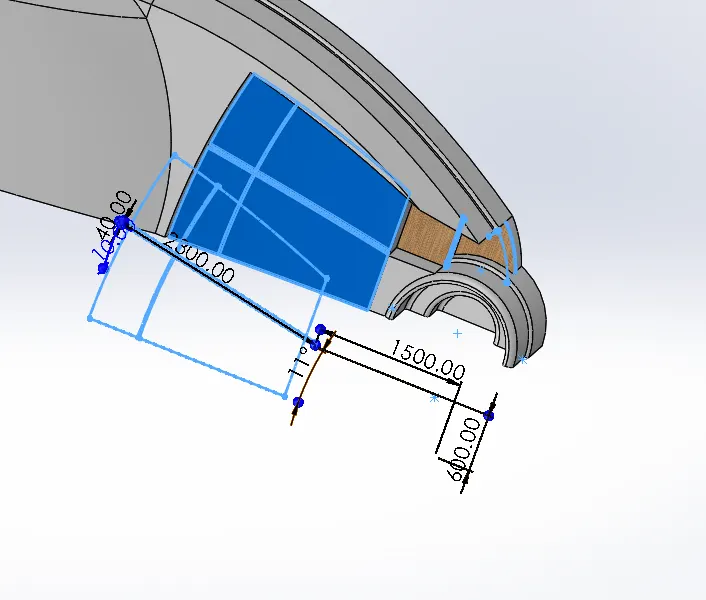
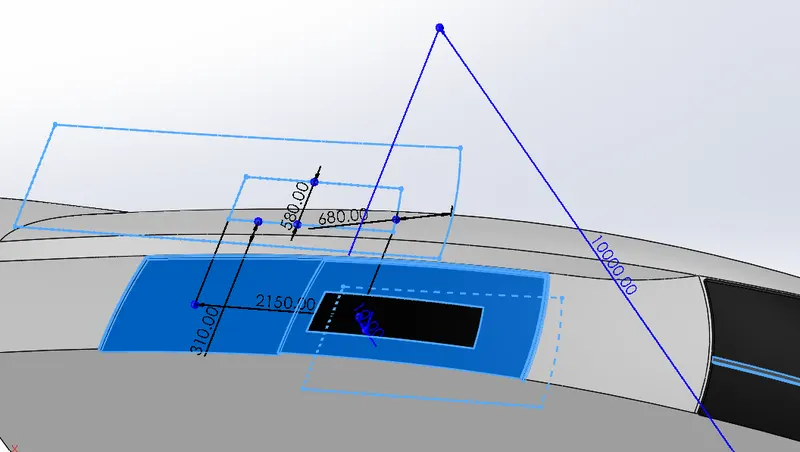
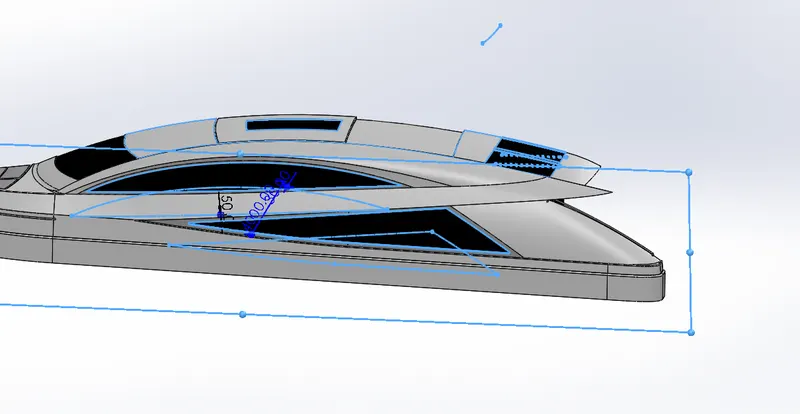
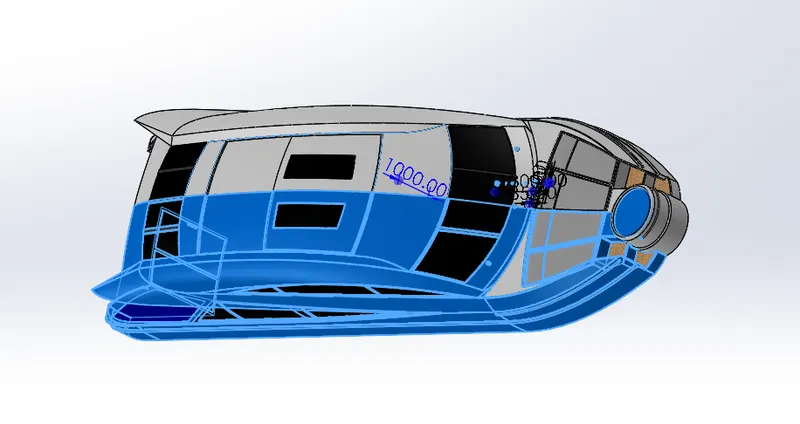
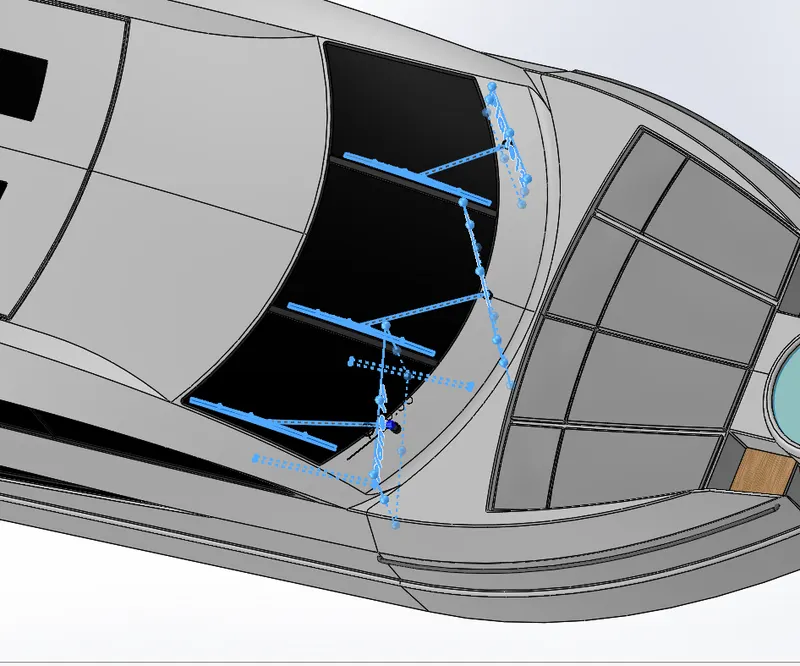
6. Superstructure
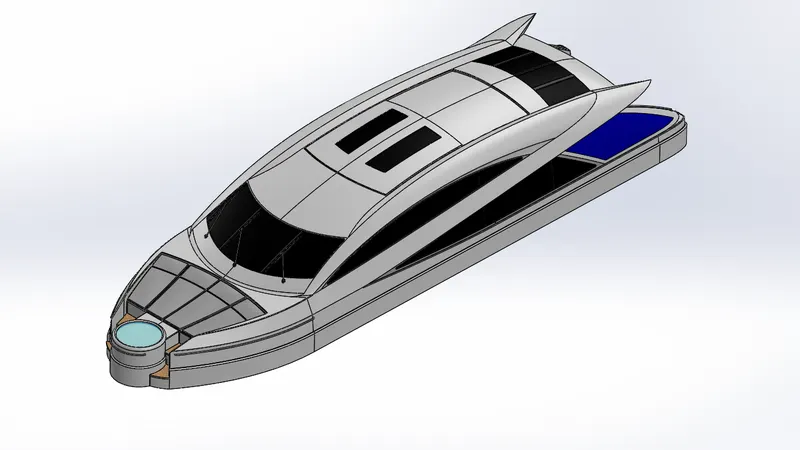
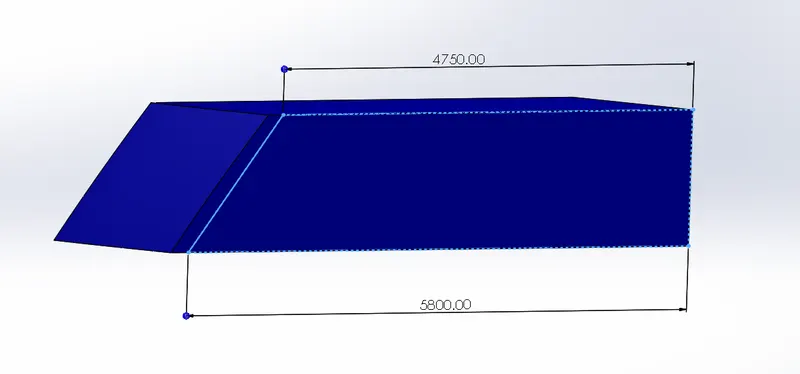
- The superstructure is also designed in the same way as hull.
- We will do the complete modelling of the superstructure on the hull surface. It is the surface which we have copy after completing the hull.
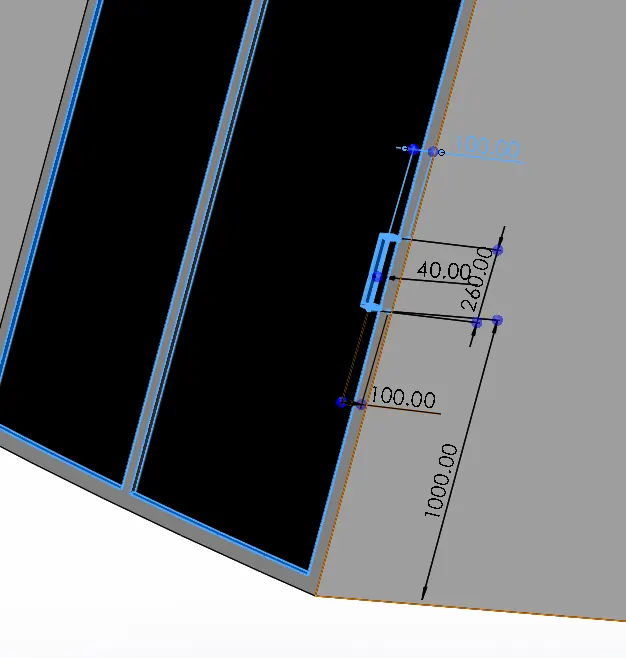
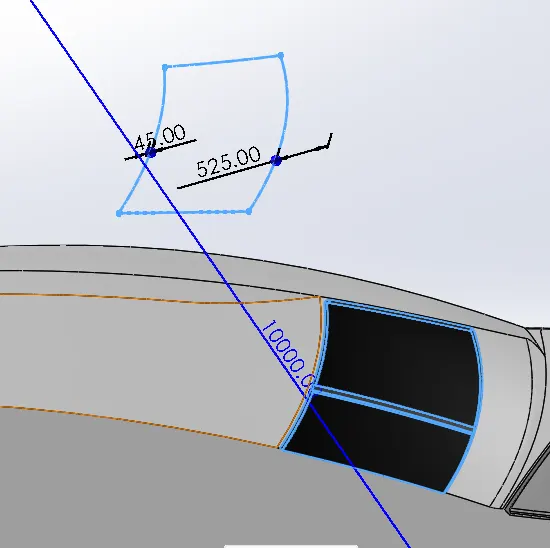
- First the outer body or surfaces are created. Then the other parts like windows, windshield, wipers and surface for radar mast is created on it.
- With these seats and jacuzzi is also designed with the superstructure.
- The surfaces are knitted according to the requirement and also, we create the solid bodies when required.
- After completing all the parts, the mirror feature is used and we obtain the complete superstructure.
7. Front Seat
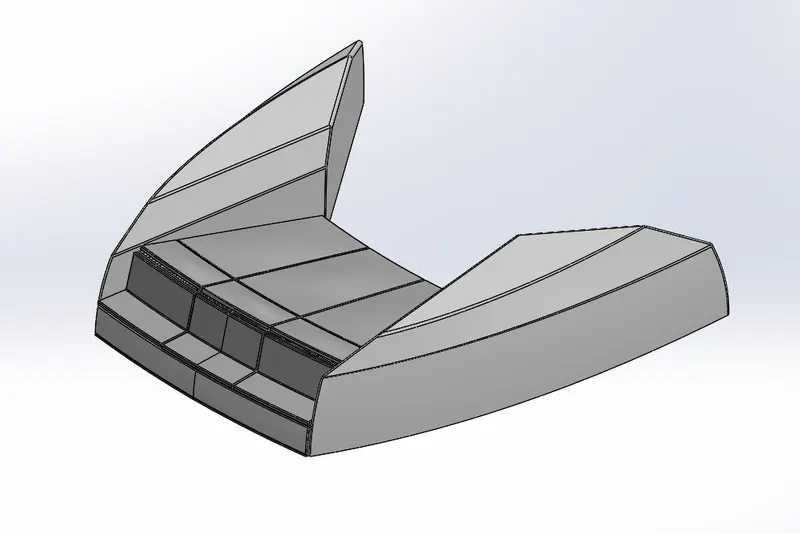
- The front seat is designed by taking hull surface as a reference. So that we can design the front seat at its appropriate position in the yacht.
- Then with the help of sketch tools and feature we design the front seat according to the requirement.
- The design of front seat basically depends upon the attractiveness and its comfort.
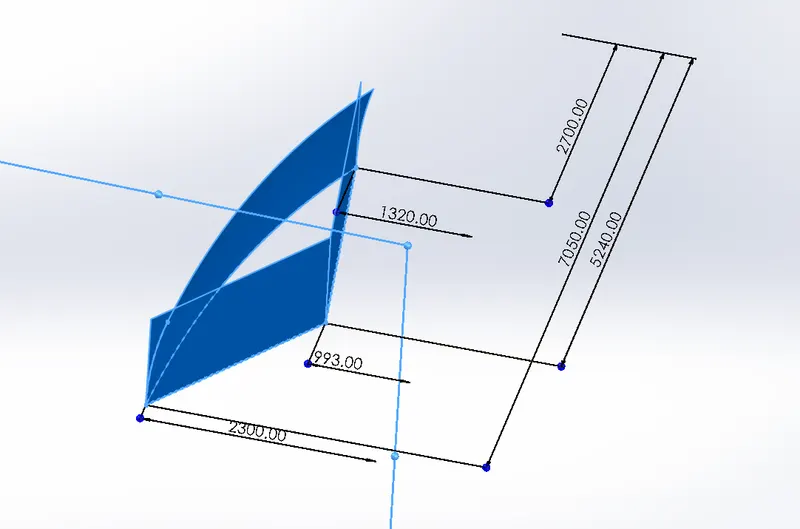
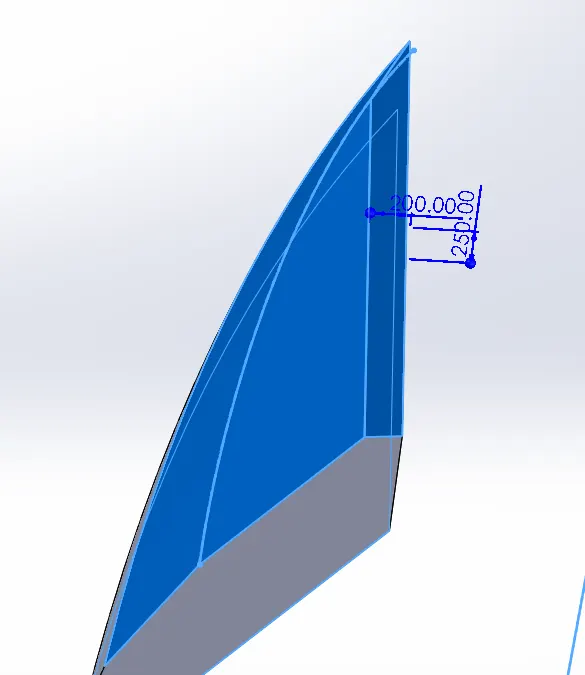
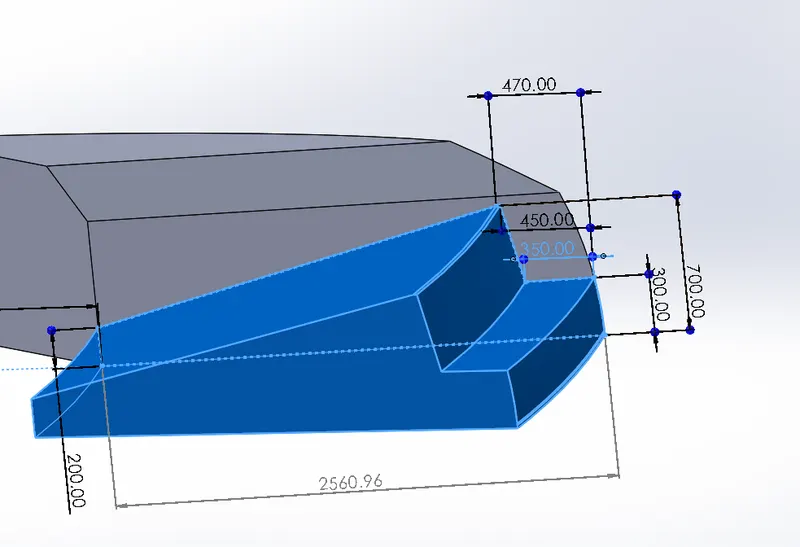
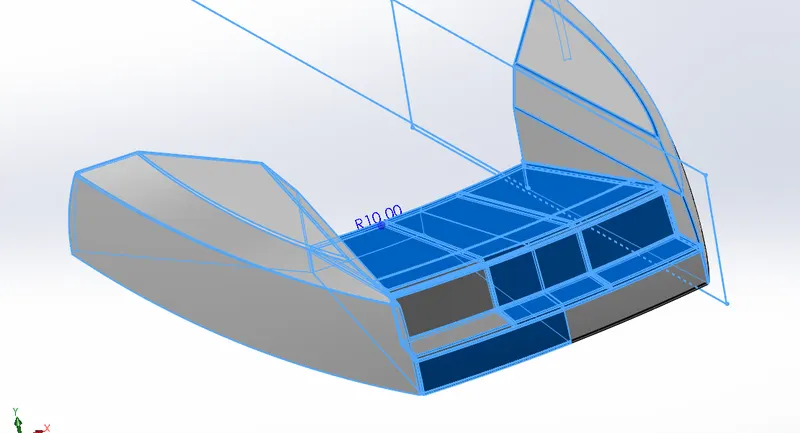
8. Middle Seat
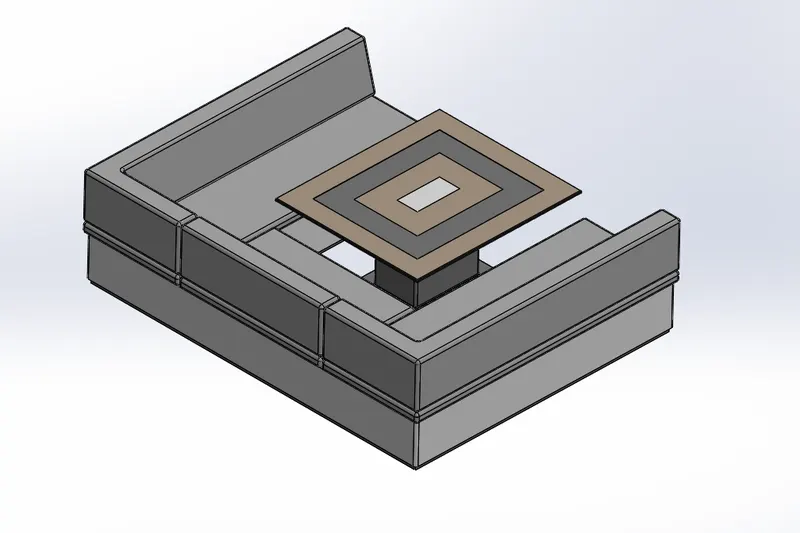
- The middle seat is also designed by taking hull surface as a reference. So that we can design the middle seat at its appropriate position in the yacht.
- Then with the help of sketch tools and feature we design the middle seat according to the requirement.
- The design of middle seat basically depends upon the attractiveness and its comfort.
- The middle seat also has centre table with it.
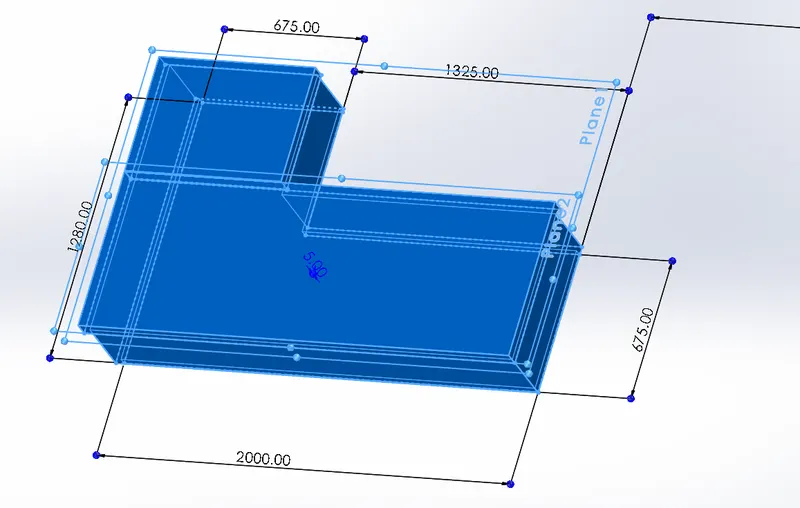
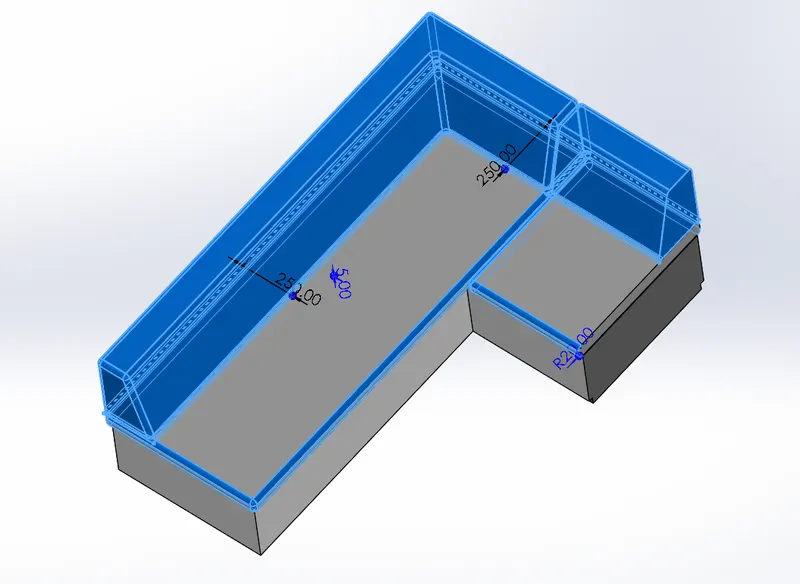
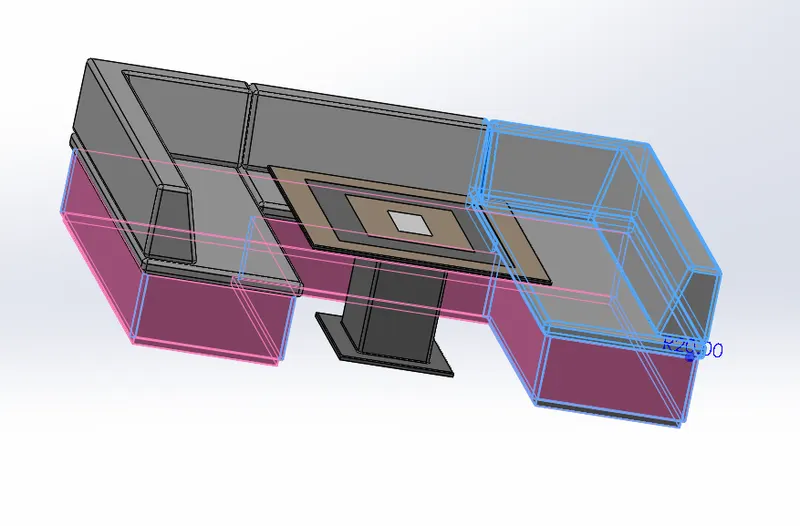
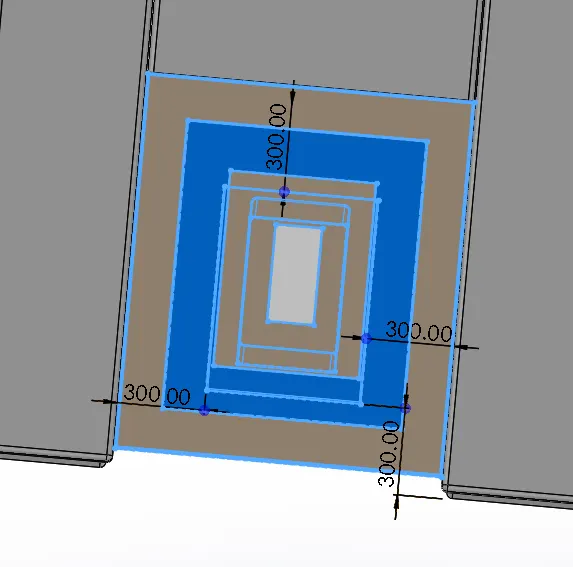
9. Rear Seat
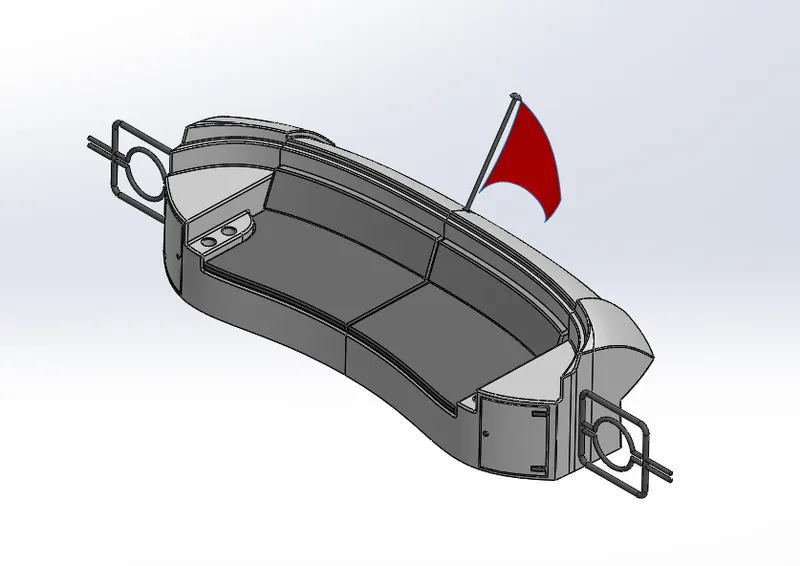
- The rear seat is also designed by taking hull surface as a reference. So that we can design the rear seat at its appropriate position in the yacht.
- Then with the help of sketch tools and feature we design the rear seat according to the requirement.
- The design of rear seat should be attractive and it should be comfortable.
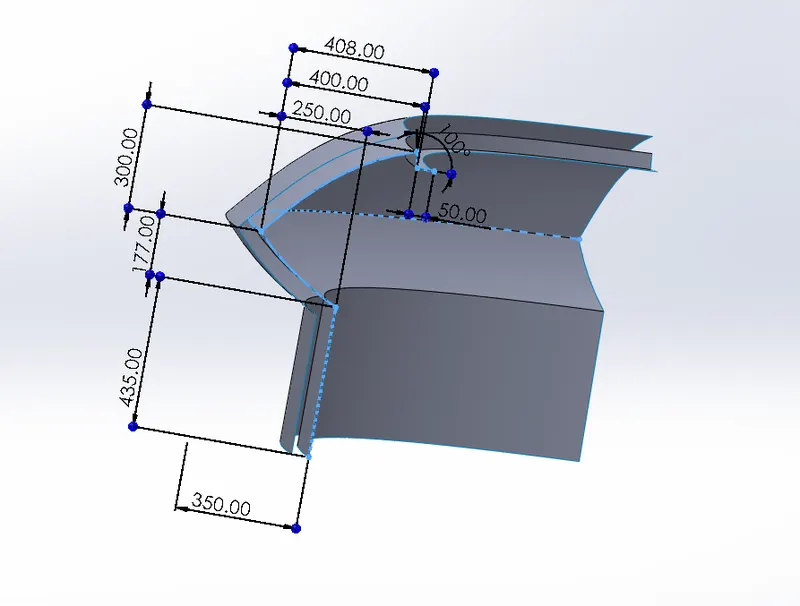
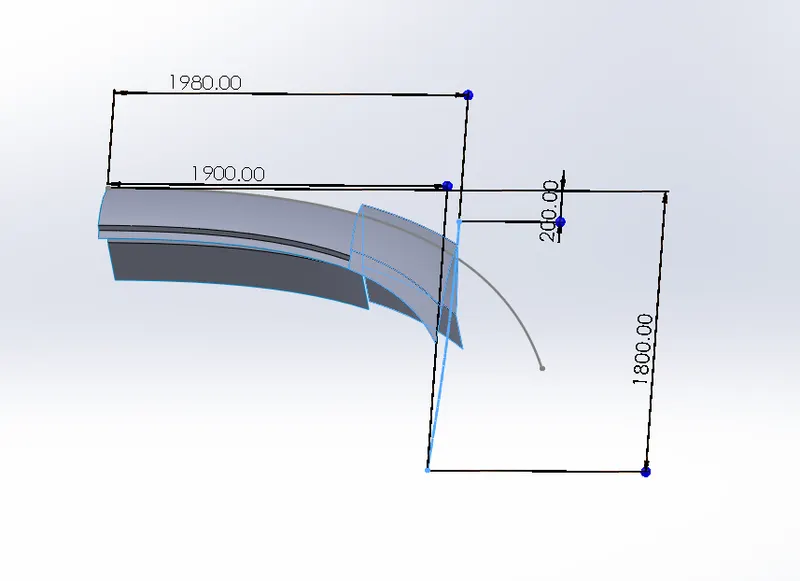
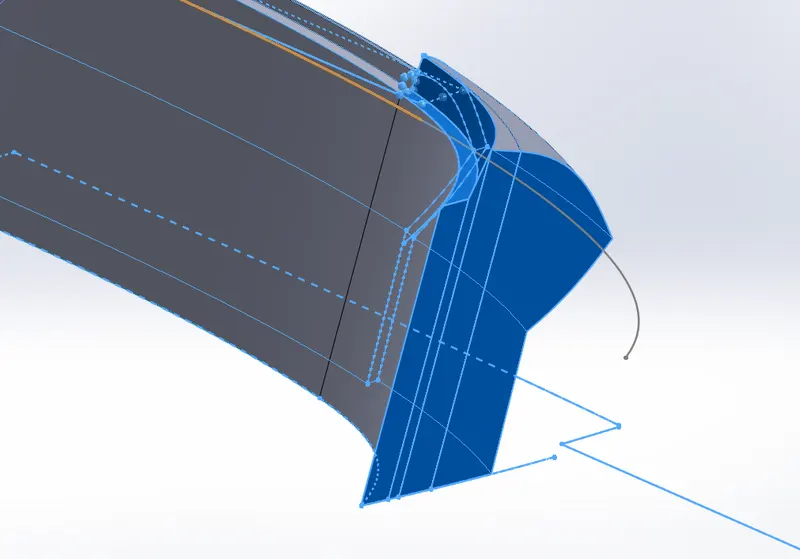
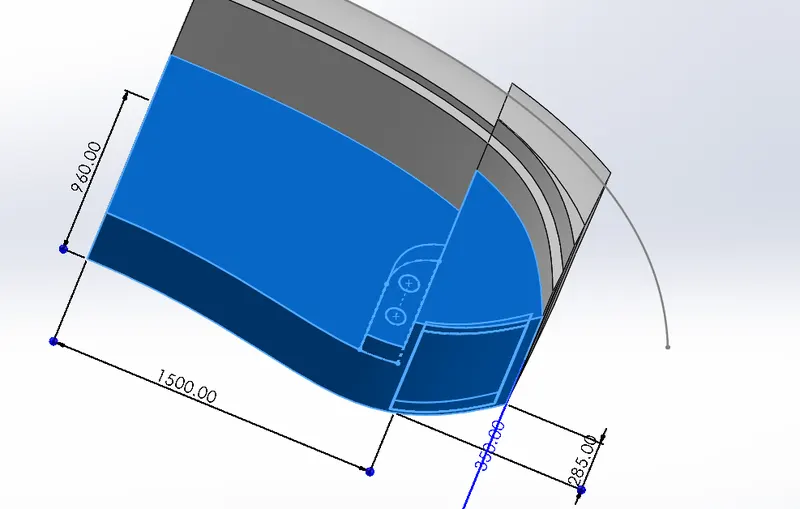
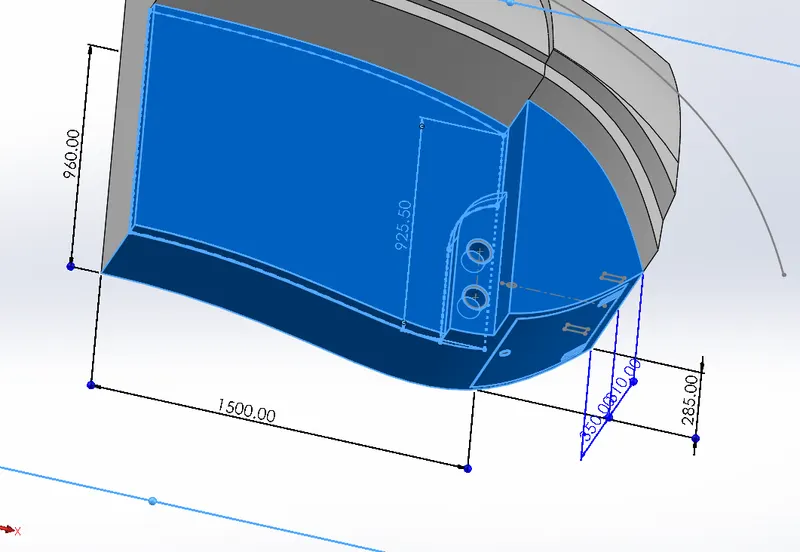
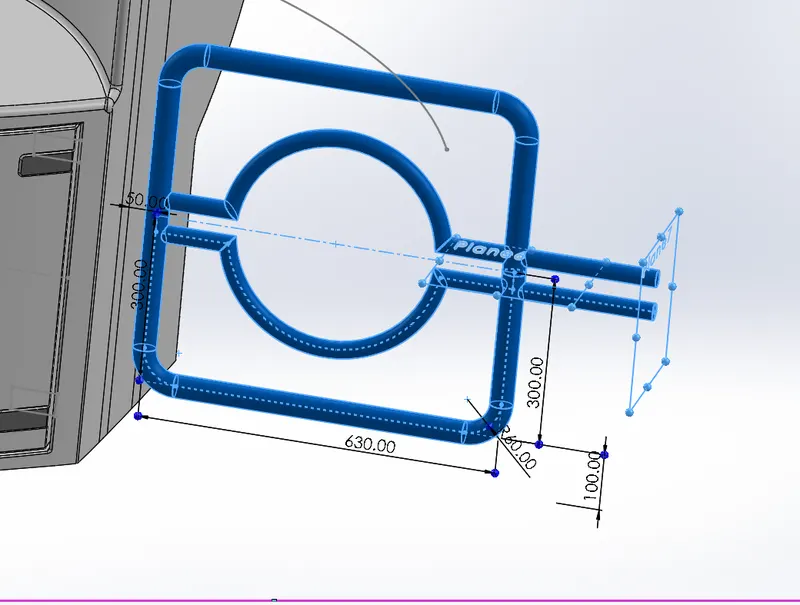
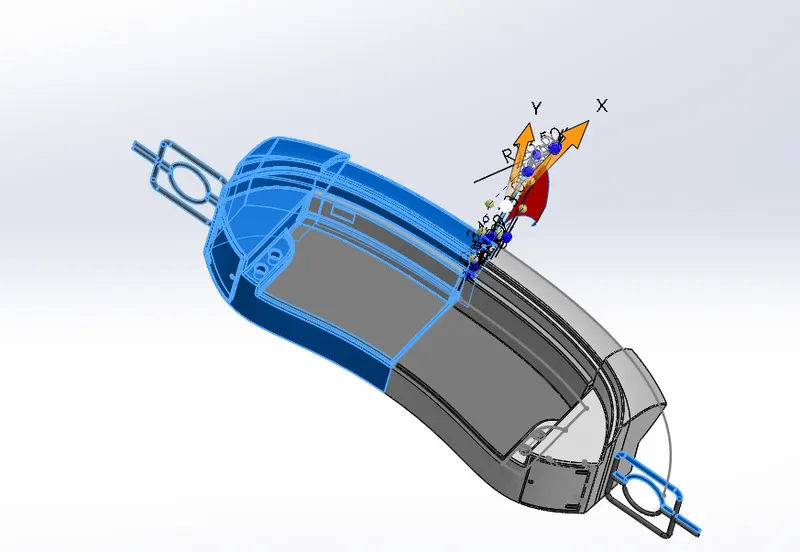
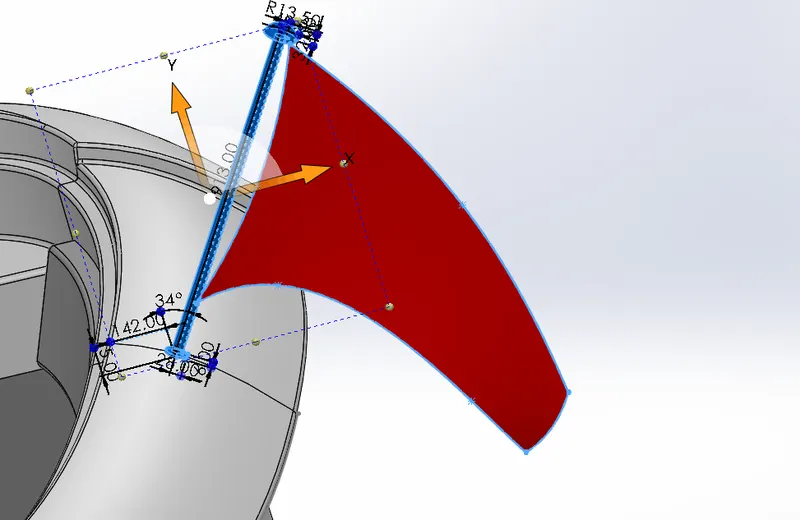
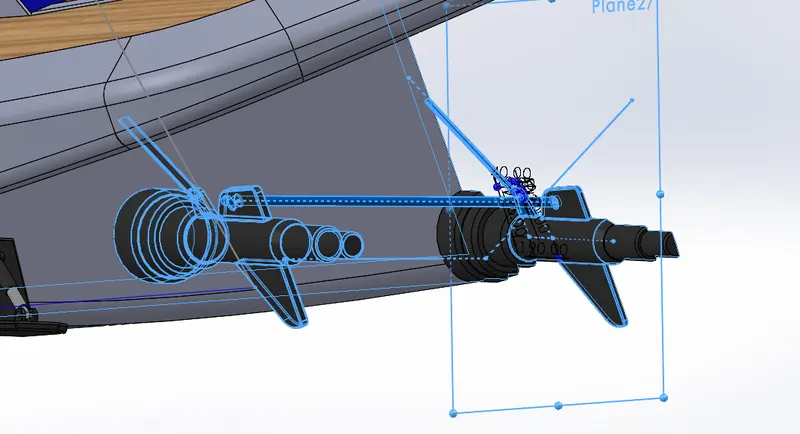
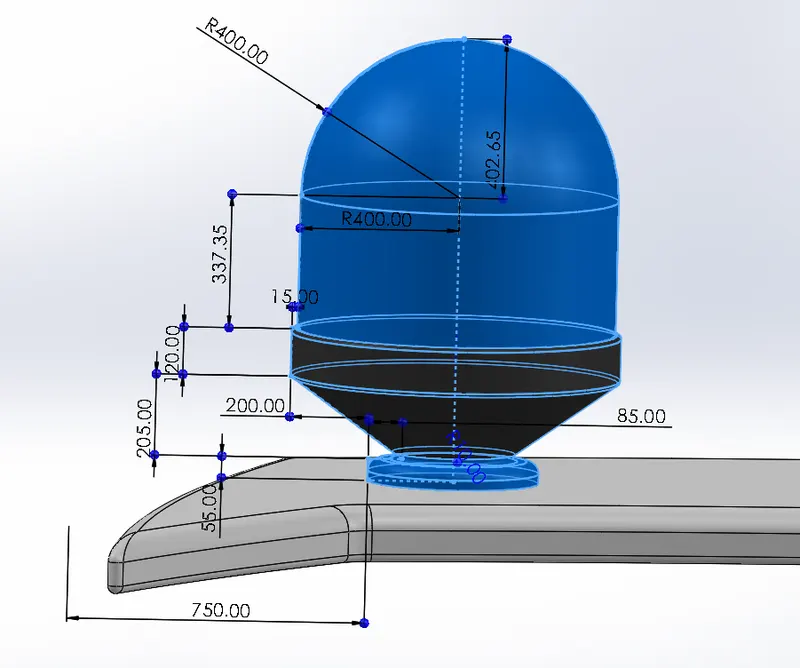
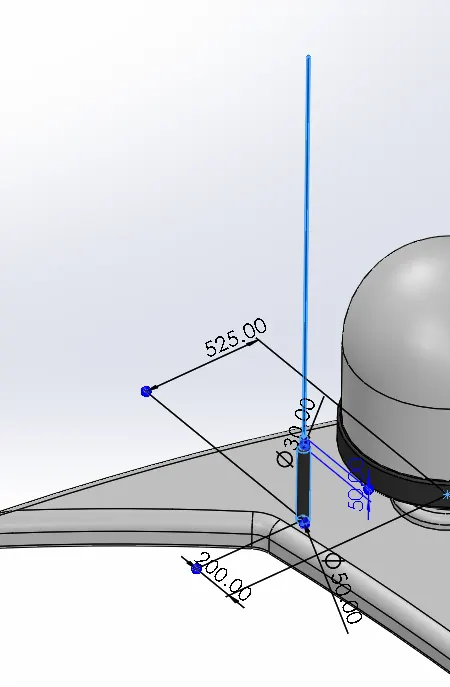
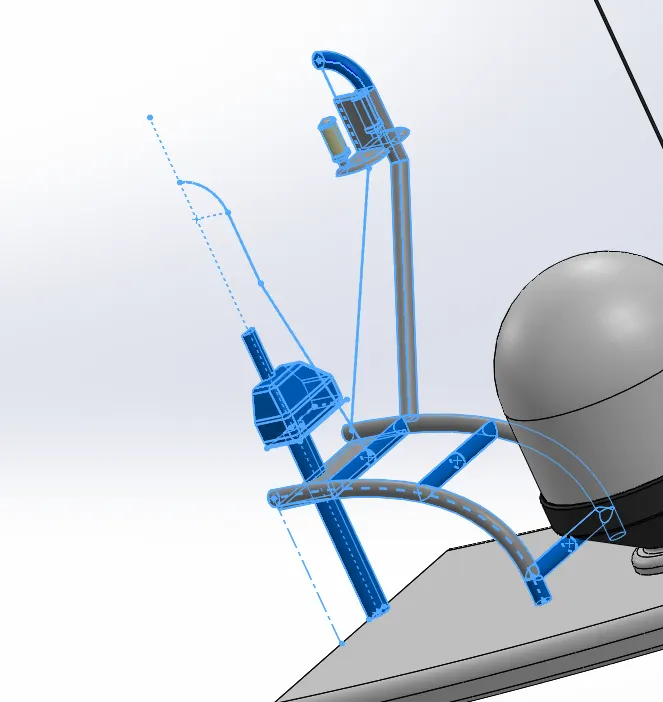
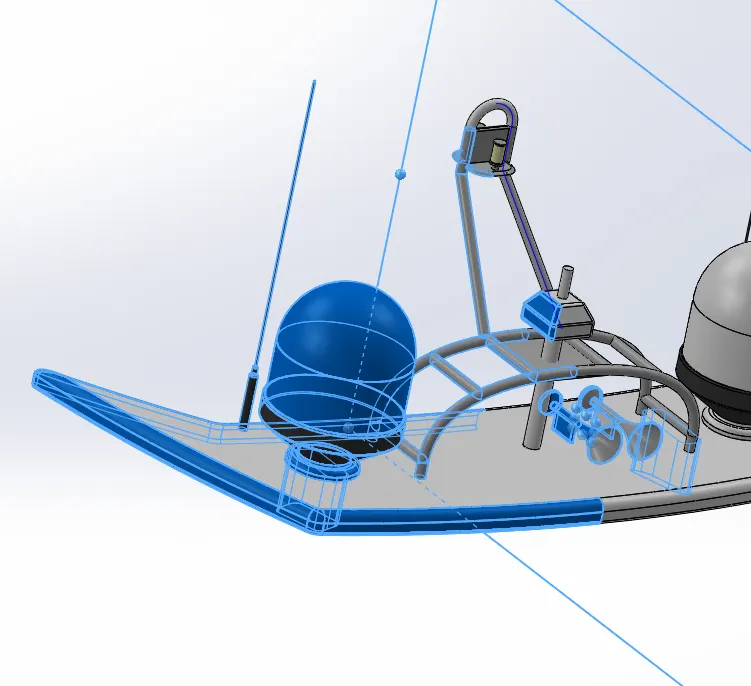
10. Radar mast
- Radar mast is placed above the superstructure. It is mount on the upper surface of the superstructure.
- Radar mast have antennas, radar, and other equipment which provides the necessary details to the sailor.
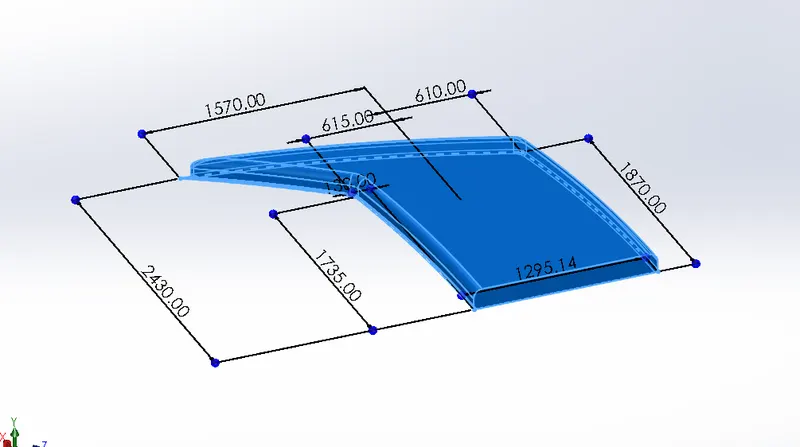
- Assembly of Yacht
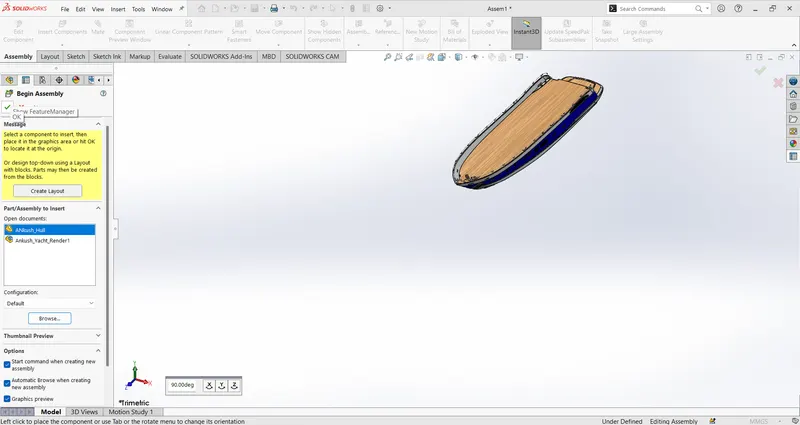
1. The part to assemble in the yacht model is the hull. We will just click ok and the part will be automatically placed in its position.
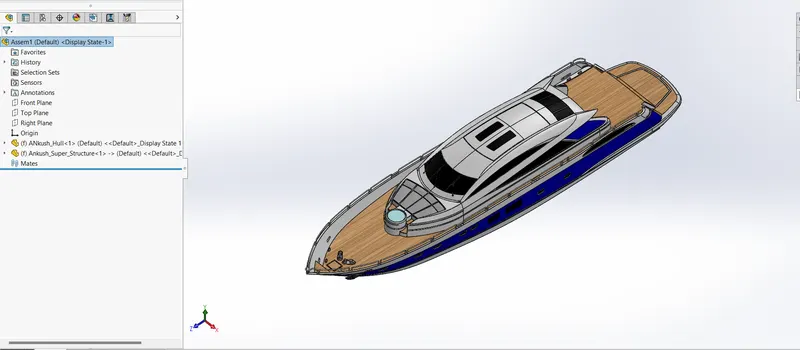
2. Now after placing the hull, we will place the superstructure to the hull. It will also be placed automatically as we used the hull surface as reference.
3. Now, we will add the seats to the yacht. We will insert the front seat, middle seat, and rear seat one by one and will be placed automatically to their respective positions.
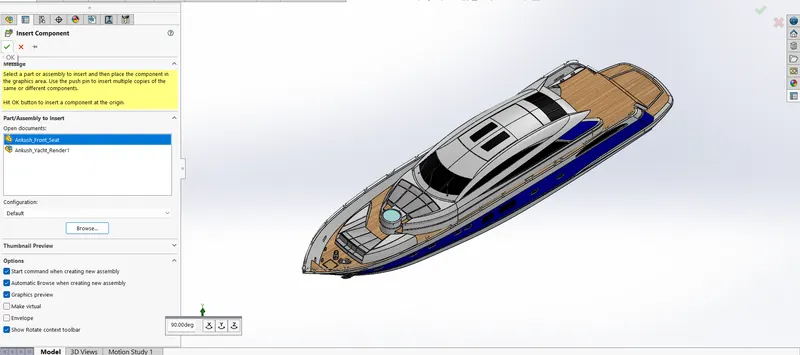
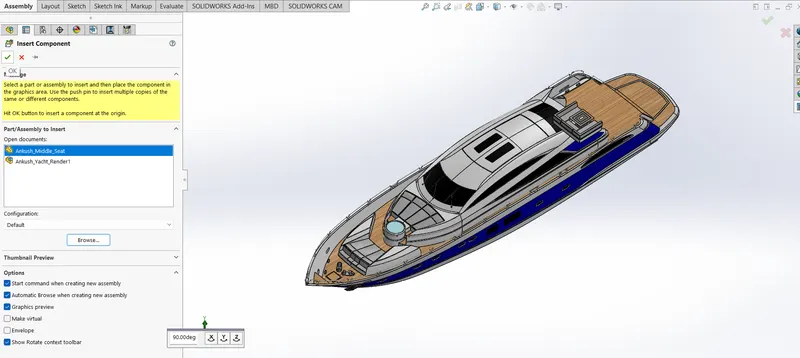
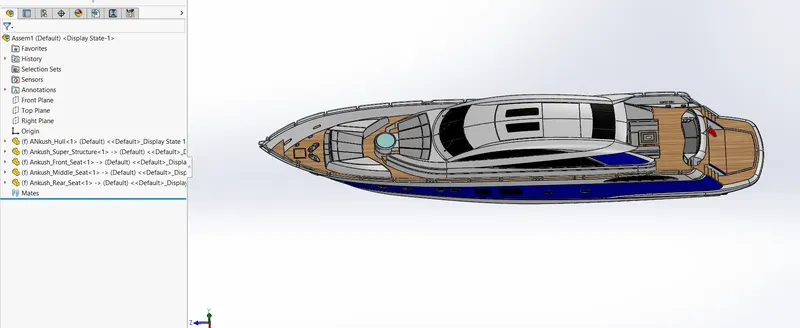
4. Next part is the radar mast and radar. Radar will not be placed automatically. So, to place the radar at its respective positions we need to add some mates.
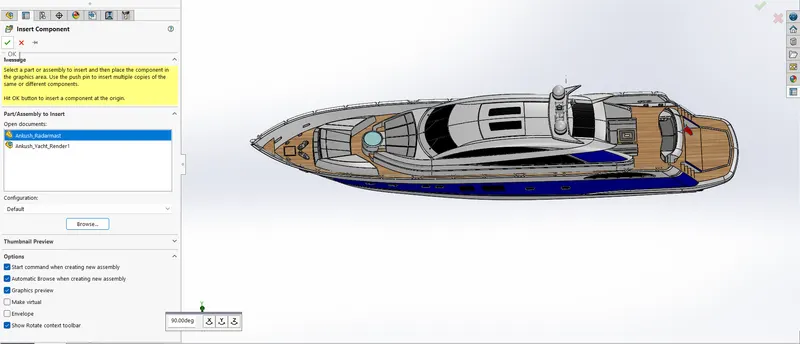
5. We will add some mates like coincident mate, concentric mate to keep these parts in their respective positions.
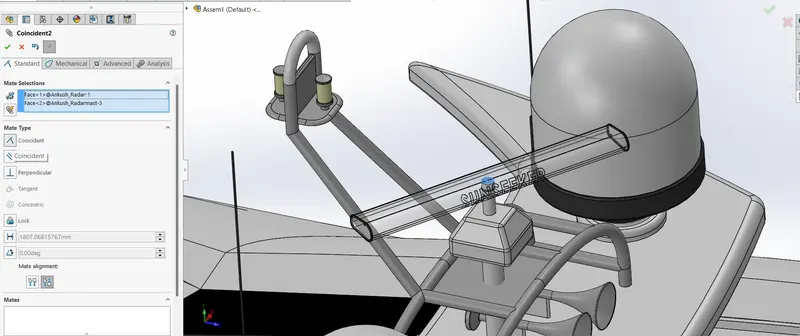
6. Now we will add the propeller to the engine. To place the propeller in its correct position we will add coincident mate and concentric mate, now it is fixed to the yacht.
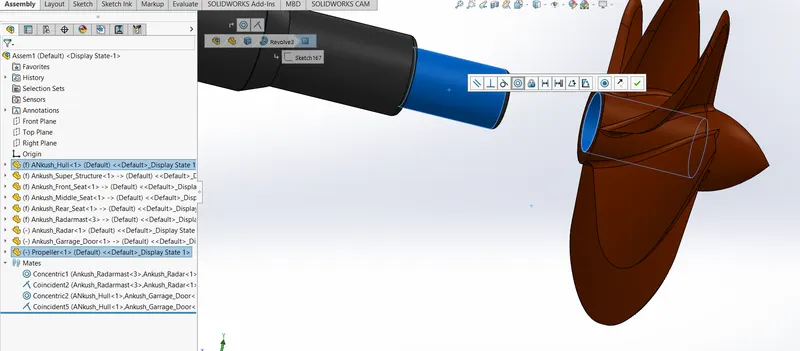
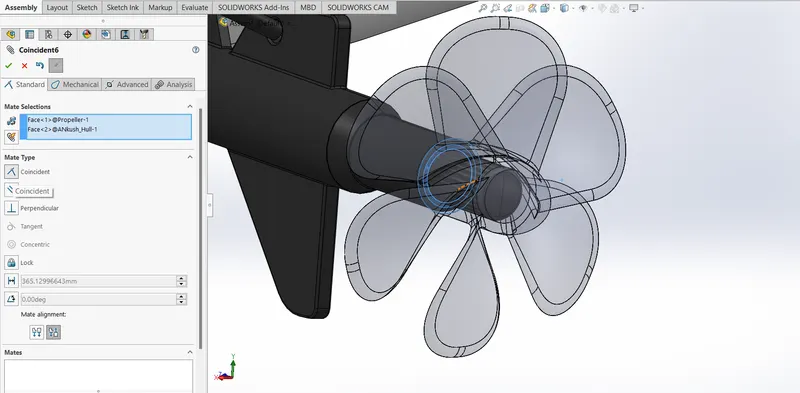
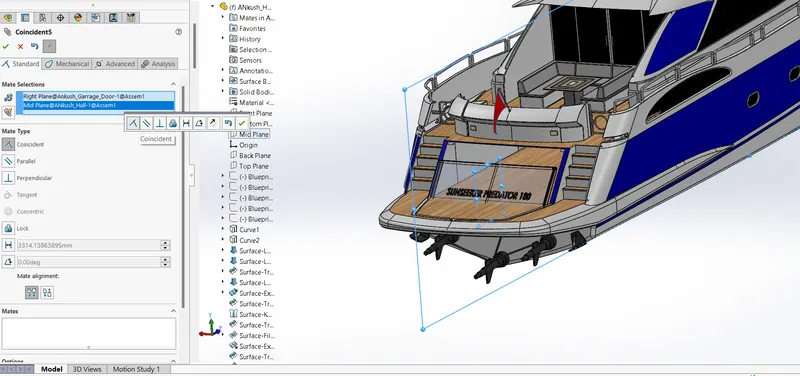
7. The last part to be add is the garage door. We will add a coincident mate between planes of garage door and dull and a concentric mate between the hull and the garage door.
Images of Yacht in Different Views
Isometric view
Front View
Top view
Side view
Back view
Camera setup view
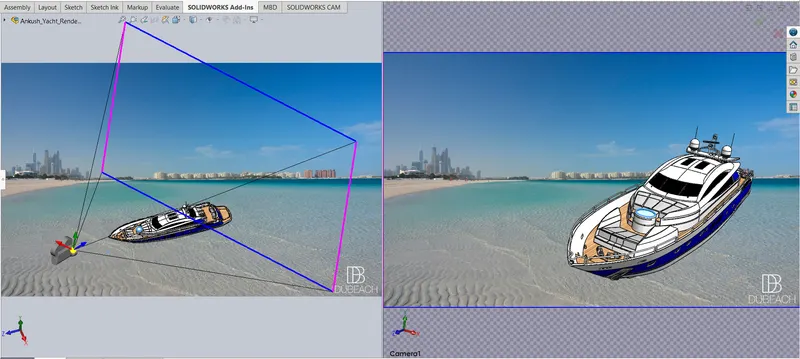
Light setup view
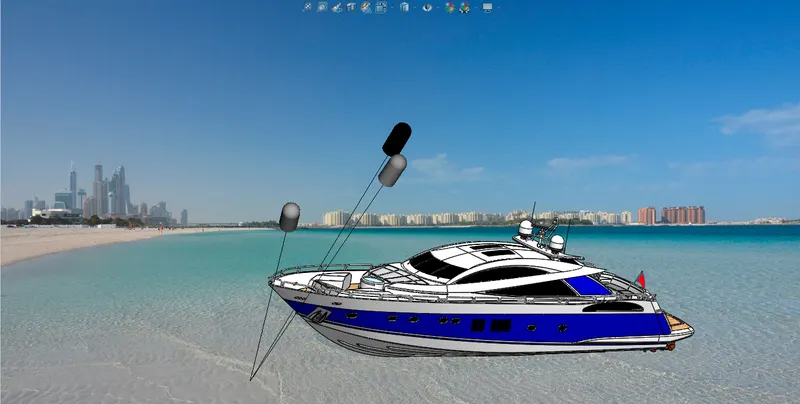
Render view with background
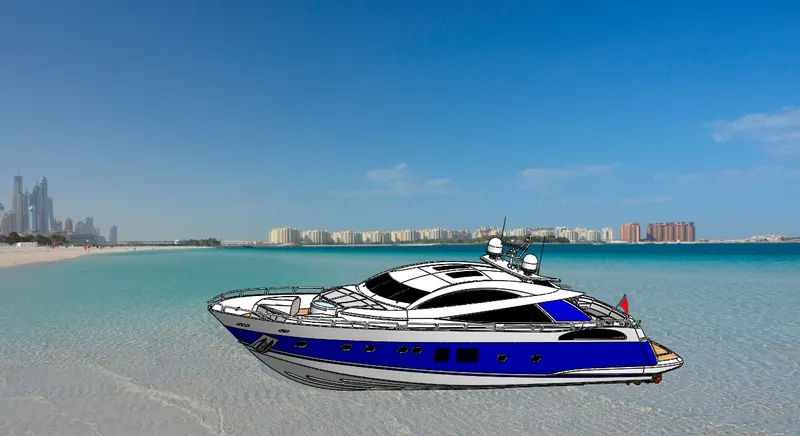
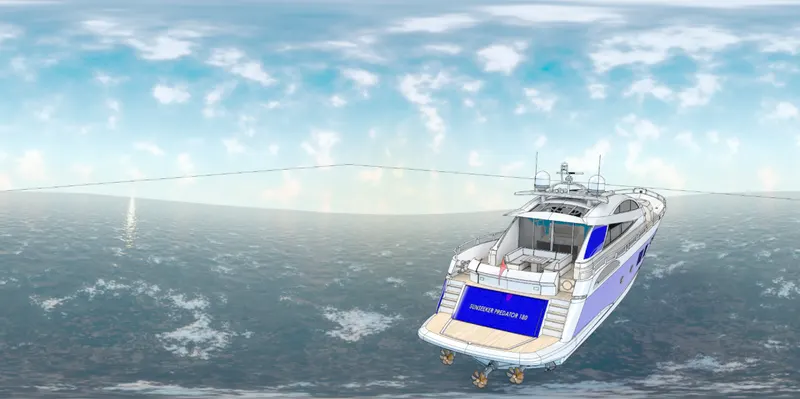
Rendering Images of Yacht
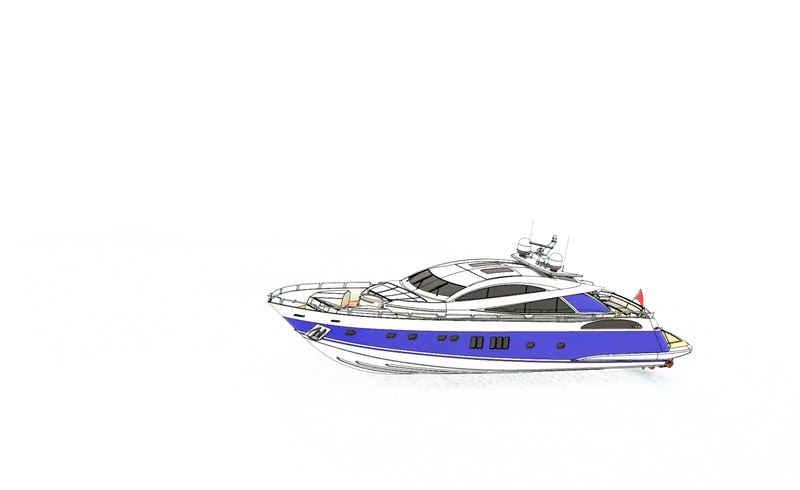
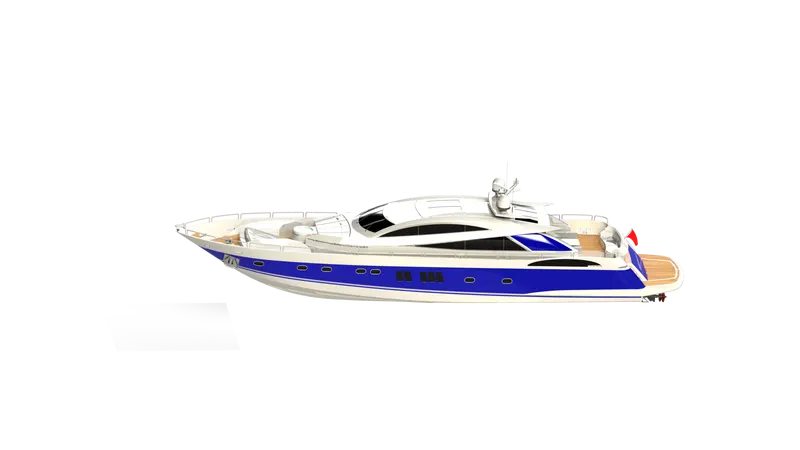
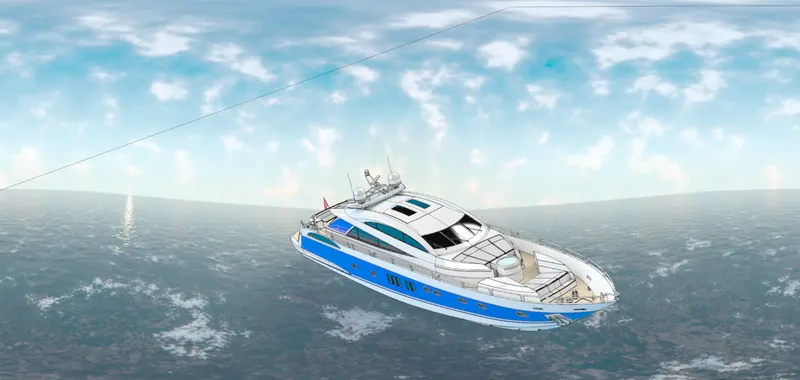
Conclusion:
Now we have completed the designing, assembly, appearance, and rendering of the Sunseeker Predator Yacht.