Radar Mast & Final Assembly of Yacht
PROJECT TITLE:
RAMKUMAR YACHT ASSEMBLY
B .OBJECTIVE :
The main objective of creating this assembly is to learn all the tecniques ,operation ,tools ,surface modelling ,constraining the sketches .And then making me to be well equipped in design field and in engineering concepts.
INTRODUCTION :
First starting with creating a smaller components such as propellar ,radar.Then into new concept inserting sketch picture for referrence and easy way understanding the entire concepts.Then entering into new concepts such as surface modelling t0 create a hull and superstructure.Finally mating this components to make a complete structure of an yacht.
DESIGN METHODOLOGY:
1 propeller ---------------REVOLVE BOSS BASS ----LOFT BOSS BASS
2 Radar ------------------EXTRUDE BOSS BASS-----ADDING TEXT
3 Hull--------------------- PROJECTIVE CURVES -------SURFACE MODELLING ----SOLID BODY ----MIRROR OPTION.
4 Superstructure ----------PROJECTIVE CURVES -------SURFACE MODELLING ----SURFACE SWEEP ------SOLID BODY----MIRROR OPTION.
5 Seats ---------------SURFACE MODELLING ---------SWEPT BOSSBASS------EXTRUSION-----REVOLVE BOSS BASS.
6. Radar------------EXTRUSION --------REVOLVE BOSS BASS----MIRROR ENTITIES.
DESCRIPTION;
PROPELLER-- First starting sketches in midplane .Then applying revolve boss bass to create model. then draw sketch in top plane .And then create new plane sketch rectangle for loft boss bass.And Then apply fillets and chamfer.And then apply appearances colour.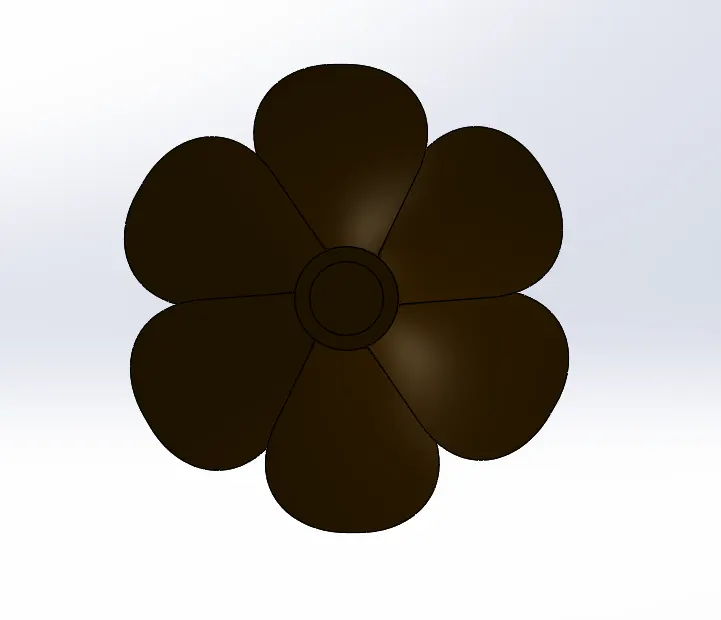
2. RADAR:
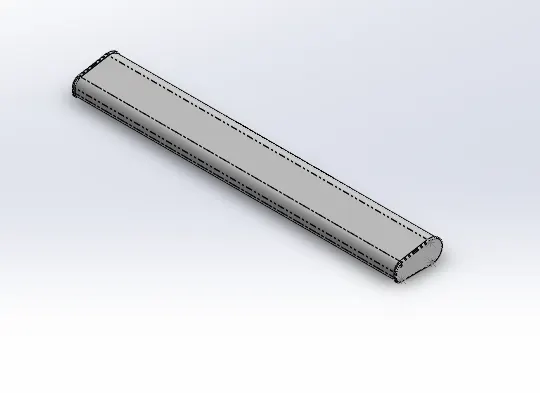
First draw in a right plane plane.then extrude themm to a distance. And sketch in a blue surface to make sketch driven pattern.Then mirror about the right plane. And edit a text in the components and apply some fillets and chamfer.And apply appearances colour
3. HULL :
First draw in a mid plane and then draw in a top plane to create a projective curve .this opertion is done by a spline and line entities. and then make a another projective curve for sweep surface.And then create a solid sweep for railing by creating a plane and by spline entities. And then create back side by surface extrude . And then knit the entire surface to fill the gap by gap control option ,And then make a solid body .After creating a solid body use shell option to make a hollow component. and draw a line and spline for adding and removing unwanted surface and areas.And then use bottomplane to draw a spline t0 create model of three wave like design. And then create extrude boss bass and revolve boss bass for making small structures. And use 3D sketch tool for drawing in a surface without selecting plane or surface for sketching. And then use straight slots option for creating windows and small gaps in hull. And create a new several planes for railing referrence. use sketch pictures for appropriate position and apt looks of an hull. Then use swept solid boss bass for creating solid windows . And then make straircase in the hull to go to superstructure . And then create design model emblem by creating a plane and offset surface. And then applying fillets and chamfer to get smooth edges and fine looks.And then save deck surface for referrence of positioning the superstructure. Atlast mirror the entire components about the right plane to make complete hull. Then apply apperance colours for components according to their texture and material.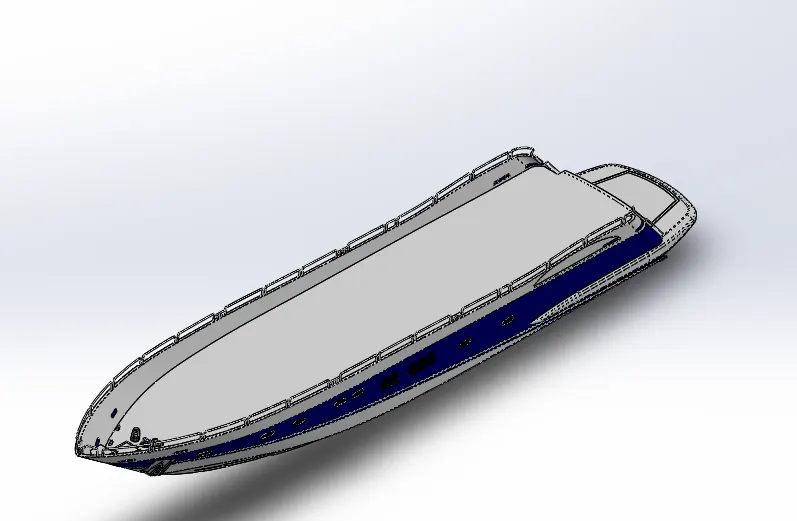
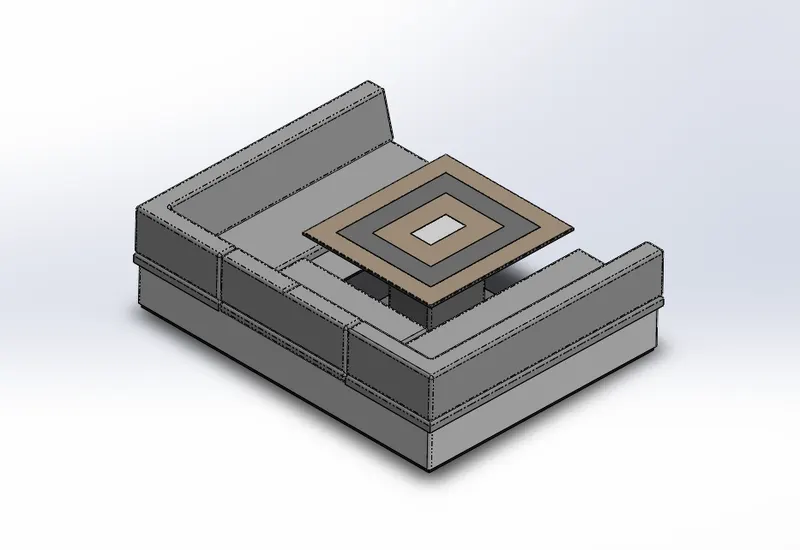
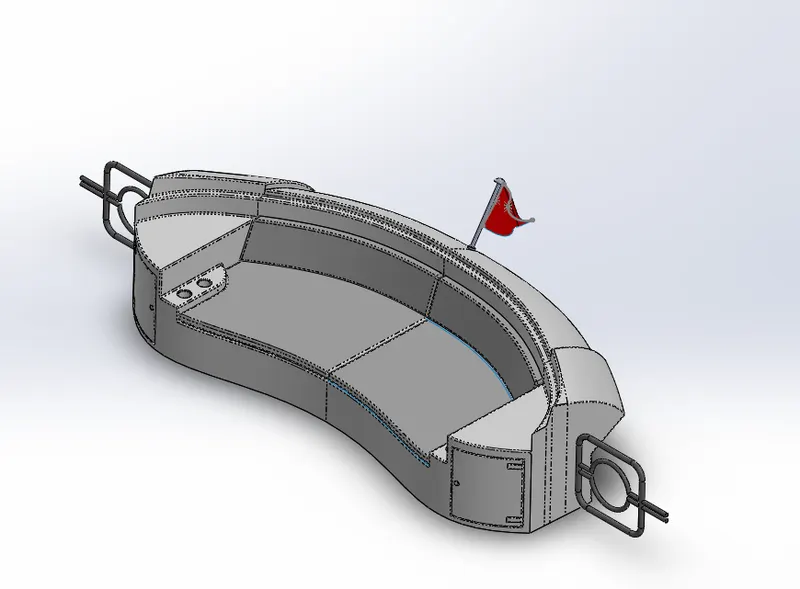
4.SEATS: Making of seats by surface modelling and then extrusion . Make three seats such as middle seat,front seat,rear seat by using line, spline ,arc ,offset surface option.And then And apply appearances colour.
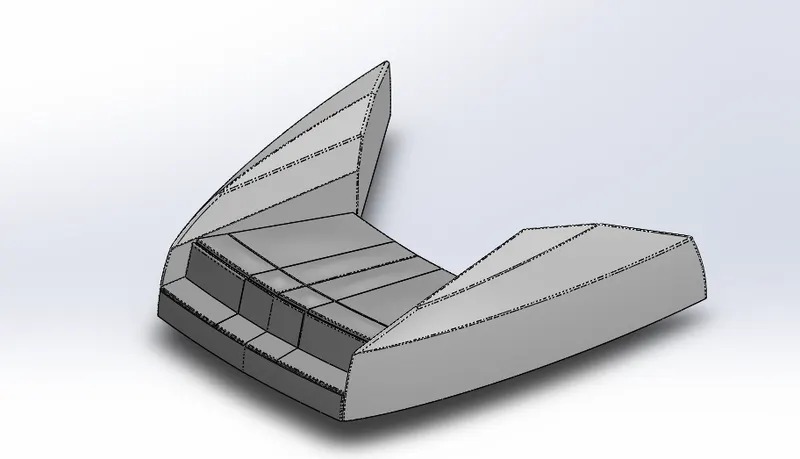
5.SUPERSTRUCTURE: Creating a superstructure by inserting a part surface body deck surface . using the referrence of deck surface draw a line and then spline extrude a surface . And then draw in a mid plane and then draw in a top plane make a curve by a sketch using line and spline .It should have a closed profiles to make a curve.And then again draw in a mid plane and topplane to make a curve 2. And then use a two curve to make loft .Introduce guide curve for nice transistion. And then use two curves and Use 3D sketch for a surface fill and use guide curves for nice transistion. And use convert entities to build the superstructure. And then apply fillet for smooth surface. And draw in a midplane . use spline for trim the extra portion. use linear option for straight cut and the natural for as it is. superstructure completly made by loft surface ,surface fill, extend surface ,extrude surface and then ruled surface. use this surface where needed to make and cut the portion. And knit the surface to fill the gap and enable gap control option. Adjusting tolerances to get a fine solid body.And then create a new plane to make windows. And draw a staircase by offsetting the surface .using every option to create super structure. And apply fillets and chamfer for corner edges to make smooth surface. And then use 3d sketch for drawing a swiper for the wndow. Atlast mirror the entire things about the right plane.And apply appearances according to their texture and material of the components.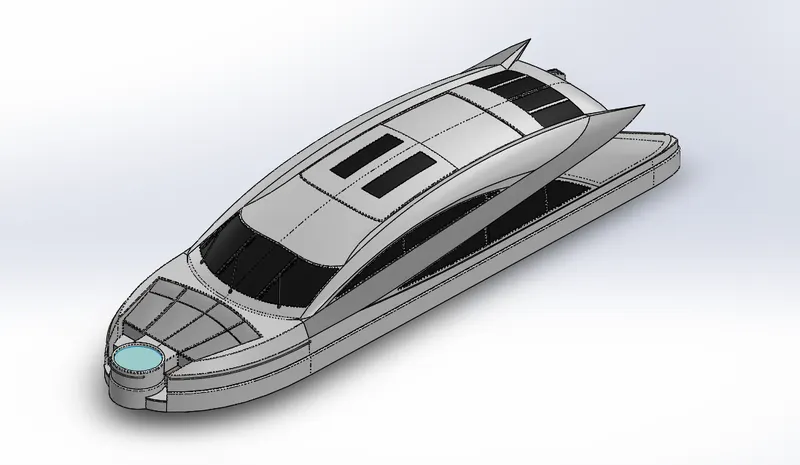
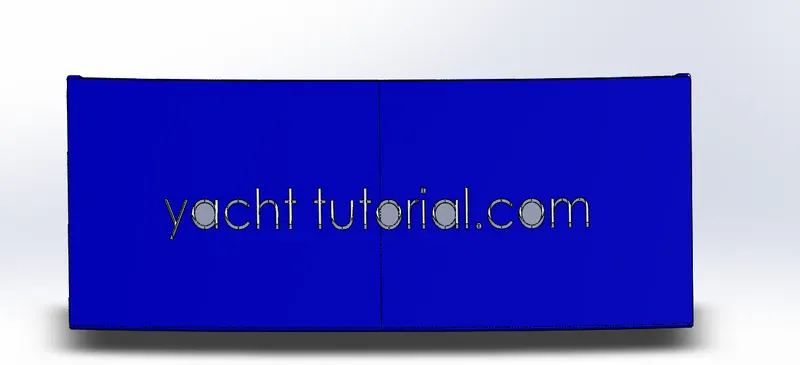
6.GARAGE DOOR:Garage door is created by split part from hull .Select the surface .Draw according to the portion needed .cut them by using extrude cut .And then create hole to match the hull for openning and then closing . And then select front plane create a plane .Edit the text .use extrude cut offset from surface reverse offset. select the surface for cut.Atlast apply fillet and appearances colour.
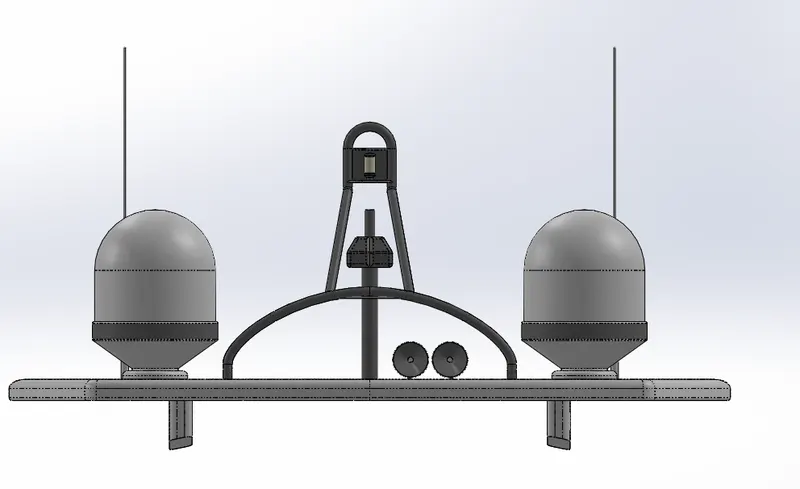
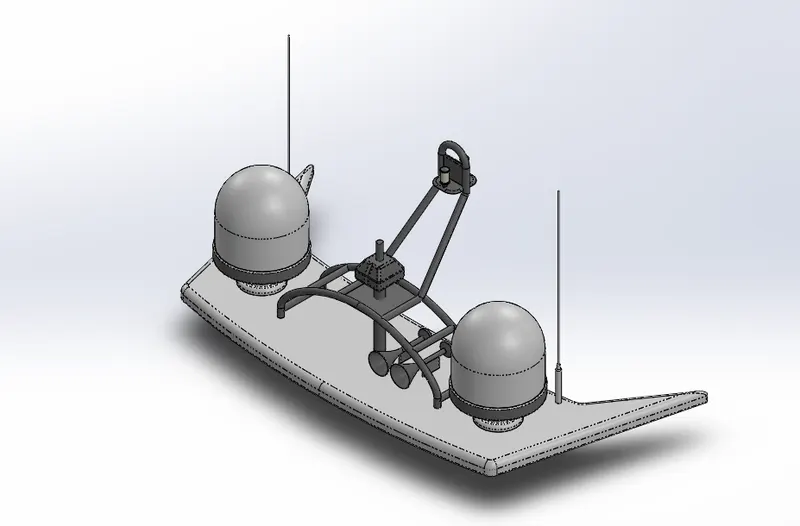
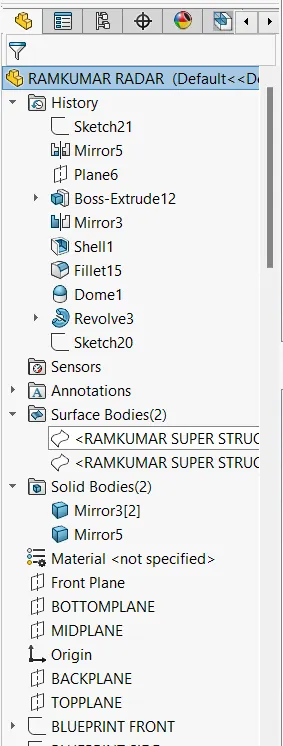
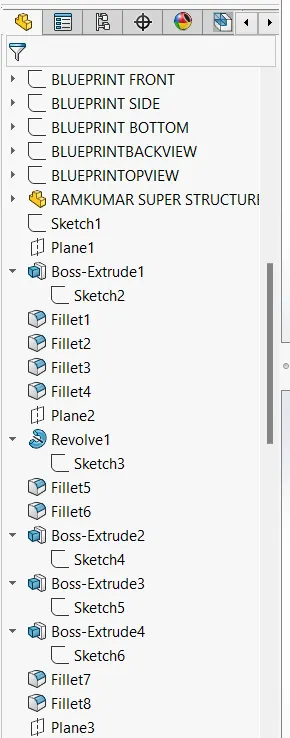
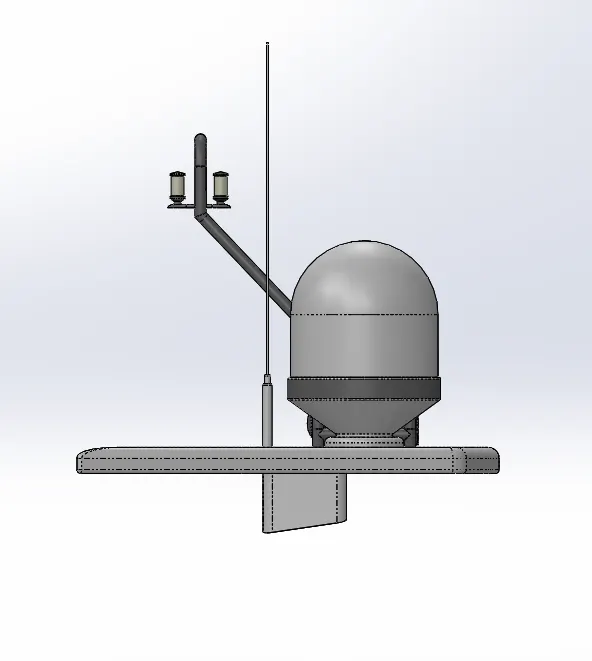
7.RADAR: Radar is made by inserting a surface of superstructure .Top surface as referrence. create new plane by line and the mid plane . Draw in a new plane to create a solid surface for fixing radar. extrude the surface.And then select the surface for drawing a sketch. revolve thet sketch for creating dome shaped structure. And again use the same surface for creating antenna ,horn .
8. ASSEMBLY OF THE YACHT: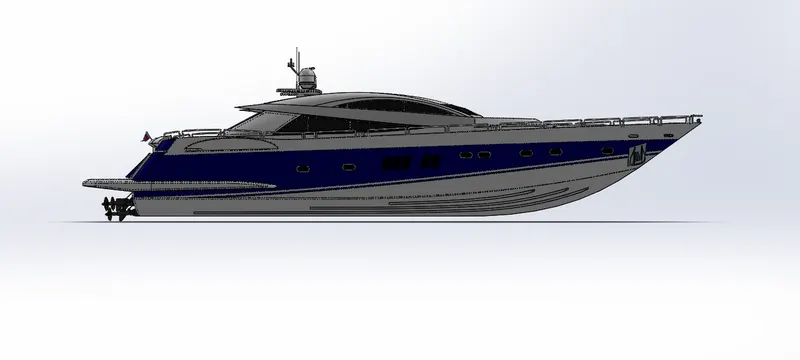
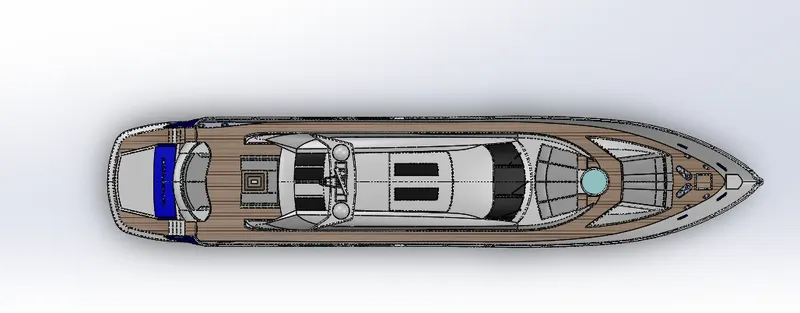
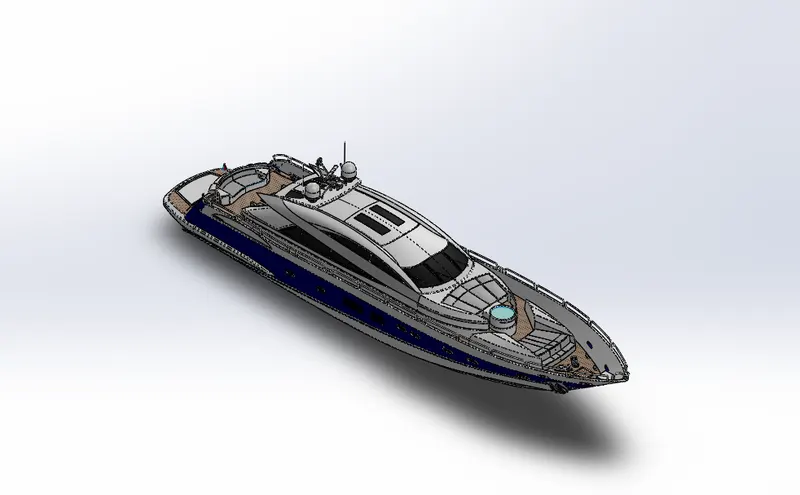
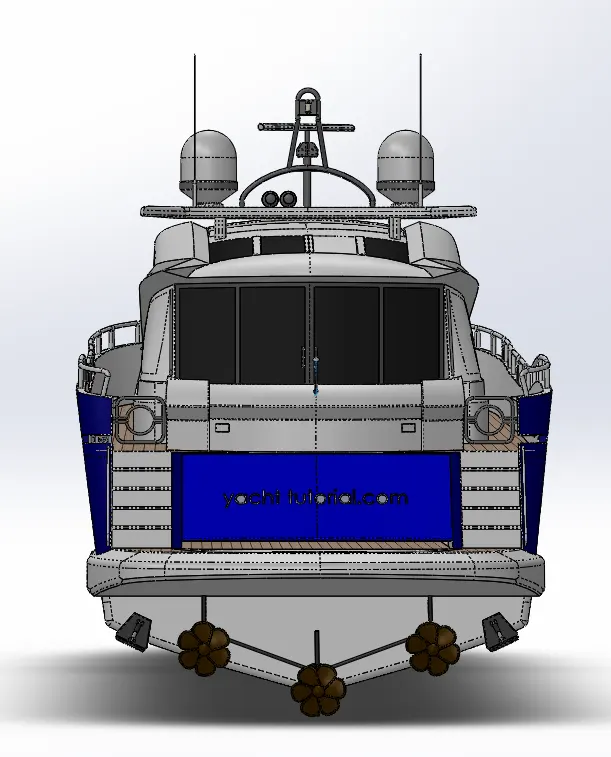 8. RENDERING IMAGES: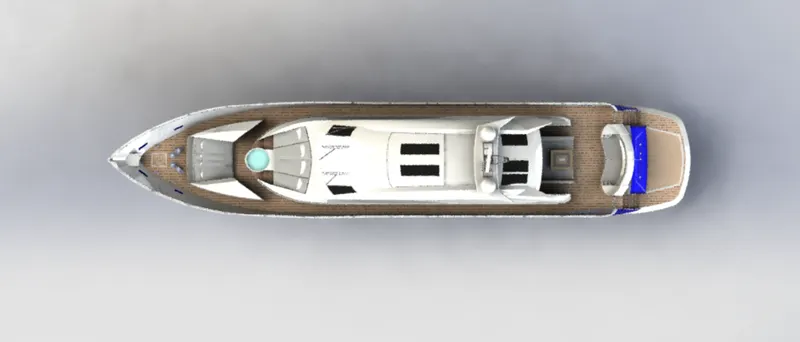
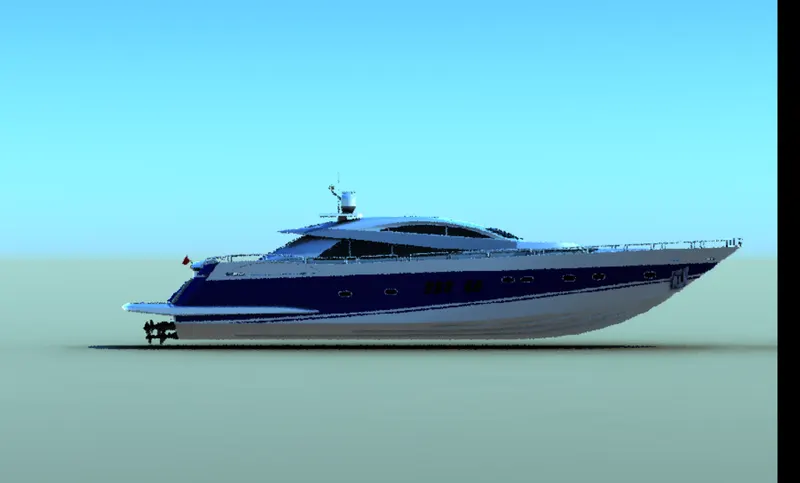
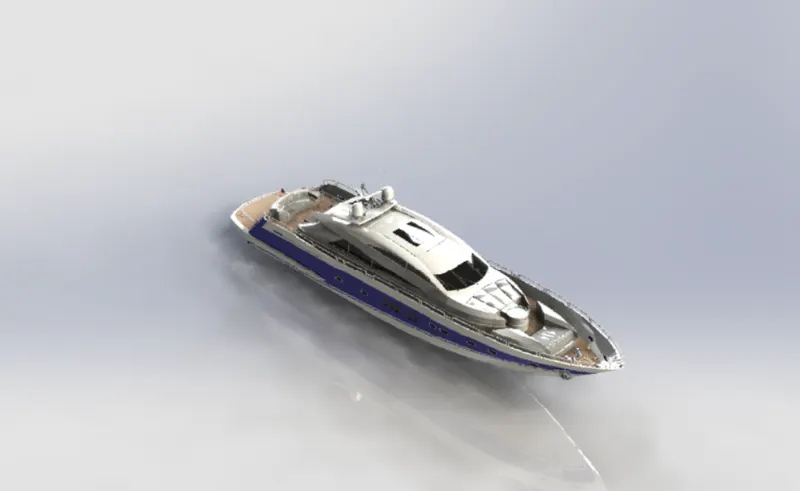
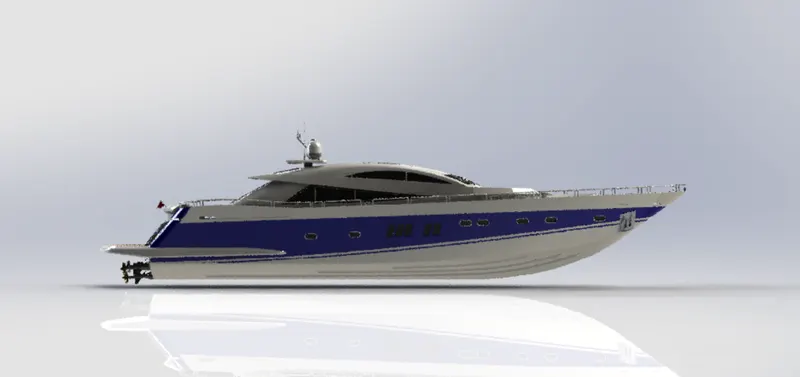
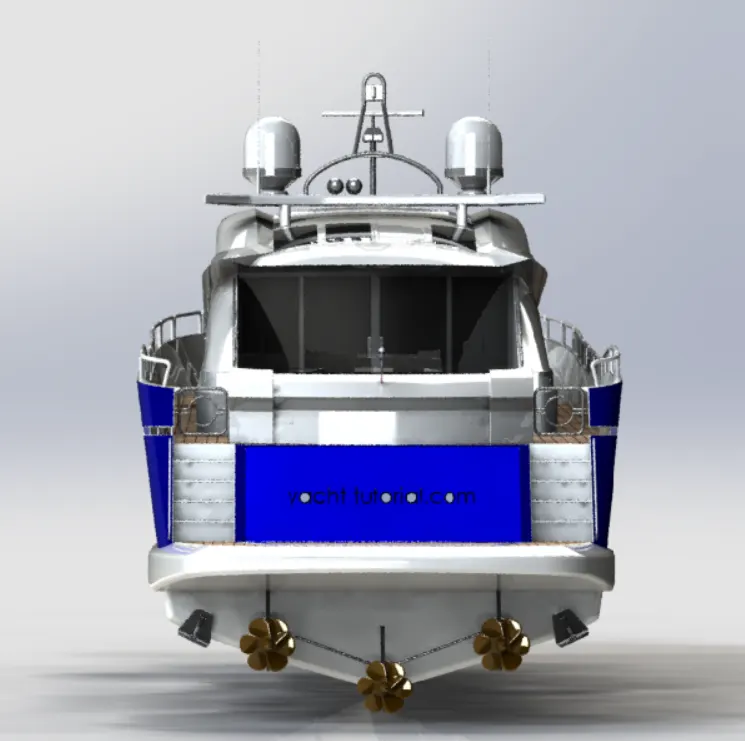
8. CONCLUSION:
The main objective of modelling this yacht is to gain good knowledge about the solid works. By creating this model we can learn every concepts such as surface modelling and then solid modelling.Hence iam conclude with good knowledge gaining in this solid works computer aided design.
2. RADAR MAST: