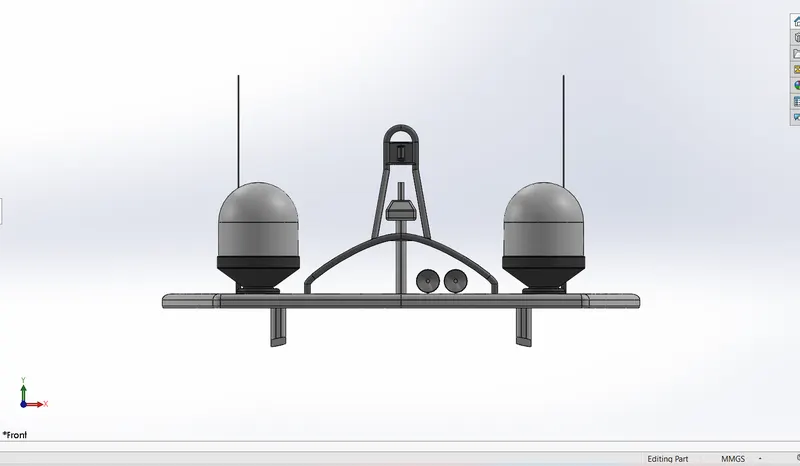
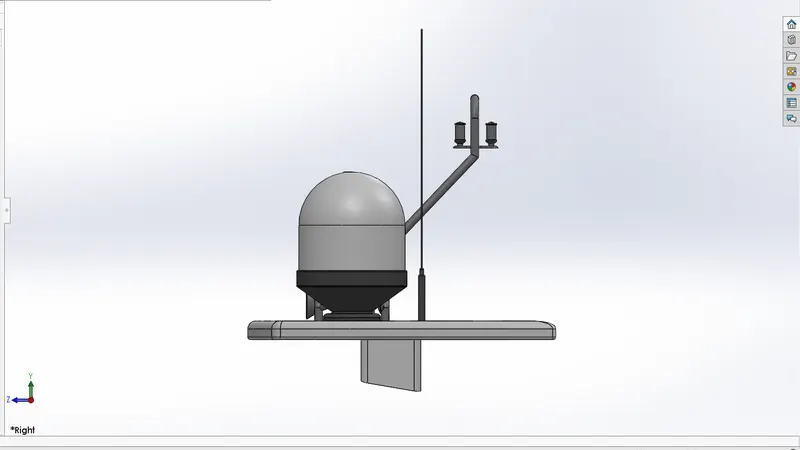
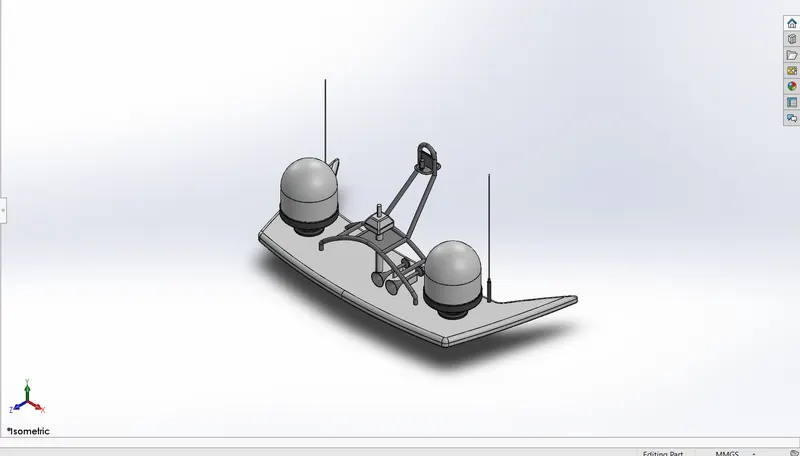
Radar Mast & Final Assembly of Yacht
1. Radar Mast.
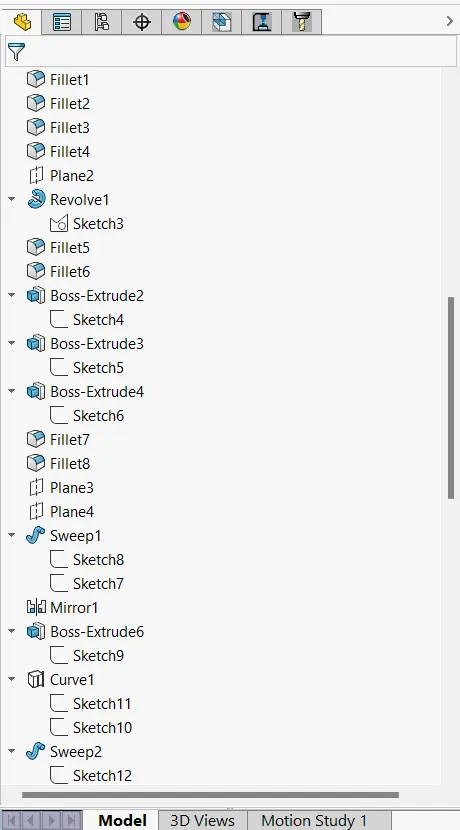
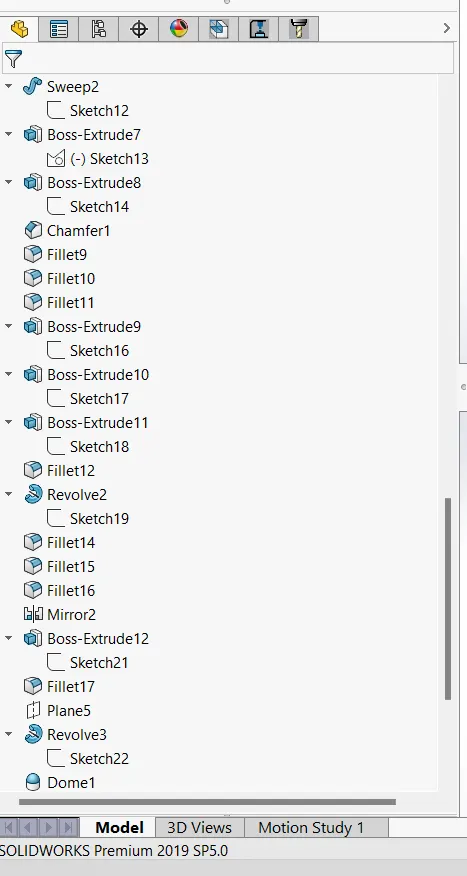
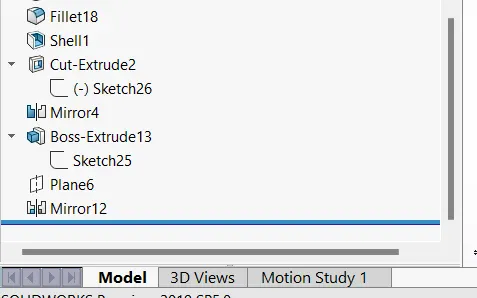
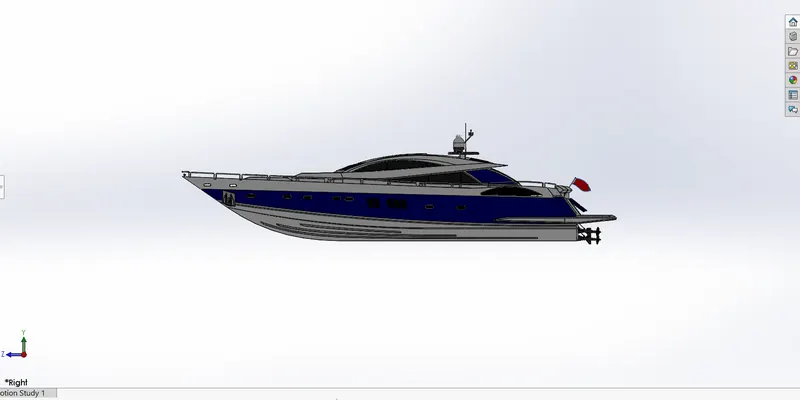
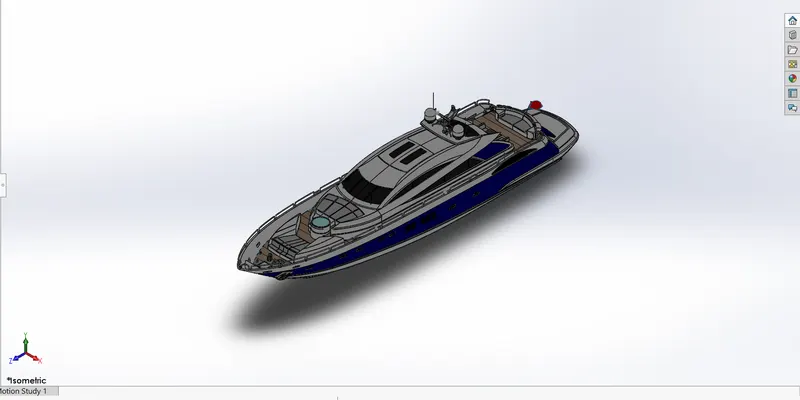
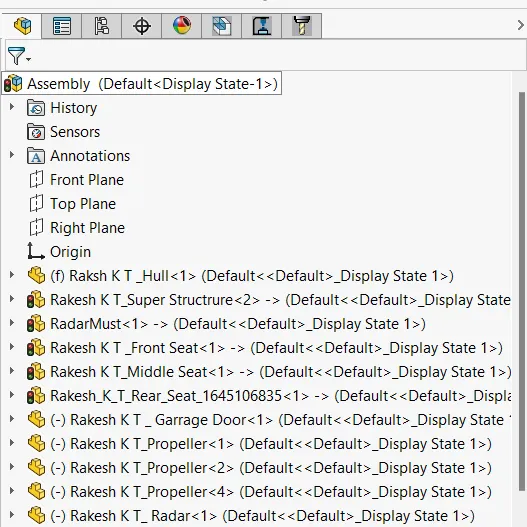
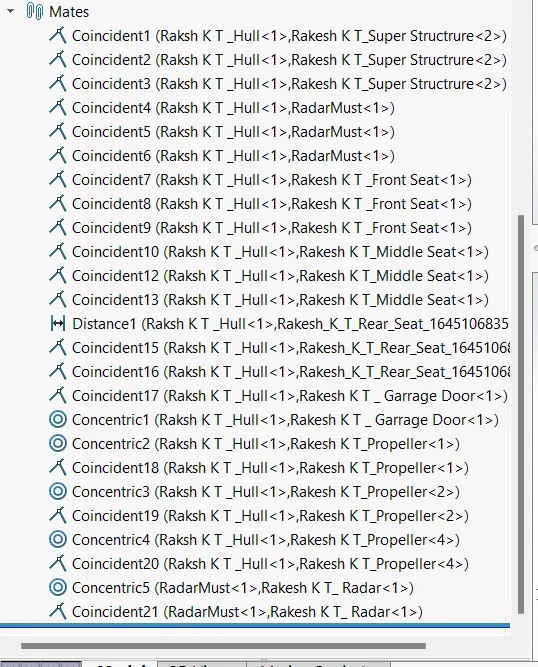
2. Yacht Assembly
Project Report of Yacht
Title of the Project:
- Building of a Photo realistic Yacht Using Solidworks.
Objective of the Project:
- Understanding the tools and environment of the Solidworks by Building the Yacht from part stage and convert that into assembly and making them photorealistic rendering models.
Introduction:
The purpose of the project is to explore all the tools in the Solidworks by building all the parts required to build the Yacht and assemble them together and make them look like a Photo realistic model
Design Methodology:
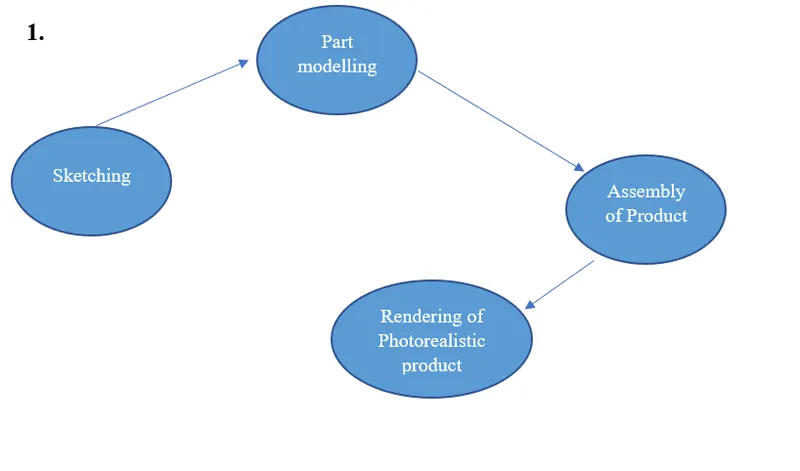
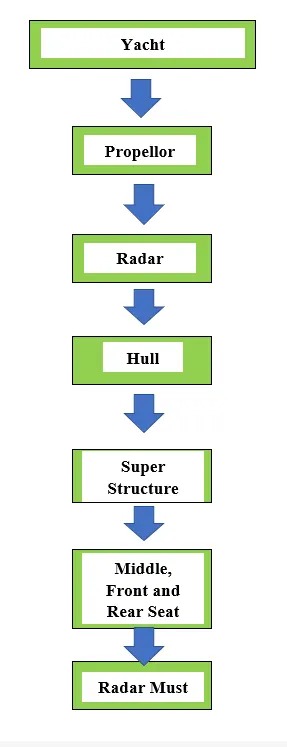
Description of the Project
Parts involved in Project:
- Propellor
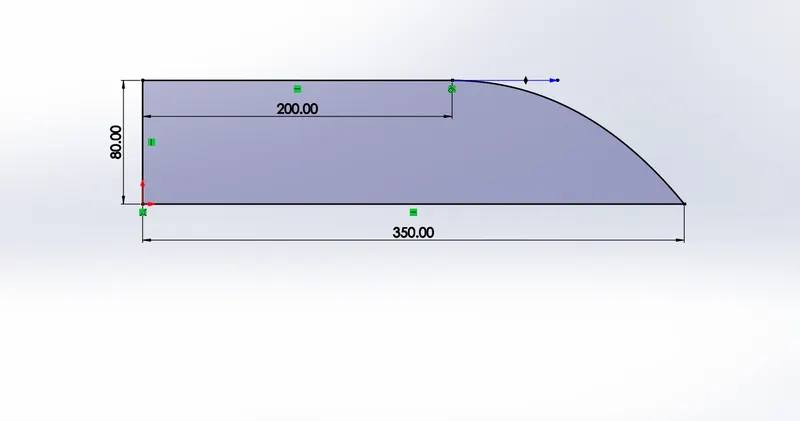
Commands Used: Revolved Boss , Boundary Boss , Fillet , Cut Extrude , Circular Pattern.
- Draw the sketch in the Right Plane as shown below and use Revolved boss.
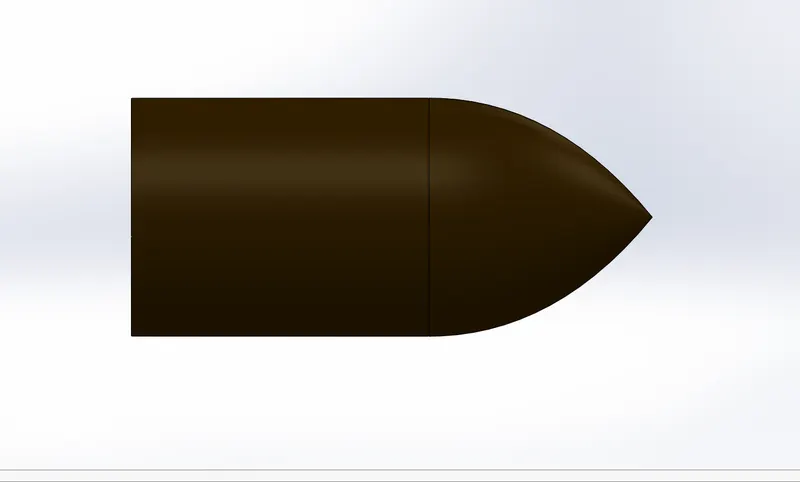
- Create a Reference Plane and draw two sketch and use boundary boss and fillet.
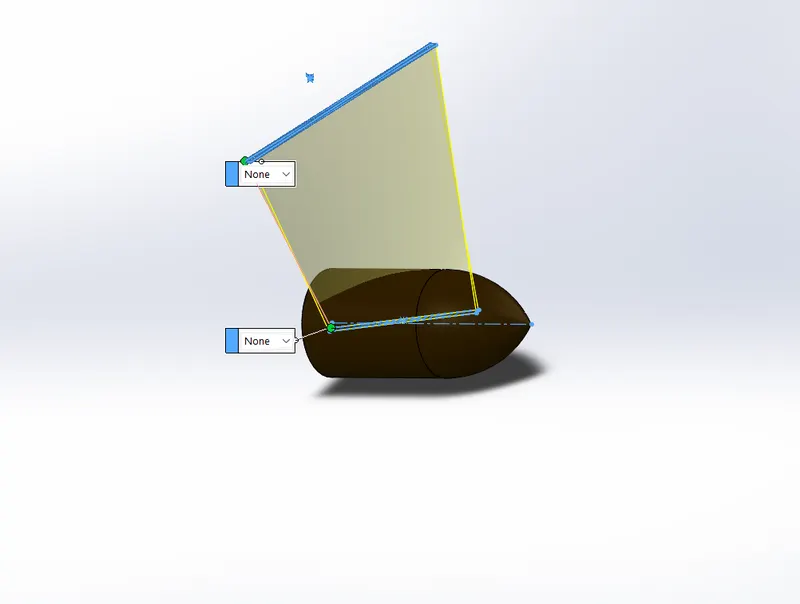
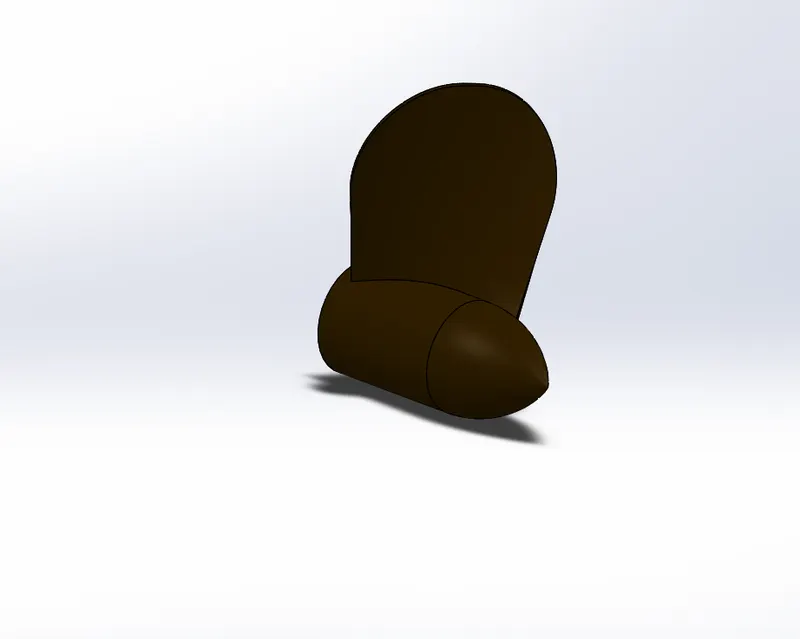
- Use Cut Extrude , Fillet and Circular pattern and Propellor is created.
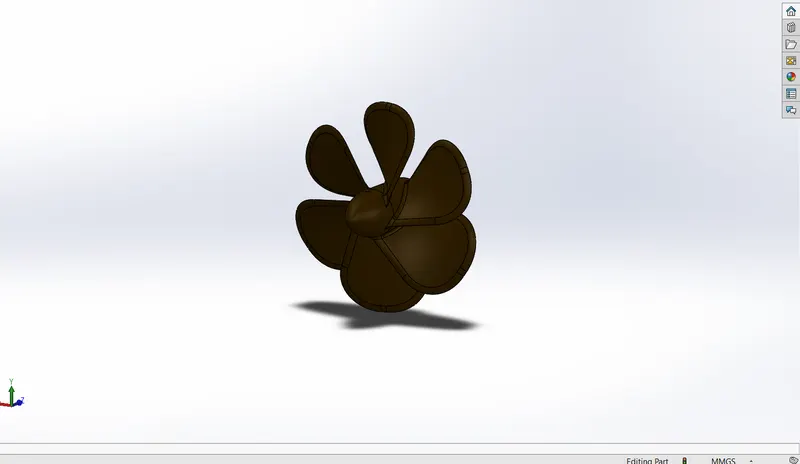
2. Radar
Commands Used: Boss Extrude , Fillet , Sketch Pattern, Mirror , Split Line.
- Draw the sketch in the Right Plane as shown below and use Extruded Boss and provide suitable fillets.
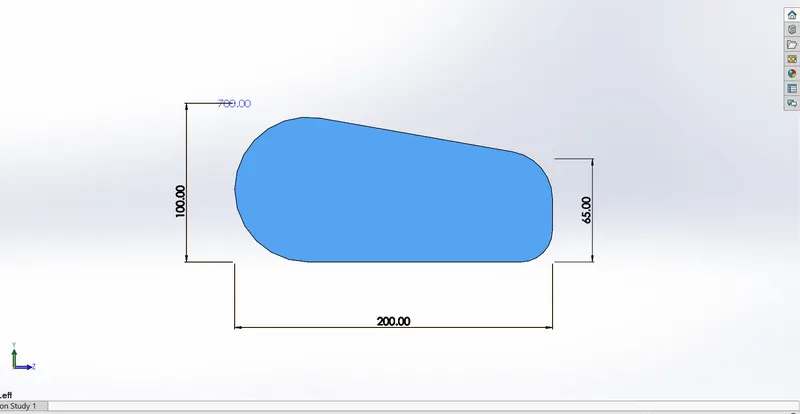
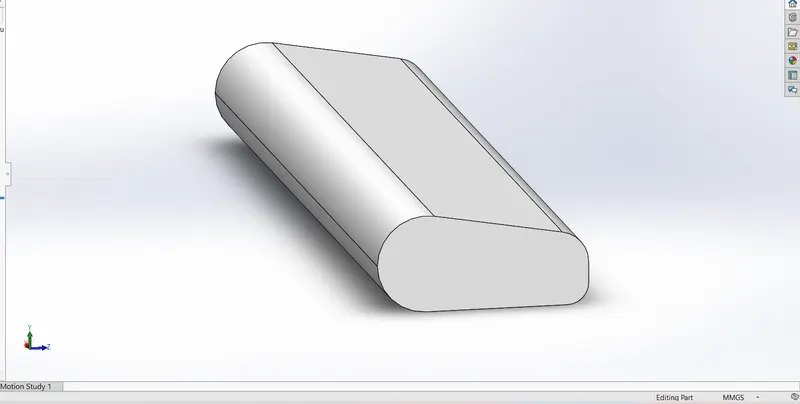
- Make Boss Extrude as shown in below sketch by offsetting.
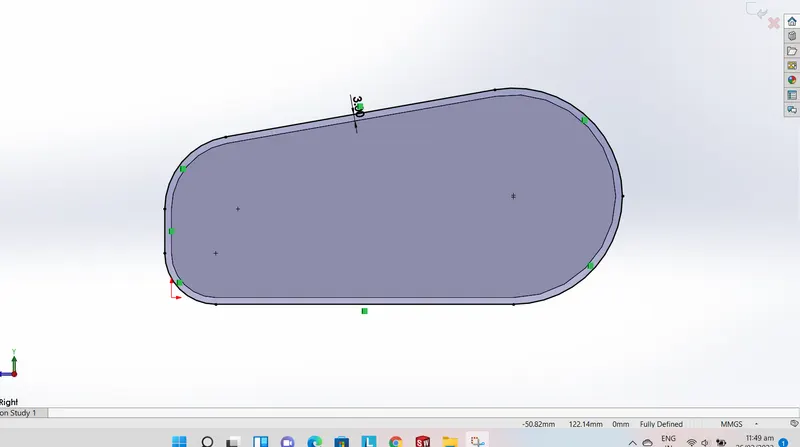
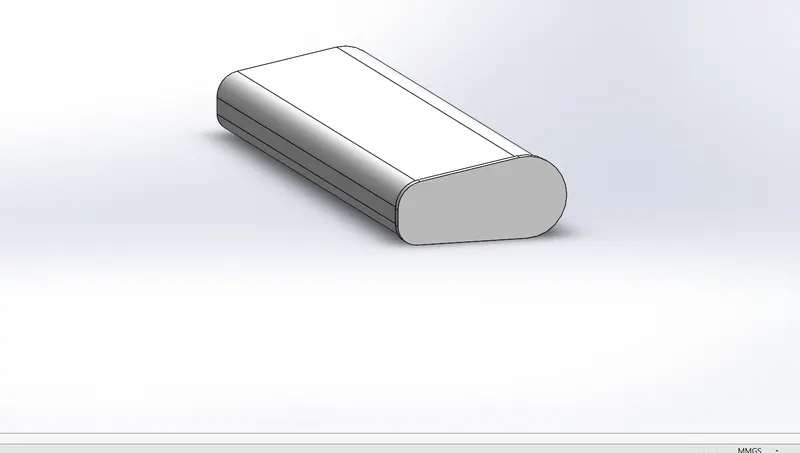
- Make Boss Extrude and fillet and Sketch pattern as shown below.
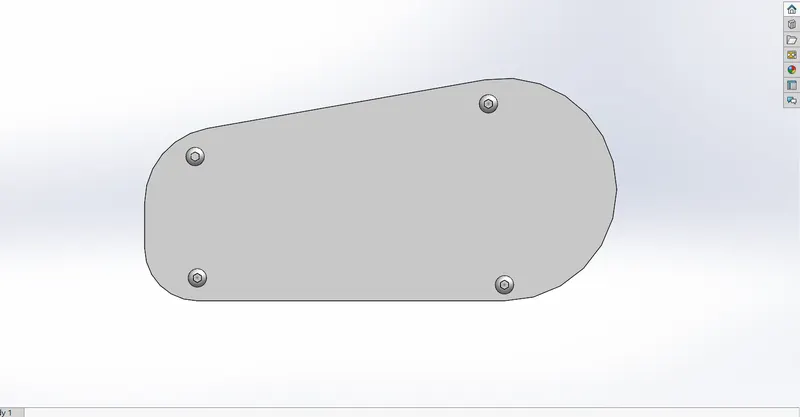
- Draw the Sketch and make the text as required and use split line option to project the text on the curved face.
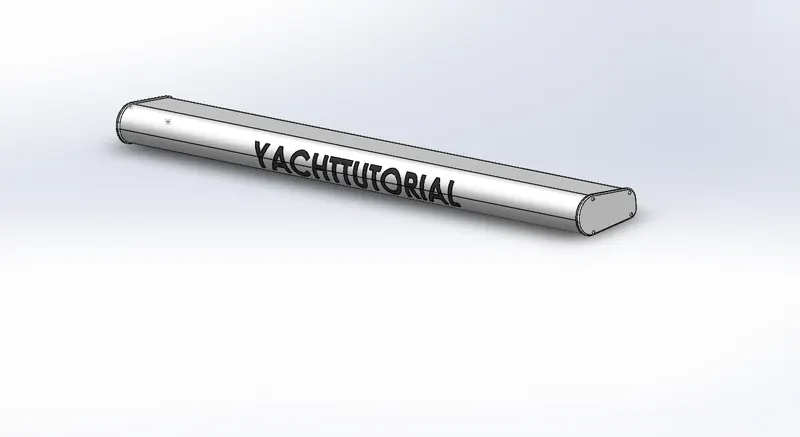
3.Blue Print Setup
Commands Used: Insert , Tools > Sketch Tools >Sketch Picture
- Insert Sketch picture in different planes and give the dimension as required.
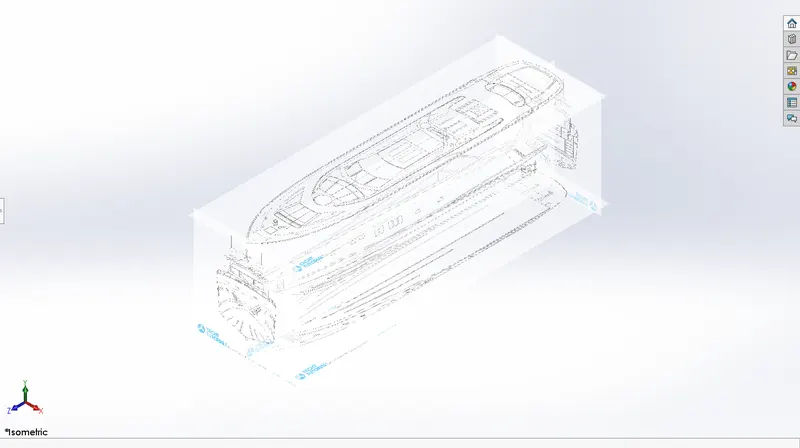
4.Hull
Commands Used: Projected Curve , Surface Loft ,Surface Extrude , Surface Trim , Surface Knit, Shell ,Boss Extrude , Fillet , Cut Extrude ,
Sweep , Dome , Keep/Delete face , Split Line etc
- After creating the blueprint start making Hull.
- Using projected curve , Surface trim , Surface Extend make the commponent as below sketch.
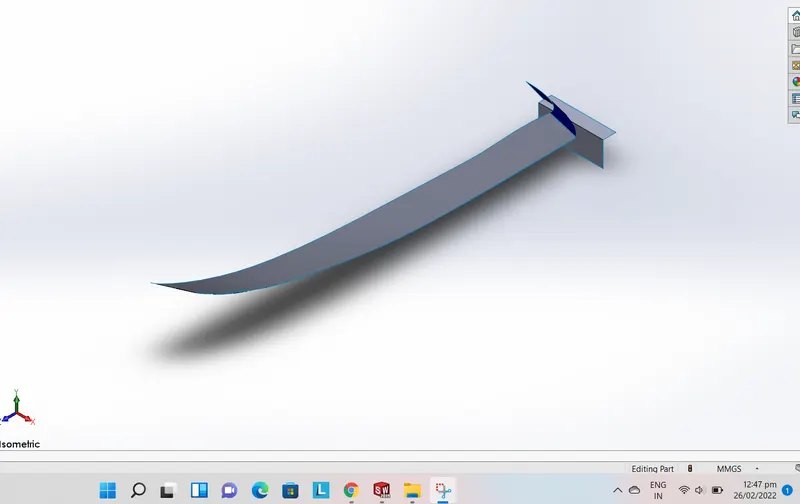
- Using Surface Trim remove unwanted components as below.
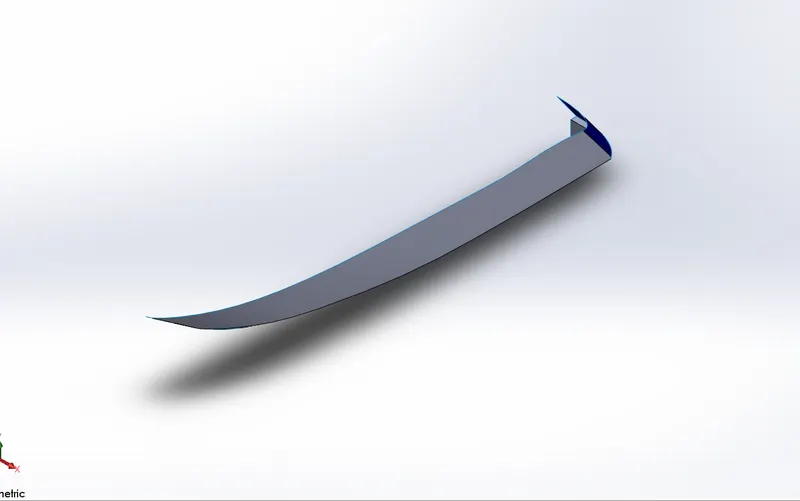
- Use Surface Fill option and Surface knit option to make it single component.
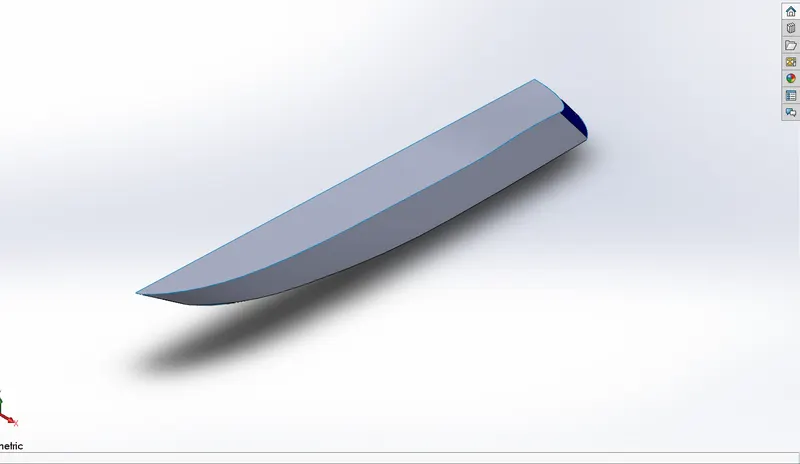
- Use Shell option as Shown in below image.
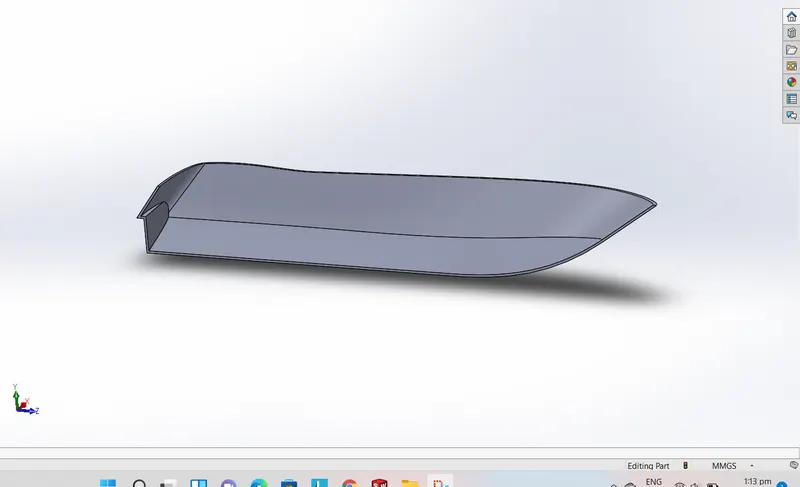
- Use Boss Extrude and Cut Extrude and use fillet and chamfer as shown below.
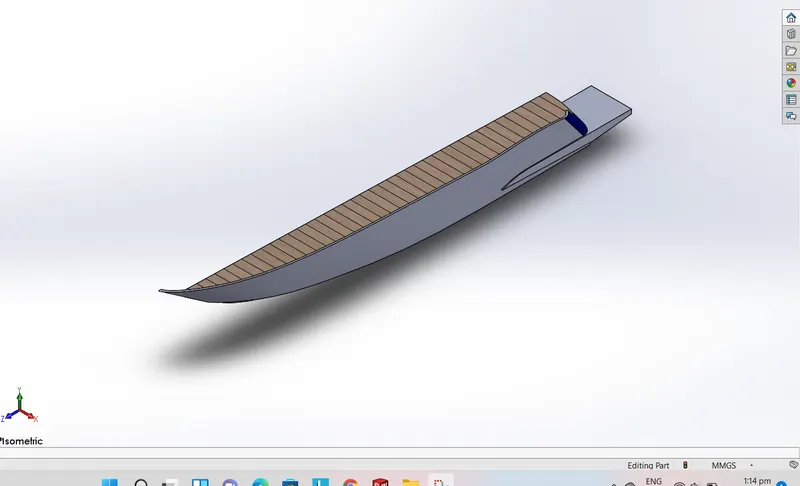
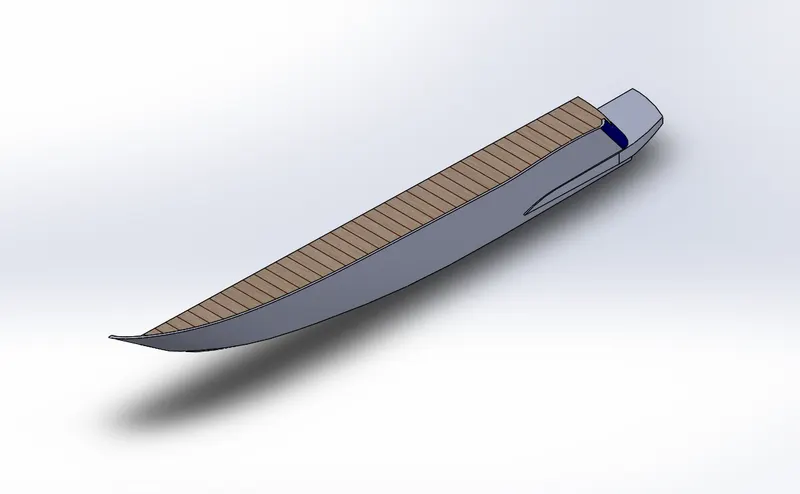
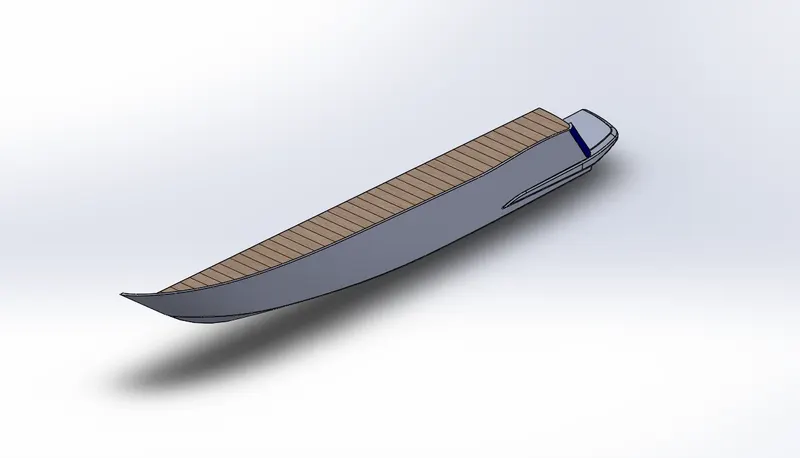
- Use Cut Extrude and fillet as shown below for window and use sweep for the border.
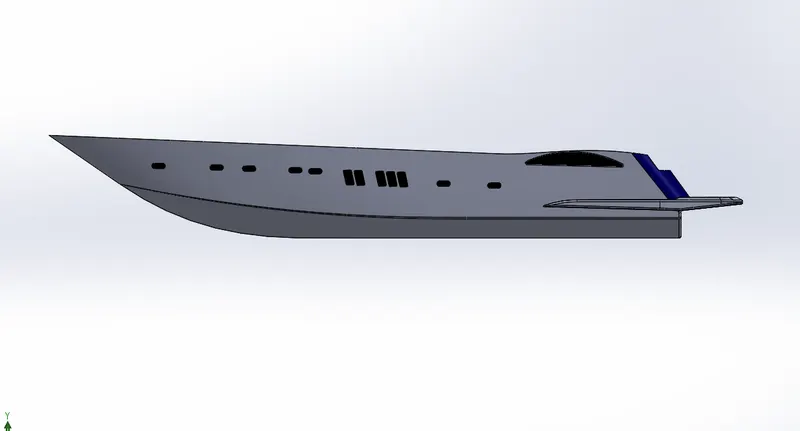
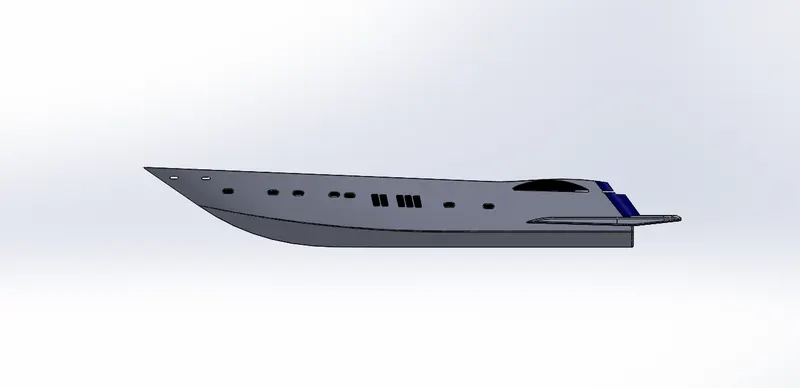
- Use Boss Extrude and Cut Extrude as shown below for making steps.
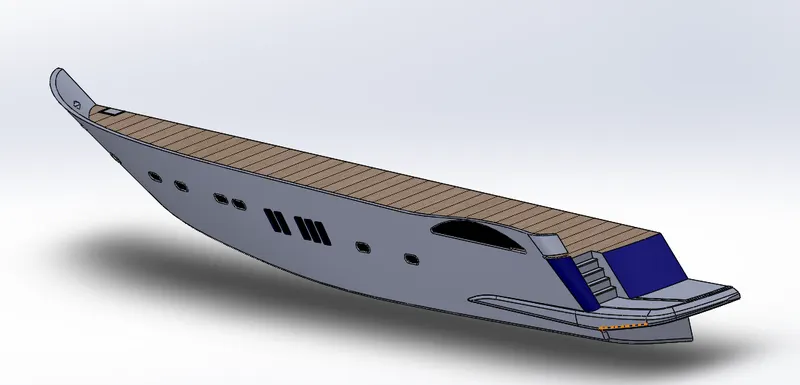
- Use Boss Extrude , Fillet and Chamfer for the below of the hull.
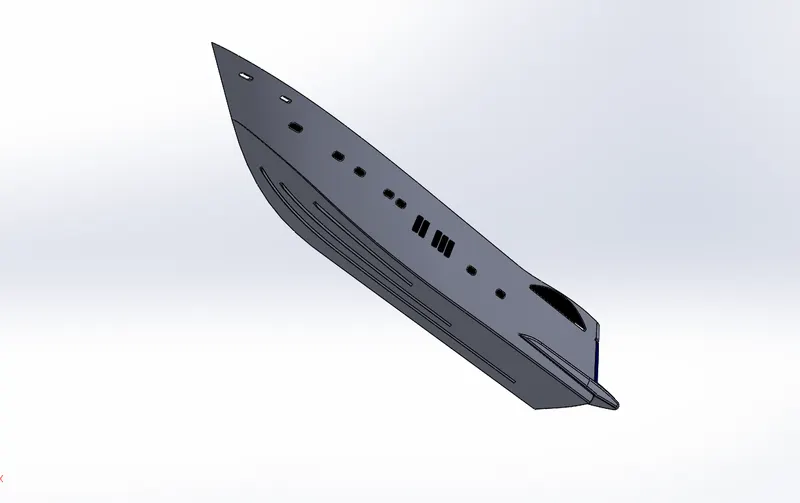
- Use Boss Extrude and linear pattern and fillet.
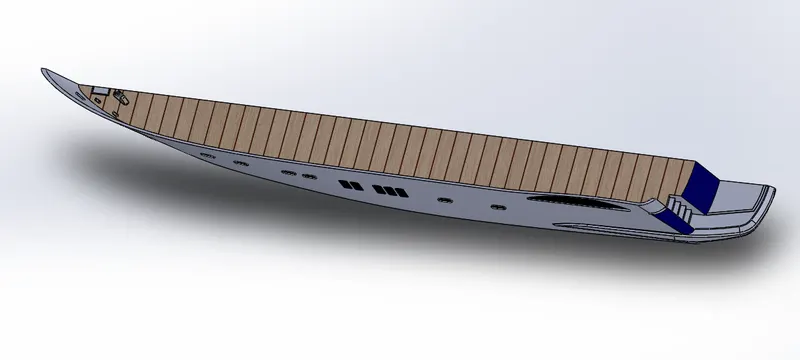
- Use Sweep boss using Projected curve for the grills around the Yacht.
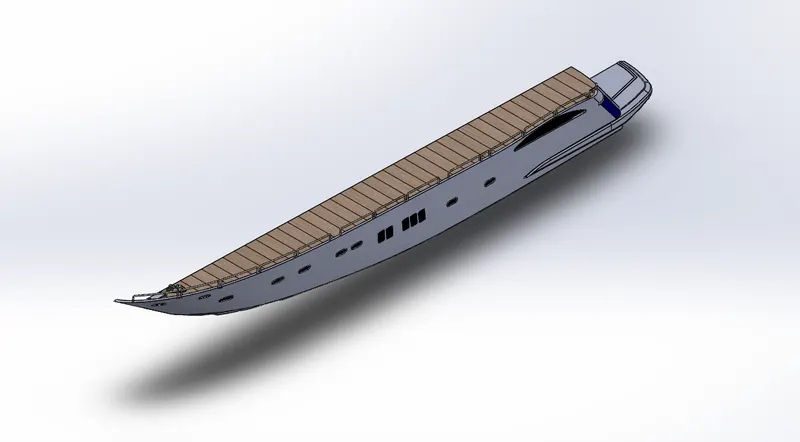
- Create half part of the Hull and Mirror that for the complete Hull
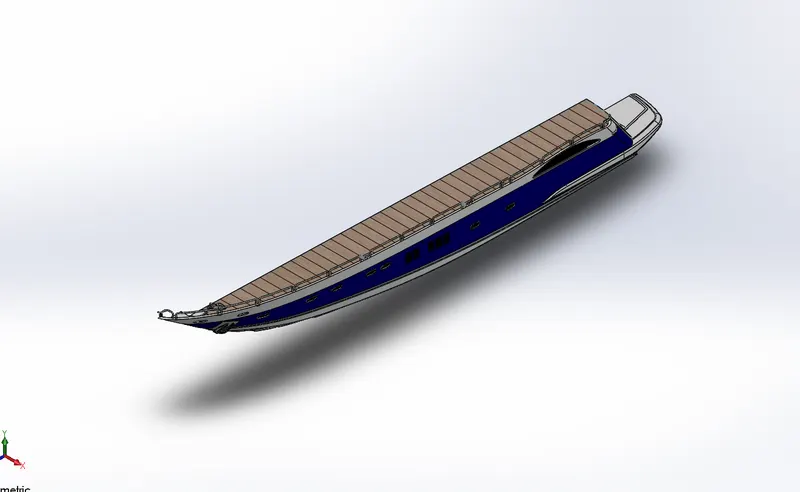
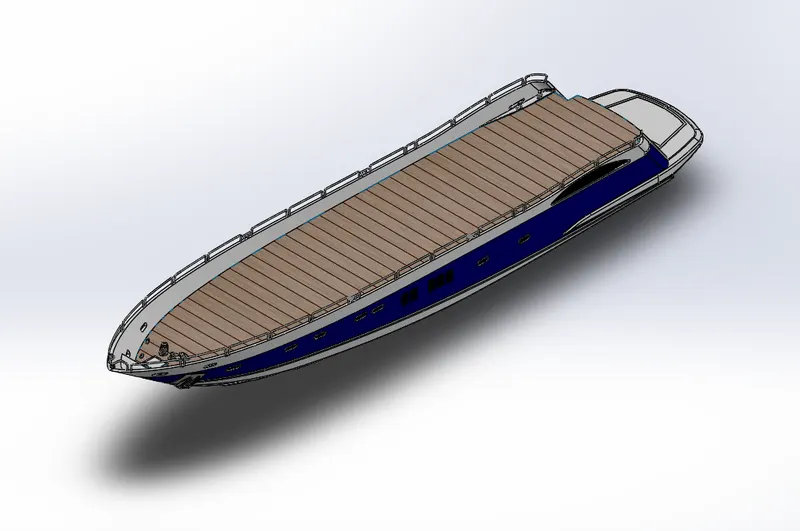
5.Front Seat
Commands Used: Projected Curve , Surface Loft ,Surface Extrude , Surface Trim , Surface Knit, Shell ,Boss Extrude , Fillet , Surface Sweep, Cut Extrude ,Sweep , Dome , Keep/Delete face , Split Line etc
- Open Blueprint Setup File and Saveas Front Seat.
- Create Surface Sweep as shown below.
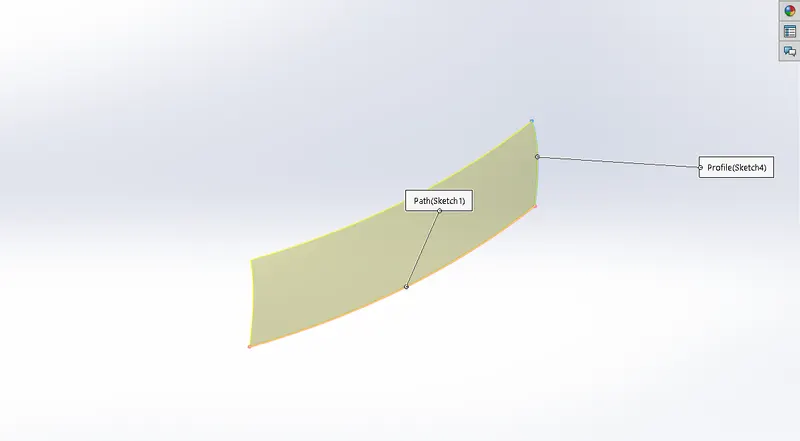
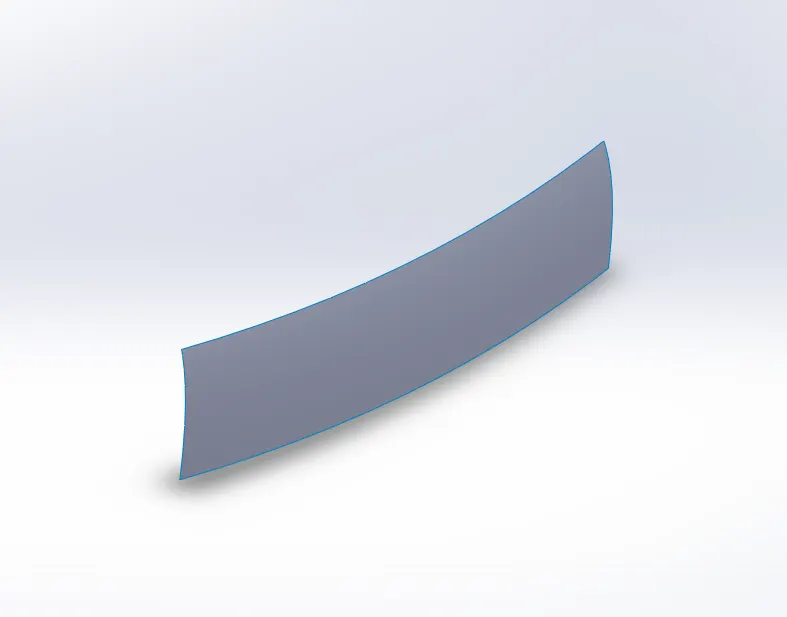
- Use Surface Extrude as shown below.
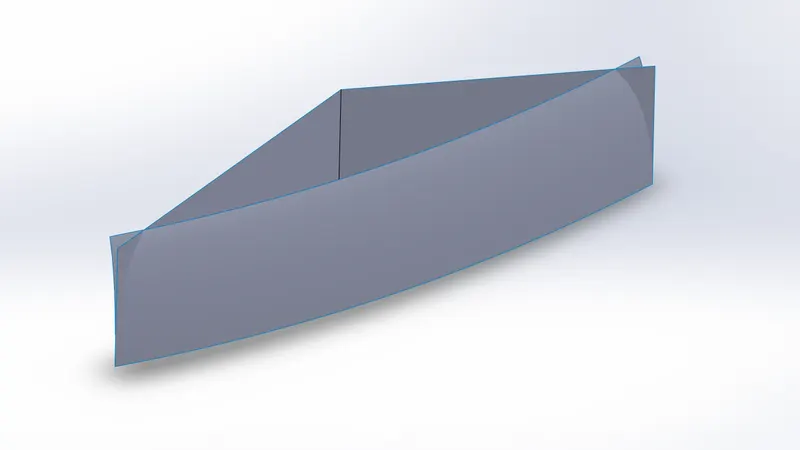
- Use Surface Trim and remove unwanted materials.
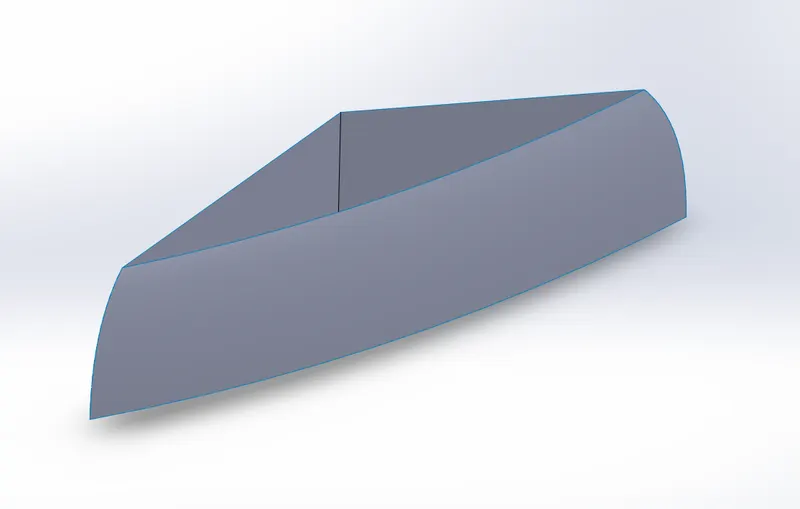
- Use Surface fill, Surface Trim as required and make a profile as shown below.
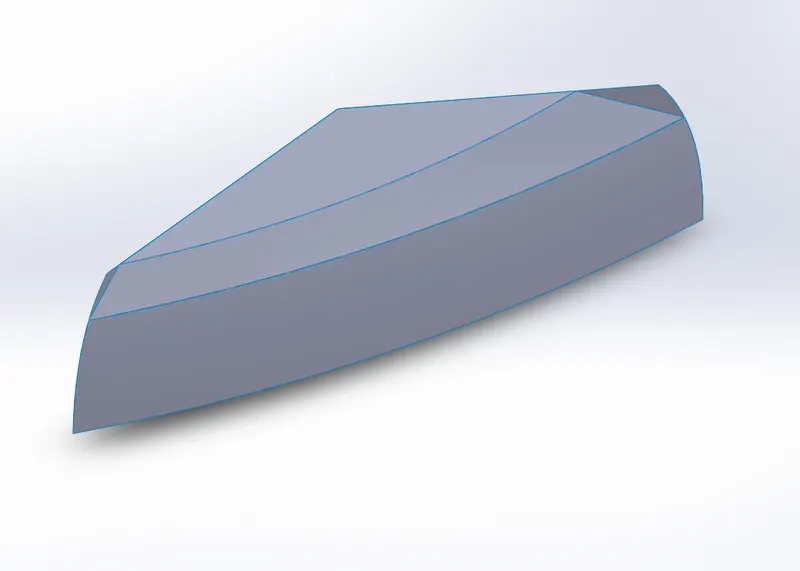
- Use Surface Trim and make Surface Knit for making the component into one.
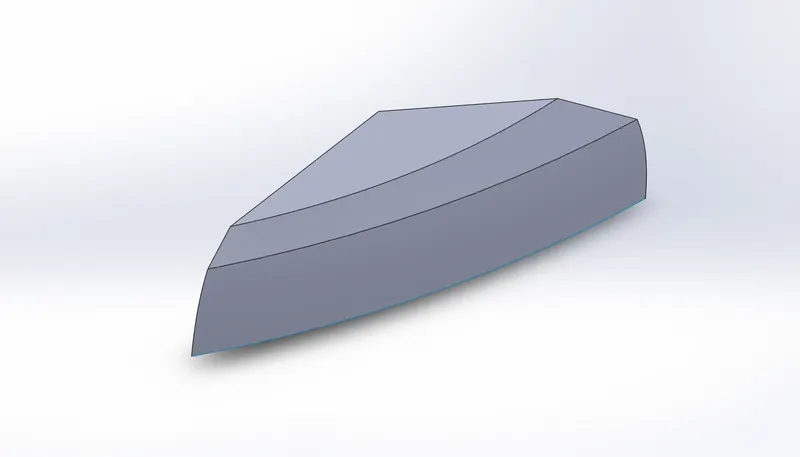
- Use Chamfer and Surface fill as shown below.
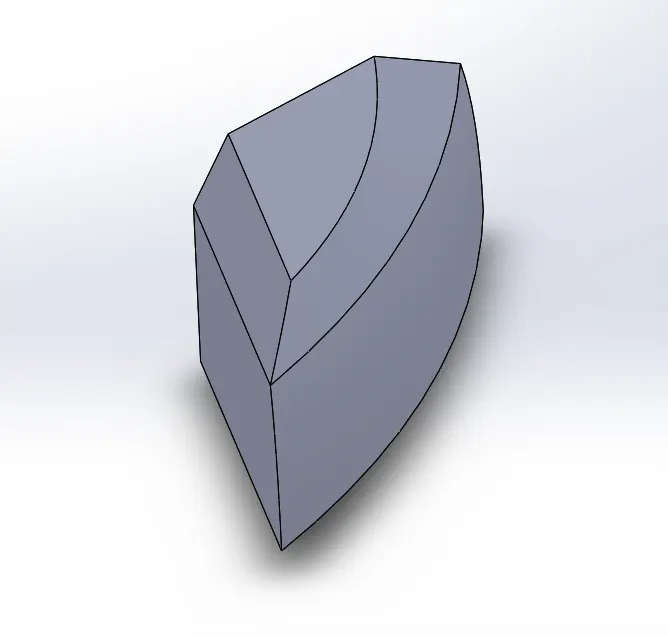
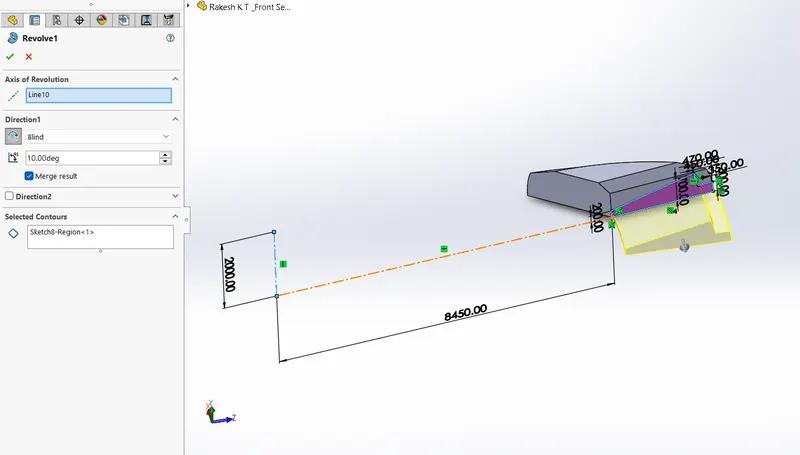
- Use Revolved Boss as shown in the below sketch.
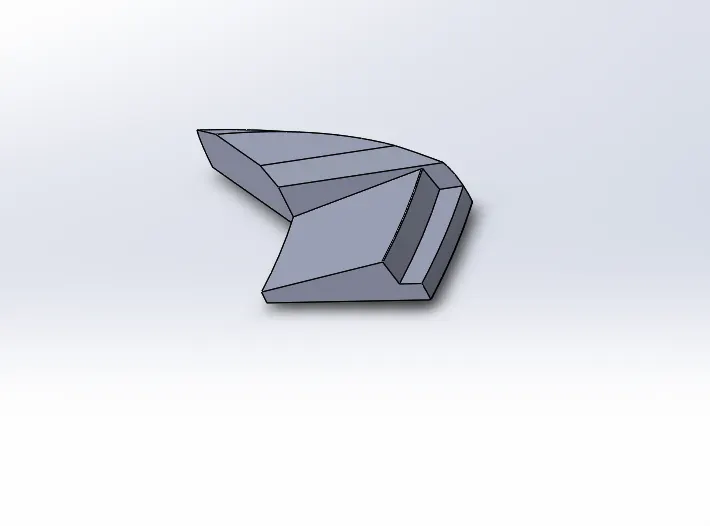
- Use Cut Extrude , Chamfer and Mirror option for obtaining below geometry.
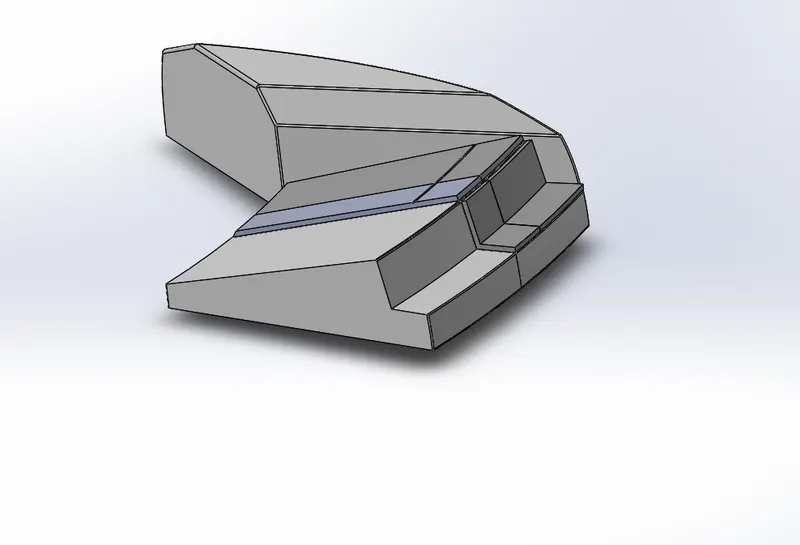
- Mirror Opposite Extrude as shown below.
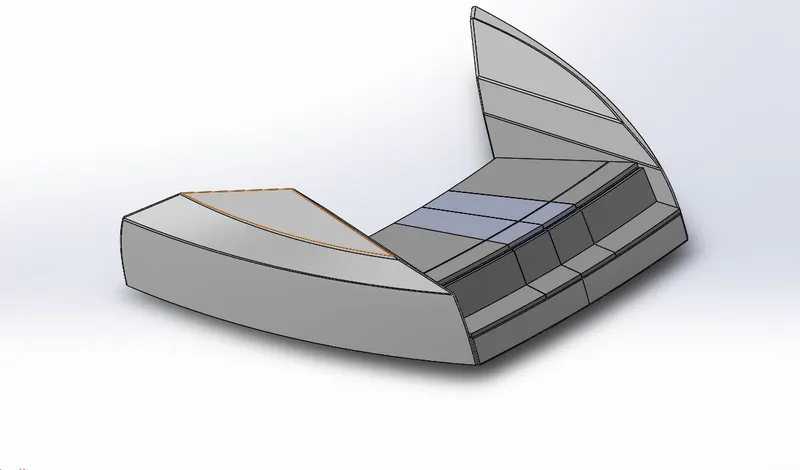
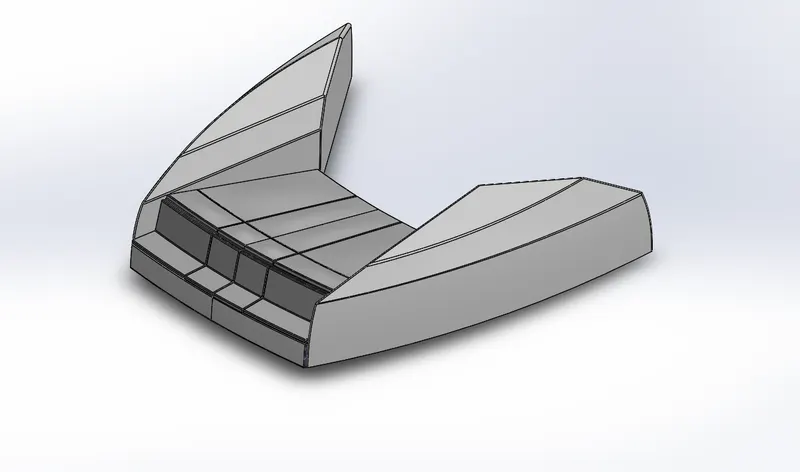
- Use Dome , Fillet and Combine option to make complete seat.
6.Middle Seat
Commands Used: Boss Extrude , Cut Extrude , Fillet and Chamfer.
- Open Blueprint Setup File and Saveas Middle Seat.
- Use Boss Extrude and Extrude as per sketch.
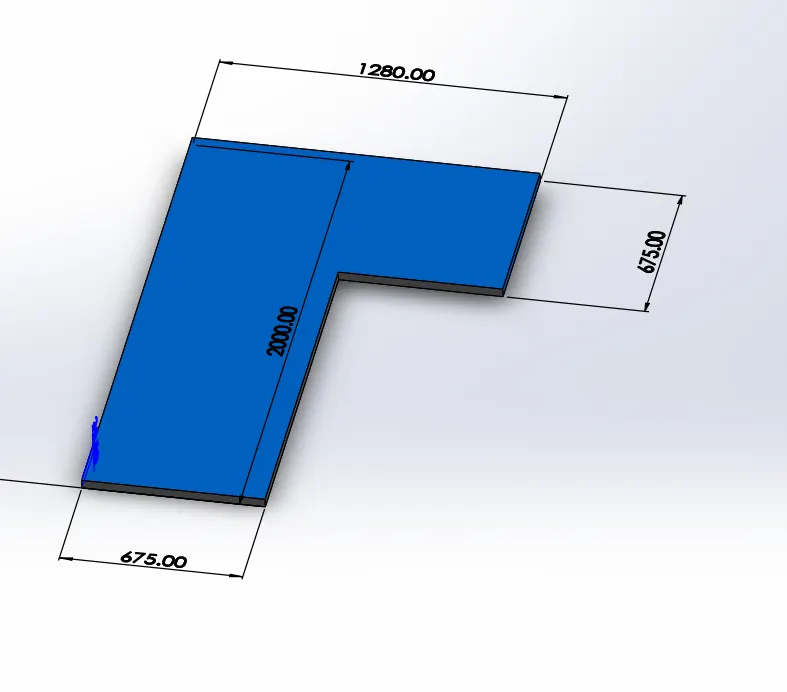
- Use Boss Extrude and create the layer.
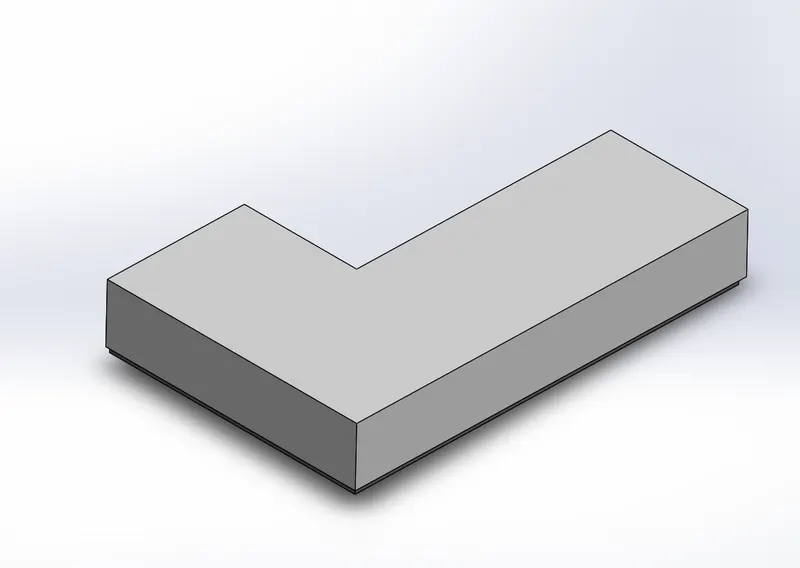
- Use Boss Extrude and Fillet chamfer to obtain back rest of the Middle Seat.
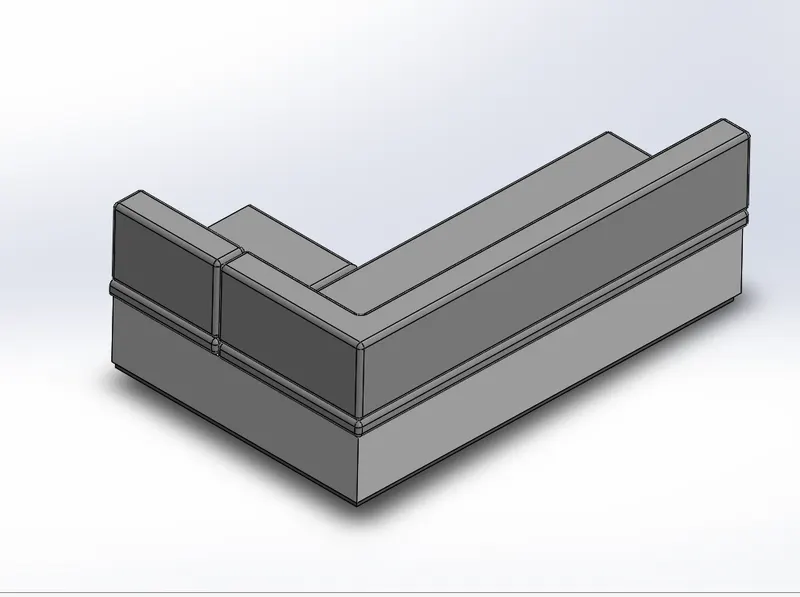
- Mirror it on the other side.
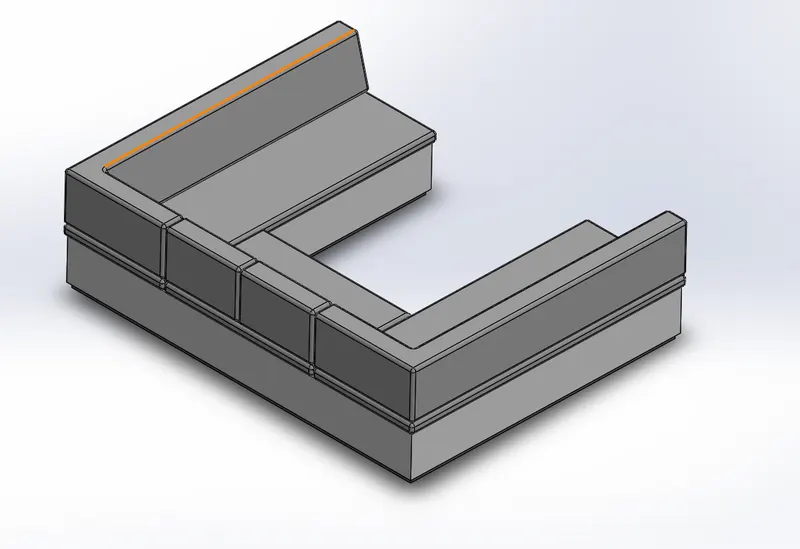
- Use Boss Extrude to make the table in the center.
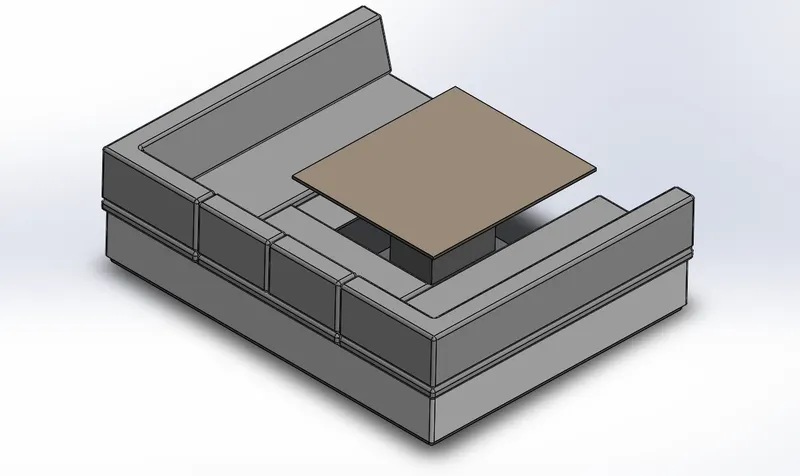
- Use Cut Extrude and make fillet for obtaining the final product as shown below.
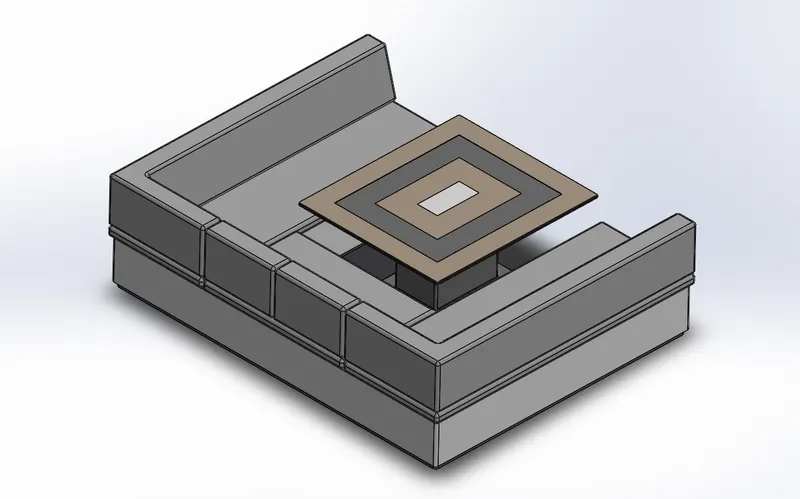
7.Rear Seat
Commands Used: Surface Trim ,Surface Sweep , Ruled surface , Surface Knit, Surface Extrude , Surface Offset , Boss Extrude , Cut Extrude, chamfer , fillet.
- Open Blueprint Setup File and Saveas Rear Seat.
- Create a Surface Sweep as shown below using the sketch.
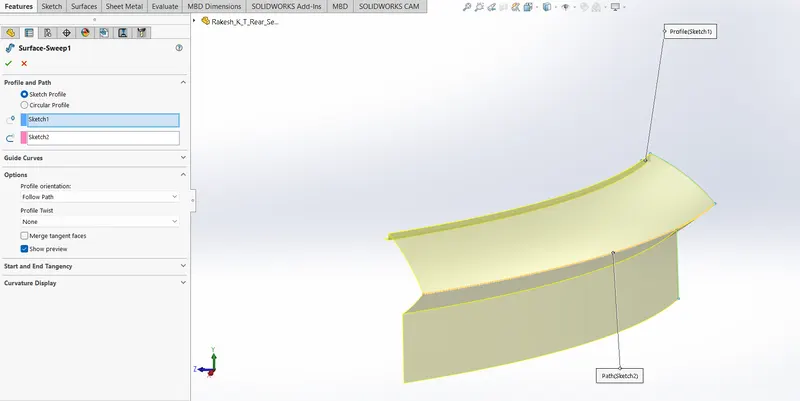
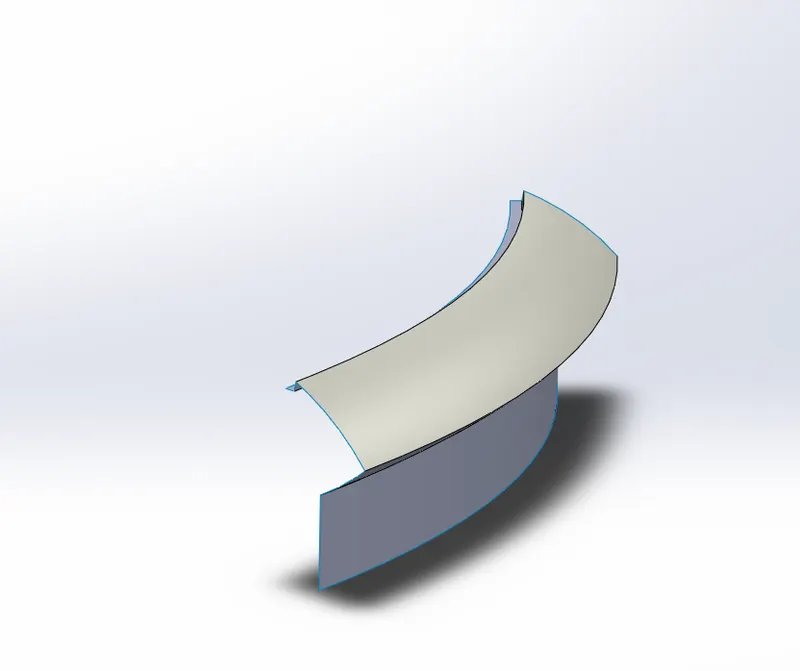
- Use Offset Surface and make the surface trim as shown in below fig.
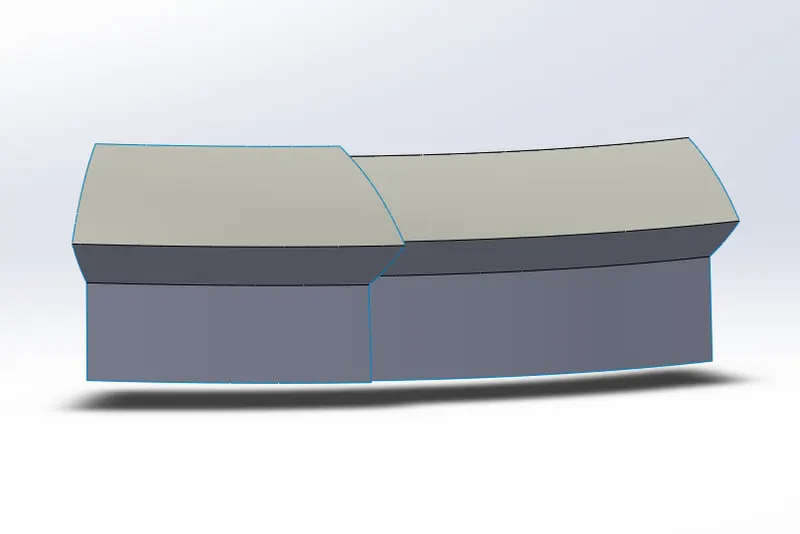
- Use surface trim and ruled surface as shown in below image.
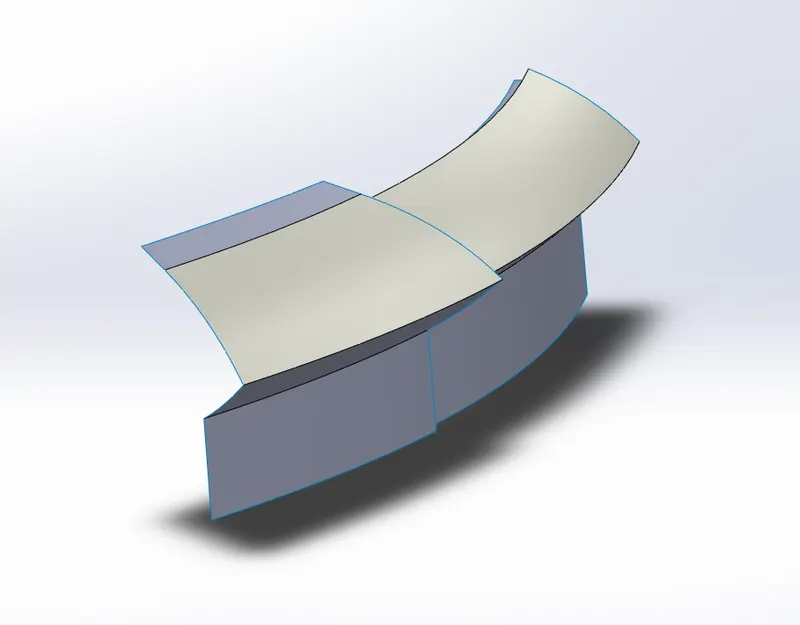
- Use Surface Trim , Surface Sweep and use as this sketch.
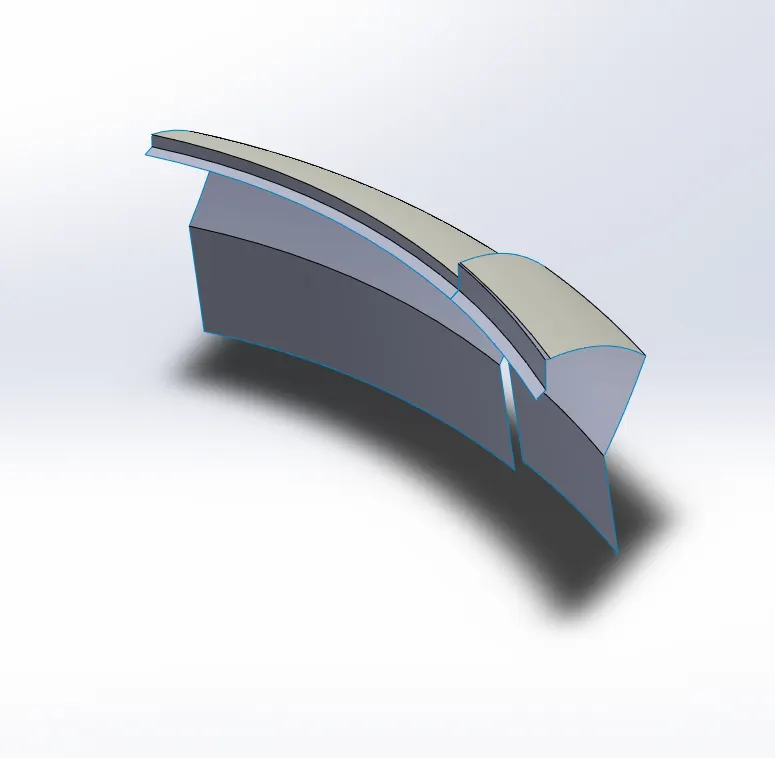
- Use Surface Loft and Surface extrude as shown below.
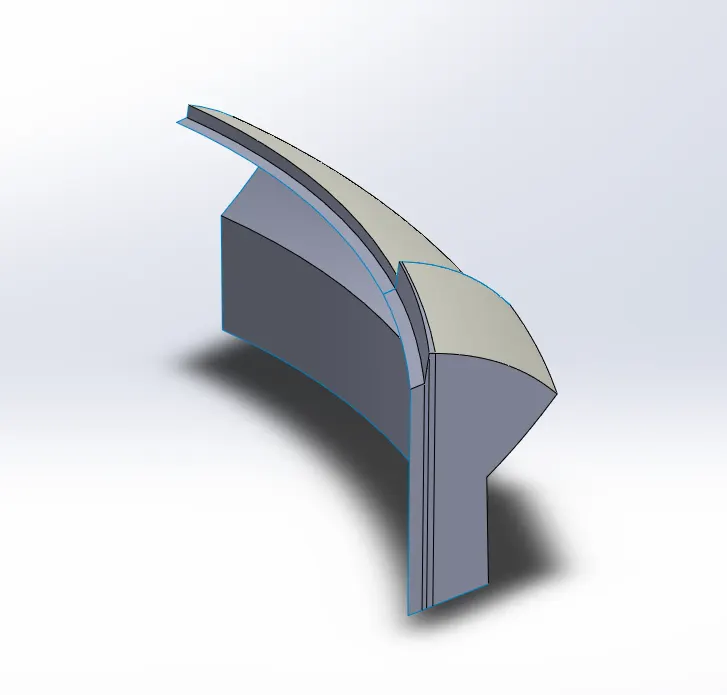
- Use Surface Loft and Surface Extrude to close the profile.
- Use Surface Loft , Boss Extrude and cut extrude to obtain the required Profile.
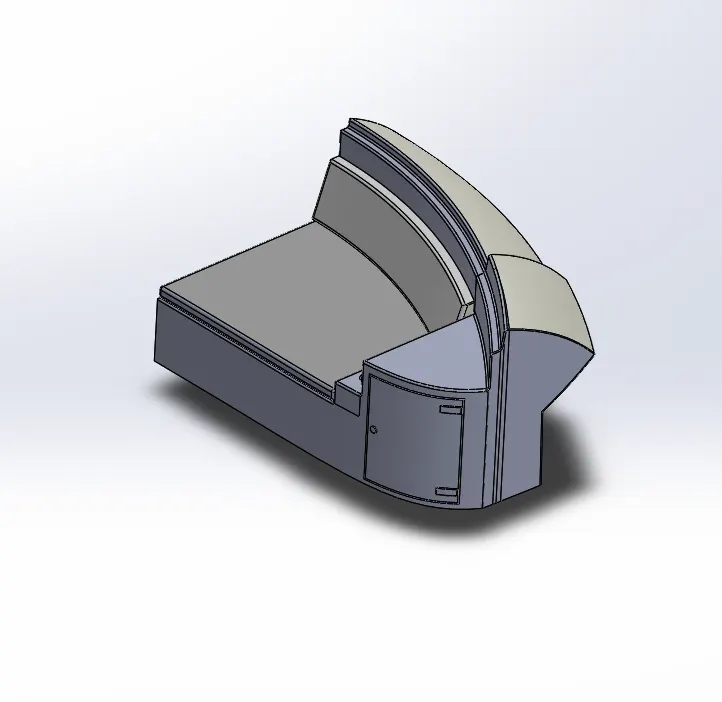
- Use Sweep and mirror option to obtain the side gate as shown below.
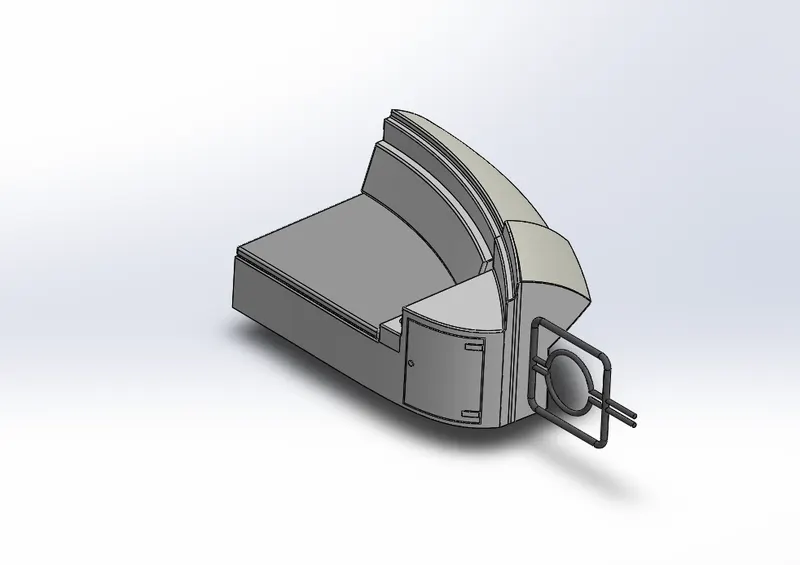
- Use Mirror and obtain the complete profile as shown in below image.
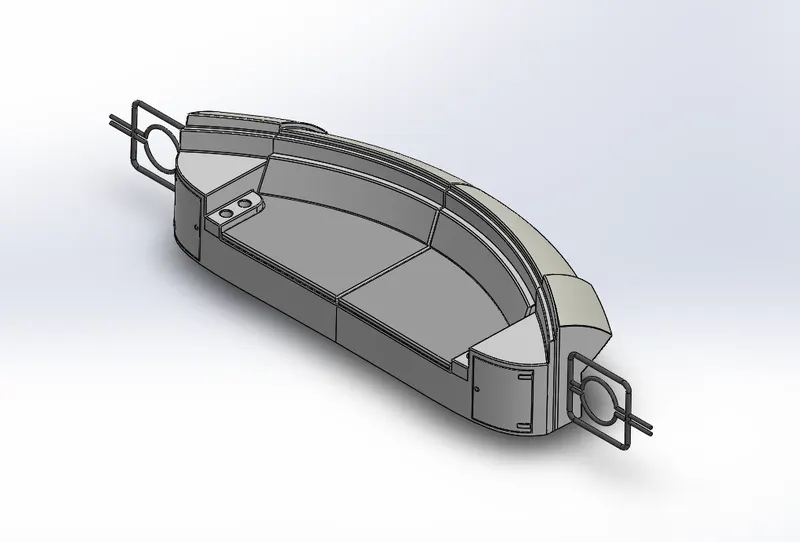
- Use Revolve, fillet and surface loft to obtain flag and final rear seat of the project.
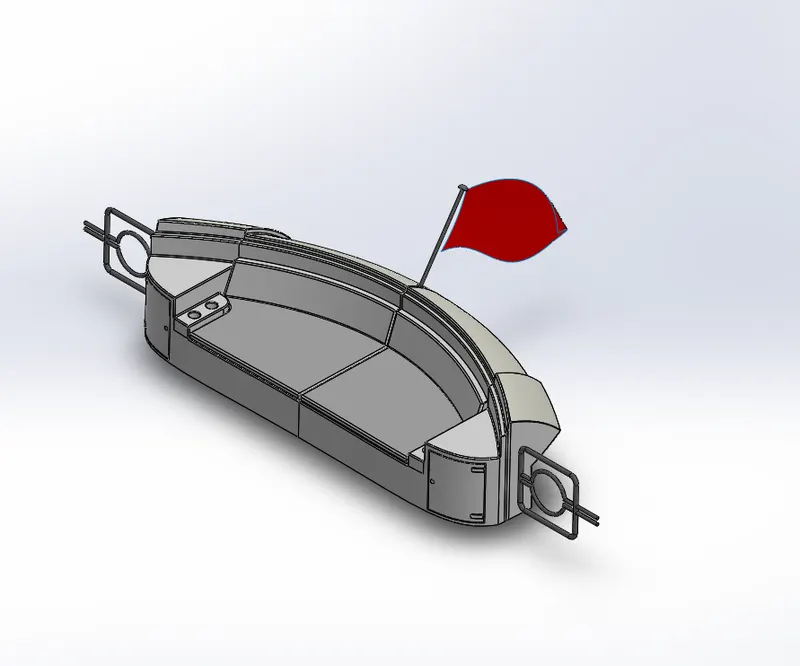
8. Super Structure
Commands Used: Surface Trim ,Surface Sweep , Ruled surface , Surface Knit, Surface Extrude , Surface Offset , Boss Extrude , Cut Extrude, chamfer , fillet.
- Open Blueprint Setup File and Saveas SuperStructure.
- Use Surface Extrude and make the component surface as shown in below image.
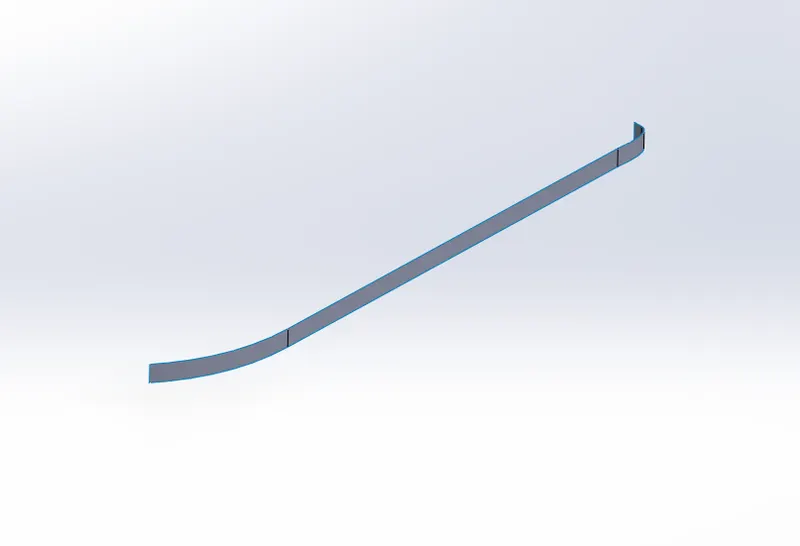
- Use Surface loft and Surface trim as shown in below image.
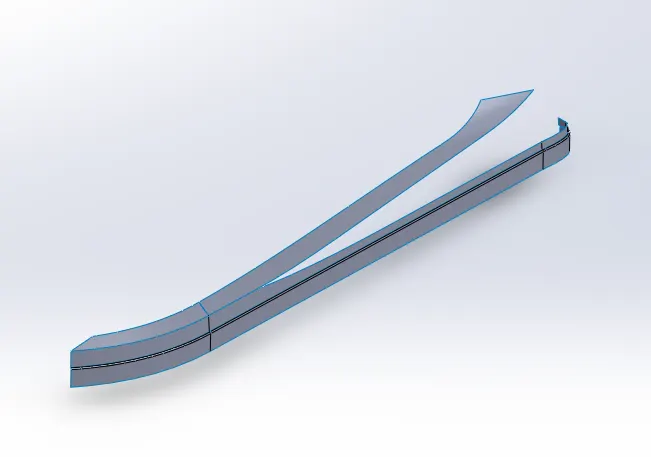
- Use Surface Sweep as shown in below image and surface trim remaining unwanted surfaces.
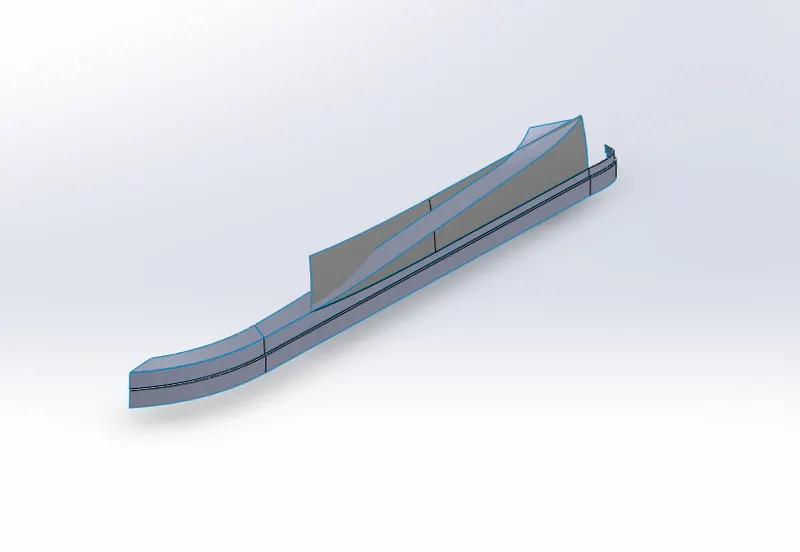
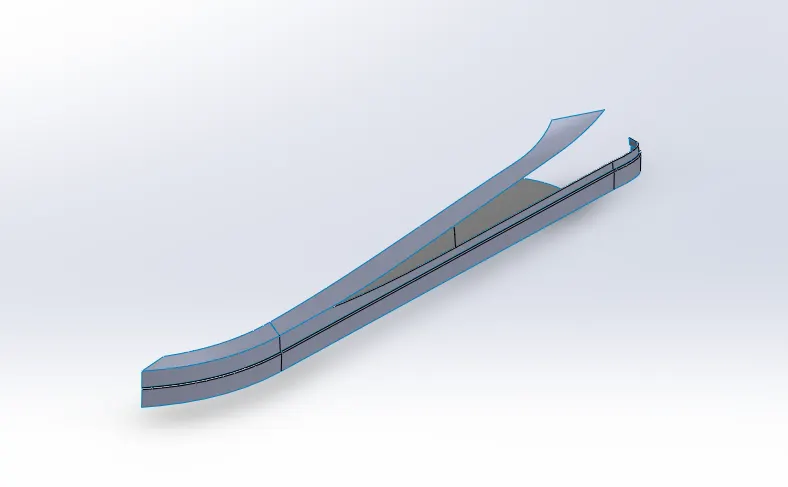
- Use Surface Extrude and Surface Knit the remaining components to make it into one componenet.
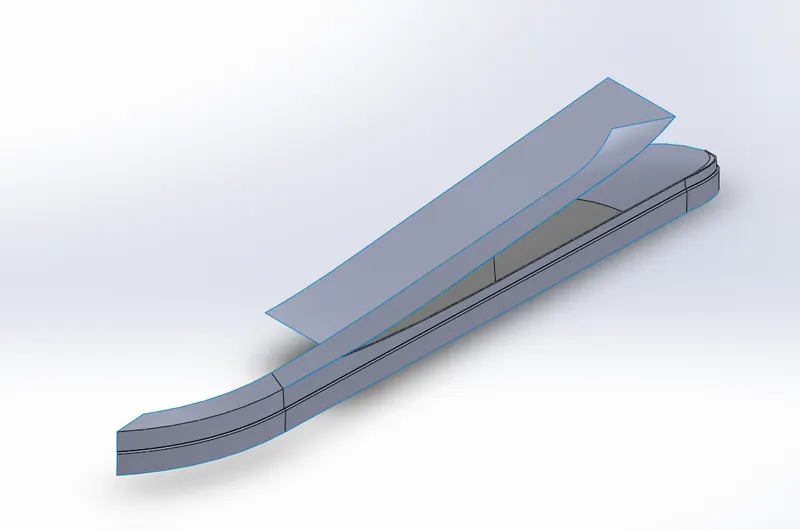
- Use 3d Sketch and Surface extrude as shown below and make the component as shown below.
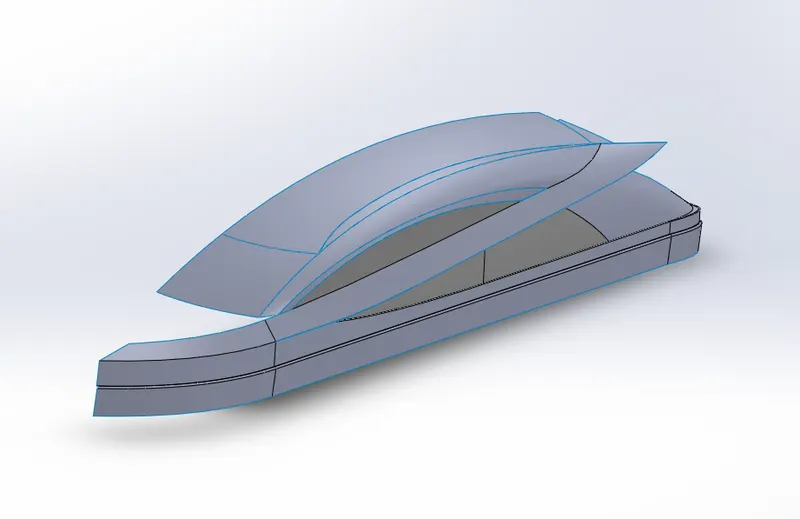
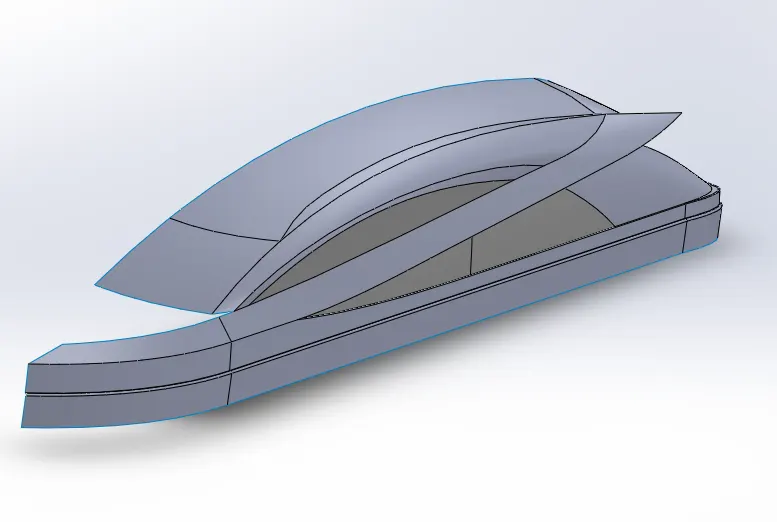
- Use Boss Extrude , Fillet and Cut Extrude as shown below.
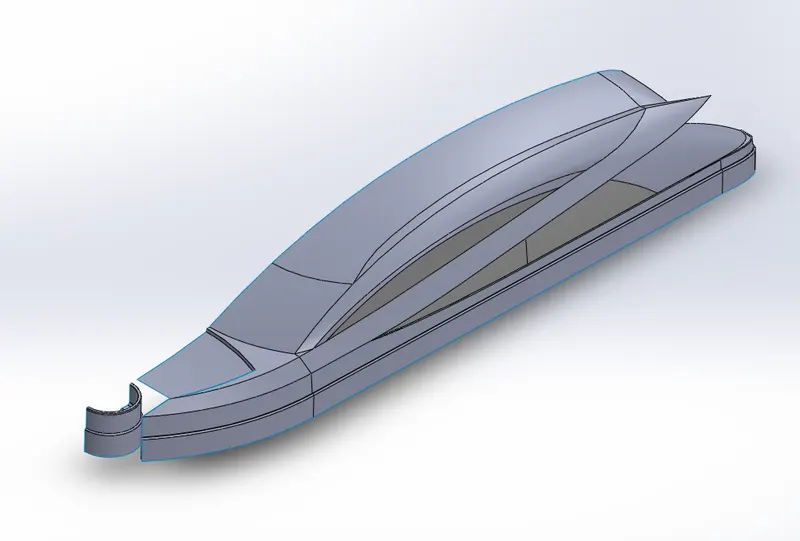
- Use Surface Extrude and thicken option to obtain the desired output of the product and then use Mirror option
to make the complete output of the product.
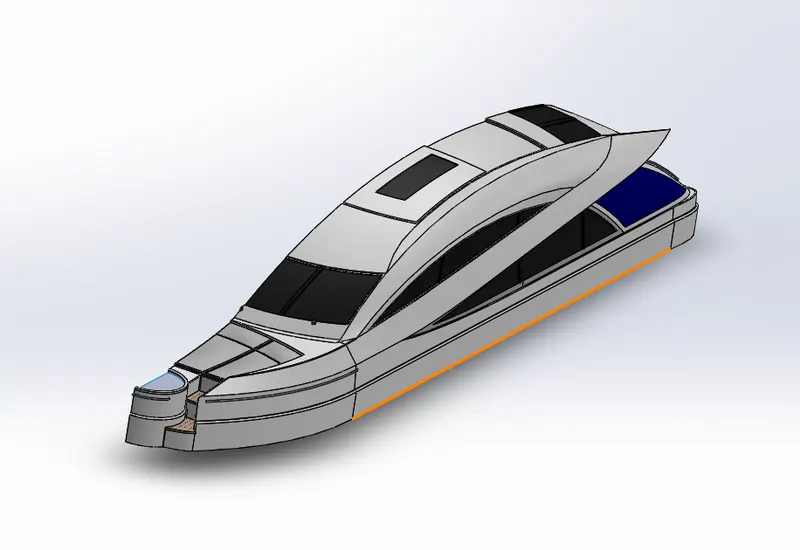
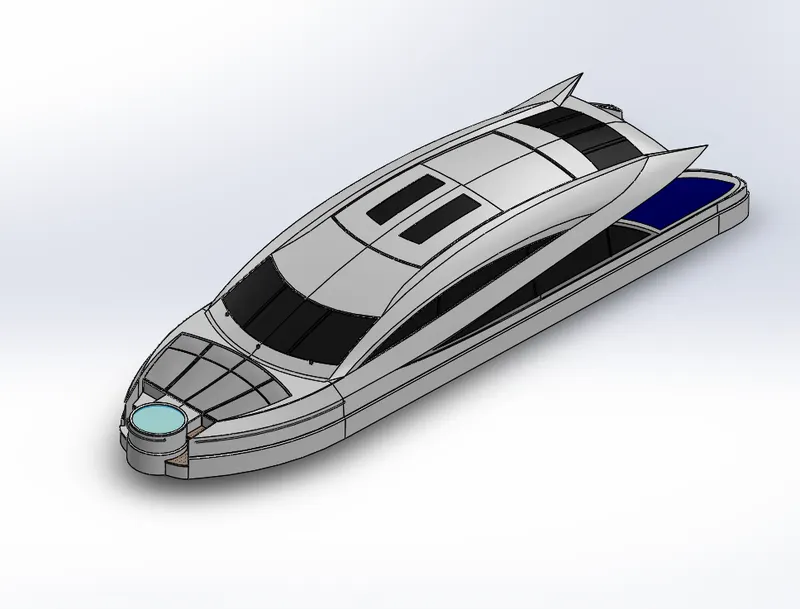
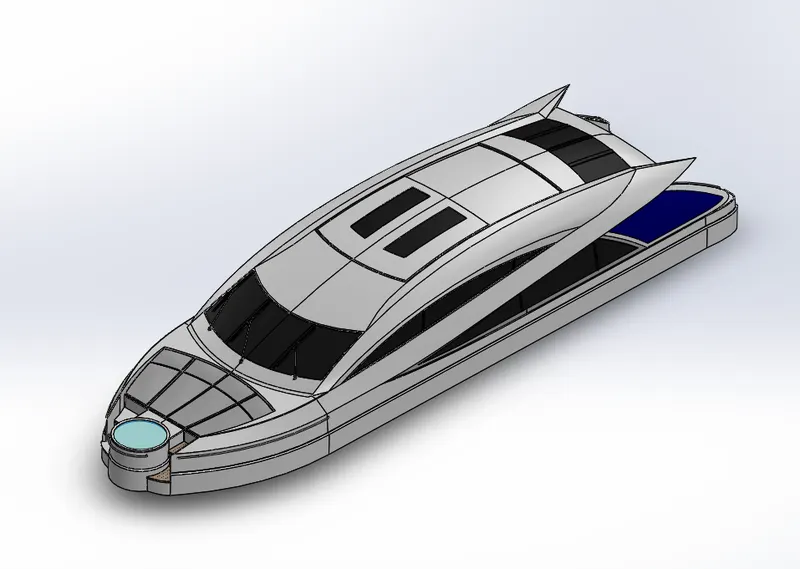
- Make the Wiper and complete the product as shown below to make final finished product.
9. Garrage Door
Commands Used: Cut Extrude ,Shell ,Mirror ,Fillet.
- Open the Garage Door that is used in hull.
- Use Shell command and thicken
- Use Cut Extrude to make a hole for the fixing.
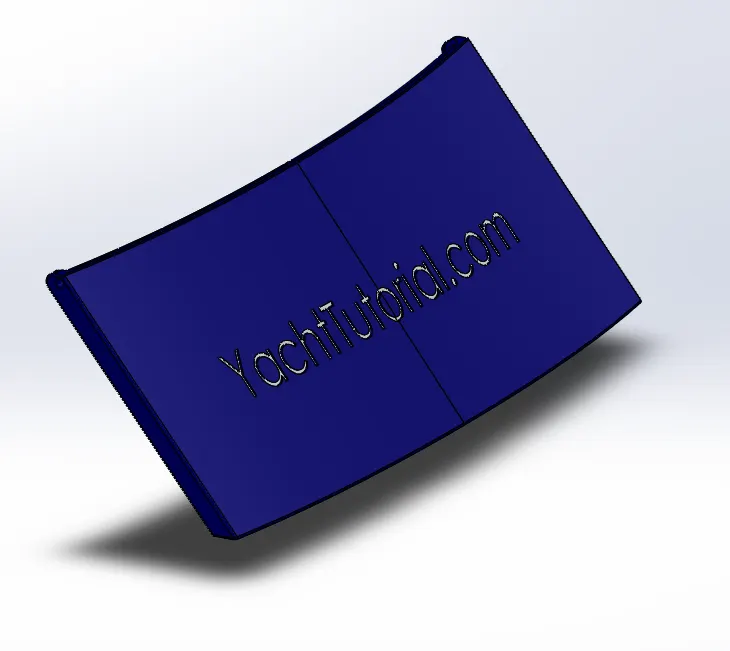
- The Final Garage Door is as shown below.
10. Radar Must
Commands Used: Boss Extrude , Cut Extrude ,Shell ,Mirror ,Dome ,Fillet.
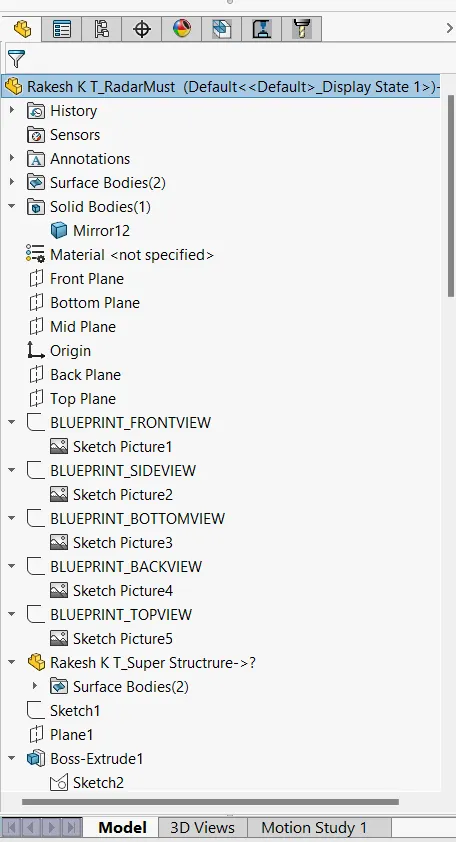
- Open Blueprint Setup File and Saveas Radarmust.
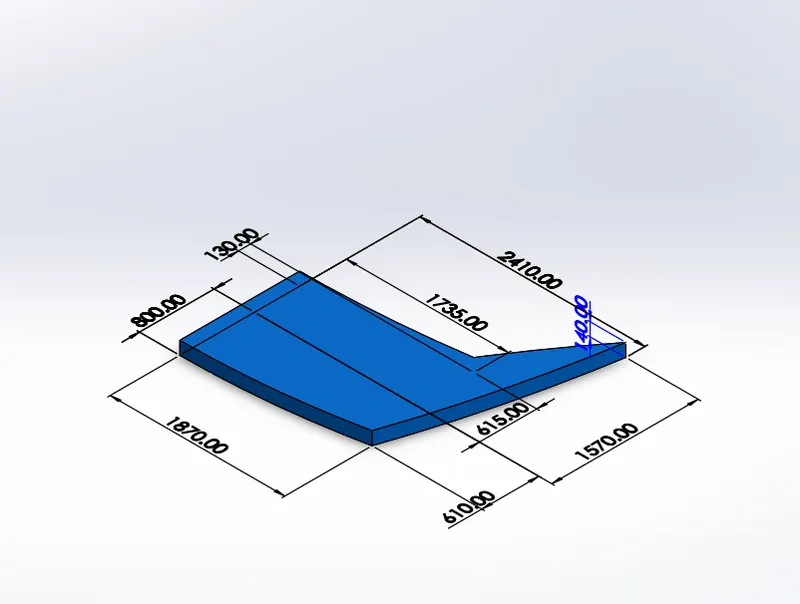
- Create Boss Extrude as shown in the below sketch.
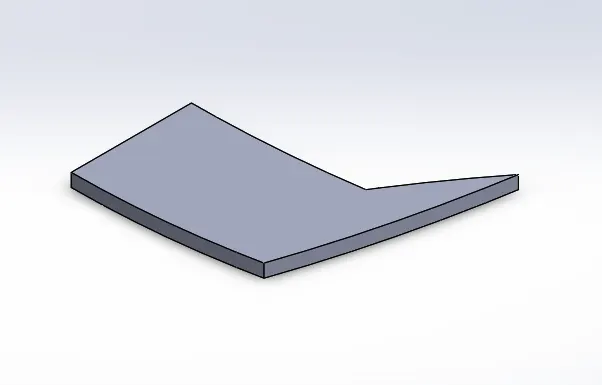
- Use Revolved Boss as shown in the below fig.
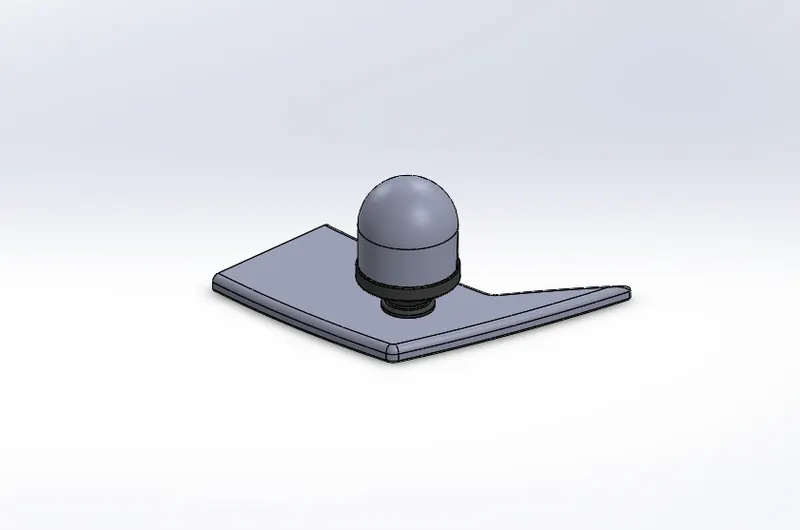
- Use Boss Extrude and fillet to make antenna as shown in below image.
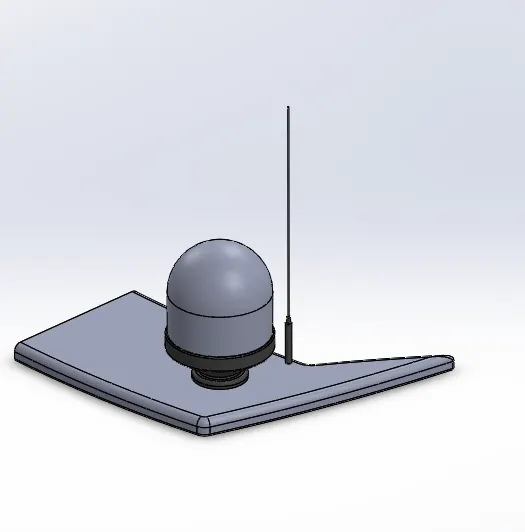
- Use Sweep option and make the railings as shown in below image.
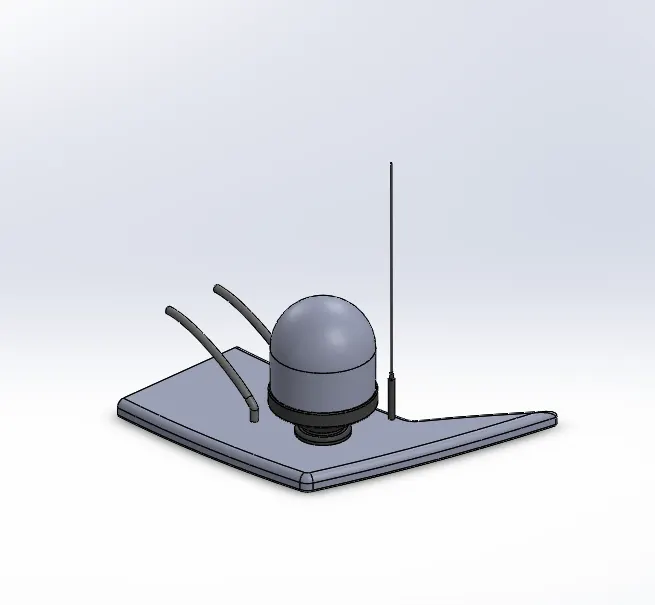
- Use Boss Extrude as shown in below image.
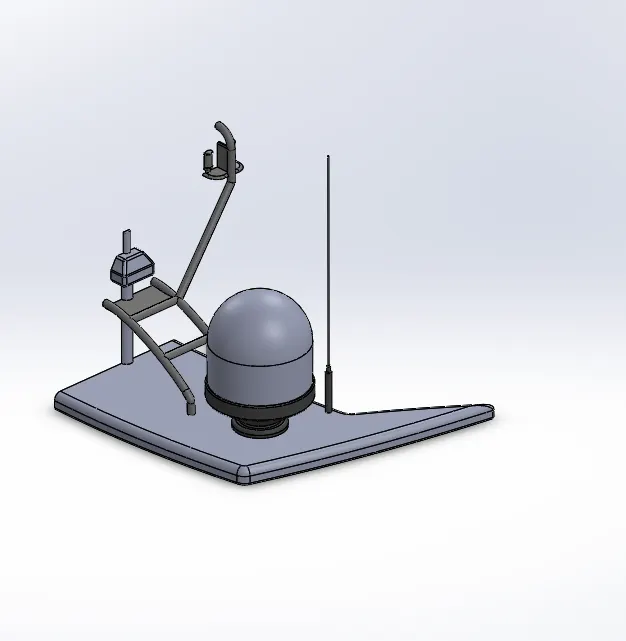
- Use Revolved boss to make the Syrun.
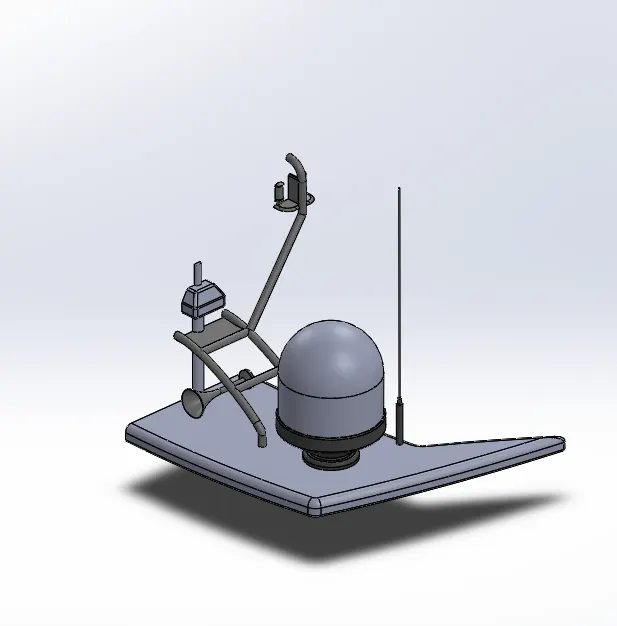
- Mirror Component and make the final product of Radar Must.
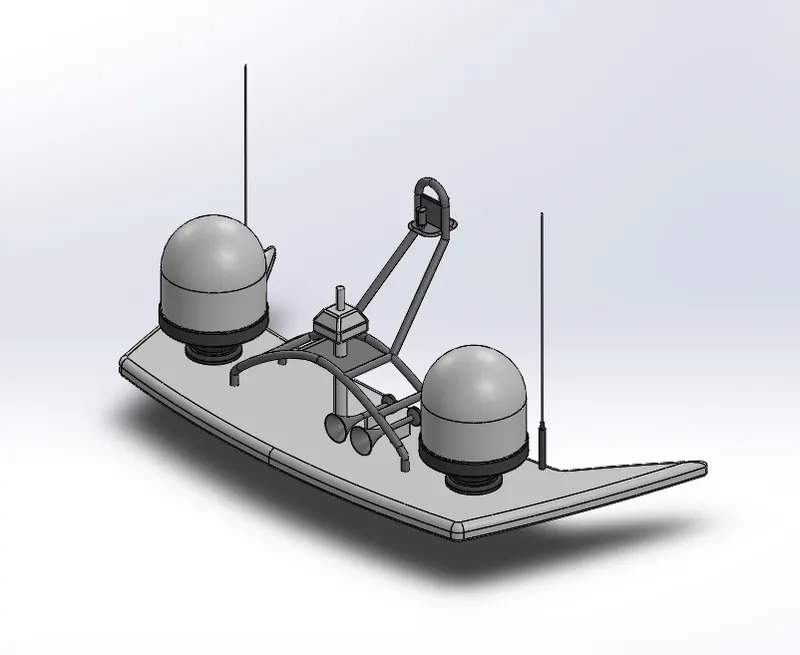
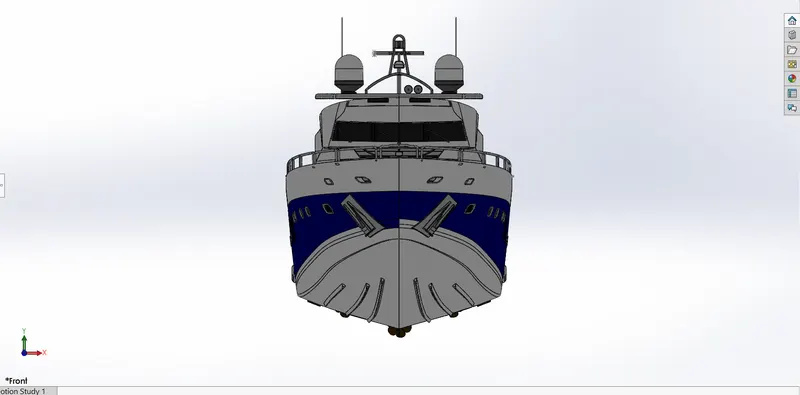
11. Assembly of Yacht
Use complete parts and make the final assembly.
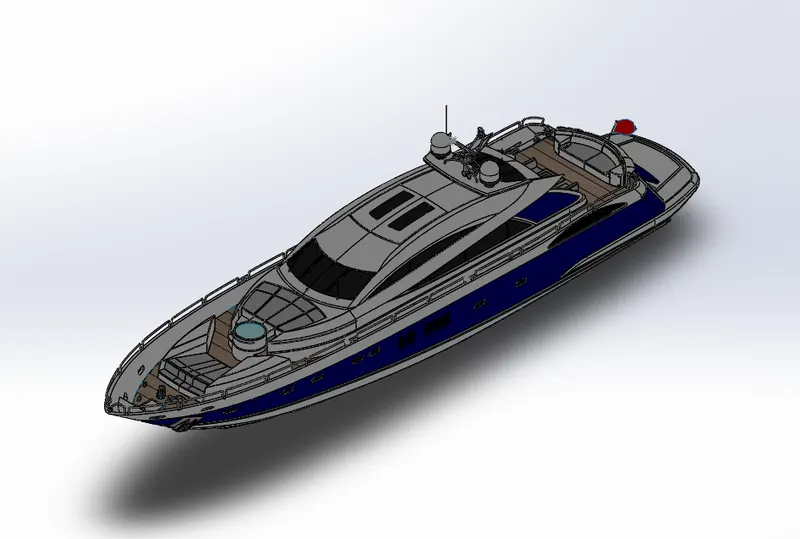
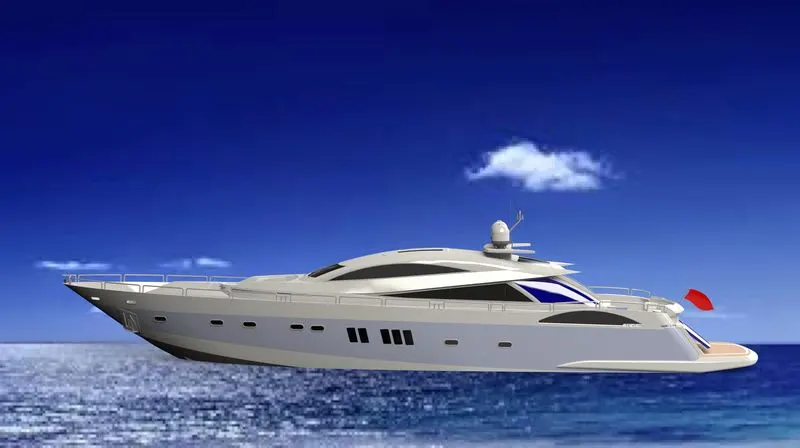
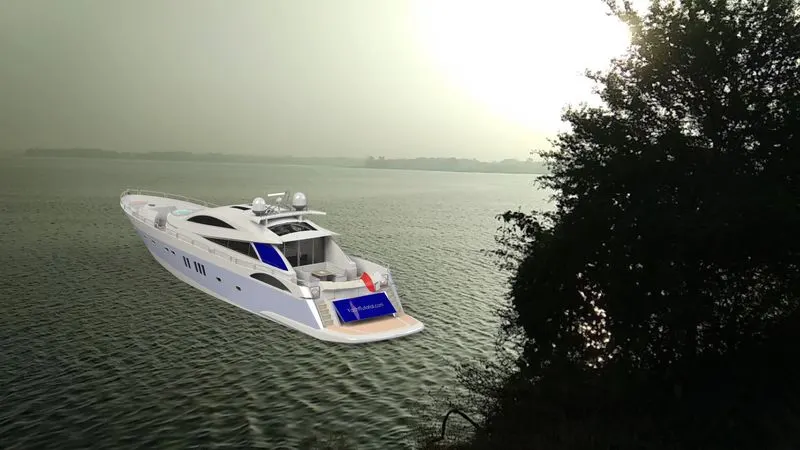
Photo Rendered images using Photoview 360.
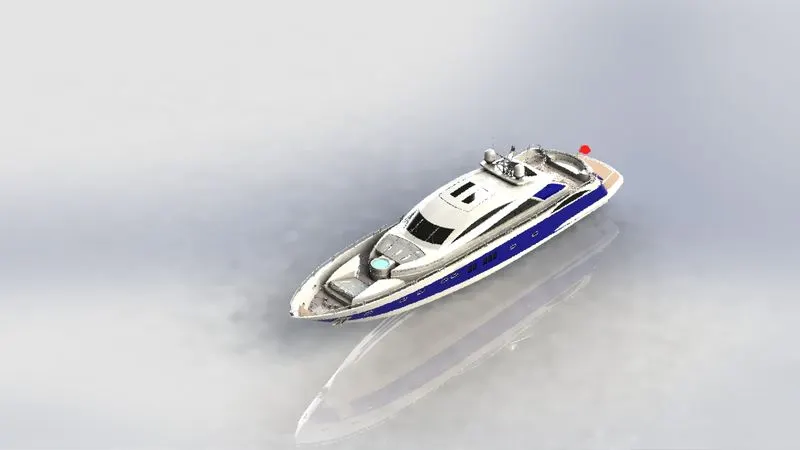
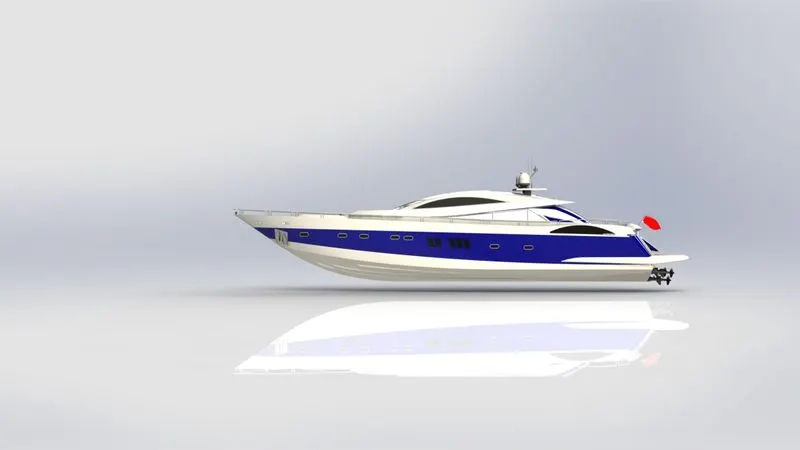
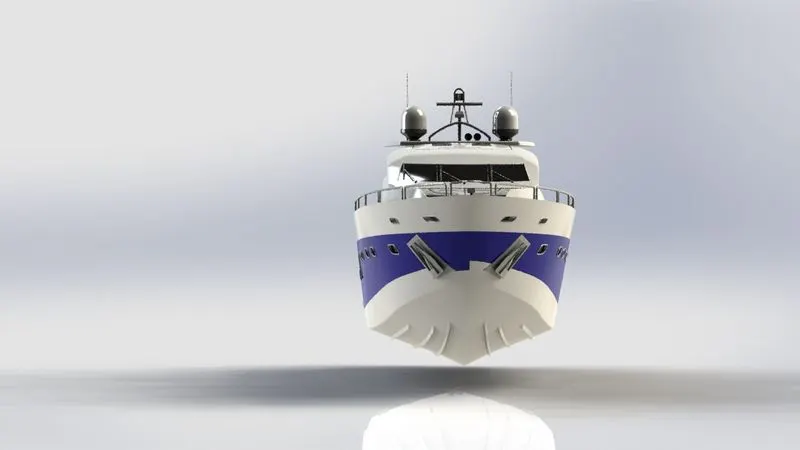
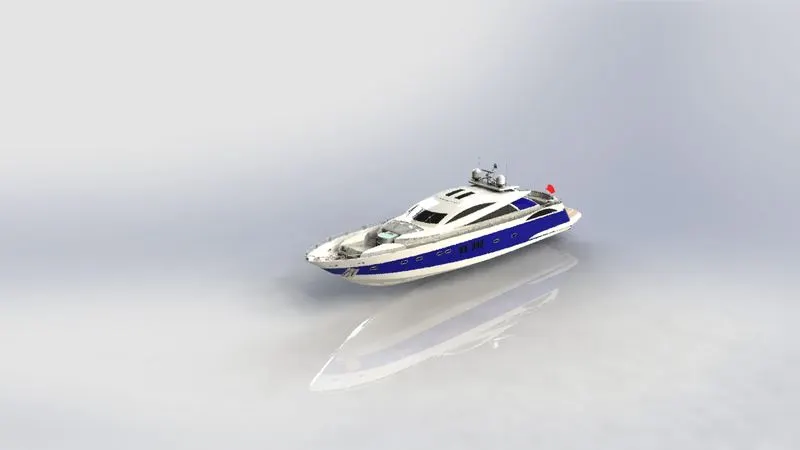
Rendered images using Solidworks Visualize 2019.
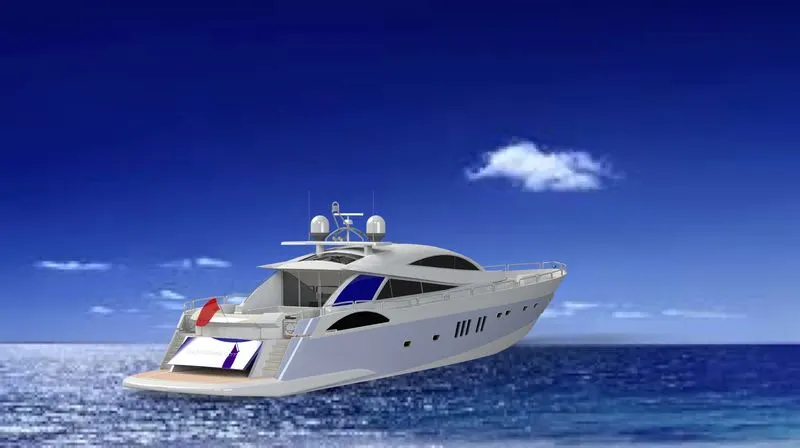
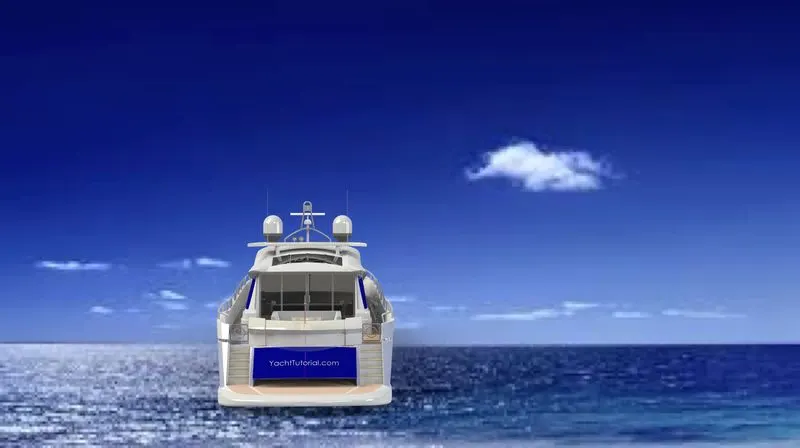
Conclusion:
After completing the complete yacht product we will be able to use the tools present in the solidworks easily and woll be able to design the
products using Solidworks.