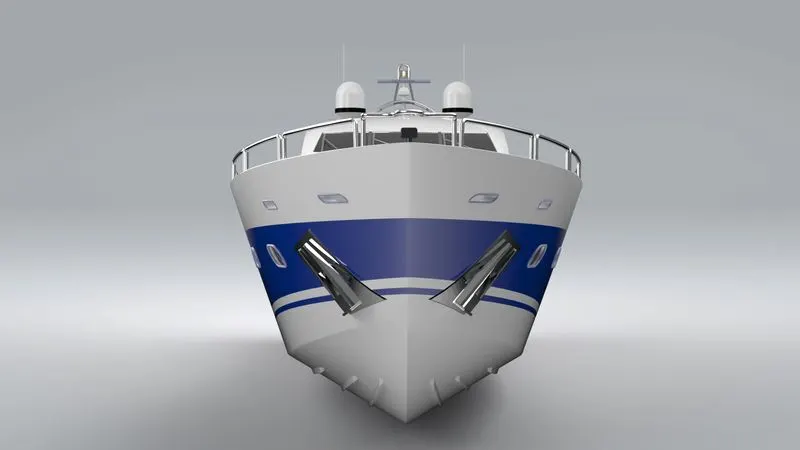
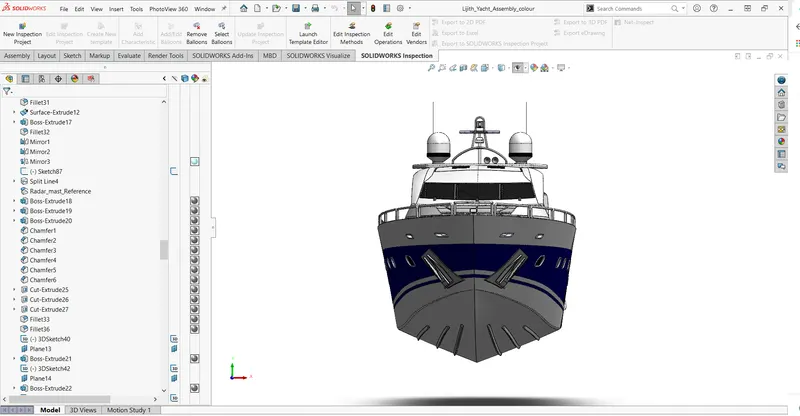
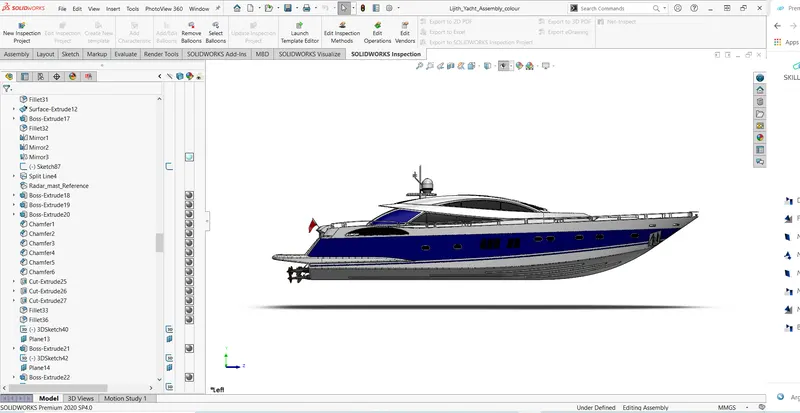
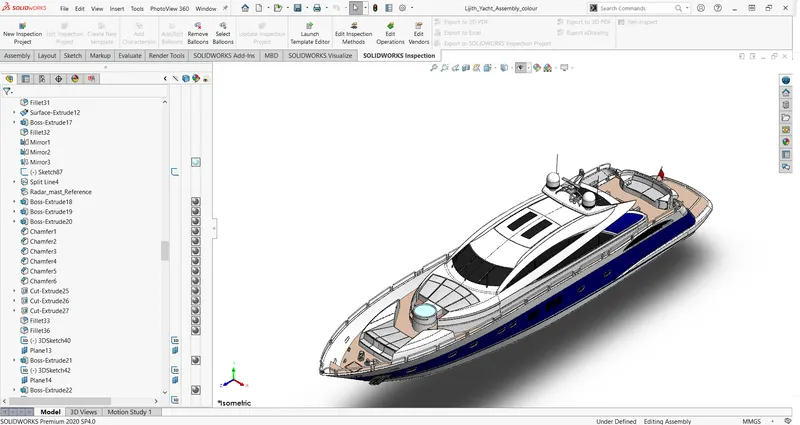
Modelling of Sunseeker Predator Yacht
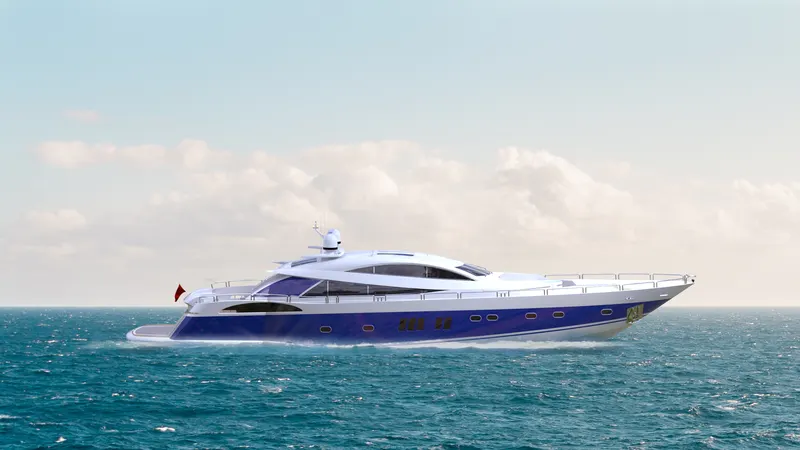
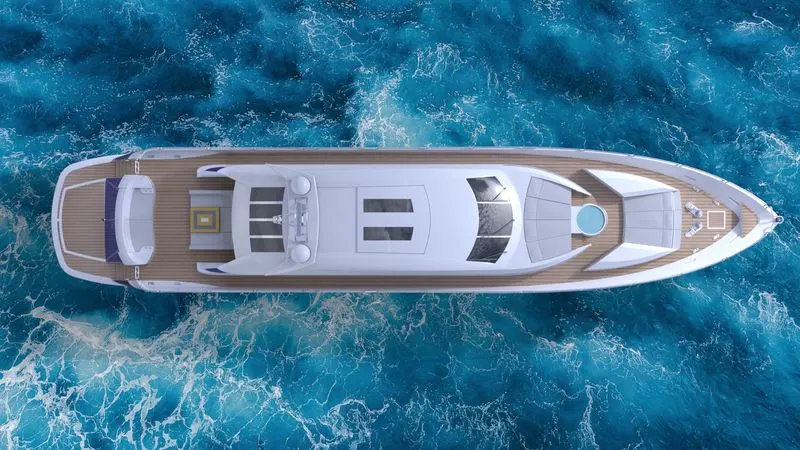
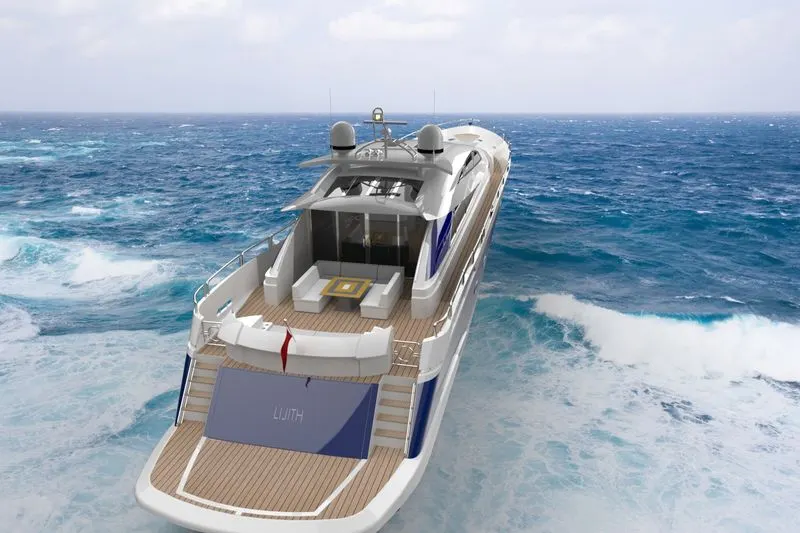
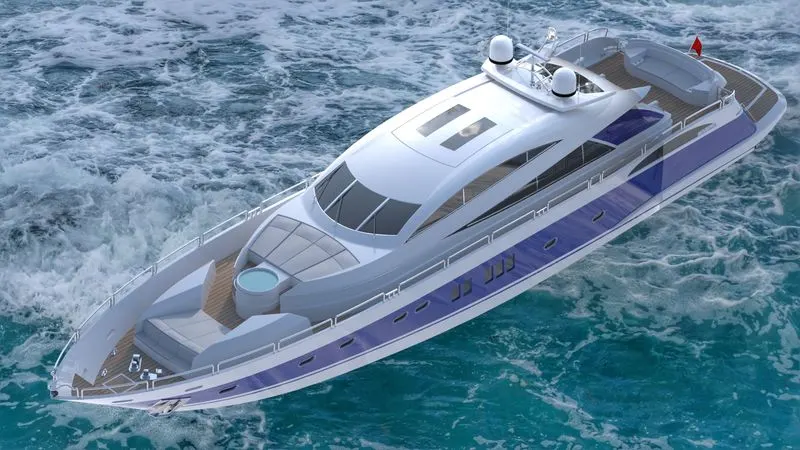
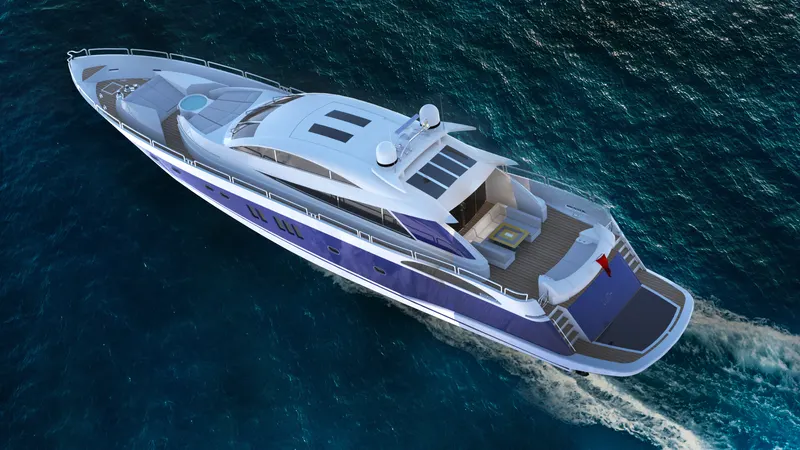
Modeling Sunseeker Predator Yacht using Solidworks and Rendered using Solidworks Visualizer
BY:
LIJITH V M
Introduction
In this project, we are to learn Modelling Sunseeker Predator Yacht using Solidworks for modeling and Solidworks Visualize for rendering.
The different components of the American Chopper we deal with are:
- Propeller
- Radar
- Hull
- Superstructure
- Front Seat
- Middle seat
- Rear seat
- Radar mast
- Garage Door
Every part of the Yacht is made separately with proper sketching and modeling. After designing the part components, we have worked upon the assembly and the photo rendering of the chopper which gives it a complete and realistic view.
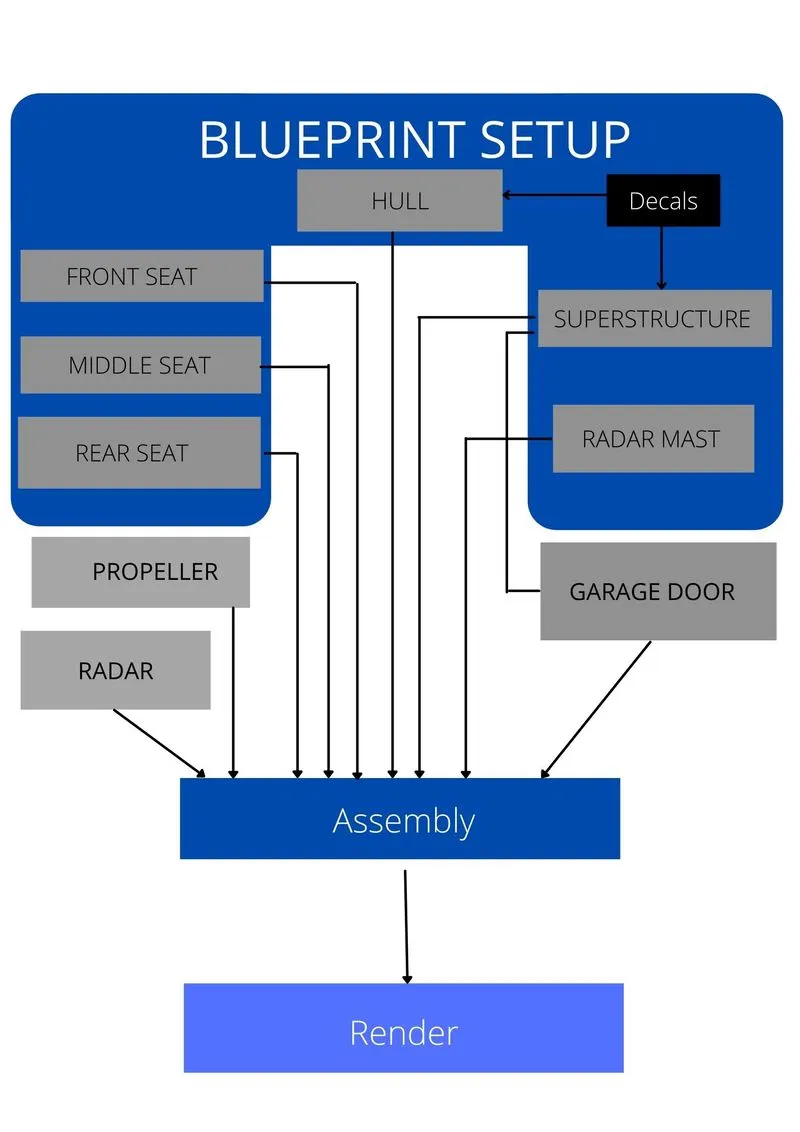
FLOW CHART
2.Tools / Features Used
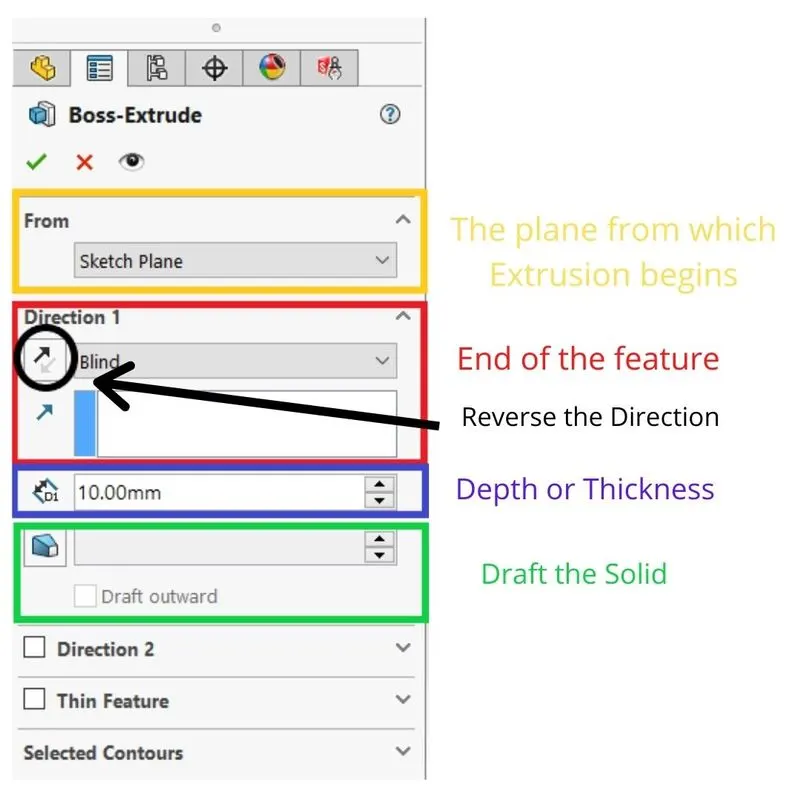
- Extrude Boss: Extrude Base is the feature that helps us to convert 2d drawings into 3d by adding thickness in the 3rd dimension. After completing the sketch select Extruded Boss/Base on the Features toolbar. The Boss-Extrude feature button will prompt you to set parameters as shown in the figure where we have options to set depth, direction, and plane from which extrusion has to take place, etc.
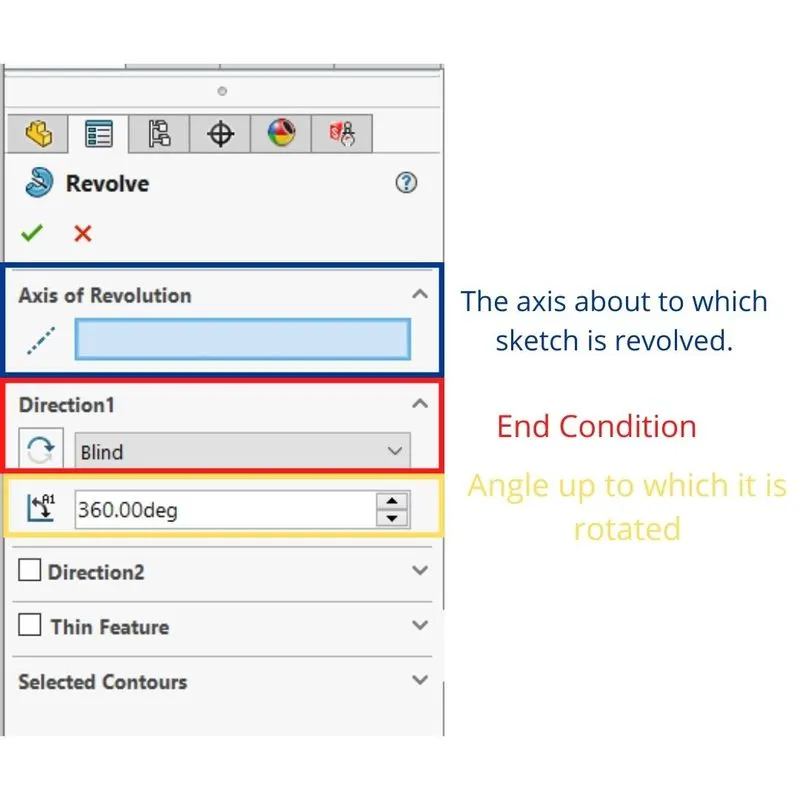
2.Revolved Boss Feature: It is used to create a solid 3D model around an axis. You can revolve the sketch around an axis to add materials to it. After completing the sketch, keeping the sketch selected we revolve the sketch about a particular axis or reference axis.
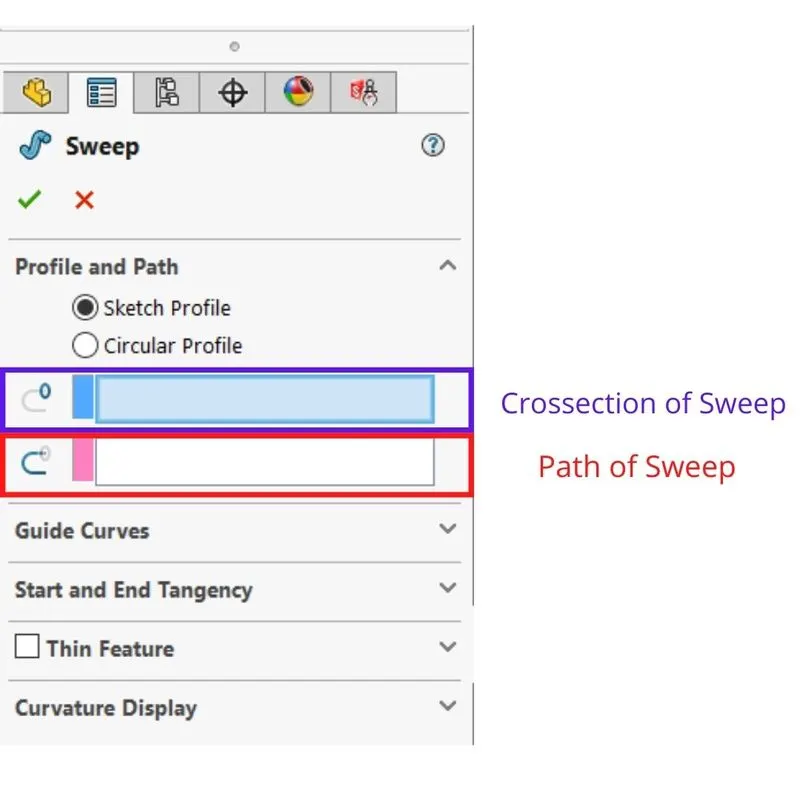
3.Sweep Boss / Sweep Cut: It is used to add or remove material from a solid model or part by sweeping a completely closed profile along a path. Swept Boss or Base add up solid material to the body of design and Swept Cut removes material from the body of the design.
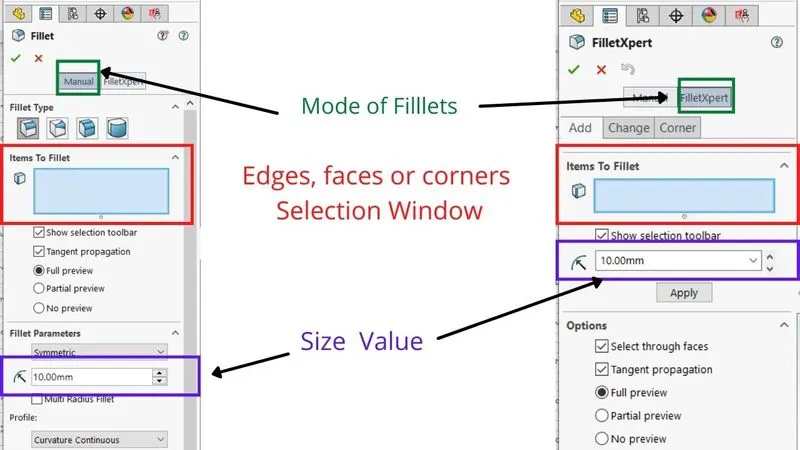
4.Fillet: Fillets are used to round off edges and/or corners. Fillet adds or removes material, depending on whether the edge is internal or external in order to convert edges or corners to a rounded one. There are manual fillet and fillet expert options that will be useful depending upon the complexity of the model, or no of models we have to add fillet.
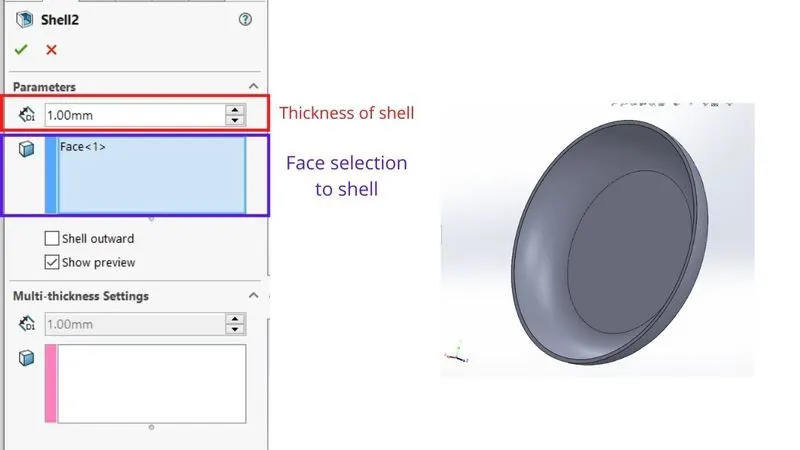
5.Shell: The shell tool hollows out a part, leaves open the faces you select, and creates thin-walled features on the remaining faces.
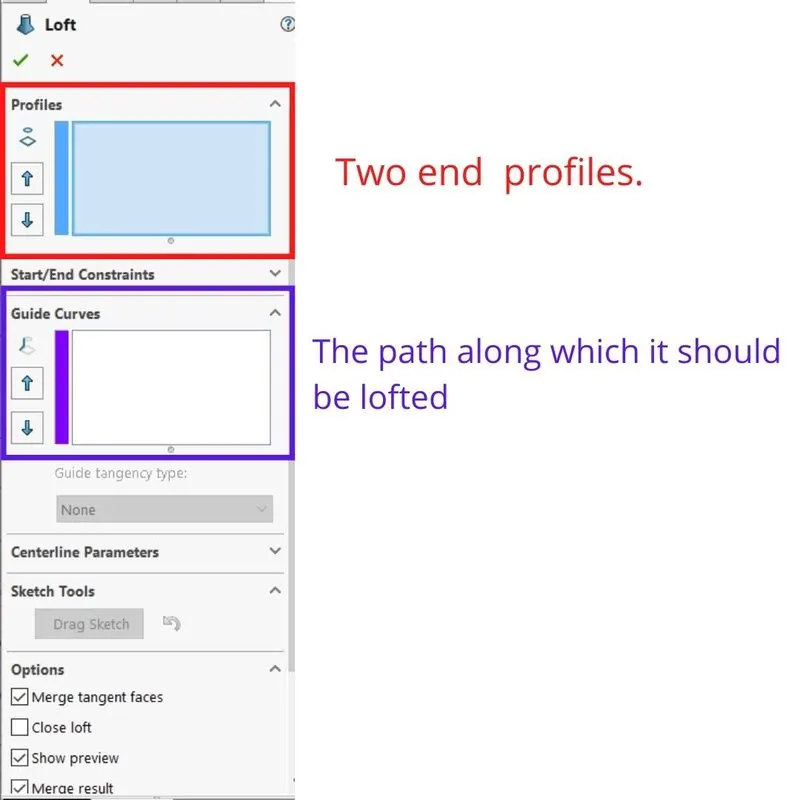
6.Loft Boss/ Loft Cut: You create a loft using two or more profiles. Only the first, last, or first and last profiles can be points. All sketch entities, including guide curves and profiles.
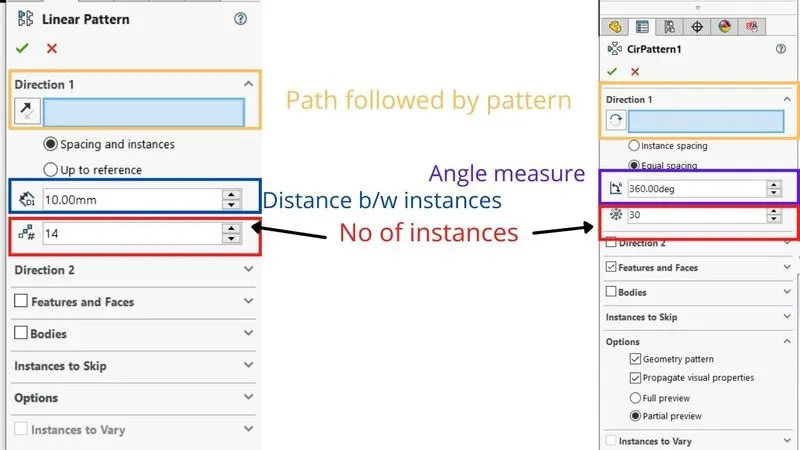
7.Linear Pattern: It is used to create multiple instances of one or more features that you can space uniformly along one or two linear paths. In a linear pattern, we have to select the linear path pattern that needs to be followed or the distance needed in a direction.
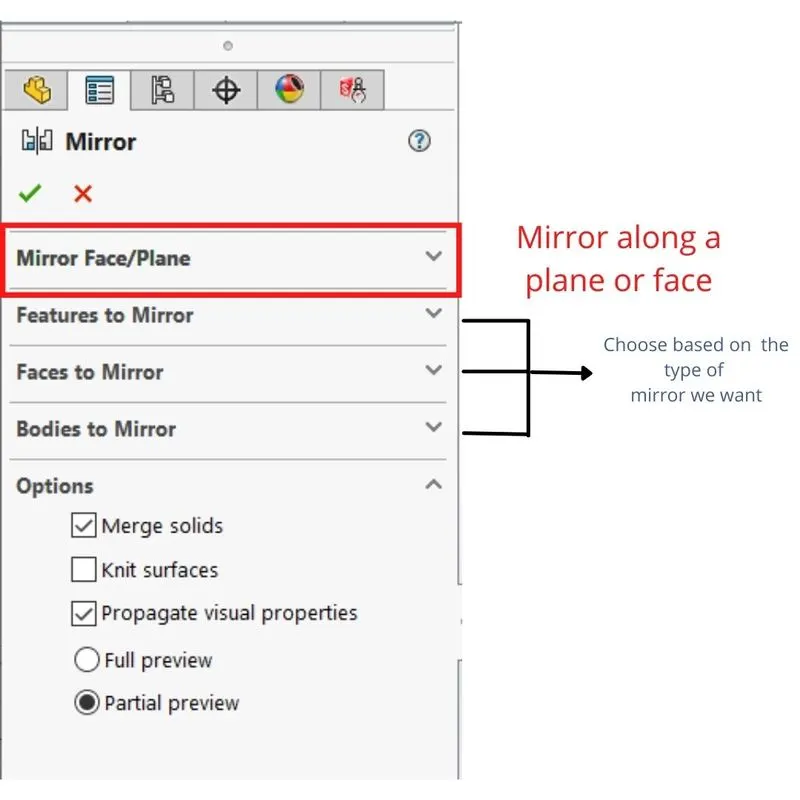
8.Mirror: It allows us to duplicate features just like the mirror image. We can mirror the features along a plane, axis, face, reference geometries, etc. We also have the option to mirror patterns, bodies, multi bodies which make the designing a lot easier.
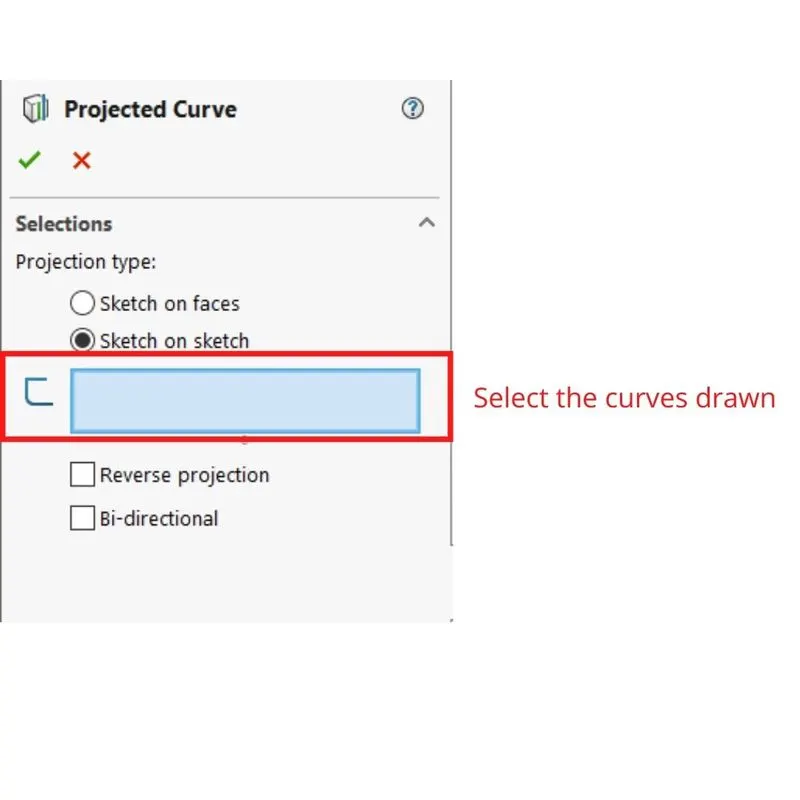
9.Projected Curve: It is a very useful tool to create complex 3D curves. Drawing curves in different planes with some common points and combining them helps to get smooth 3D curves with this tool.
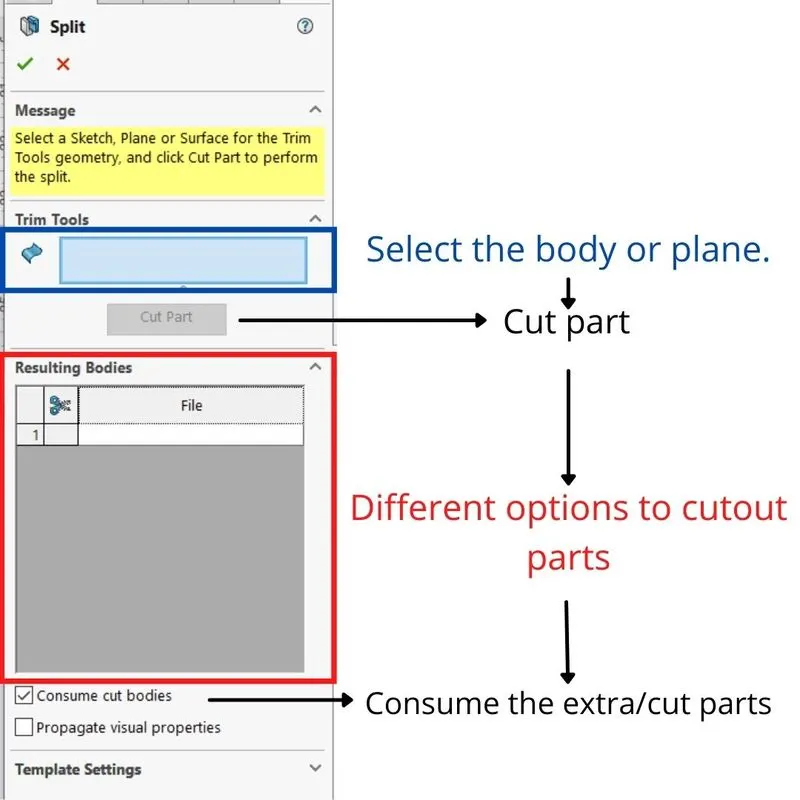
10.Split: Split works just like the extruded cut tool, but the split has a lot more options to cut out parts. It helps to cut out intersection parts, remove unwanted interior or exterior parts.
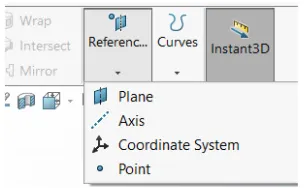
11.Reference Geometry: Reference geometry defines the shape or form of a surface or a solid. Reference geometry includes items such as planes, axes, coordinate systems, and points.
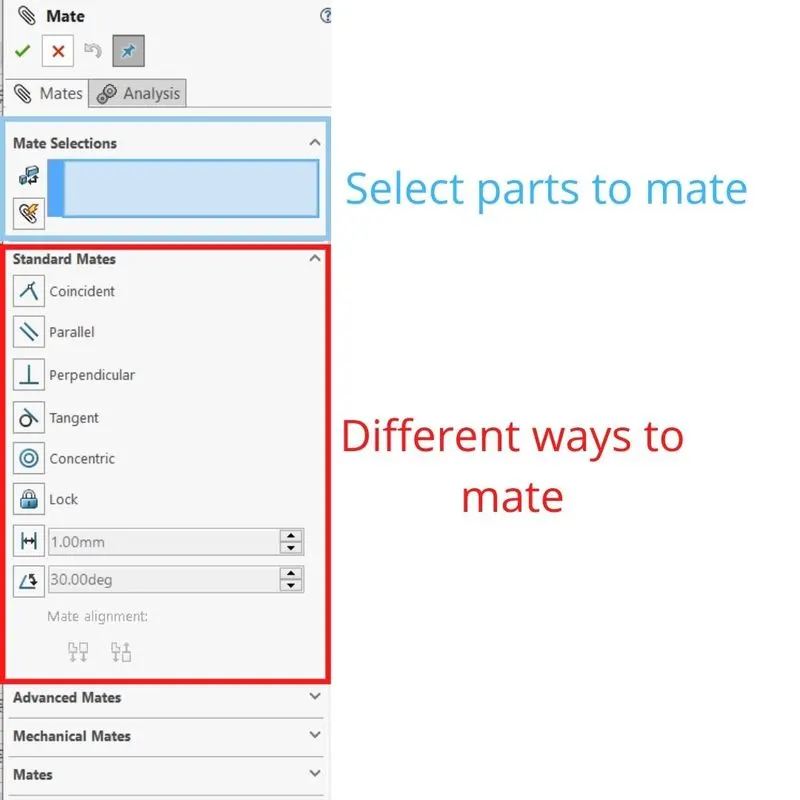
12.Mate: Mates create geometric relationships between different parts we made. It helps to create different mates with the relation of concentric, parallel, perpendicular, tangent, etc.
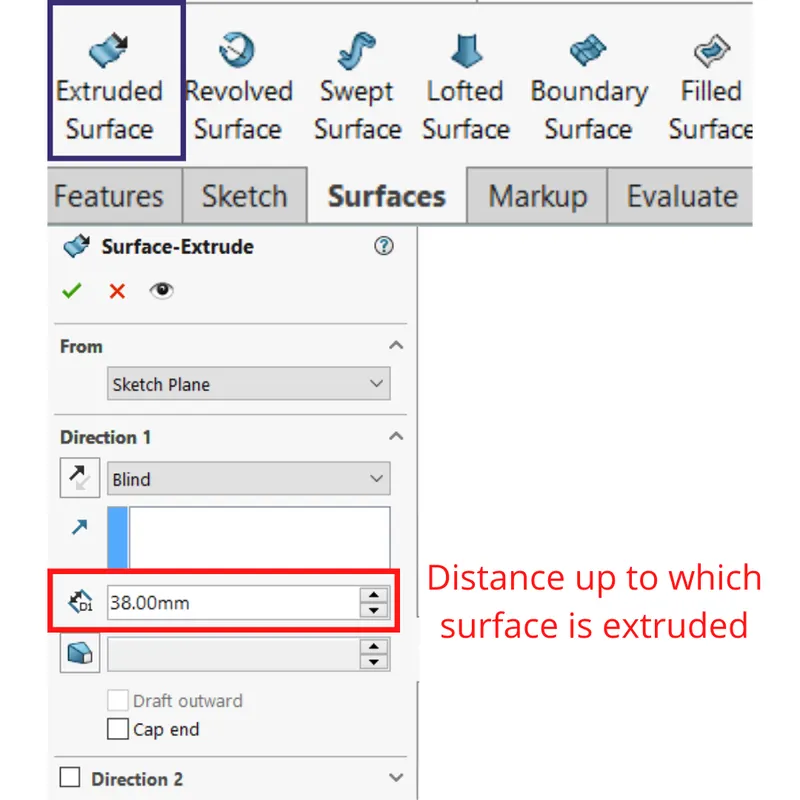
- Surface Extrude: It works similar to boss extrude, But this helps to create a surface from lines and curves in a direction.
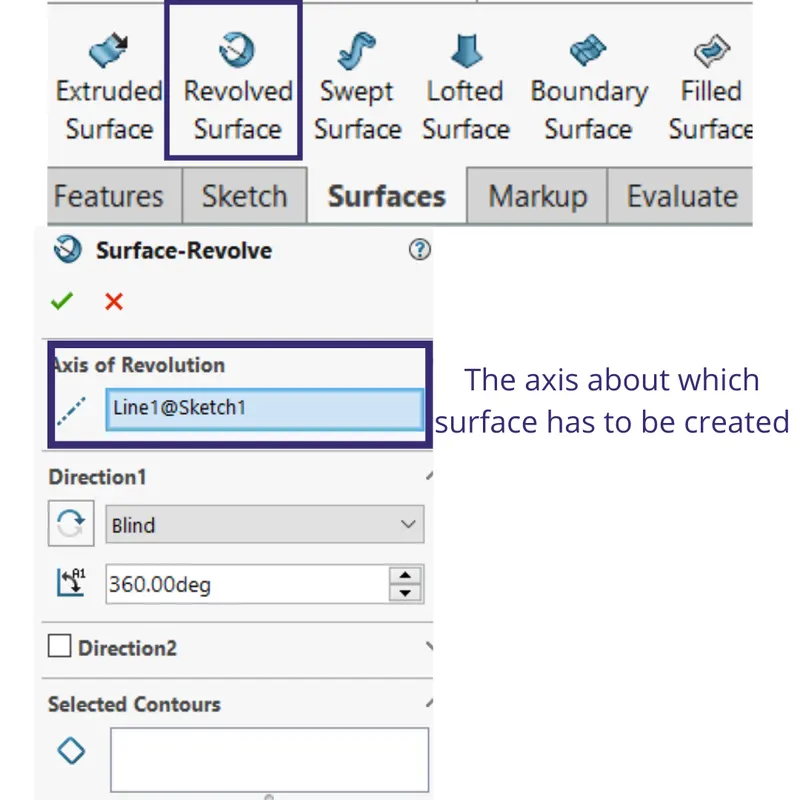
- Surface Revolve: It helps to create a surface about an axis.
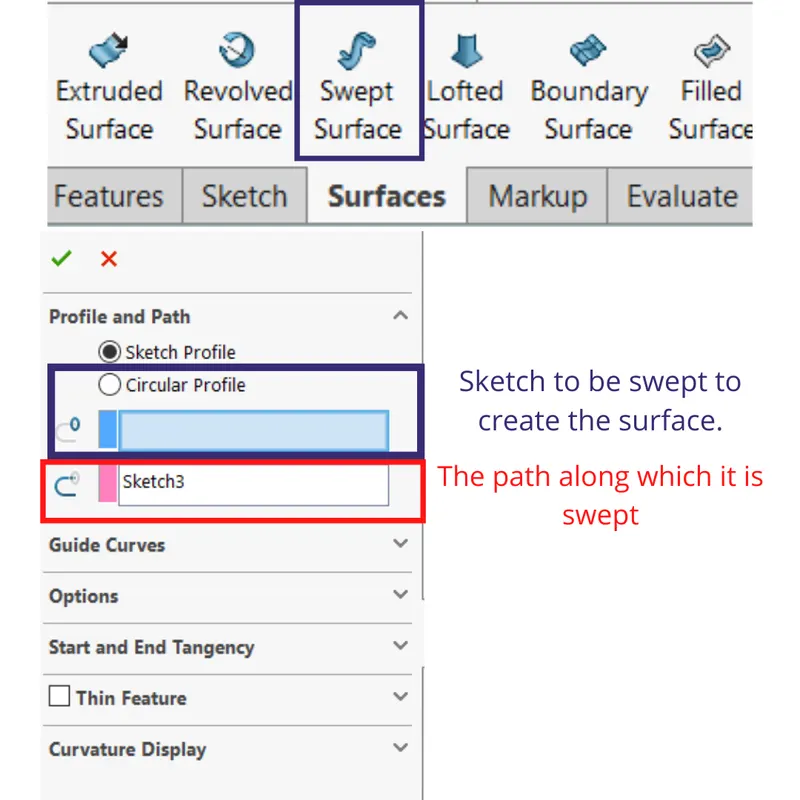
- Swept Surface: Helps to create a surface by selecting the sketch to be swept and the path along which has to be swept.
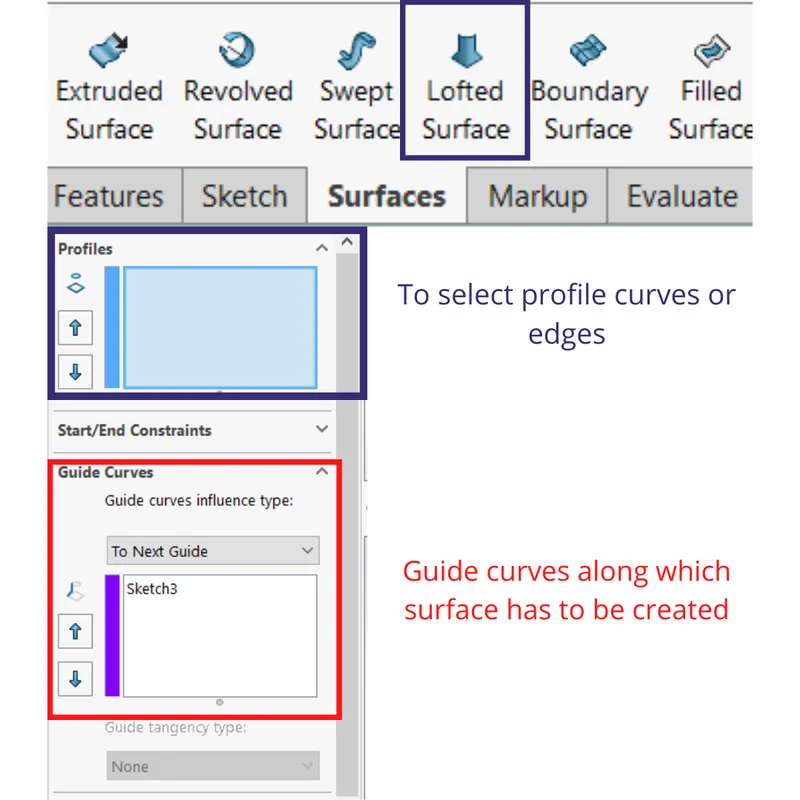
- Surface Loft: It is a very useful tool to create complex curved surfaces. By selecting the profile curves and guide curves to help to create smooth surfaces.
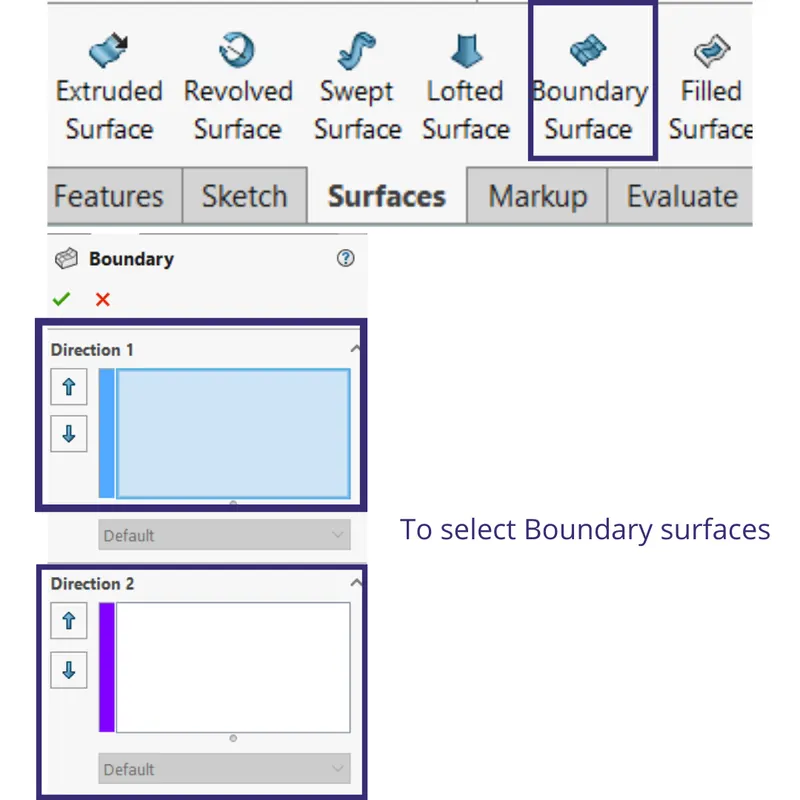
- Boundary Surface: It is a tool to create surfaces connecting the boundary surfaces.
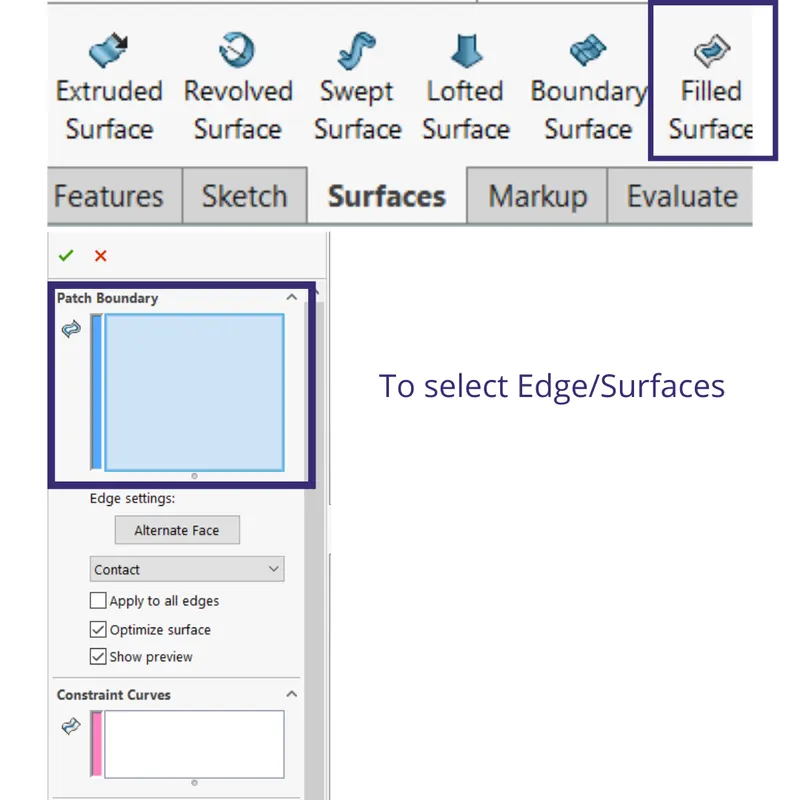
- Filled Surface: It helps to fill the surfaces connecting adjacent edges or sketches.
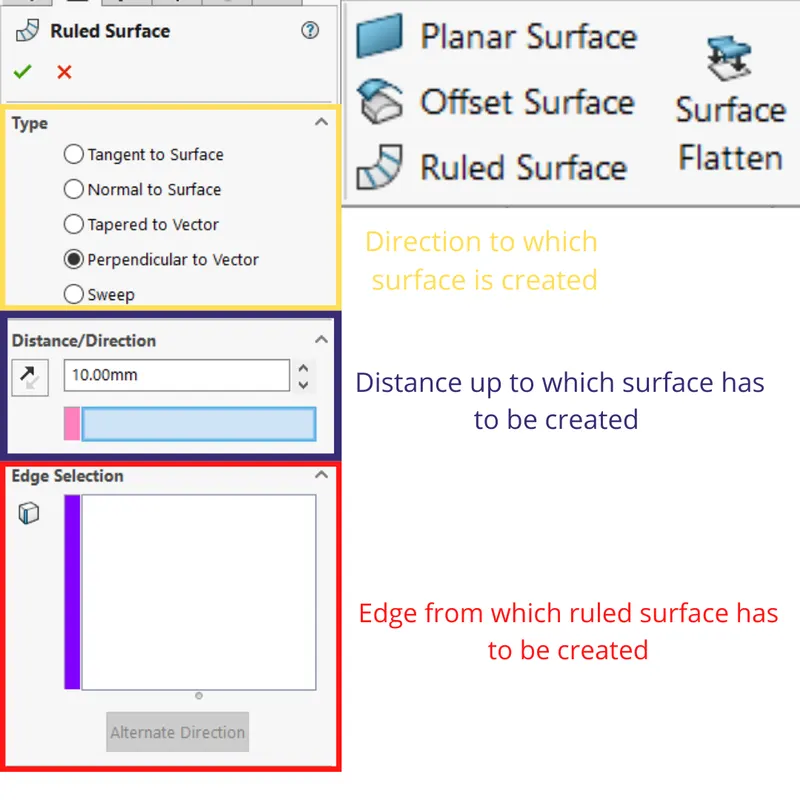
- Ruled Surface: It helps to create a surface from a surface edge in a different direction.
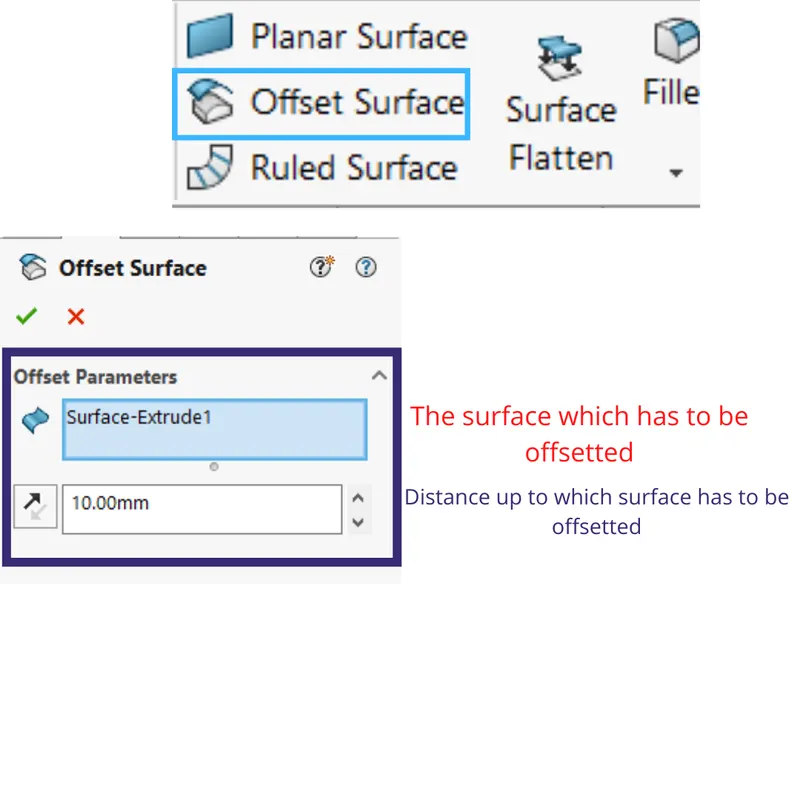
- Offset surface: it helps to create a surface offset from a surface that is already created.
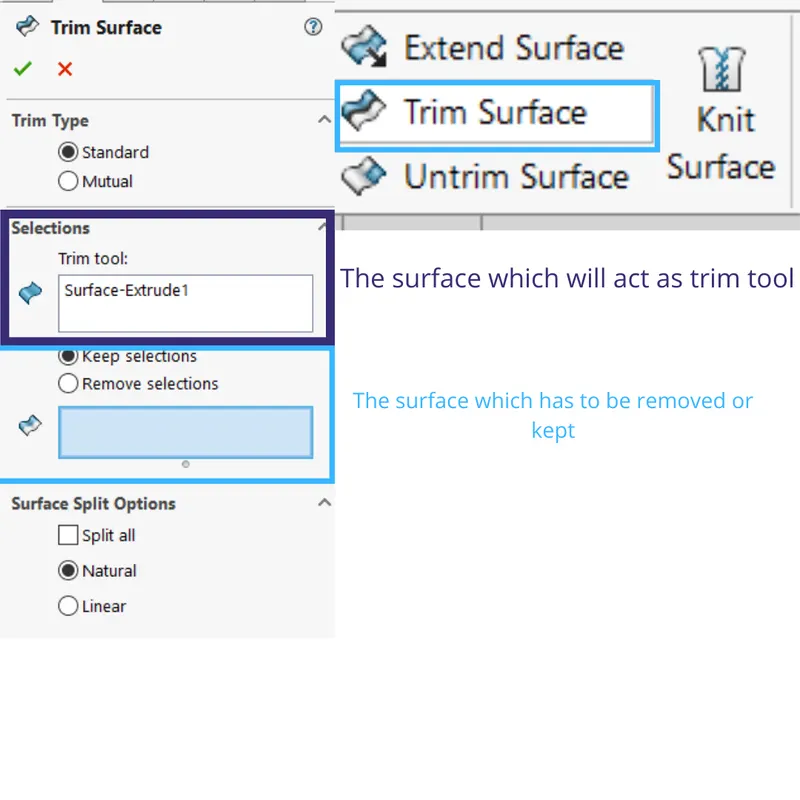
- Trim Surface: It helps to trim intersecting surfaces. One surface acts as a trim tool.
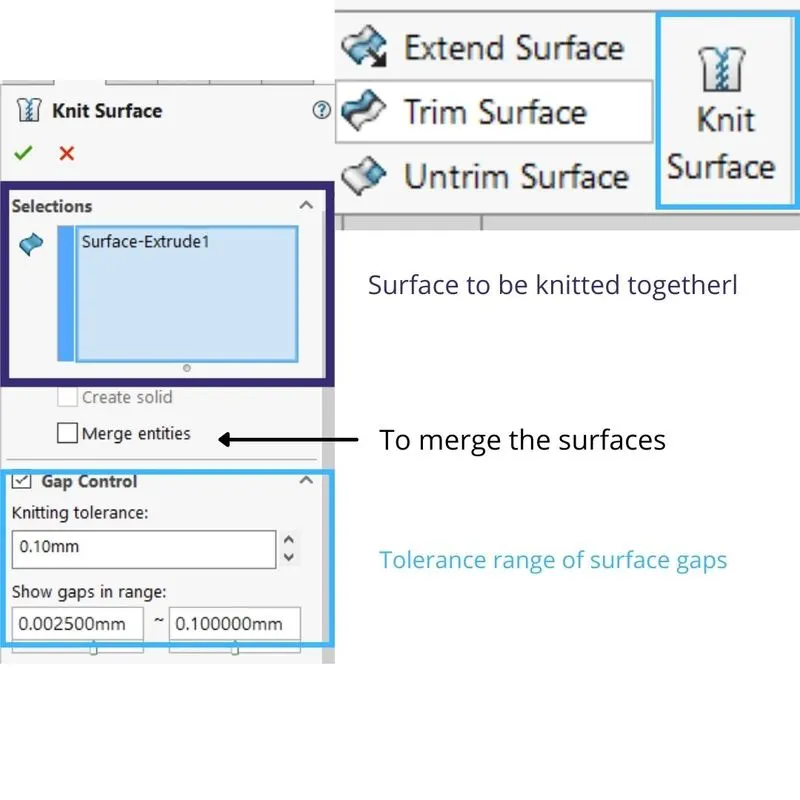
- Knit Surface: It helps the surfaces to knit and merge them together. To form solid knitting the surfaces is important so that gaps will get filled.
3.Parts of Sunseeker Predator Yacht
- Propeller
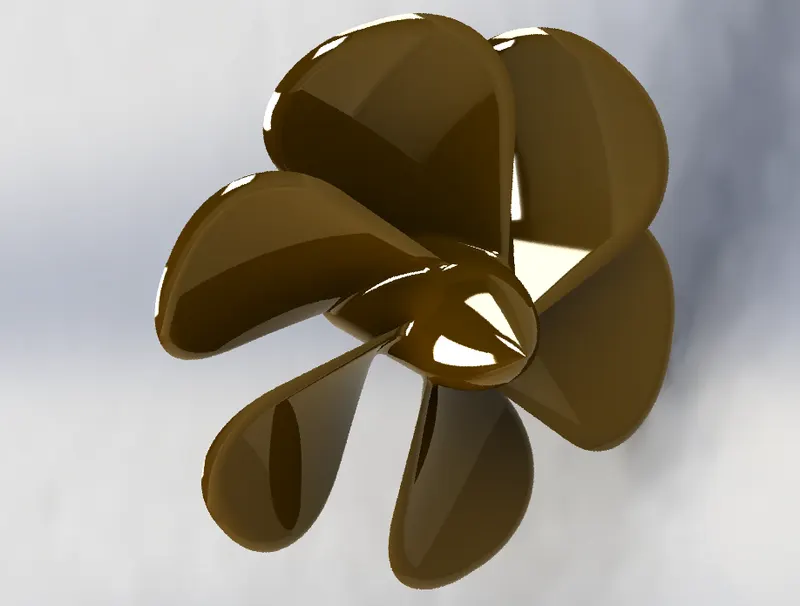
A propeller is a rotating fan-like structure that is used to propel the ship by using the power generated and transmitted by the main engine of the ship. Designing propellers mainly concentrates on designing the boss and the curved blades that are attached to the boss. Revolve, loft, and pattern help to create propellers along with the help of properly dimensioned sketches.
- Radar
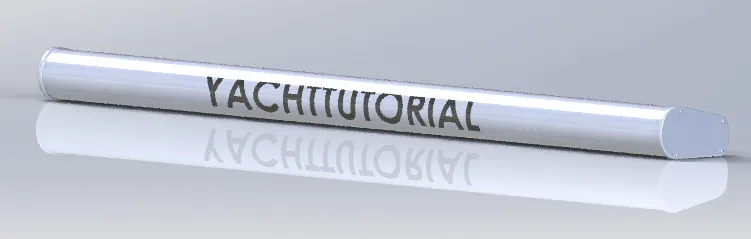
Next, we moved to model Radar which is getting attached to the top of the yacht. It is like a rectangular lengthy box whose edges are properly filleted.
A hole is made in the model to have a proper attachment with the yacht.
- Blueprint Setup
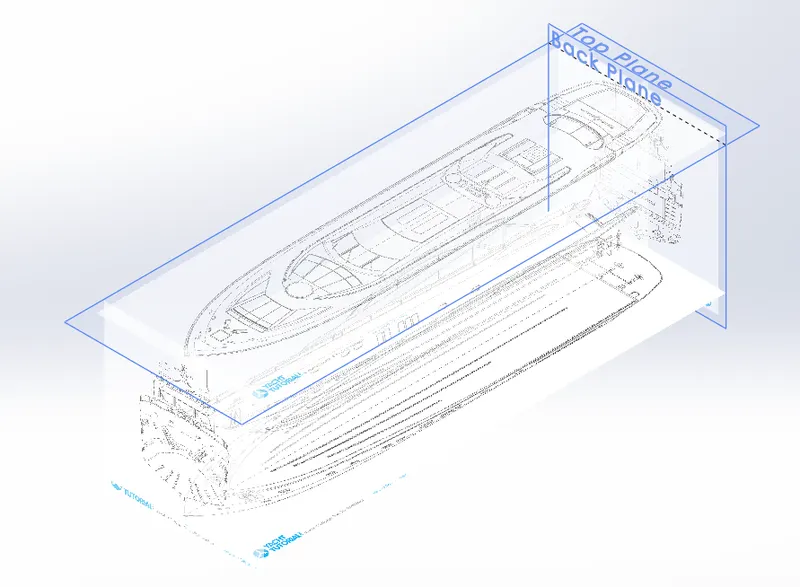
Blueprints of different views are attached with proper positioning and dimensioning so that we get a clear idea of how the model will look in different positions. Also, they help to create proper curves for the model.
- Hull.
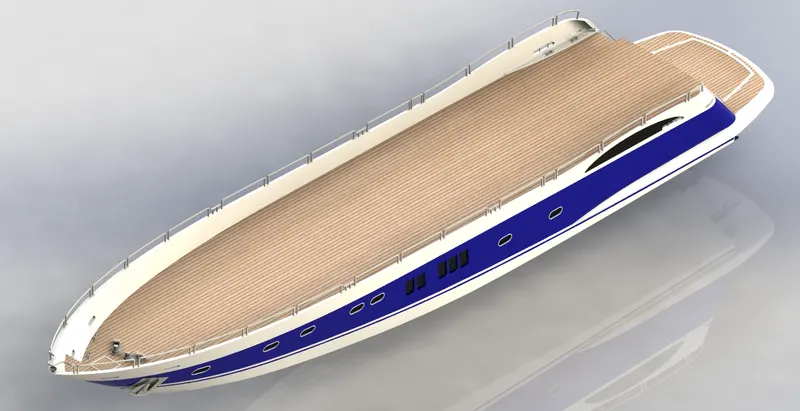
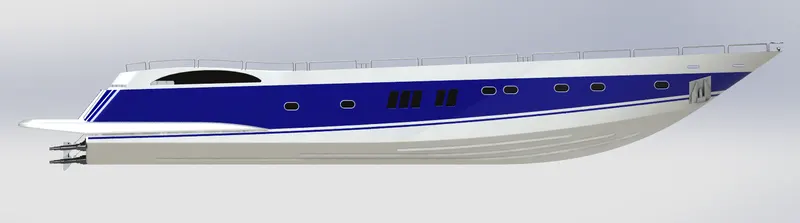
The most important part of the yacht onto which all other parts will get attached from the final yacht model. Proper dimensioning, constraints, and tools have to be applied to get a proper model. Projected curves were handy to create curved edges of the hull. 3D sketches and projected curves helped to create surfaces for the hull. The surfaces are knitted, merged and gap control to form the solid model. Shafts for the attachment of propellers are made with proper sketching and modeling. Attachments on the surface of the deck are made. Windows, portholes, anchor holes are cut on the surface of the hull and sweep features for the frames of windows. Steps are made at the rear side with the help of sketching and boss extruding. Anchor is modeled on the side of the hull in the front section. Railings are made with the help of proper sketching and sweeping. Floodlight in the front top of the hull. Decals are added on the surface of the hull and steps to give a wooden finish to the model. Appropriate colors were added to different parts of the hull.
- Garage Door.
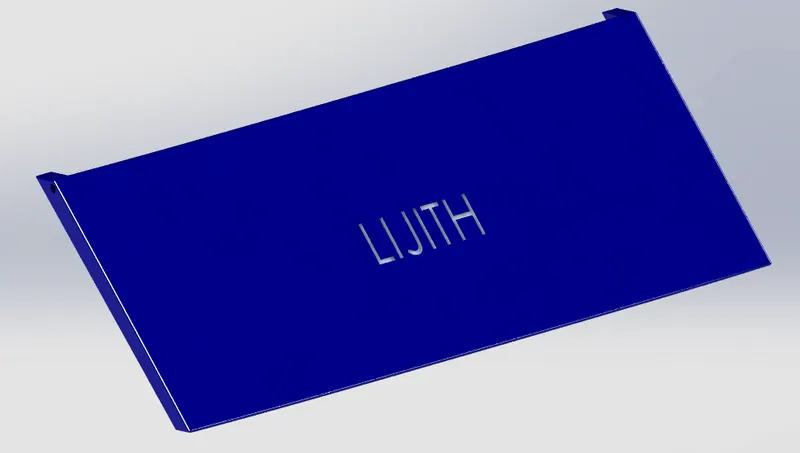
The garage door is made from the 3d model cut extruded from the hull. A solid is cut out from it to make the door. And proper fillets and holes are cut extrude to form mates with the hull. Text is extruded and cut on the surface of the door.
- Front Seat.
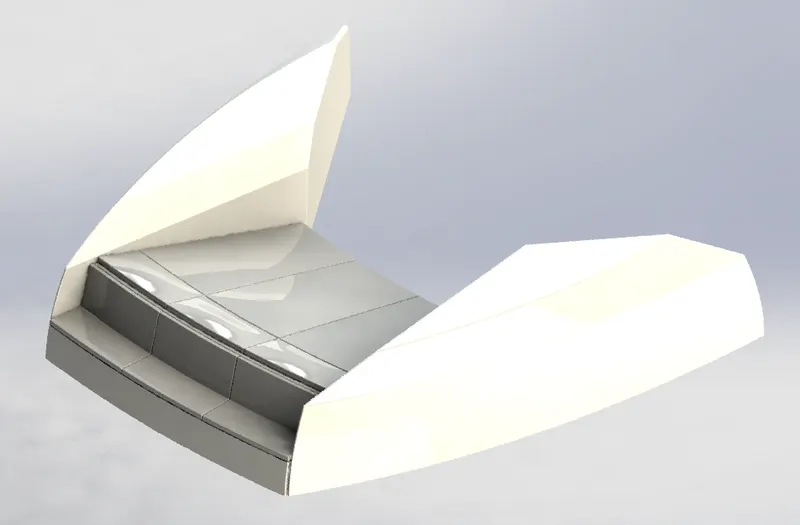
The surface of the hull is inserted so that the front seat is made at the correct location as per the blueprint and to get perfectly positioned during assembly.
Surfaces of the seat are made with the help of curves and extruding and cutting. The surfaces are knitted and merged together. The mattress was made on top of the seat we made.
- Middle seat.
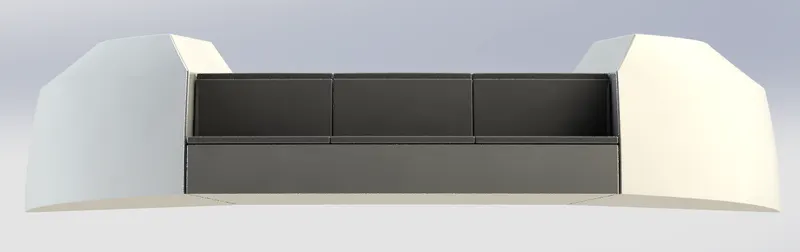
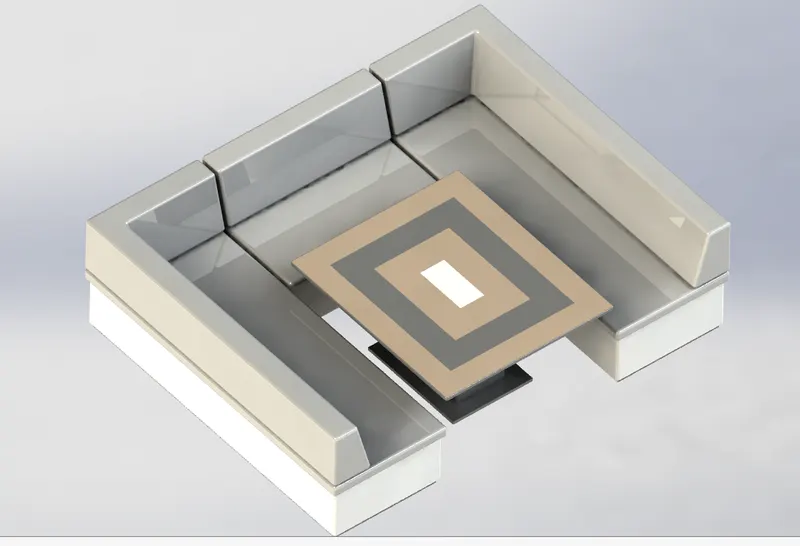
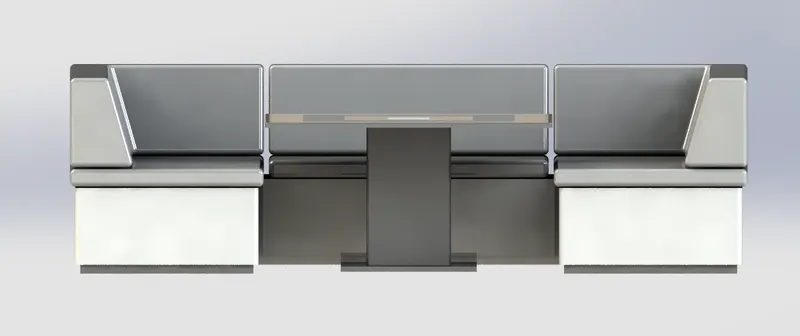
Same as we made front seats, the surface of the hull is imported. The middle seat is made with the help of sketches matching Blueprints. A Centered table and cushions are made as part of the middle seat.
- Rear Seat.
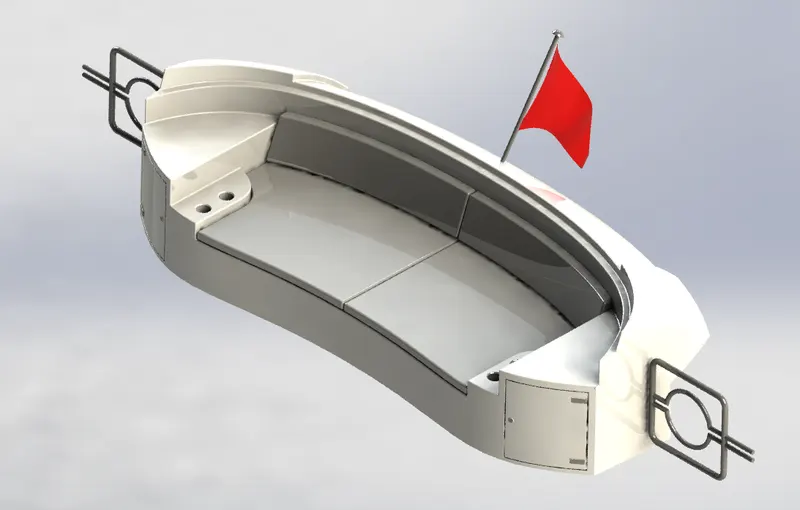
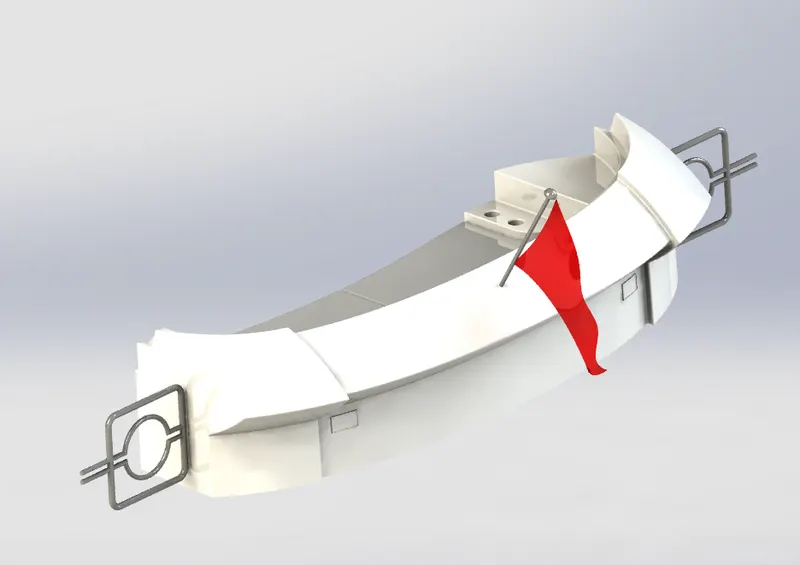
Seat, pillow, flagpost, flag, and Railing gates were made as part of the rear seat. Cup holders, drawers were cut out on the seat. Edges are properly filleted.
- Superstructure.
In building superstructure surfaces have to be properly knitted, merged to form the solid. Each surface is made with the help of 3D sketches and curves and is knitted with other surfaces. Windows are made at the proper location. Jacuzzi water tank, Railing, Step, mattresses, wipers are made on the front side of the superstructure. Windows, Railings, doors are made on the rear side. Window frames are made on every window. Decals are added to the steps to give a wooden finish appearance. Appropriate colors were added to different parts of the Superstructure.
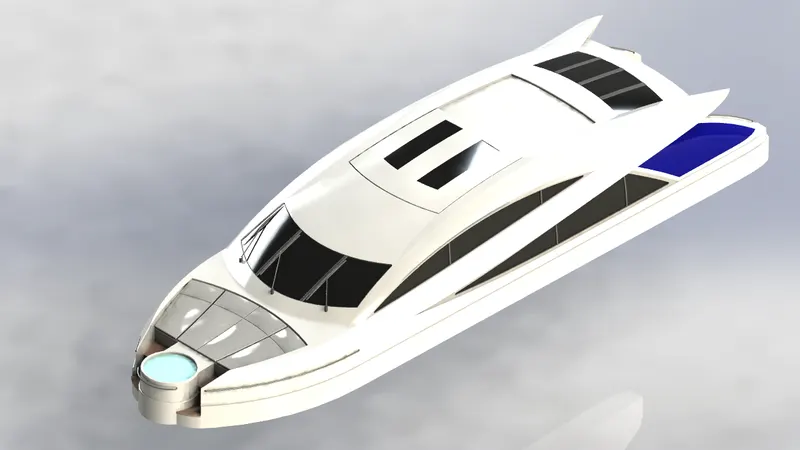
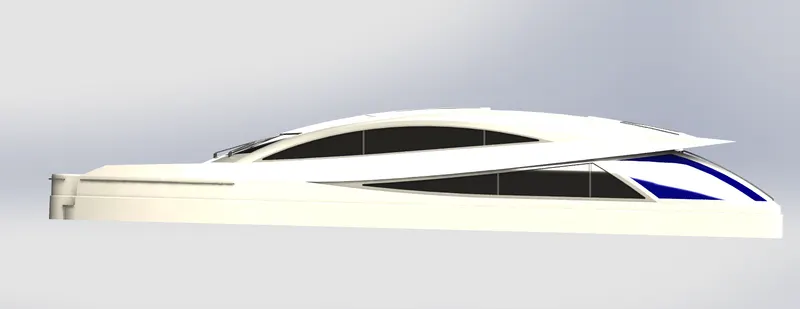
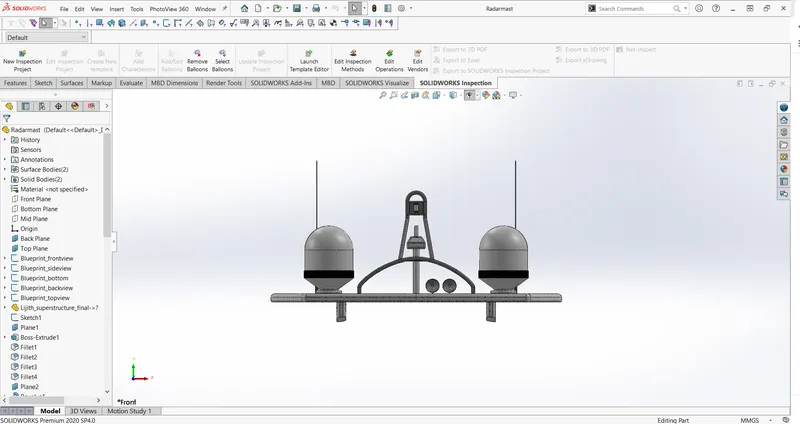
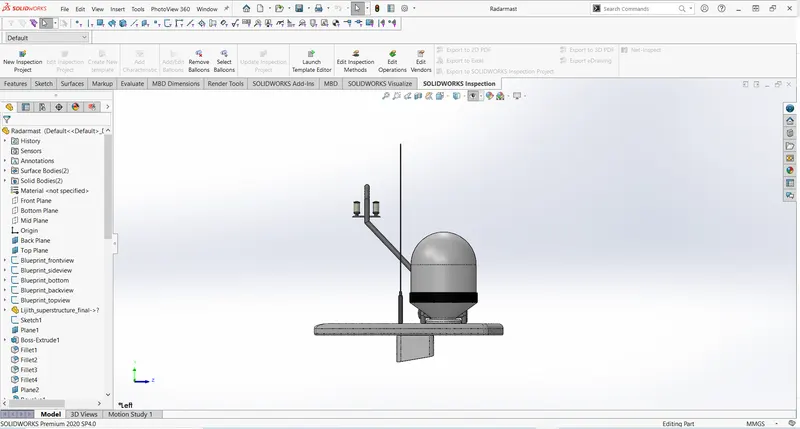
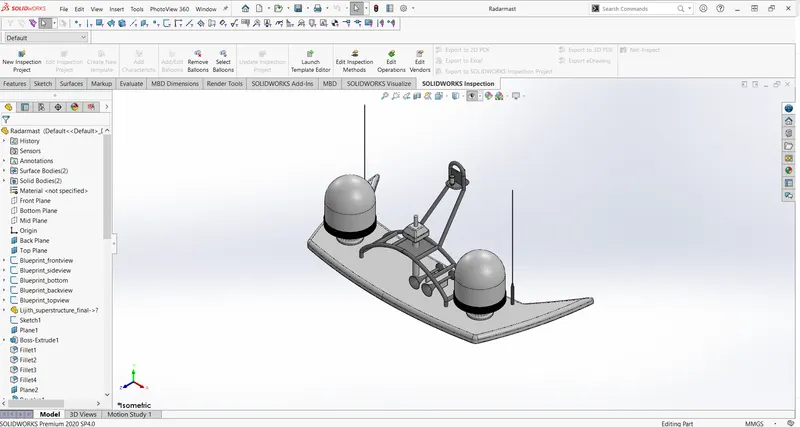
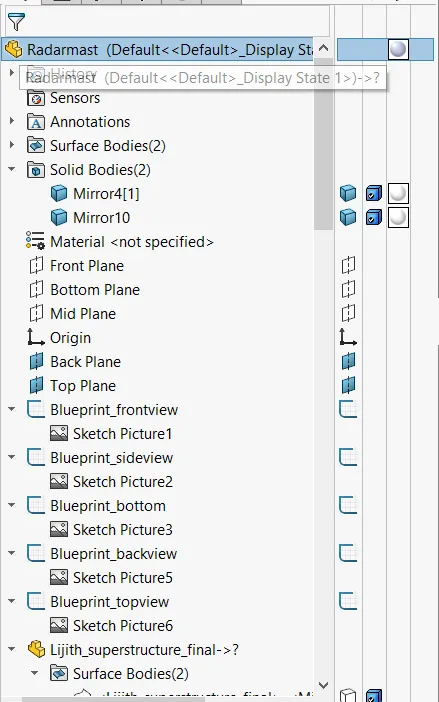
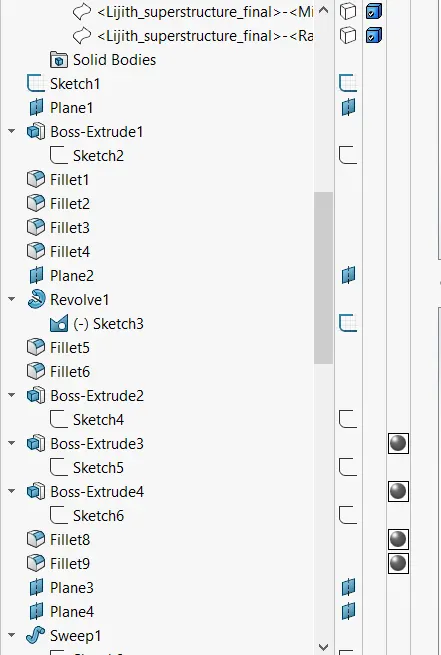
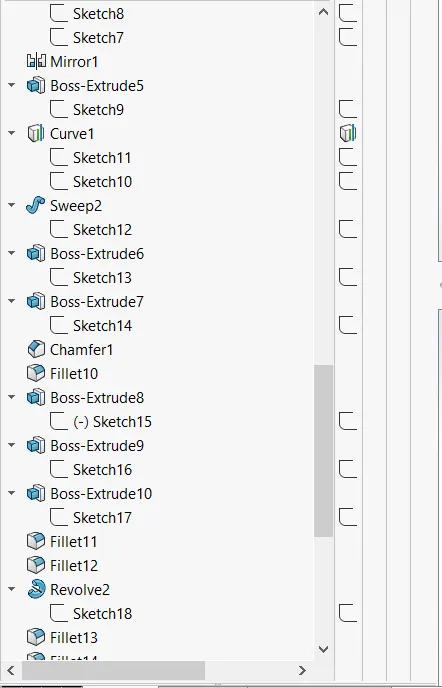
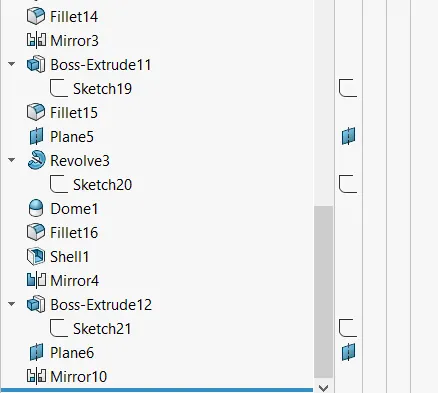
- Radar Mast.
This is made on the reference surface inserted from the superstructure. With proper sketching and modeling Horns, Railings, Mast, Lights, antenna, radars are made on the structure created.
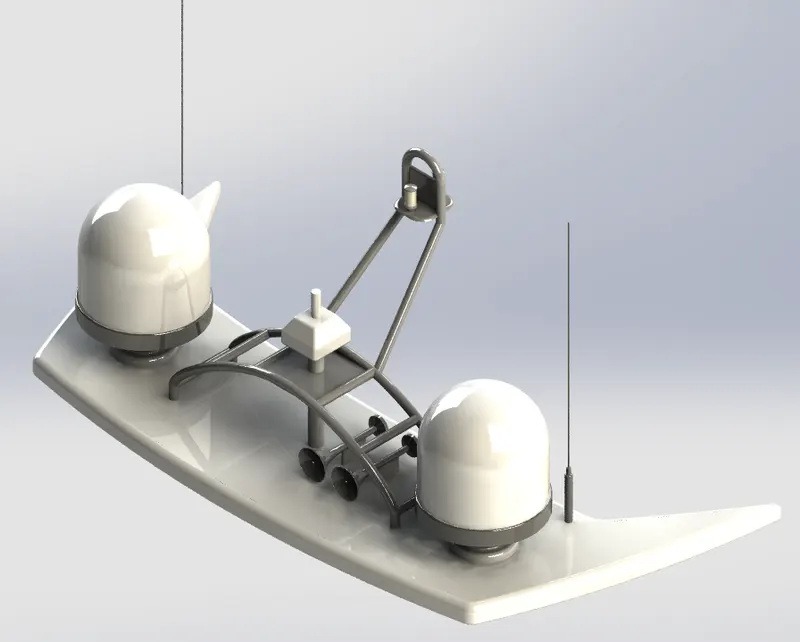
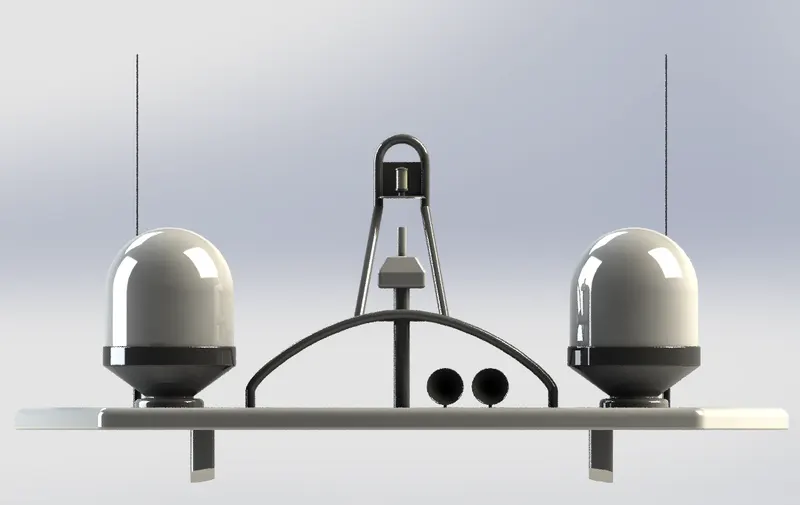
- Assembly.
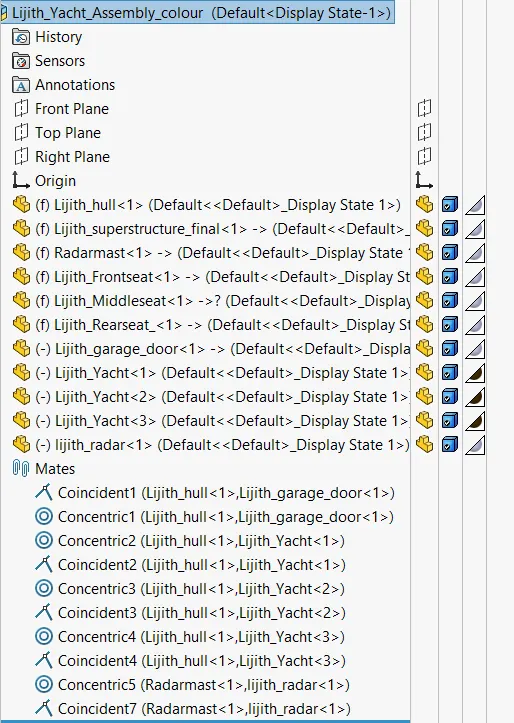
The hull is imported in the beginning and other parts are imported which automatically get attached to the surface of the hull. Superstructure, front seat, middle seat, rear seat all get attached automatically to the surface of the hull. The garage door is matted with applying concentric and coincident relation. The radar mast gets attached to the top of the superstructure when imported. Radar is attached to the radar mast applying coincident and concentric relation. The propeller is also attached to the shaft in the same way.
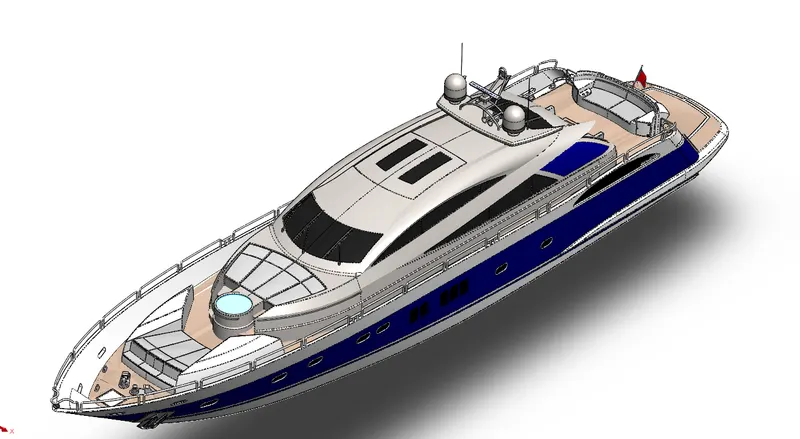
- Rendering
The rendering is possible with render tools and using Solidworks Visualizer. There are more options available like integrated preview and preview window which will help to get a better preview before the final render. The camera was set the desired lights and the focal distance creating the angle of the view and saving the camera angle which gave a realistic view to the chopper. Final Render will give it a more realistic view.
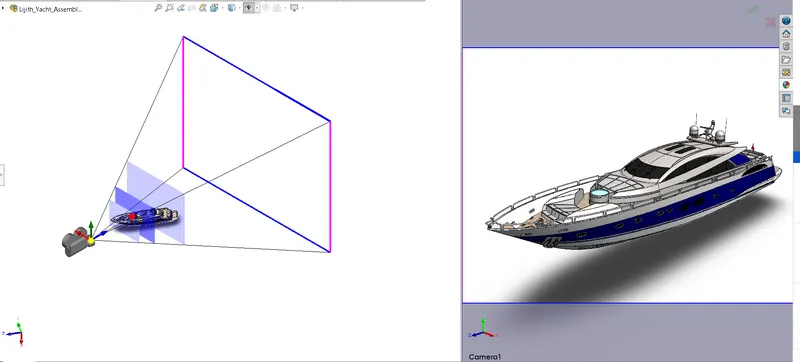
The Solidwork visualizer is a much more realistic tool for rendering. We have to import the assembly file to the visualizer. Wide options to add environment, backplate, appearances, color, camera, brightness, shadows, etc. Adjusting the view, perspective, changing the appearances of the model and different environments for making different renders. High-quality renders take time to get completed in Solidwork visualize and it gives high-quality rendered images of Sunseeker yachts in different environments at the end.