Project - 2 - Meshing on the suspension Assembly
Project #2 - Meshing on the suspension Assembly
Aim:
For the given assembly, check for the geometrical errors and mesh with the given element Quality criteria. After meshing the component the thickness has to be assigned for mid surfaces. Use tetra elements to model non-uniform thickness components. Also use Appropriate connections to connect the component as suggested in the Project-2 video (Use PBAR elements to model suspension spring). At last perform Symmetry command to reflect the half finished model to the other side.
Objective:
Write a detailed report on your meshing process and also mention which method you used to extract the mid-surface along with the reason.
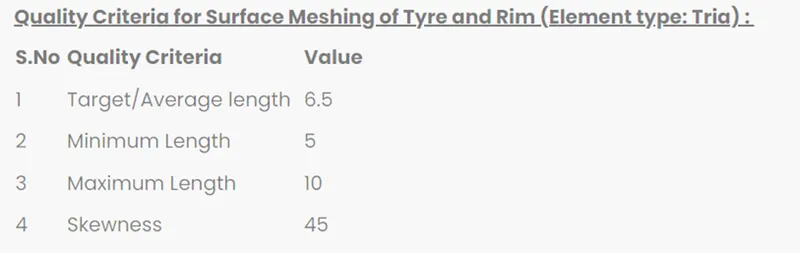
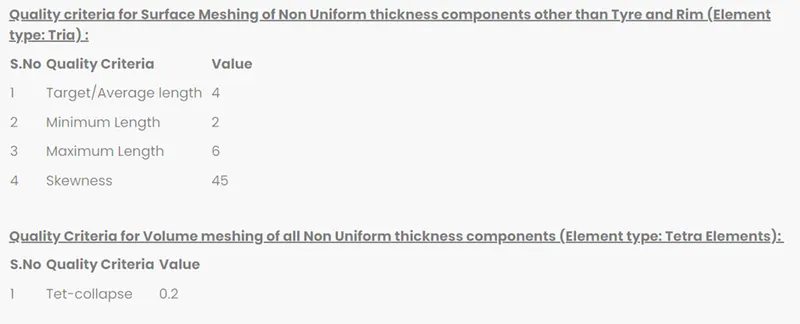
Mid surface quality criteria:
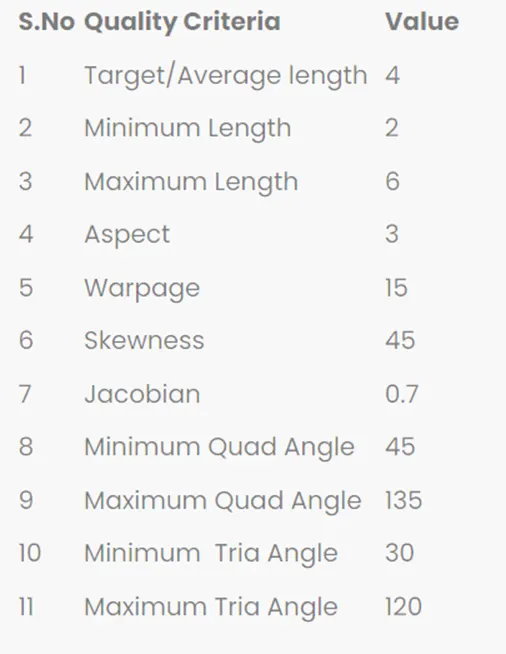
Procedure:
Approaching the model:
- Importing the model on Ansa workbench.
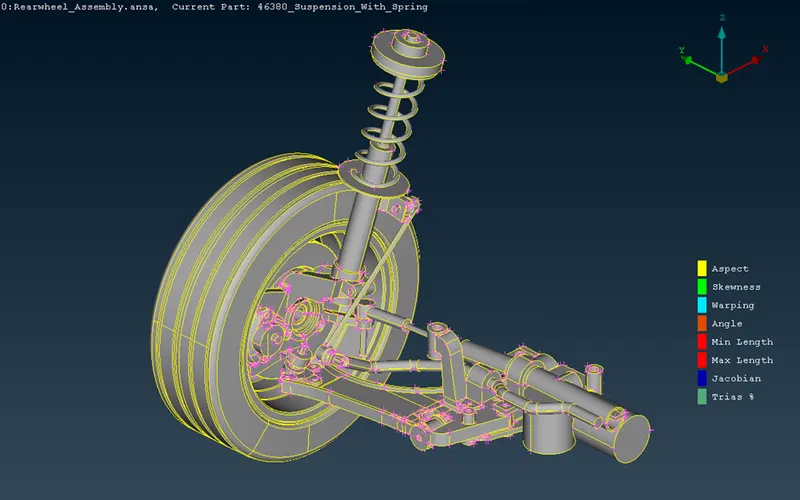
- Checking the geometry and fixing the geometry by right clicking and using fix option.
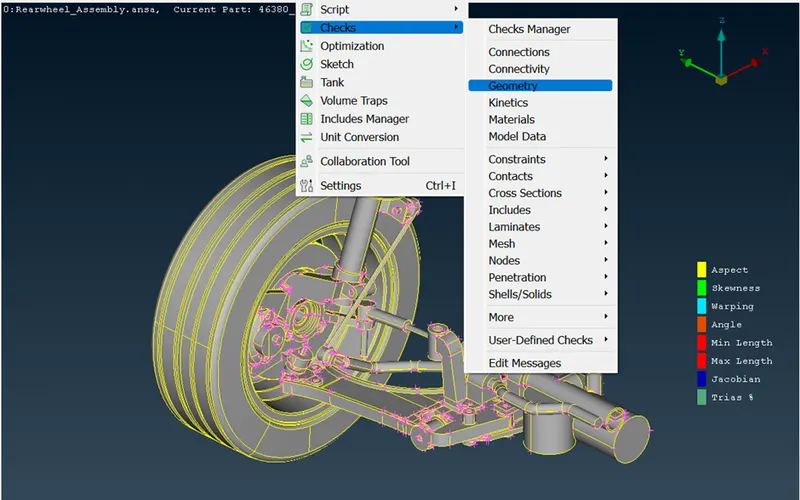
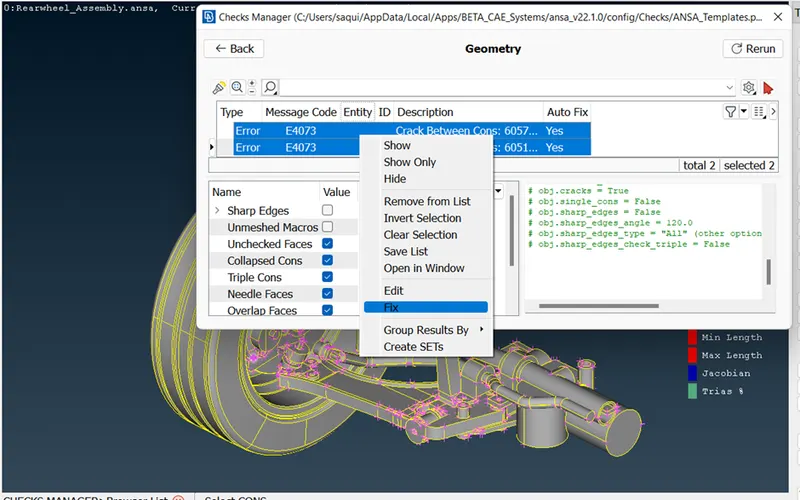
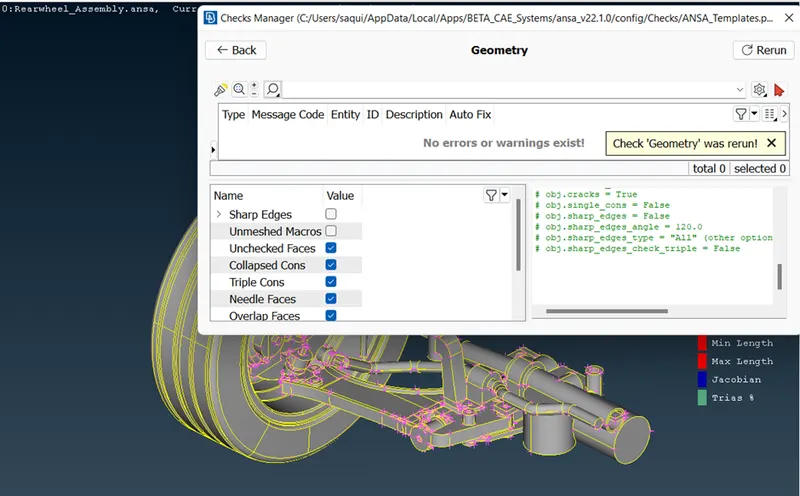
- After fixing the geometry selecting the different parts of the model and storing them individually after meshing.
- Some of the model of varying thickness can be considered as for solid mesh for the given model.
Solid meshing:
- For the parts to be solid meshed we need to define that part into the model browser.
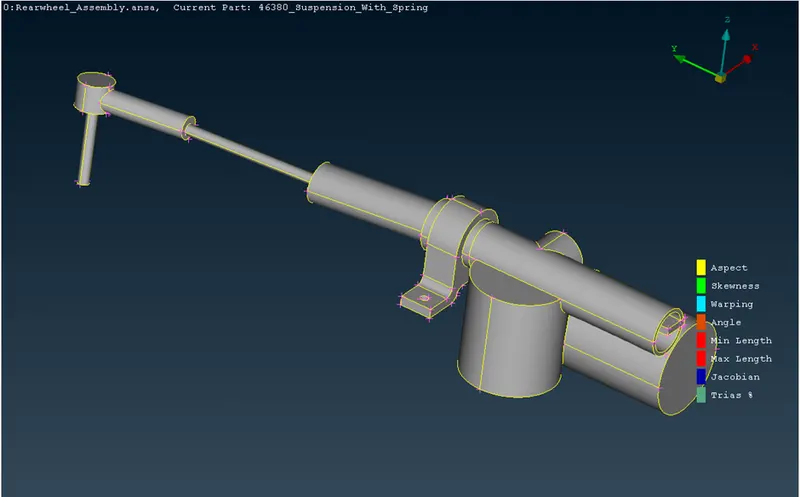
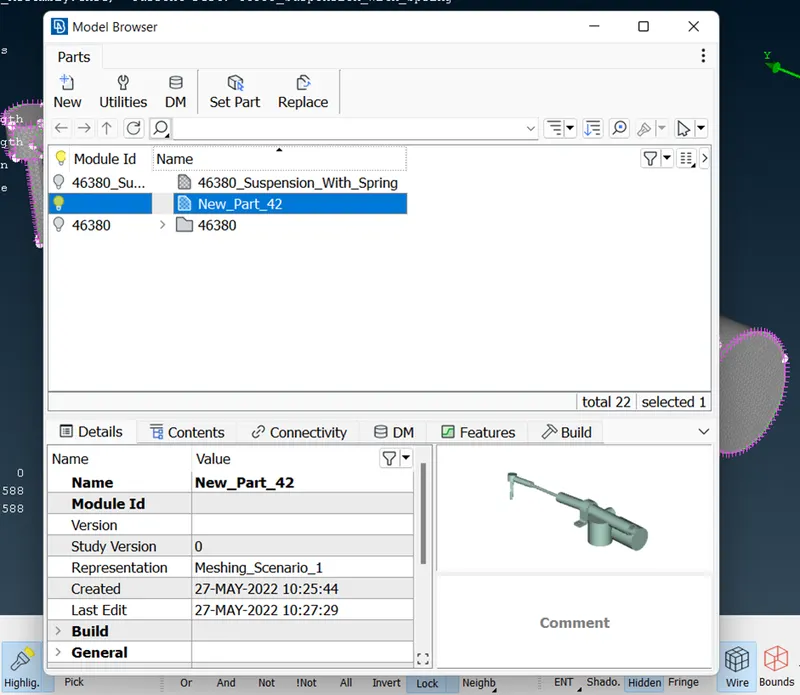
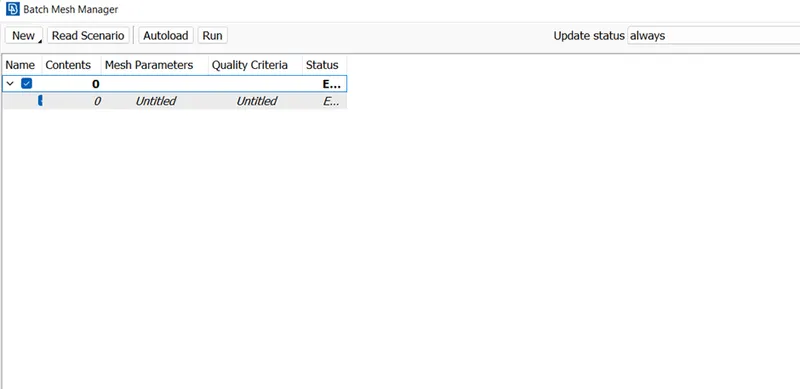
- After defining the model in the browser we can go for Batch meshing.
- Clicking on the batch mesh option and creating a new scenario for the model and declaring the model quality and target length.
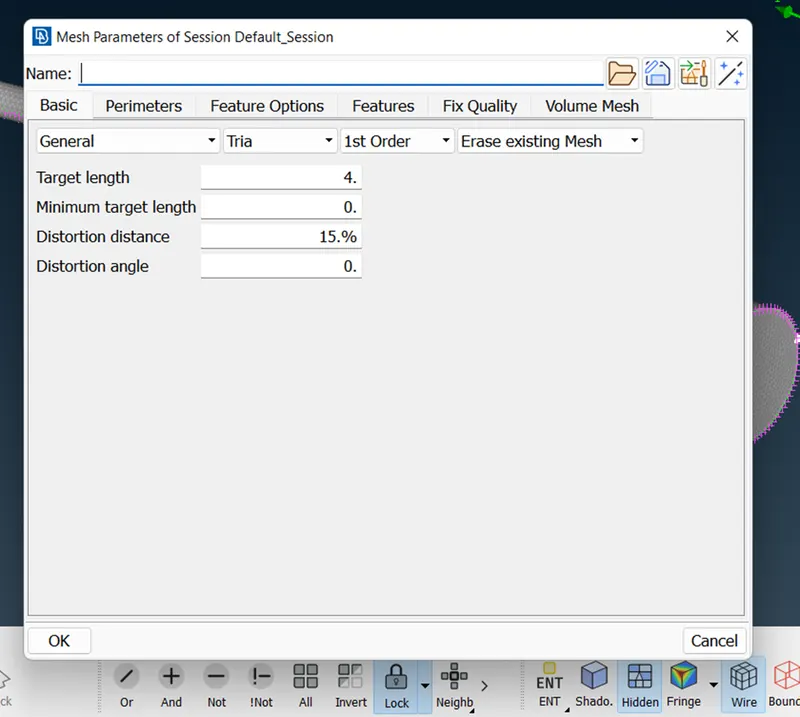
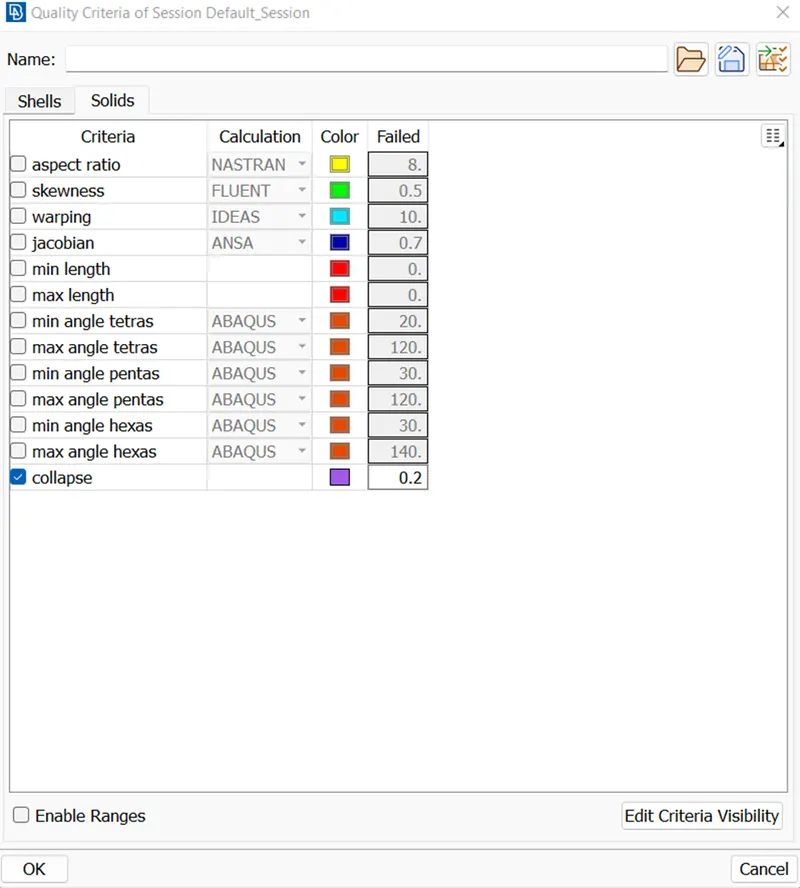
- After setting the target length and quality criteria we can click on Content option to select the model from the model browser.
- After selecting the model hit the Run option to run the batch mesh.
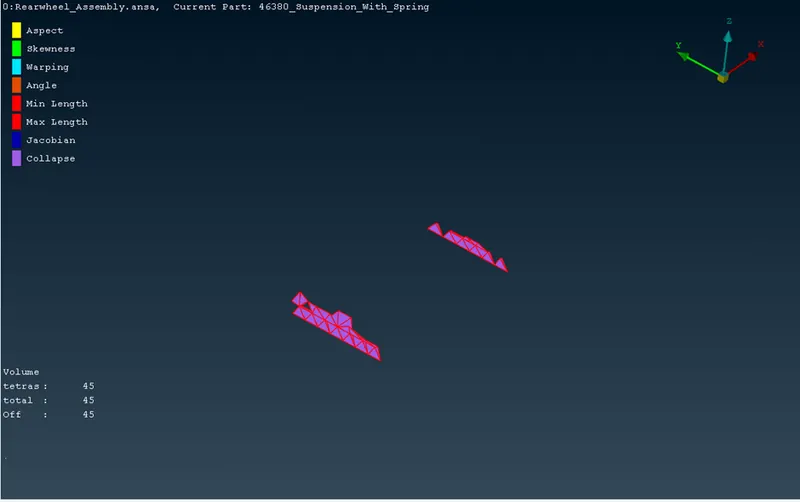
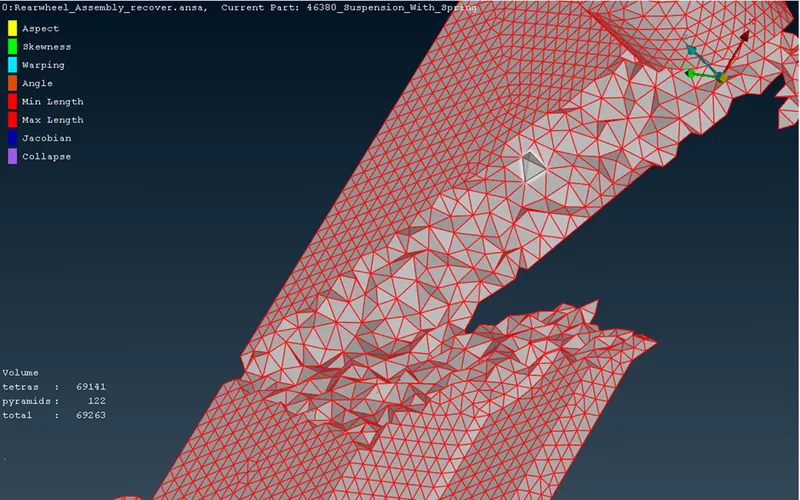
- Now clearing some part of the Tet collapse which is a solid quality error.
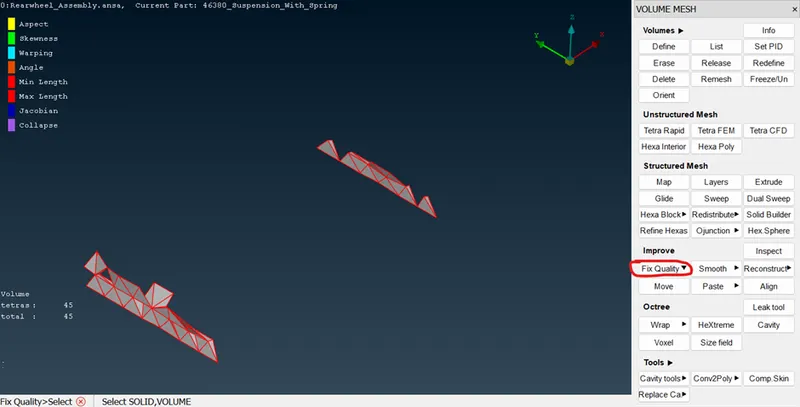
- Using the option of Fix quality we can avoid this quality error.
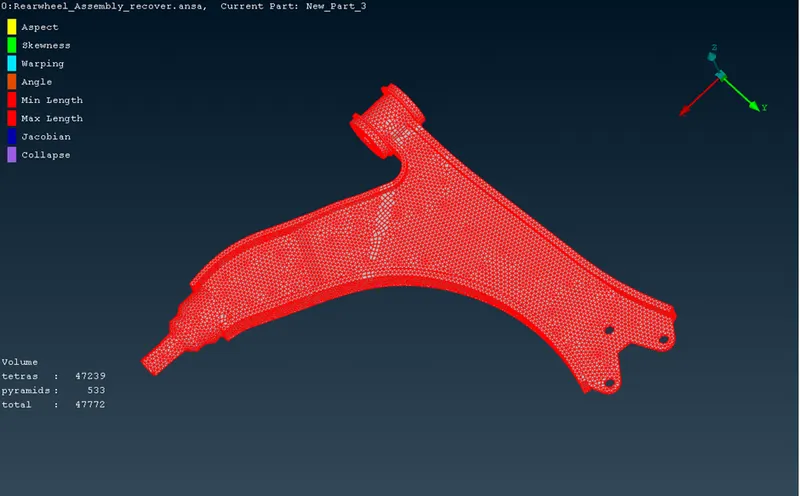
- The Batch mesh will look like this:
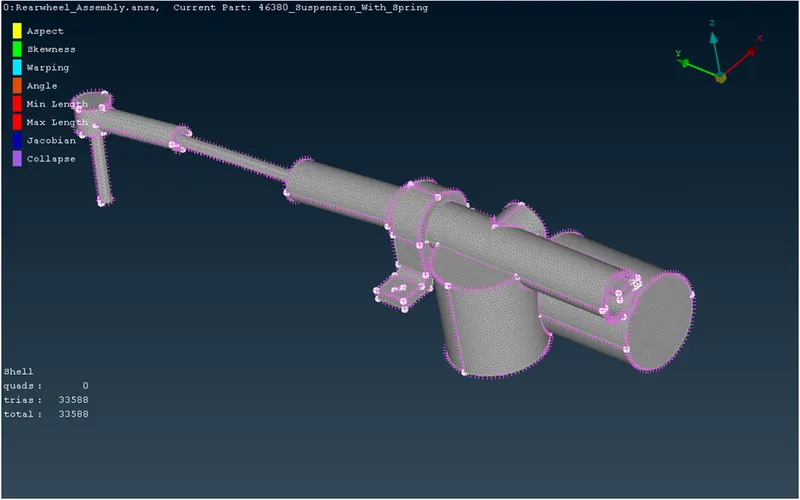
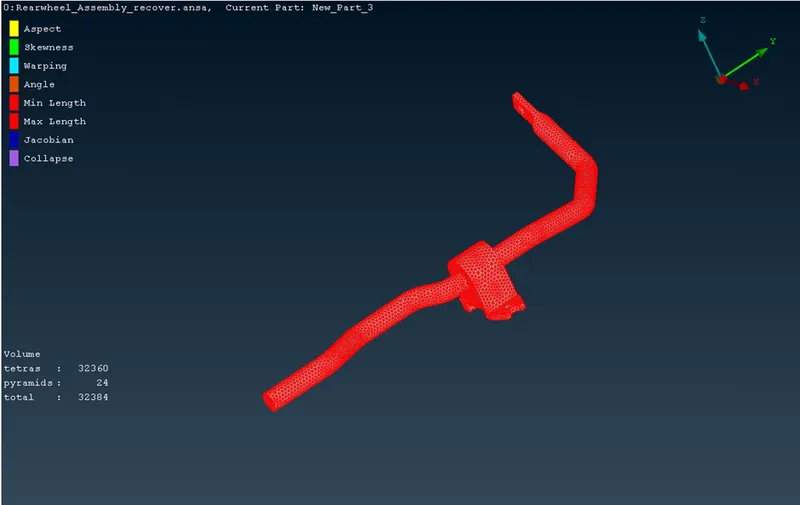
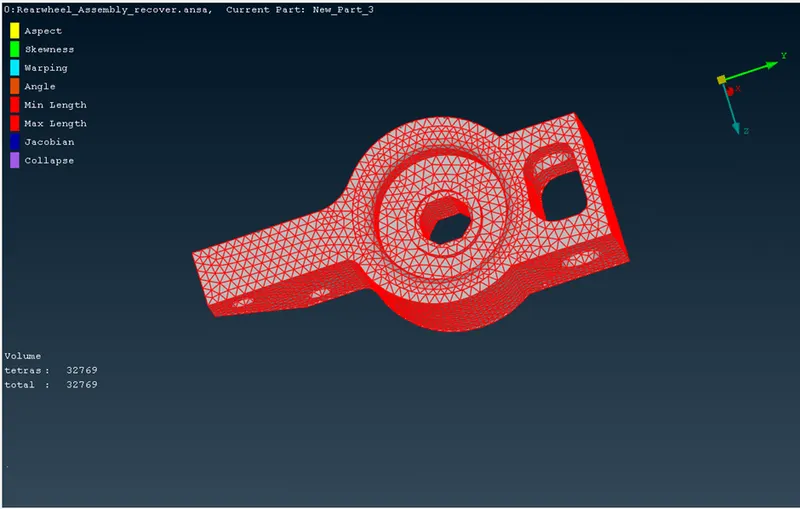
Similarly for the other parts of the model we use Batch meshing.
Volume Meshing:
- After doing the batch meshing to the parts of the model and clearing the Quality criteria by using Reconstruction option and MV free option.
- After clearing the quality click on Volume mesh tab and define the solid which we want to model.
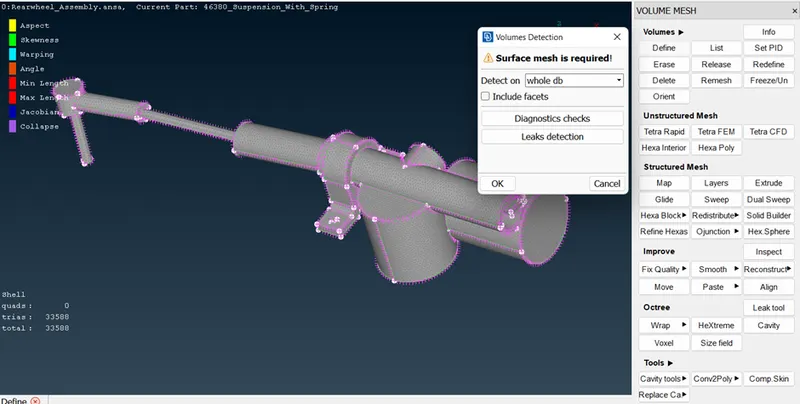
- After defining the model we can see the model is appeared on the List tab.
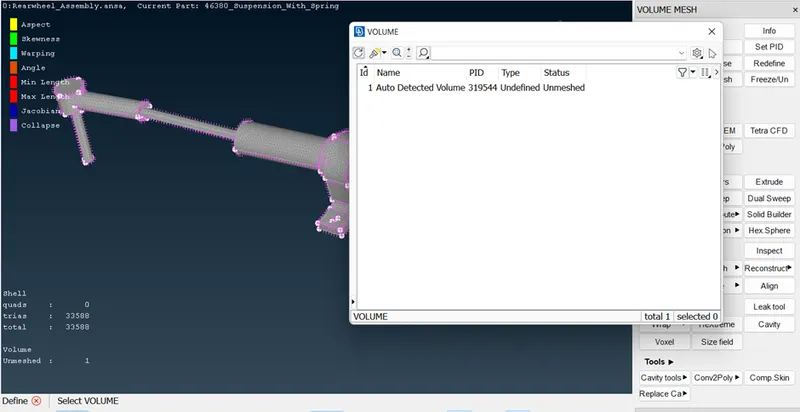
- The List tab shows the model which need to be Remesh.
- Right click on the model and click to Remesh option to remesh the model.
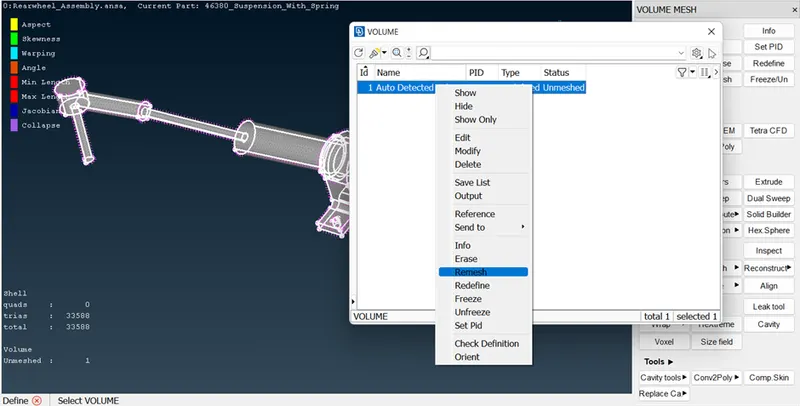
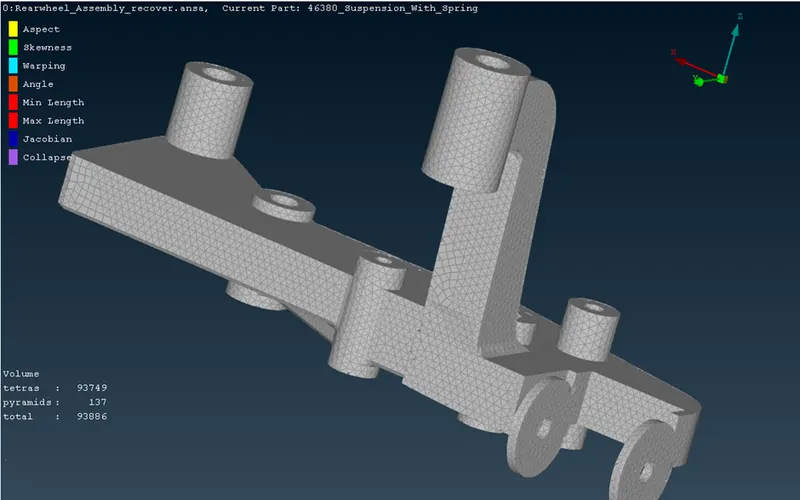
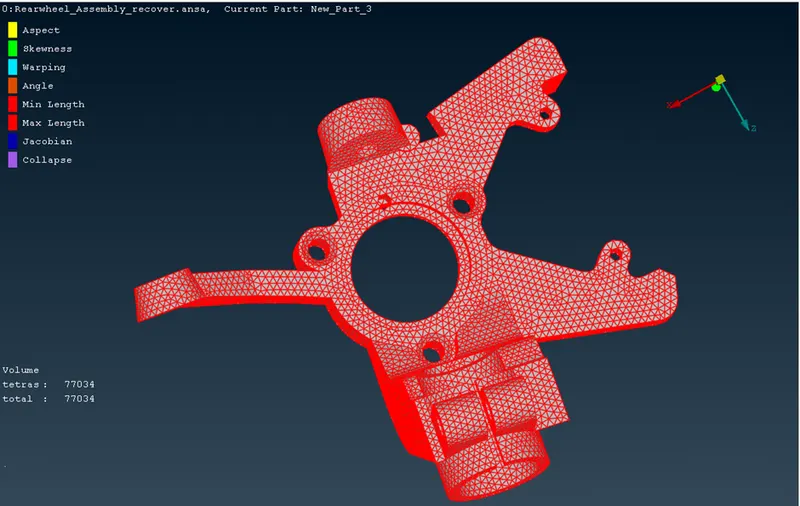
- After remeshing we can see the model is filled with volume by turning off the geometry and mesh.
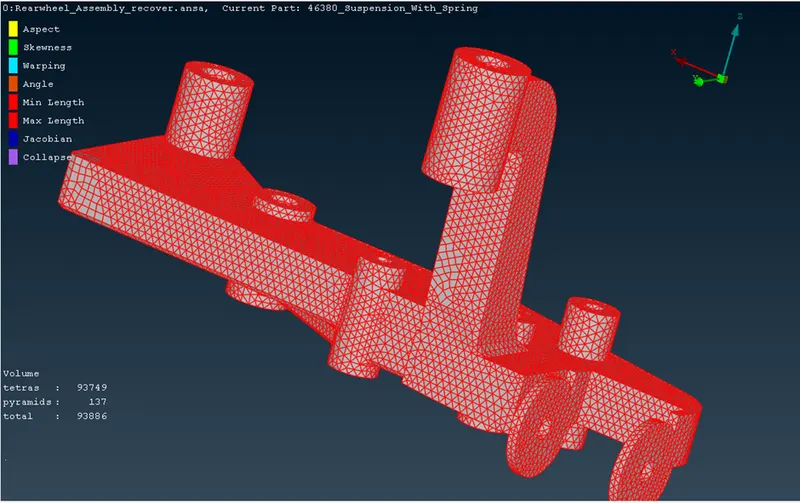
- To see the mesh clearly we can click the Bound option.
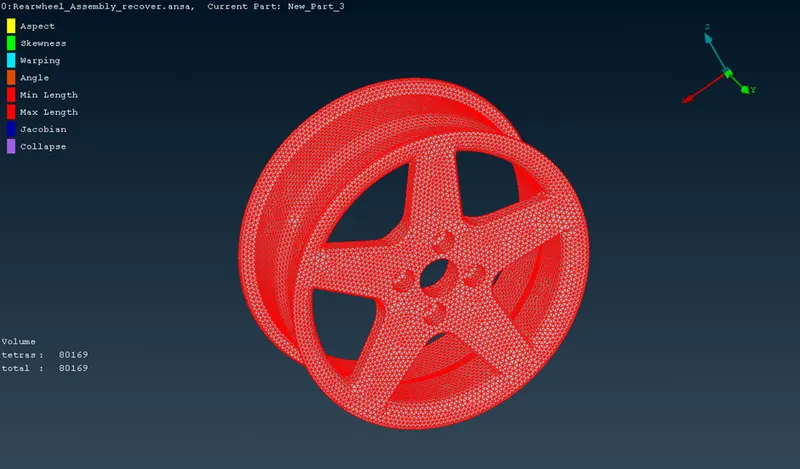
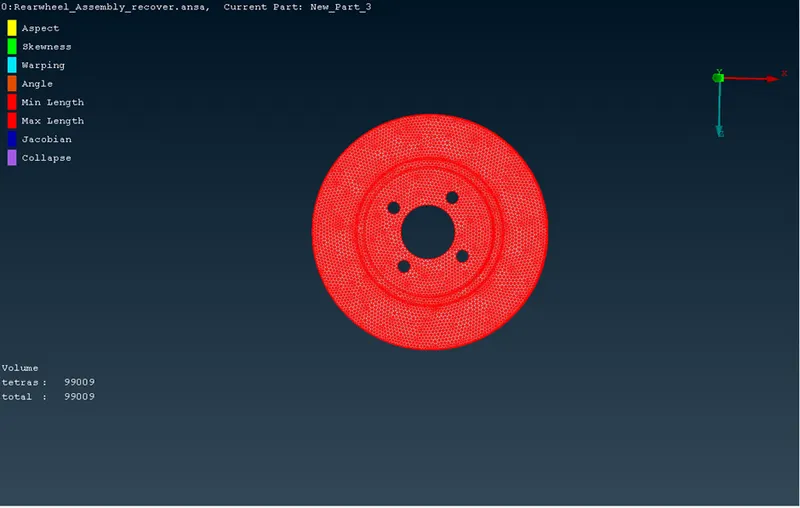
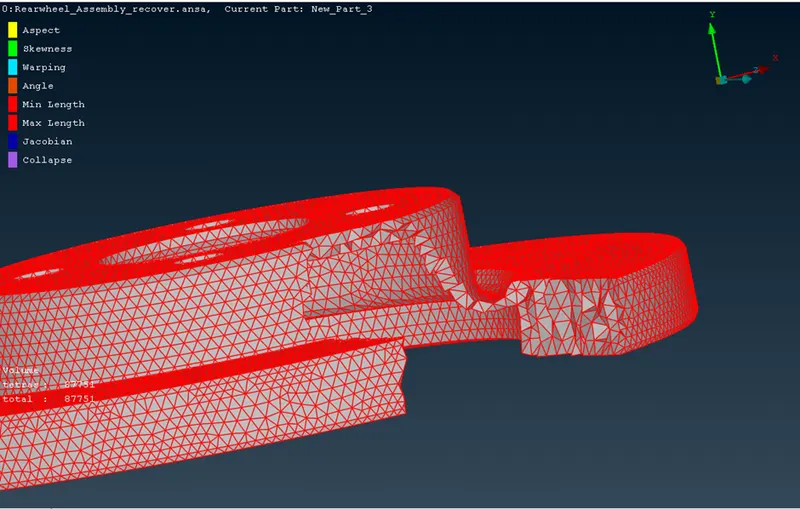
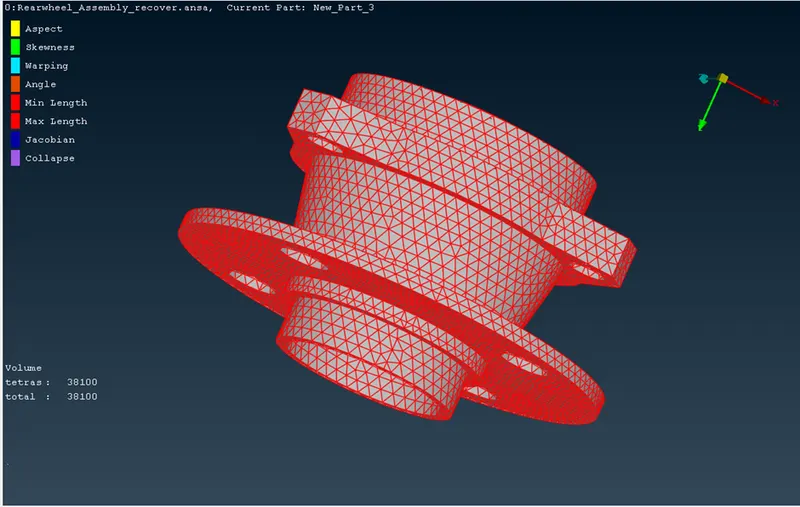
- Here is how our model looks like:
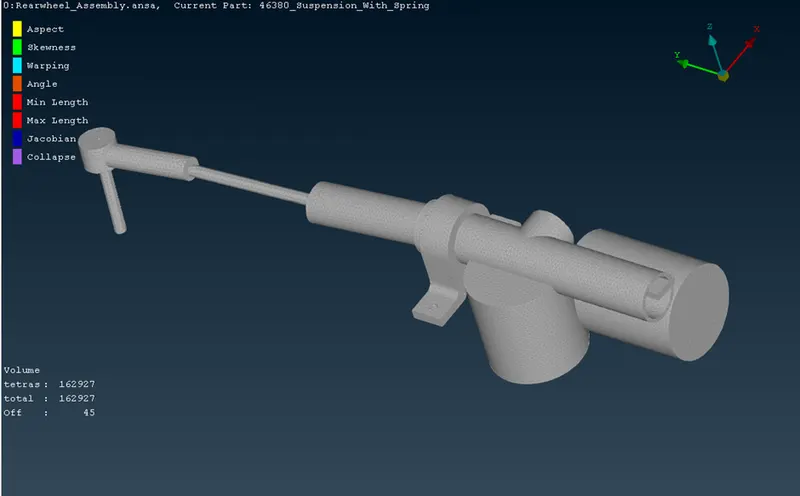
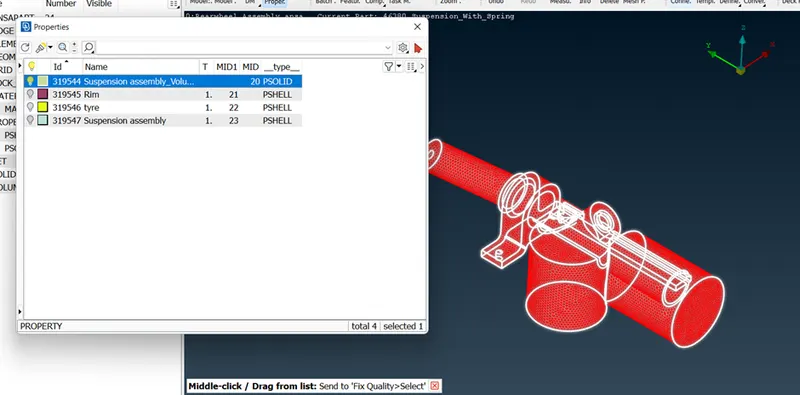
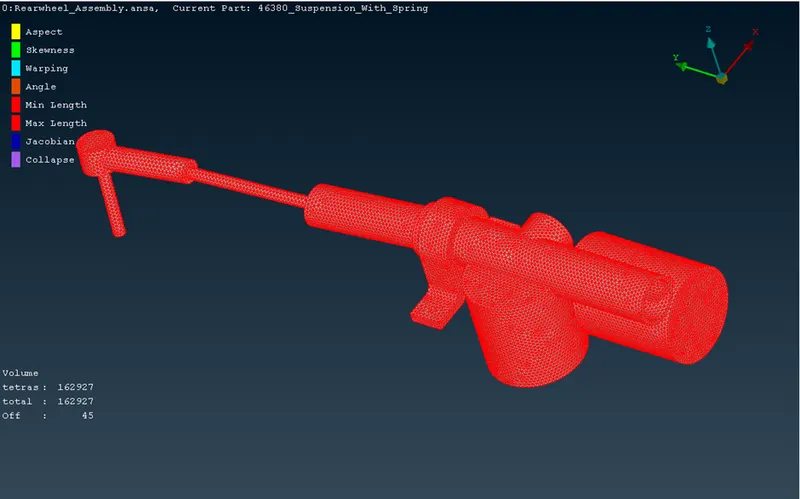
Similarly we have to model it for the rest of the part having non uniform thickness.
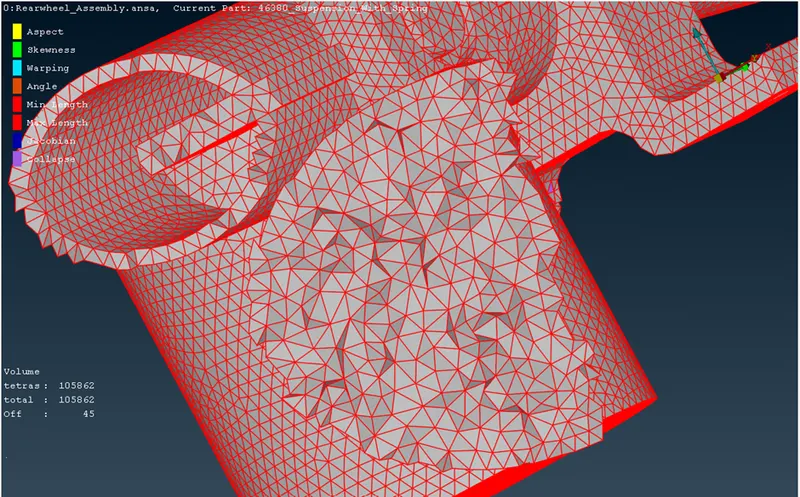
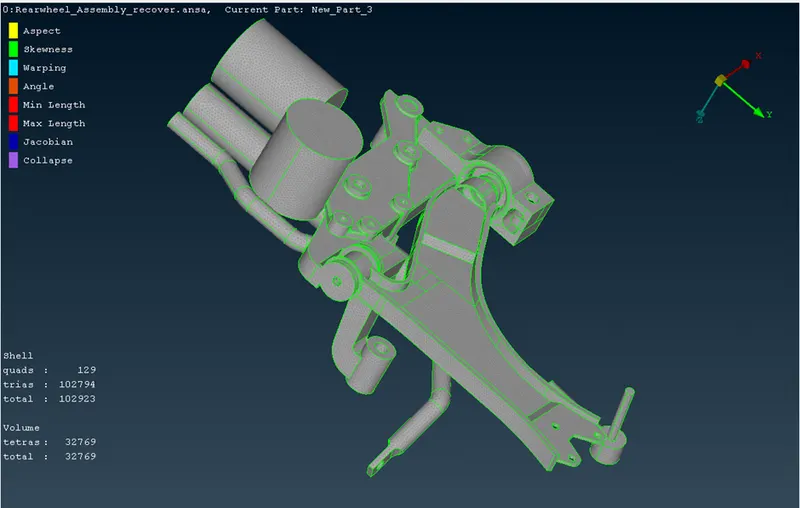
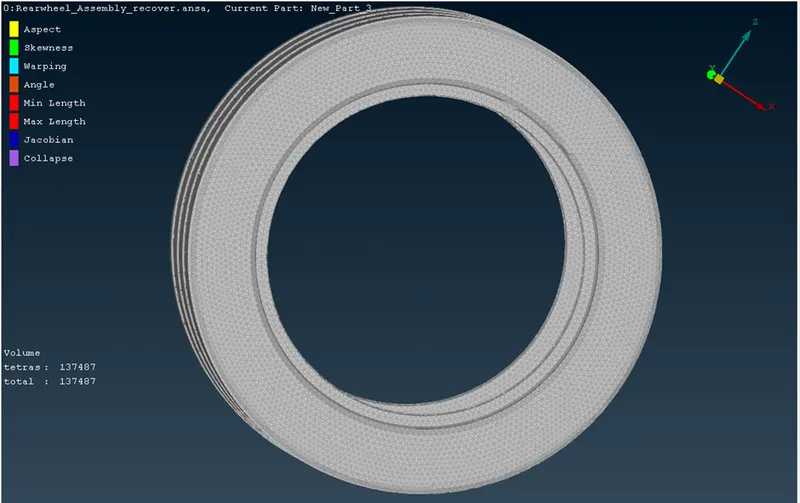
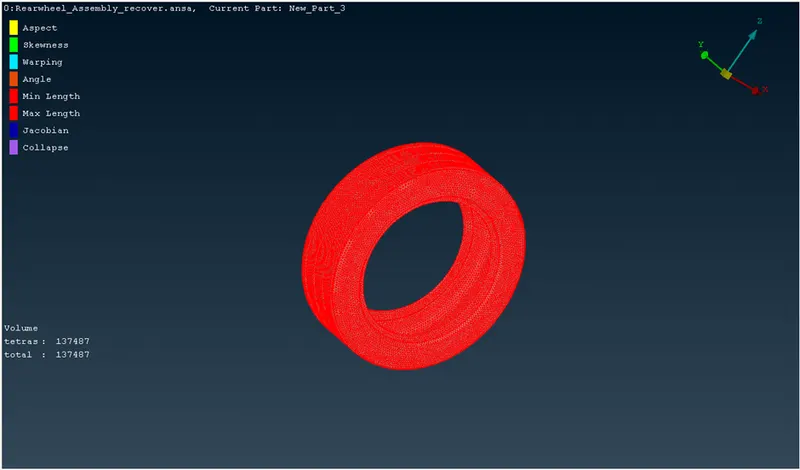
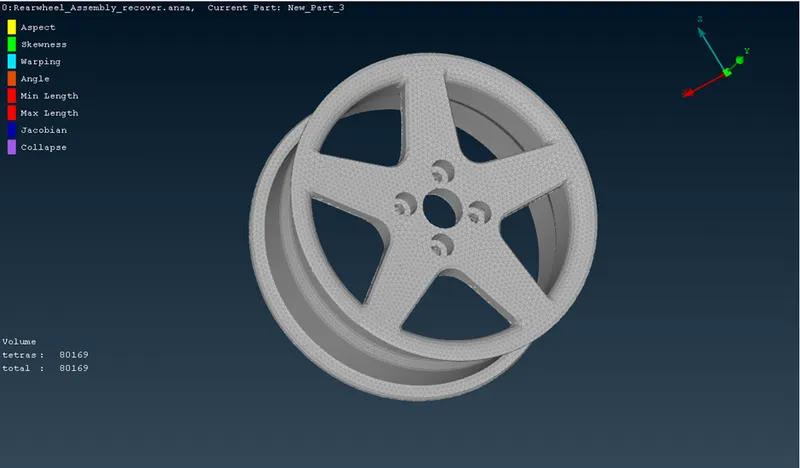
Generating Mid surface for uniform thickness model:
- In order to generate the mid surface for some of the uniform thickness parts.
- I have used offset option first measuring the cons then offsetting it into half.
- After generating the mid surface we can go for meshing the midsurface by using various option like spot meshing with tria or using Batch meshing.
- I have used spot meshing because there were very less portion to mesh.
- And clear the quality criteria.
- Our Model will look like this:
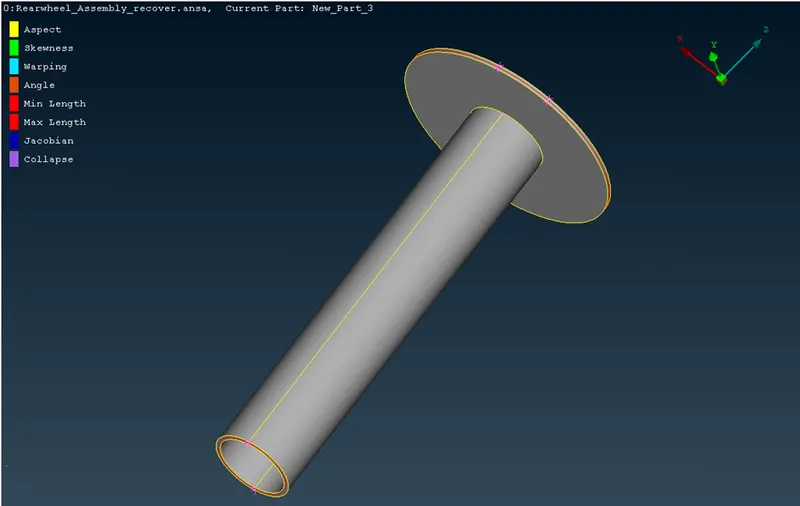
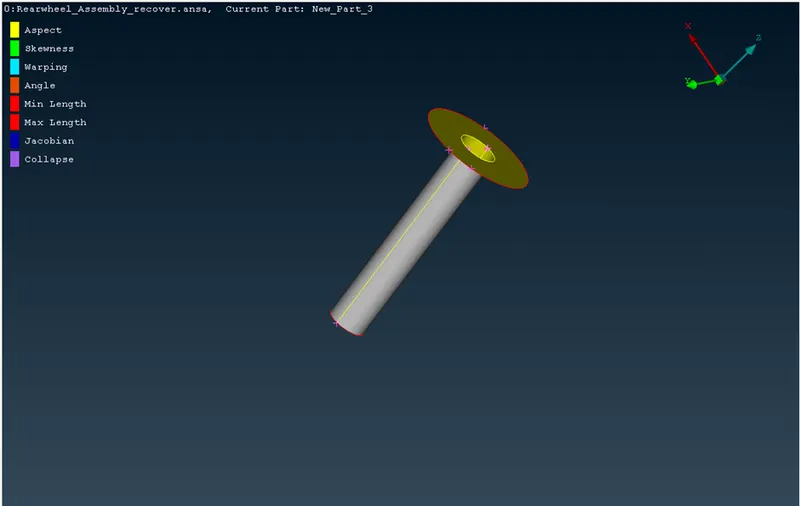
Similarly for all the model having uniform thickness less than 5mm.
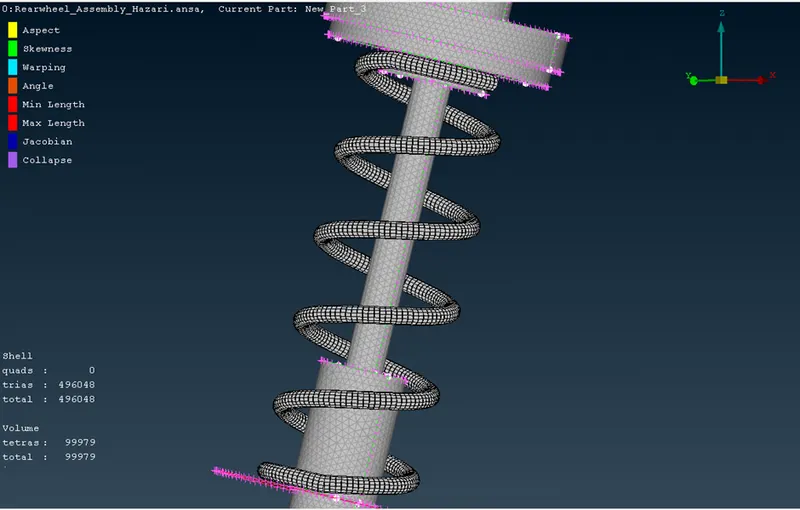
Modelling the spring element:
- In order to model it we need to take middle curve option to get the middle of the spring.
- Now using COG option giving it a centre point.
- Going the NASTR tab and clicking on CBAR option and selecting the curve box.
- After selecting the curve box select the curve and middle click it will ask to enter the length.
- After giving the length it will ask to set pid of the spring.
- After setting the the pid by giving it appropriate radius.
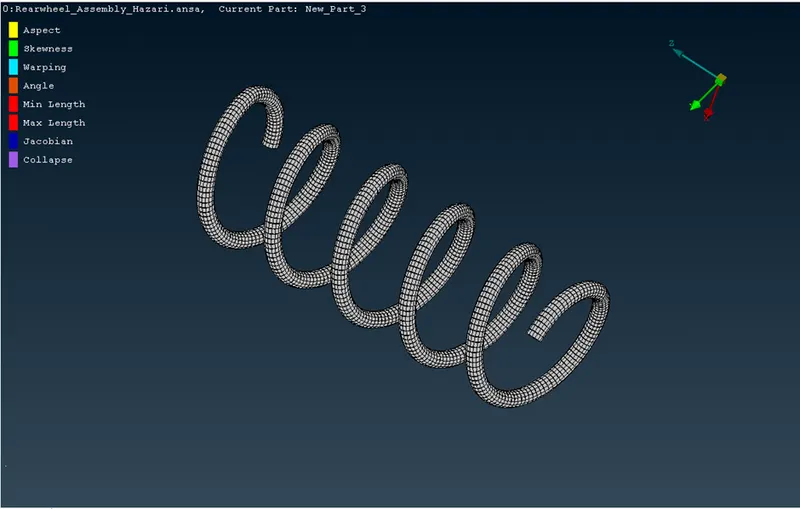
- Click ok and go to the quality criteria tab enable the line element crossection as solid. Check that box and Apply.
- Now we can see the different surface created:
Assembling the model:
- I have used Lock option to assemble the model and volume models.
- I have stored into lock 1 and 1.8 both have same model.
Creating the symmetry of the model:
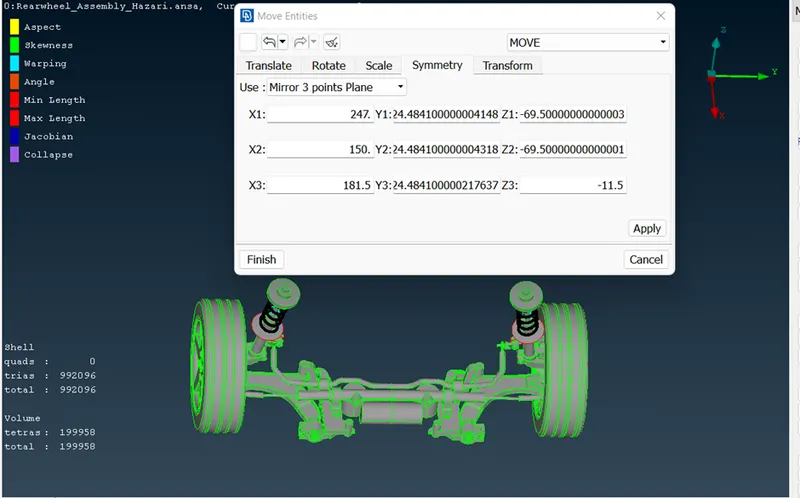
- In order to create the symmetry of the model I used the option Copy Entities.
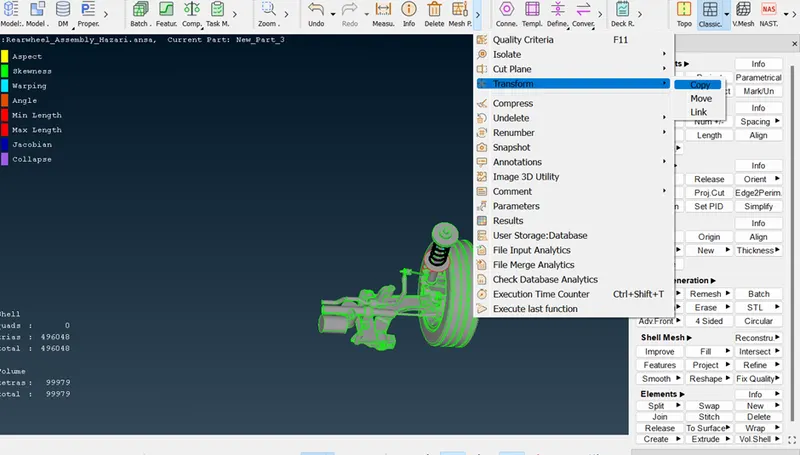
- After selecting the model hit middle click to obtain the symmetry option.
- And going for 3 point symmetry option to get the same mode with same axis but in opposite ( like mirror).
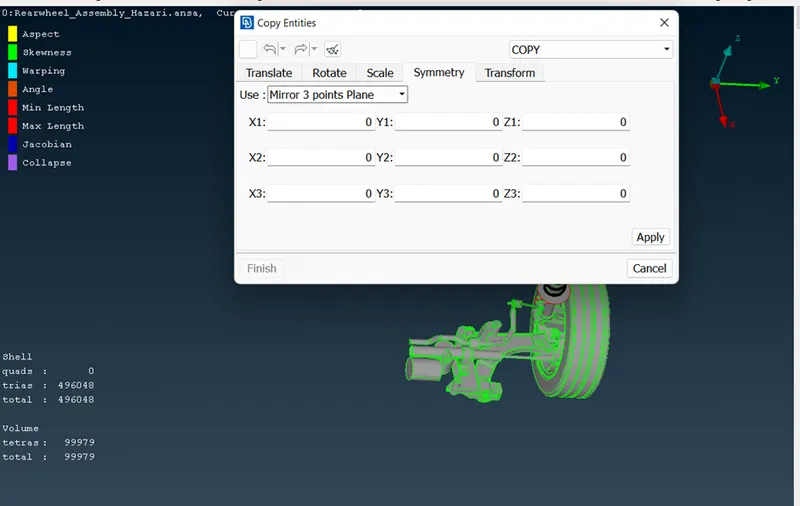
- I have selected the tree points as shown in the fig.
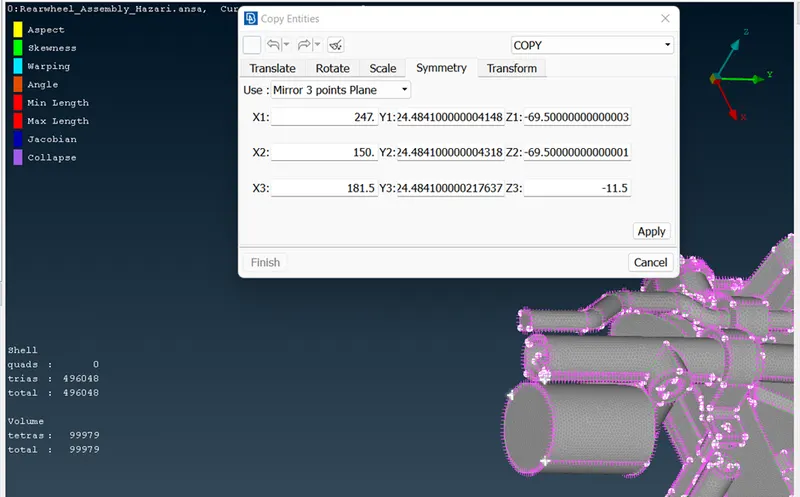
- And clicking on apply we can get our symmetry part of the model and click Finish.
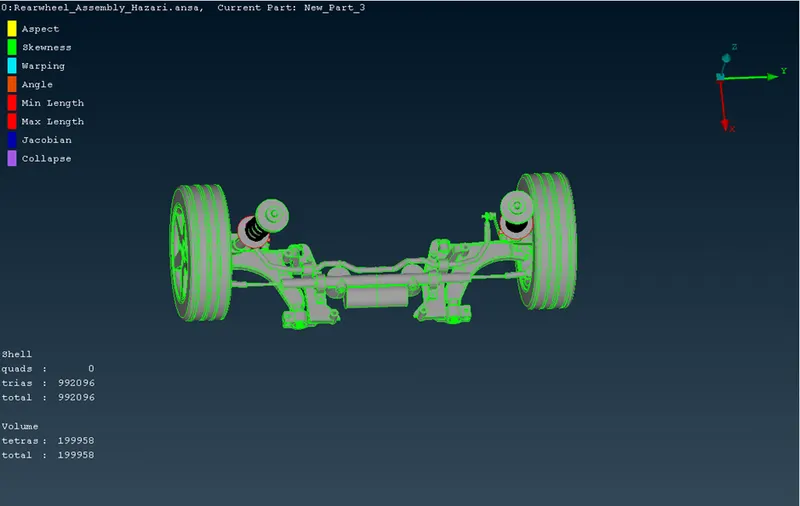
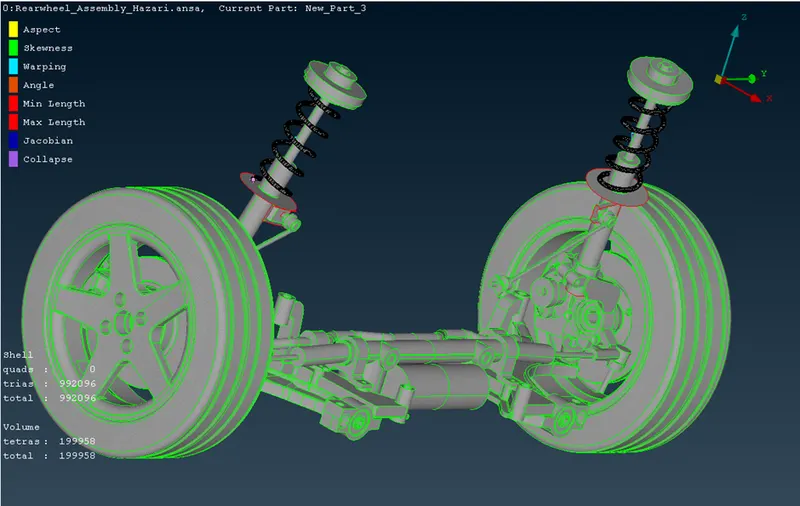
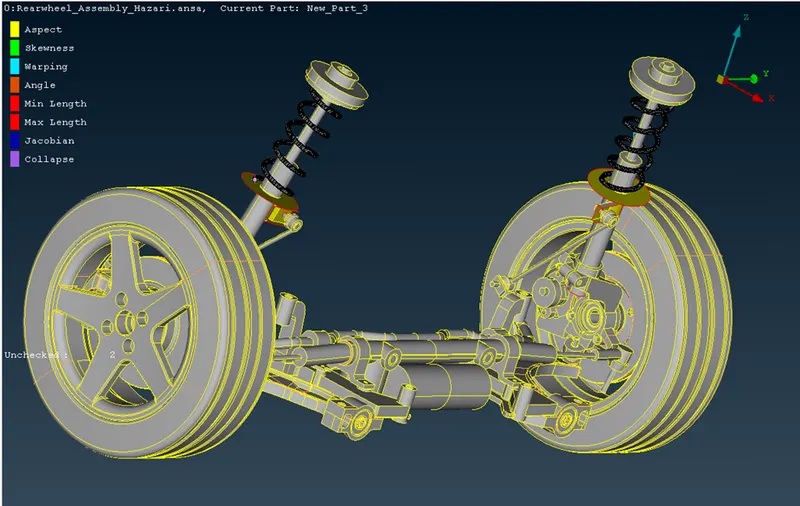
- The final model will look like this:
Learning Outcomes:
It has been a great experience modelling this I have learned quite new thing from this such as:
- How to mesh different parts of the model and again assemble them in the end.
- I have learned how to create Batch mesh, spot mesh to the model as Solid meshing.
- I learn that we can do solid meshing and 2D meshing both simultaneously and can assemble both of them at once.
- I learned about modelling the spring component using NASTRAN CBAR.
- I learned how to Volume mesh and defining the solid into volume meshing.
- I learned in 2 different quality criteria we can achieve the clean model without any quality errors.
- And also I learned about creating the symmetric part of the half given model. Using three point symmetry.
Conclusion:
- For the given assembly, we have checked for the geometrical errors and mesh with the given element Quality criteria.
- After meshing the component the thickness has to be assigned for mid surfaces. And used tetra elements to model non-uniform thickness components.
- Hence we have generated the good quality mesh of the given model.
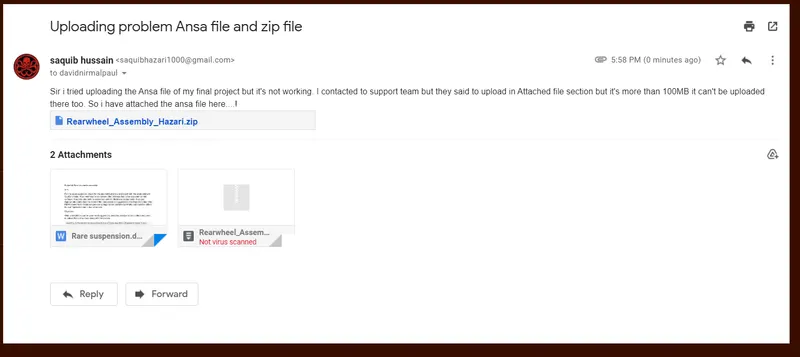
I unable to send the ansa file here because it's too big to be uploaded so i shared to your gmail
////////////////////////////////////////////////////The End/////////////////////////////////////////////////////