Project-2-Meshing of Door Inner Panel Challenge
Meshing of door inner panel challenge
Objective:
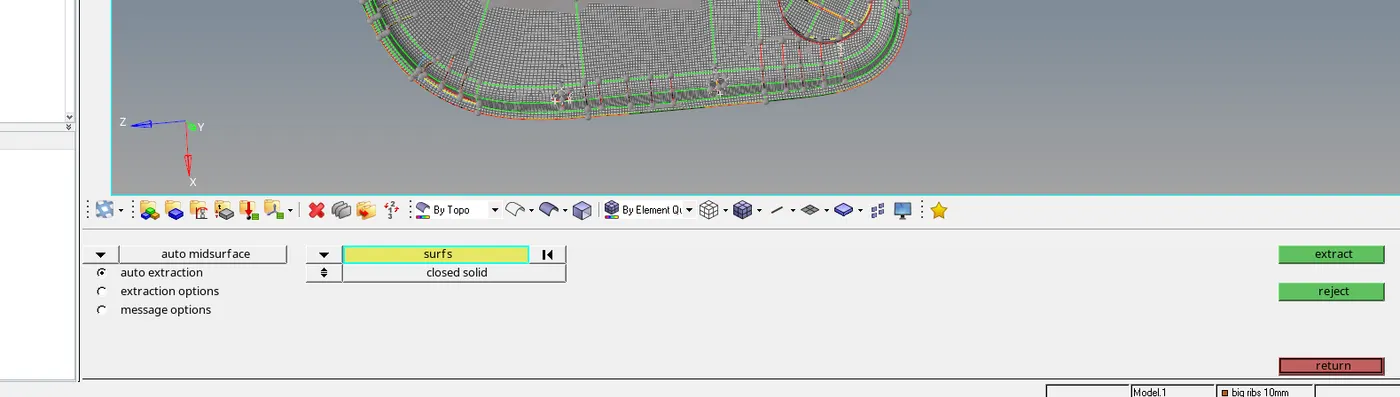
· To learn some new tool to take mid surface
· Also learn how to handle mid surface in thickness various region.
Procedure:
· In this plastic door inner panel consists of many features.
· To check general geometry checkup on parent part.
· Afterwards take the mid surface either auto or manual offset.

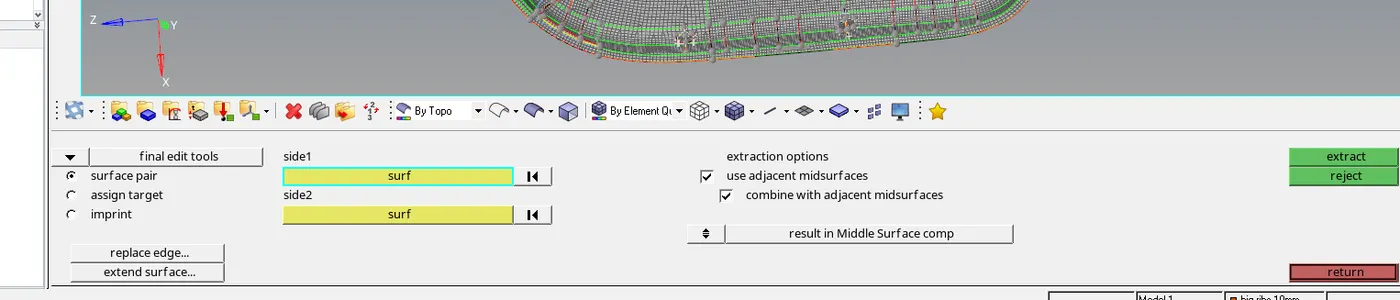
· In feature ribs areas of uniform thickness ribs, mid surface takes by final edit tool surface pair option.
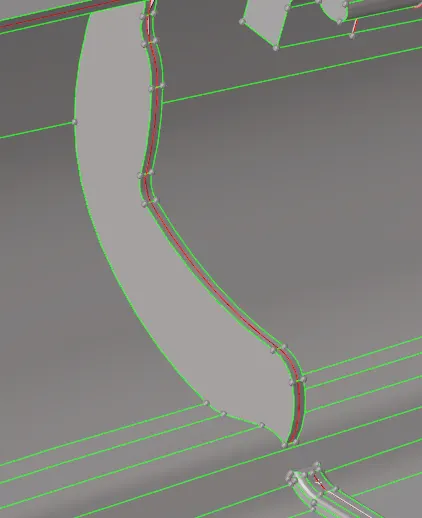
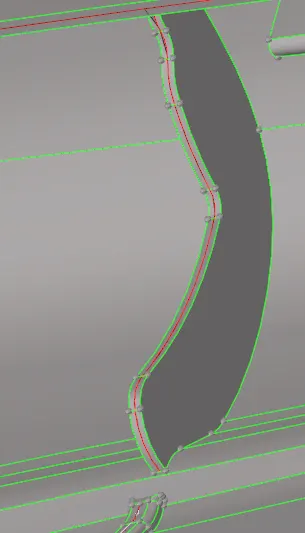
· And for some un uniform ribs using line between option by project lines have to create mid surface.

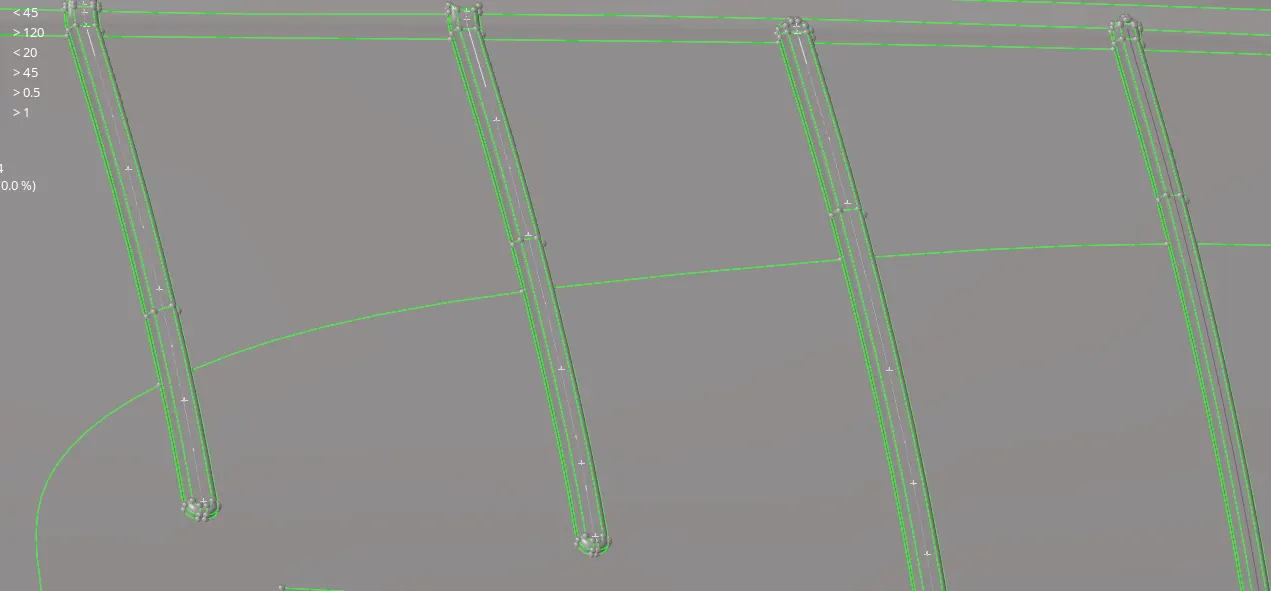
· In dog house areas mid surface took by below image.
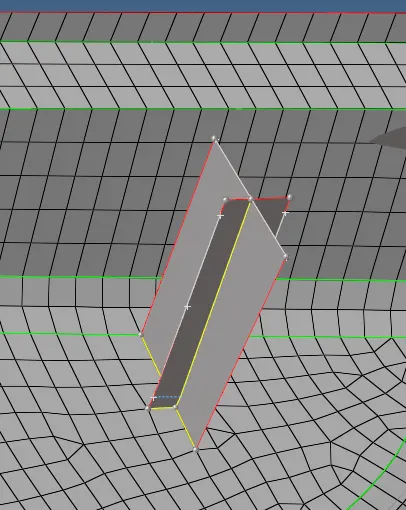
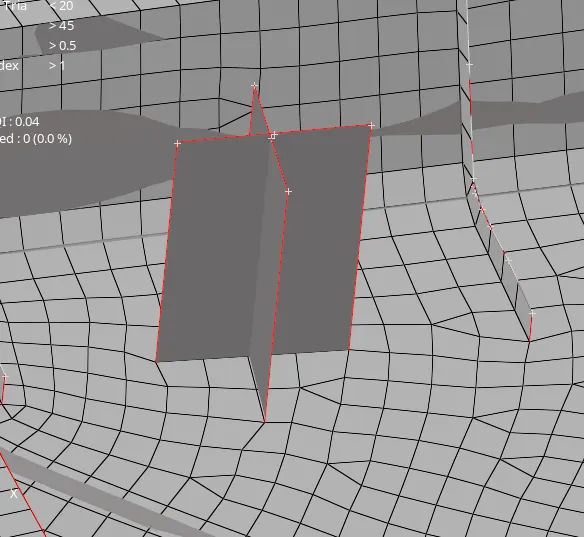
· By using extend and various such options to extend and intersect the two surfaces.

· After took mid surface, we have to do mesh by setup the given quality criteria and target element length.
· And start meshing the areas and capture the feature fillet areas perfectly.
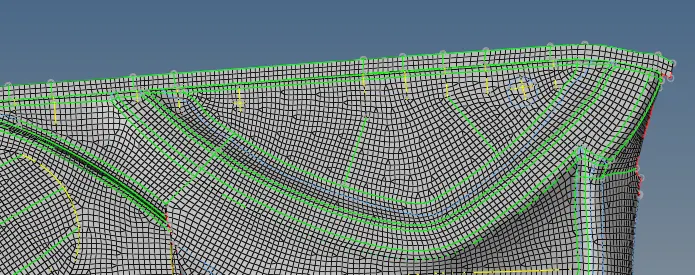
· And make sure node connection between with one surface to other feature areas.
· And using project and align nodes option to set up the good mesh flow.

· Avoid opposite trias and trias in free edges areas.
· The meshed elements should pass all the given quality criteria.
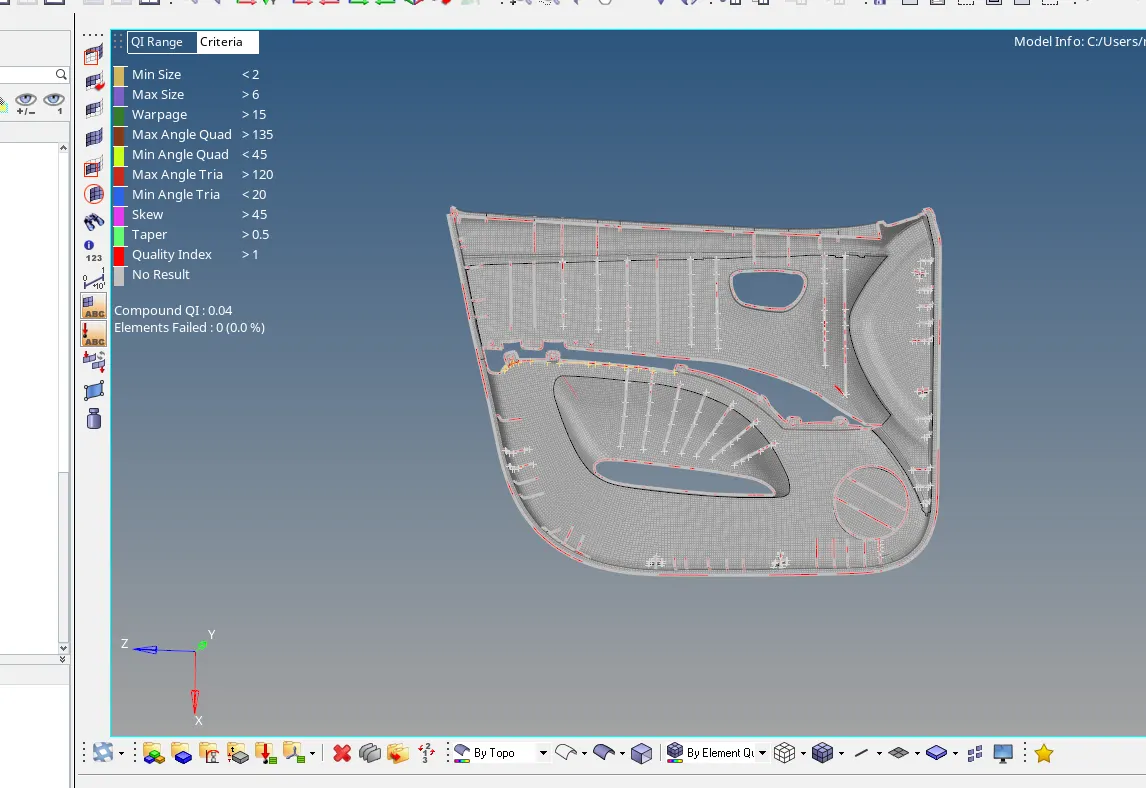
· And find edge by click shift+f3 select the elements and find the edge, in between elements, nodes are not properly paired so mostly this is the reason for free edge form.
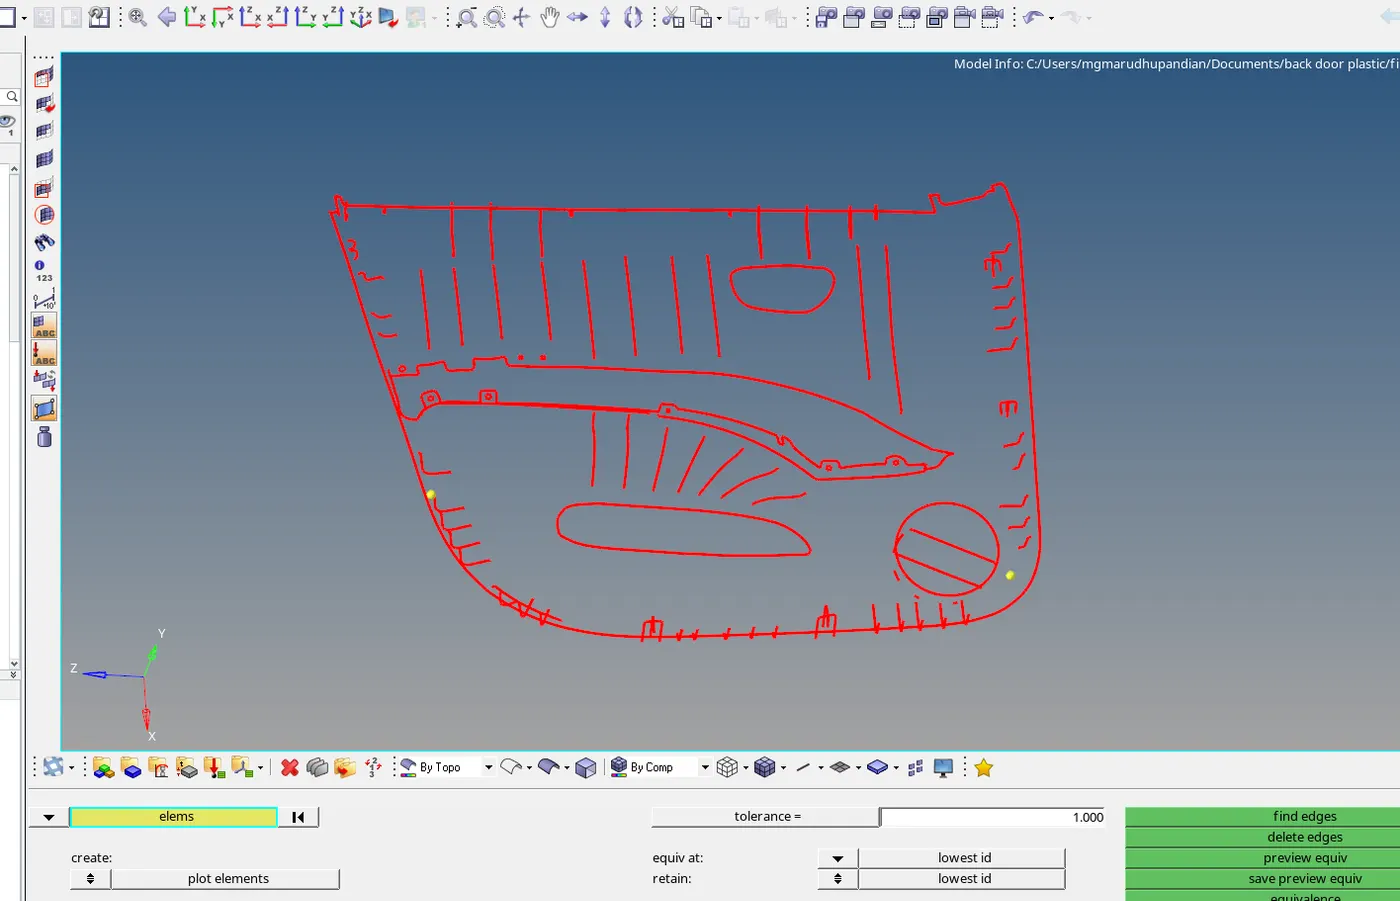
· And also select the elements to check preview equivalence and equivalence the element.
· And assign thickness by creating new collectors for different thickness part.
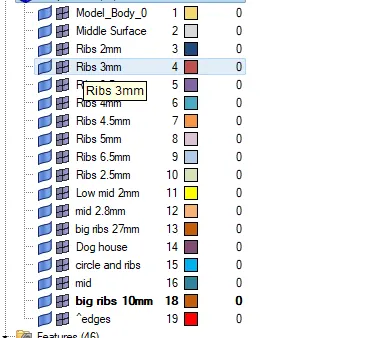
· Mid surface and elements are move to those collectors.
· And set the material property and give the thickness.
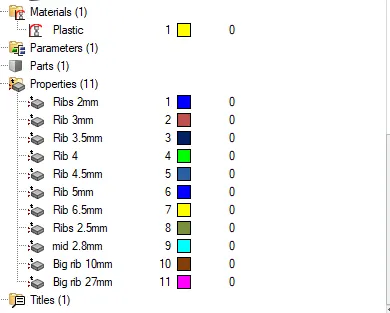
· Finally, the door inner panel completed.
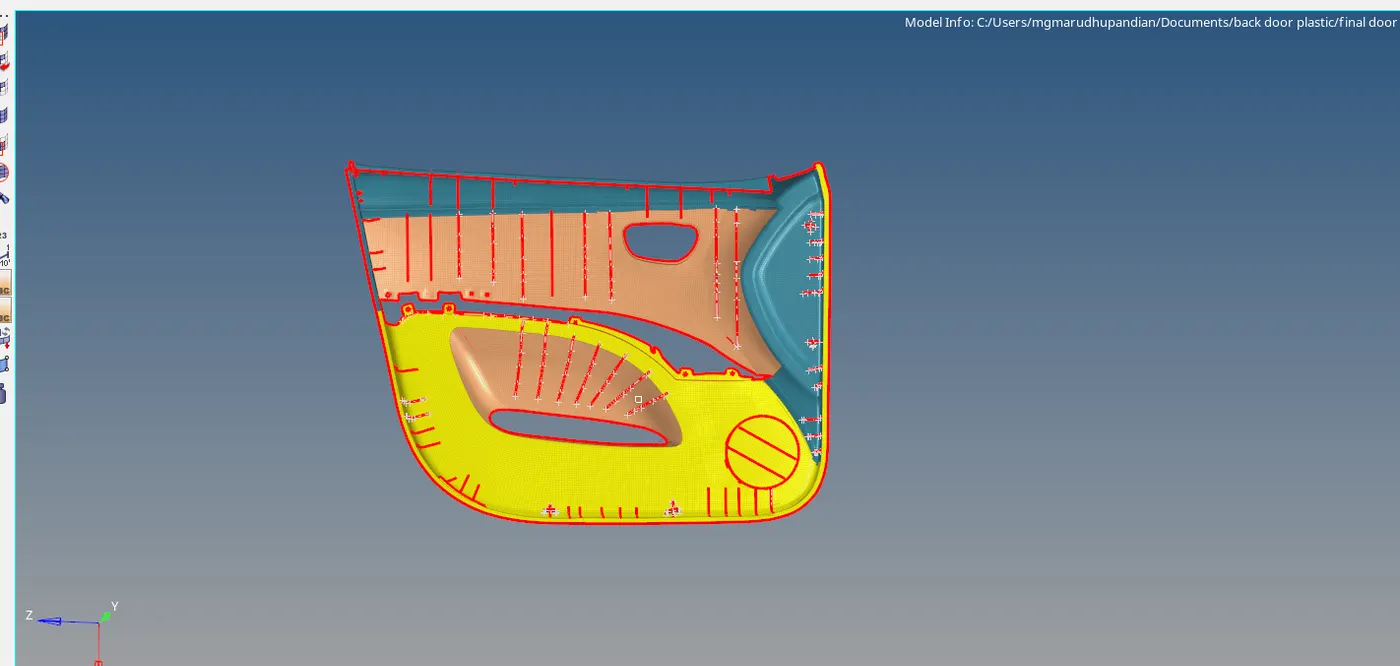
Result:
The meshing of door inner panel has successfully meshed and completed.