Project-2-Meshing of Door Inner Panel Challenge
AIM:
- To achieve the given quality criteria
Target Element Length = 4 Units
| S.N | Quality Criteria | Value |
| 1 | Aspect Ratio | 5 |
| 2 | Skewness | 45 |
| 3 | Warping | 15 |
| 4 | Taper | 0.5 |
| 5 | Min. Length | 2 Units |
| 6 | Max. Length | 6 Units |
| 7 | Min angle Quad | 45 |
| 8 | Max angle Quad | 135 |
| 9 | Min angle Tria | 20 |
| 10 | Max angle Tria | 120 |
| 10 | Tria % | 10 |
- To mesh the given model with good mesh flow and zero quality errors.
PROCEDURE:
1. Download the given side door model and import it into Hypermesh.
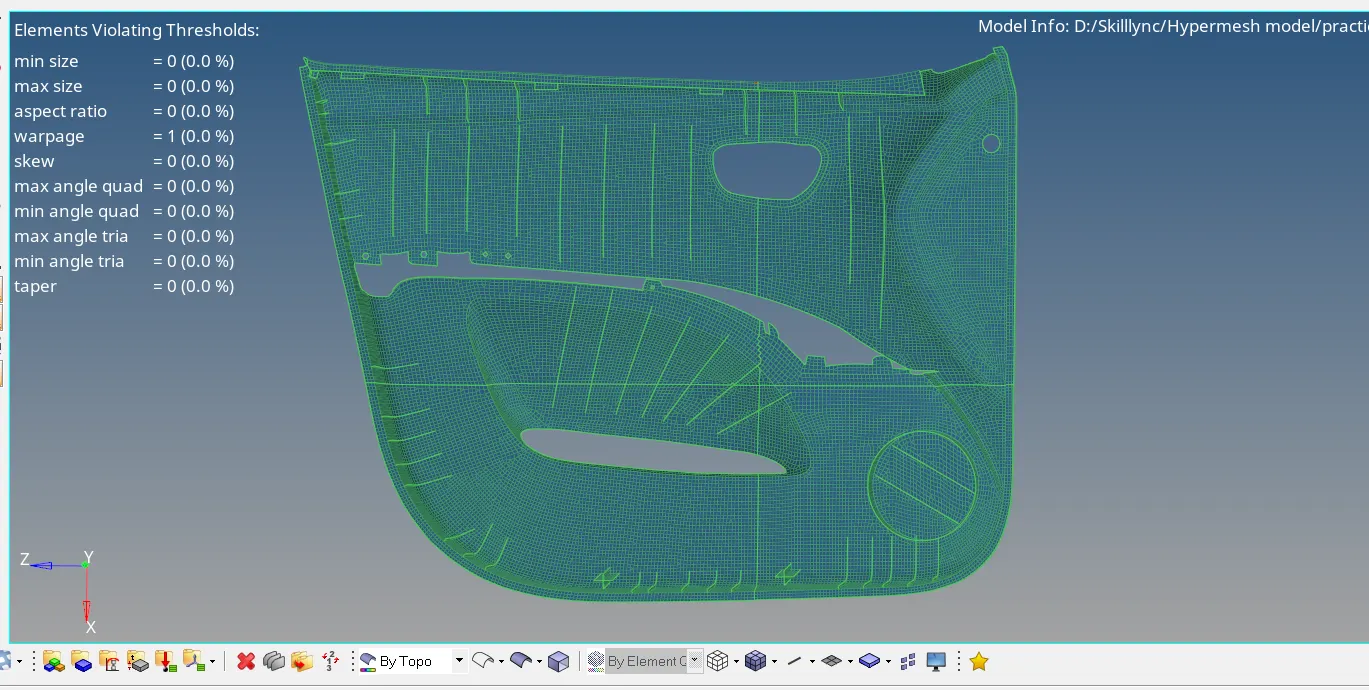
2. After importing the model clean up the geometric errors.
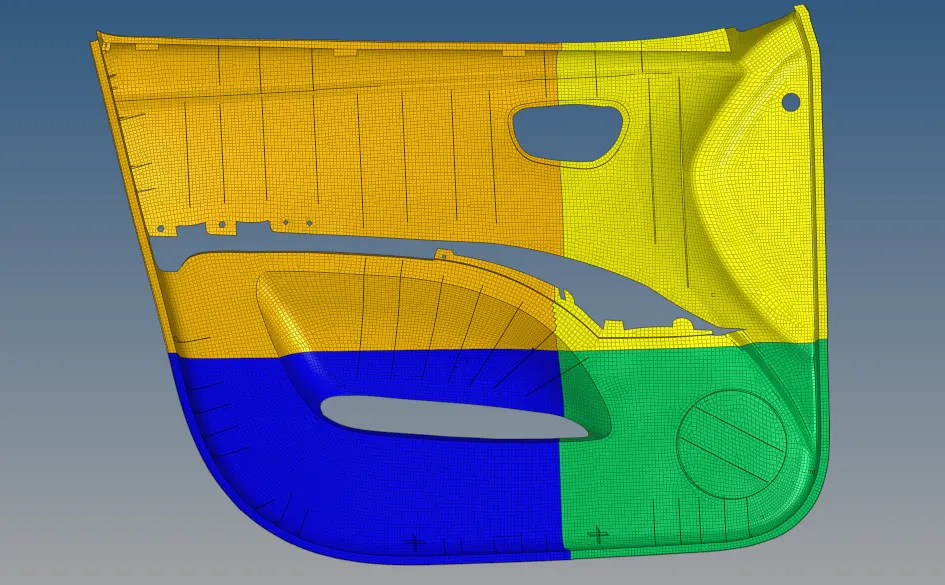
3. Then divide the component into Four parts.
- Use Geometry>> Surface Edit>> Trim with surf >> with plane
- Select the surface and select the axis to cut, then select the base point.

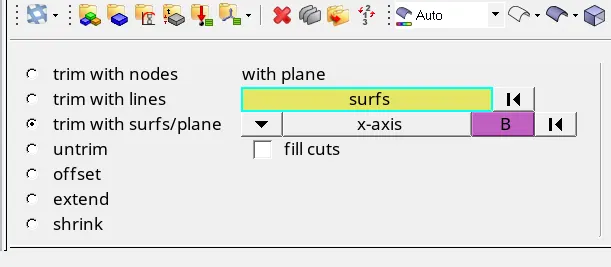
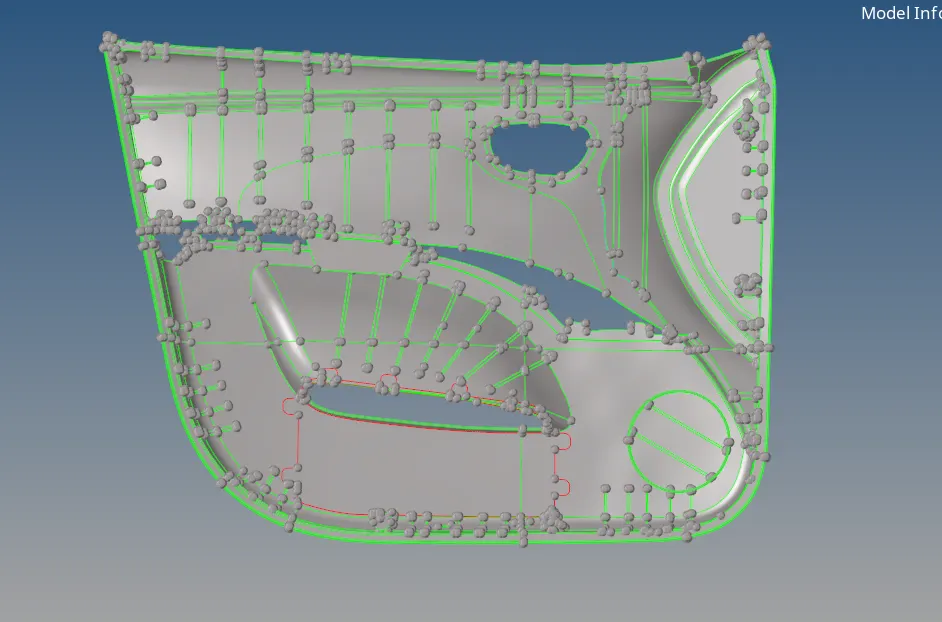
4. Organize them to separate collectors (components)
- Use TOOL >>Organize >>collectors
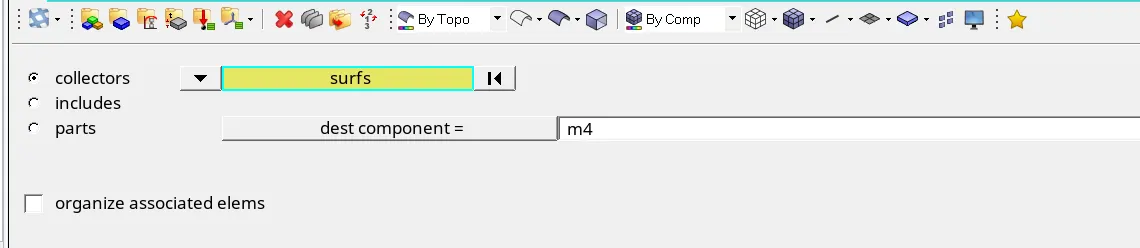
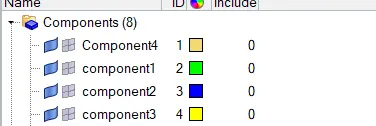
5. Work on each component separately.
6. At first we need to generate the mid for the components.
- we can generate the mid manually as it is easier.
- Use Geom >> surface edit >> Offset or by pressing shift+F9.

- First measure the thickness using Geom >> distance >> two points (or) Press F4.

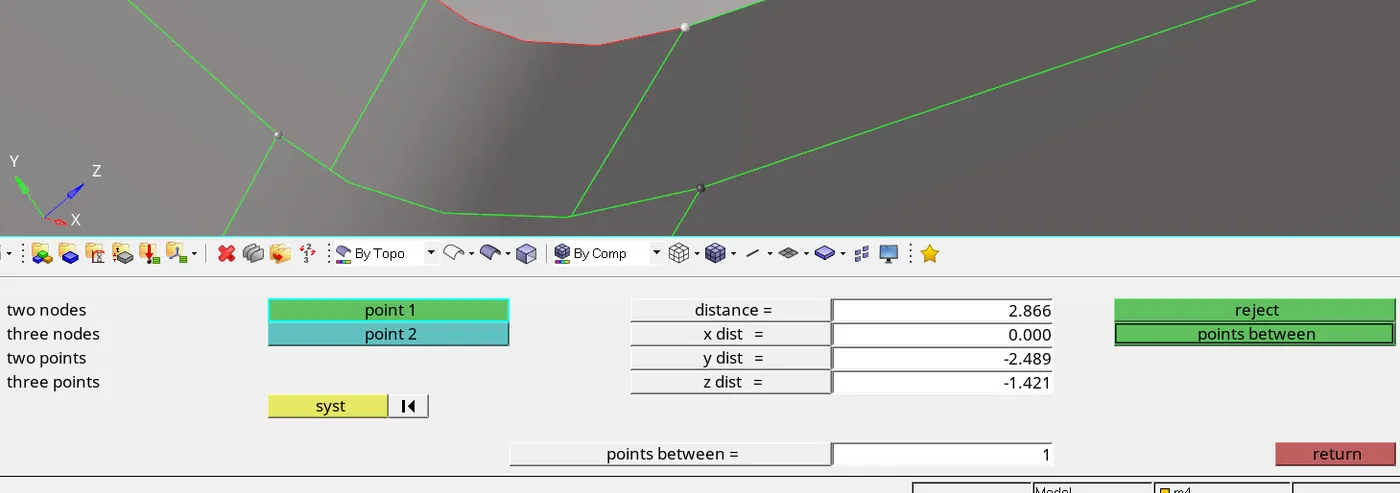
- Select the surface we want to offset then give a offset value and check for the direction vector and then reverse the vector if needed.
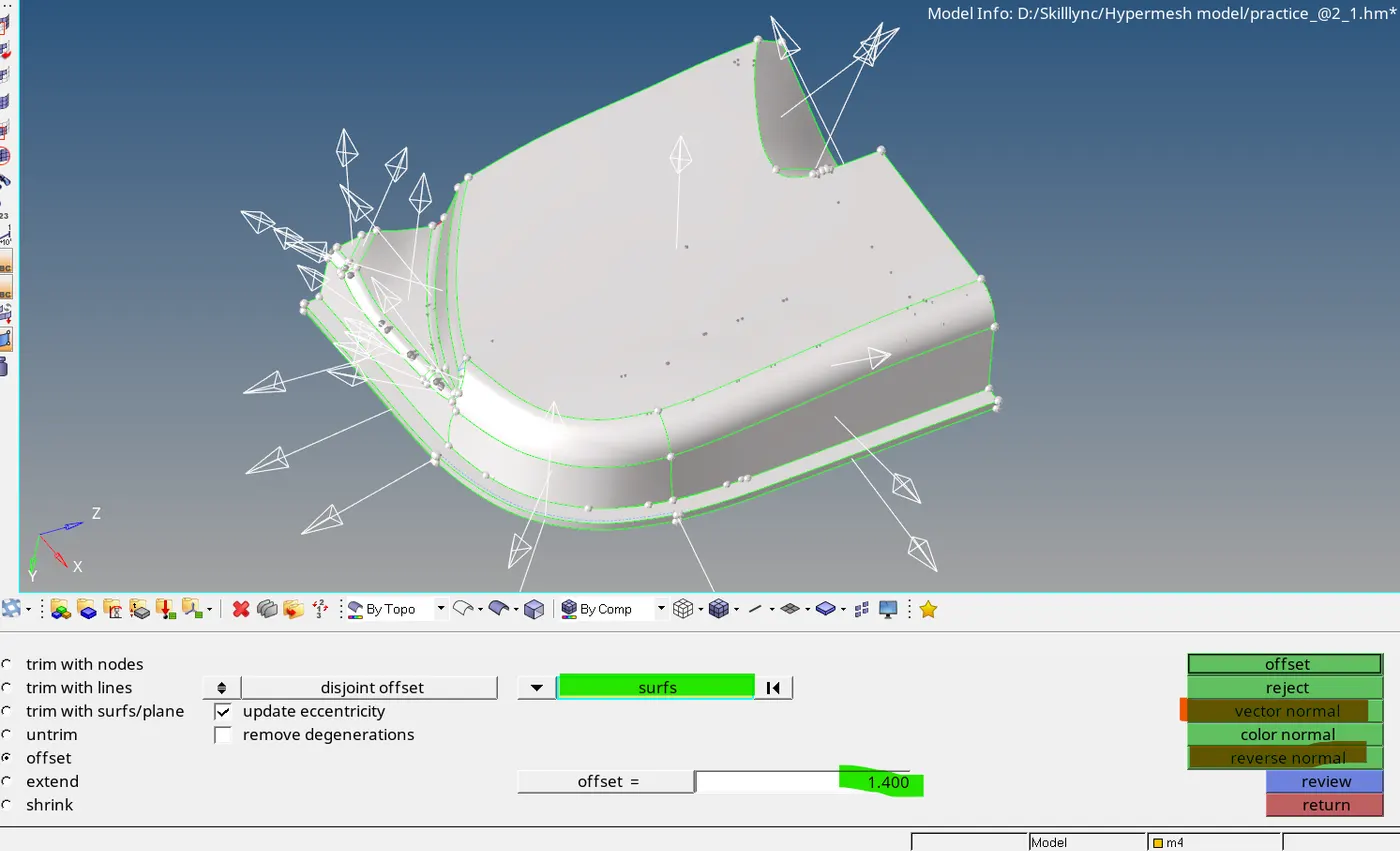
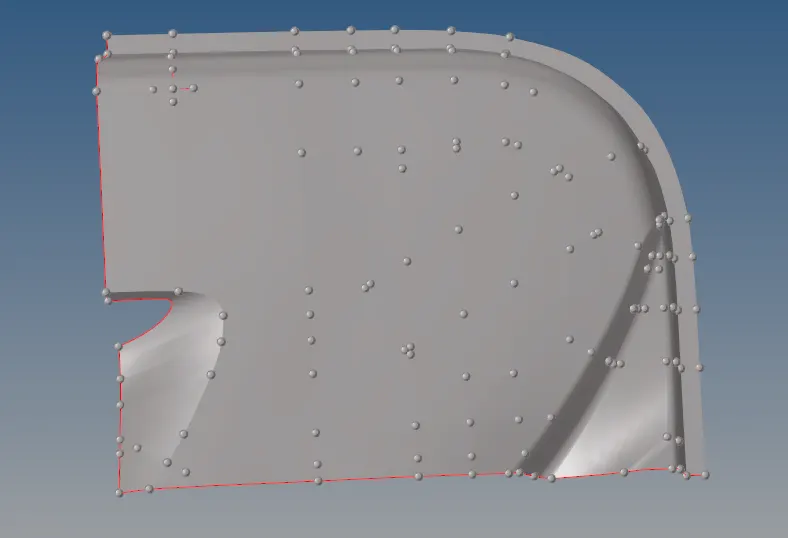
- Before offsetting duplicate the surface.

- We will get a mid-surface for the selected surface.
- Generate the mid for the surface fillets
- Use Geom >> lines >> midline.
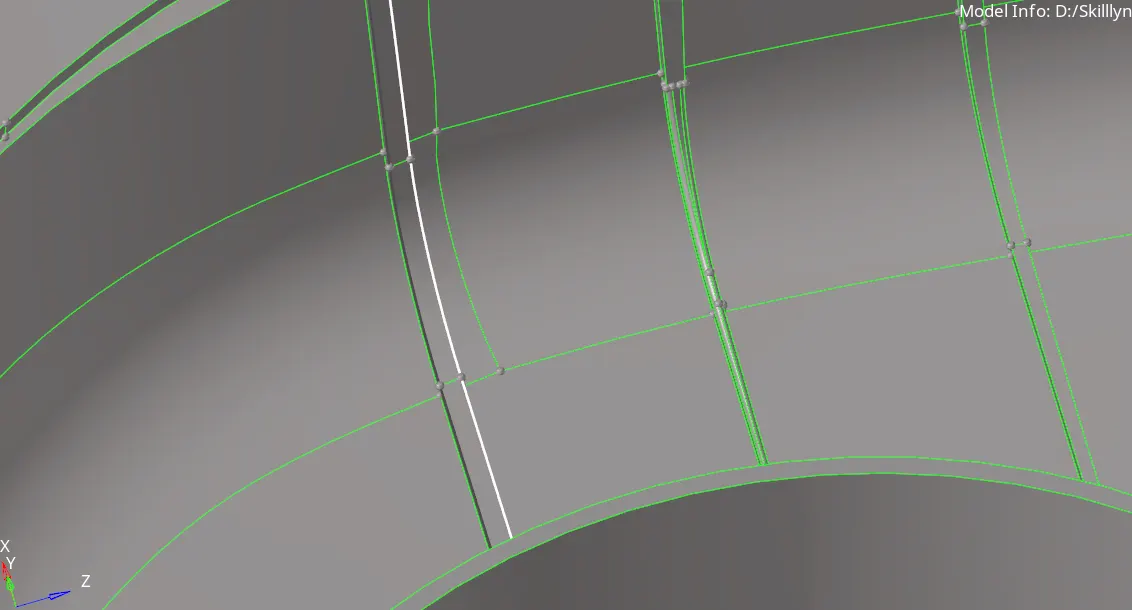

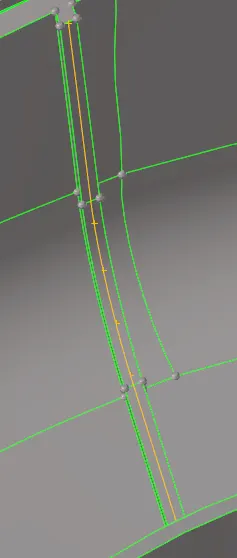
- Project that line to offsetted the mid-surface and create the surface.
- Use Geom >> surface edit >> Trim with lines >To trim the surface

- Use Geom >> surface >> Ruled >To create the surface

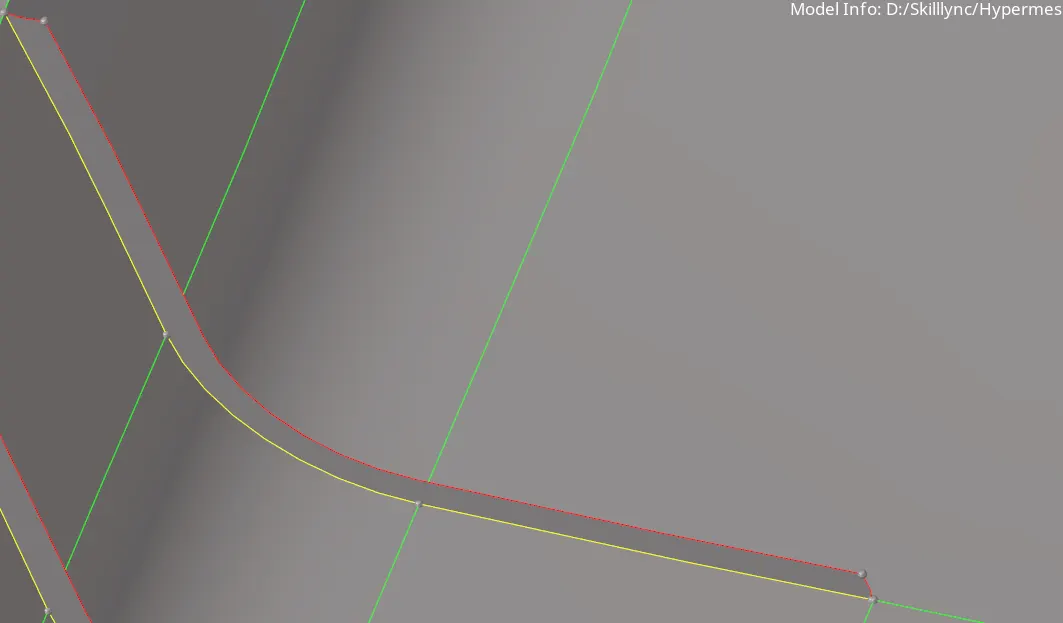
- Follow the same process for all the fillets or we can translate them using Tool >> Translate

- Duplicate the surface before translating them.
7. By following this process we can get mid for the whole component.
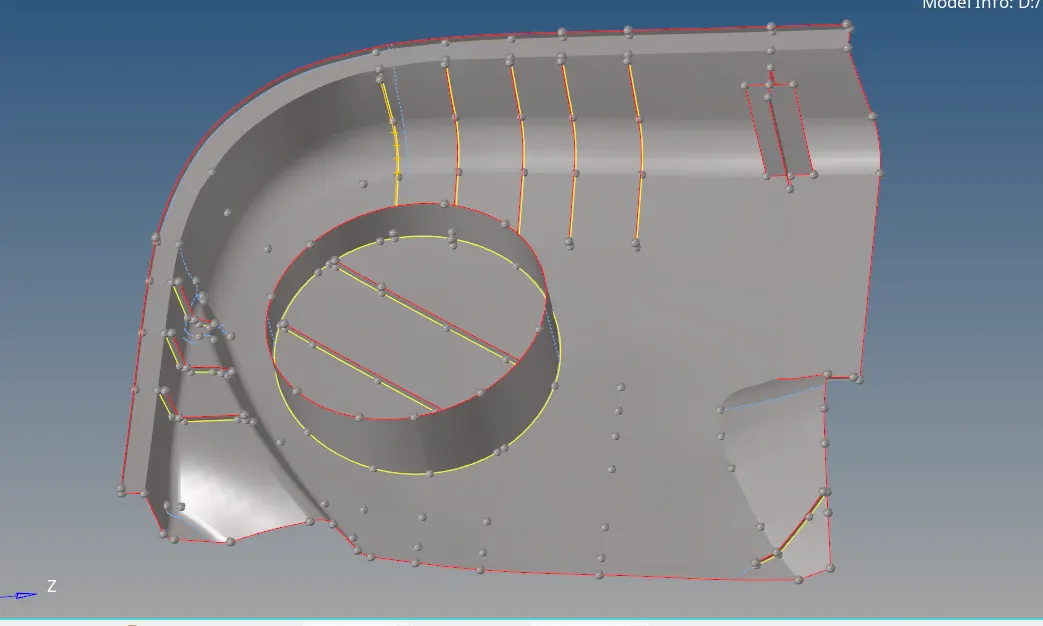
8. Follow the same process for all the component to generate the mid of the whole model.
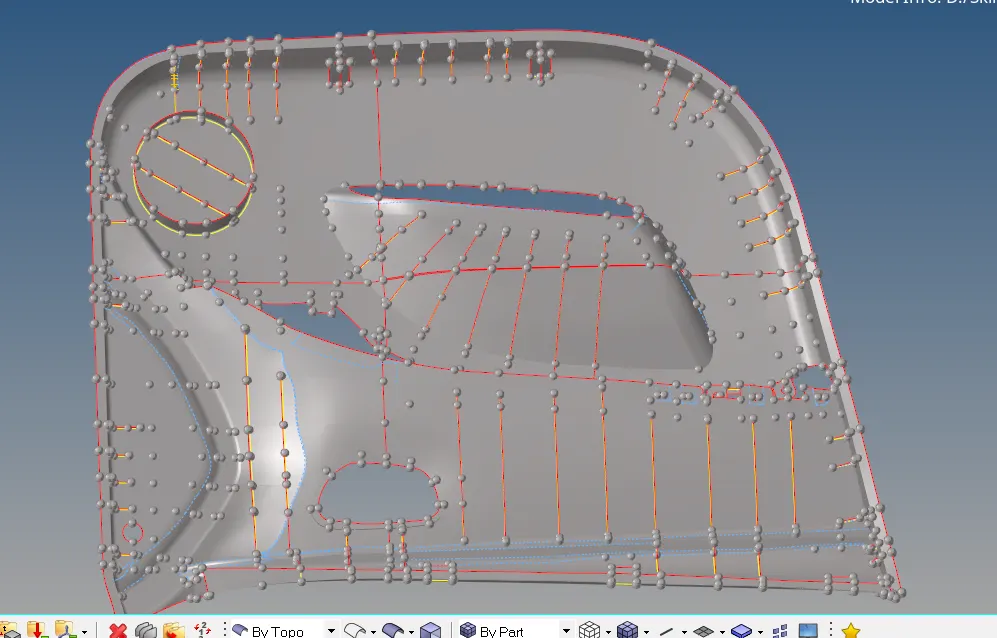
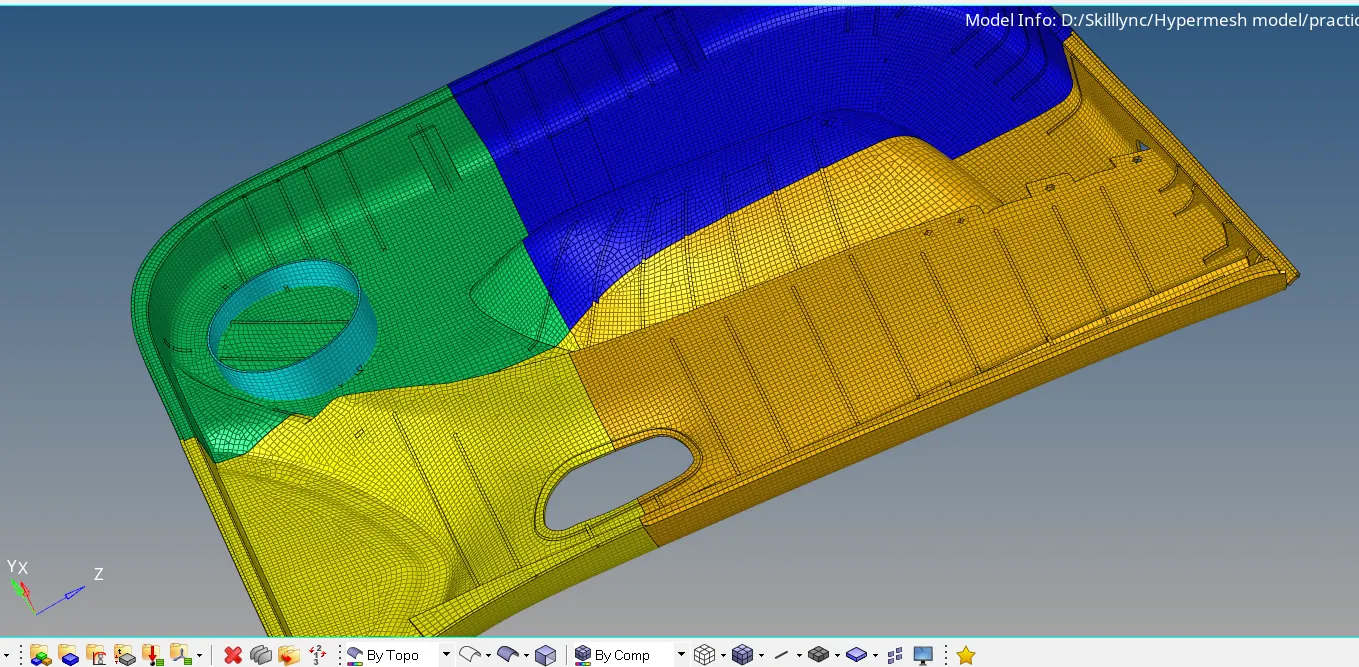
9. We can assign different colors for better understanding.
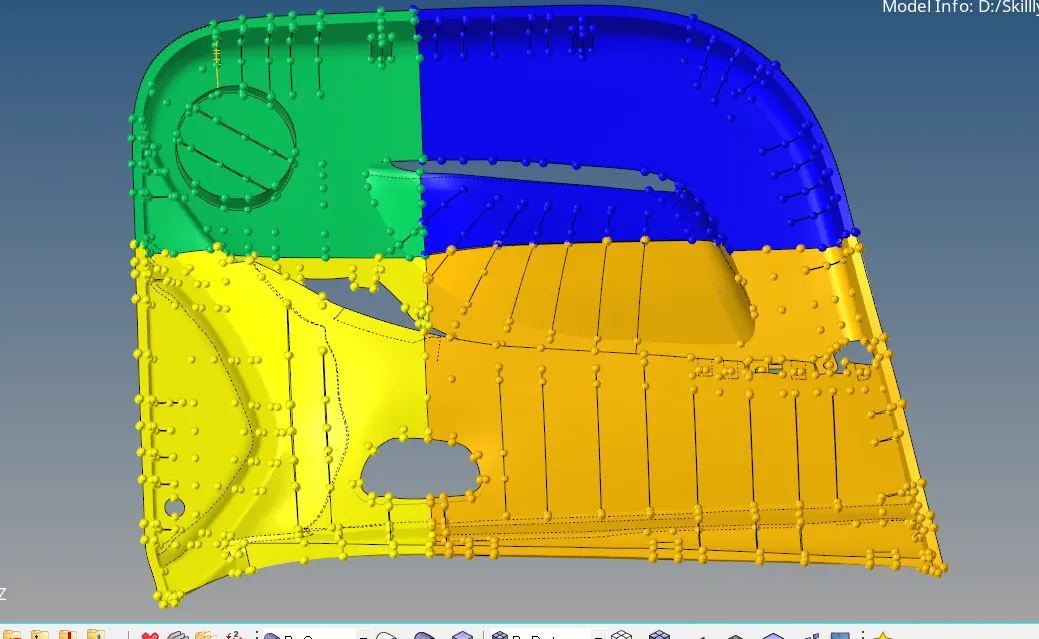
10. After generating mid-surface we can start the meshing process.
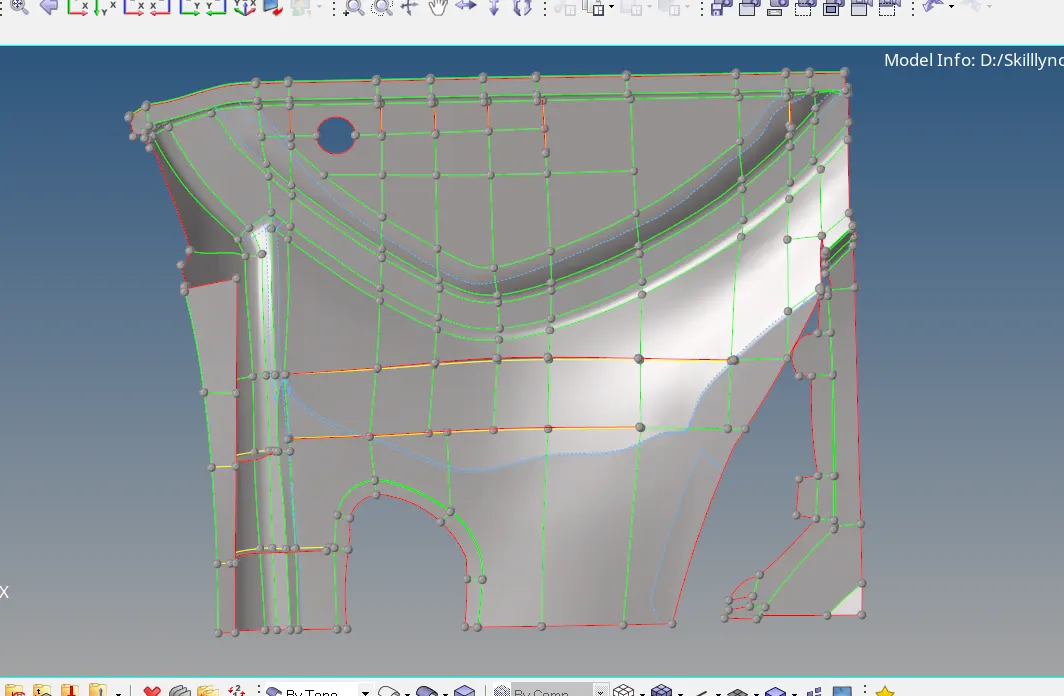
11. Use 2D >> Automesh >> surfs.

12. Before meshing assign the given quality criteria settings.
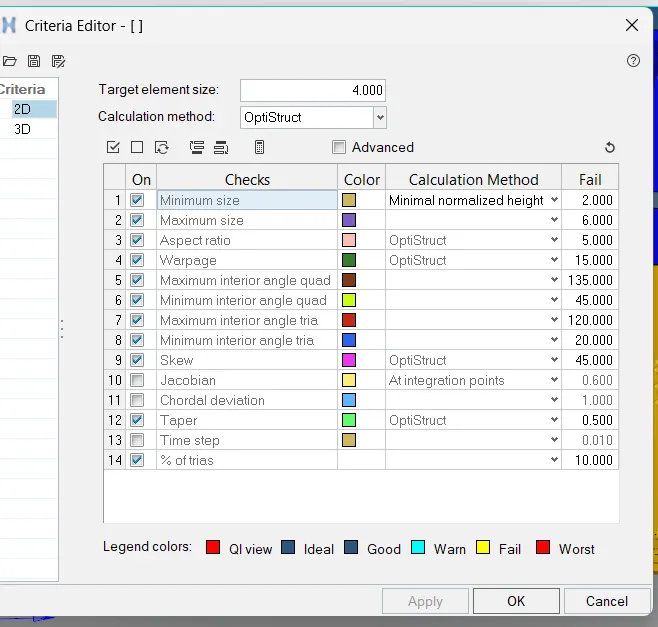
13. We can divide the surface into multiple segments to get a better mesh flow.
- Use Geom >> Quick edit or F11

- We can use all the tools shown above to get better mesh flow.
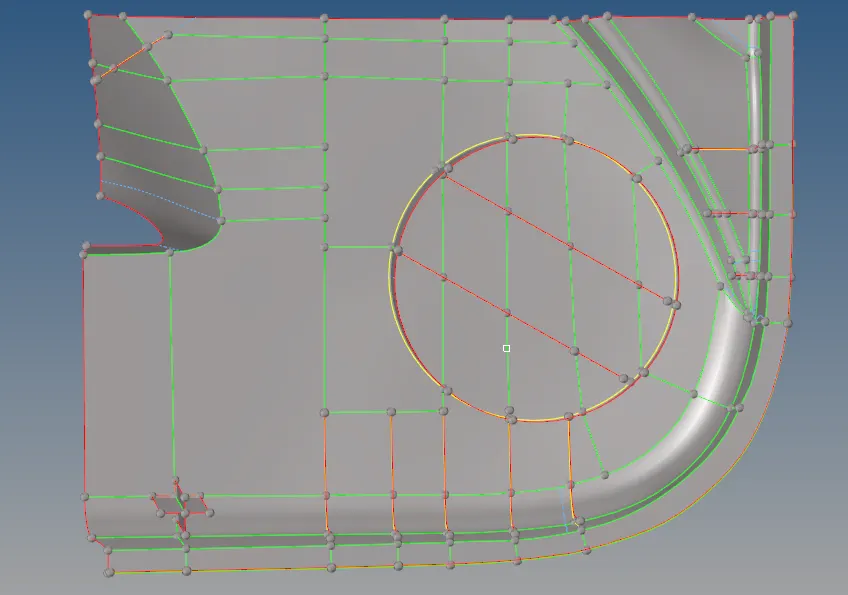
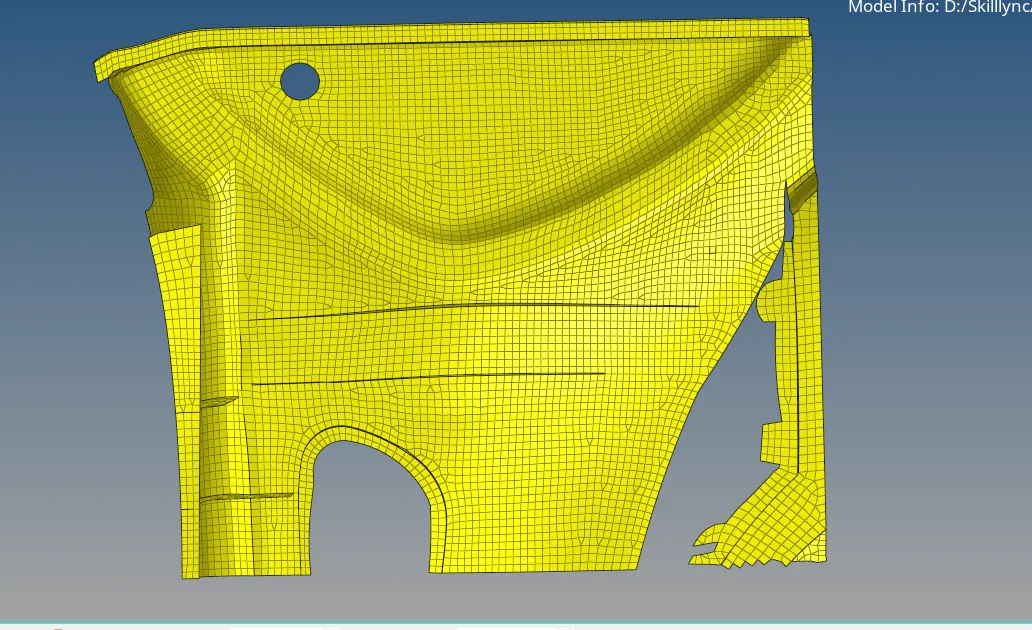
14. Mesh each segment one by one to get a good mesh flow.
15. We can also re-mesh the elements.
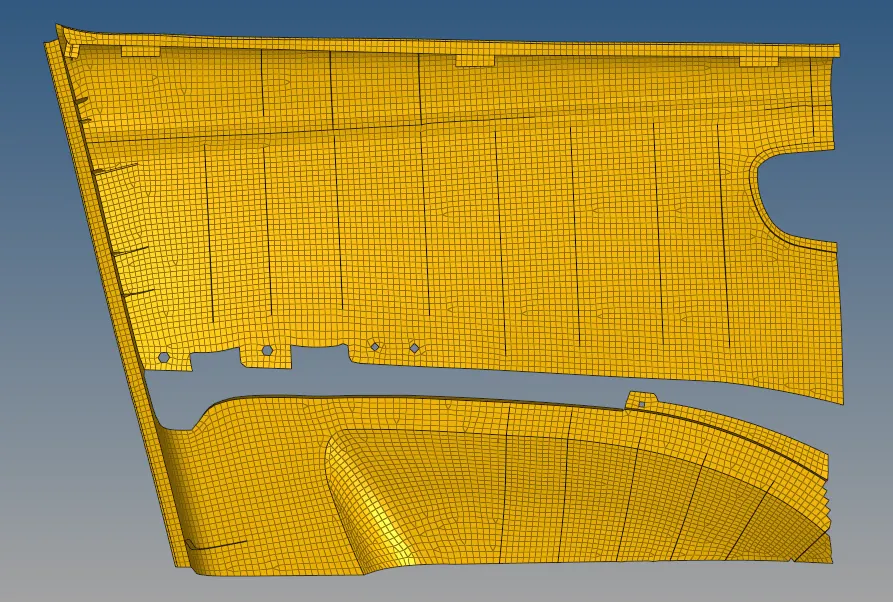
16. After complete meshing the component looks like this
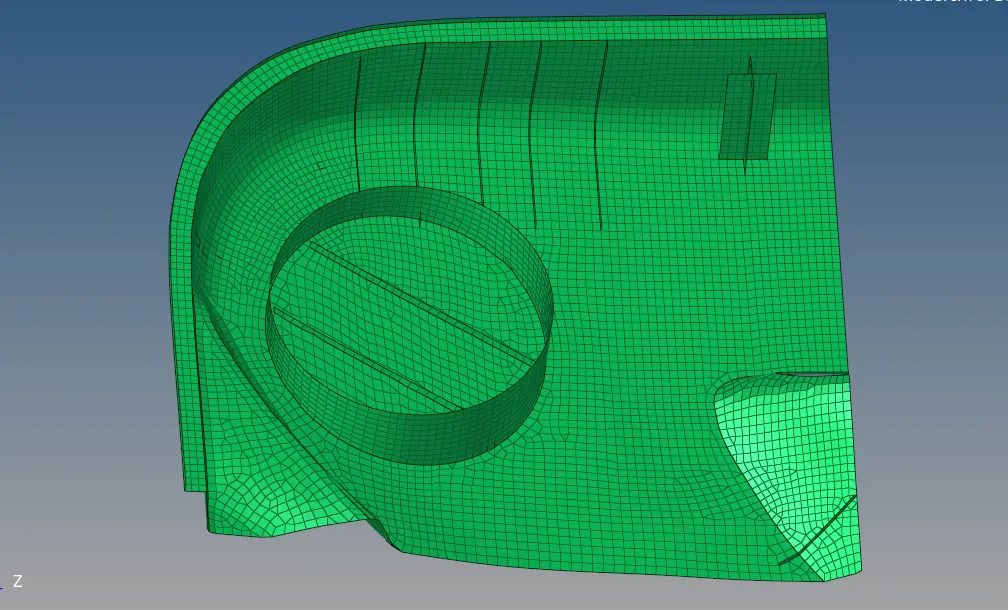
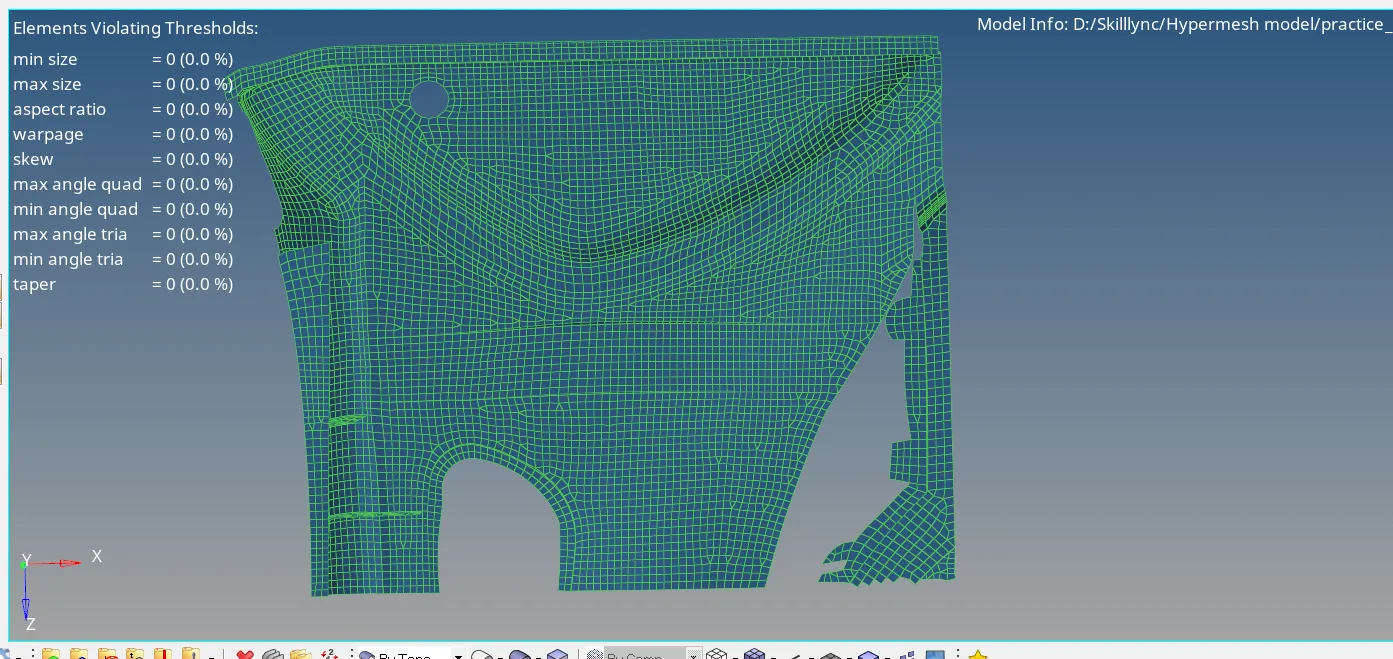
17. To improve the quality of the mesh we can use 2D >> Quality index >> cleanup tools.

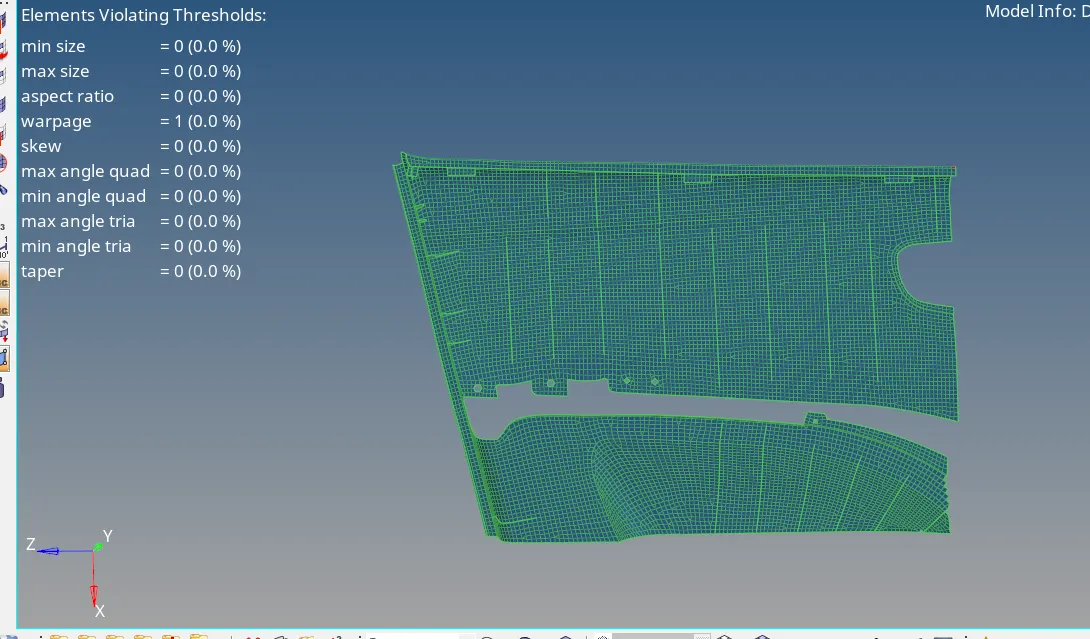
18. We can clean the errors using these tools.
19. Model after quality cleanup with zero errors.
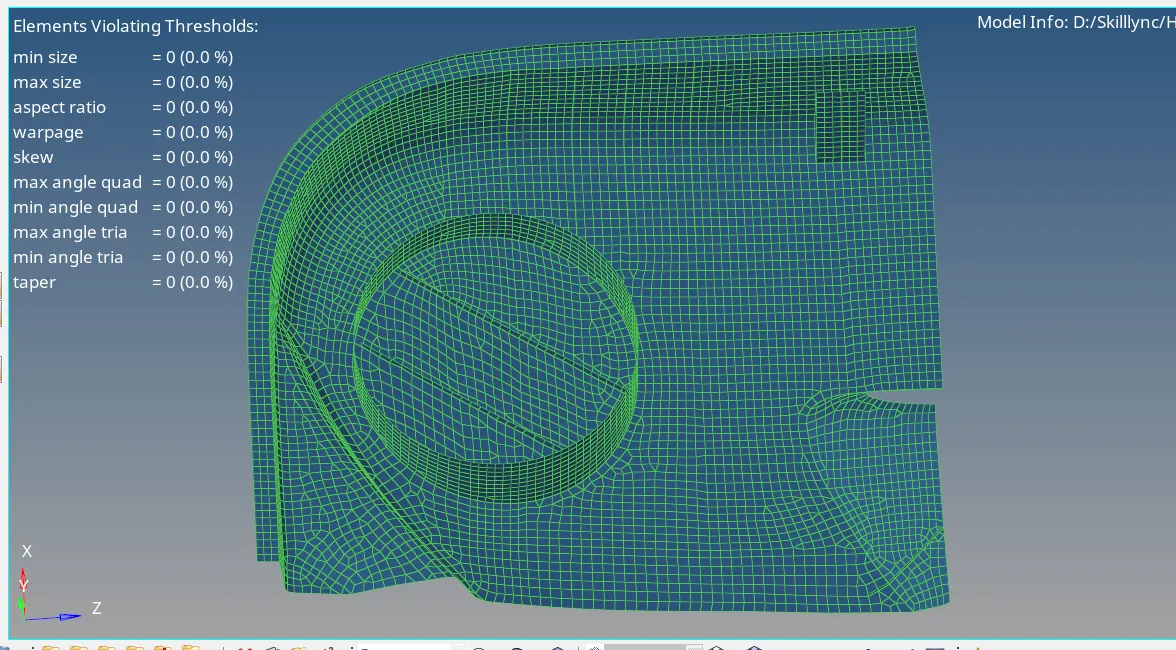
20. We can follow the same process to mesh the remaining components.
- Component 2:
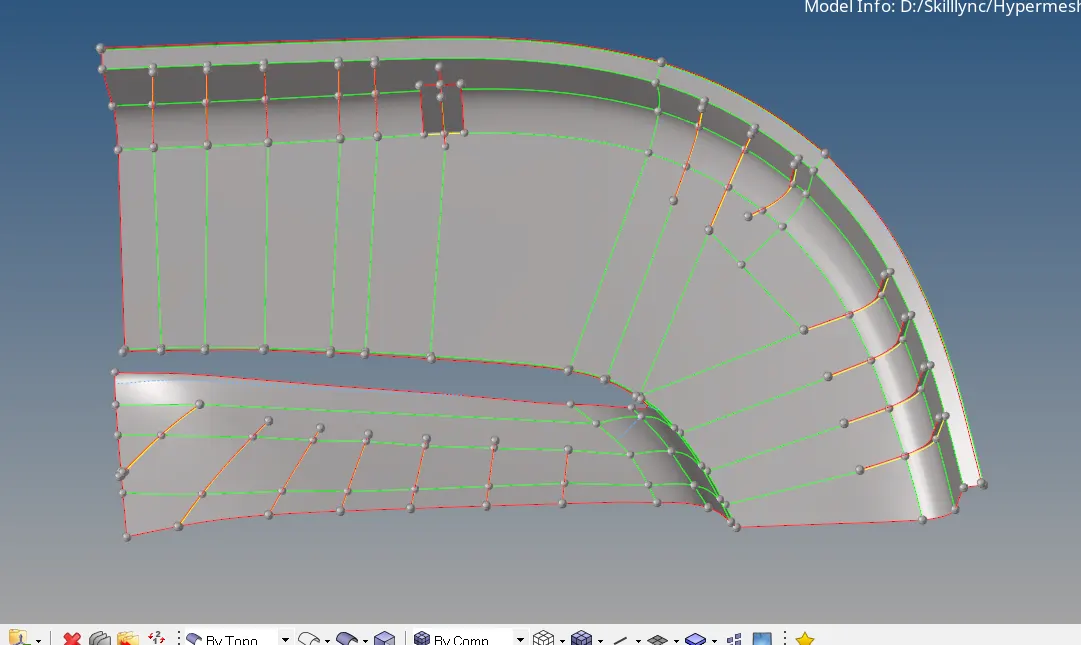
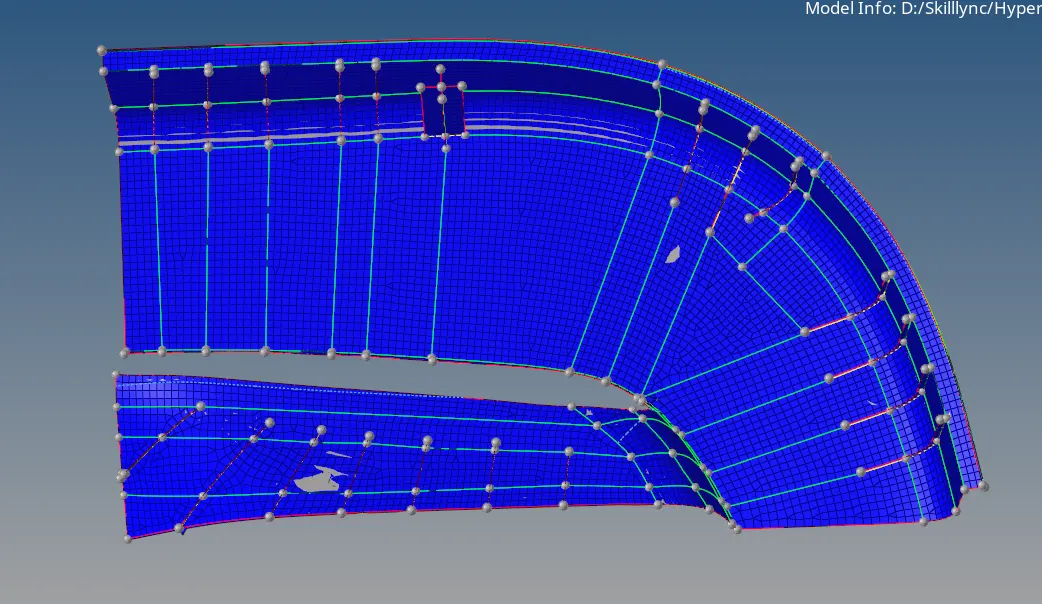
- Component 3:
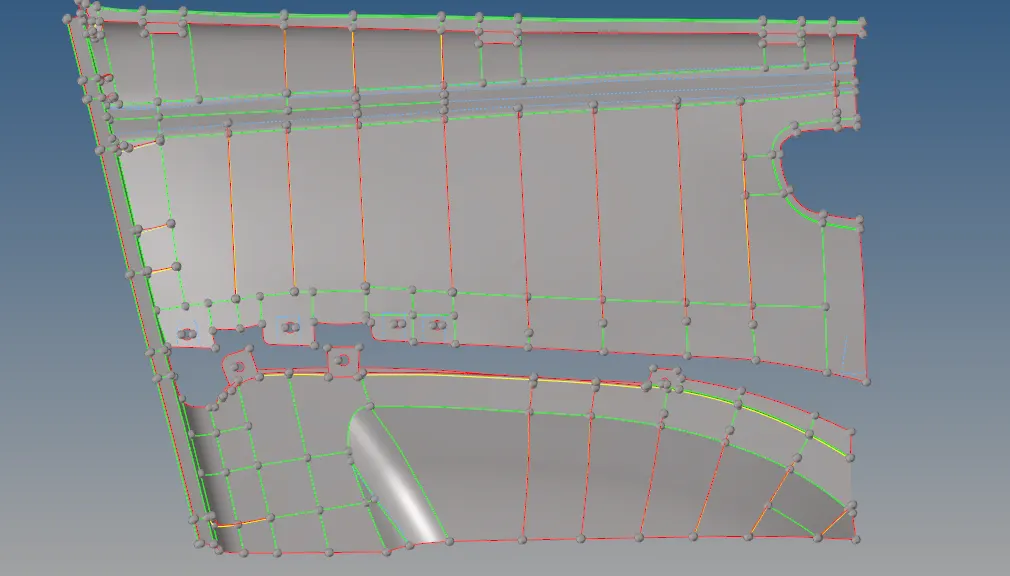
- Component 4:
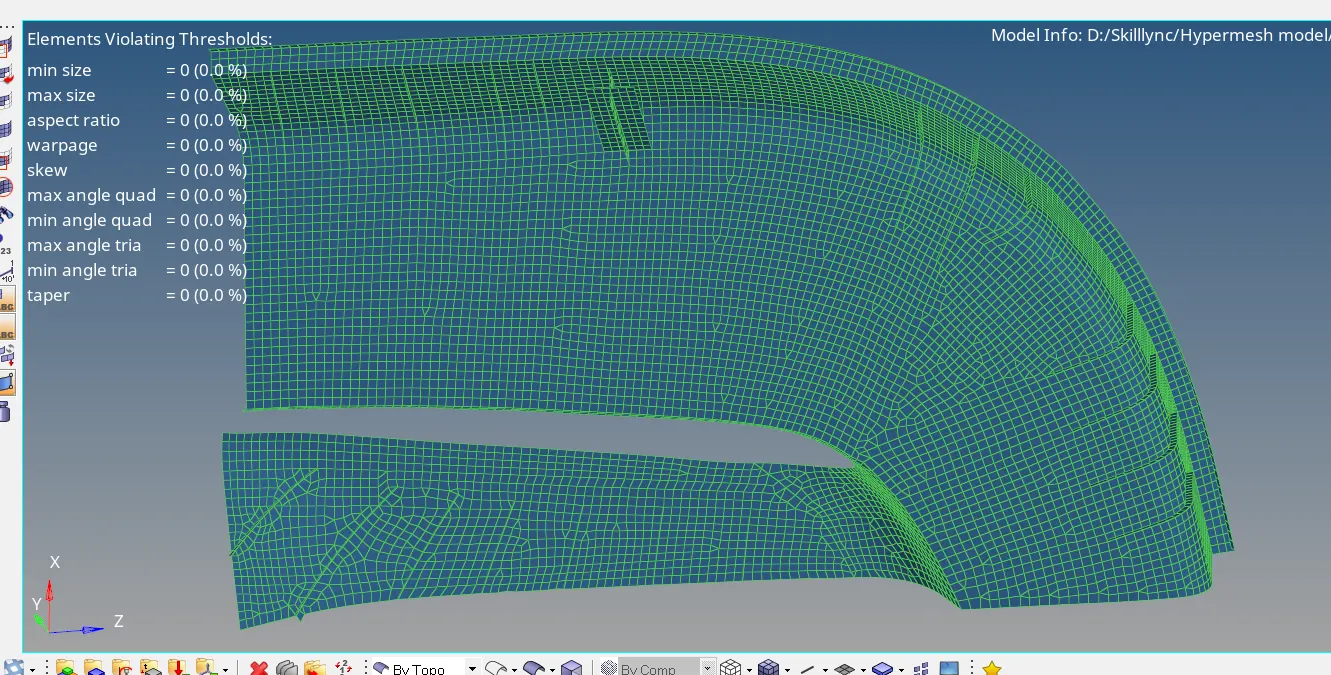
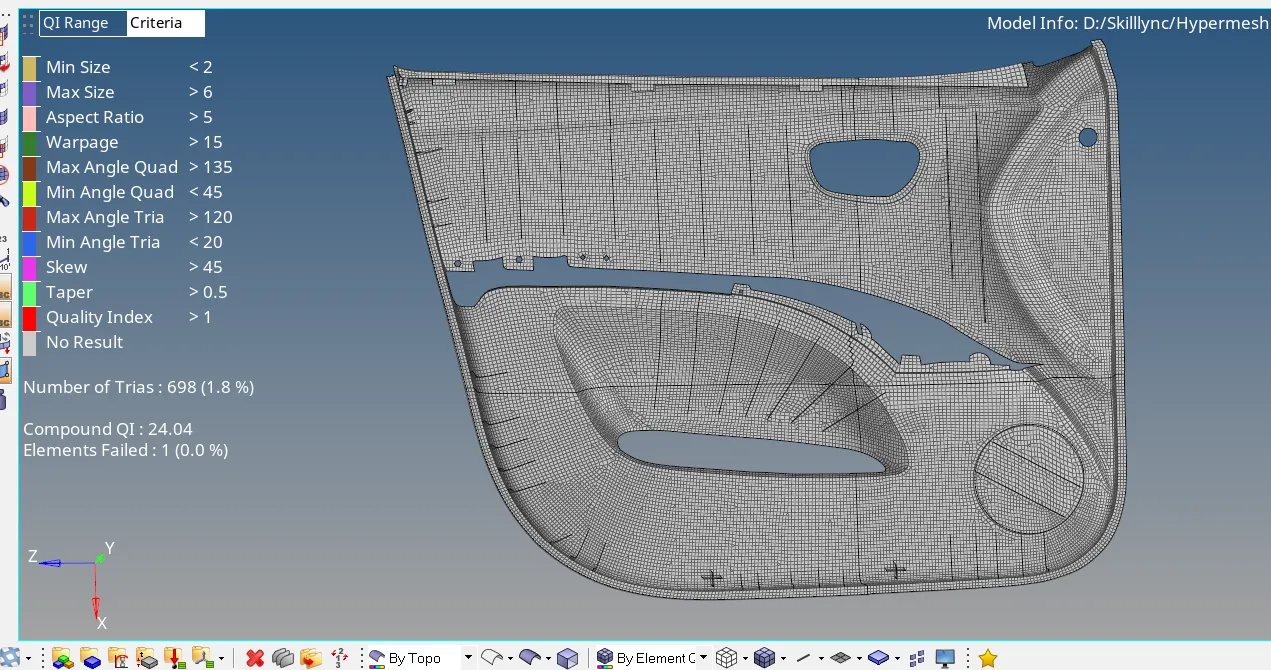
21. Complete model after meshing.
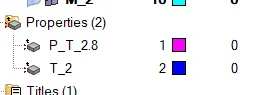
22. Create the properties with the different thicknesses as per the component and then assign the component to the particular property.
RESULT:
Achieved a good mesh flow to the given component and All met all the quality criteria.
Google drive:
https://drive.google.com/file/d/10-PIRNTsc86LPQzbzaG__SCIamL7evnl/view?usp=sharing