Project 2 - Measuring the distance of an object using ultrasonic sensor and also smoothen the sensor data using moving average filter
Components and supplies
Arduino UNO
Jumper wires (generic)
Arduino UNO
Apps and platforms
Arduino IDE
Project description
Introduction
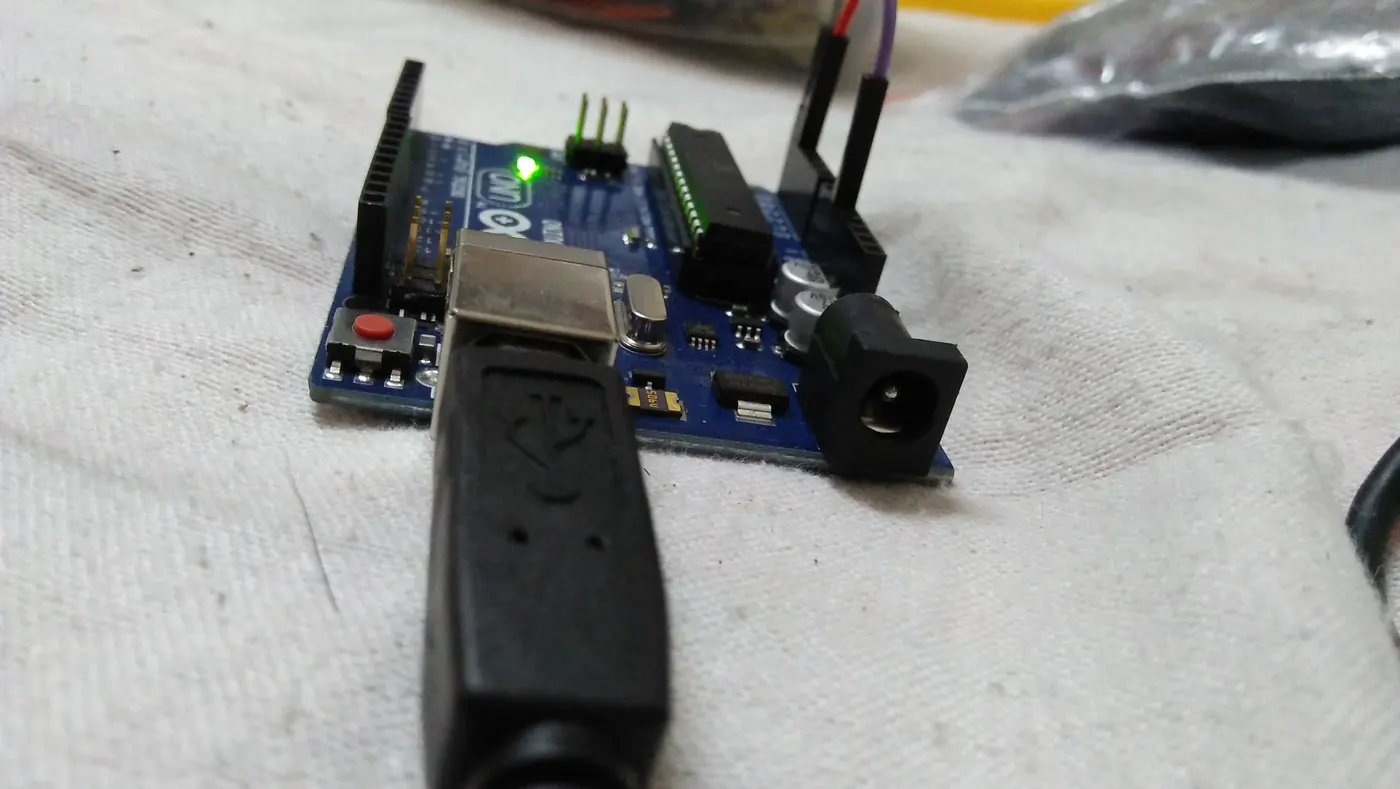
In this tutorial I'll show you how can you communicate between two (or more) Arduino boards, using I2C ( Inter-Integrated Circuit) protocol. In this case one Arduino Uno acts as MASTER and acts as a SLAVE.We will program one master Arduino to command the other slave Arduino to blink its built-in LED once or twice depending on the received value.
I2C Protocol
I2C is an interesting protocol. It's usually used to communicate between components on motherboards in cameras and in any embedded electronic system.
We use such a MASTER-SLAVE connection to decrease the work load on one Arduino, or to connect more sensors to project etc.
Connections
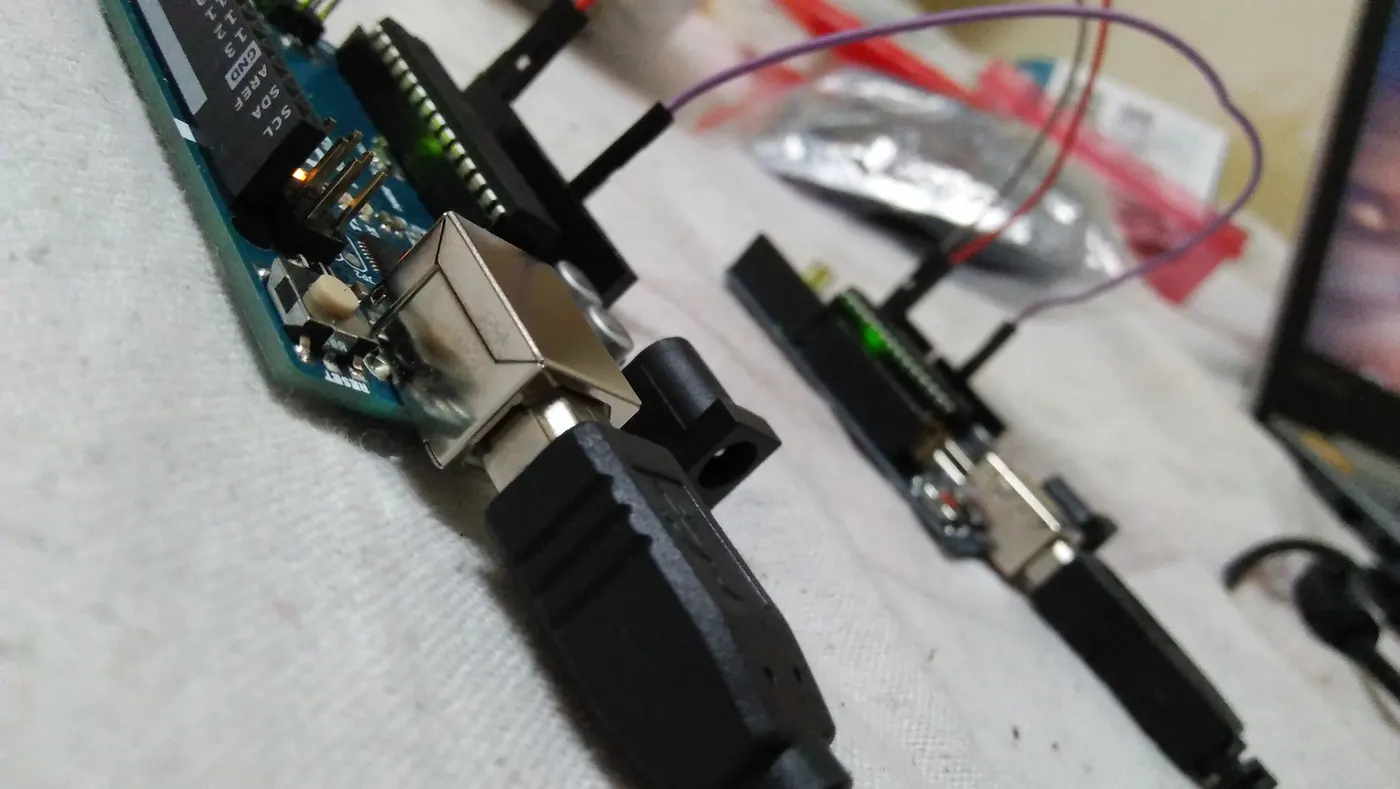
Follow these steps to connect two Arduino UNOs using I2C:
- Connect pins A4 and A5 on one Arduino to the same pins on the other one.
- The GND line has to be common for both Arduinos. Connect it with a jumper.
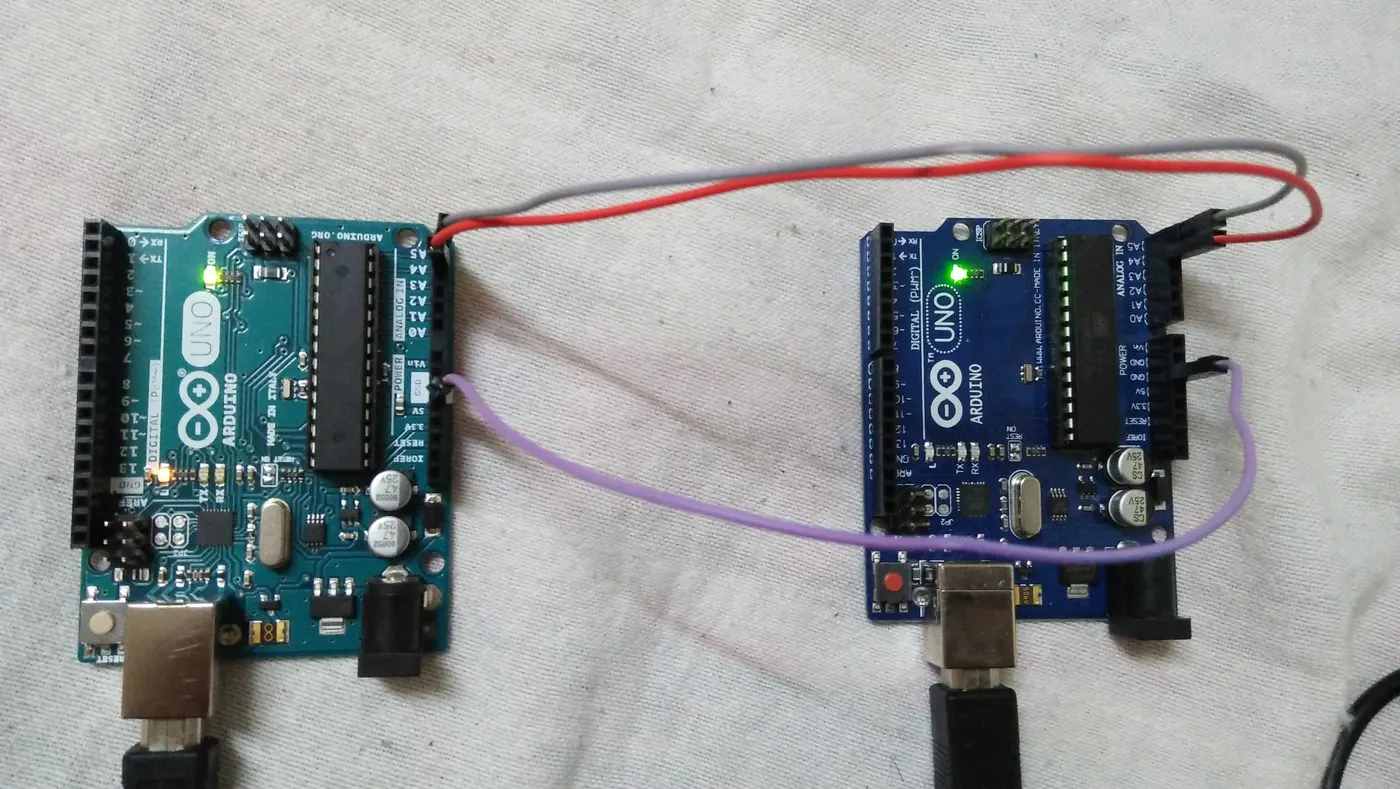
In case of any doubt, consult the circuit diagram given below.
NOTE: Remember never to connect 5 V and 3.3 V Arduinos together. It won't hurt the 5V Arduino, but it will certainly annoy its 3.3 V brother!
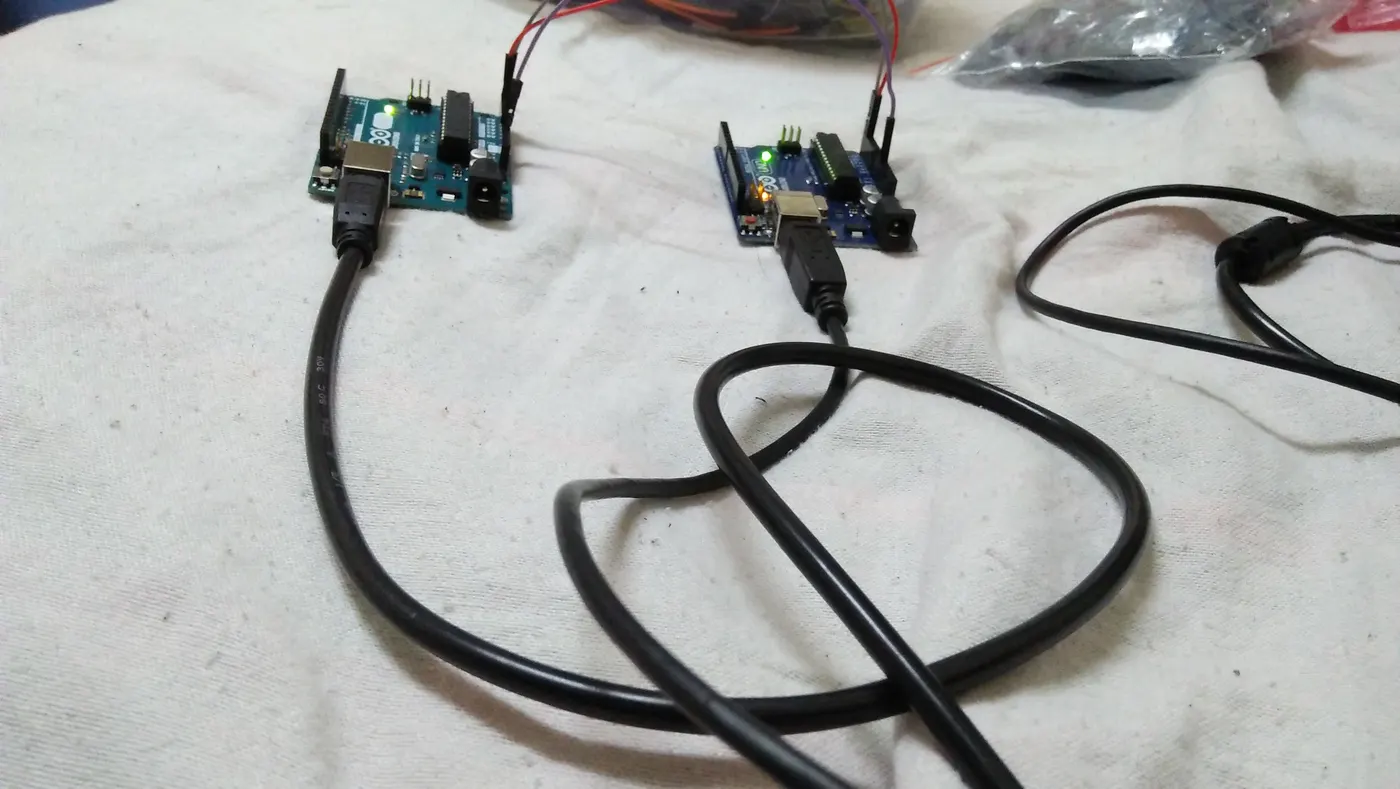
There are two different codes, one for MASTER and other for SLAVE. Upload each code to respective Arduinos. Power them, and you good to go!!
You can also connect more than one SLAVE Arduino! But you have to address each Arduino differently.
Code
SLAVE_CODE
c_cpp
Upload to SLAVE Arduino.
MASTER_CODE
c_cpp
Upload to MASTER Arduino.
SLAVE_CODE
c_cpp
Upload to SLAVE Arduino.