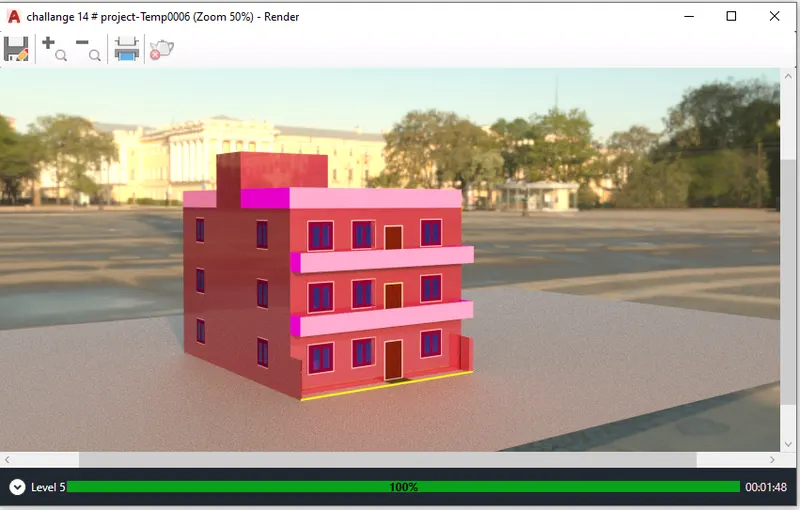
Project 2_Creating a 3D rendered model for a Residential Building in AutoCad
Project 2_Creating a 3D rendered model for a Residential Building in AutoCad
AIM:
Creating a 3D Rendered Model for a Residential Building AUTOCAD,
INTRODUCTION:
AutoCAD is a commercial computer-aided design (CAD) and drafting software application. Developed and marketed by Autodesk, AutoCAD was first released in December 1982 as a desktop app running on microcomputers with internal graphics controllers.
AutoCAD enables the professional creation and editing of 2D geometry and 3D models with solids, surfaces, and objects. It is one of the most internationally recognized CAD software because of the wide variety of editing possibilities it offers.
(COMMANDS USED FOR 3D MODELLING IN AUTO CAD)
- EXTRUDE
- SWEEP
- UNION
- SUBTRACT
- INTERSECT
- REVOLVE
- MOVE
- COPY
- EXTEND
- TRIM
- BOUNDARY COMMANDS
- REGION
- RENDER
- 3D MOVE
- 3D ROTATE
- PAN
- 3DORBIT
- UNION
- SWEEP
- REVOLVE
- LOFT
PROCEDURE :
- OPEN AUTOCAD
- In the right left corner click on settings icon, that is the icon of workspace
- select 3D Modelling
- set units > decimal>(mm)
- also set limits
- set in top view,
- select line command is used to draw the plan,
- draw a line of length >10690 mm in x direction
- and draw a line in Y direction of length>13650 mm
- offset 230 for wall,
- offset 5000 in x direction and 5000 in y direction for bed room,
- offset 230 for wall
- offset 5000 in x direction and 3500 in y direction for kitchen+dining,
- offset 1000 for wash basin,
- offset 2000 in y and 2000 in x direction for bath and wc,
- all walls are 230mm thick,
- line command is used to draw windows and doors,
- size of window 1500*1500
- size of door, 1000*1200 & 1200*2100
- landing width 1000
- tread 300 and rise 150
- Mtext command is used to naming the plan,
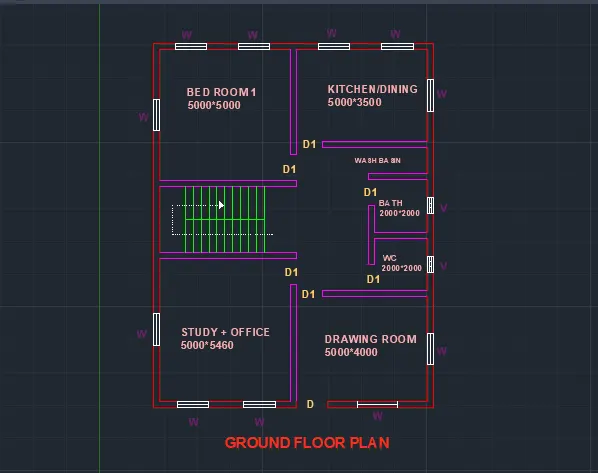
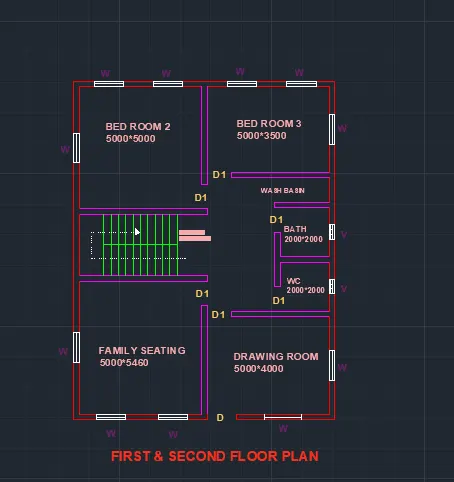
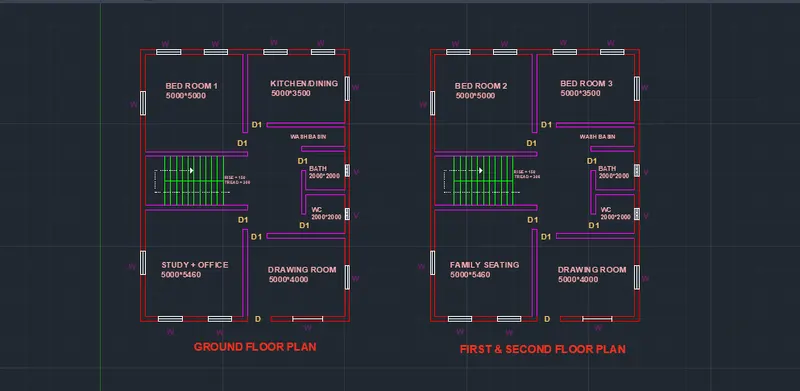
All Dimensions are in (MM).
STEPS FOR CREATING THE 3D PLAN:
- In the right left corner click on settings icon, that is the icon of workspace
- select 3D Modelling
- Command boundary line >select region
- craete boundaries as wella s region of the plan
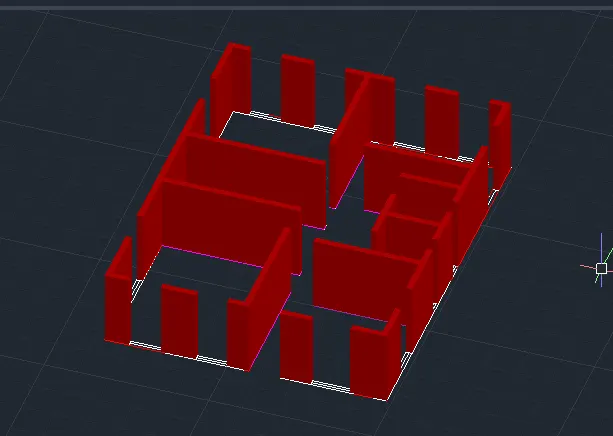
- extrude region that are walls height of 3000mm from bottom
- floor to floor height of the building is 3000mm
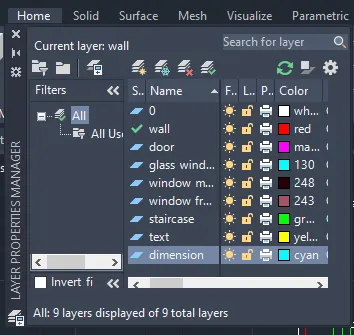
- create differnt layers ,using properties like 3d wall,window frame, slab, window glass, etc as desired.
- assign colours each layers seperately
- line command is used draw the window and doors
- extrude the windows and doors to the suitable height (2100 for doors / 1500 for windows)
- rotated 3d is used to rotate objectsof window and door,
- move and copy command is used to kept @ desired locations of windows and doors
- command poly line @ terrace and create parapet wall of the building
- create plinth of the building @ 600mm in bottom
- create staircase extrude it to a distance @ 1200
- create a mumty seperatly and kept it on the top of the building.
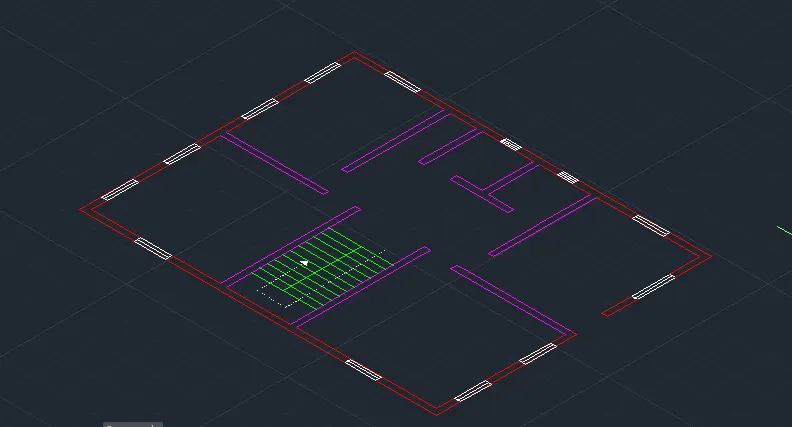
Creating Layers,
Extrude the walls,
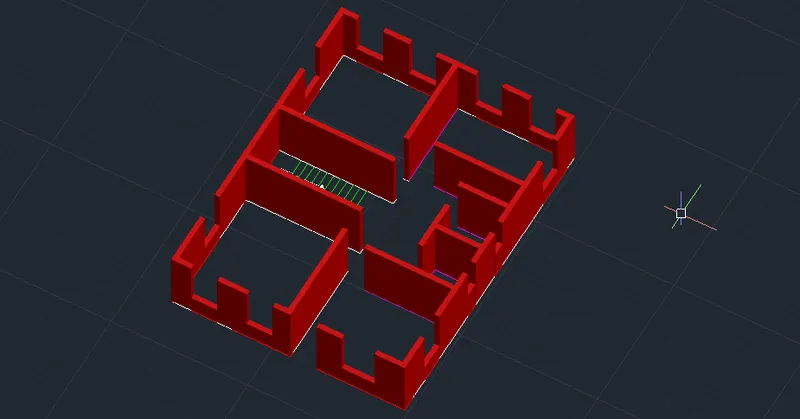
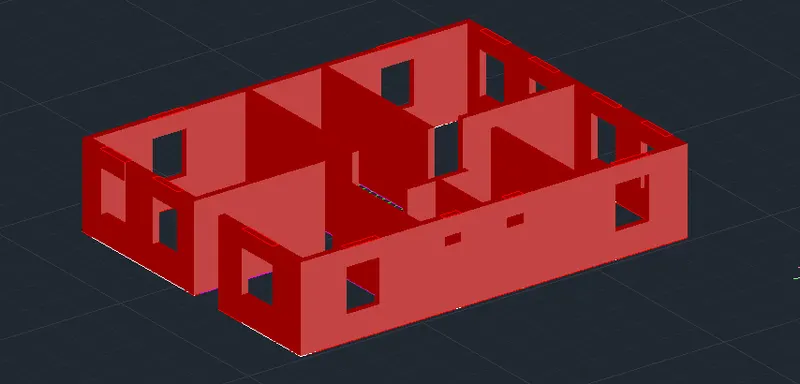
Making the window Dimensions in wall,
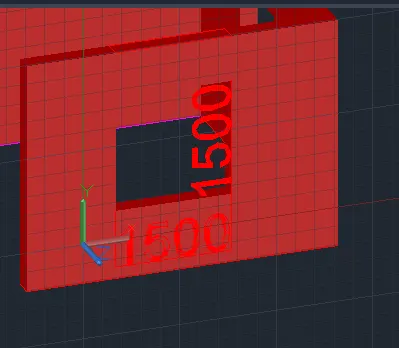
Created the window as per size,
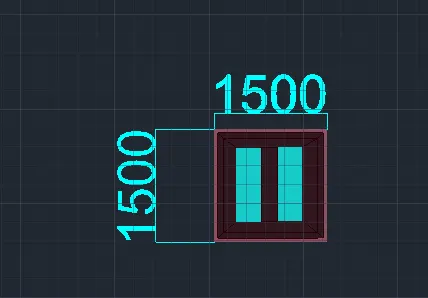
Windows are kept in their desired locations,
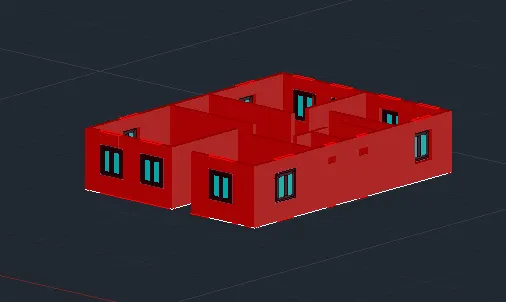
Doors are created as per size and kept in their desired locations,
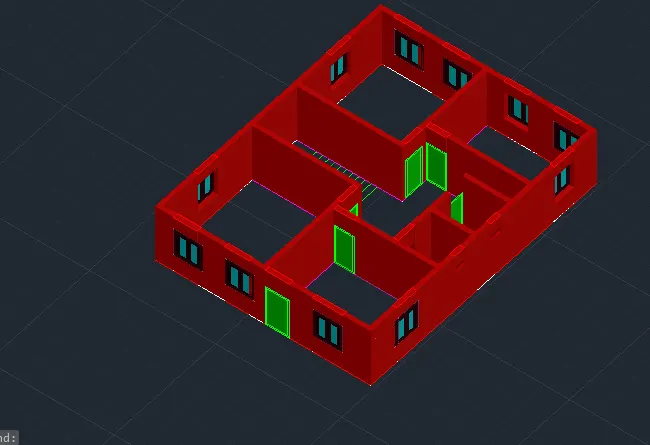
Creating 3d model of the residential plan,
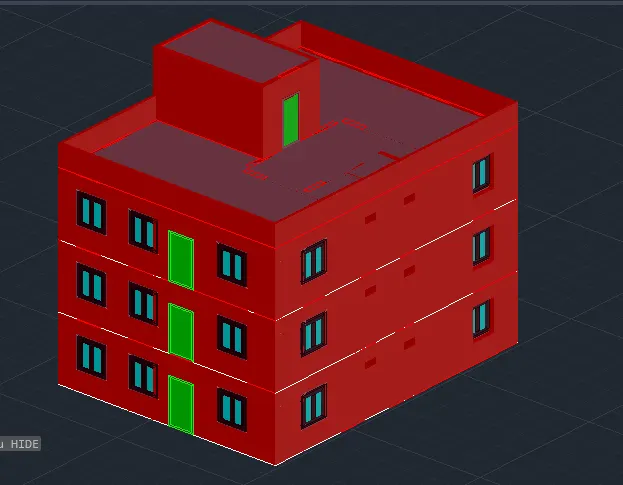
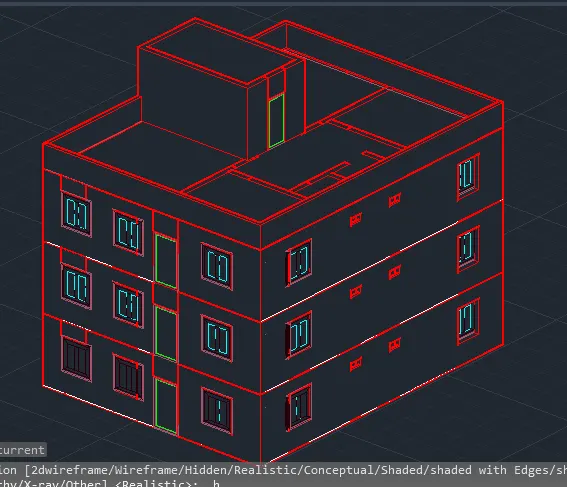
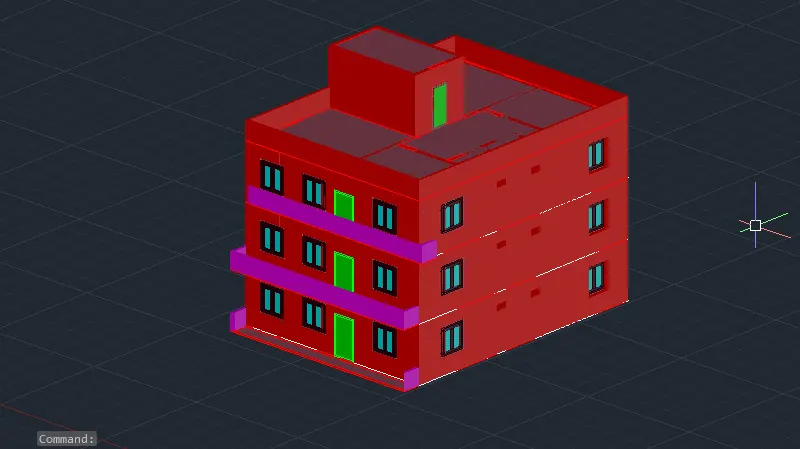
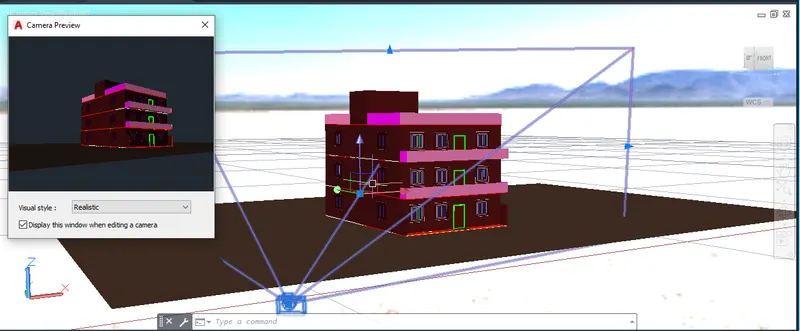
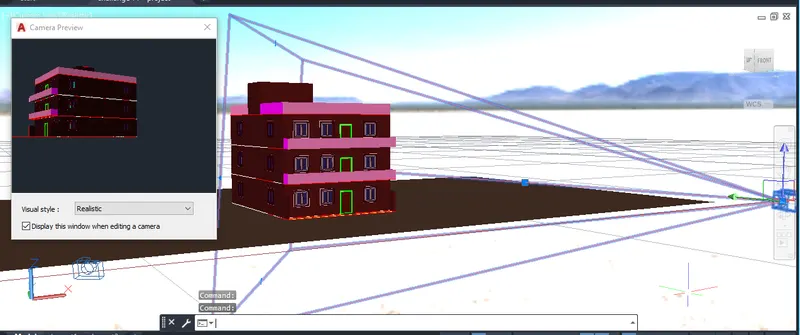
cam view,
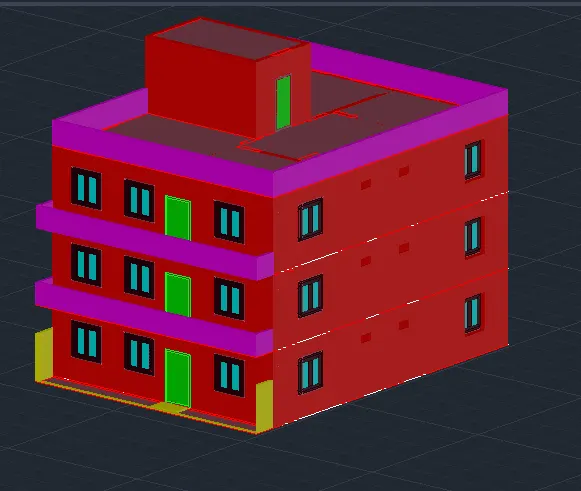
STEPS FOR RENDEREING :\
RENDEREING :
In computer-aided design (CAD), a rendering is a particular view of a 3D model that has been converted into a realistic image. It includes basic lighting such as Gouraud shading as well as more sophisticated effects that simulate shadows, reflection and refraction.
- Go to visualize tab from ribbon,
- this will give access to the panels like light, sunlight, camera , animations, Render and views.
- create different views using camera and render the building
- place the lights @ desired locations
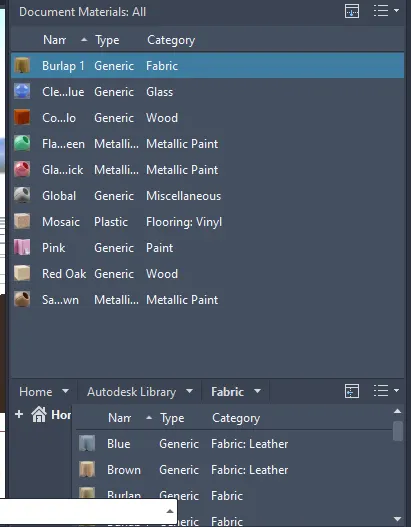
Material Property,
After Rendering : (LOW)
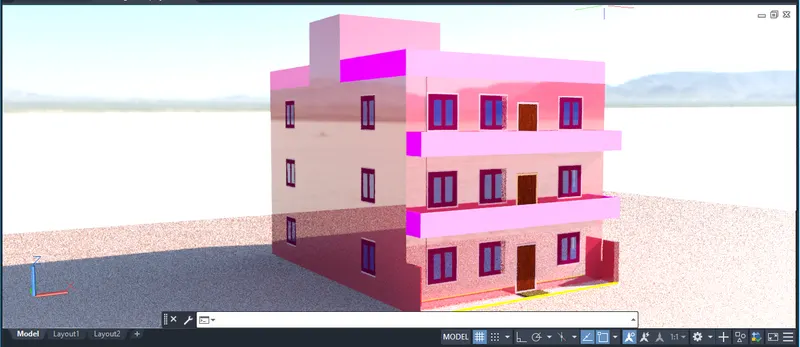
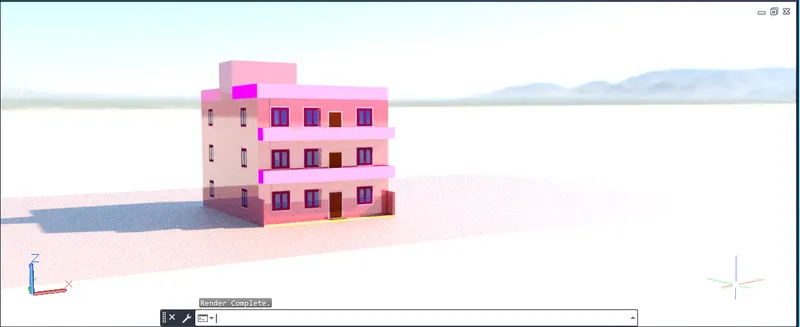
CAMERA Preview, 1
CAMERA Preview., 2
RESULT :
Created a Residential Building Finally,
#village view
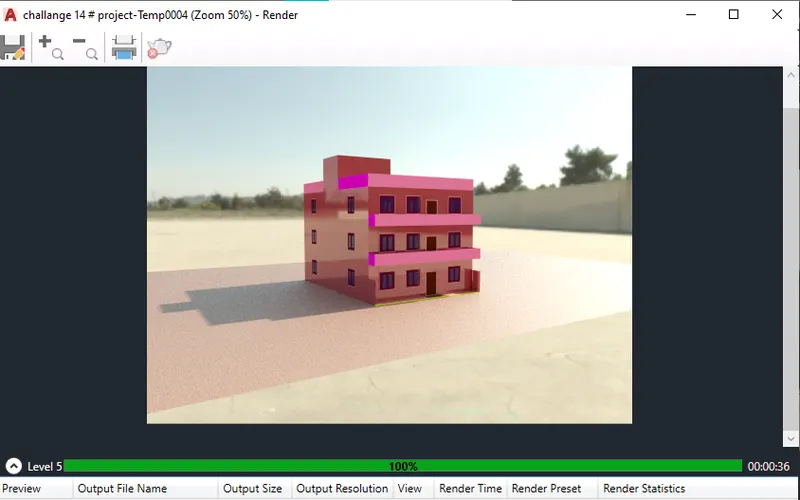
Plazza view.,