Project 2_Creating a 3D rendered model for a Residential Building in AutoCad
Create a 3 dimensional model of the residential building with a rendered view.
AIM:-
To create a 3 dimensional model of the residential building with a rendered view
INTRODUCTION:
- 3D computer-generated images of proposed building projects and other types of constructions are designers to showcase their designs to clients.
- The steady advancement in computer graphics has enabled the creation of realistic 3D commercial rendering for building projects.
- Commercial rendering has become ubiquitous in the real estate market.
- Both small and mega commercial companies want to see their future buildings 3D architectural renderings before giving the contracts to architects and builders.
COMMANDS USED:
- Line command
- Rectangle command
- UCS command
- Dimlinear command
- Dimaligned command
- Region command
- Extrude command
- Substract command
- Bax commarid
- Units command
- Dimstyle command
- 3D rotate command
- Erase command
- Plan command
- Charnier 3D
PROCEDURE:
Step:1
- First we have to open the autocad and set the maximum and minimum limit of the autocad screen using the
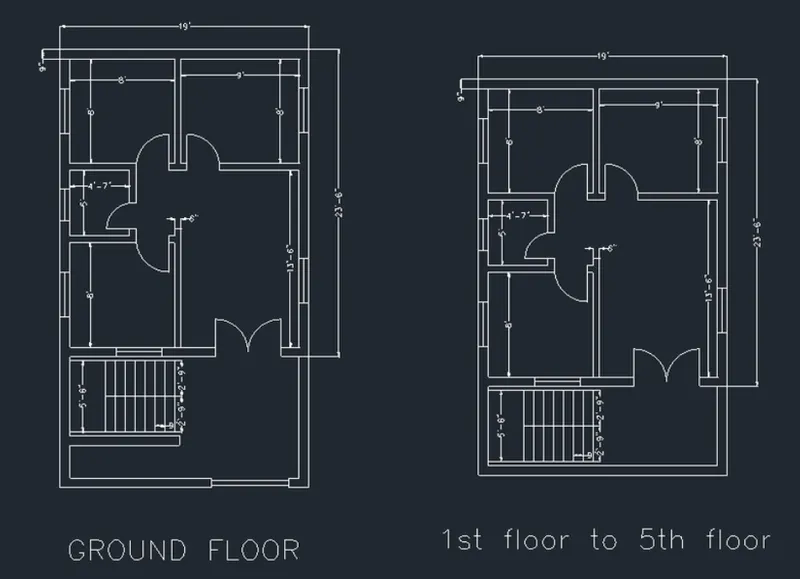
- Next we have to draw the plan from the ground floor to the 5th floor as shown in the below figure.
- We draw the plans using the line command and we use to put the dimensions using the dimlinear command.
- We draw the doors and windows using the standard dimensions used in the construction field. Next we draw the stairs with the riser of 7.5 and tread of 9", as shown in the below figure.
- Next we need to write the names of the plans at the bottom as shown in the below figure.
Step:-2
- Next we need to turn the 2D view to the isometric view of the plans.
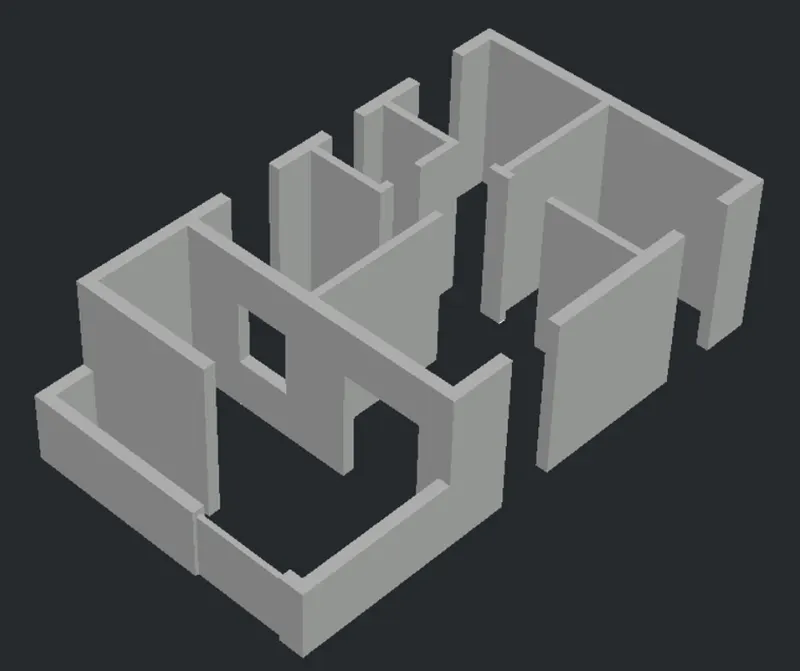
- Next we need to use the region command and select the objects and press enter. Then the selected objects will be became as a region as shown in the below figure.
- Then again extrude the selected regions upto the height of 10
- Next we create the door openings and window openings using the substract command, as shown in the below figure
Step:-3
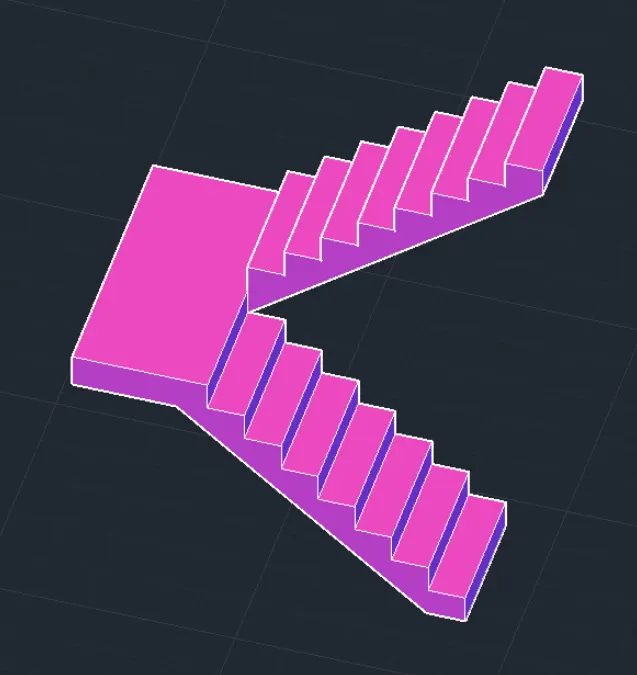
- Next we draw the stairs with the riser of 7.5 and tread of 9, as shown in the below figure
Step:-4
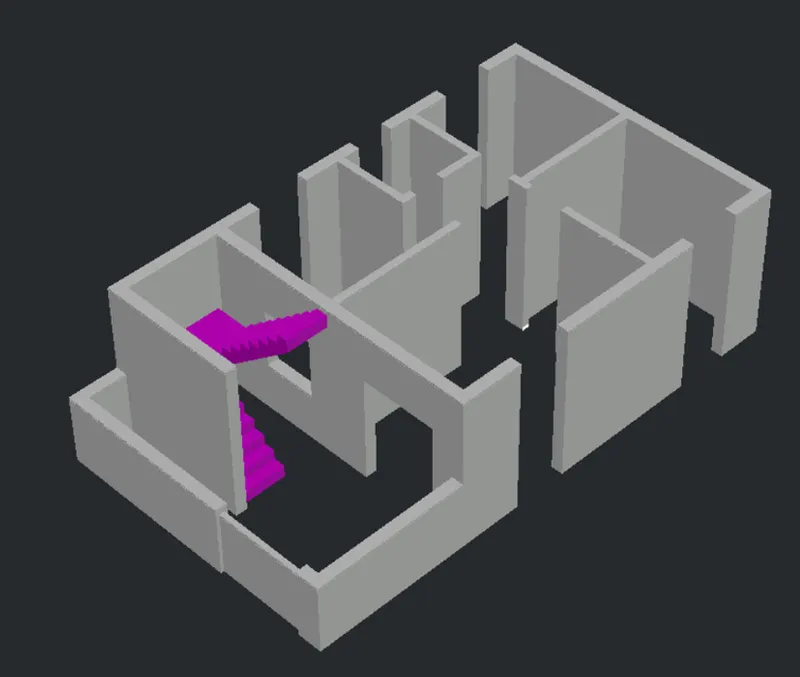
- Next we insert the staircase in the building using the move command as shown in the below figure.
Step: 5
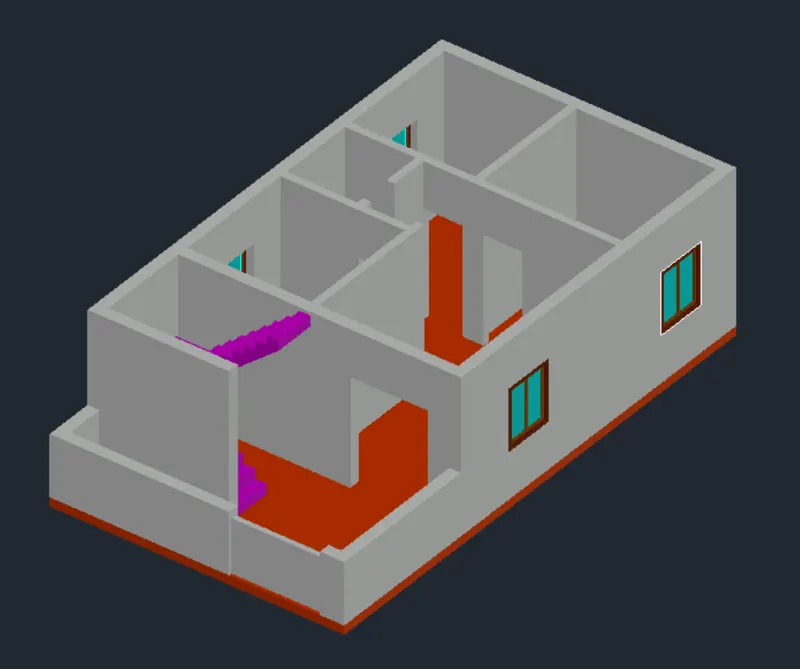
- Next we need to create the windows using the standard dimensions as per indian standards, as shown in the figure.
- The size of the window is 3 x 4, The sizes of the all windows in the building are same.
Step: 6
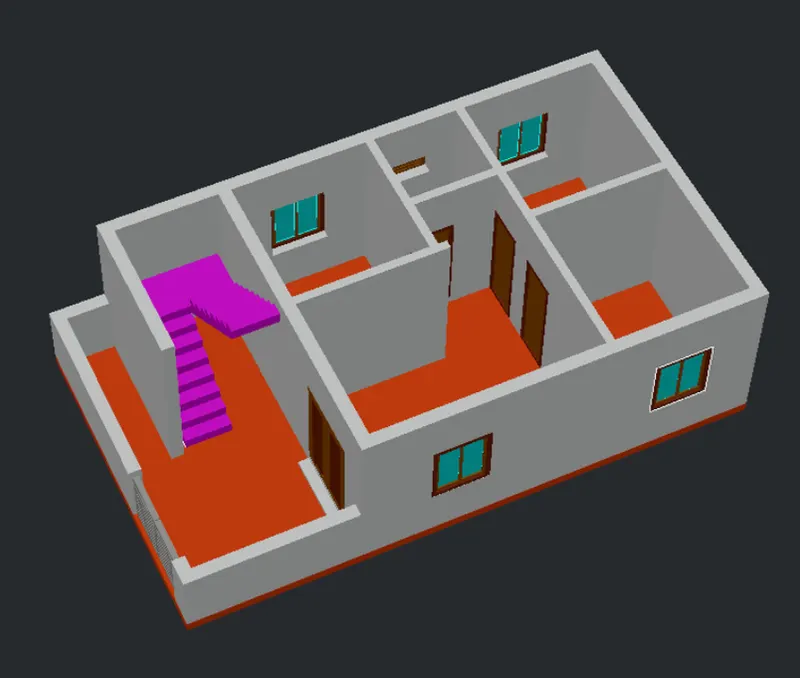
- Next we need to create the doors using the standard dimensions as per indian standards, as shown in the figure.
- The size of the main door is 4-5x7.The size of the inside doors is 2.9' x 7.
- The sizes of the all inside doors in the building are same.
Step: 7
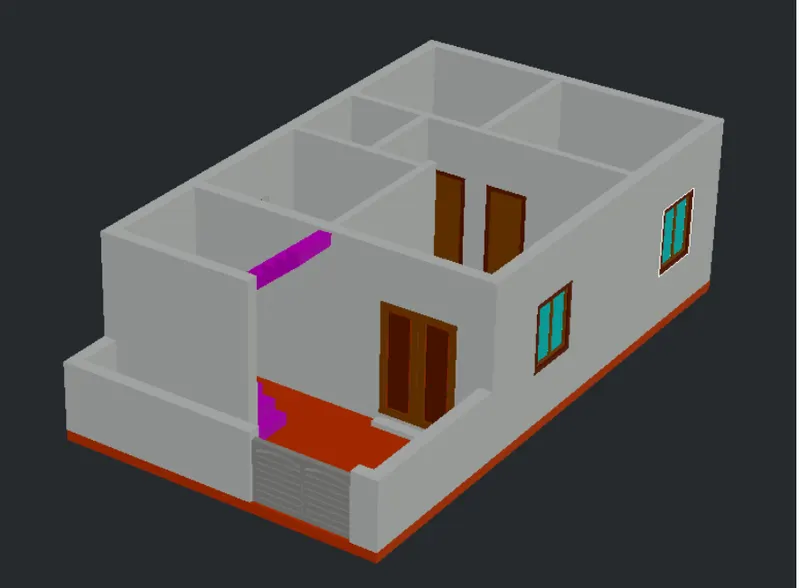
- Next we turn the ground floor to the another view using the 3Dorbit command as shown in the below figure.
Step:8
- Next we use the copy command and copy the ground floor.
- Next use the array command and set levels upto the 5 floors.
- Next we draw the parapet wall with the height of 4, as shown in the figure.
- And we create the sunshades using the rectangle command, extrude command and union command, as shown in the below figure
Step: 9
- Next we turn the residential building to the another view using the 3Dorbit command
Step: 10
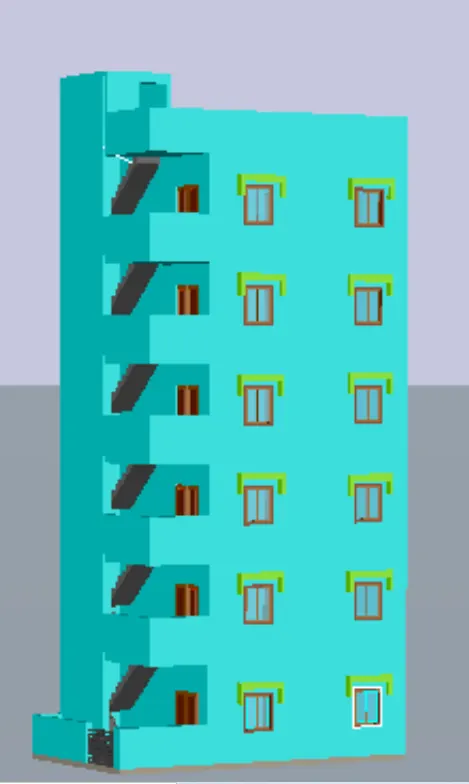
- Next we click the material option in the visulize option and then press the material browser. Then all the materials are displayed on the screen, and select any of the material from them.
Step:-11
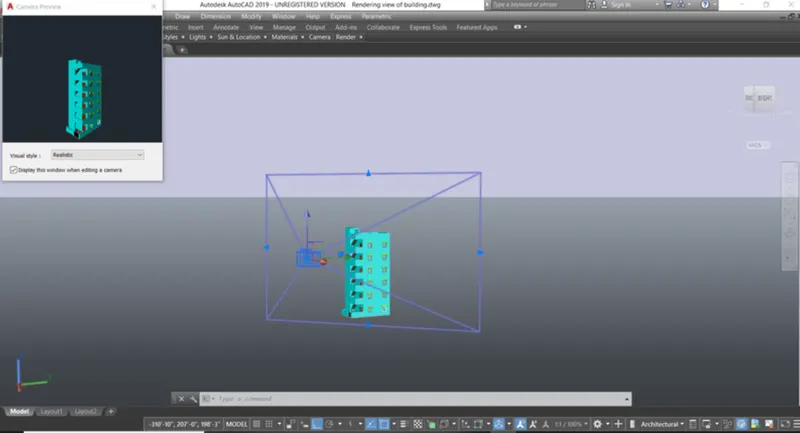
- We select the camera and put it in the required postion and then press enter.
- Next click on the camera then the small tab will appears at the top of the left corner, as shown in the figure.
Step: 12
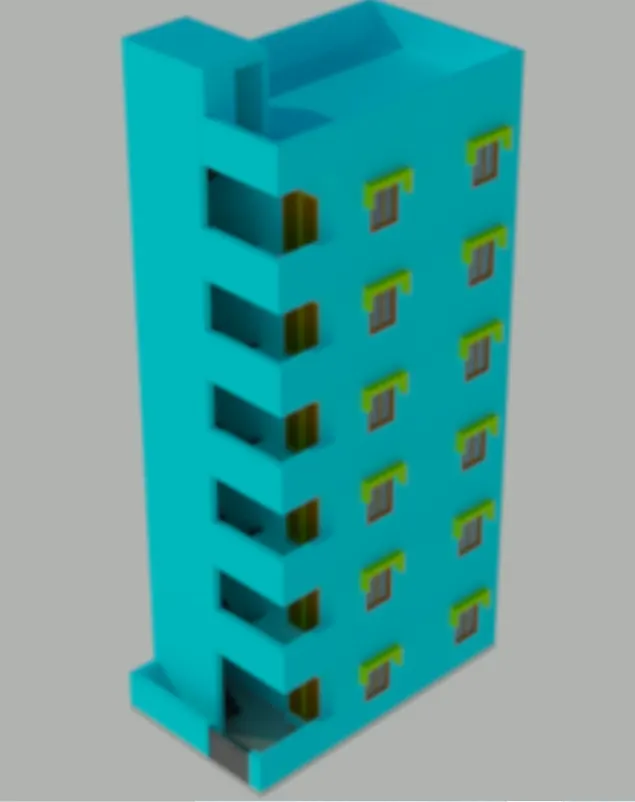
- Finally we select the render option and then slowly it changes to the rendering view as shown in the below figure
RESULT:
- A three dimensional model of the residential building with a rendered view is created successfully in the autocad in detailed manner.