Project 2_Creating a 3D rendered model for a Residential Building in AutoCad
ANSWER:
Aim: -
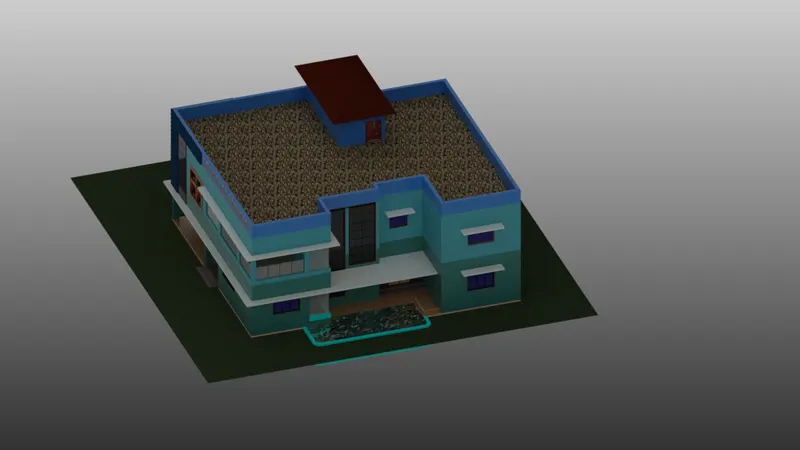
To create a 3D dimensional model of the residential building with a rendered view.
Introduction: -
In this project main object is how to create a 3d model of the residential building and renderd of the model. The residential building plot size is 78' x 82' and contain a two stored building. The building include the various type of rooms like kitchen, bedrom, toilet, dressing, living, staires, office room, lift, pooja and mini theater setup also. Then this include to in a swiming pool with roads and grasses. we have covered all the tools of 2D and 3D in autocad and the uses of it. Let,s see how to create the models and rendered it.
Commands used: -
2D tools:
- Line
- Construction line
- Rectangle
- Polygone
- Circle
- Erase
- Copy
- Move
- Hatching
- Offset
- Trim
- Layers
- Fillet
- Chamfer
- Rotate
- Dimension
- Text
- Array
- Extend
3D tools:
- Extrude
- Presspule
- Revolve
- Sweep
- 3D Rotate
- Substract
- Union
- Material Browser
- Rendering
Procedure: -
Sheet Set:
- Type Command promt to UN and press enter to appear the drawing unit templates and set units,
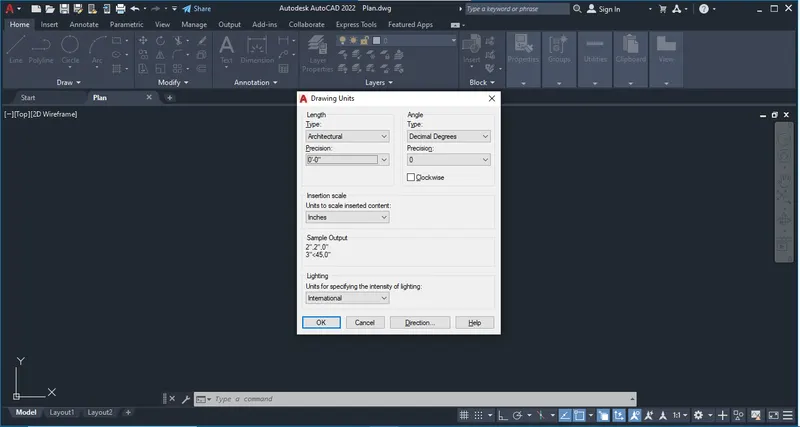
- Type LIMMAX in command prompt to set the limits 100',100'.
I) creation of 2D Drafting and annitation:
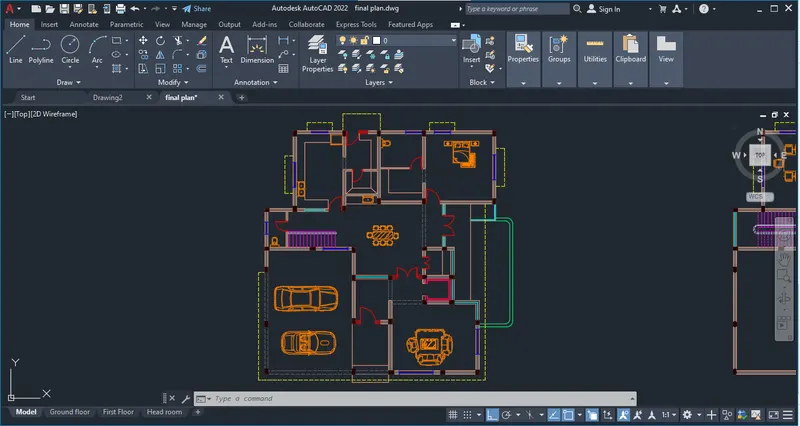
1. Ground Floor Plan:
- Type REC for rectangular commnd to draw a rectangle of size 78' x 82'
- Then offset it 9" wall thickness
- Again type REC command to draw a rectangle of building size
- Offset it with 9" wall thick and make columns with use of rec
- X command to explode the inner rectangle then offset the required lenth of rooms
- Then use trim tool to trimmimng the unwanted lines
- Create door and window blocks using an block command
- Inset tool used to insert the blocks
- Also create the funiture blocks and insert it when its required
- Use text to text the room names and its dimensions
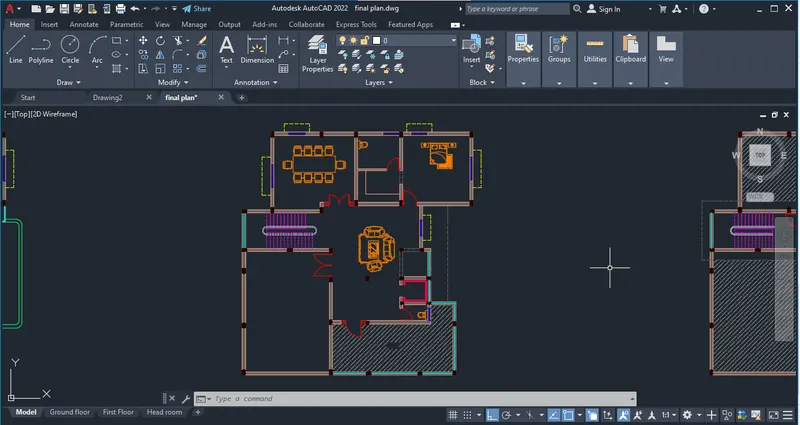
2. First Floor Plan:
- The copy of ground floor, where we want to alter the required place on offset and triming, extrude, insert, copy, paste and moved.
- Hatching with different type of wall, column and terrace areas
- Annotations to give texts and dimensions
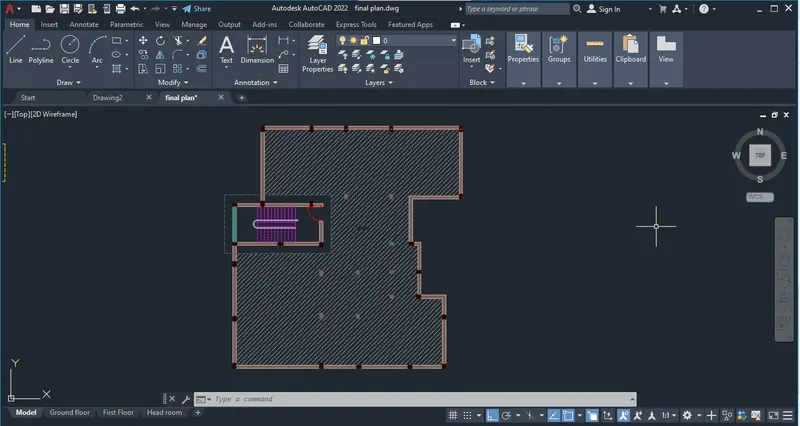
3. Terrace or Head room Plan:
- The copy of first floor to erase the inner room lines
- Only use of line tool to draw head room lines and outer parapet walls
- Dash line to show the imaginary projection lines
II). 3D Modelling:
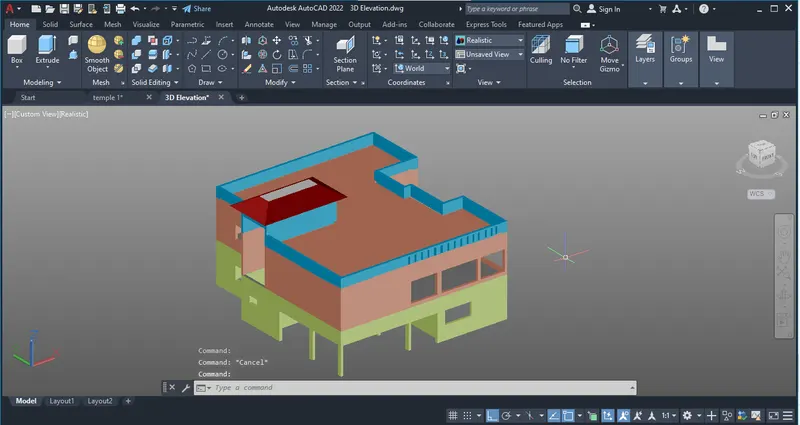
Step -1:
- Take Ground floor plan use REC or PLINE tool to draw wall line as region or make a boundary on wall lines and columns,
- Then use extrude tool to extrude all wall line upto lintel level on 7 feet height,
- Then use Pline tool to draw a wall line on upto first floor level on 3 feet height,
- And use rec tool to draw a floor then exterude it,
- Draw a rectangle on the size of various windows and ventilators the extrude to wall thick and place it whre you want to require
- Then sbstract it with wall portions
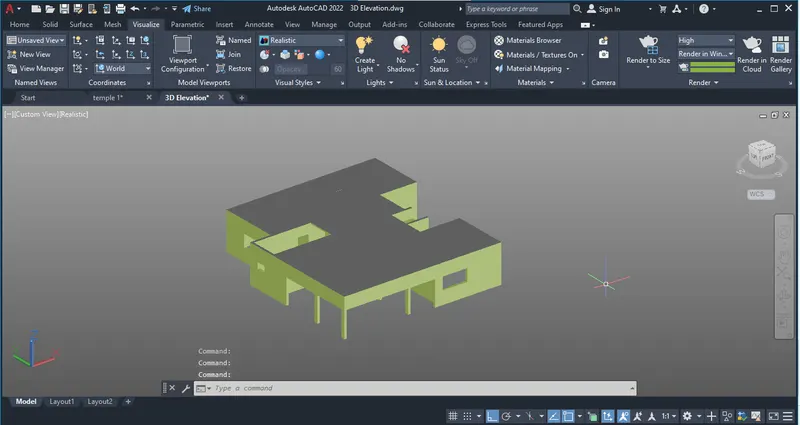
Step - 2:
- Take a fist floor plan and do the same process on Step-1 and move to top of ground floor
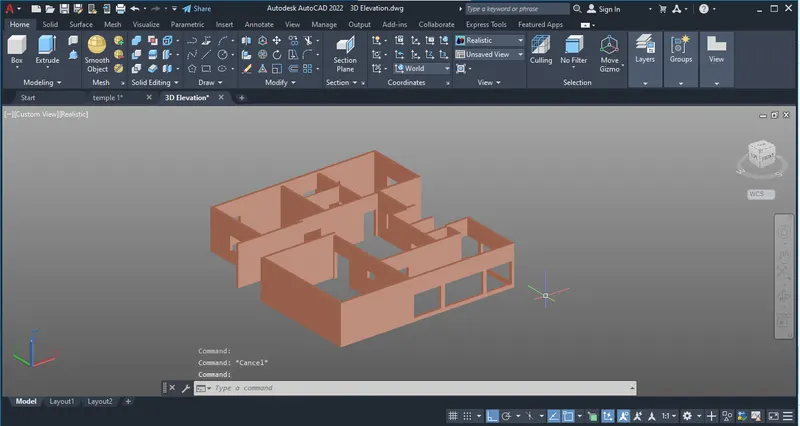
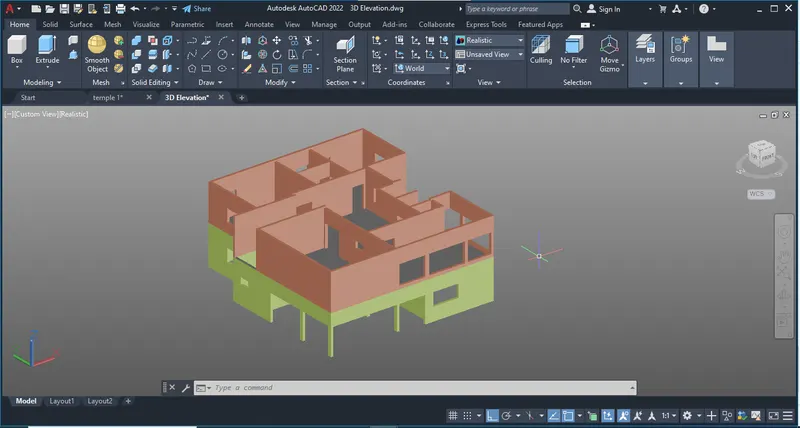
Step - 3:
- Take a head room plan and do the same process of step - 1 and 2
- and move to top of first floor
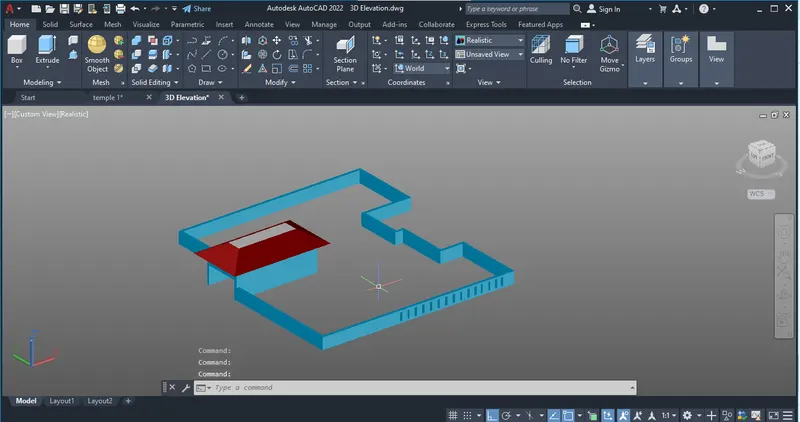
Step - 4:
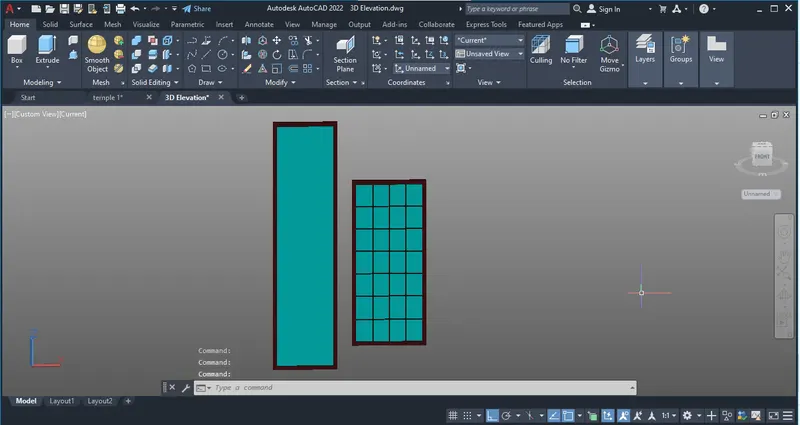
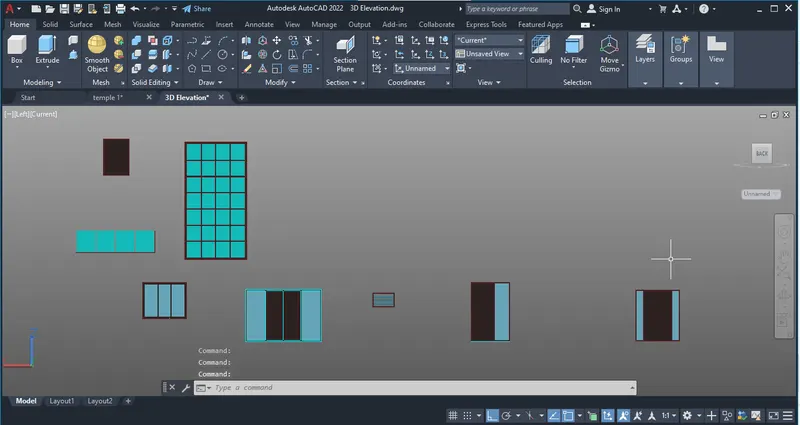
- Create a different type of doors, windows, ventilators, glasses and handrails
- use a rectangle, presspul or extrude command to make the diifferent models and specify the differst layer of colors
- and copy paste to where you want to required
Step - 5:
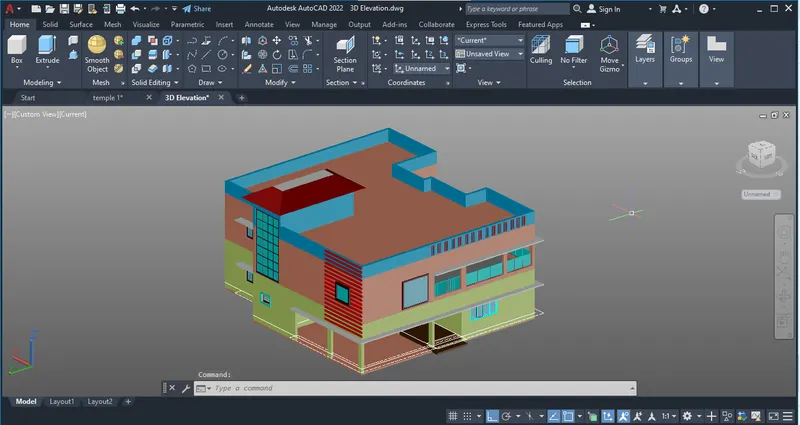
- Create the elevations of outter wall
- use rec, array tool to make elevation on south side
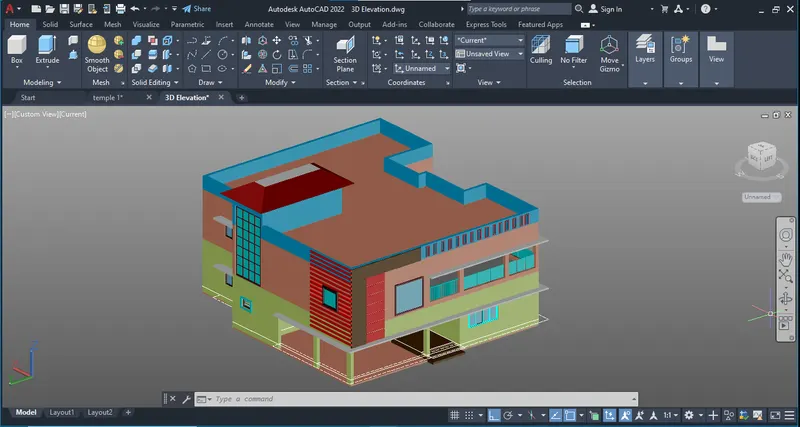
Step - 6:
- Applying on material browers
- Apply the materials of wall paint, Glasses, doors, wooden, metals, stone, tiles, granits, swimimg water liquid, ceramic and generic materials
- then finsh to go for render
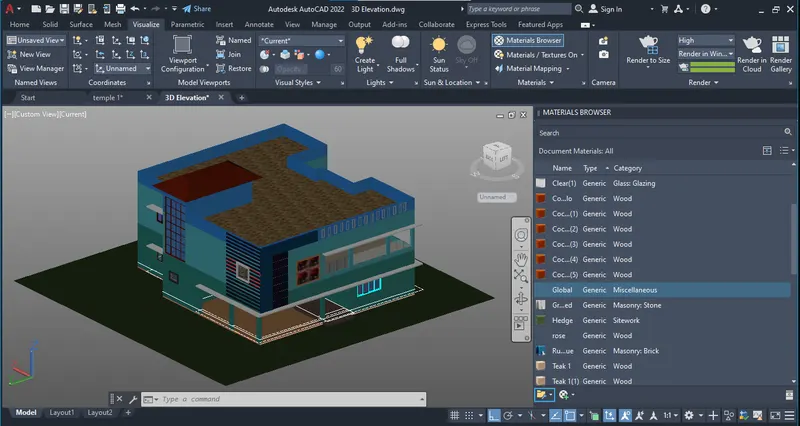
Step - 7:
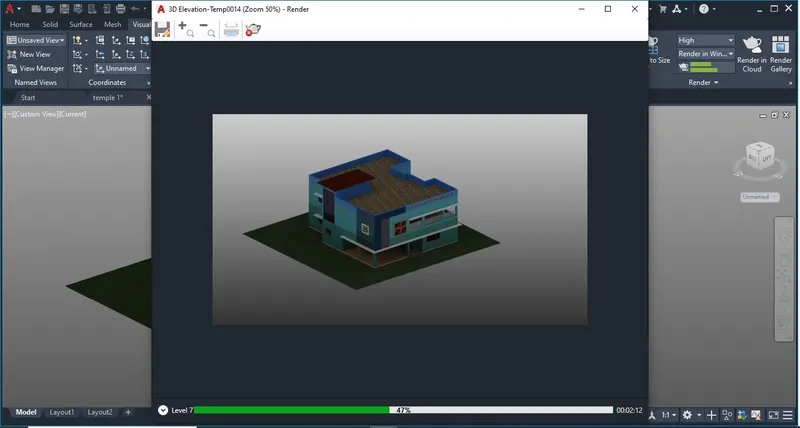
- Render the drawn model
- add render environment and exposer of the model to gradient backround then go to render size of 1280 x 720 px - HDTV of High quality image
- Then click render option to render the model
Result: -
The creation of 3D dimensional model of the residential building with the render view was done and the output as attched.
1. Front view:
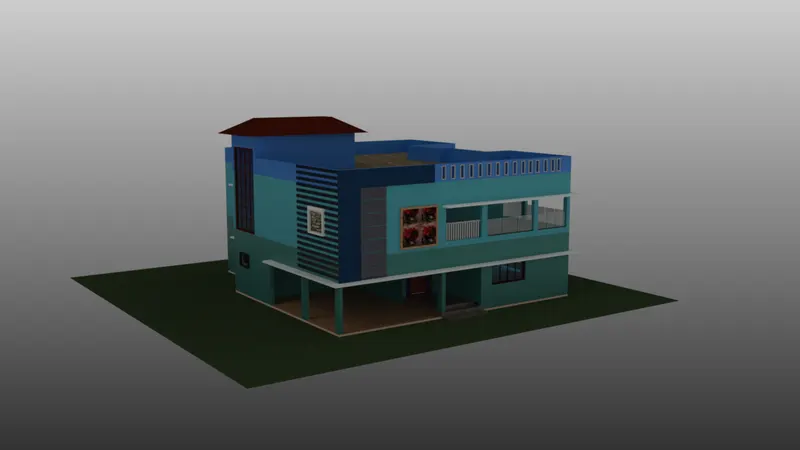
2. Eagle view:
THE END