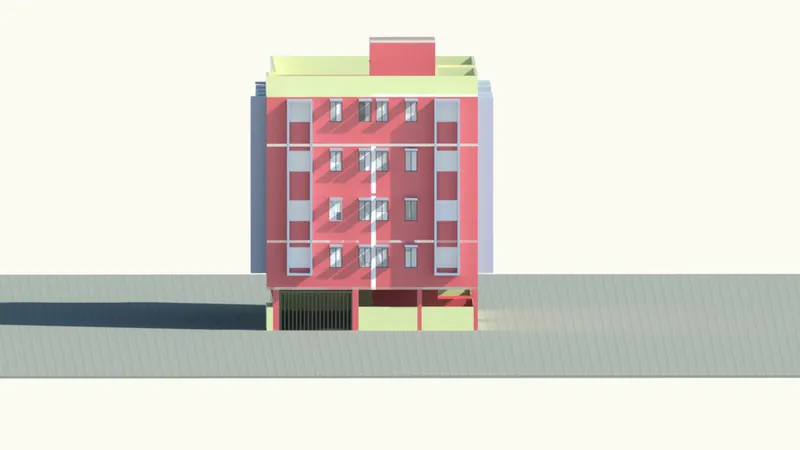
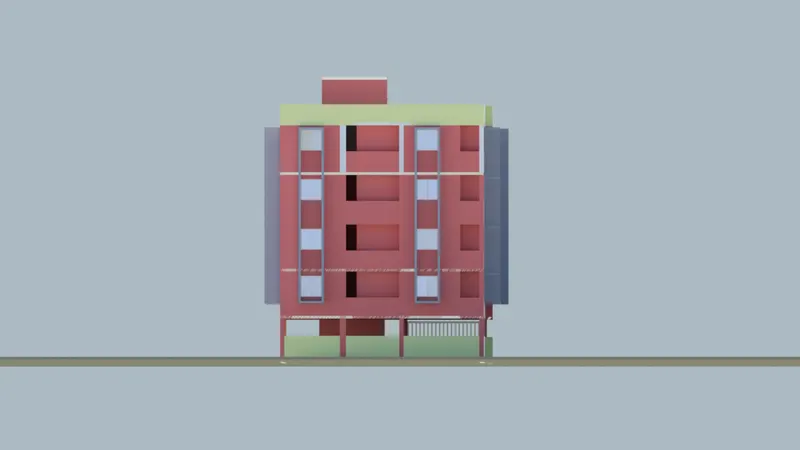
Project 2_Creating a 3D rendered model for a Residential Building in AutoCad
Project 2_Creating a 3D rendered model for a Residential Building in AutoCad
AIM: Creating a 3D rendered model for a Residential Building in AutoCad.
Procedure:
- Open Auto Cad in the right left corner click on the settings icon that is the icon of workspace.
- Select 3d modelling.
- Set the unit command to decimal and 0,0.
- Set the Dim style in command box and modify the settings and select primary units as decimal and give precision as 0.0.
- Select line command draw the 2D model as i have already complete the challenge 7 paln i have taken that plan and ploted on 3d workspace.
- Line command is used to draw the plan.
- Trim the unwanted corner lines.
- Create a wall of 250mm thick
- create a partition wall of 150mm.
- Line command is used to draw windows and doors.
- Size of window is 1200x1200 & 725x1200
- Size of doors are 1200x2500.
- Landing width is 1200
- Tread is 300 and rise is 158.33.
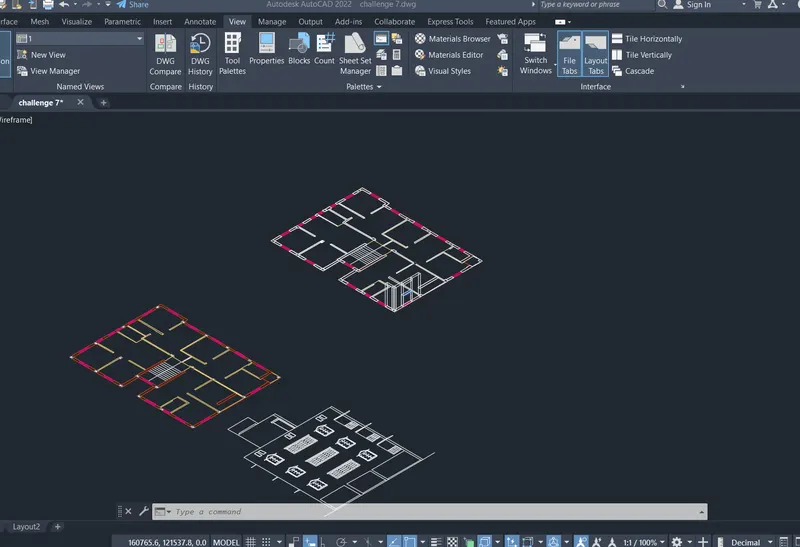
- Select the Command boundary and in that select region.
- Create boundaries as well as regions of the plan.Extrude the regions that are the walls to the height of 2500 from bottom to first floor and 2850 from floor to floor.
- Floor to floor height of the building is 2850.
- Now extrude the the boundary of wall and columns to the slab bottom height.
- Use solid edit command and create a face at the window and Door and extrude it upto sill level.
- Now again use the solid edit command and copy the face of the window and move upto the lintel level and extrude it to the top height of the floor
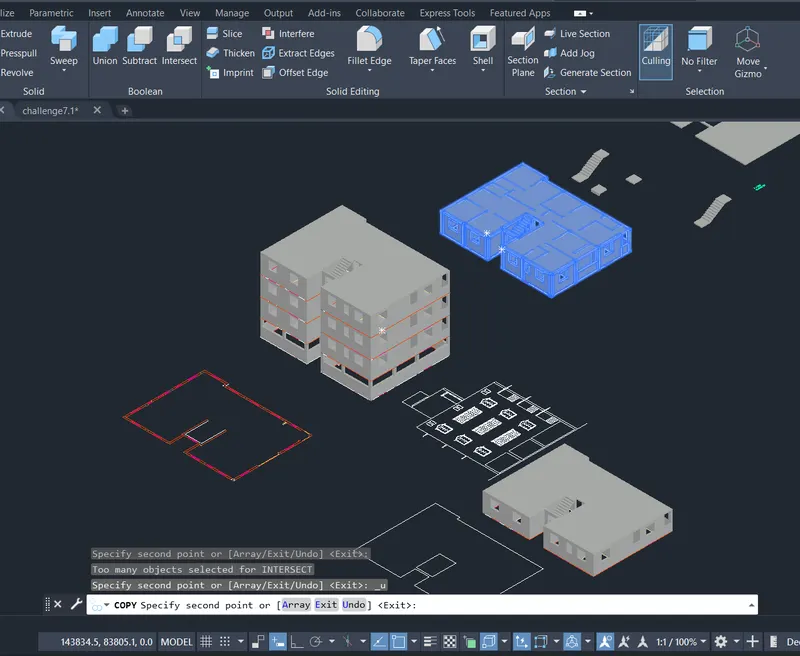
- Now make staricase and place it on the required location on the drawing.
- Create a plan for the ground floor extrude the columns at a height of 2500mm
- Now create a boundary wall of height of 2000mm by extruding it.
- Now copy the 1st floor plan tp the ground floor column and copy it at your desired no of floors you want.
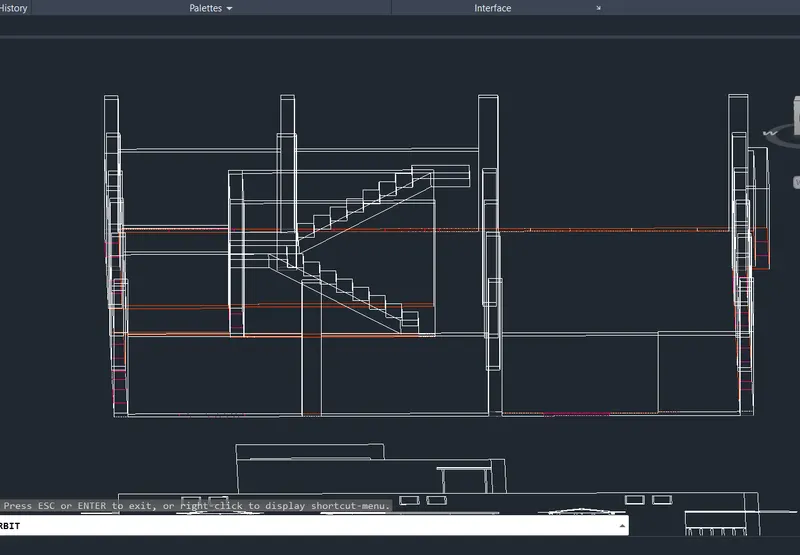
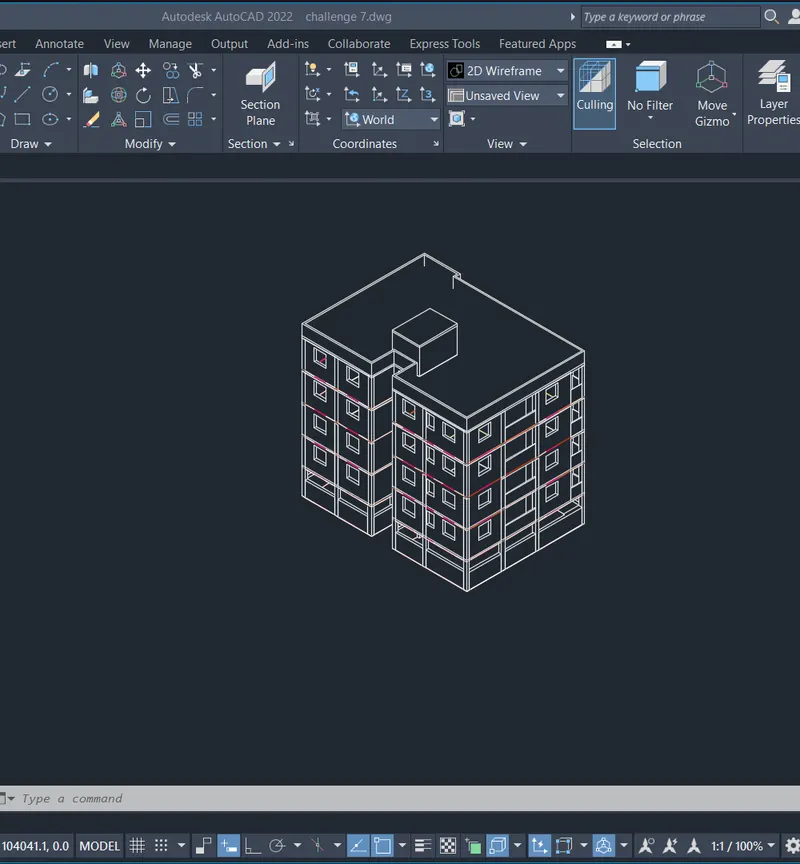
- Now create a doors and windows for the section and place it at the required position
- Create a chajja by solidedit and extrude at a dimension of 900mm.
- Now copy the chajja and place it at the required location
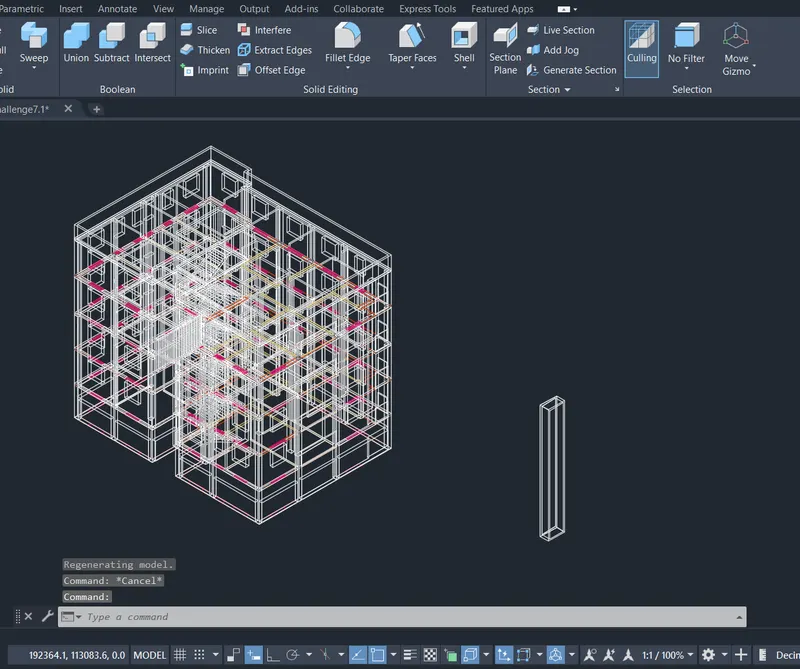
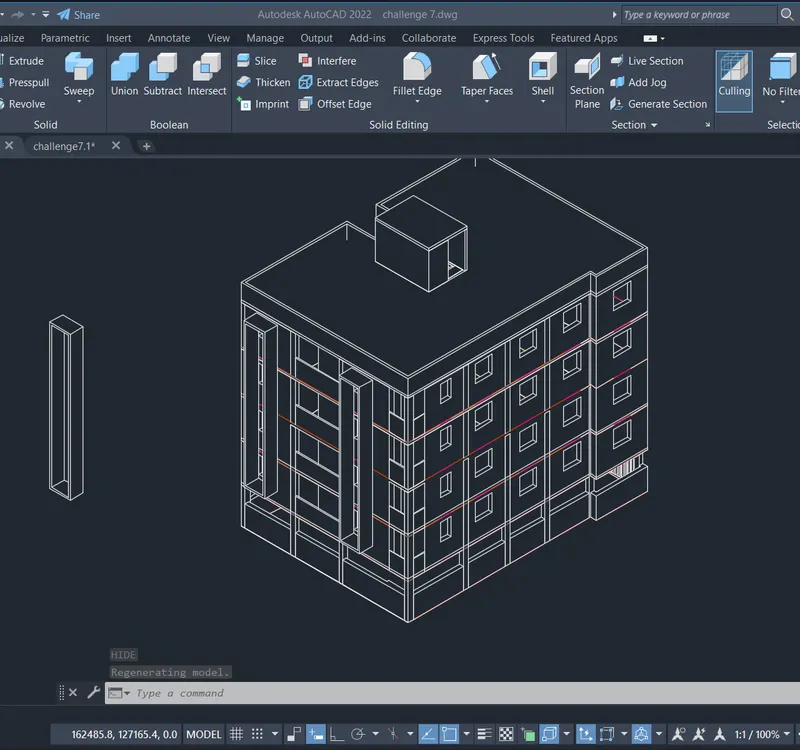
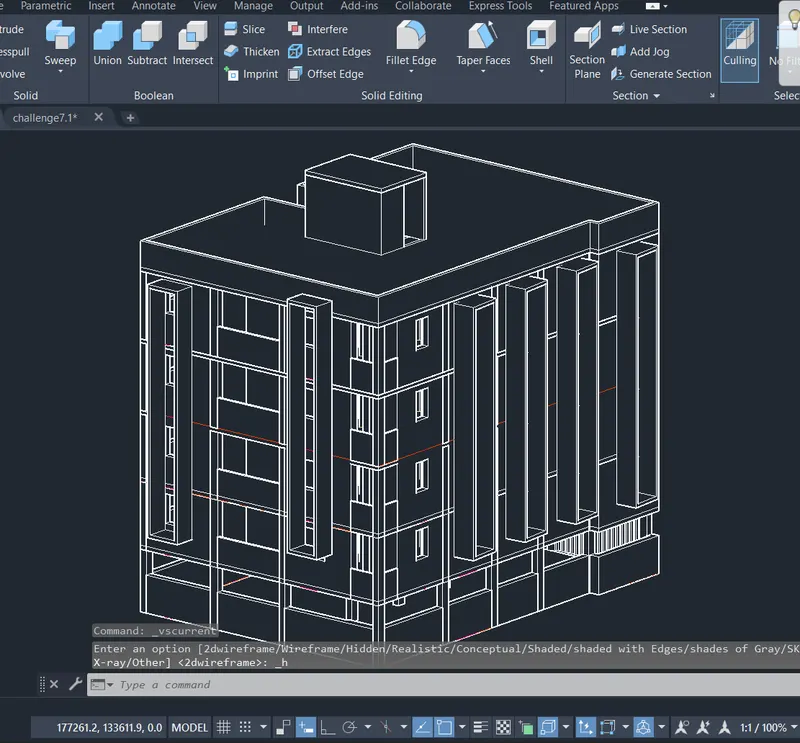
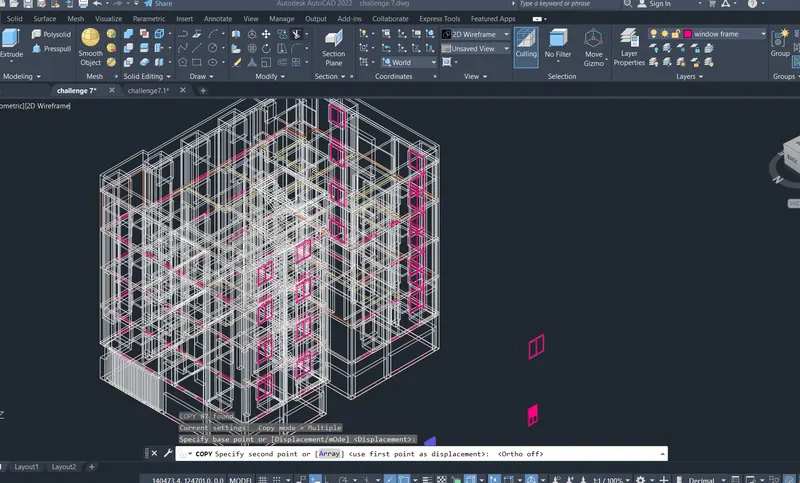
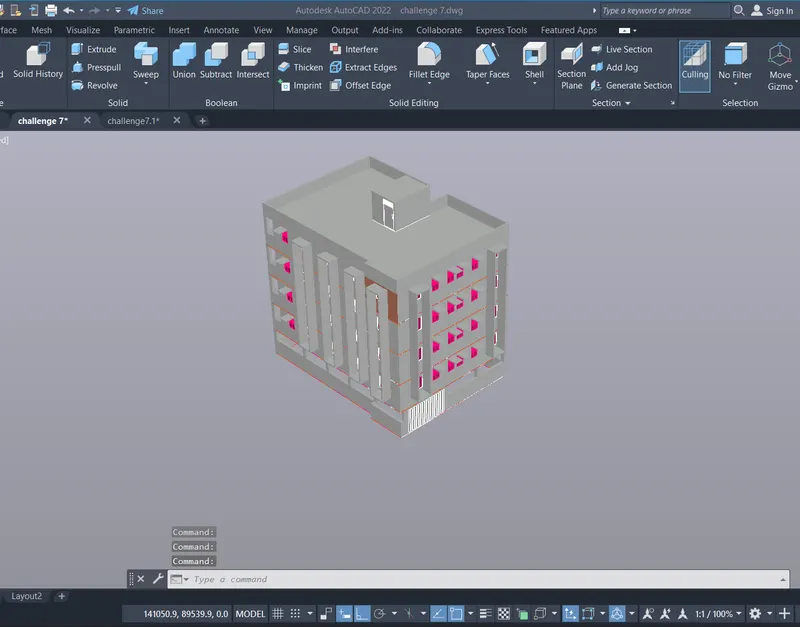
- Apply materials to the building flooring, roofing,wallpaint,chajja, paraphet wall, mumty, main gate,etc
- Go to visualise command and select material command and select the type of material you want to provide to the building.
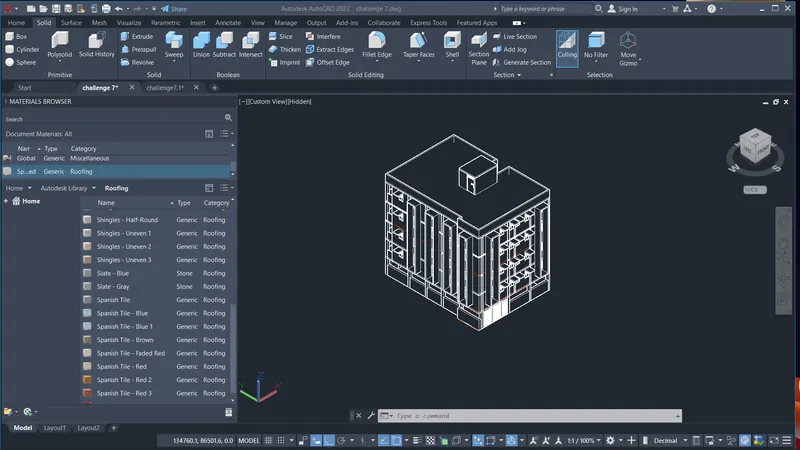
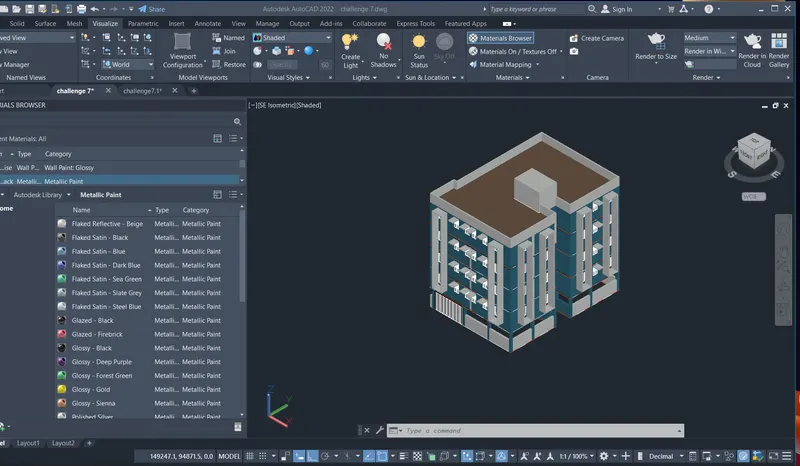
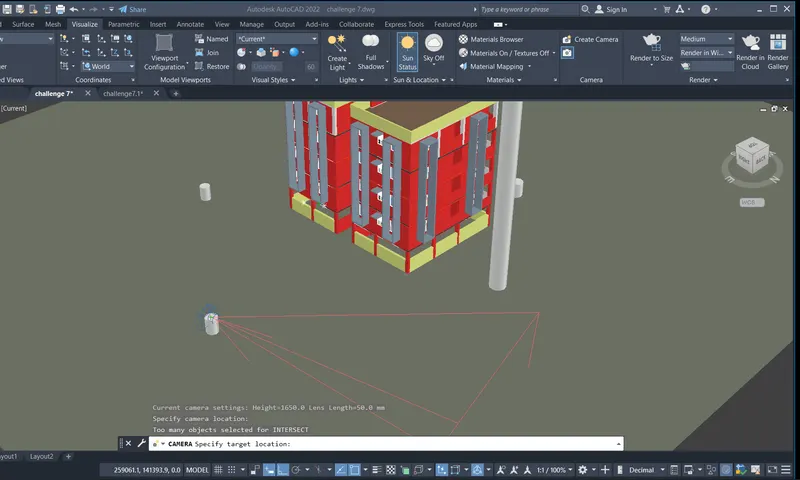
- Now for the Rendering part create a circles around the four corners of the building, extrude it at a height of your desire to take the shots.
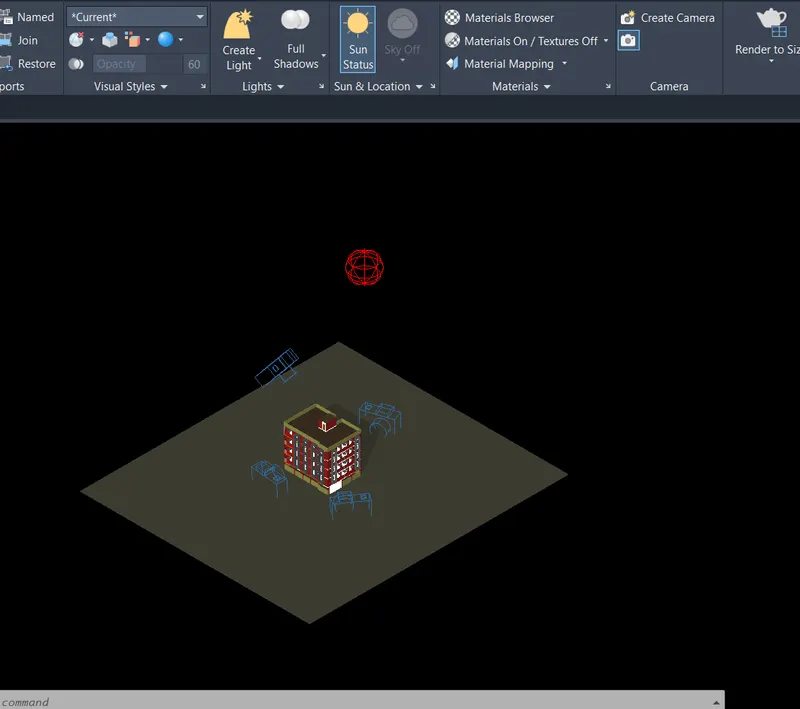
- Now go to the camera tab and place the camrea at the center of the extruded circle and after placing it delete the circle.
- After placing the camera at the visualise tab select the lighting option and environment of your suitable choice.
- Now go to Rendering manager select the quality of rendering and render the file.
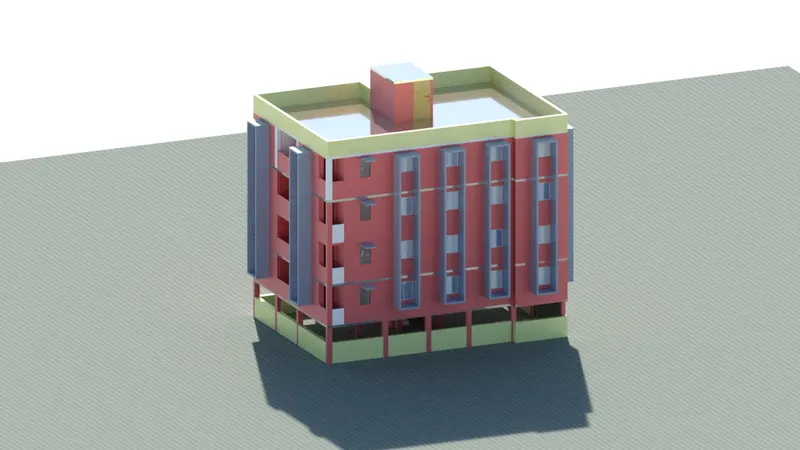
RESULTS: