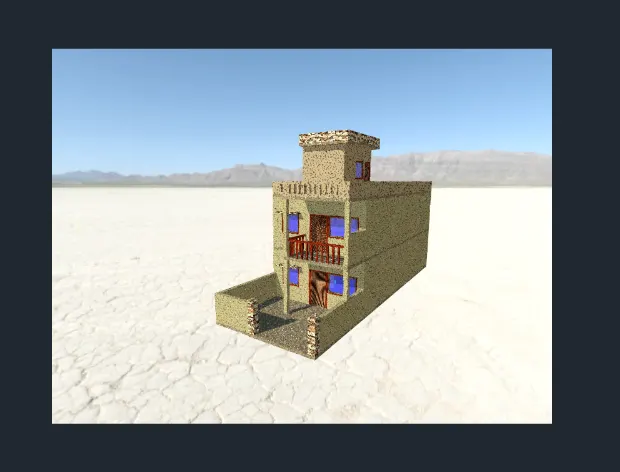
Project 2_Creating a 3D rendered model for a Residential Building in AutoCad
Aim: To produce a 3D model of a residential building with a rendered view.
Introduction: A 3D rendered model of a residential building shall be produced from the reference of ground floor plan of the Project_1 of autocad module of Skyll-lync course. It shall be made in the 3D modelling workspace of the Autocad. We will use the Modelling, Surface, Solid-editing and modifying toold of Autocad 3D modelling and 3D commands as per requiredd in this project. Then we will place a camera on our house for rendering.
Procedure:
1. Firstly, We have taken the previous 2D drawing made in the Autocad project 1, Work space shall be changed into the#D modeling. We had copies the ground floor and first floor plan, we remove the doors and window and fillet the walls.
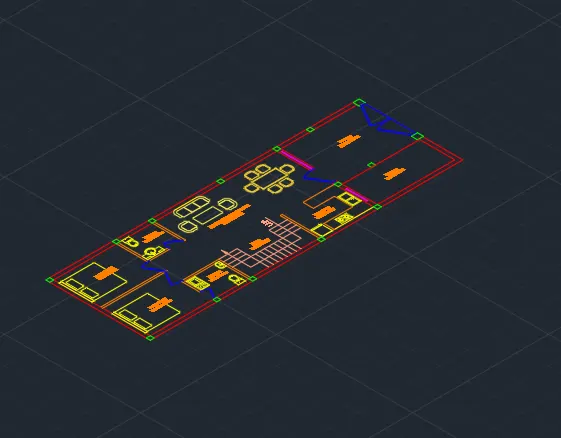
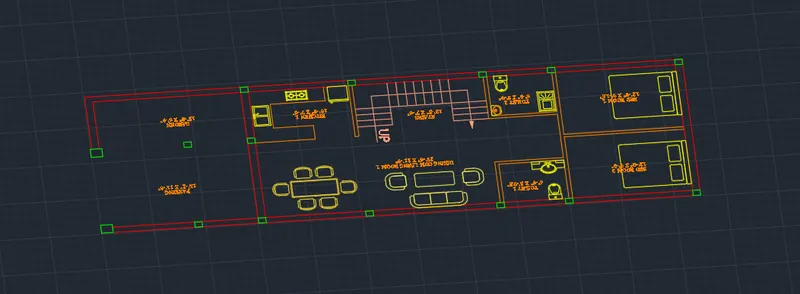
2. With use of boundary, extrude and presspull command we make the 3D walls. we can also remove the column but we had taken presspull for the column separately.
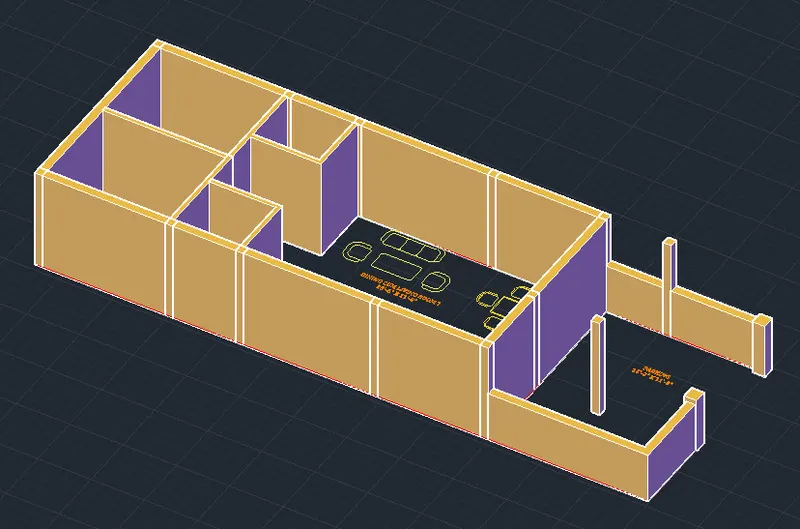
3. Then we move the 3D aside and make 3D door and window projection into the wall. Place them on position as required, with help of substract command we substract the doors and window from the Ground floor.
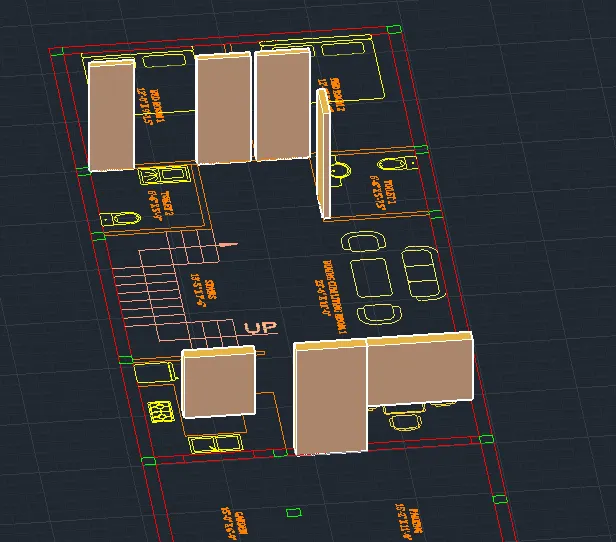
4. We change the UCS and draw the Stairs as per design.
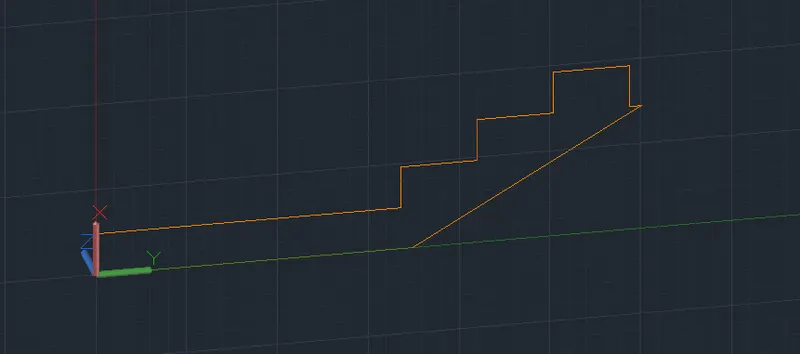
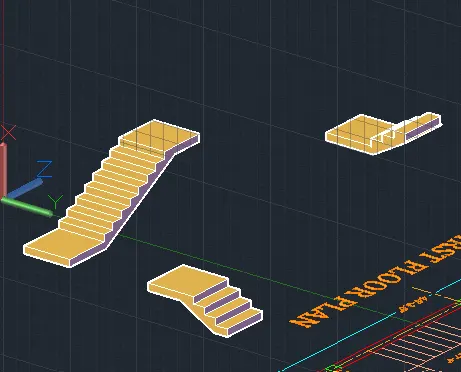
5. After drawing then with help of region and extrude command we make 3D stairs out of the 2D drawing. then we assemble the parts of the stair drawn sepately with changing UCS and 3D command.
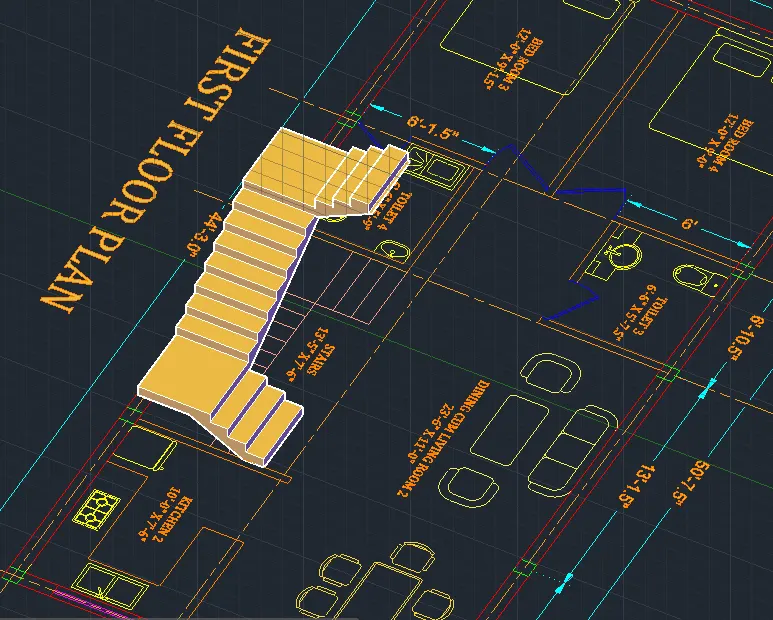
6. We move stairs part and place it on the position as required in the 3D portion created with walls.
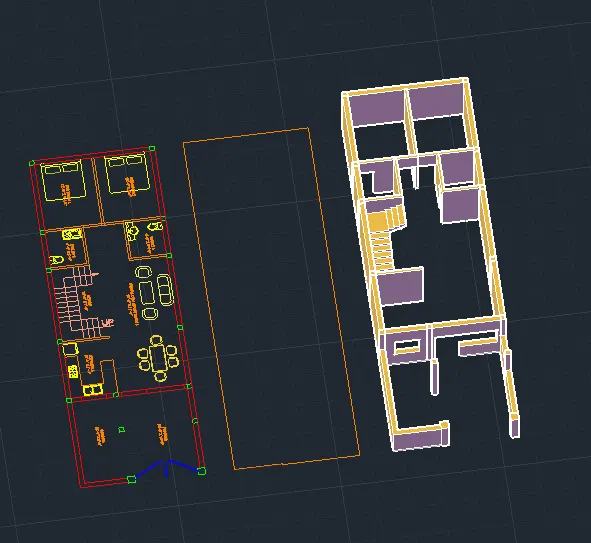
7. We create the floor from the plan and place it as required.
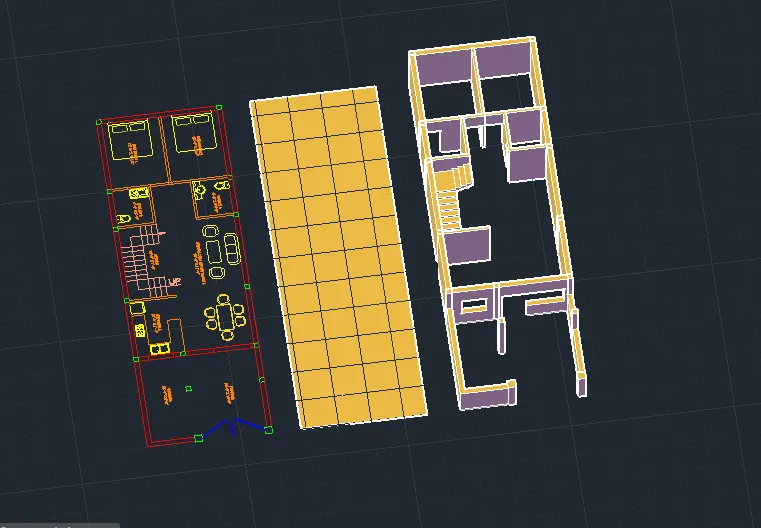
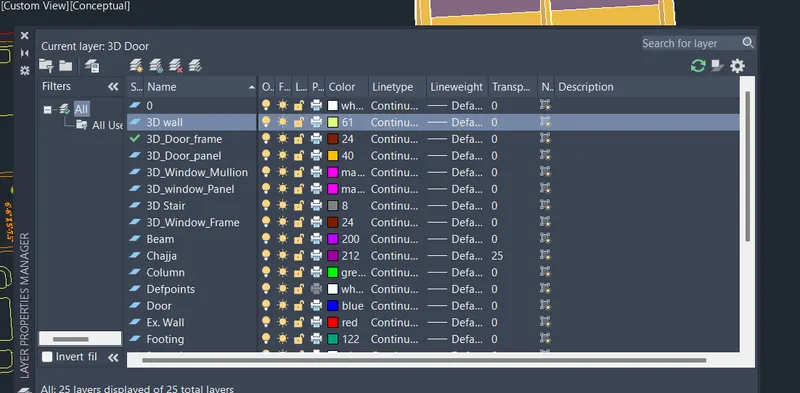
8. We assign layers for different parts of the structure and similarily make first floor for the plan.
9. From the front view created we make doors and windows for the building. By 3D rotate, boundary, extrude and UCS command.
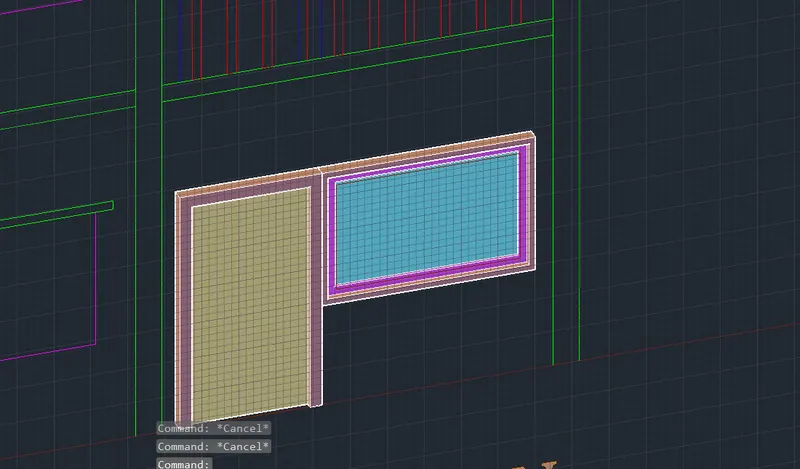
10.we place window door and chajja into the 3D structure.
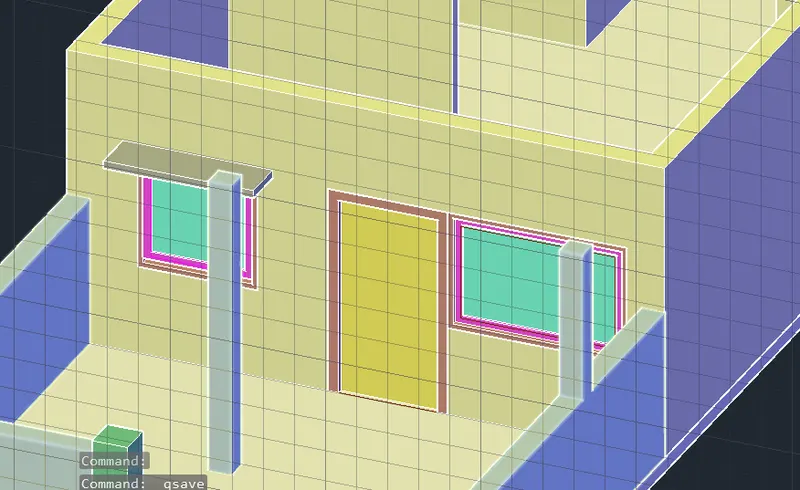
11. we make roof for the ground floor and first floor.
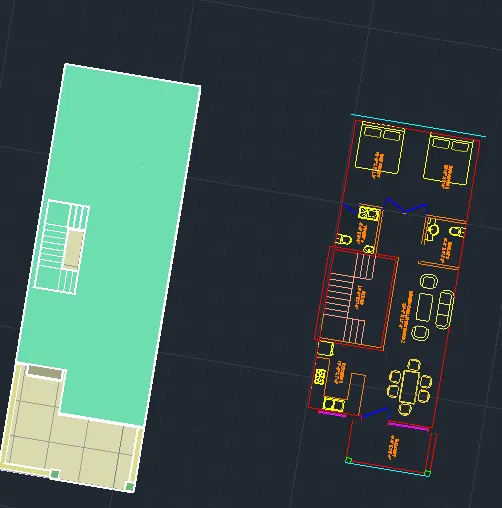
12. We make mumty by drawing mumty details and convert it into 3D with help of 3D commands.
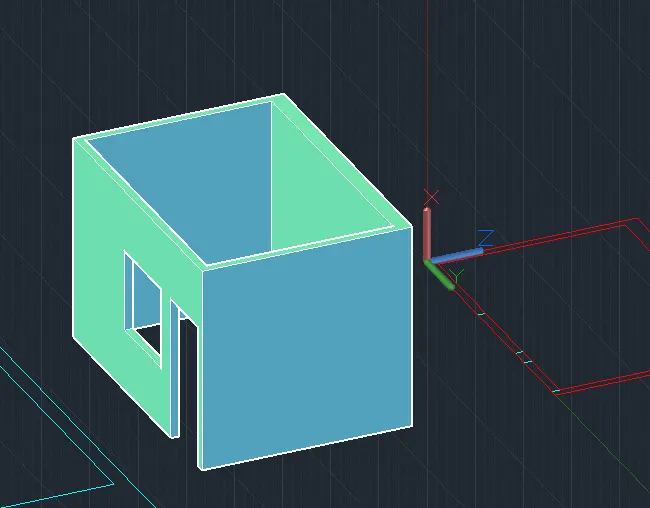
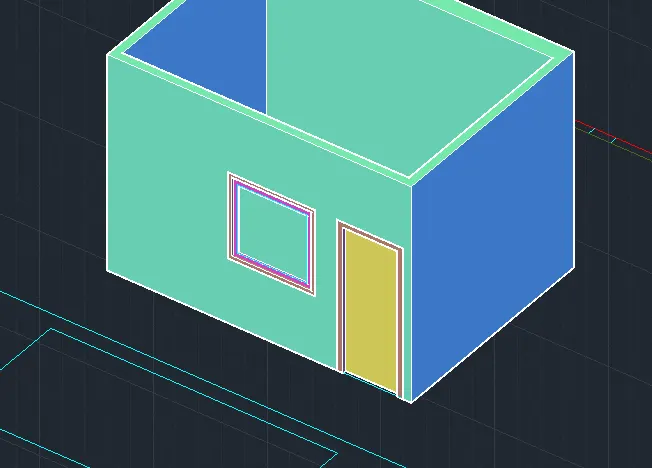
13. We place mumty in the 3D structure and make reailing from the plan.
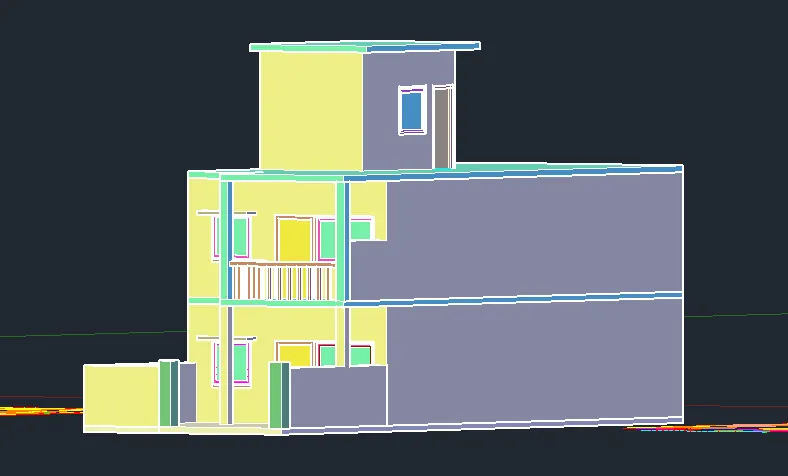
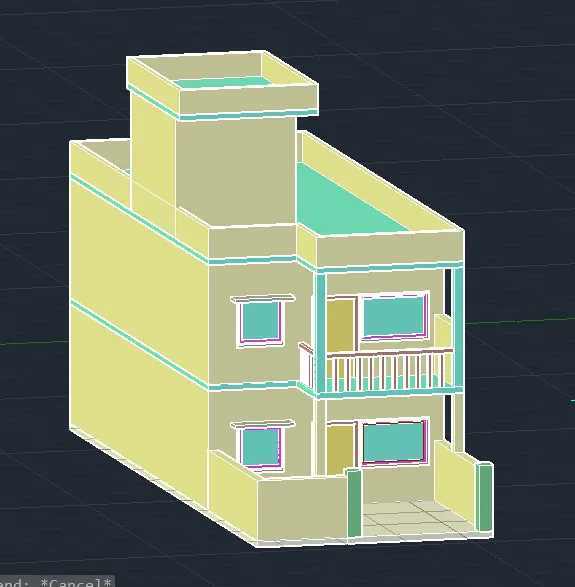
14. We make front parapet wall design with help of grooves.
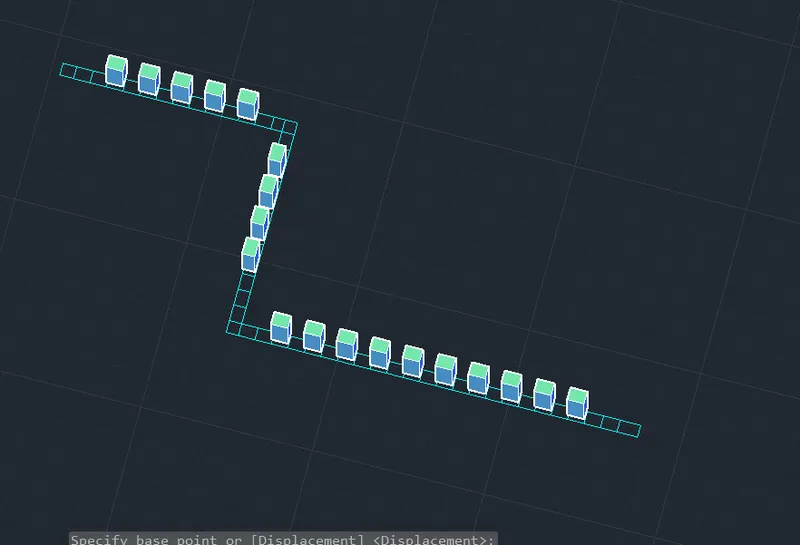
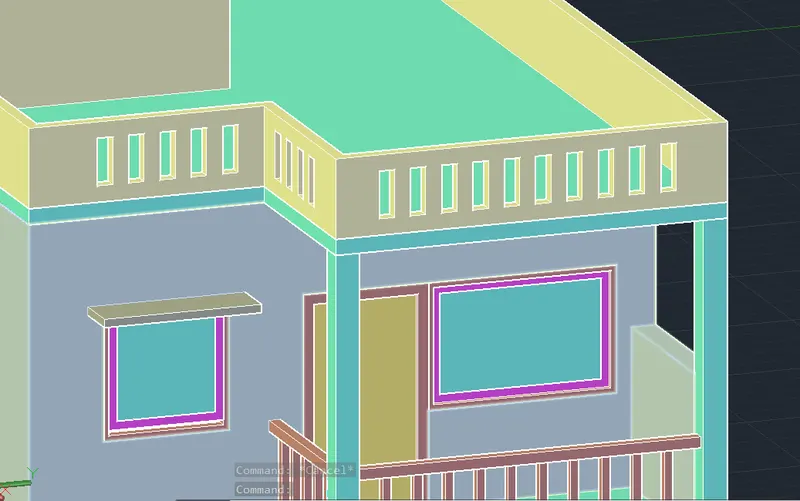
15. We apply material on the wall with the help of tool pallete visualise selecting and assigning material on the 3D structure.
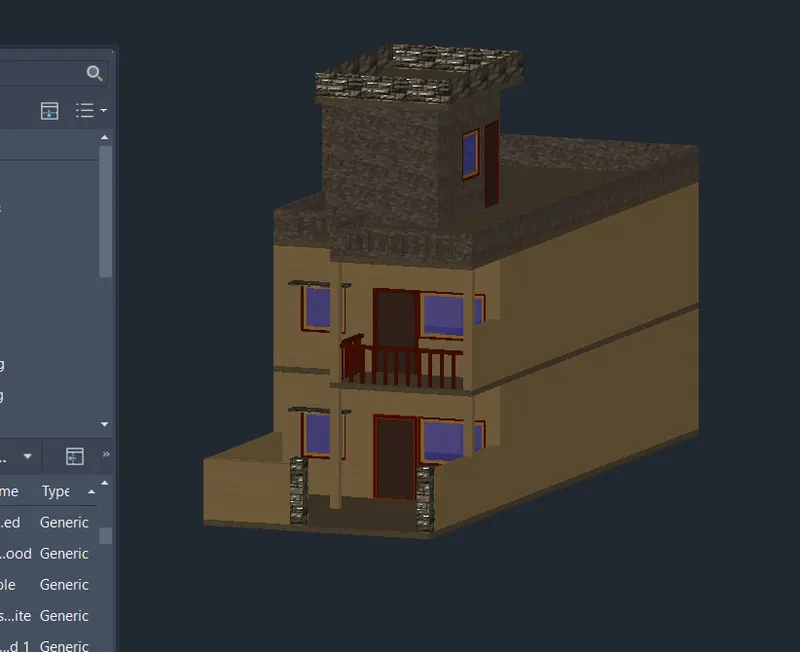
16. We install camera view into the drawing
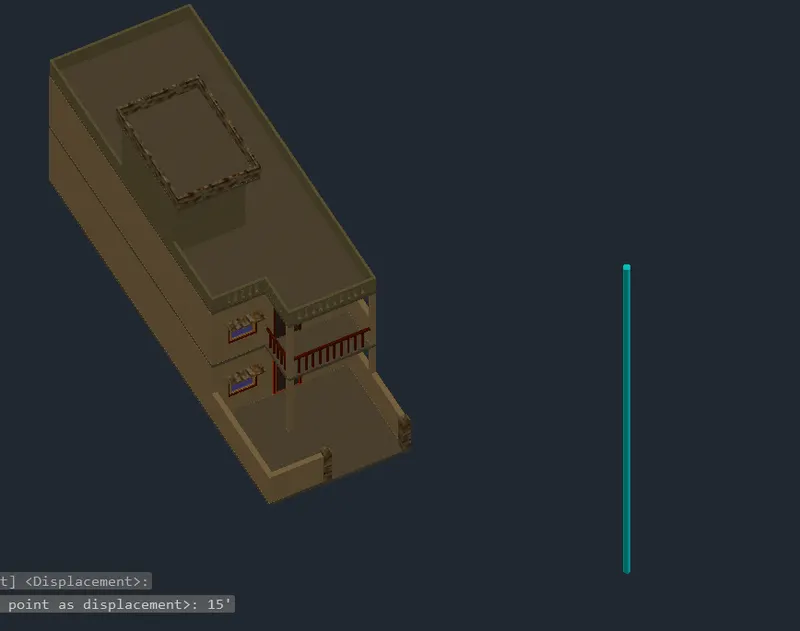
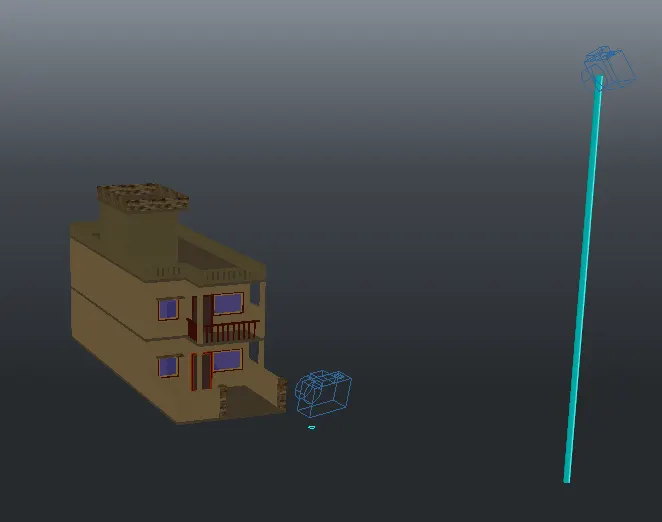
17. We make exposure condition in the drawing rendering (Dry lakes)
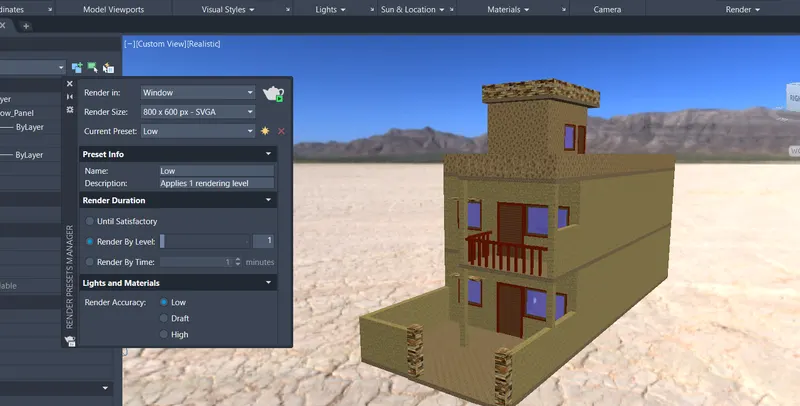
Result: We capture the rendering window of the view.