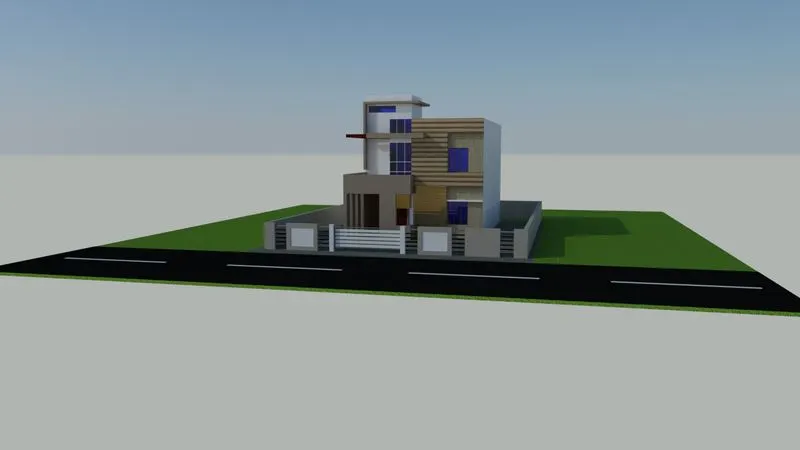
Project 2_Creating a 3D rendered model for a Residential Building in AutoCad
PROJECT 2
AIM
To create a 3D rendered model for a Residential Building in AutoCad.
2D Tools Used
Line
Polygon
Rectangle
Copy
Erase
Layers
Mirror
Offset
Extend
Move
Array
Fillet
Rotate
Dimension
Text
Fillet
3D Tools Used
Revolve
Extrude
Sweep
Union
Subtract
Solids Editing
Intersect
Rendering
3D Orbit
Material assingning
Procedure:
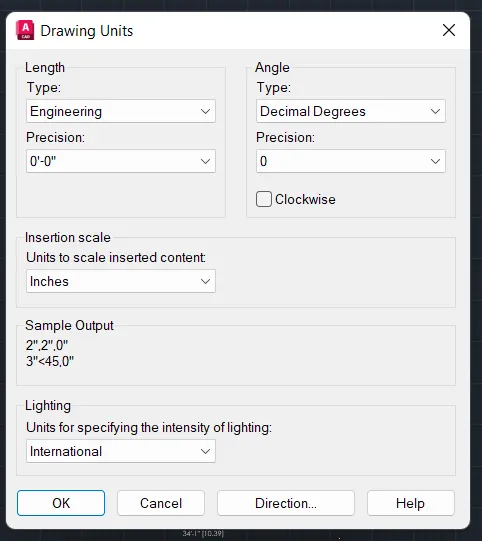
*Opean auto cad and save the file as skill lync project 2 and set units as shown below.
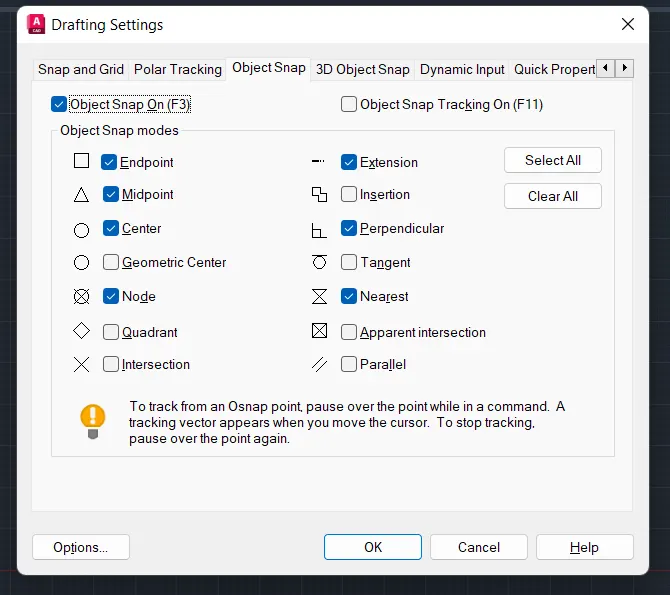
*Set drafting settings using osnap.
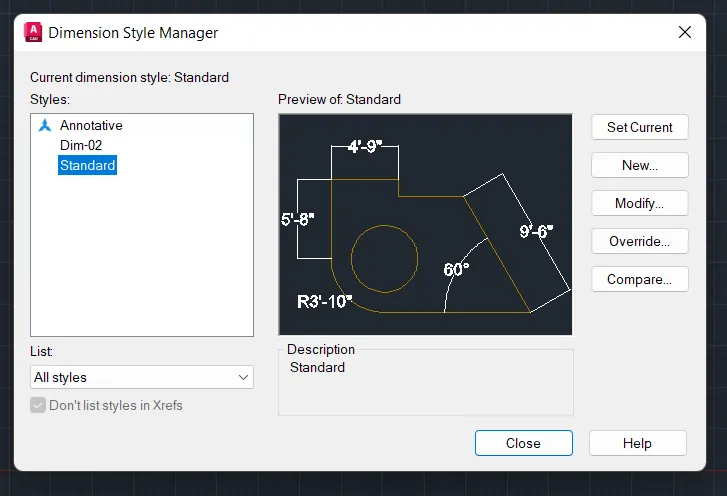
*Opean dimstyle manager and set the required units,arrow and text sizes.
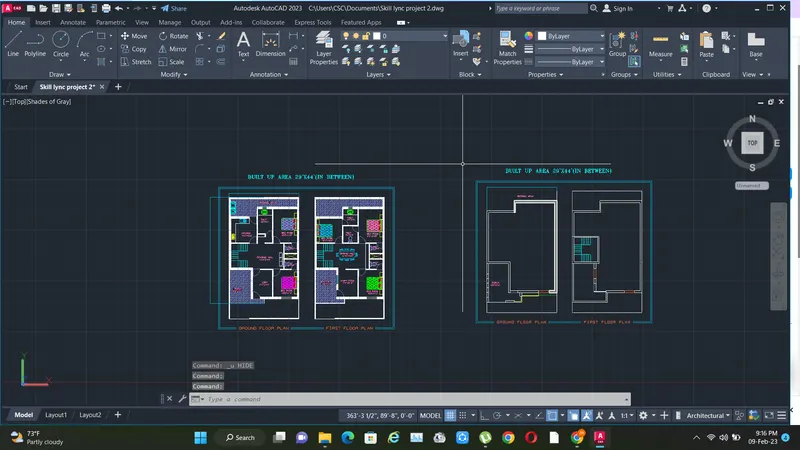
*By using commands like line , dtext , adc , dimlin , trim , copy , polyline , block , block edit , mirror , offset , layers , hatch we have drawn the floor plan for the residential 3d model.
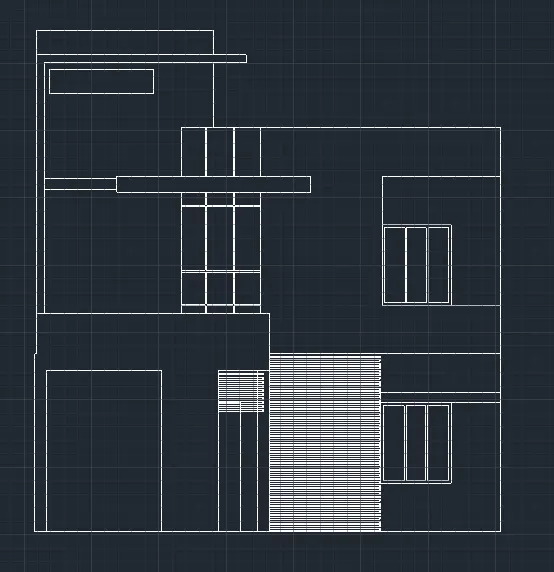
*Elevation for the plan is drawn in 2d work space.
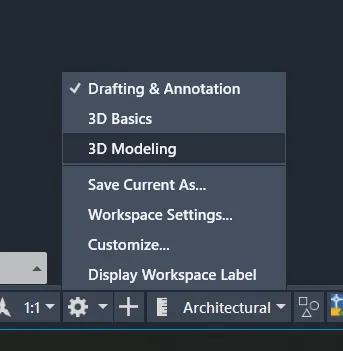
*Using workspace settings Opean 3d modeling work space.
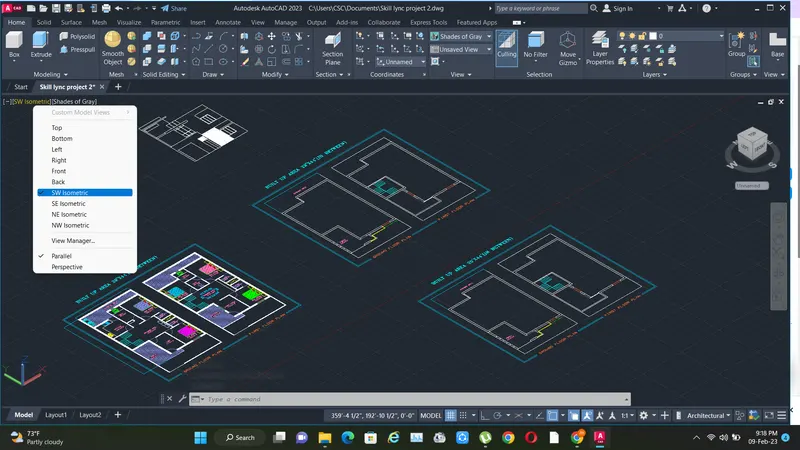
*Go to south west view from tom view for working in 3d work space.
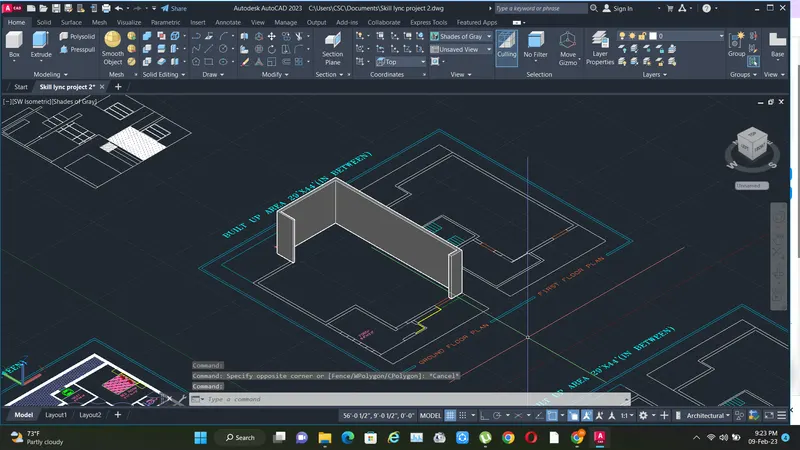
*Using presspull or ectrude command extrude all walls upto 11' .
*Extrude windows with sill height 3' and window size (4'4" x 5') ground floor window.
* doors (3' x 8').
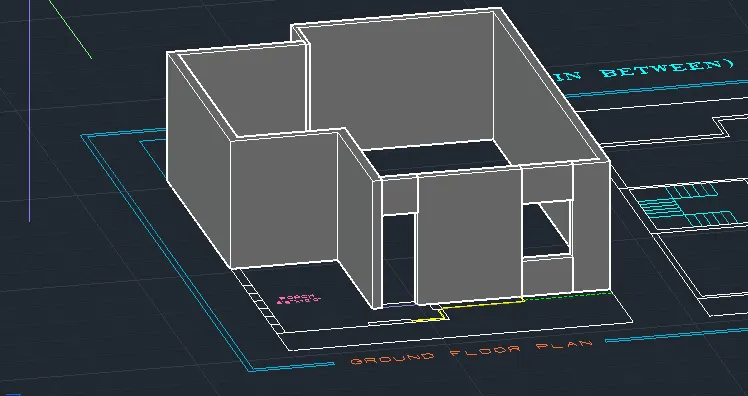
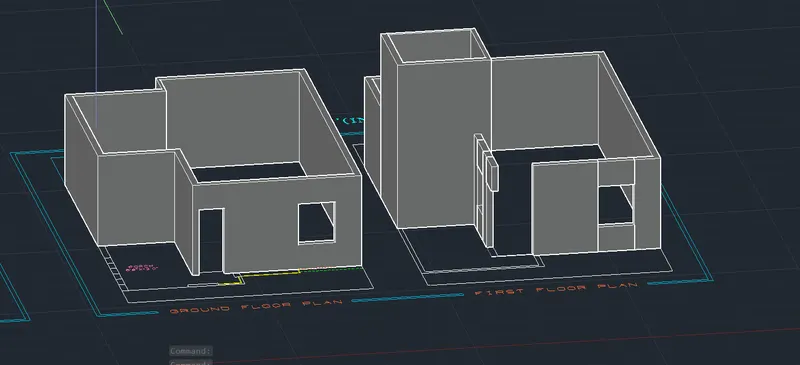
*Select union command to combine the 3d solids.
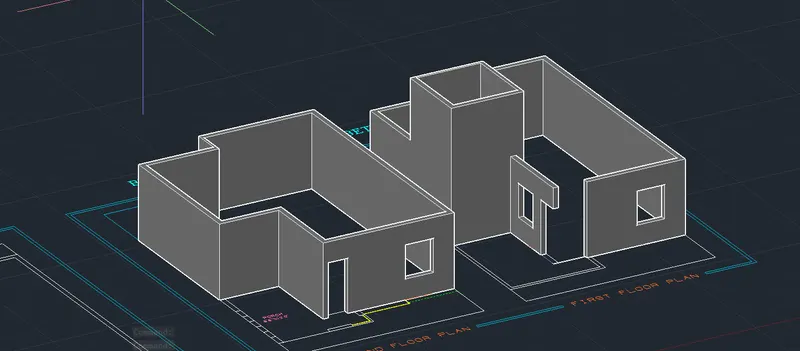
* Use move coomand to place the first floor 3d solid plan on ground floor 3d solid plan and proceed with other elements .
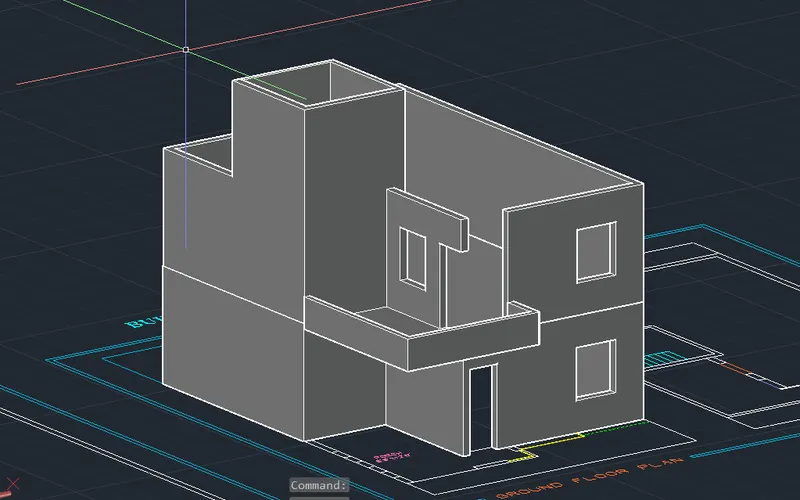
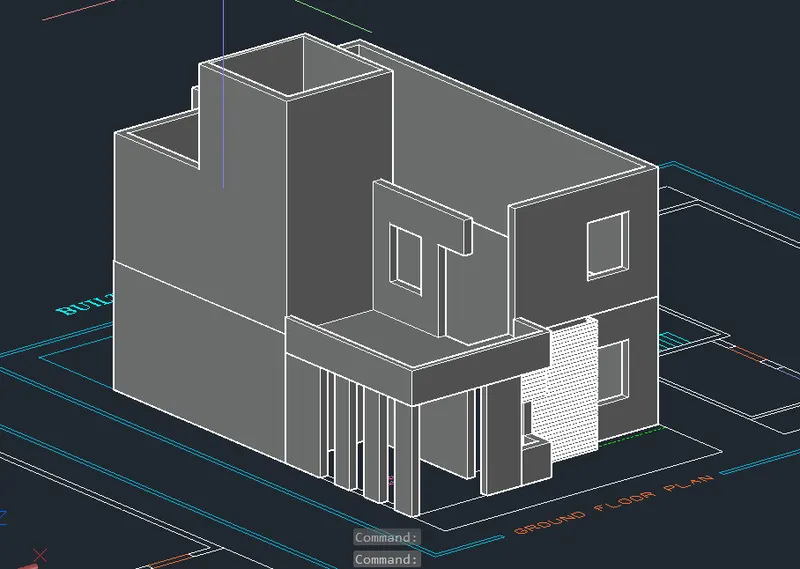
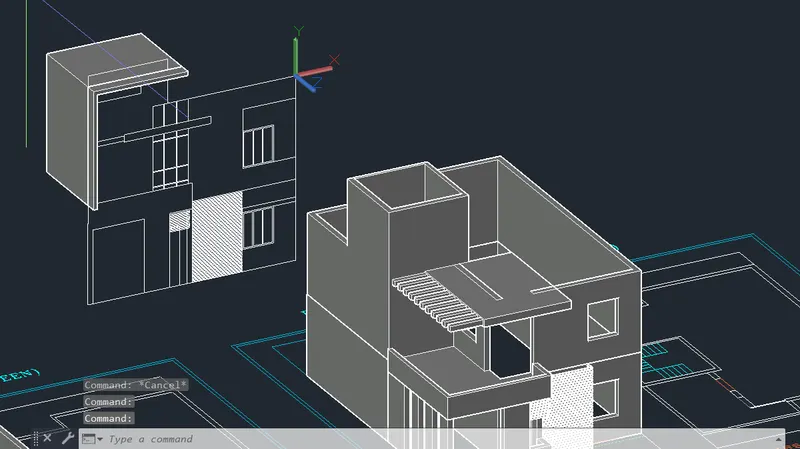
*Using 3d rotate , rotate the 2d front elevation plan up so that we can proceed further in apllying 3d solid elements.
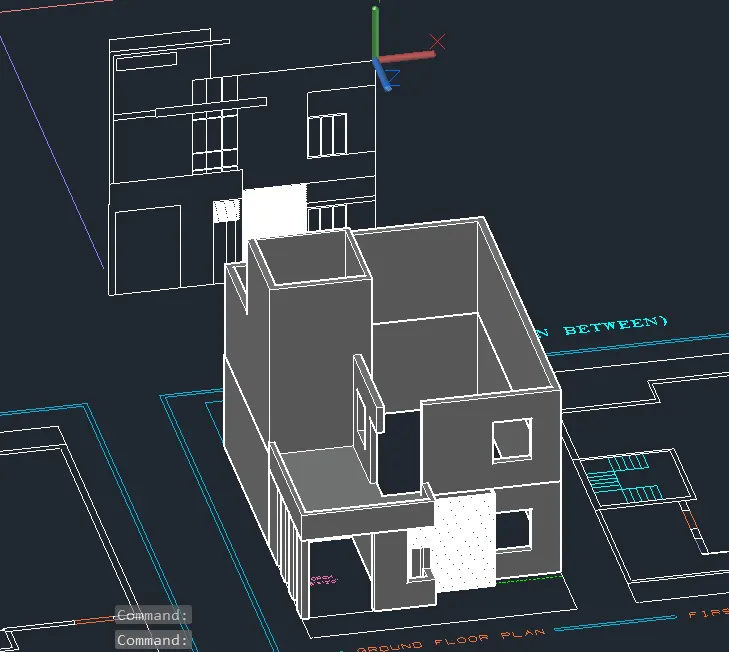
*Provide 8"x8" pergola
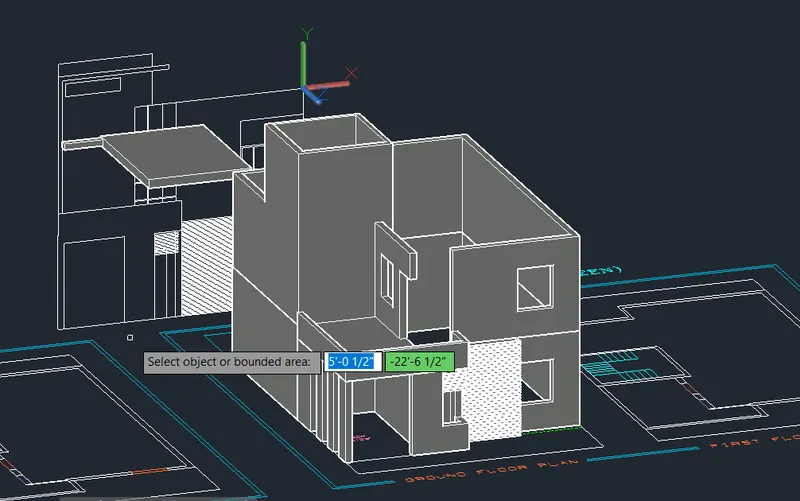
*Using rectangular array we are going to create pergolas.
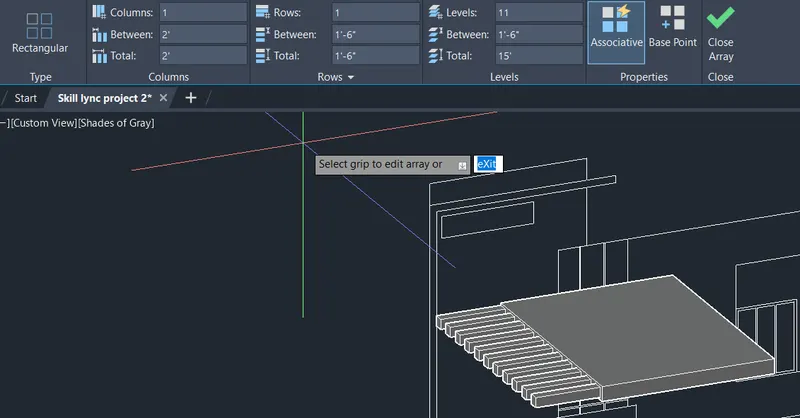
*Move the 3d solid created to the main 3d solid plan and place it in it's postion as required using move command.
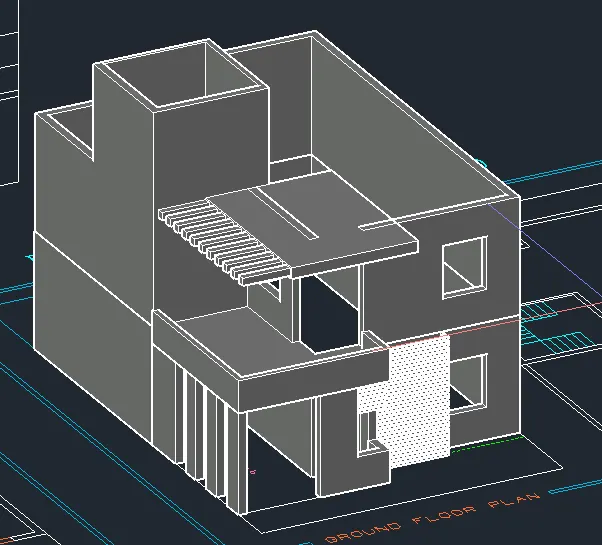
*Similarly we are going to extract all 3d solids we require from the front elevation plan and move it to the 3d model.
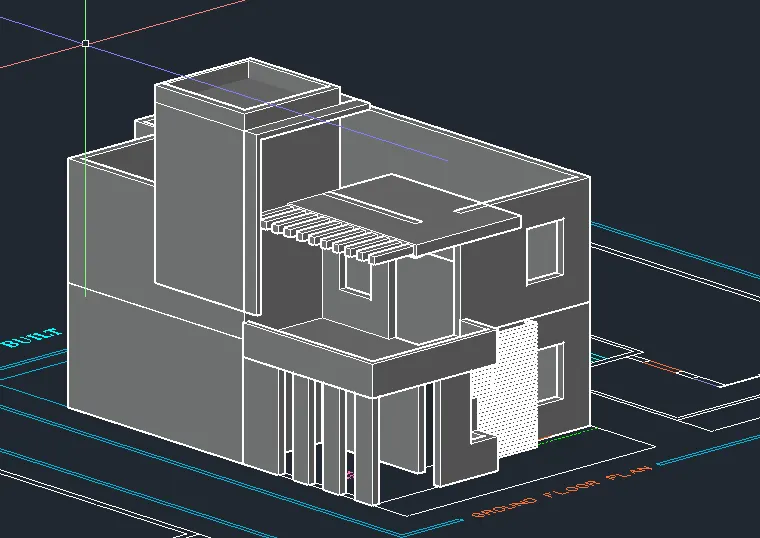
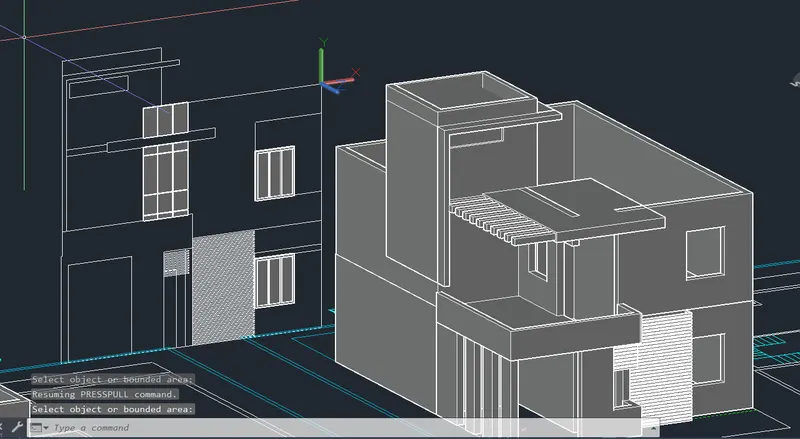
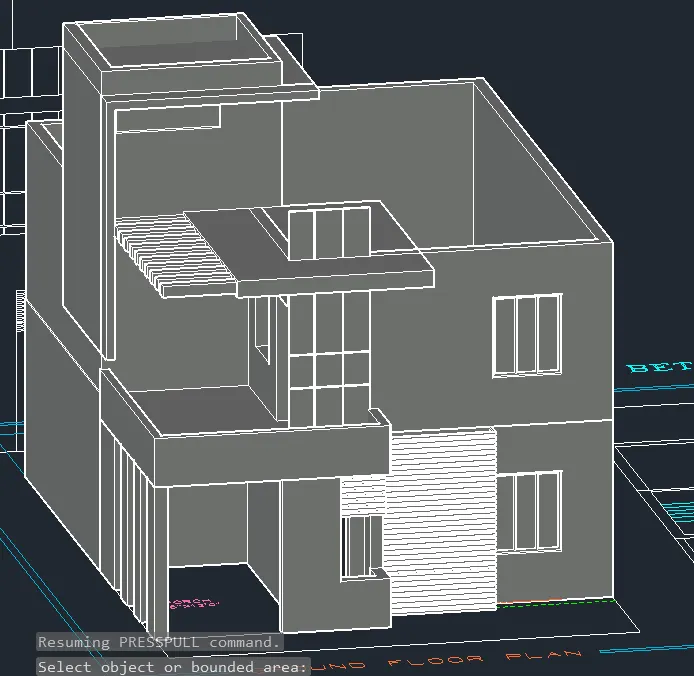
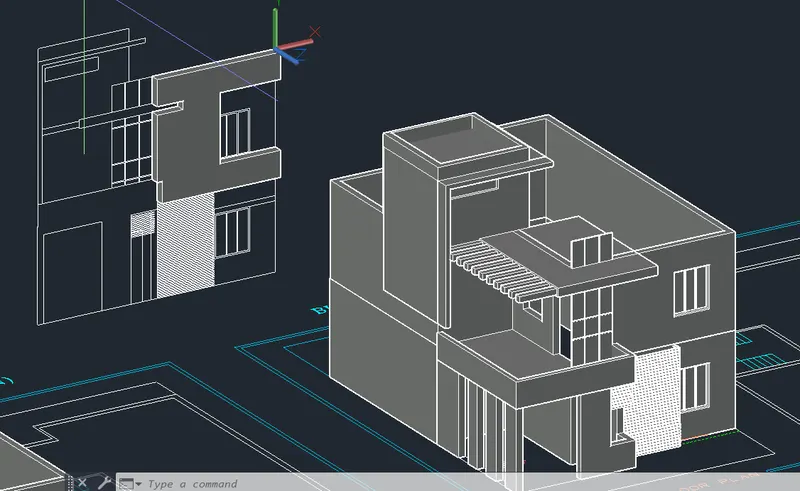
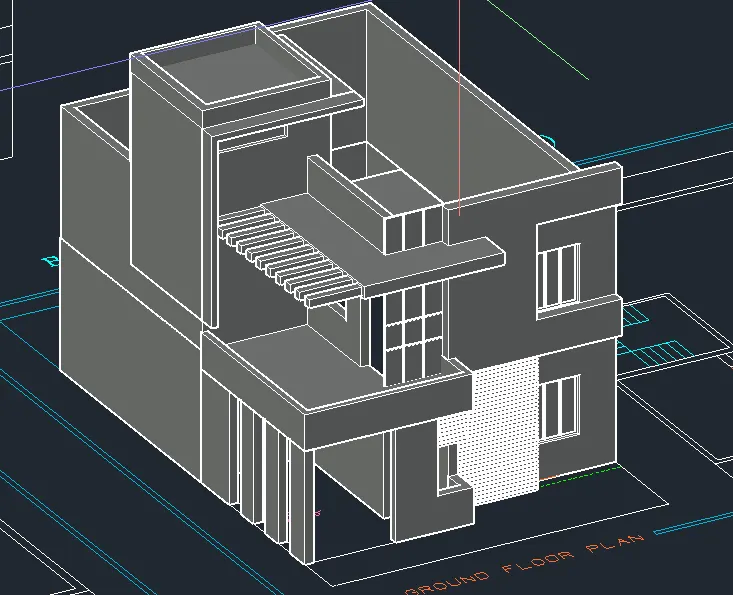
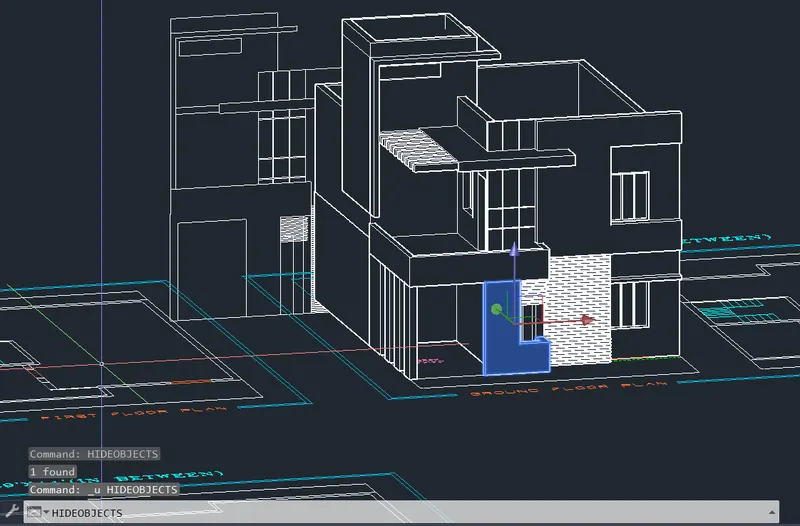
*Now i am going to create doors, for that i am going to hide the portion shown below in the image temporarlily using hide objects command.
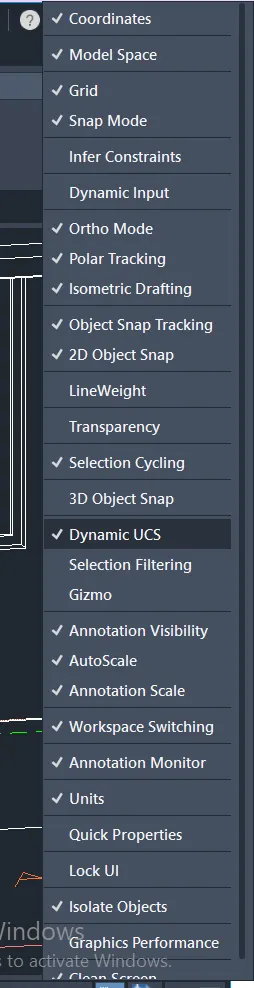
*keep the dynamic ucs on , so that we can draw any sketch on the faces of solid.
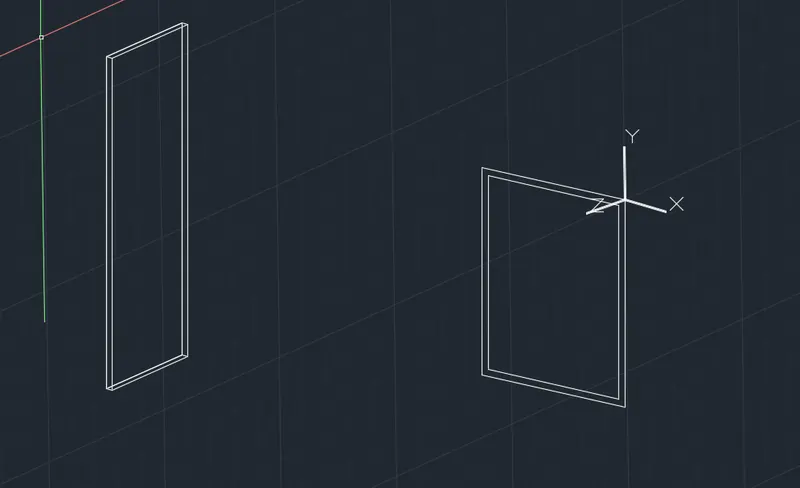
*Draw rectangle using rec command for the door opeaning and the window opeaning to create door and window by refering the 3d model.
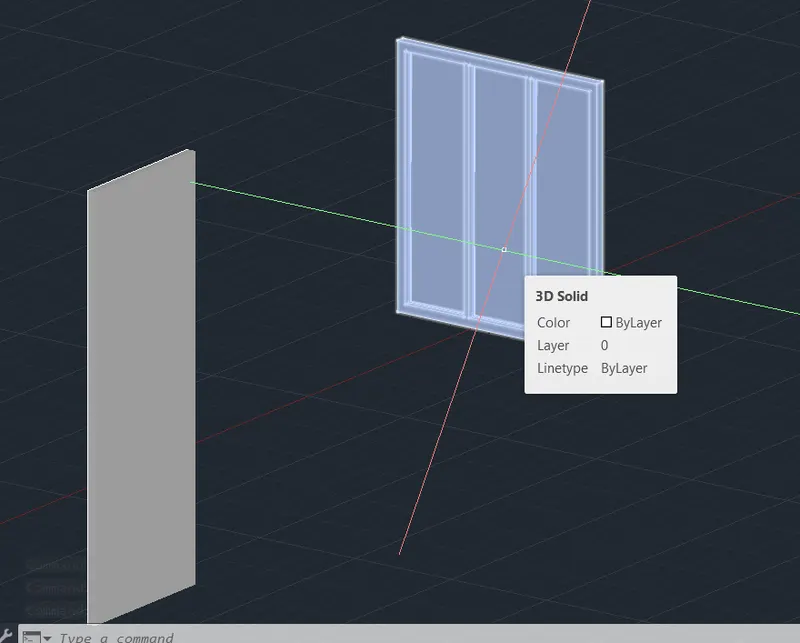
*Now all the doors , windows , walls , glass etc are done , we will place it in the position.
*We are going to create a boundary wall and flooring for the residential unit.
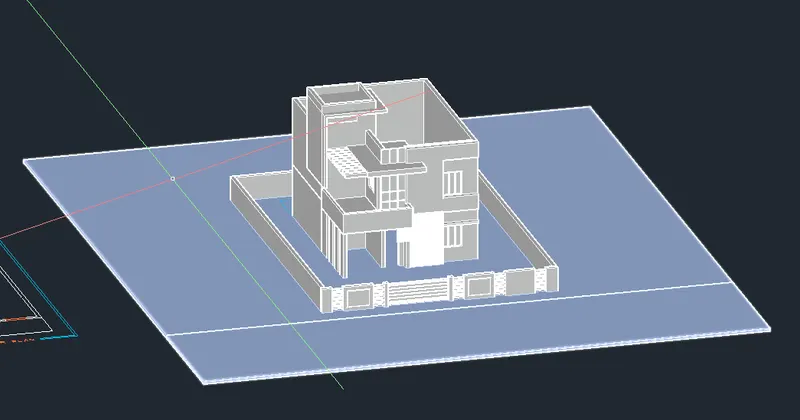
*Now we will apply colour and materials for the 3d model.
*Type mat command for the material browser to opean.
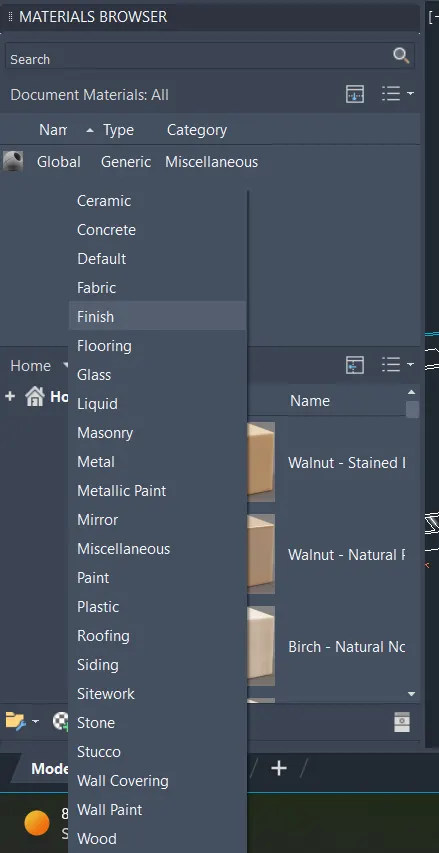
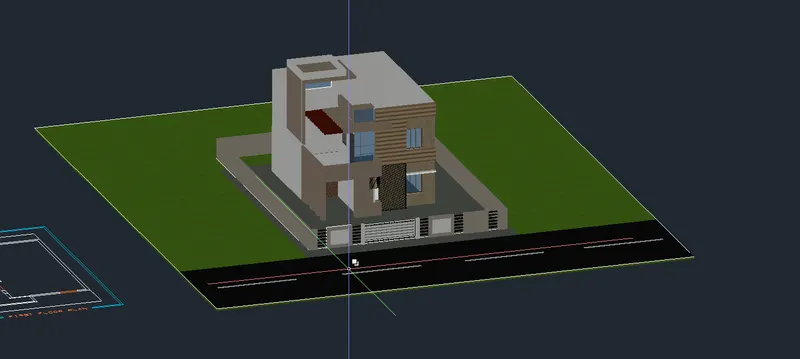
*Now lets paint the walls , apply materials to doors boundary walls , we just need to drag the required colour or material and drop it on solid.
*We will also apply glass materials.
*We will apply grass to the field.
*Redering process
*We will create a camera for rendering purpose.
*We will go to visulaize in the tool bar and click create camera.
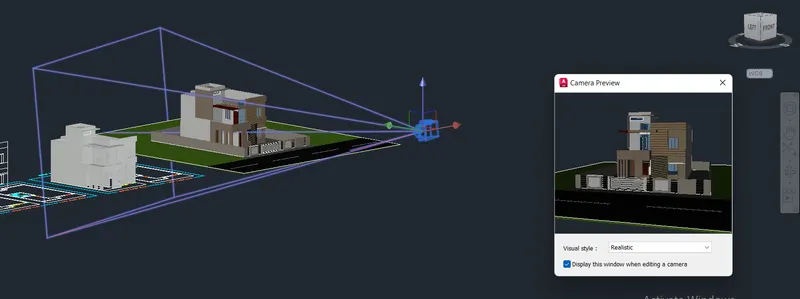
*Before rendering go to camera view and keep sun status on , under shadows select full shadows , and select sky with illumination.
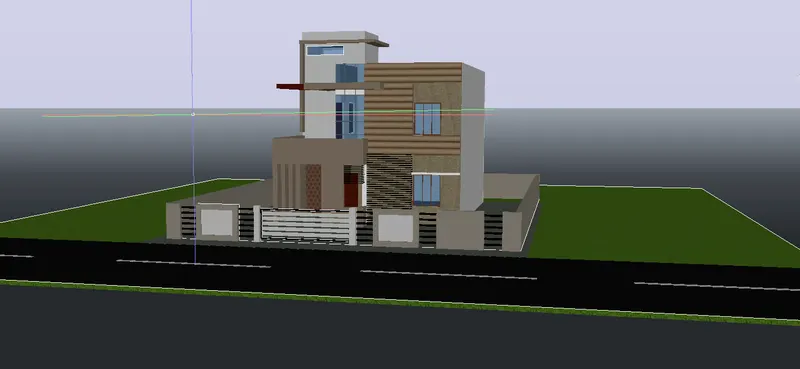
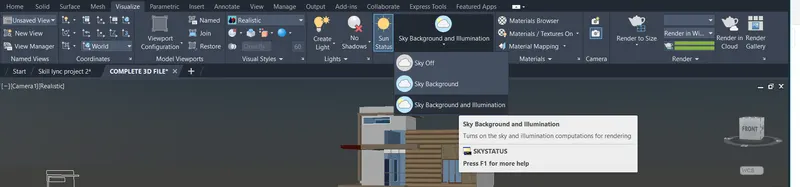
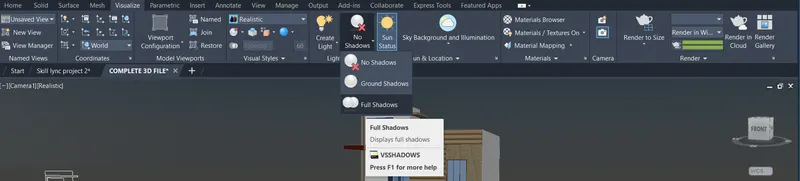
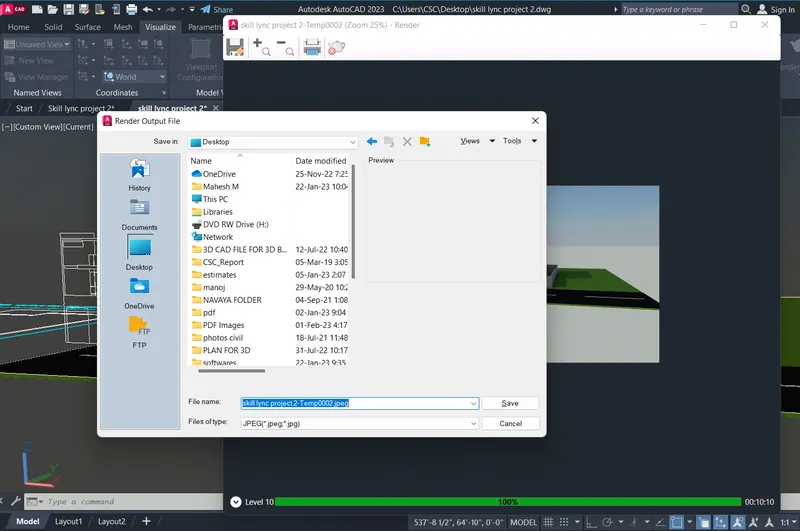
*After the required settings go for rendering with high quality (hd)
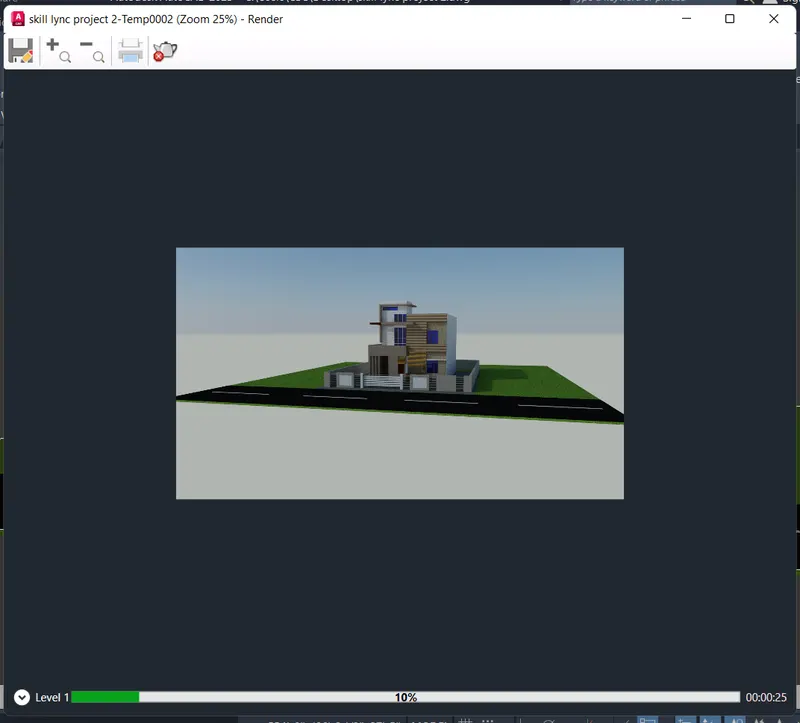
*After 100% rendering save the 3d model in required format (jpeg or png)
RESULT:
Final 3d renderd image is obtained