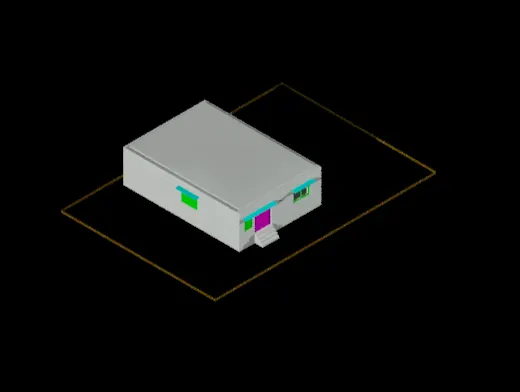
Project 2_Creating a 3D rendered model for a Residential Building in AutoCad
TASK :
- To create a 3 dimensional model of residential bulding
- To create rendered view of the same model
- To add the lighting and material
PROCEDURE :
- We have created a 3d model of residential building
- This model is rendered
- Materials are added
- Light settings are made and rendered view is creted by placing one camera
- The plan used to creaye a 3d model is
- The plan below contains doors ventilators and windows
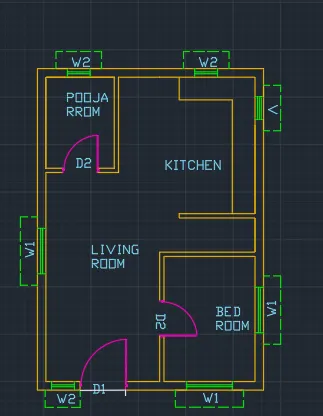
- Windows and doors are designed as per the measurements
- The walls in the created plan are made in to region and extruded to made 3d walls
- Later inner walls are extruded using same height
- Now, the outer skeleton of the plan is ready and later the walls until below the windows are extruded till the sill level
- Now, the walls above the plint level is also rendered using "extrude" command
- Later the rendered doors and windows are copied in their positions
- Sunshades are created for doors and windows
- Materials like paint, wood etc are assigned to the rendered building
- All walls are asigned with wall paint of specific color and floor and roof are also given the same material
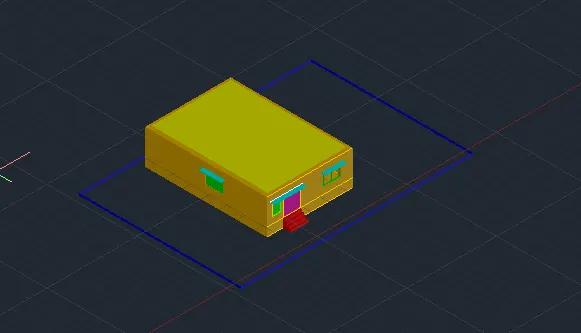
- The created 3d model
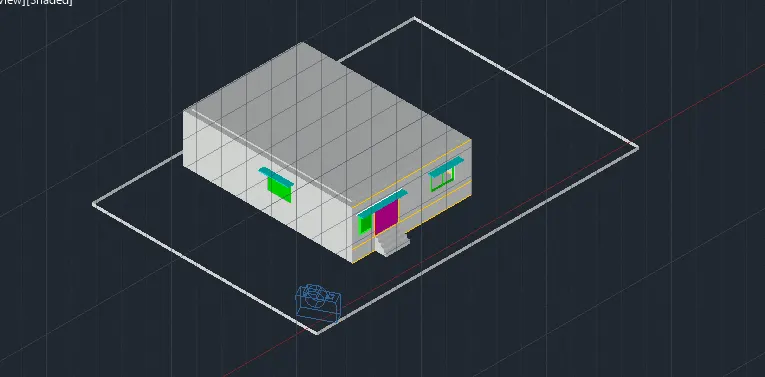
- Now the lighting is provided using "distant lighting"
- Two distant lightson either sides with different heights are placed and the rendered views are created
- A camers at the height of 2 feet is placed and rendered veiw with one distinct light and rendered view with two distant lights are created
- rendered view with one distant light and two distant lights are created as below
rendered view with one distinct light (camera view)
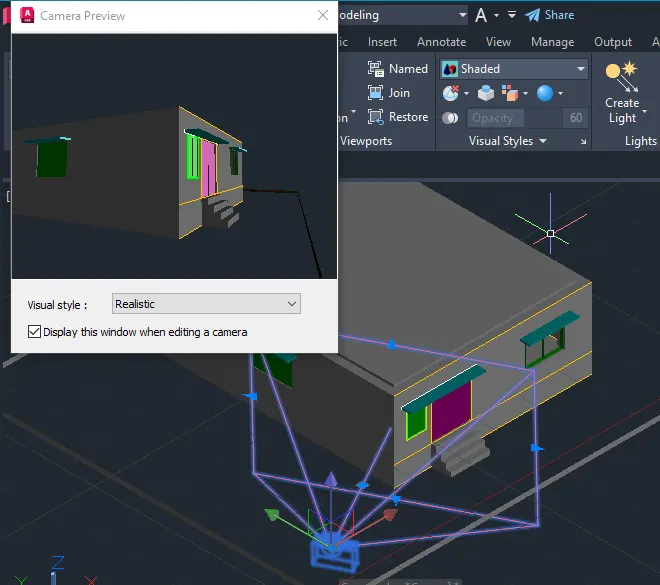
rendered view with two distinct lights (camera view)
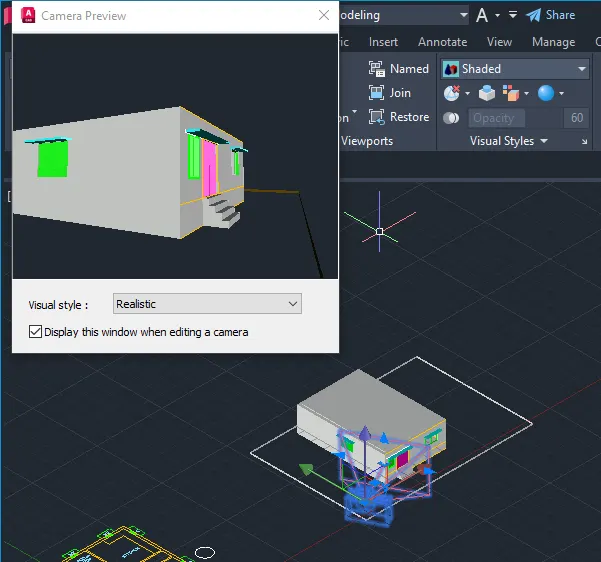
RESULT :
- A 3D model is created are required lightings and camera are added
- Suitable material are applied
wire frame view
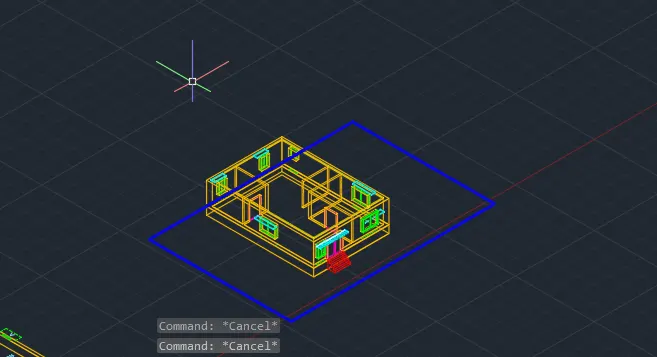
Shaded view
camera view with one distant light
camera vieew with two distinct lights
redered elevation
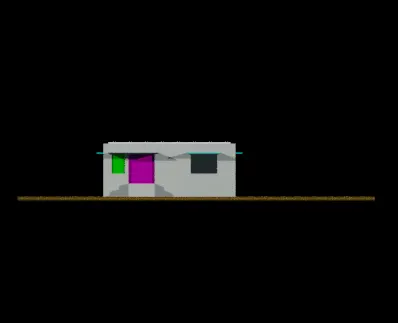
rendered isometric view