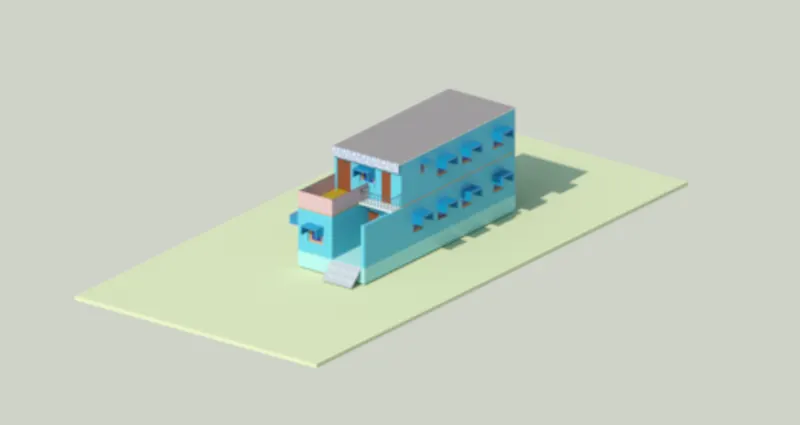
Project 2_Creating a 3D rendered model for a Residential Building in AutoCad
Aim: Creating a 3D rendered model for a residential building in Auto Cad
Introduction: Creating a 3D rendered model for a residential building in Auto Cad
I am using the plan which I have drawn on challenge 8 i.e. Project-1 so,
Let’s get started
Step 1: Copy the challenge 8 plan and start working on it in a 3D modelling
- Turn off the furniture layer and dimension and text layer so it is easy to work on it
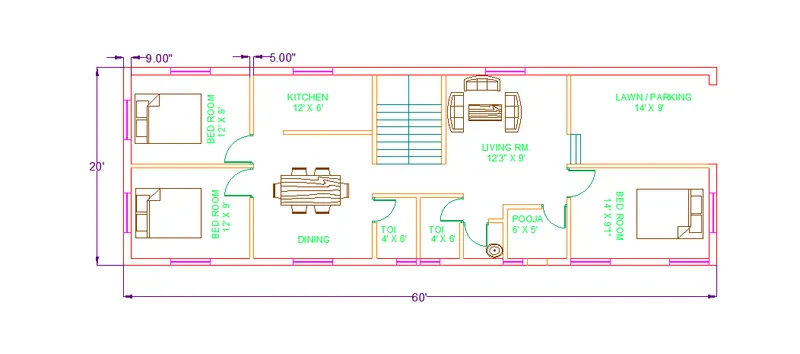
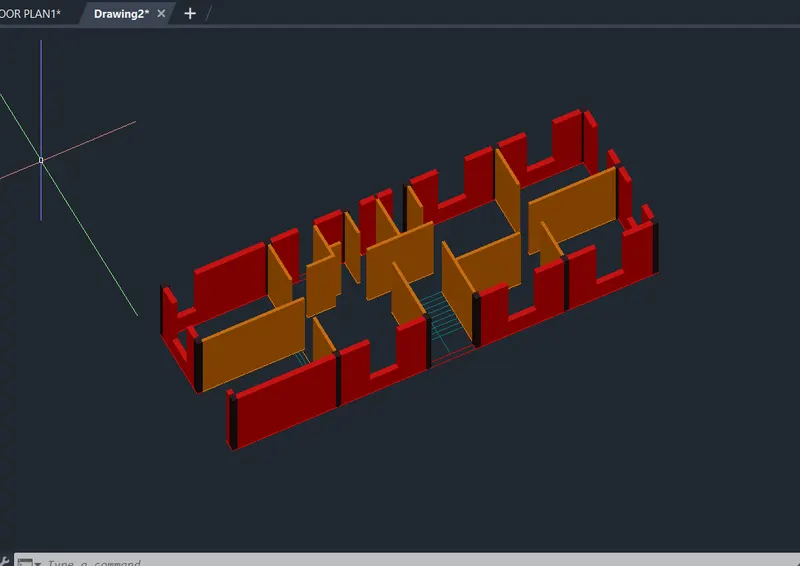
Step 2: Drawing of Columns
- Give the command REGION and select all the columns and make a region of it
- Now Command EXTRUDE select all the columns and extrude it at a height of 11’
Step 3: Drawing of 3D walls
- Give the command REGION and select all the Walls and make a region of it
- Now Command EXTRUDE select all the Walls and extrude it at a height of 11’
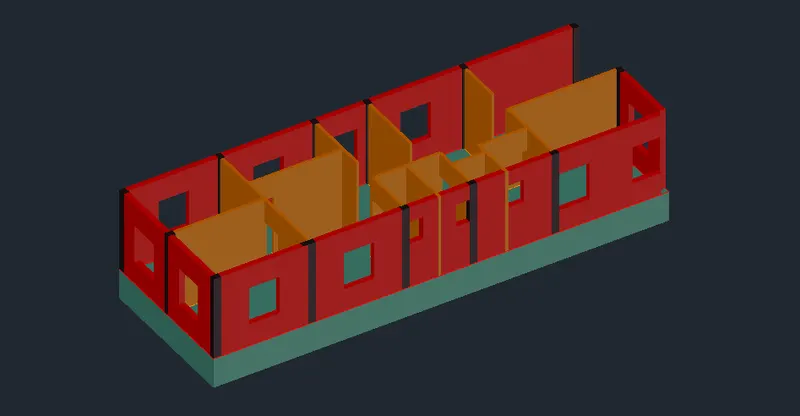
Step 4: Making openings for the windows
- Select the all windows and make a region of all the windows
- By command EXTRUDE select all the windows and extrude at a height of 3’
- Now Copy all the windows wall and copy it to the upper wall to make the window height.
- Now Command UNION and select all the walls and columns and union it
Step 5: Making opening for the doors
- Use RECTANGLE command and make the rectangle using two points where the door required
- Now Command REGION and select all the rectangles and make region of all
- Now Command EXTRUDE and select all and extrude it below i.e. (-3’)
- Now Command UNION and select all the walls and columns and union it
Step 6: Making a slab over it
- Draw a rectangle using two points and copy it aside from the plan
- Now Command REGION and make a region of it
- By command EXTRUDE extrude it at 4” to make slab
- Copy it to the upper wall to make slab
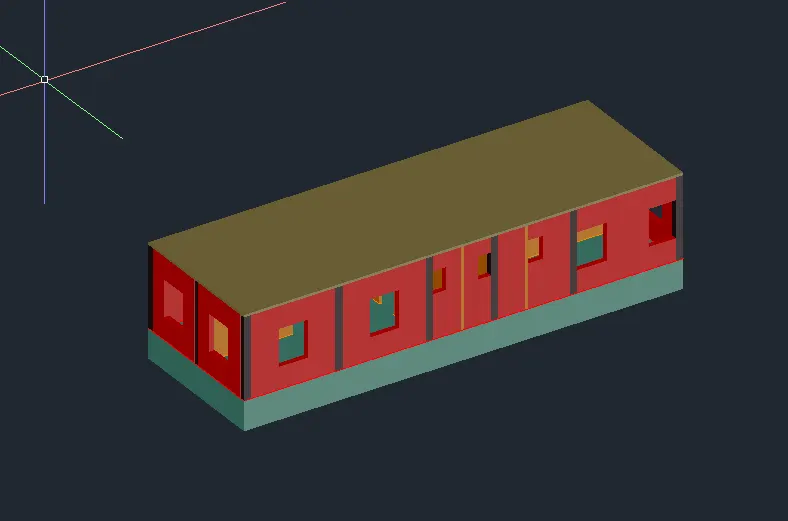
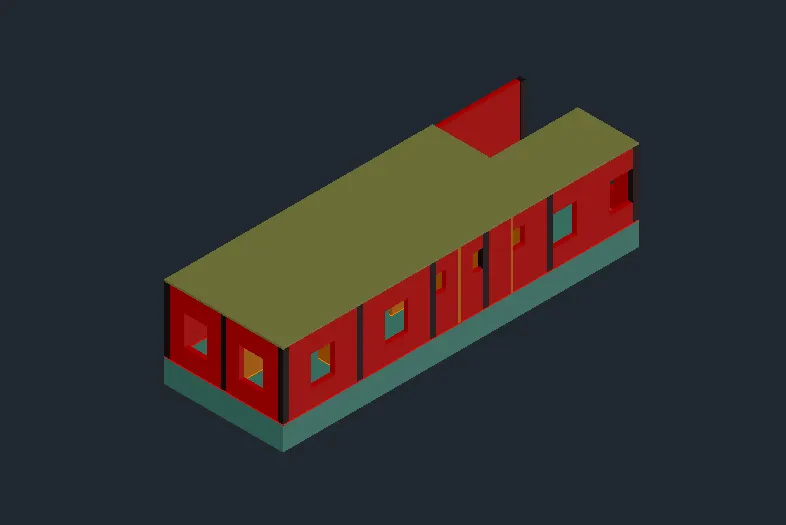
Step 7: Making of 2nd floor plan
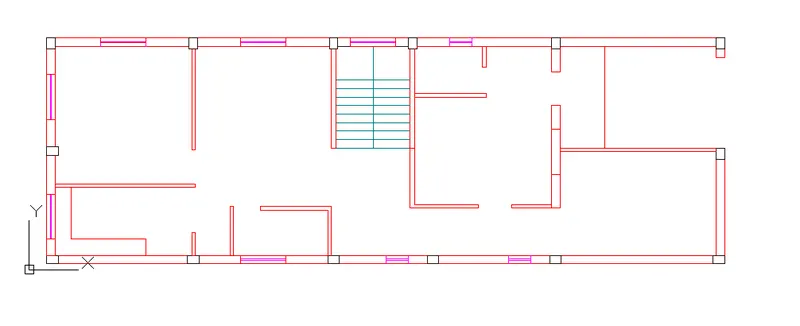
Step 8: Drawing of Columns
- Give the command REGION and select all the columns and make a region of it
- Now Command EXTRUDE select all the columns and extrude it at a height of 11’
Step 9: Drawing of 3D walls
- Give the command REGION and select all the Walls and make a region of it
- Now Command EXTRUDE select all the Walls and extrude it at a height of 11’
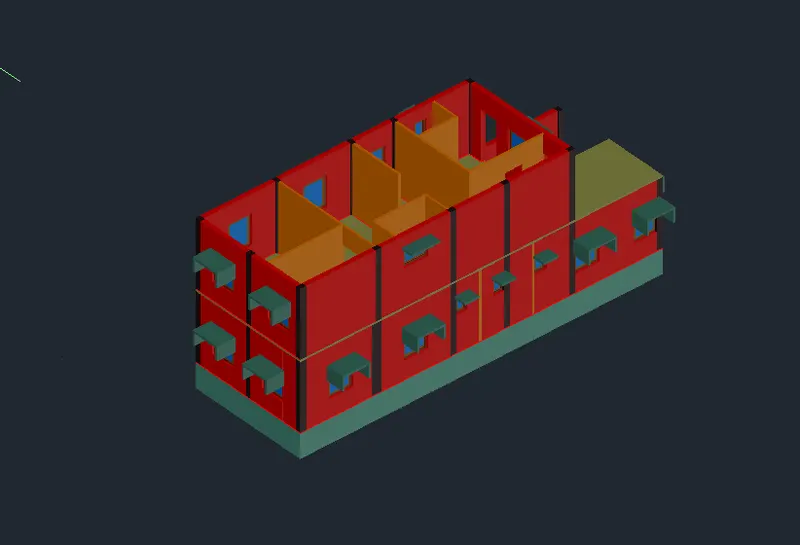
Step 10: Making openings for the windows
- Select the all windows and make a region of all the windows
- By command EXTRUDE select all the windows and extrude at a height of 3’
- Now Copy all the windows wall and copy it to the upper wall to make the window height.
- Now Command UNION and select all the walls and columns and union it
Step 11: Making opening for the doors
- Use RECTANGLE command and make the rectangle using two points where the door required
- Now Command REGION and select all the rectangles and make region of all
- Now Command EXTRUDE and select all and extrude it below i.e. (-3’)
- Now Command UNION and select all the walls and columns and union it
Step 12: Making of Balcony at 2nd floor in front of master bedroom
- Make a rectangle aside of dimension 9’X4’
- Make a region of it
- Now EXTRUDE it at height of 4”
- Move it to the balcony area
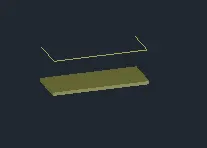
Step 13: Making of steel railing for balcony
- Draw a polyline in reference to the balcony and copy it aside of drawing
- Put the UCS at front wall face
- Draw a circle at starting point of polyline of 1.5”
- Command World UCS
- Draw the circles of 1” at distance of 1’5” at the polyline to make the railing and now extrude it at -3’4”
- Now extrude the first circle by giving it a path as a polyline
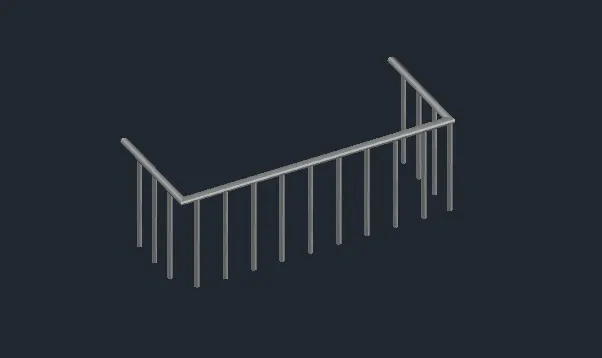
Step 14: Making of windows of 4’X5’ for rooms
- By command PLAN switch to the plan to make 2D drawing of it
- Now make a rectangle of 4’X5’
- Offset at inner side at a distance of 4”
- Make a region of it and extrude it at height of 4”
- Offset inner side to make a window frame at distance of 2.5”
- Make a region of it and extrude it at height of 2”
- Make rectangle to make glass and make region of it and extrude it at 0.4”
- By command ROTATE3D rotate it at angle 90
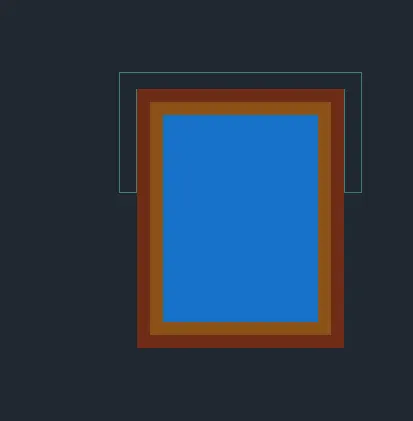
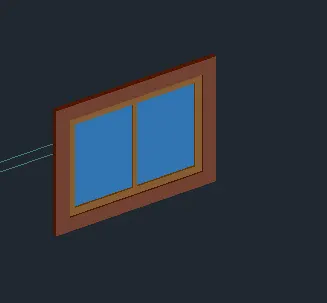
Step 15: Making of windows of 2’X3’ for toilet
- By command PLAN switch to the plan to make 2D drawing of it
- Now make a rectangle of 2’X3’
- Offset at inner side at a distance of 4”
- Make a region of it and extrude it at height of 4”
- Offset inner side to make a window frame at distance of 2.5”
- Make a region of it and extrude it at height of 2”
- Make rectangle to make glass and make region of it and extrude it at 0.4”
- By command ROTATE3D rotate it at angle 90
Step 16: Making of windows of 4’X3’ for master bedroom 2nd floor
- By command PLAN switch to the plan to make 2D drawing of it
- Now make a rectangle of 4’X5’
- Offset at inner side at a distance of 4”
- Make a region of it and extrude it at height of 4”
- Offset inner side to make a window frame at distance of 2.5”
- Make a region of it and extrude it at height of 2”
- Make rectangle to make glass and make region of it and extrude it at 0.4”
- By command ROTATE3D rotate it at angle 90
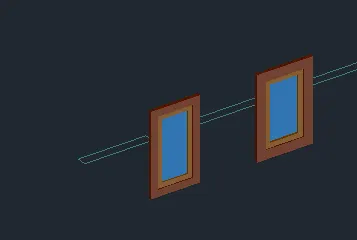
Step 17: Copy the Windows you have made at the windows openings
Step 18: Making of Chazza for windows
- Draw a rectangle of 4’X4” and extrude it at a height of 2’
- Repeat this for making different chazaa for different windows
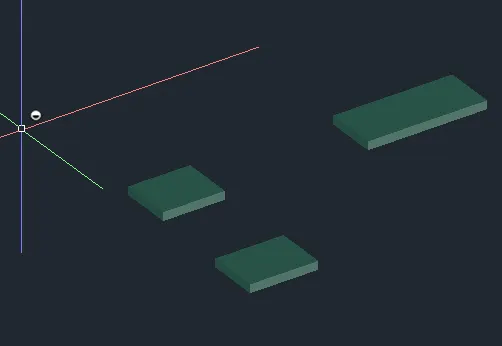
Step 19: Make the door
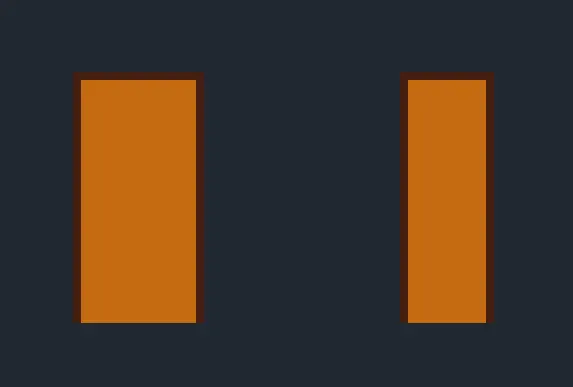
Step 20: Making a slab over 2nd floor
- Draw a rectangle using two points and copy it aside from the plan
- Now Command REGION and make a region of it
- By command EXTRUDE extrude it at 4” to make slab
- Copy it to the upper wall to make slab
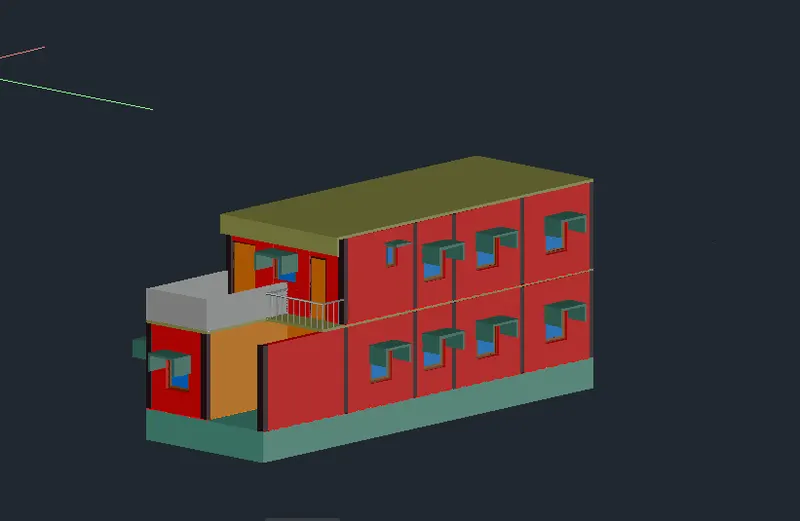
Step 21: Providing materials to the drawing
- Give the command MAT a material browser will open apply the required material by drag and drop method
Step 22: Give the command CAMERA and set the camera at front of the building and set the view and name it as cam1
Step 23: Give the command RR or RENDER and convert the cam view in a render view set the settings as medium.
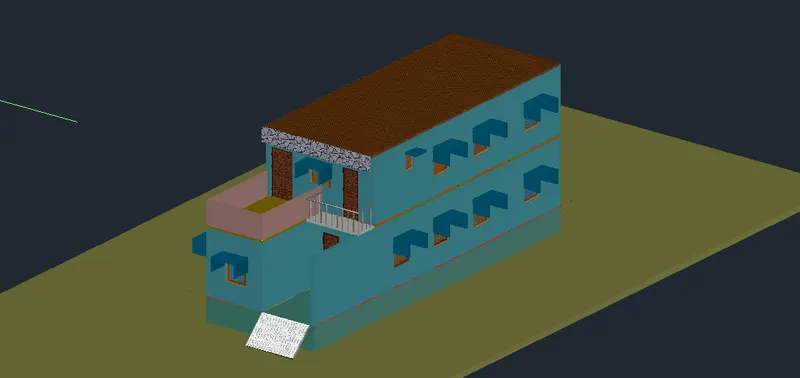
Result: The 3D rendered model of the residential builduing is :