Project 2_Analyze and Design the RC office building as per IS standard code in TEKLA STRUCTURAL DESIGNER
Develop general arrangement for the RC office building. Analyze and design the building as per IS standard code in TEKLA STRUCTURAL DESIGNER. Refer the attached plan and elevation. The building to be designed for dead, live, wind and seismic loading.
Report of each member to be generated and extract drawings for structural plans, beam reinforcement details from the software
AIM: To develop a model as per the given plan for the RC office building with analysis and design of the structure.
PROCEDURE :
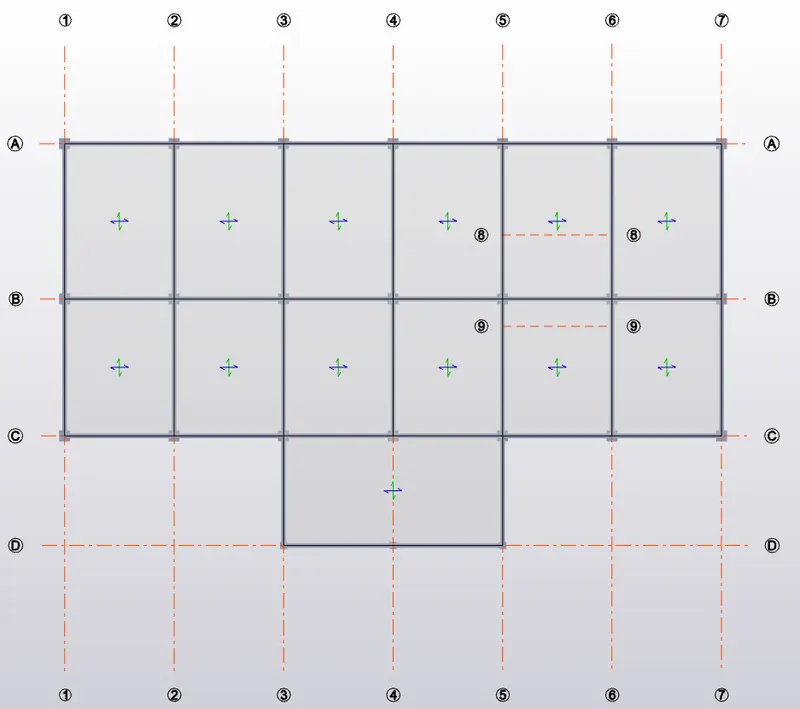
- Take the screenshots of the plan and open them in paint.
- Draw position of Columns
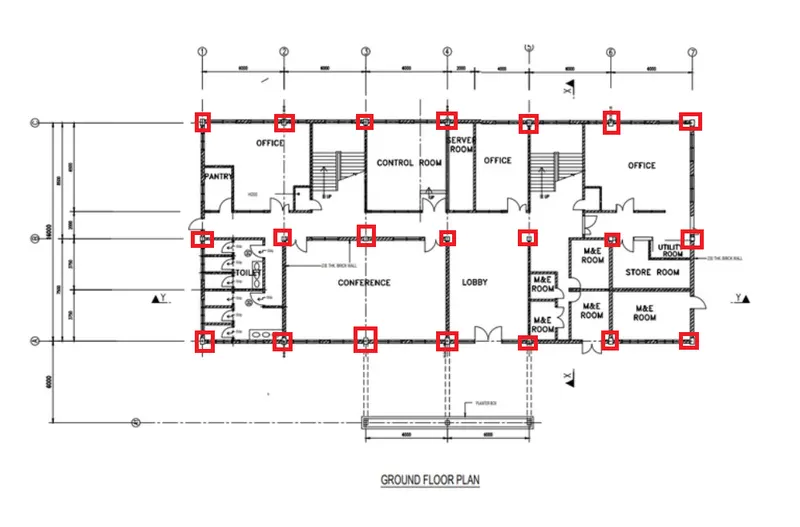
- Draw position of beams
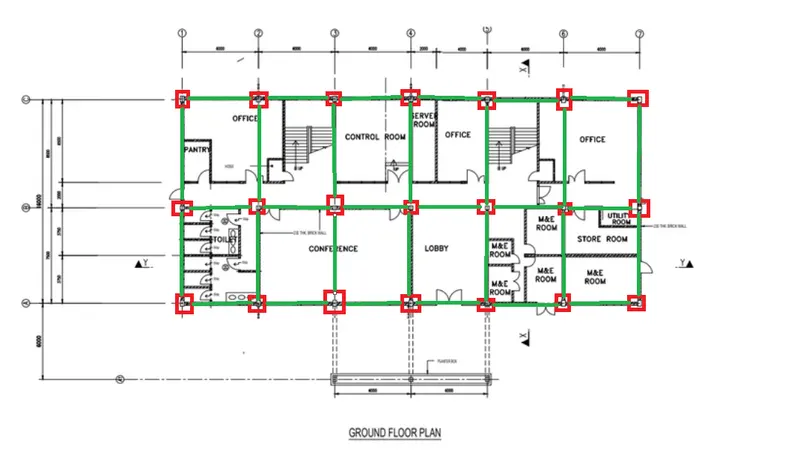
- Similarly draw position of beams and columns for the upper floor in paint
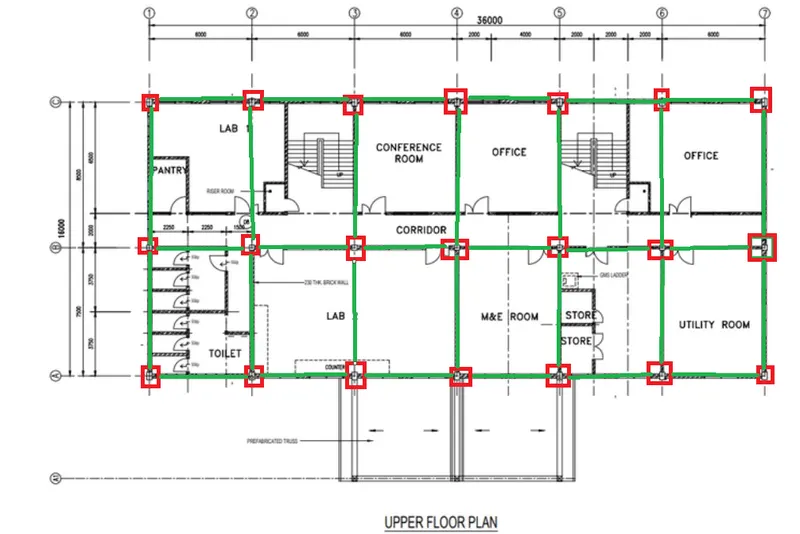
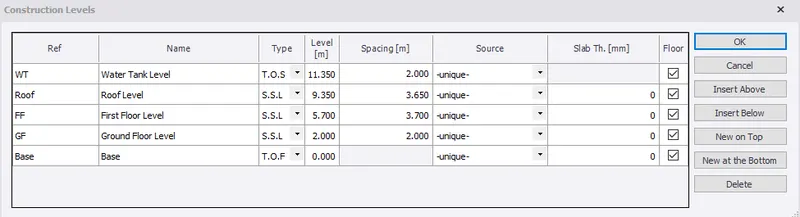
- Open new Tekla file, name it as Project 2 and create the construction levels for the structure according to the given plan.
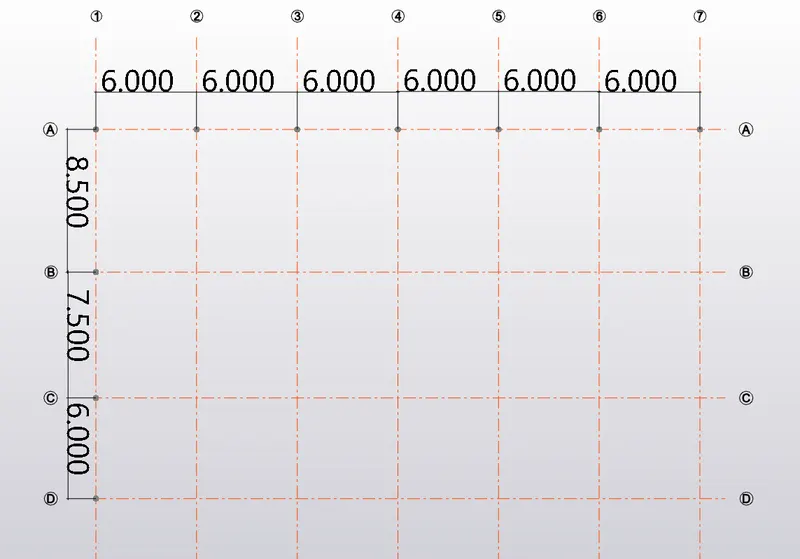
- Construct horizontal and vertical grid lines as per the given plan
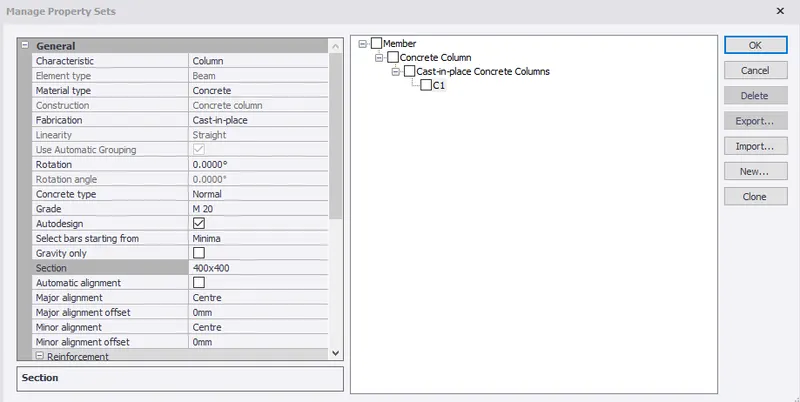
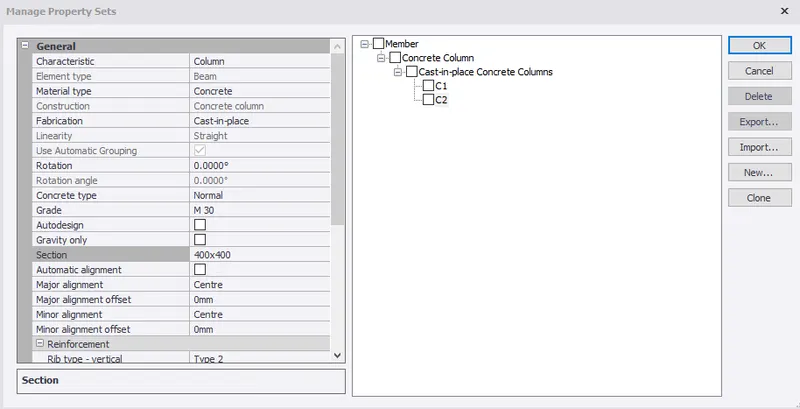
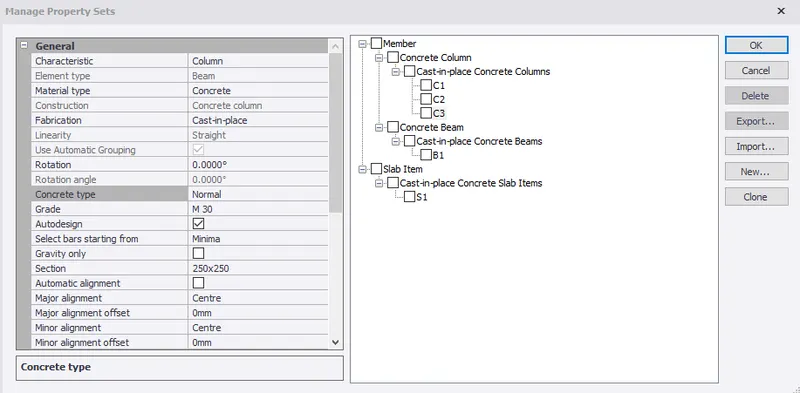
- Go to manage property sets and create members used for the modeling.
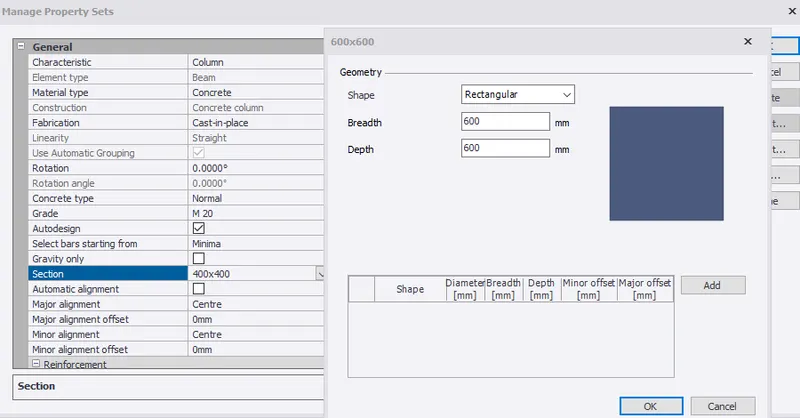
- Select the size of the concrete column section used in the construction as per the requirement.
- Taking Grade of concrete as M30 and section as 600x600 mm. Autodesign off.
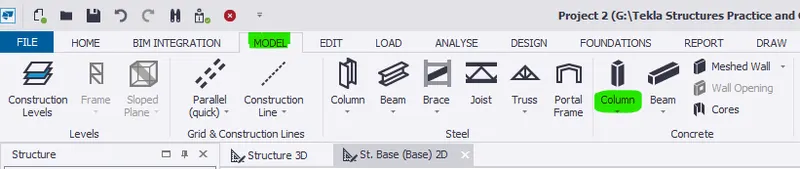
- Go to the model tab and insert concrete columns in the base level of the structure.
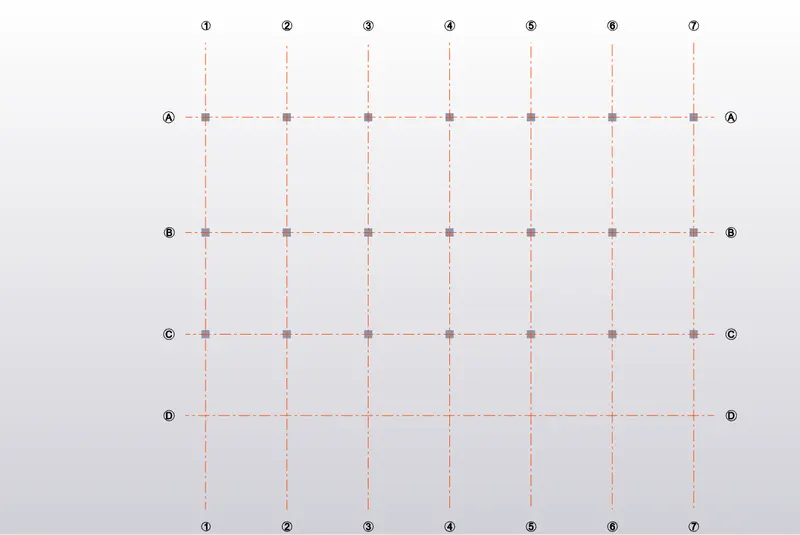
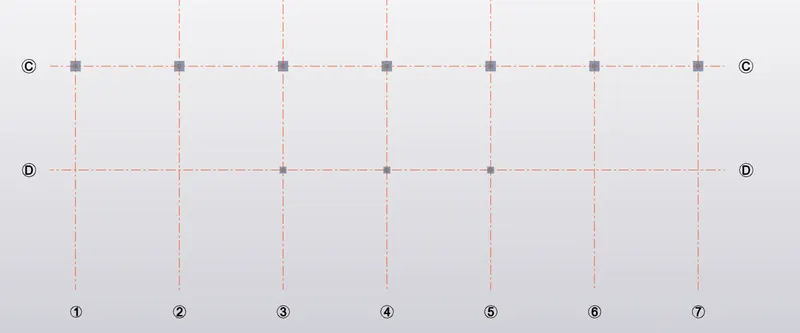
- Apply columns to the prefabricated truss. To apply again go to the manage property set and create a concrete column C2 of size 400x400mm of M30 grade. Apply these to the respective grids as specified.
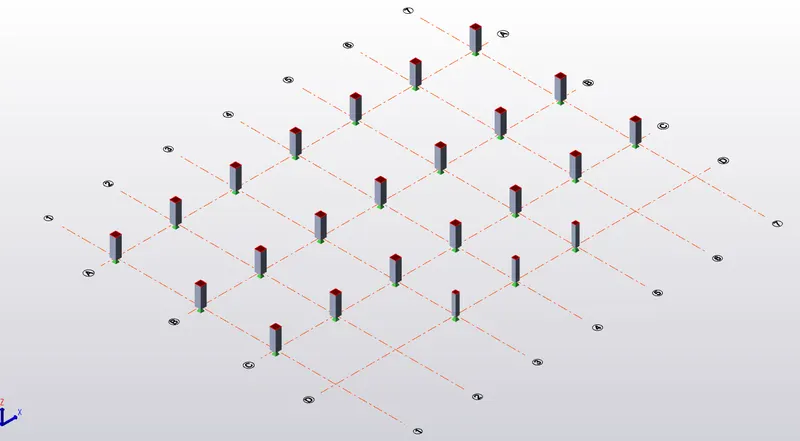
3D view
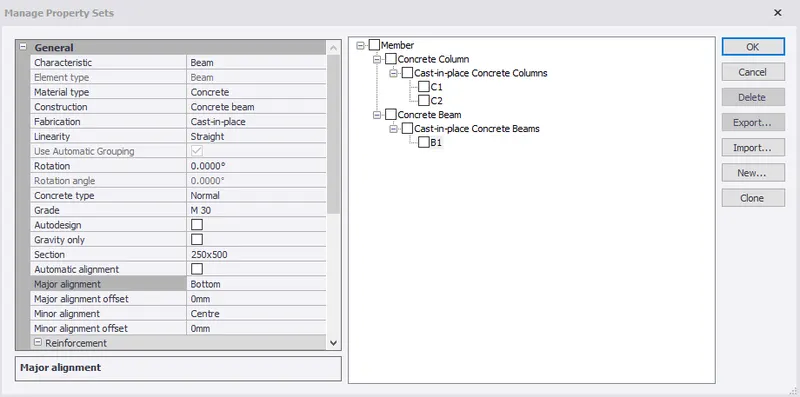
- Again go to the manage properties and create concrete beam B1 of size 250x500mm, grade M30 and major alignment as bottom. We will change the reinforcement part later as it is not provided.
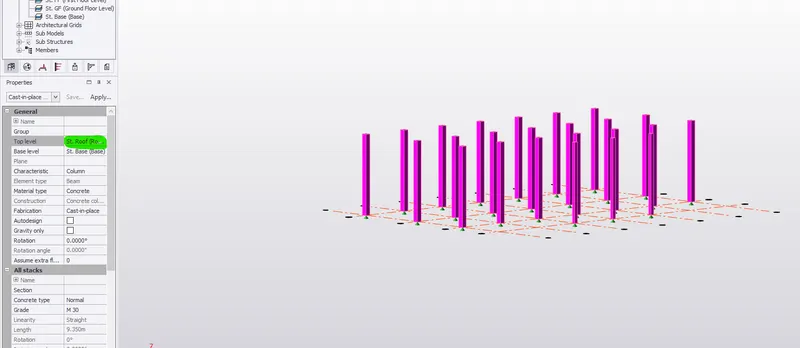
- Before going to the ground floor, check the column height as per section XX and YY. The height of columns must be till Roof Level. For that go to 3D view. select all columns and in properties change the top level to Roof level.
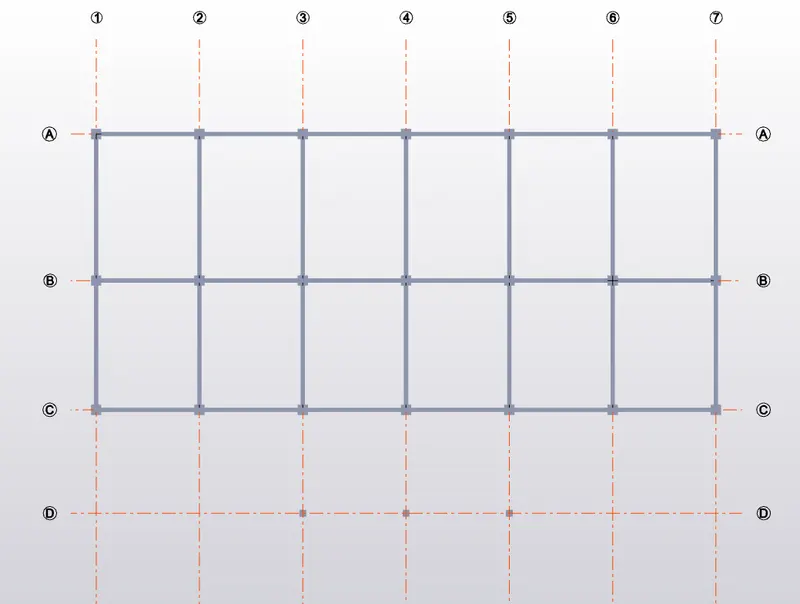
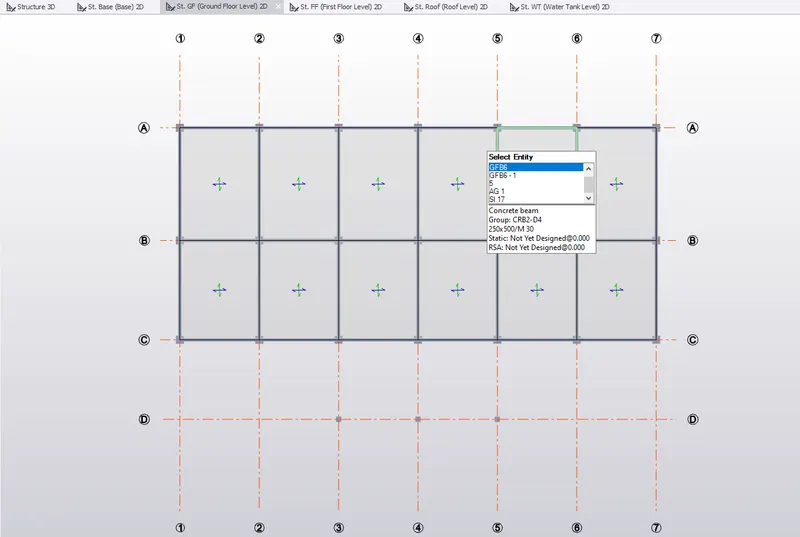
- Go to the Ground Floor and apply beams B1 as per the plan layout
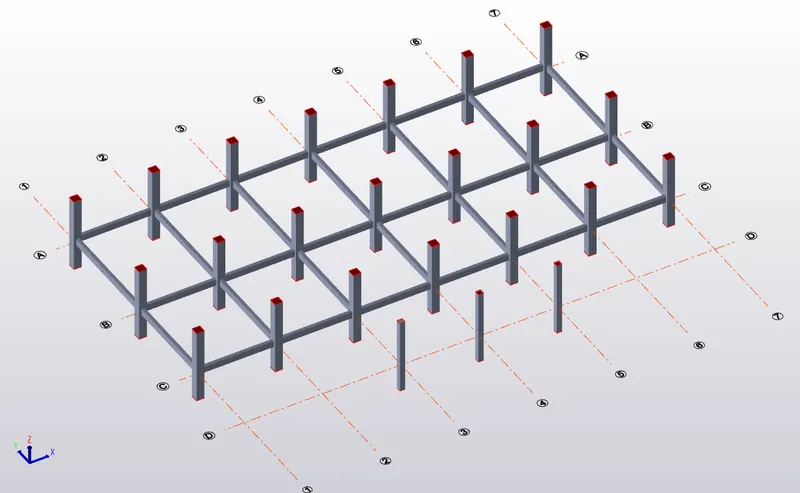
3D view of Ground Floor
- Repeat the same process for the levels as per the plan.
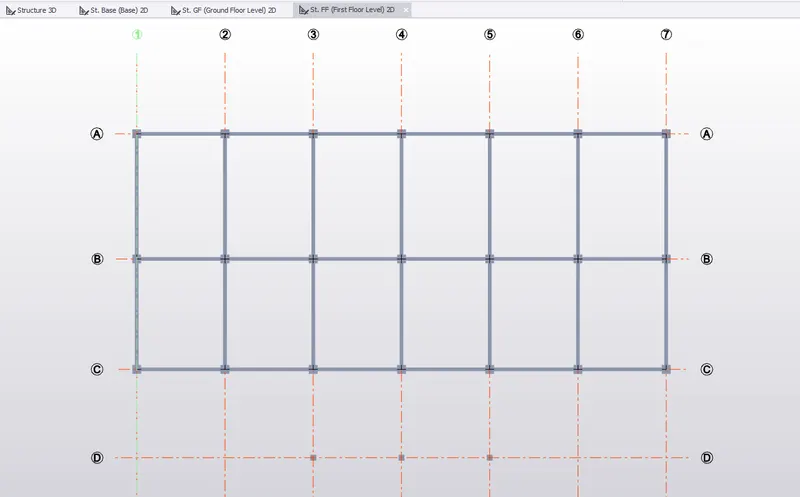
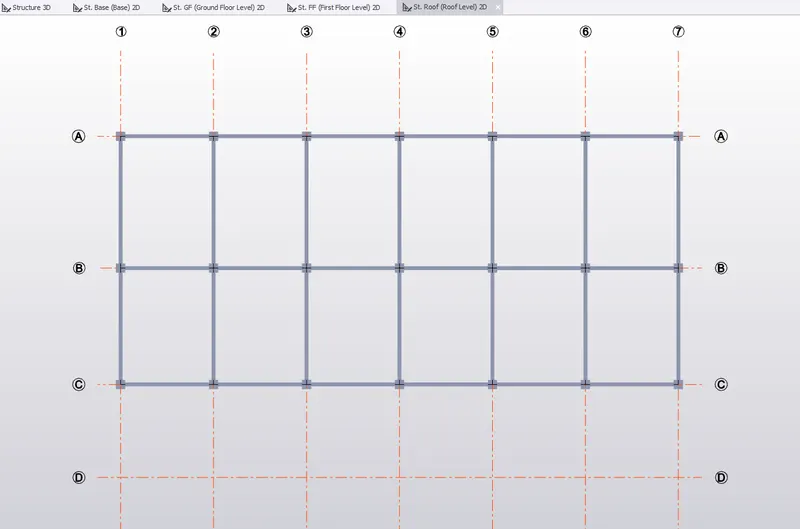
- provide slab to the structure. Hence, again go to home -> manage property set.
- Create slab item S1. Change properties to type- slab on beams, decomposition- two way, Grade- M30
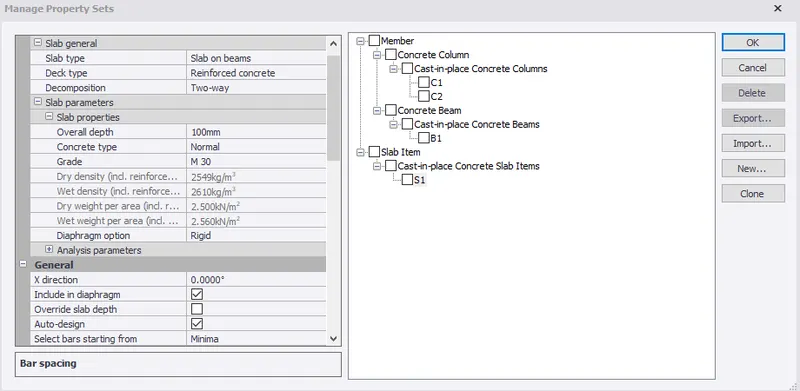
- To place slab, go to Model -> Slab on beams. select S1 in properties and place slab to their respected places.

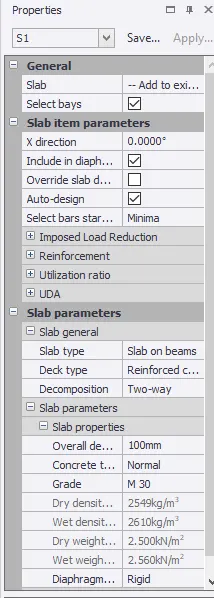
- Apply the slab S1 to the levels- GF, FF and Roof
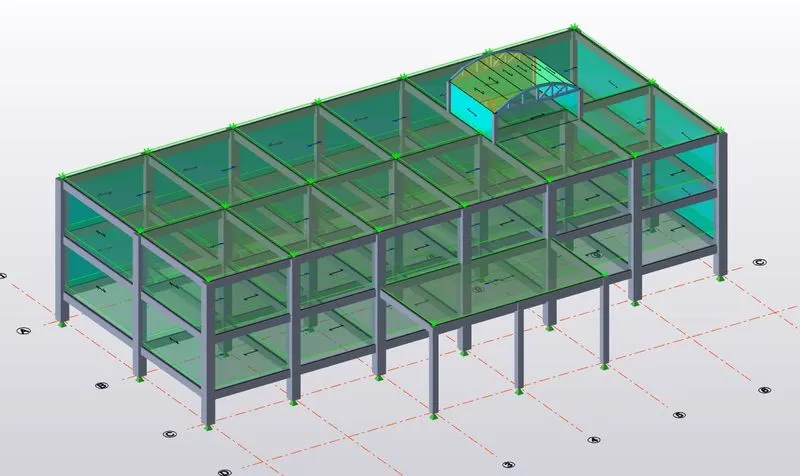
3D view
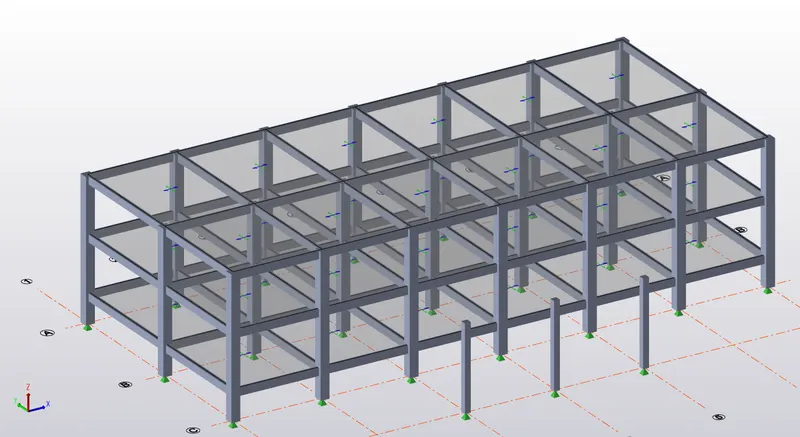
- The slabs are applied to all levels. Now
- Insert frames which will be helpful while applying loads on the structure. Go to Model -> Frames -> pick grid lines
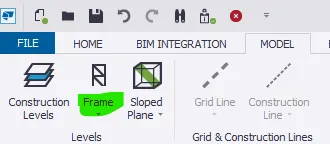
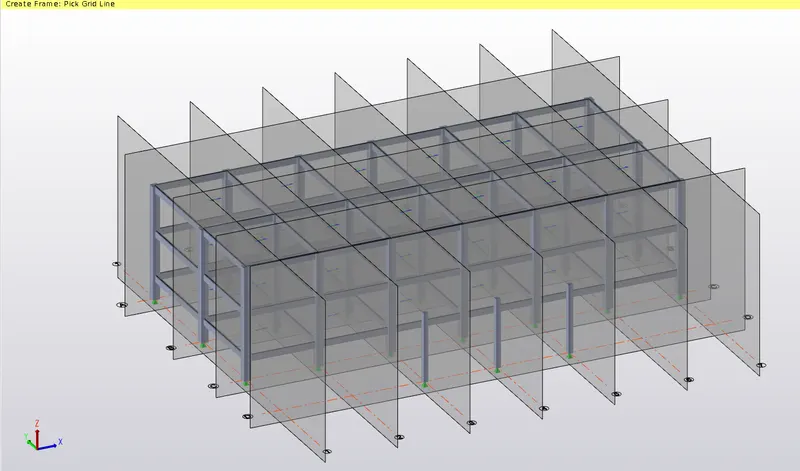
- As per plan there is water tank in water tank level. So, we go to water tank level and create a water tank
- First create a column C3 of 250x250 mm of M30 for the RCC structure surrounding the water tank.
- Create construction lines as per plan to place the concrete column. And place the column C3 as per plan.
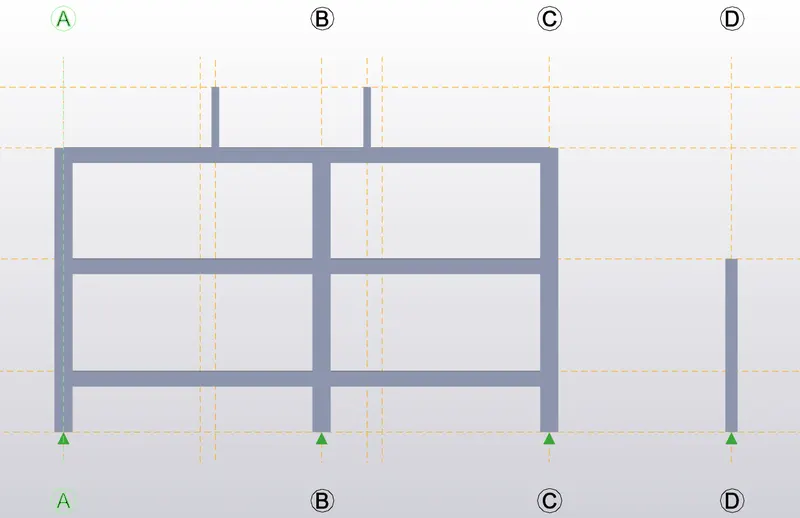
Frame 6 view
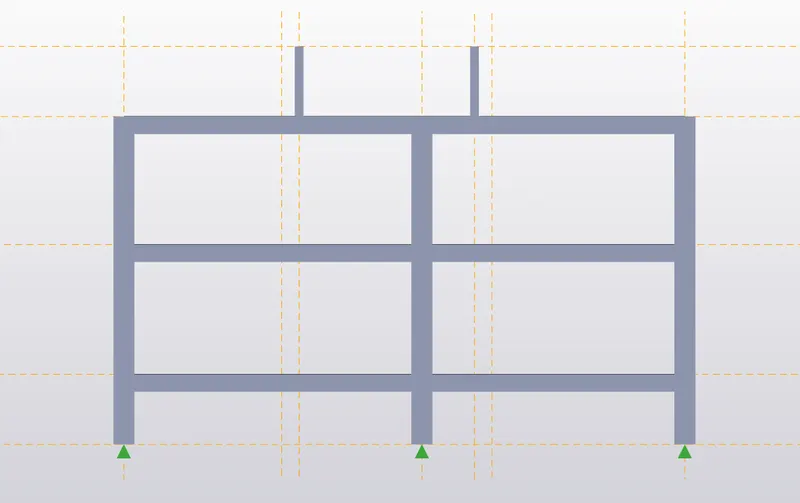
Frame 5 view
- Add wall panels to the structure. Go to Model -> Wall Panel. Repeat the same step for all the walls.

3D view
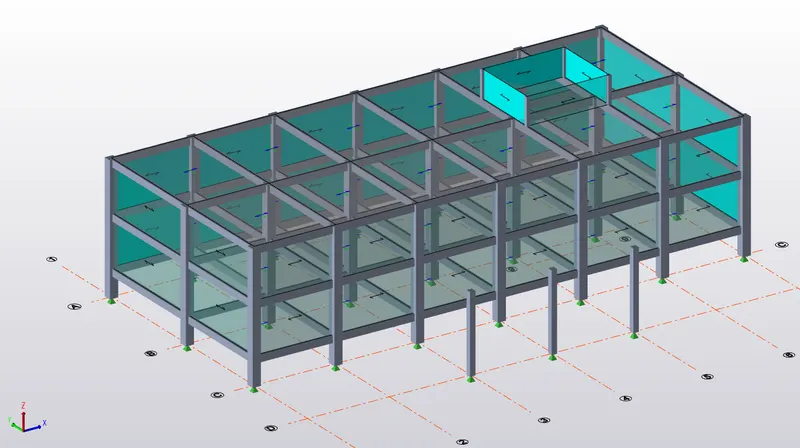
- Now, validate the structure.
- If the structure has no error.
- Create the prefabricated truss over the water tank. To create go to Model -> Truss
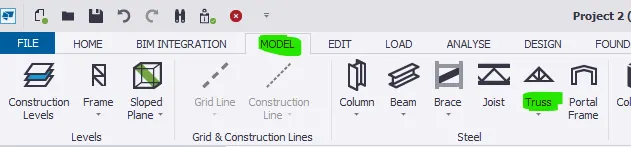
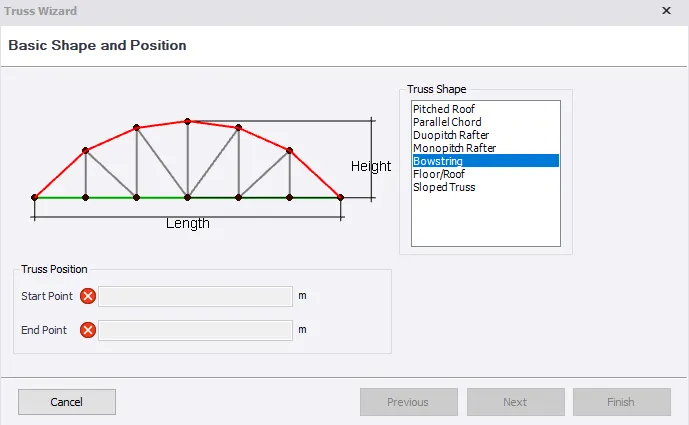
- Click on the start point and end point to create a truss. Then provide height of 1m as per the section Y-Y. Then provide roof panels for proper load distribution
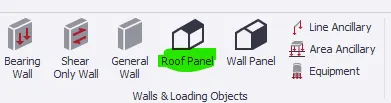
3D view
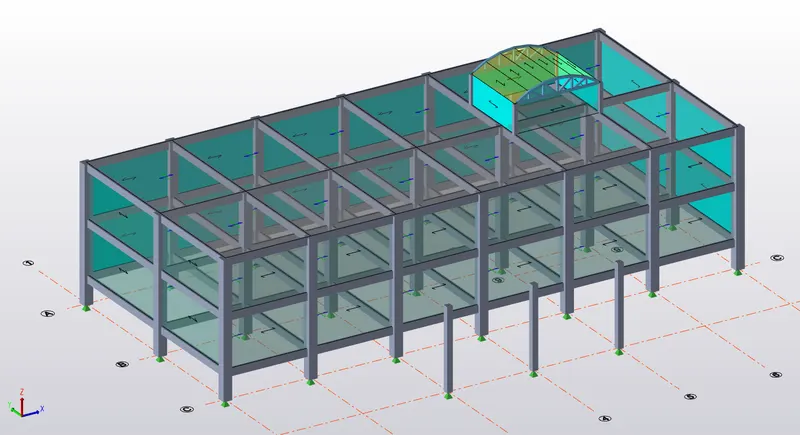
- As shown in section X-X, there is a prefabricated truss portion elongated towards the front side.
- Similarly provide beam B1 and slab S1 on first floor
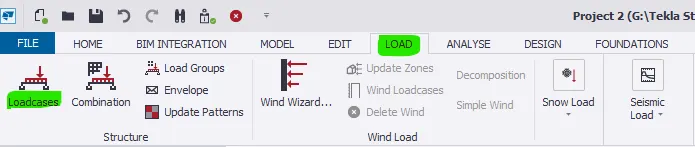
- Go to loads and create new load cases.

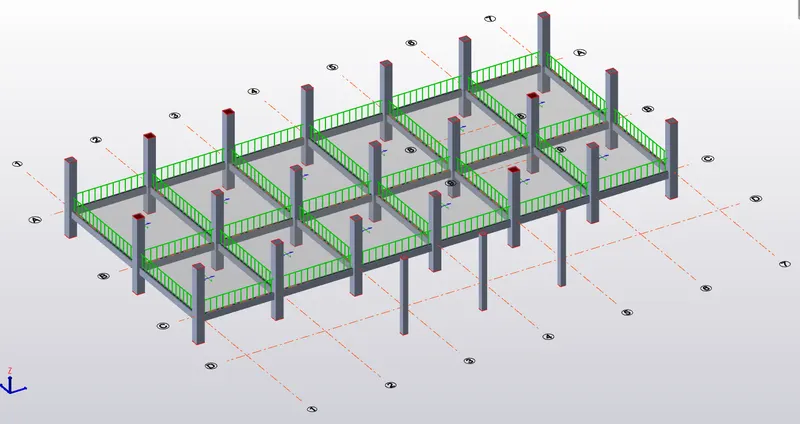
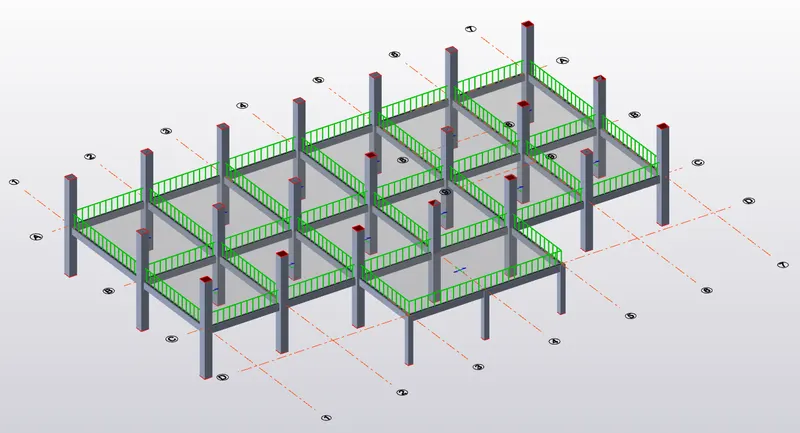
- Add the dead load on the beams.
Ground Floor 3D view
First Floor 3D view
Roof Level 3D view
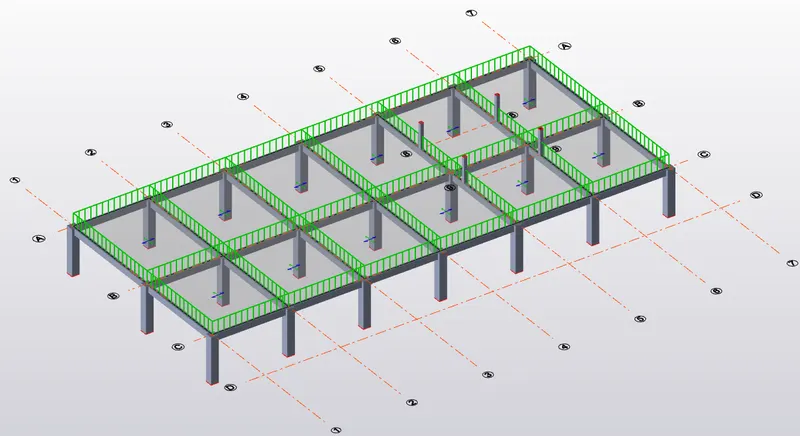
3D view
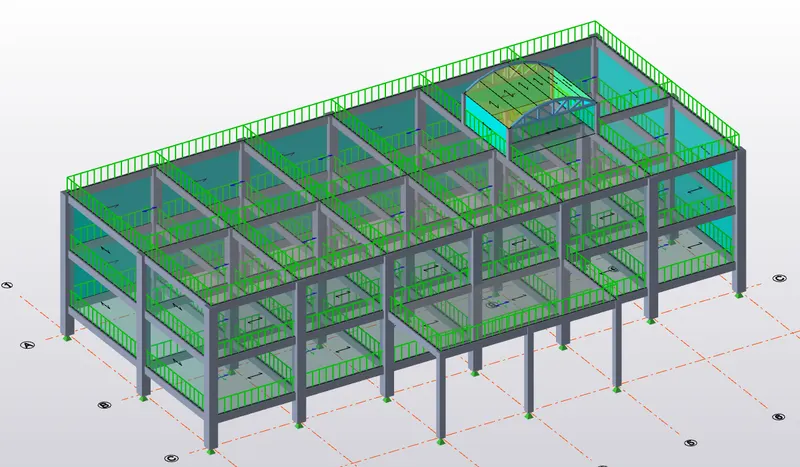
- Repeat the same step for slabs on all the floors.
- Add live load on the structure for all the floors.
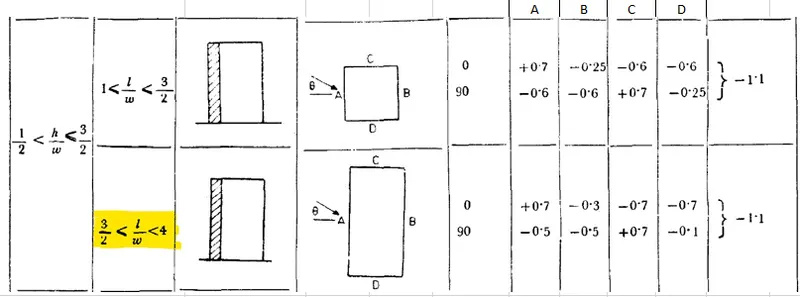
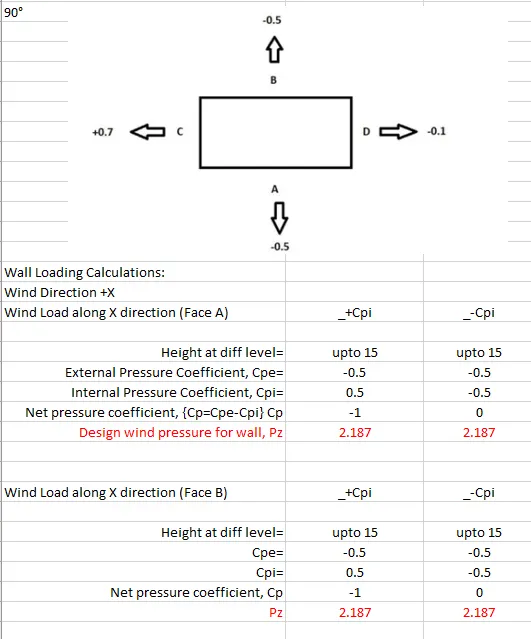
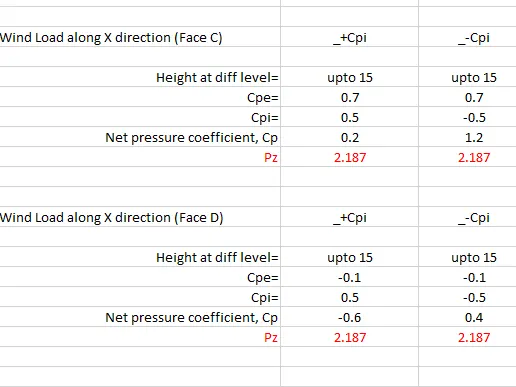
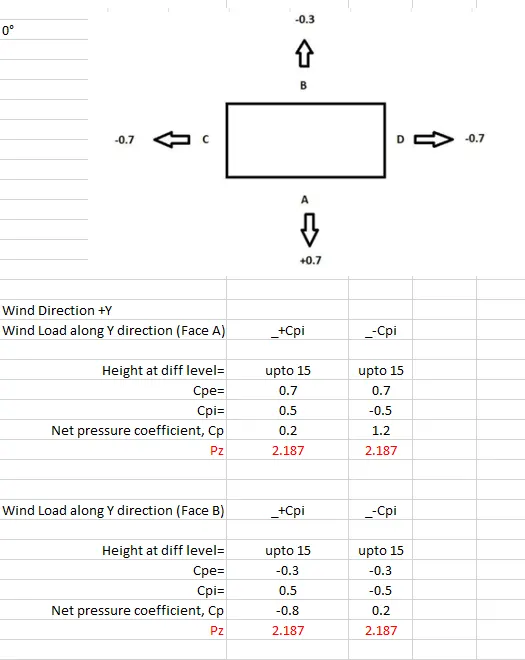
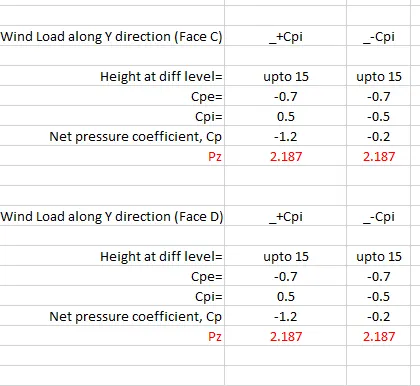
- Do the wind load calculation for all the sides for both X and Y ( including both +Cpi and -Cpi values).
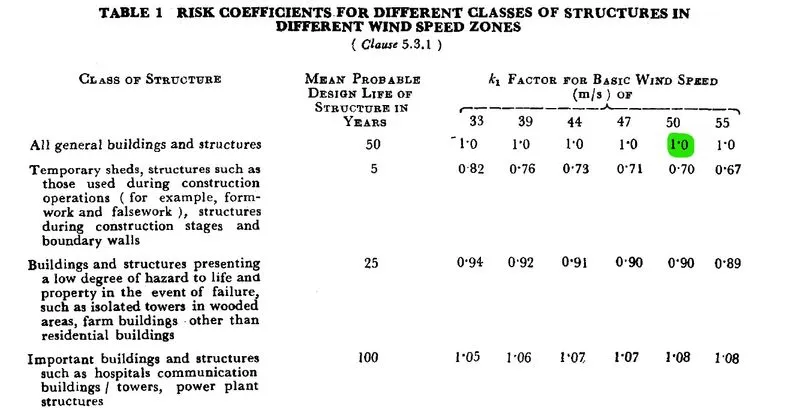
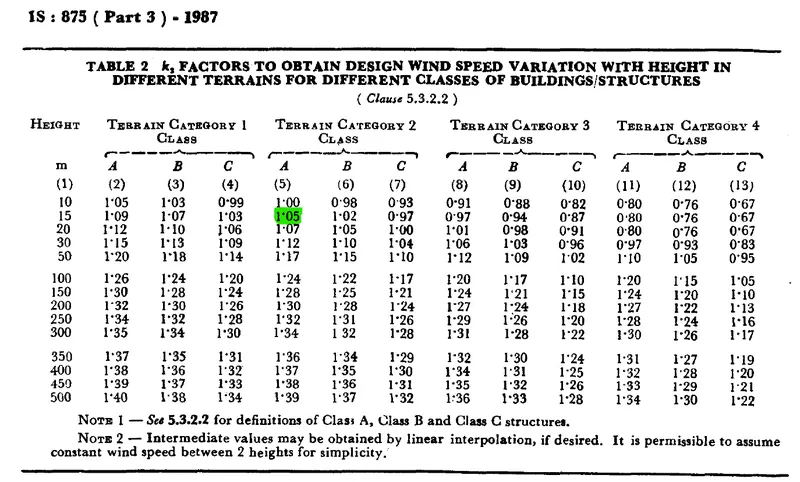
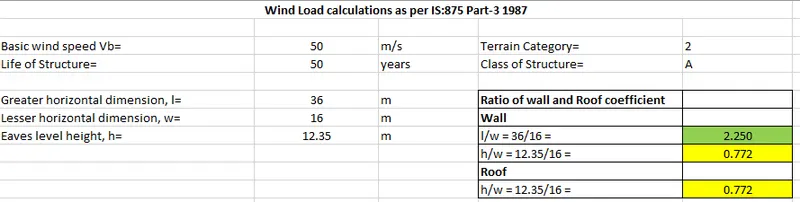
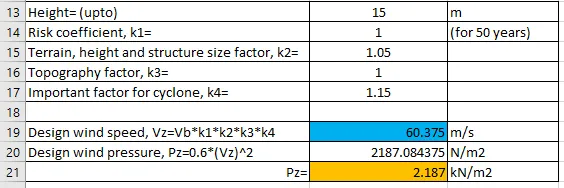
As per the IS 875 (part-3), Table-4. External coefficient pressure (Cpe)
- To Start applying the wind loads on the structure. First we need to create a Wind load.

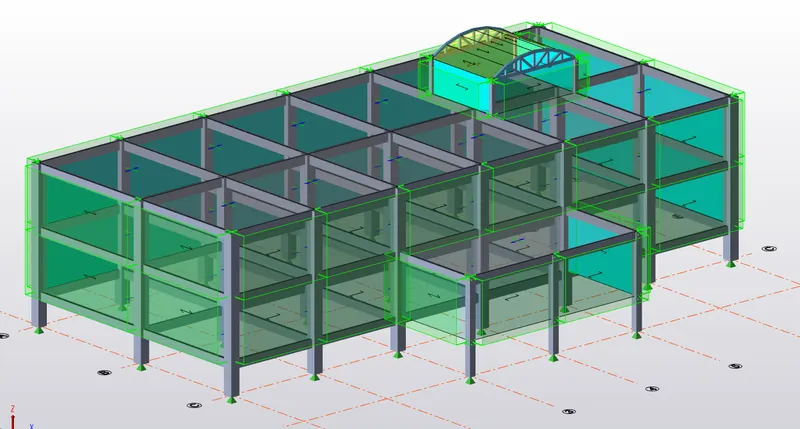
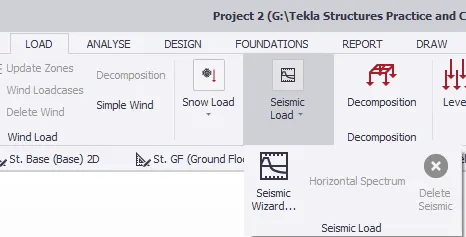
- Apply seismic load on the structure by selecting the seismic wizard.
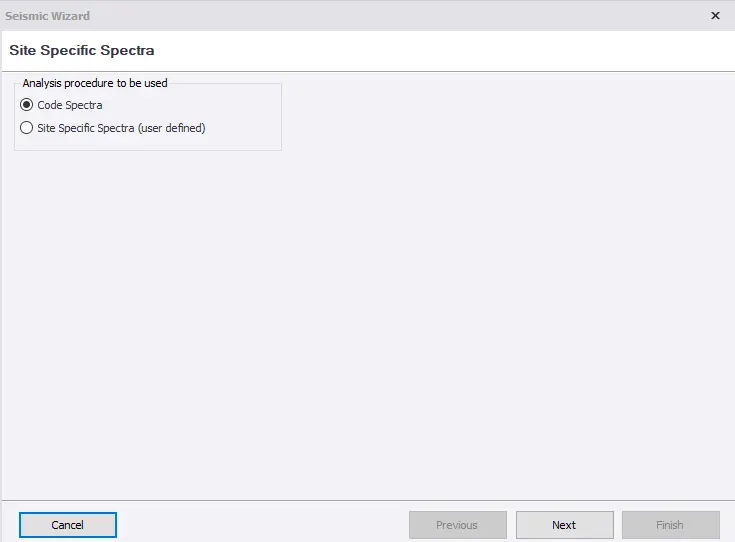
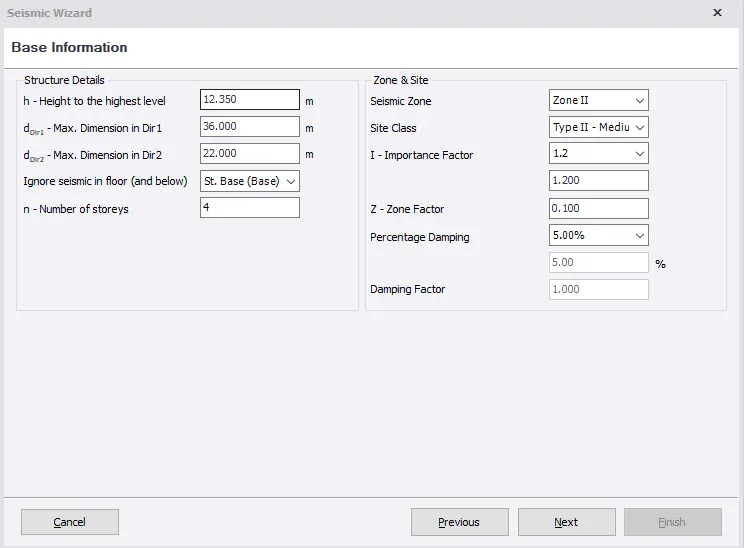
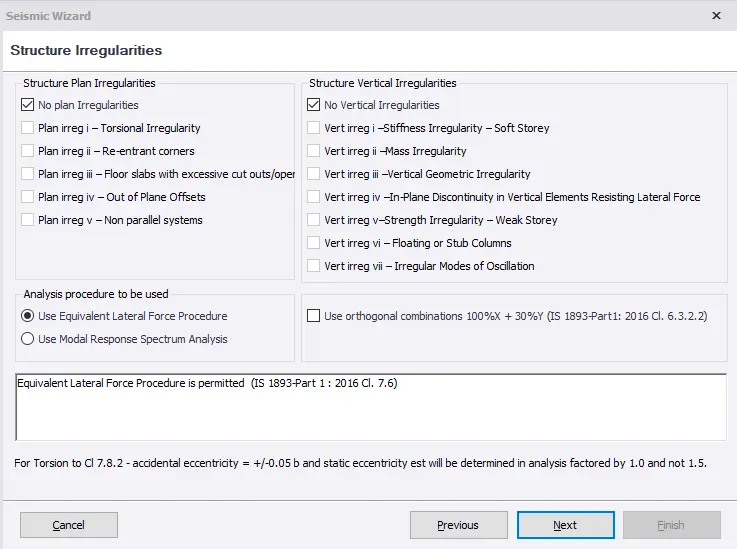
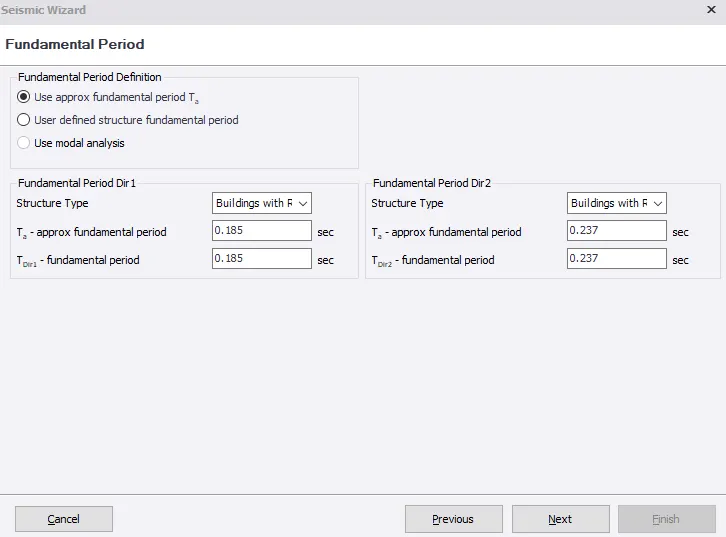
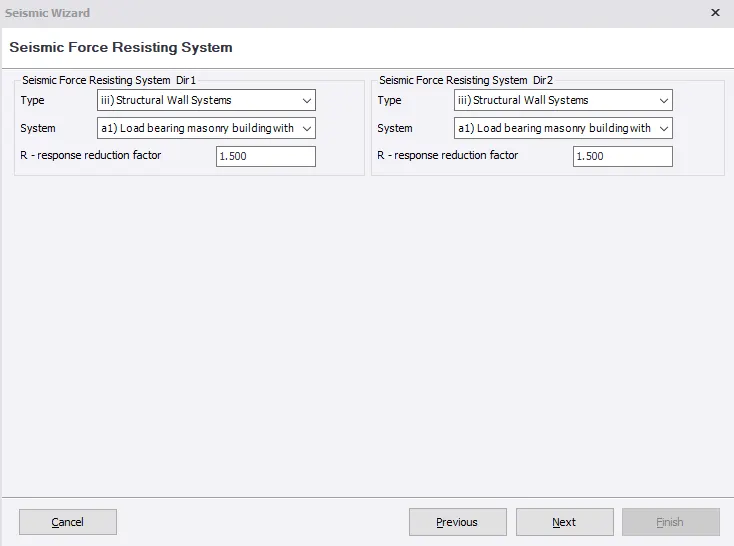
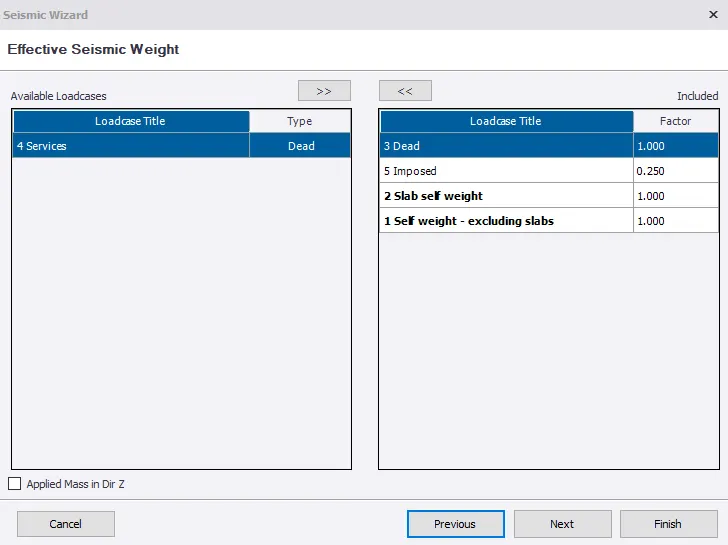
- skip seismic drift checks and delete all previously generated combinations
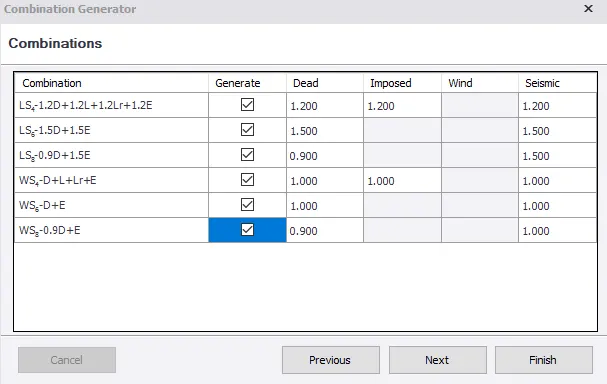
- validate then analyze the structure by selecting the 1st order Linear option.

- Select all the loadings required for the analysis.
- Check the axial load diagram.
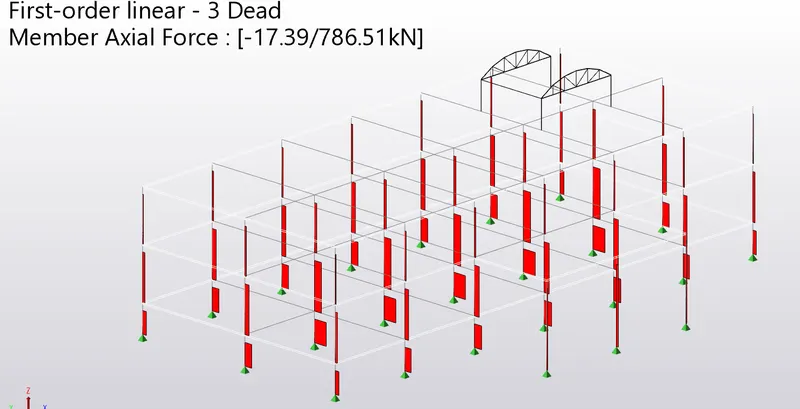
- Check the shear force and bending moment diagram.
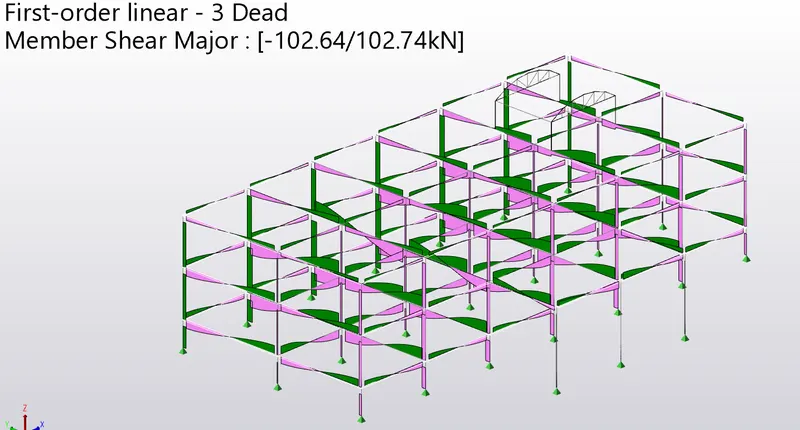
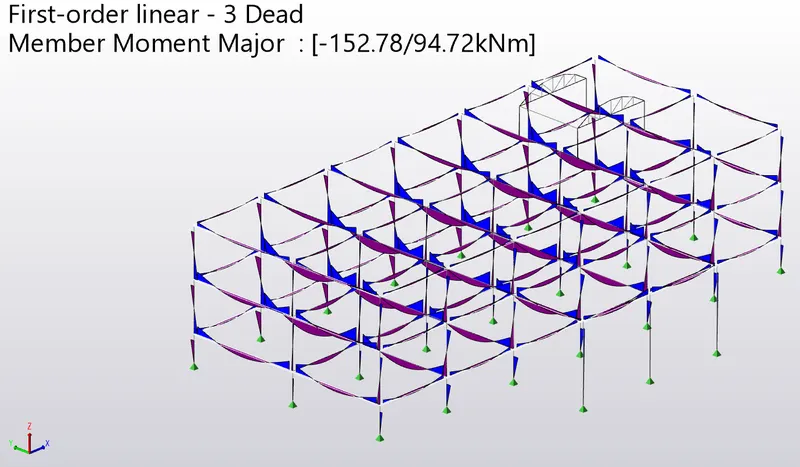
- Check each and every column and perform interactive design.
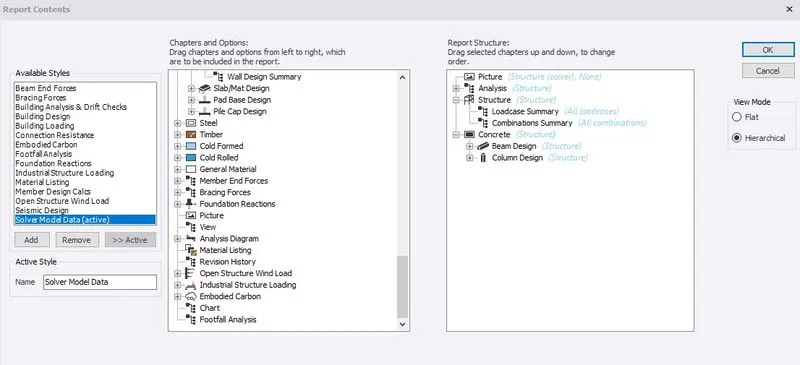
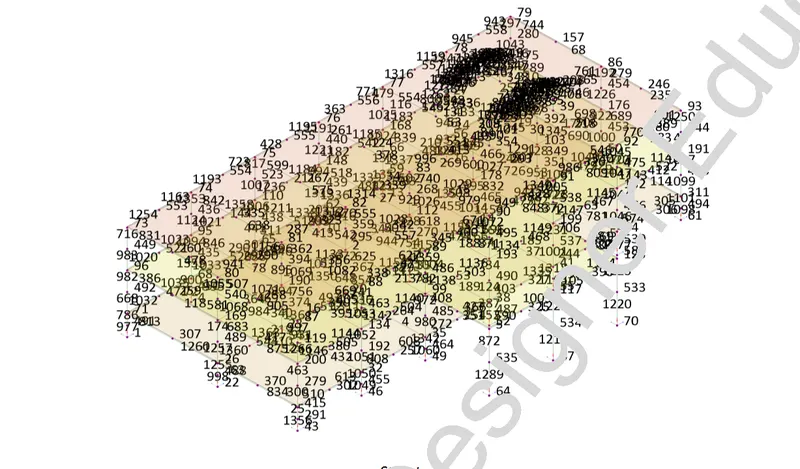
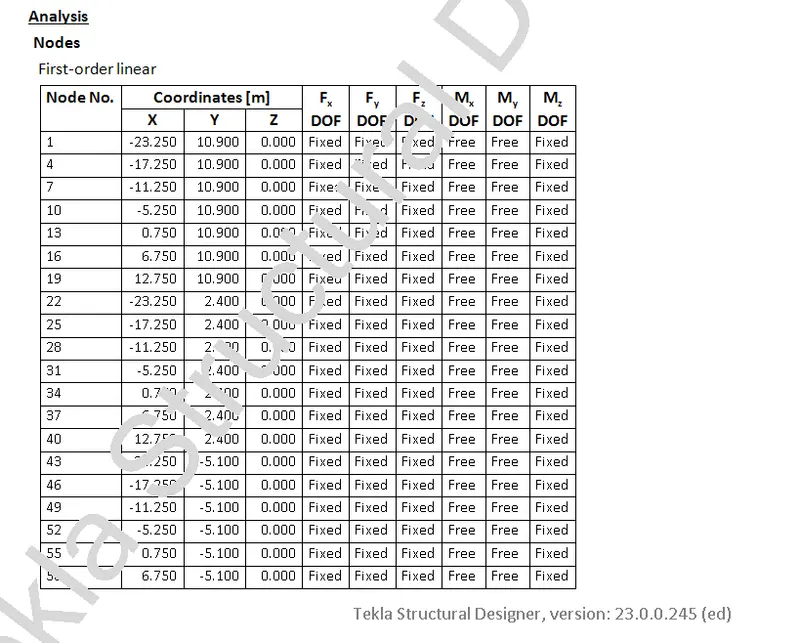
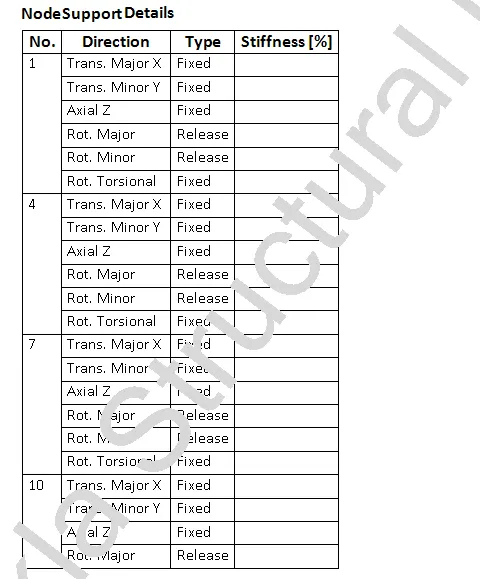
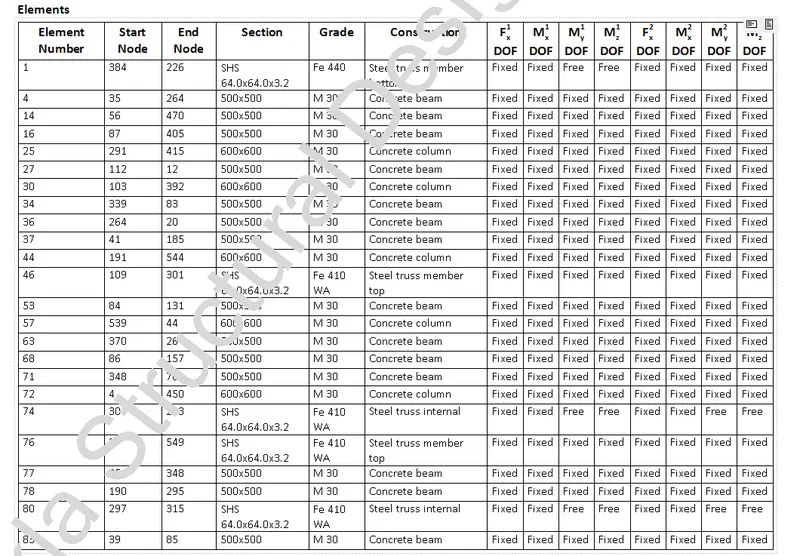
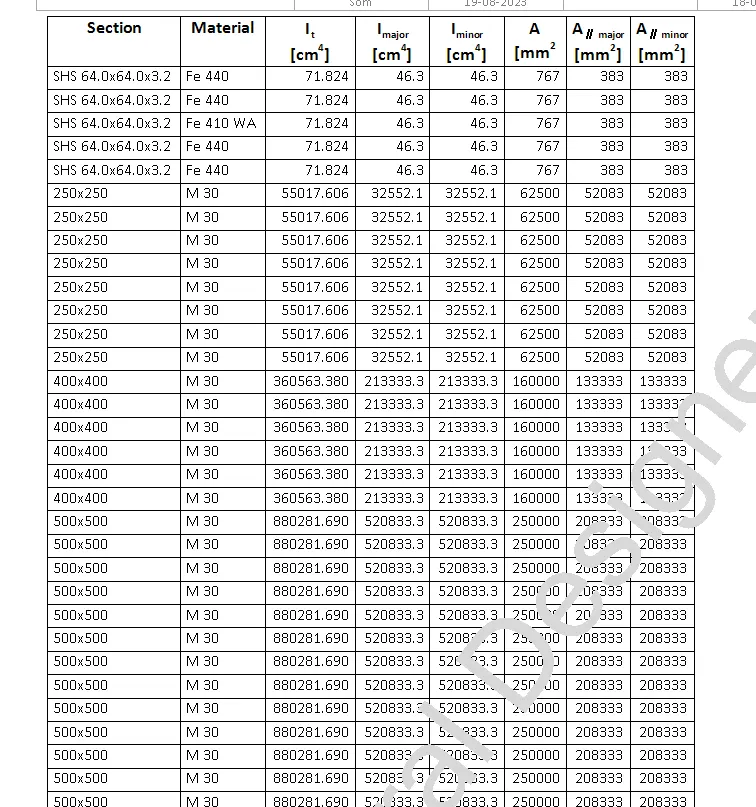
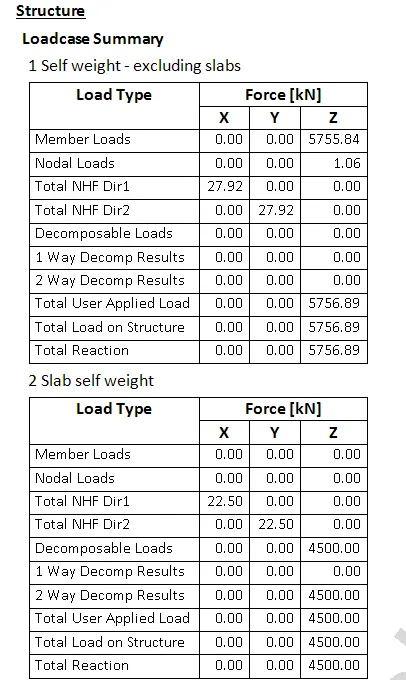
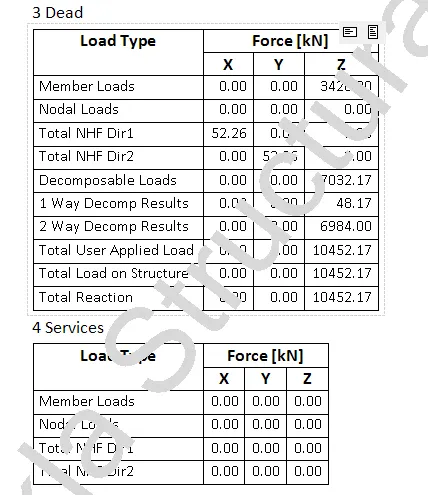
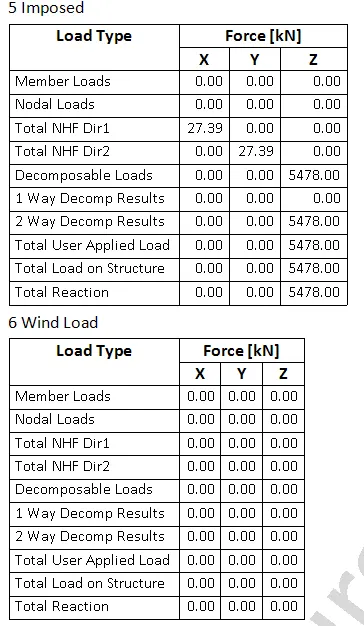
- Now we can model the structure by pressing on the model report to obtain the reports.

- Select all reports we need.

RESULT :
With the above steps, we have designed and modelled the structure as per the given plan. We have added loads ( dead, live, wind, and seismic) to the structure and analyzed the structure. The excel file is attached for your reference. Both for Wind load and Report.