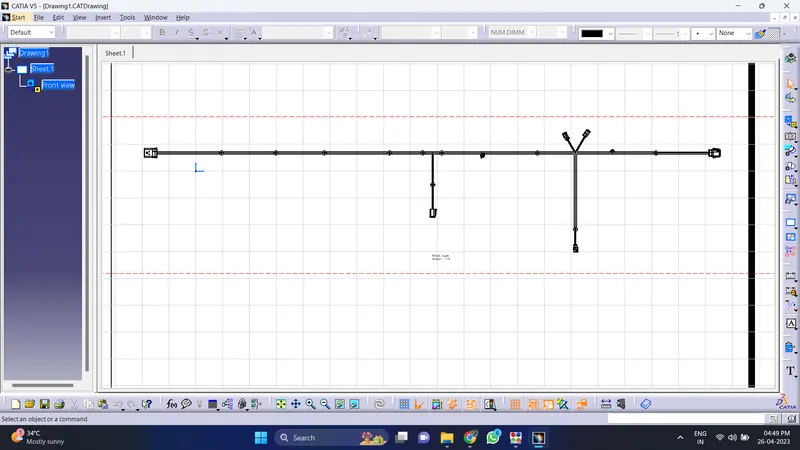
Project 2
AUTOMOTIVE WIRING HARNESS BACKDOOR
Statement of assignment:
Route the Wiring harness on Given car body and Prepare flatten view drawing in CATIA V5. Application of all Packaging rules, Industry best practices studied in this course shall be demonstrated in design. Apply Protection coverings as required.
Available connector 3D data can be used, or you can download the connectors from www.te.com
Prepare & Submit all necessary reports like clearance, Clipping/Clamping selection, Harness fixing requirements, Harness continuity, Assumptions if any along with CATIA 3D data.
Introduction-
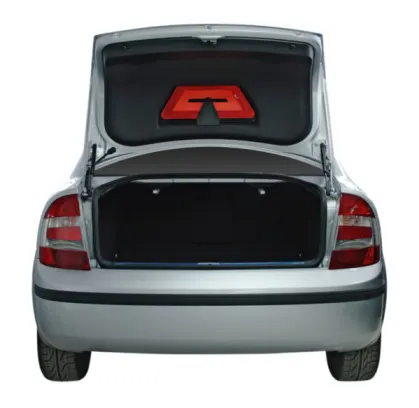
The trunk or boot of a car is the vehicle's main storage or cargo compartment it also have a hatch at the rear of the vehicle. It is also called a tailgate.These doors can be operated manually or electric powered. here we design the trunk or back door wire harness using the Catia.The Backdoor is an assembly of many parts such as inner panel, outer panel upper, outer panel lower and Reinforcement.Inner panel is attached to the outer panel using mastic sealant.
Types of doors based on working position
- Top Mounted Door
- Side mounted Door
- Bottom Door
Aim- To route the wiring harness on the given backdoor assembly and prepare the flatten view drawing in CATIA V5.
Objective-The objective of this project is to route the wiring harness and prepare flatten view drawing for the Backdoor of the car. All types of packaging rules have to be considered while routing the harness and industry based practices shall be demonstrated in harness design. All necessary details like clearance, clipping/clamping selection, harness fixing requirements, harness continuity should be provided in order to design the wiring harness.
Rules to be followed-
- Wiring harness should be routed in such way that it is easy to assemble and access.
- Easy manufacturing, installation, removal and maintenance have to be considered while designing the wire harness.
- Wiring Harness should be kept away from sharp environment like edges, corners etc.
- Avoid harness routing and clipping in the blind zones or hard to reach areas during harness assembly or service.
- Provide additional slack if needed according to the surrounding and harness bending requirement. If harness is passing through the closures/doors or tail gates then envelope dimensions during opening and closing of doors shall be considered to provide the slack. Check the harness slack requirements with open and close conditions to avoid excess slack.
- Routing through small structural holes and openings shall be avoided. To minimize chaffing and handling of the wiring harness during installation.
- It should be make sure that there is no case of fouling while designing the wiring harness in the CAD environment. Additional mounting equipments like clips/clamps may be used to avoid fouling.
- Use of rubber grommet is recommanded if harness is passing through sheet metal panels. Example- firewall, passing to door, tail gate etc.
- The branch length should be greater than 50mm.
- The minimum distance between the clip and branch point should be at least 25mm.
- The minimum distance between the two branch points should be at least 50mm.
- Clips/clamps used for the wiring harness should be easily available in the market to avoid extra cost for custom mounting solutions.
Steps required-
STEP 1 - Creating context assembly
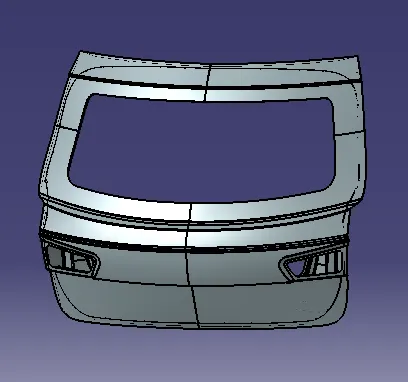
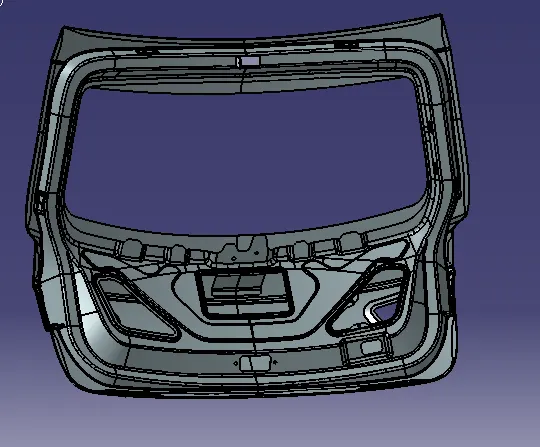
Open the Backdoor assembly in the catia making an assembly product file.
STEP 2 - Defining connectors electrically
Choosing right components for the wire harness routing.here we are using the components for backdoor upper and lower lights,wiper motor,sensors,and defogging equipment.the connectors used are first elecrically defined and then added to the catia model.
The type of connectors used are given below-
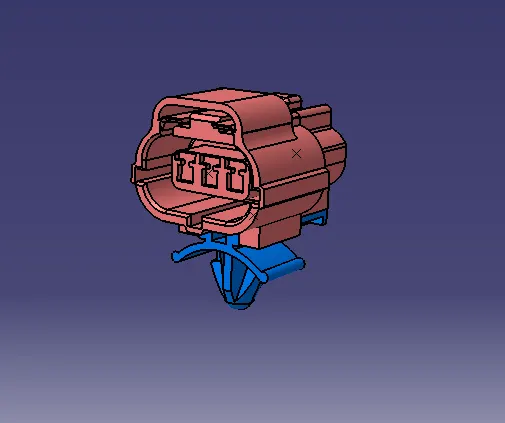
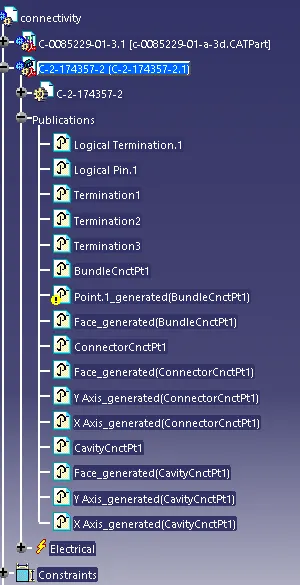
1- Interconnection connector
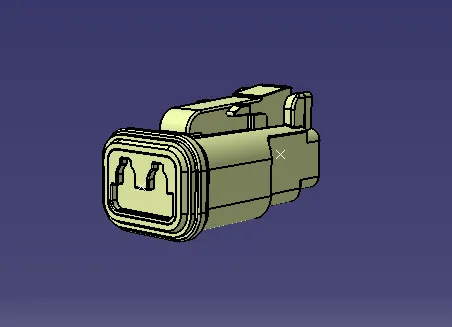
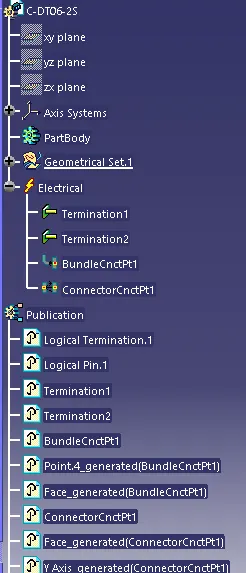
2- 2 pole connector used for light,sensors,motors.
3- Clip and clamp is used to set the location of wire
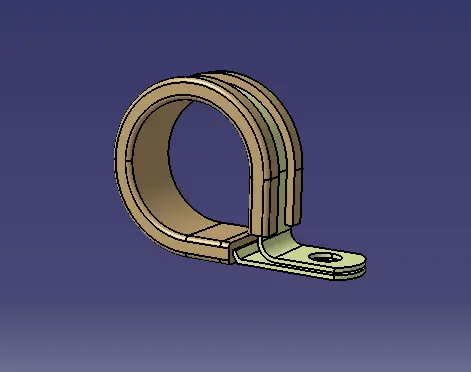
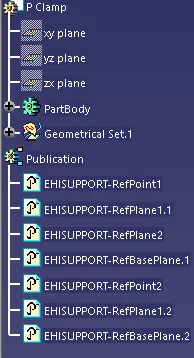
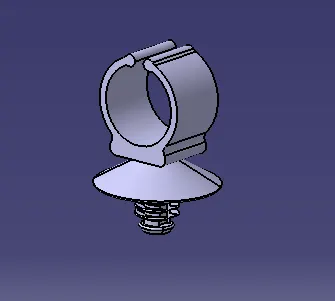
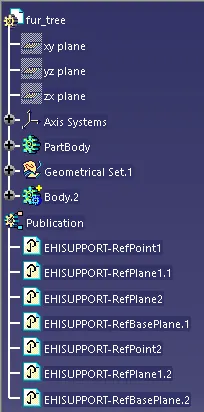
4- Sheet metal bracket

STEP 3 - Adding connectors and needed equipments
Opening the equipments in catia and using the snap and smart move and positioning the connectores and supports.
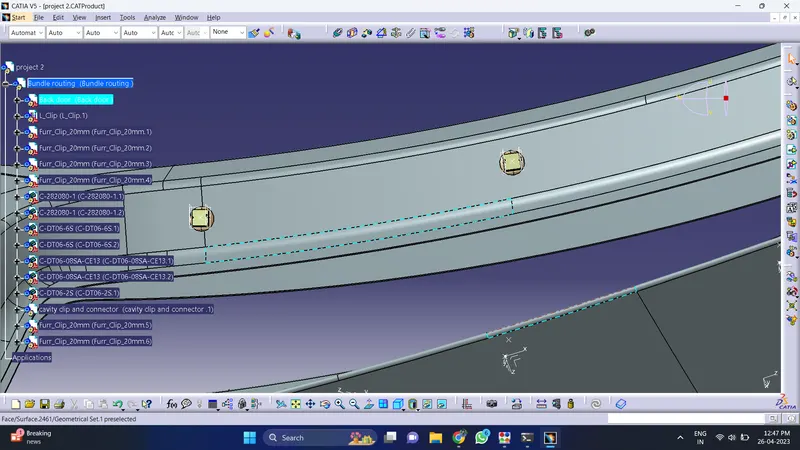
it is continusly routed to the following supports
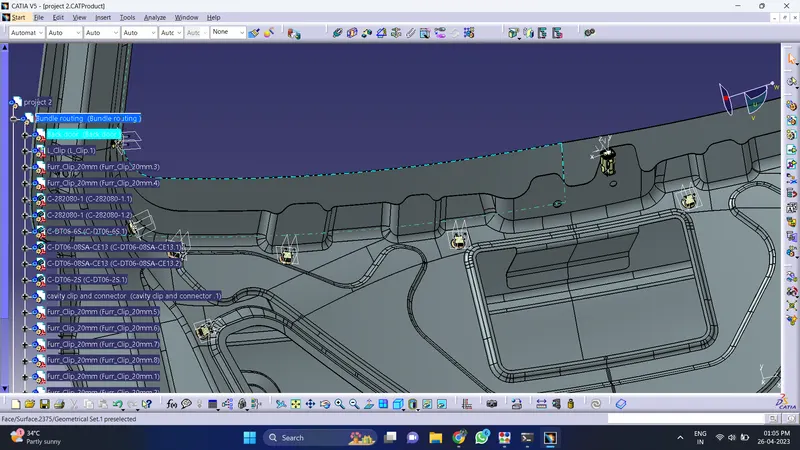
STEP 4 - Bundle routing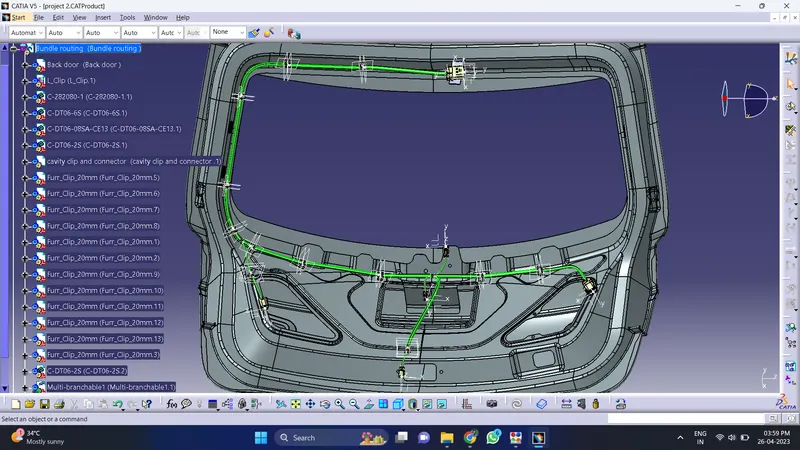
The routing starts with interconnection connector placed on the L clip 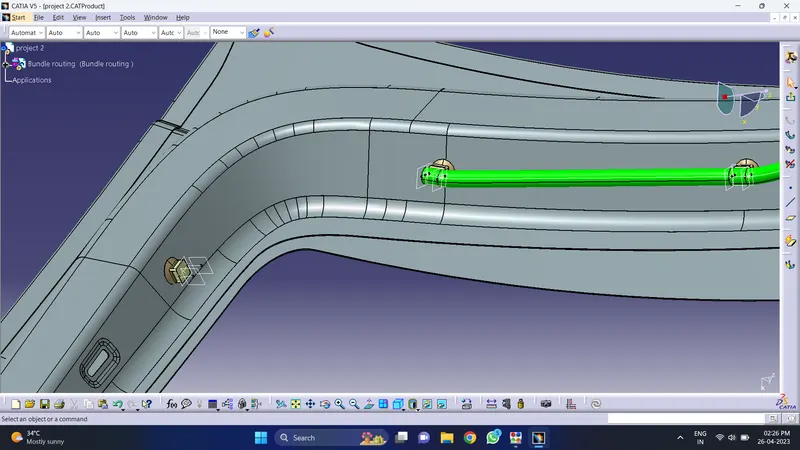
the major routing supports used here are the p clams and fur tree
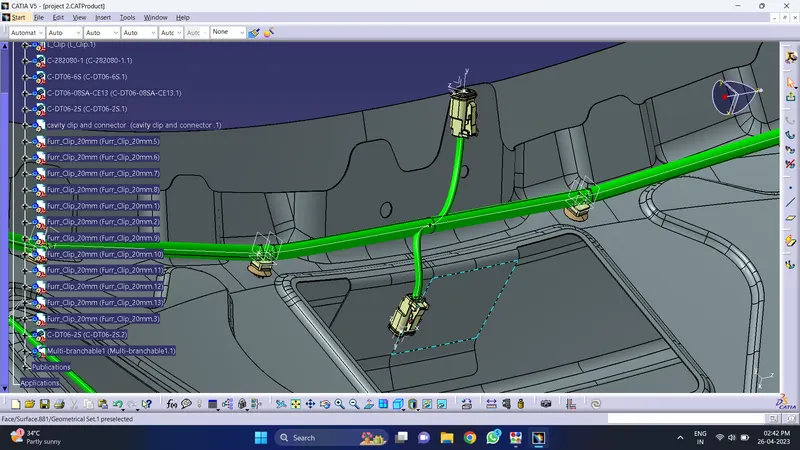
Now by using multi-branch bundle route all the connector with the clip and clamp.
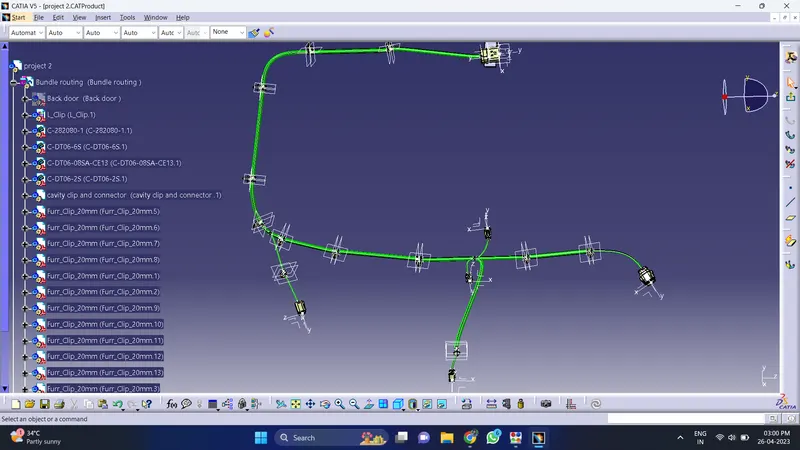
Create flatten view
once the branches are flattened we do some modification in the branches using the Rotate,bend,straighten etc tools in the Electrical harness flattening.
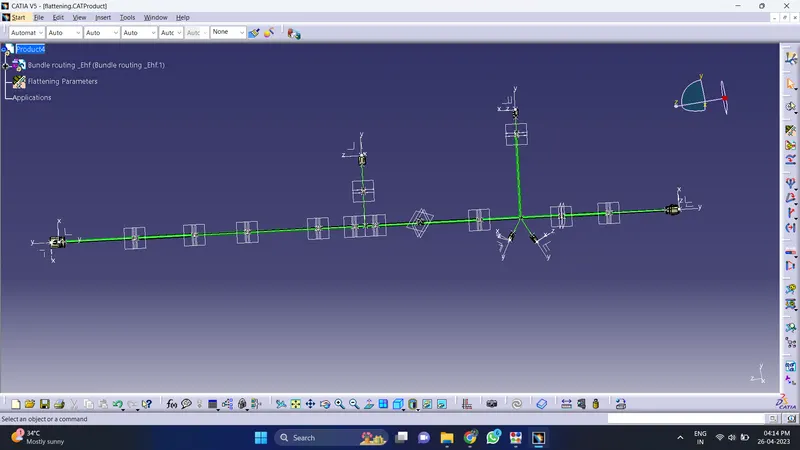
Creating a flatten view drawing