Project 2
Aim: To route the harness for given tailgate using proper supports wherever required using industry best practices and adding protective covering wherever necessary.
Introduction
The main objective of this project is to route the wiring harness of a backdoor using the appropriate design criteria having the required clearance, using the right clips/clamps and mounting equipment’s.
As no operations can be done on the outer panel, all support parts and connectors need to be positioned on the inner panel. The postions needed to be such that it is easily rachable by hand.
Packaging rules followed in the project:
- Additional slack is provided wherever required to avoid fouling with the engine.
- Additional clamps/Clips are used to avoid fouling wherever necessary.
- Avoiding routing over bolted and screwed joints to avoid harness puncture.
- Minimum use of mounting brackets.
- Branch length is minimum 50mm.
- Wiring harness is easy to assembly and practical.
- Avoid routing in hard-to-reach places by technician.
- Avoid support on fuel lines.
- Routing away from exhaust regions.
- Protection provided wherever necessary.
The given backdoor is of a hatchback and there are 4 connectors which will be needed for lights of tailgate and lights for licence plate. 2 for each of them. Another interconnector is required for connecting the backdoor connections to other parts of the vehicle.
I used p-clamps and furr tree clips for supports.
Assembly of Tailgate harness.
Step 1:
Defining all the necessary components as electrical components.
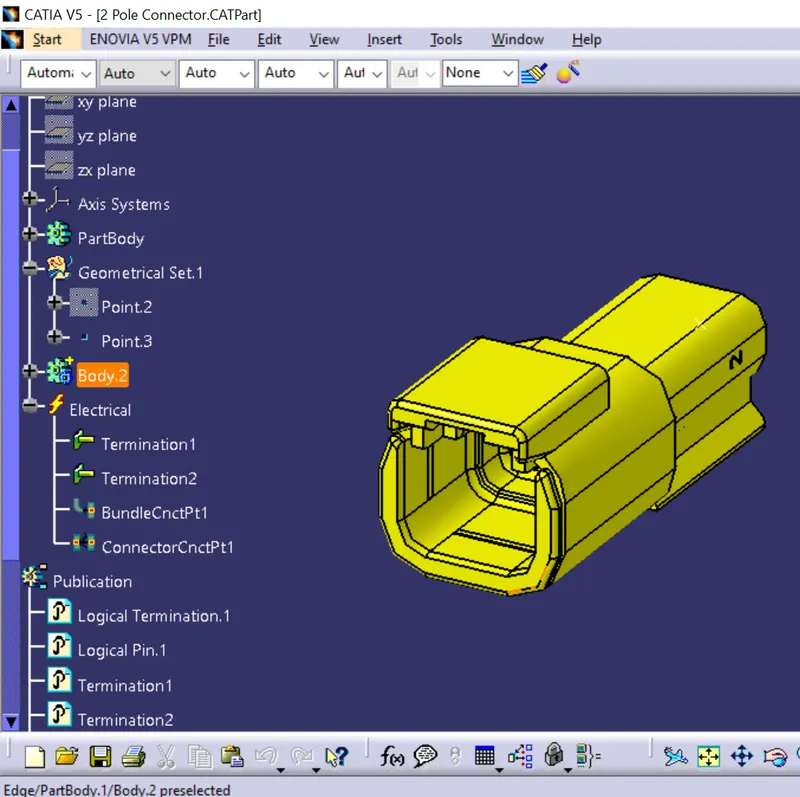
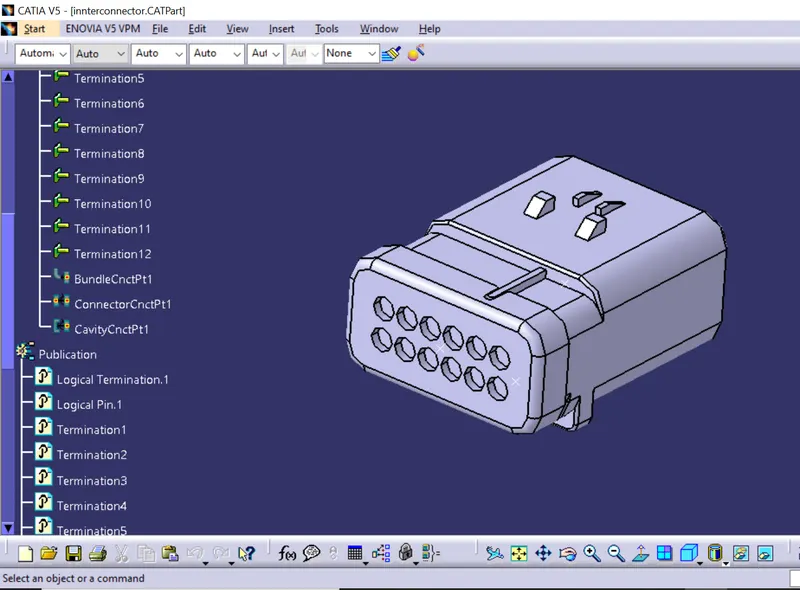
Connectors (for lights) and interconnection connector.
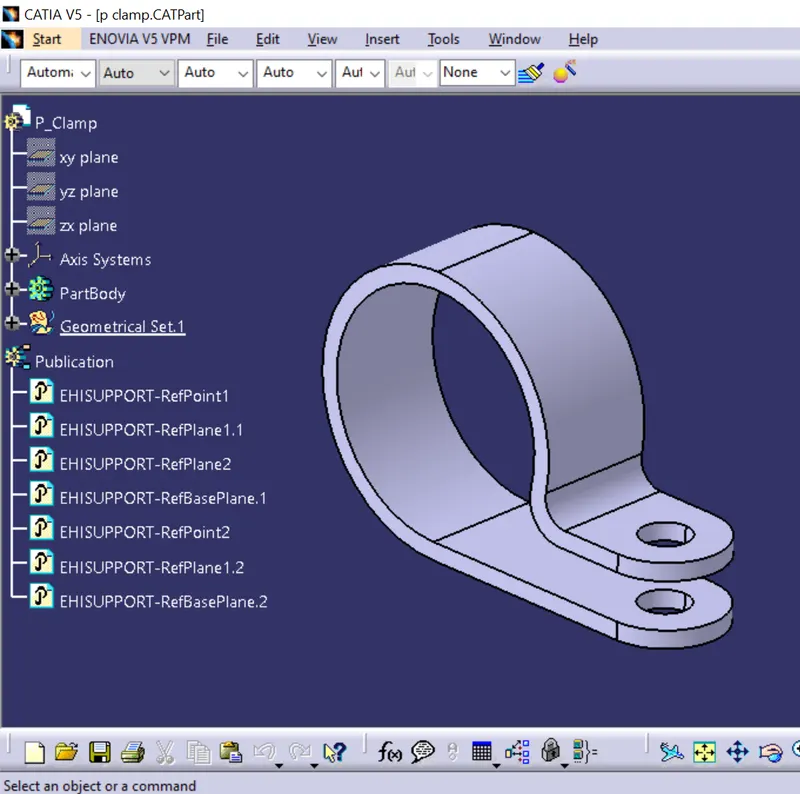
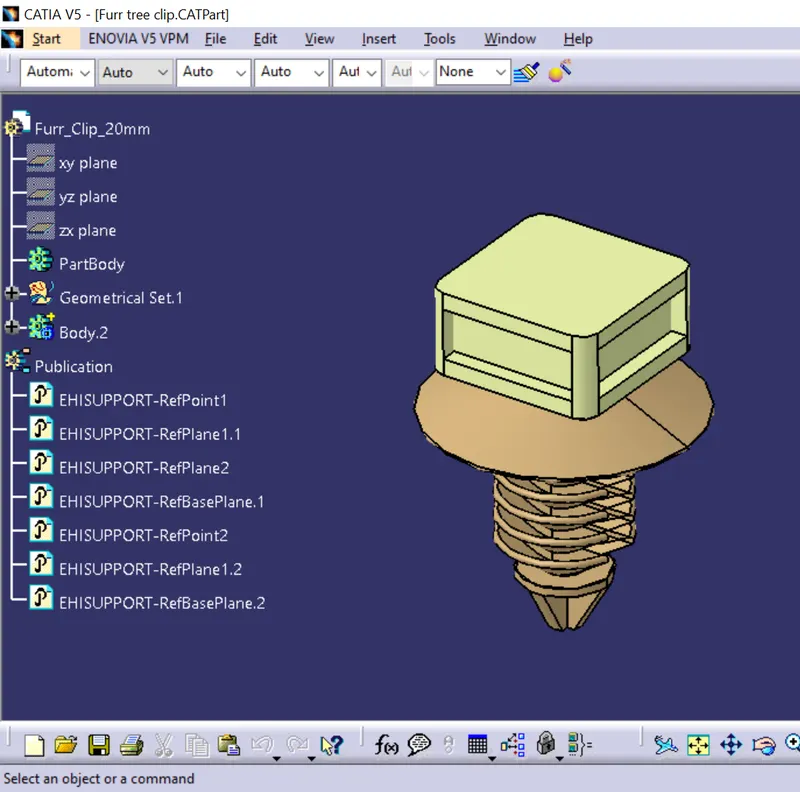
Support: P-Clamp and Furr tree clip to guide the harnesses.
Step 2:
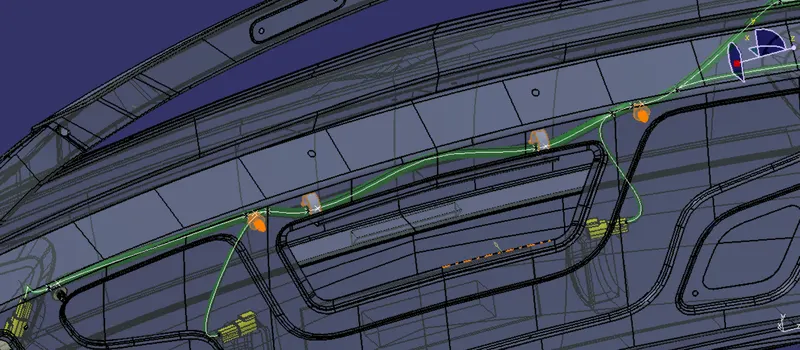
Positioning all the electrical parts in their right positions where it is possible to reach.
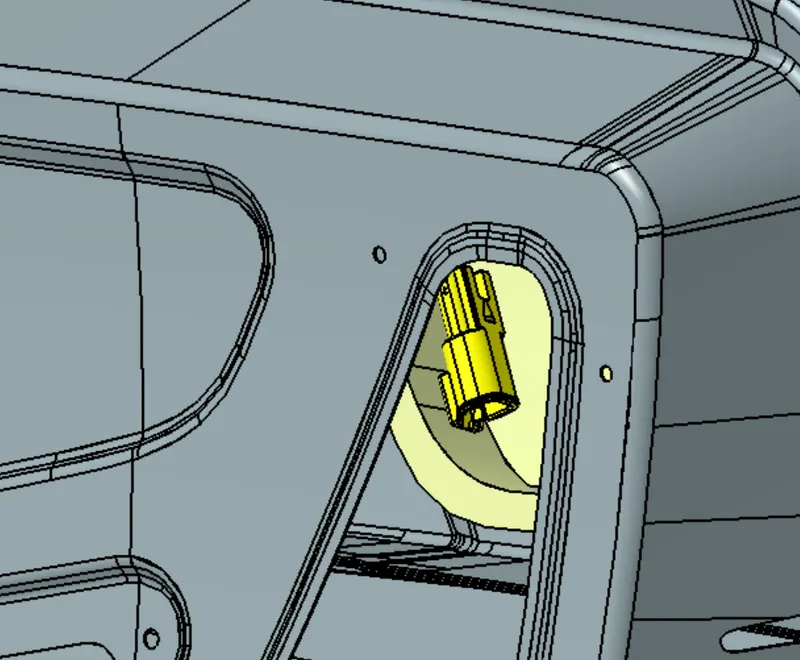
For Tailgate light on both sides.
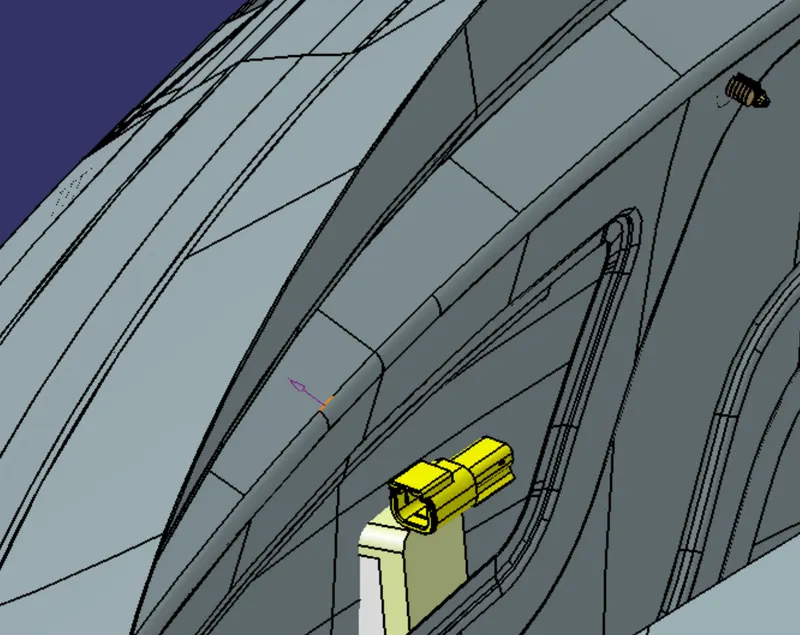
For license plate light on both sides.
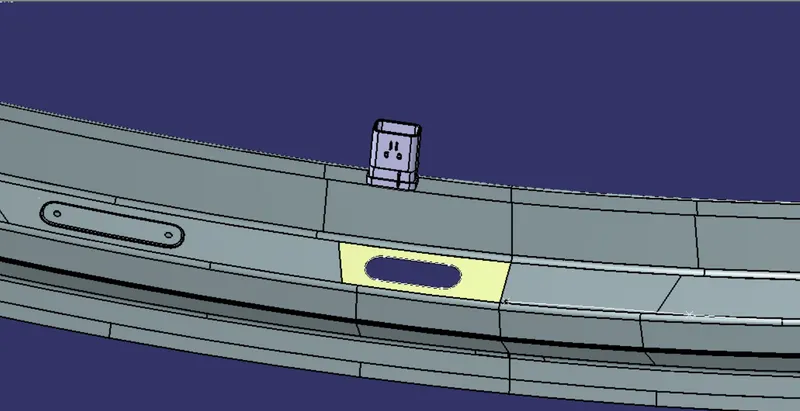
Innterconnector
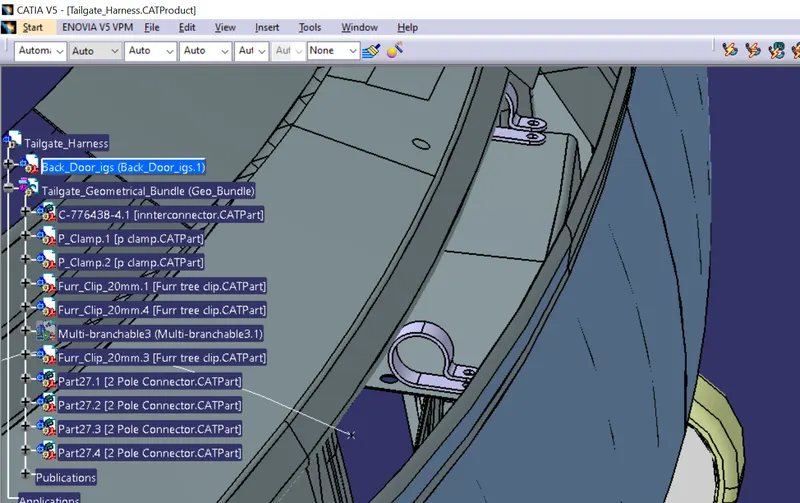
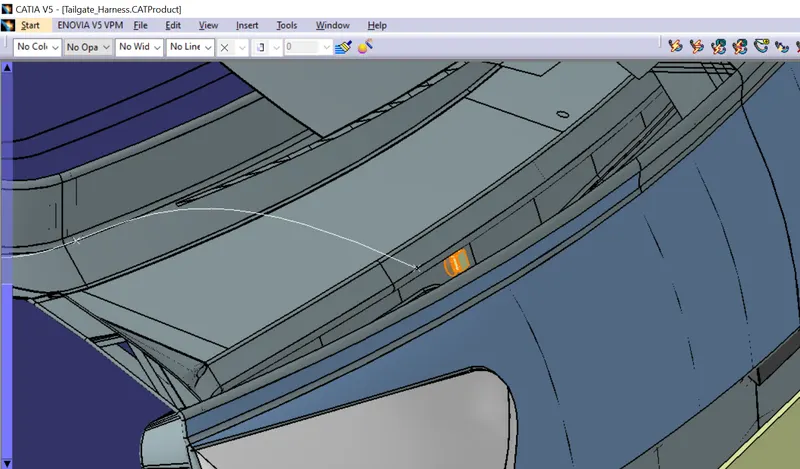
Furr tree clip (hightlighted)
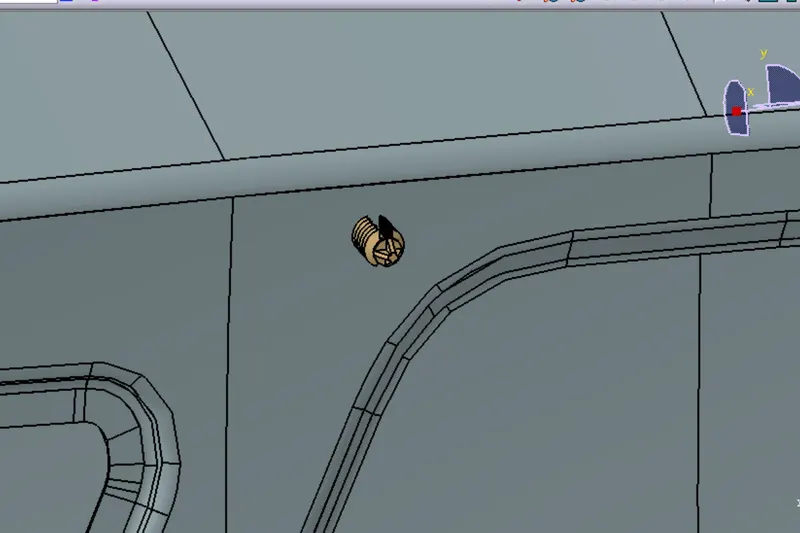
P-clamp and furr tree clip placed on the inner panel as outer panel can’t be worked upon for aesthetics.
Step 3:
Routing the bundle and adding branches for routing to connectors used for lights. Checking the continuity of the branches.
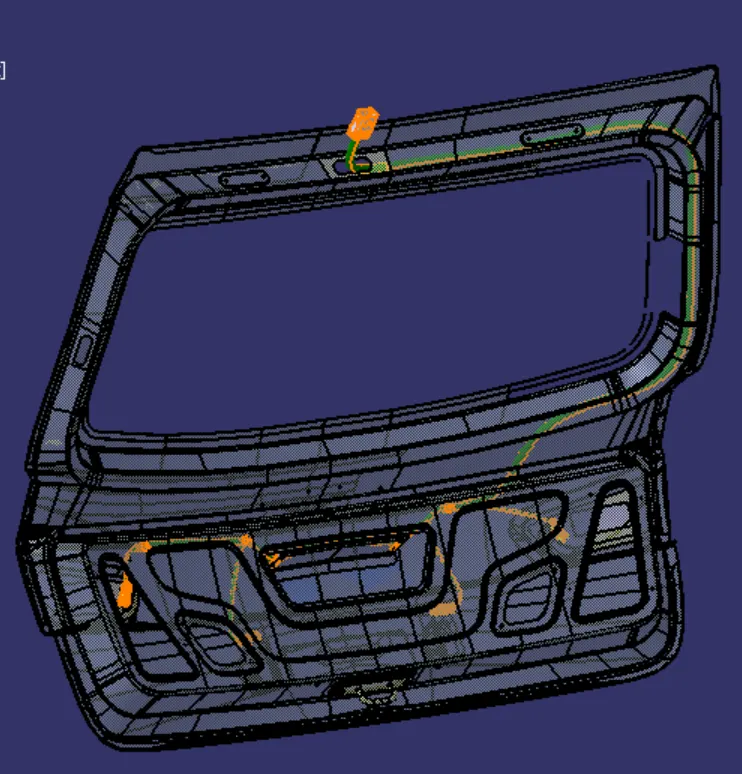
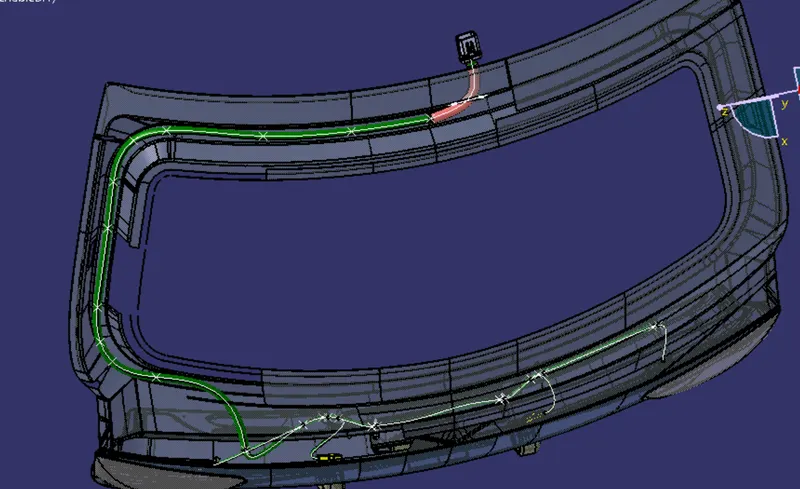
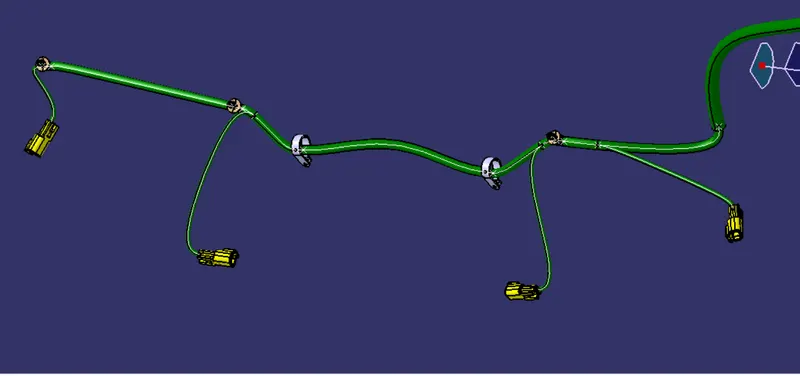
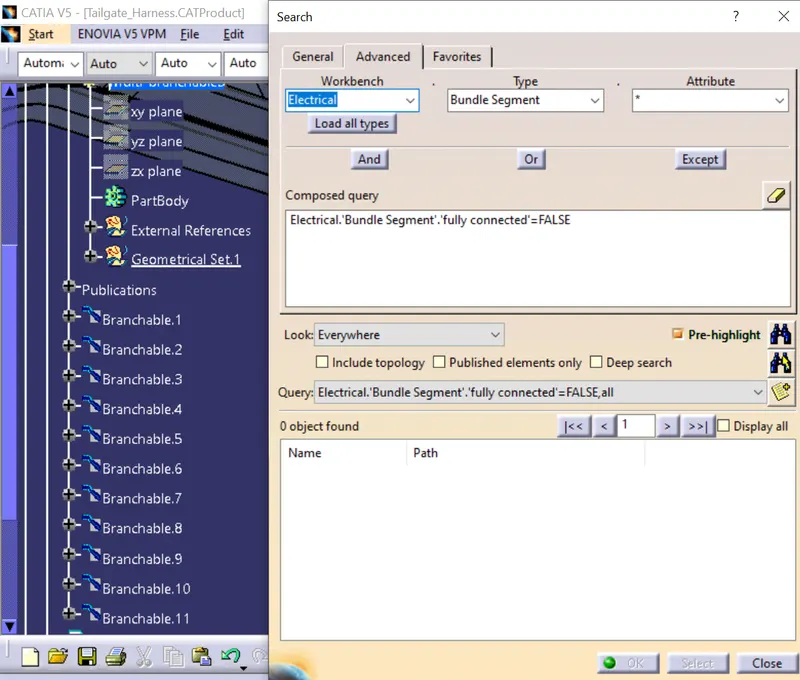
Checking for unconnected bundles. As there is no bundles displayed in the list, the branches are fully connected.
Step 4:
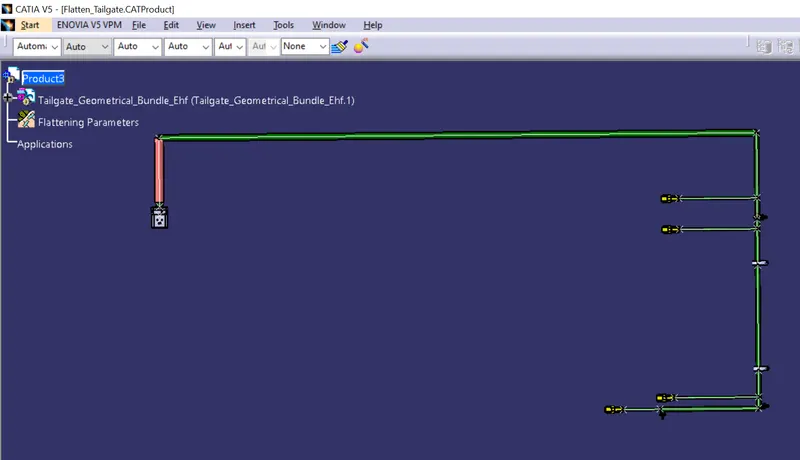
Flattening the bundle for drafting.
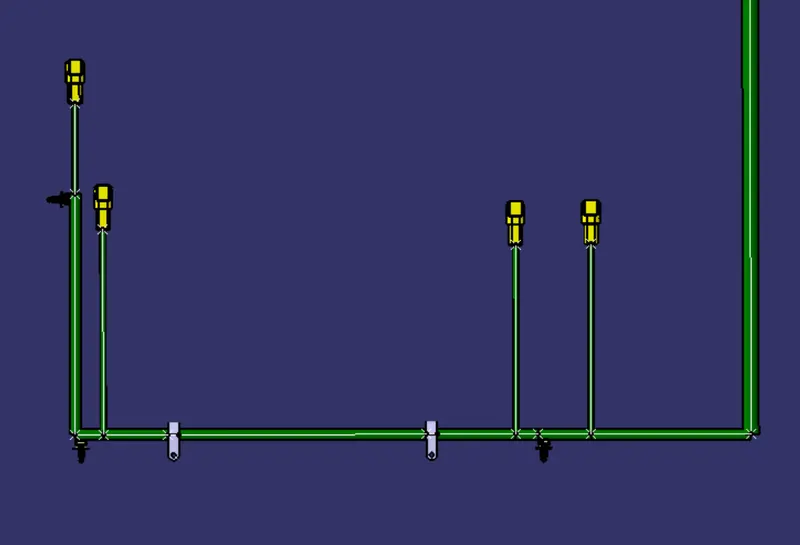
Step 5:
Creating a drawing of the flattening product and converting to .pdf for sending to other departments for further procedures.
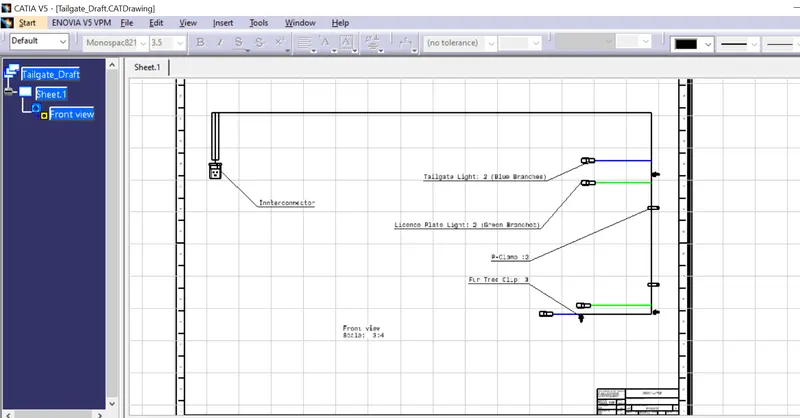
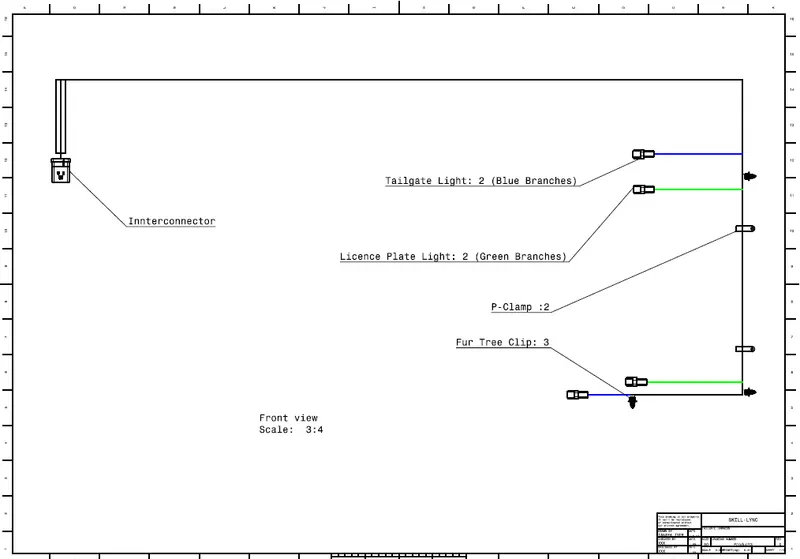
Conclusion: Routing of the tailgate was done and flattening of the same for done for drafting. All the industry best practices were considered while routing the harness. All necessary clearances, harness fixing requirements, harness continuity was provided while designing the wiring harness.