Project 1 - Wiper control system and Vehicle speed calculation for ABS using Wheel Speed sensor
1).Wiper control system:
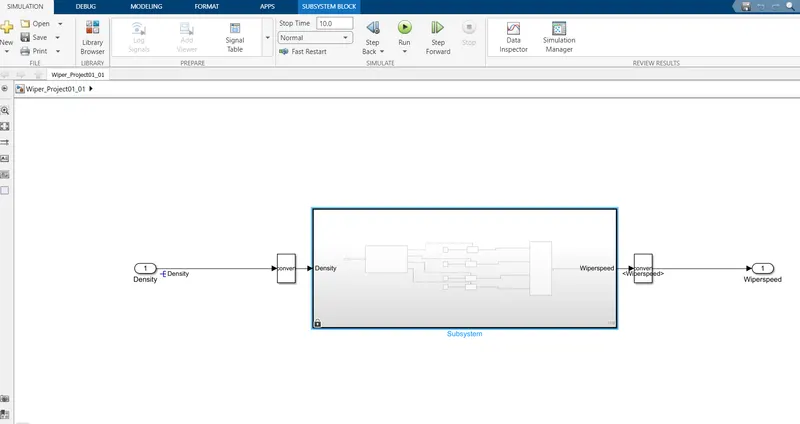
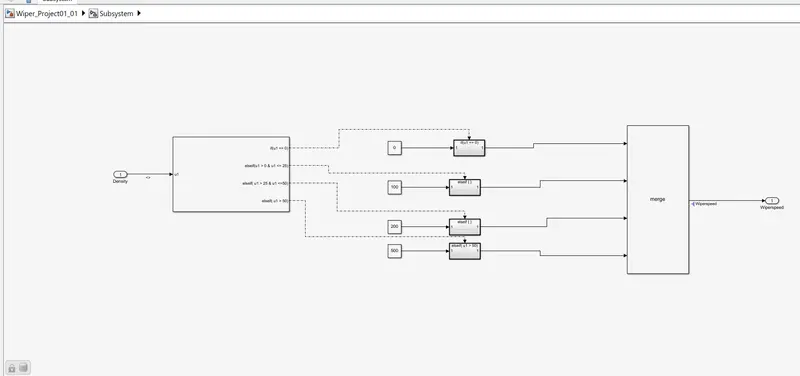
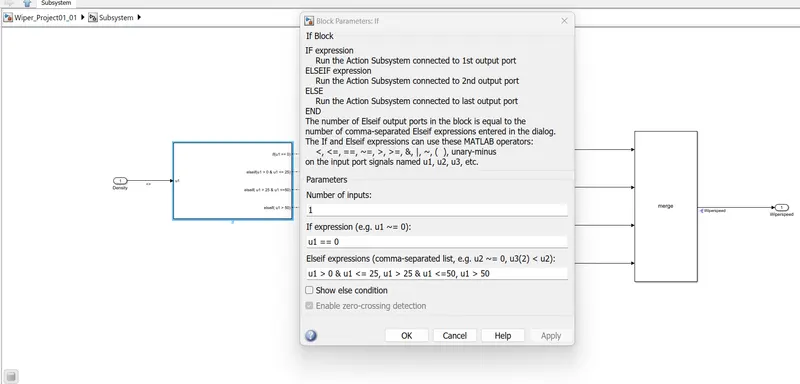
-Develop Simulink/state flow model for wiper control system based on the given conditions.
-Description of Challenge:
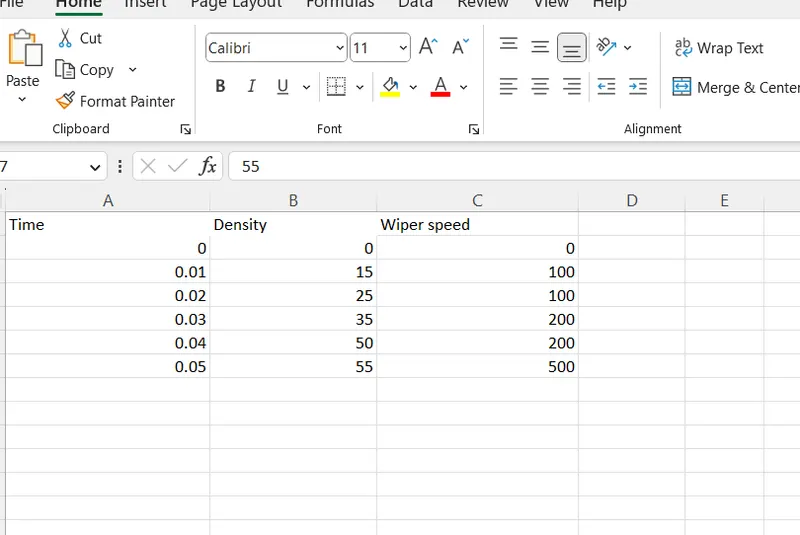
- If the density of the rain is low, then wiper rotates with low speed & the output signal should be 100rpm
- If the density of the rain is medium, then wiper rotates with medium speed & the output signal should be 200rpm
- If the density of the rain is high, then wiper rotates with high speed & the output signal should be 500rpm.
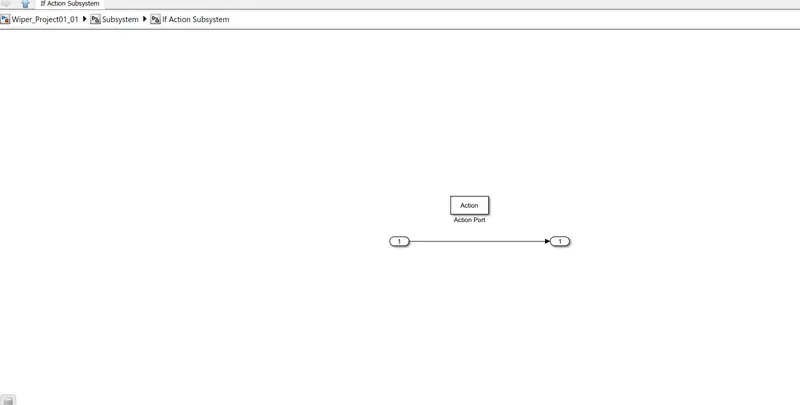
-1)Simulink Model File:
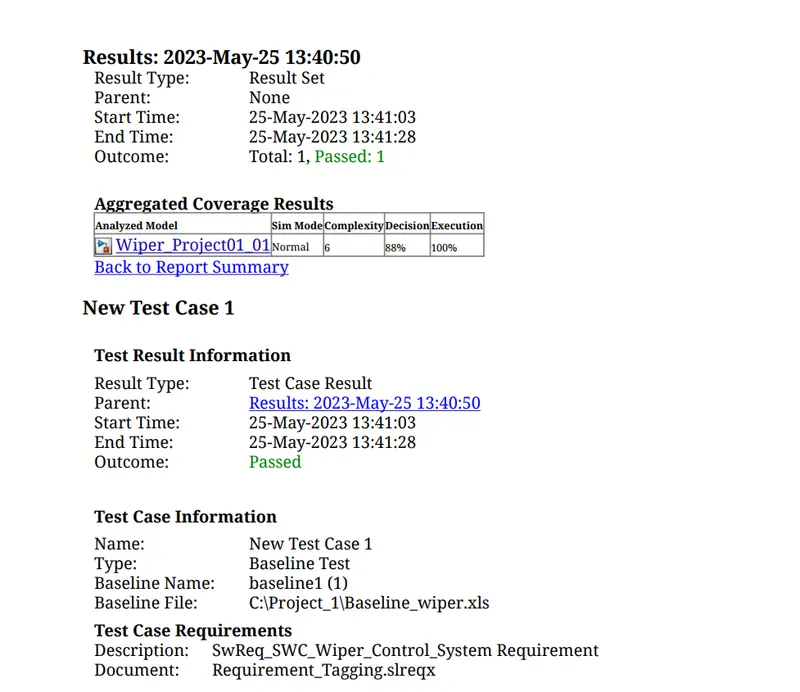
Baseline test Result Reports;
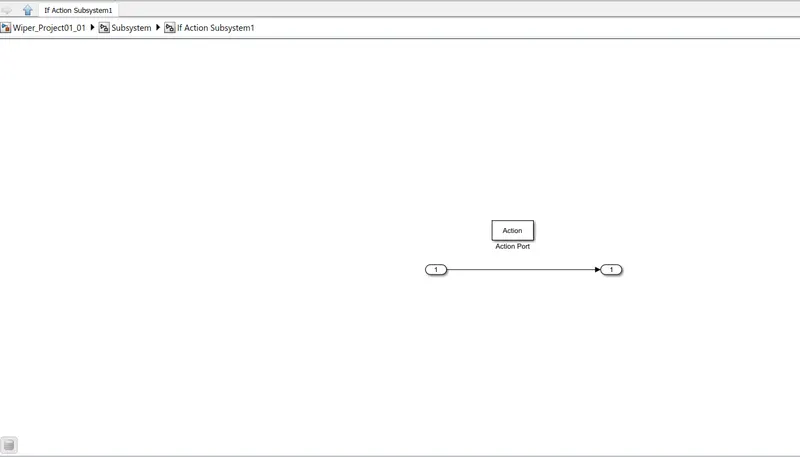
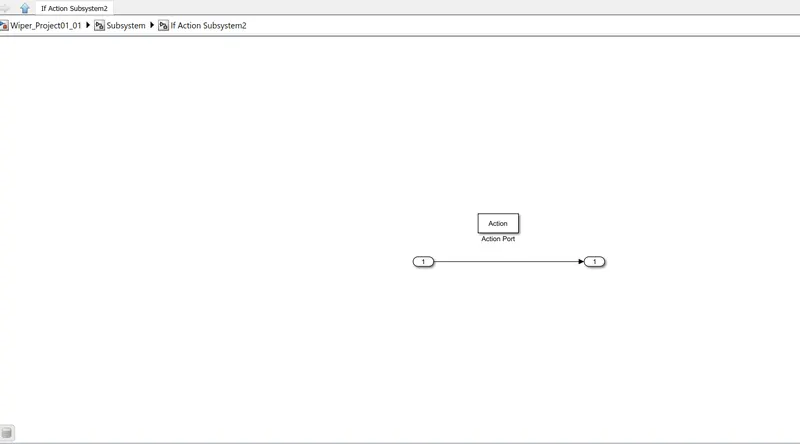
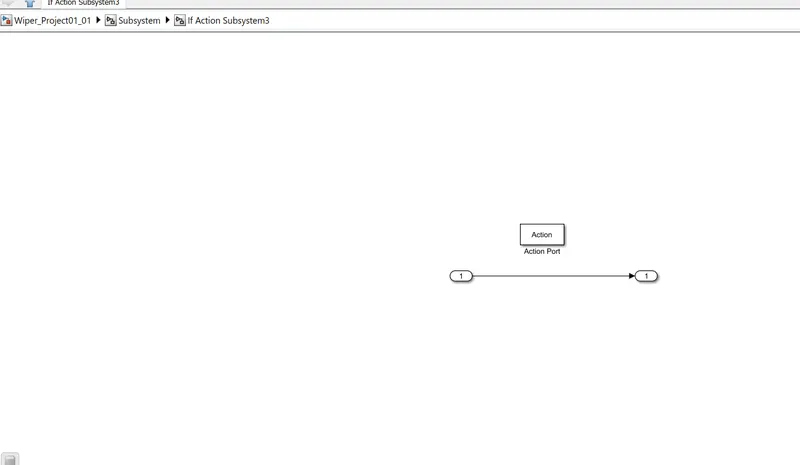
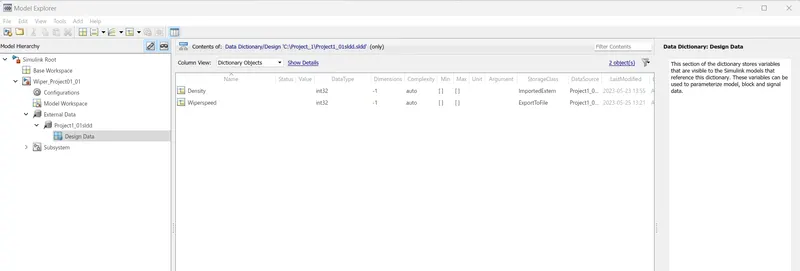
2)SLDD File:
-Create the SLDD File;
3)Requirement Tagging Report:
-Create the functional and SWReq file into the .xls File;
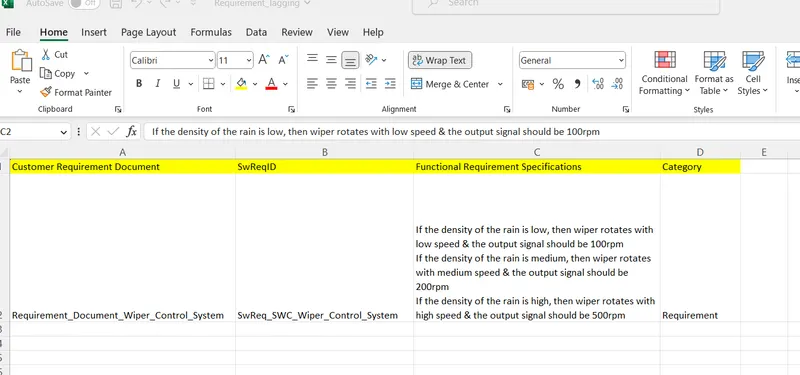
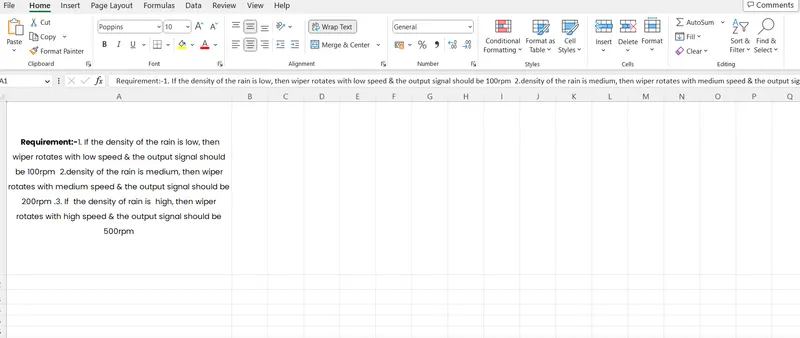
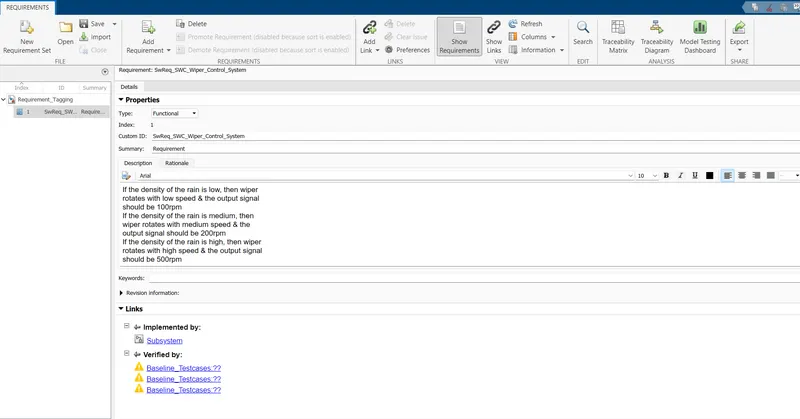
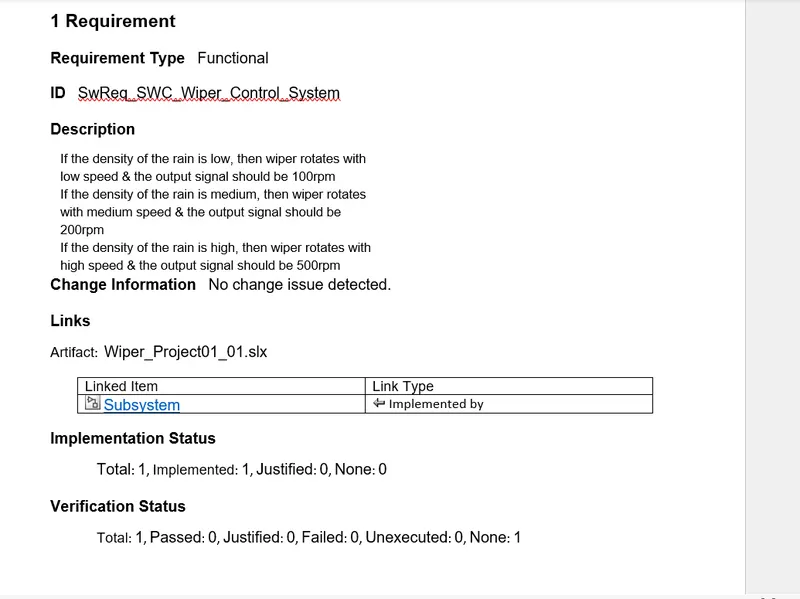
Linking the Requirement to the model using Requirement Editor:
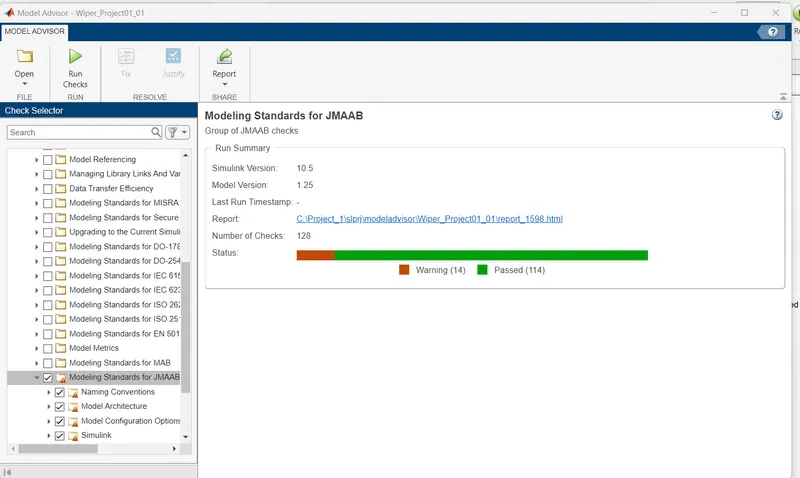
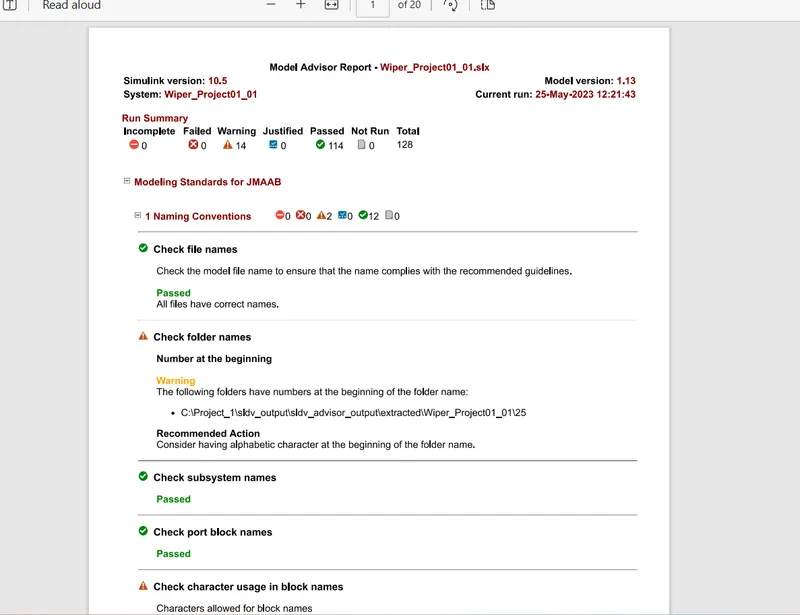
4)Model advisor-JMAAB Compliance Report:
-Open the Model into the Simulink editor tab and Click on 'model advisor'>>select'Modeling standards for JMAAB and click on 'Run selected check';
5)Fixed-point Tool:
-Run the Model error free>>Click on 'Fixed-point Tool' app>>Click on 'New'>>Click on Iterative Fixed-point conversion;
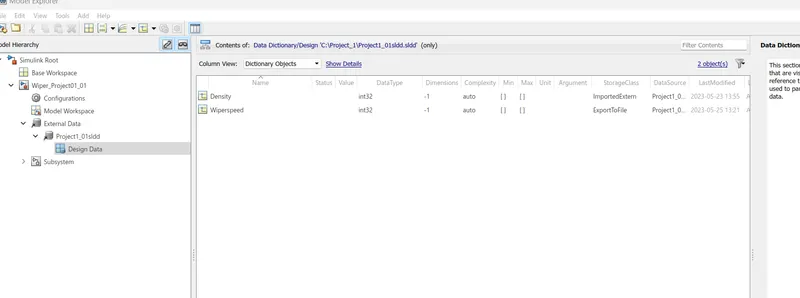
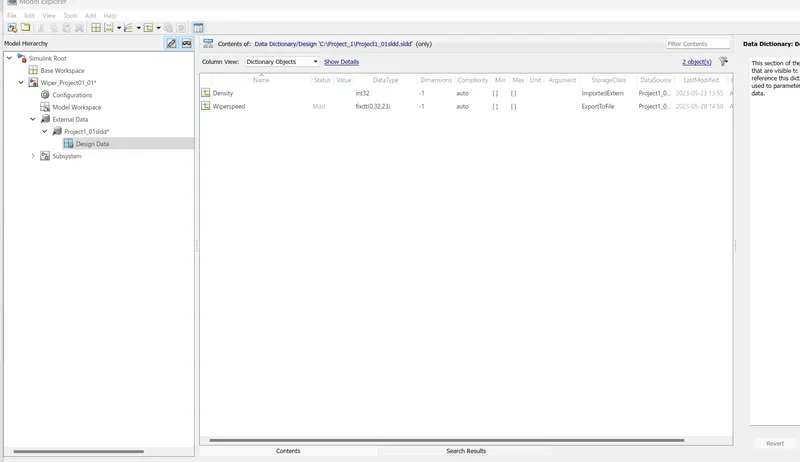
SLDD Before applying Fixed-point Tool;
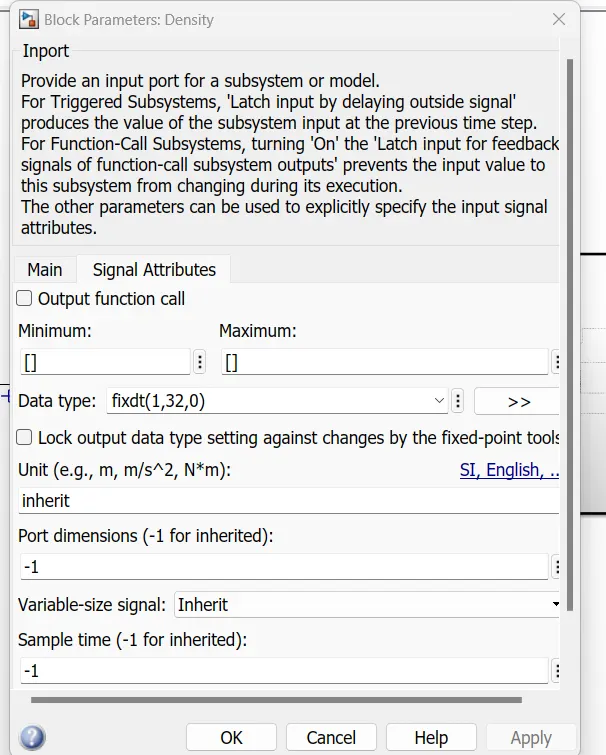
Input signal Before Fixed-Point:
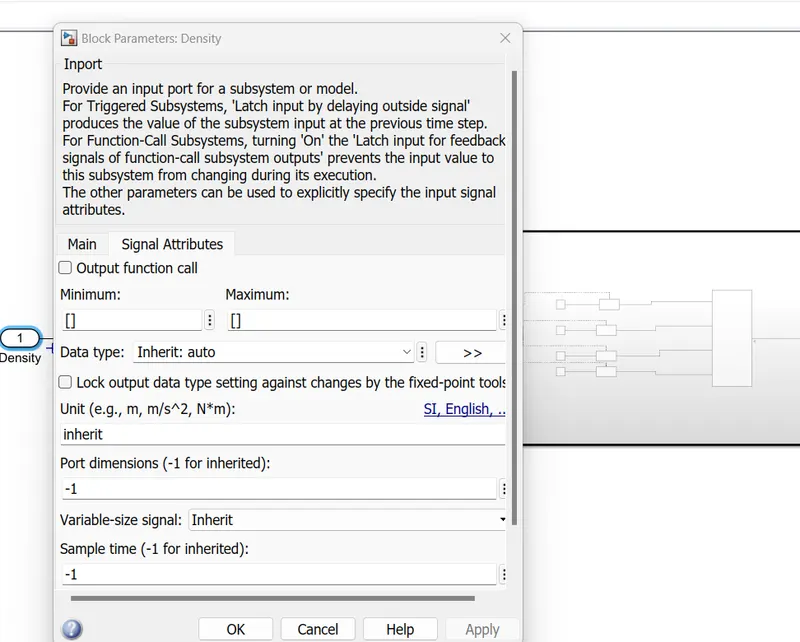
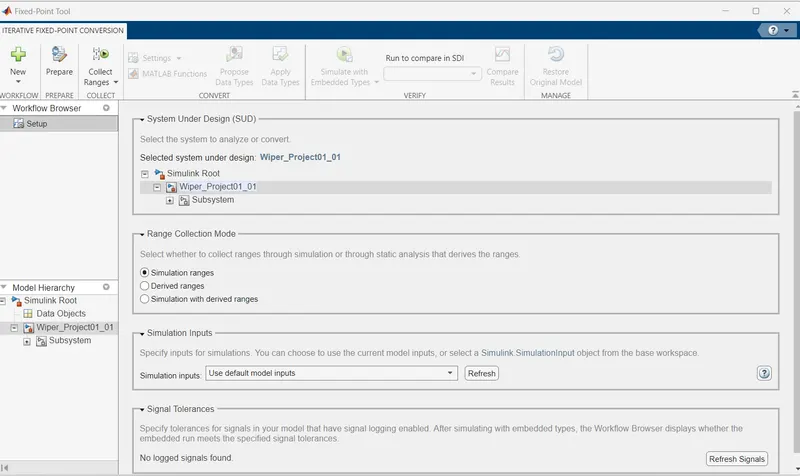
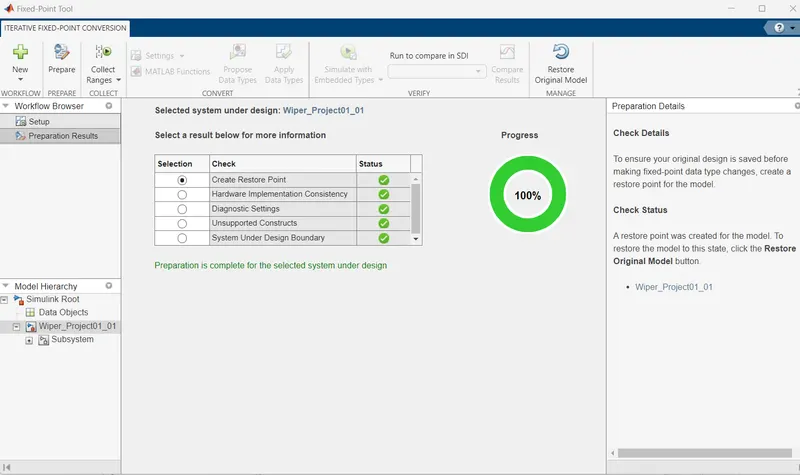
Then click on 'Prepare' then click on 'collect Ranges'>>then Click on 'Propose Data Type>>click on 'Apply Data Type;
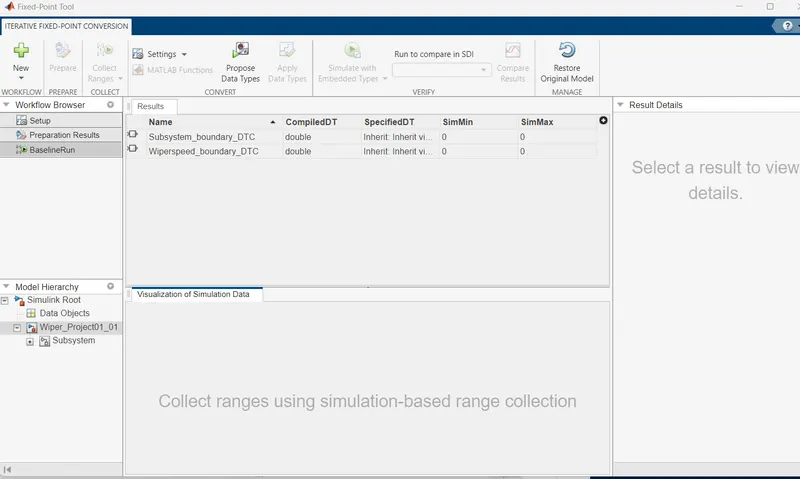
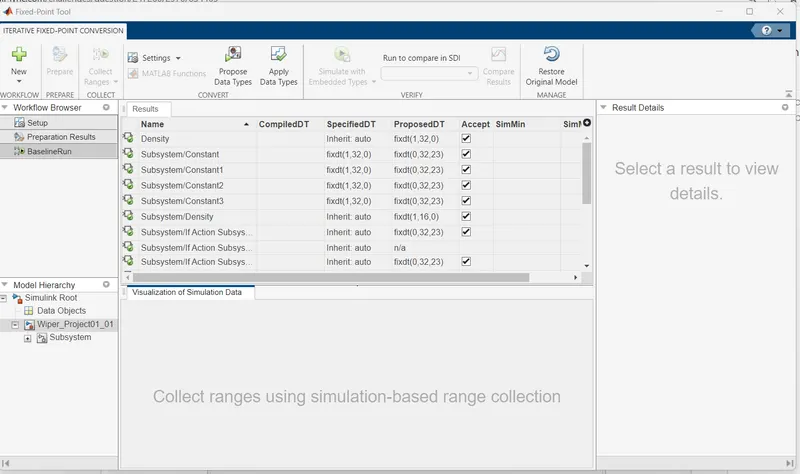
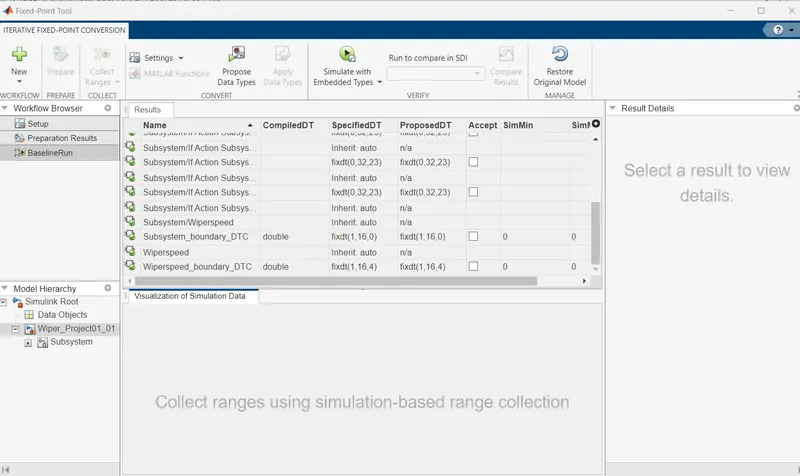
-SLDD After Fixed-point Tool Applying:
Input Signal After Fixed-Point Tool:
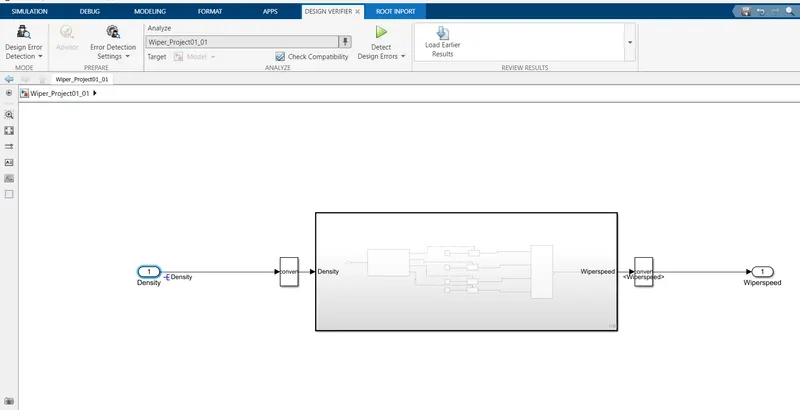
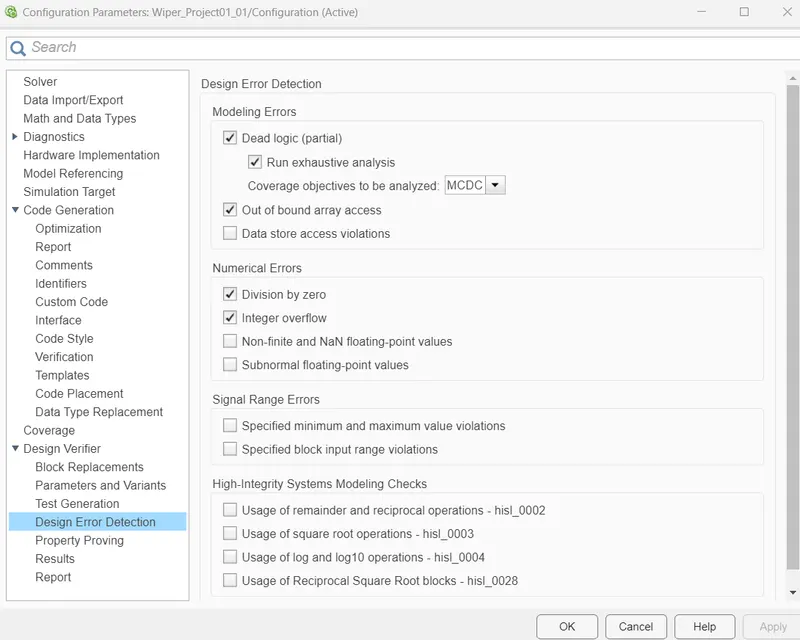
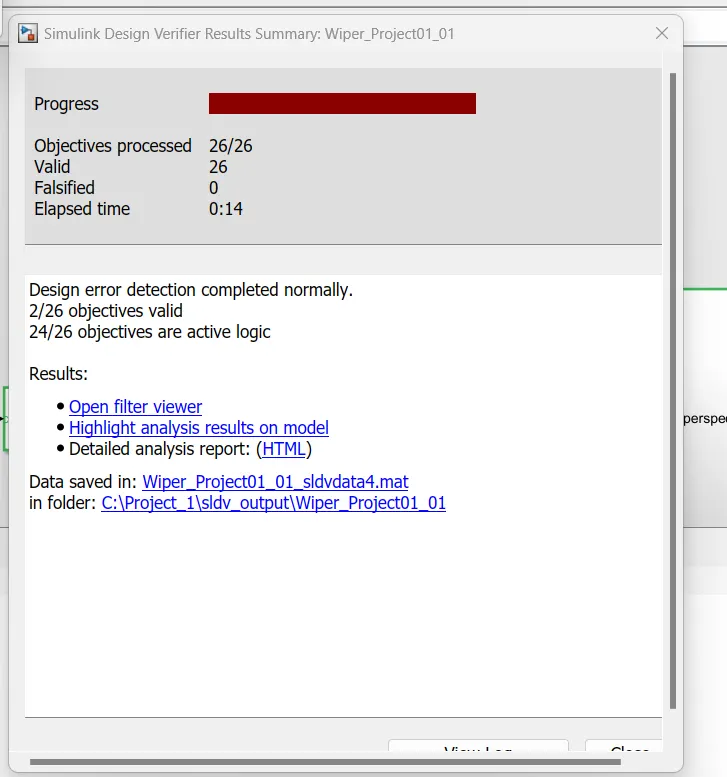
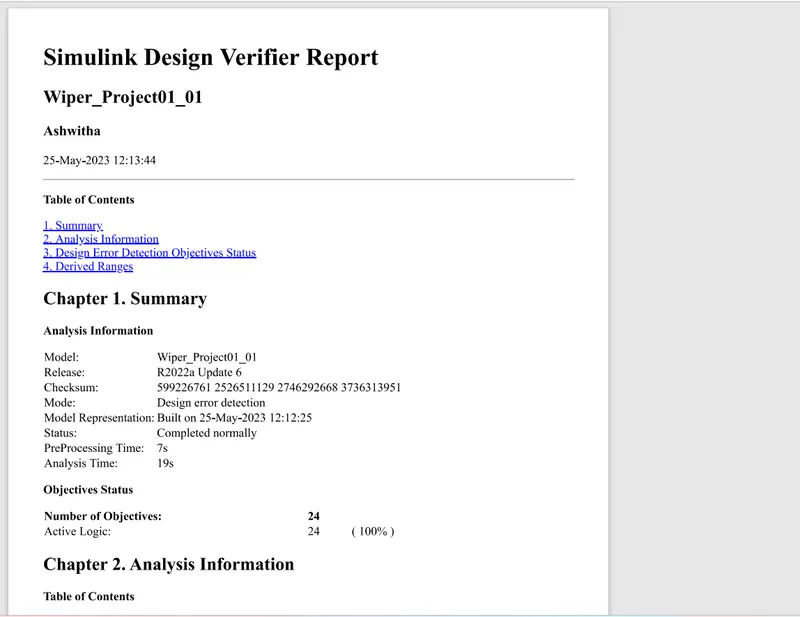
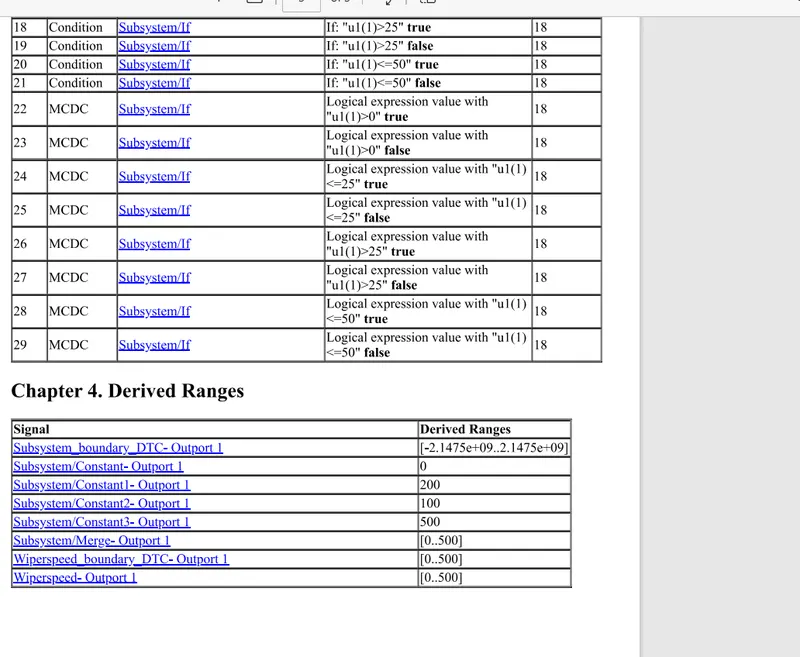
6)SLDV Design Error Detection Report:
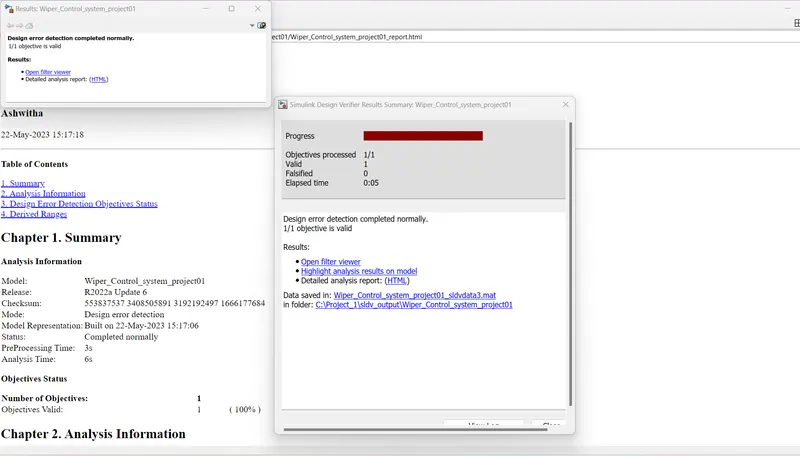
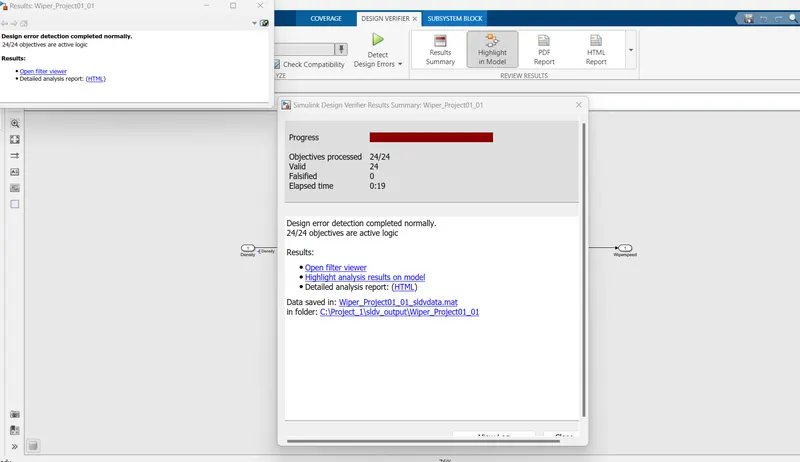
-Go to the model>>open the 'Design verifier' app>>Select 'design error Detection'>>'then Error detection setting'>>ckeack for 'compatibility'>>Click on 'Detect design Errors;
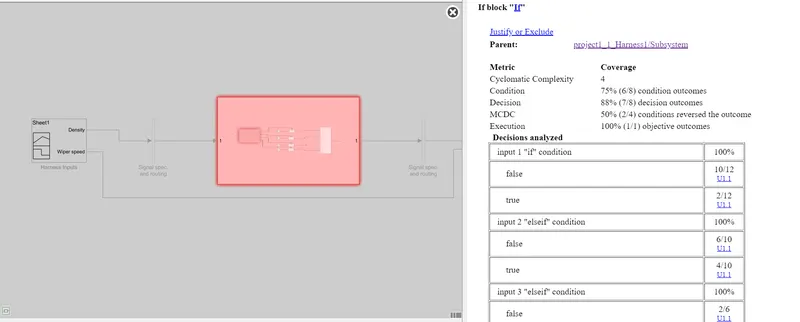
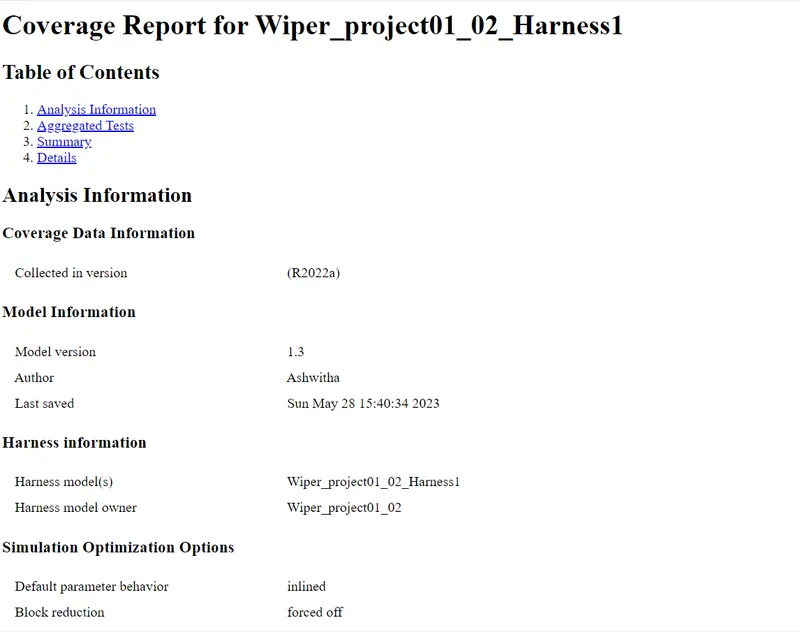
7)Functional test case,MIL & SIL harness, Coverage reports:
-Simulink Model;
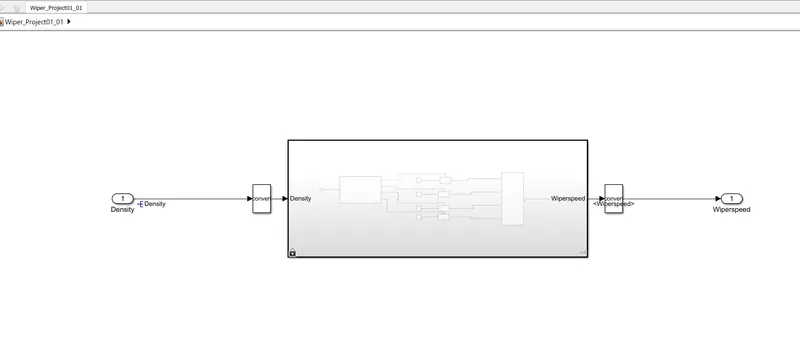
-MIL Model;
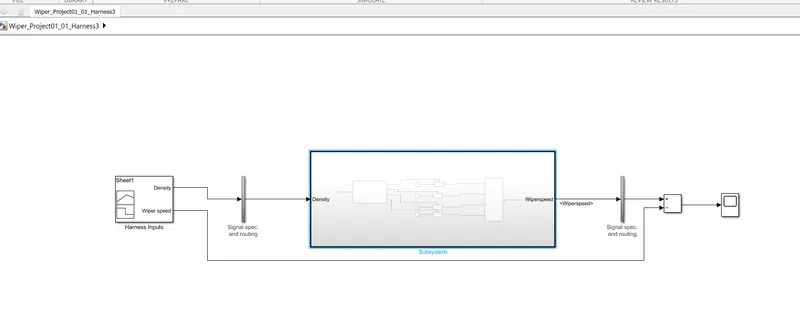
-Functional test cases;
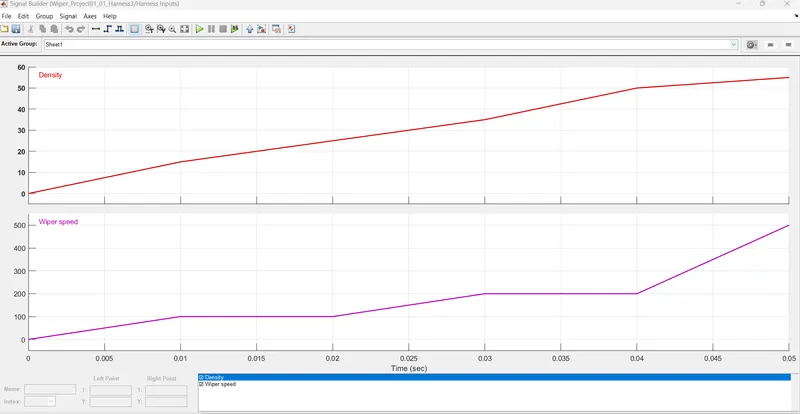
Signal builder input signal;
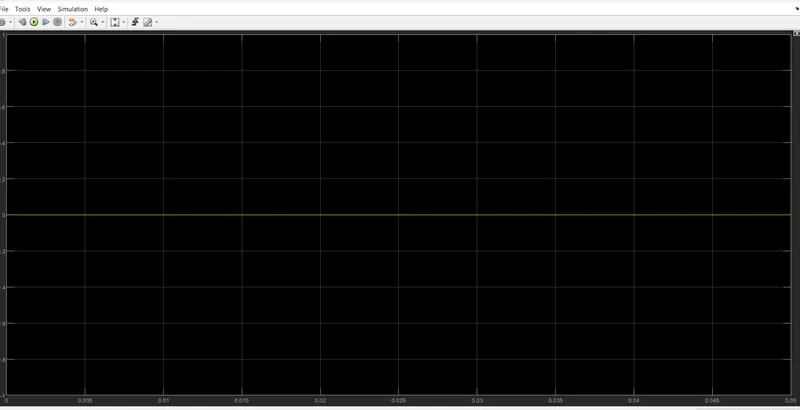
-MIL Output;
-SIL Model;
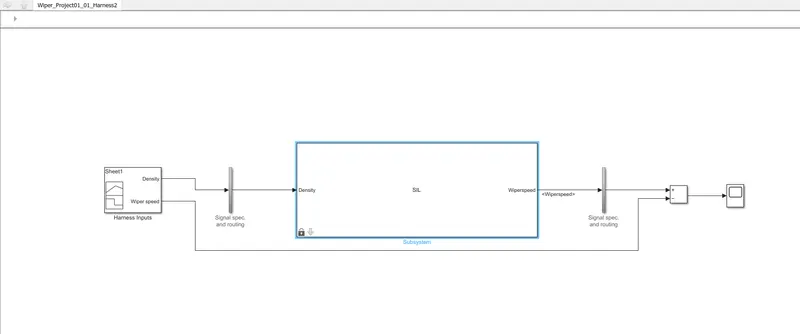
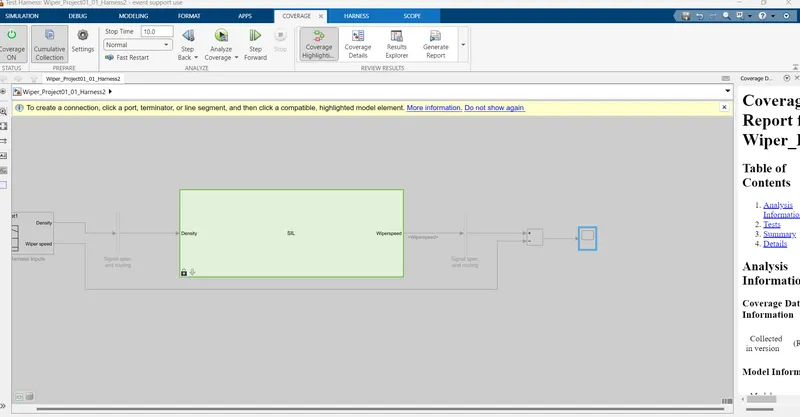
SIL Output;
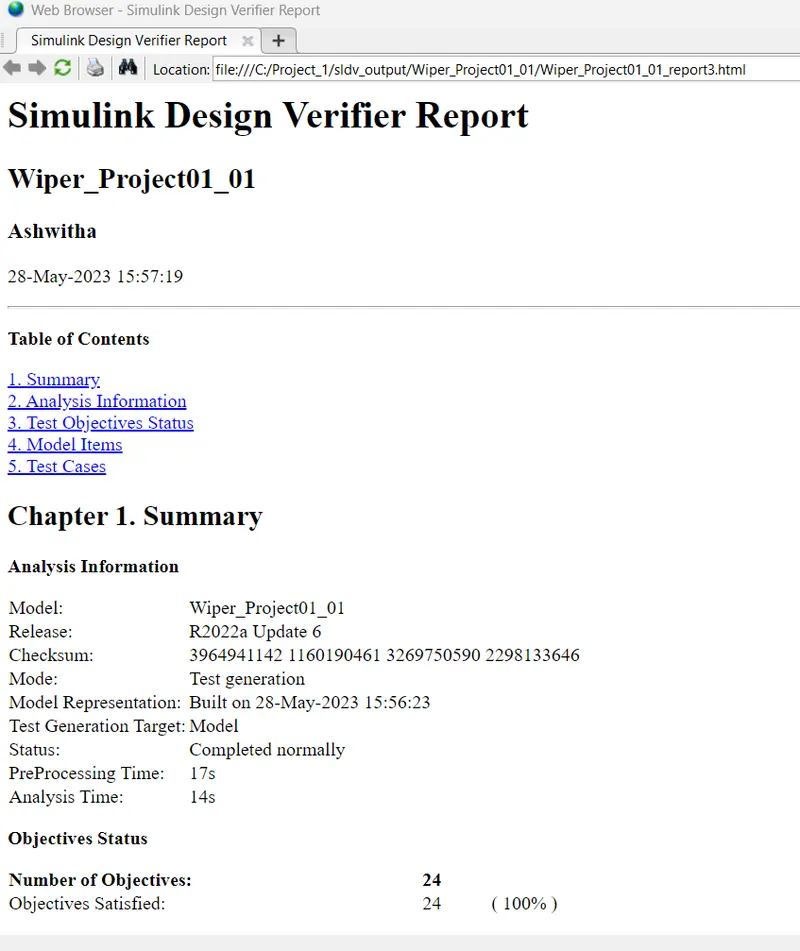
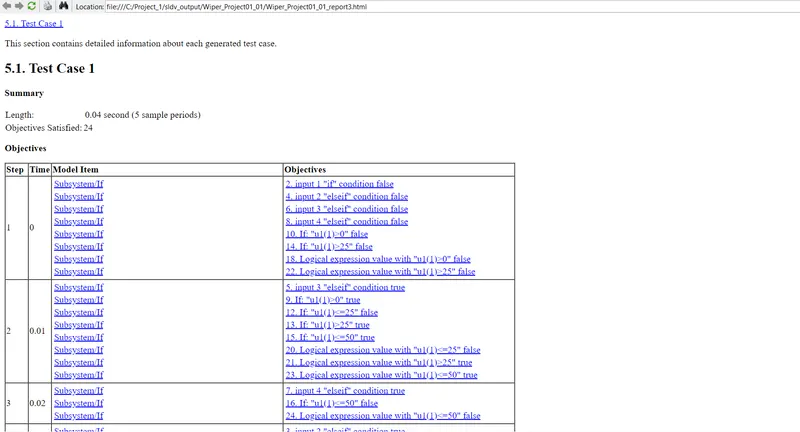
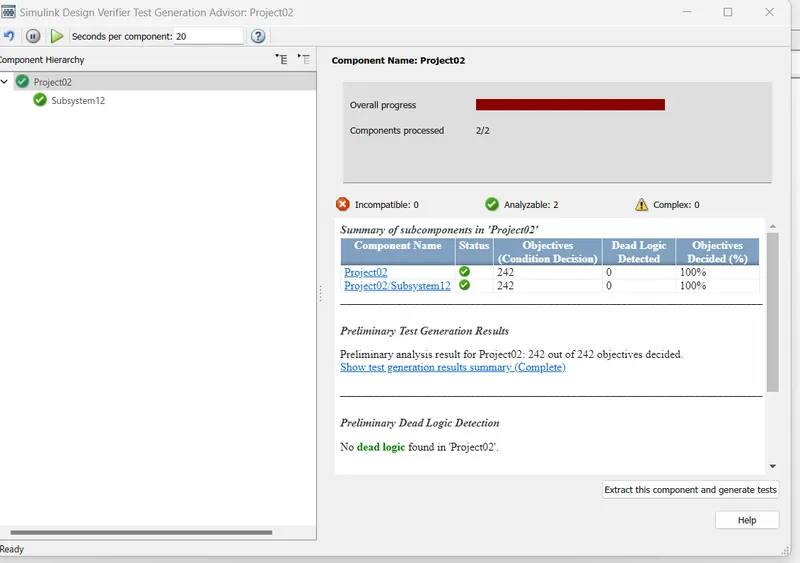
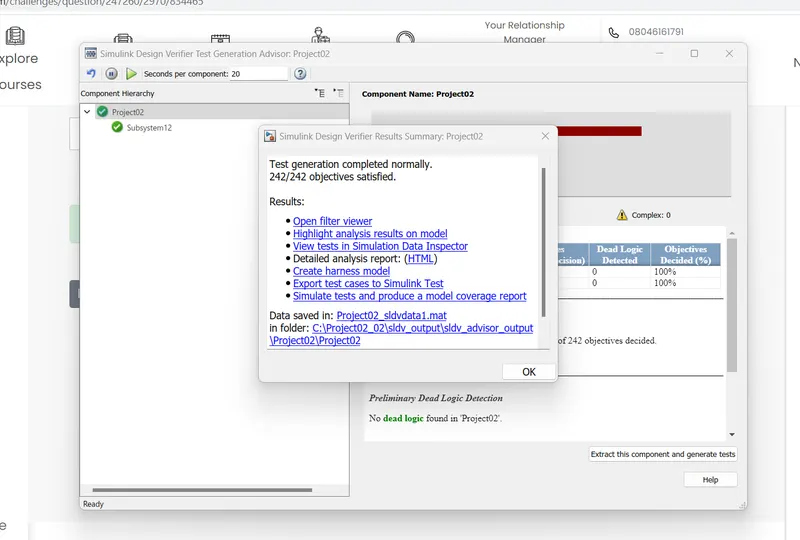
8)SLDV Test Generation Reports:
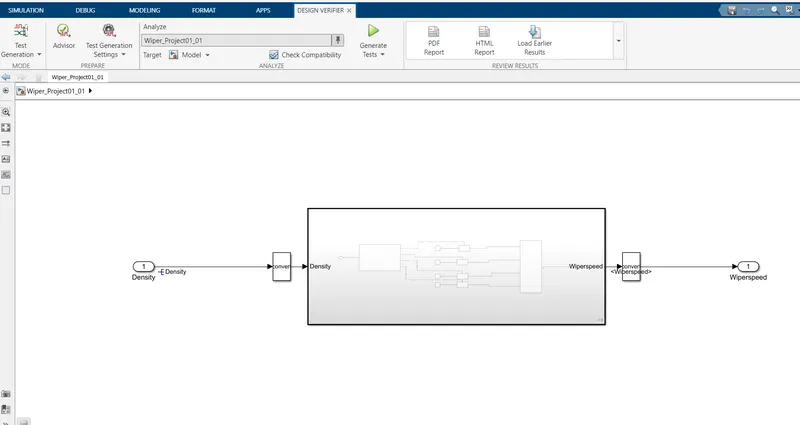
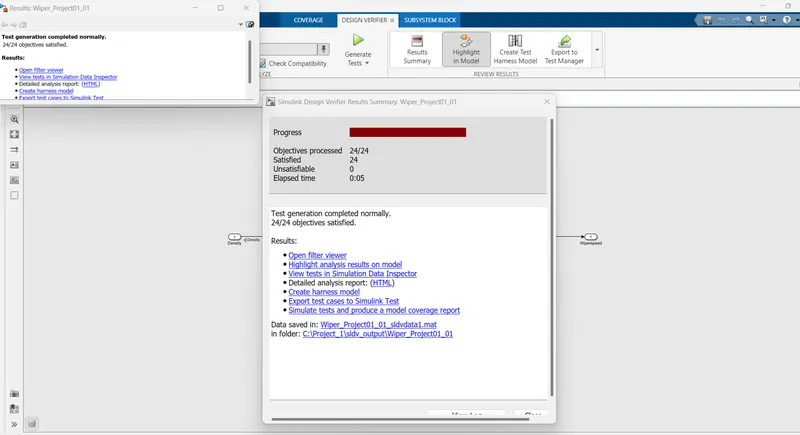
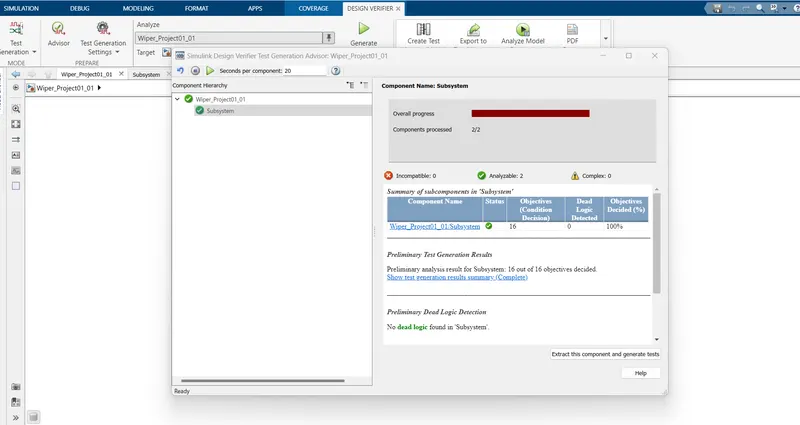
-Open the model>>Select 'Test Generation'>>Then 'Test generation setting'>> 'Advisor'>>Then 'Generate Test';
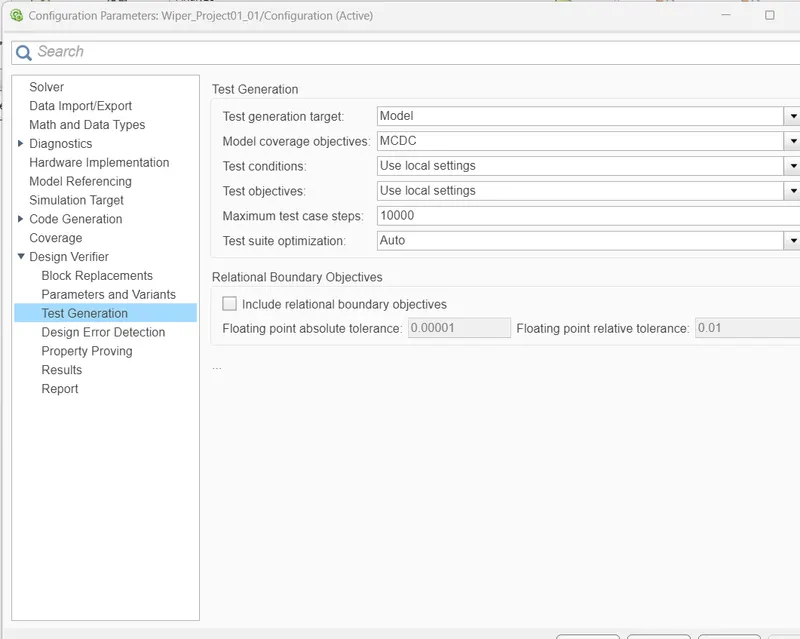
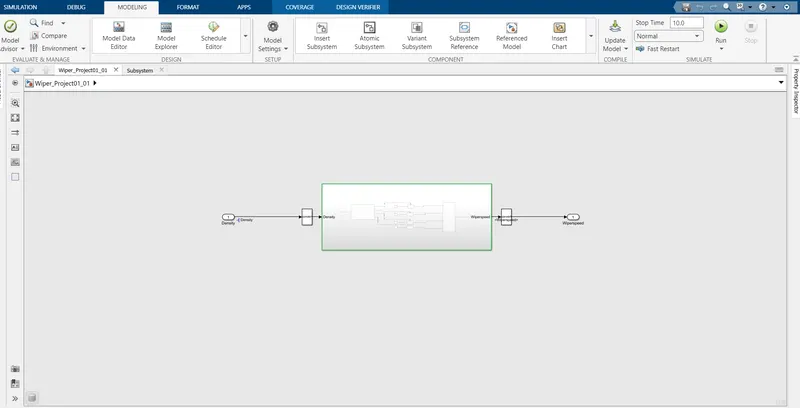
-Reports;
9)Auto-code Generation Report, Main .c & .h file:
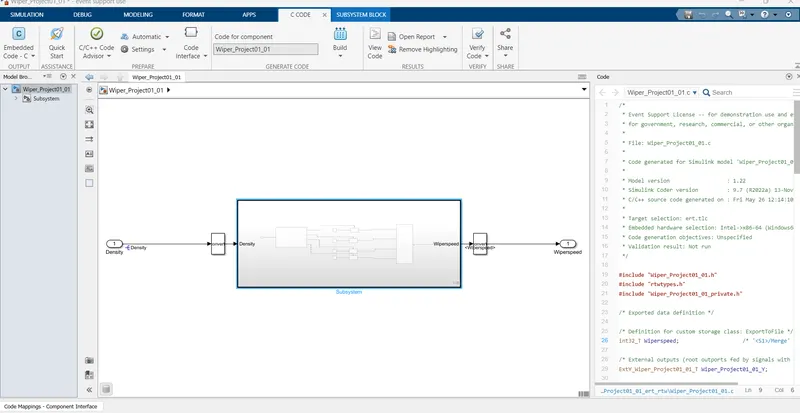
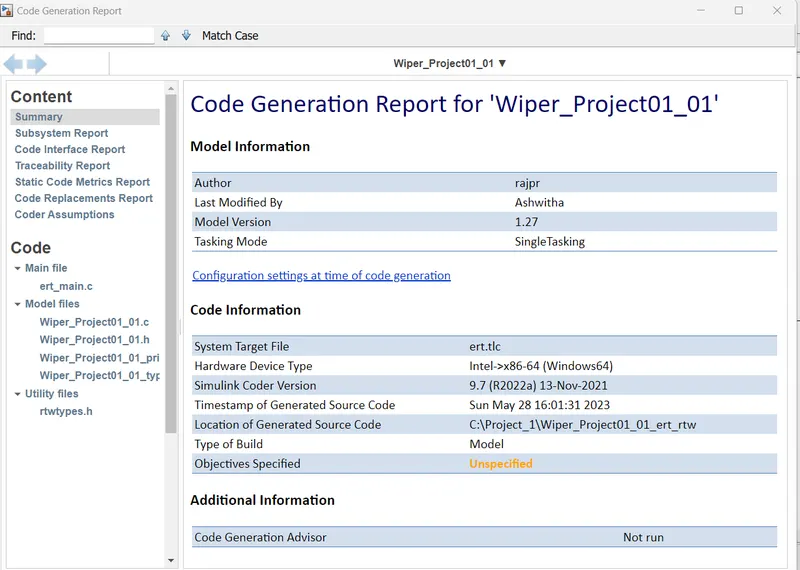
-Open the model >>Model setting and make Code generation setting as 'embedded c' and make'treat as atomic subsystem'>>click on 'Embedded coder'>>And 'Generates code and built the models';
10)Poly space Analysis Report/Outputs:
-For Bug Finder;
-Make code generation setting as below and built the model for code and generates the code using auto code generation;
-Open the polyspace app>>Click on 'Start a New project>>Then link to a source file>>Select 'Bug Finder>>and make configuration setting as below and then save and Run Bug Finder;
-For Code Prover;
-Keeping above setting as same and select 'Code prover' and mk following configuration setting then save and Run the code prover;
polyspace:-
. Open model and save a copy to a writable location.
2. Open the Simulink Coder app.
3. Open the Model Configuration Parameters dialog box. In the C Code tab, click Settings. Alternatively, from the command line, enter:
View the code generation report.
The report includes links to model files and associated utility and header files.
Polyspace Bug Finder:
In c & c++ embedded software, polyspace bug finder detects run time errors,as well as AUTOSAR c++14,CERT C++ & custom naming Conventions.
First we need to do the Configuration parameters settings ;In that we can see tha tha polyspace general overview.
'Project configuration' option in configuration parameters can be configured via the polyspace tool as well .
And we need to set the source code language is set to 'C.
The 'Bug finder Analysis ' option allows us to choose the criteria based on which the run time errors & other code related errors are evaluated.
Integer Overflow parameters are not available by default, hence we can choose custom & select the same .
Each defect category parameter listed here is automatically classified by the tool based on its impact & criticality:
Low , medium & high.
Inside the Polyspace workspace will be created. All the files wiil be located on the workspace.
like Target & computer ,Coding standards & code metrics as well as precision & Reporting etc..
We need to select all the options inside it .
for Auto code generation we need to set the configuration parameters as fuxed step solver and discrete continous mode , Then after code generation must be in embedded coder only.
After setting the model settings click on apps , in that choose embedded coder , click on build the the code will be generated.
We need to import files in coding standards & code metrics And we need to check the option of MISRAC2004.
And check the option of calculate code metrics.
In Bug finder analysis check the option of default.
And we can see the errors in tab.
In polyspace , the very first thing we need to clikc on the new project, and we need to enter our project name.
Before running polyspace Bug finder, generate code using Embedded coder.
Reports folder gets created in the MATLAB folder path where the model is placed .
Polyspace application opens with a new project automatically getting created in the same name as model that we created in our folder.And at last we need to analyze the code results.
11)Test Manager Reports-Baseline and Back_to_Back Testing:
-Baseline Testing;
-Run Model>>Go to the simulink test manager>>Click on'New'>> test file'>>And create test name;
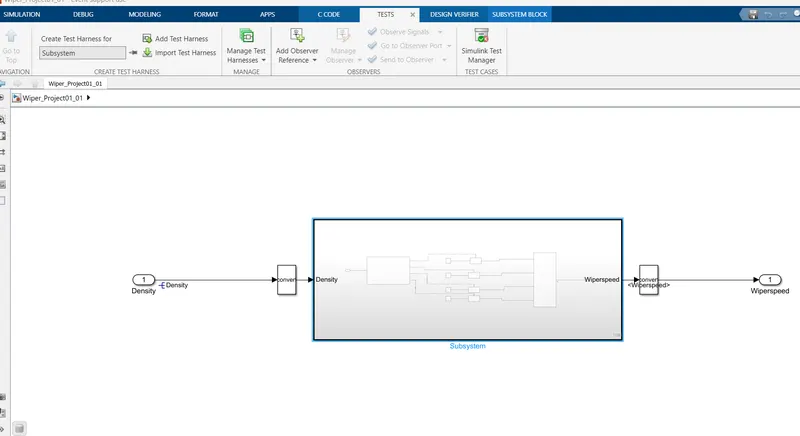
Go to the Requirement;
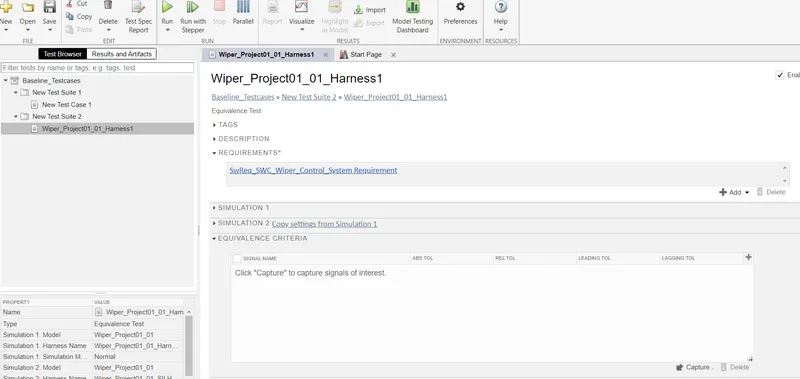
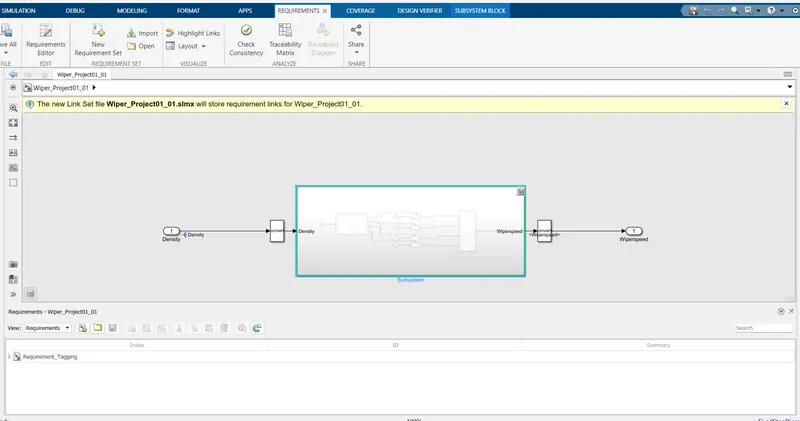
Click on 'System under test';
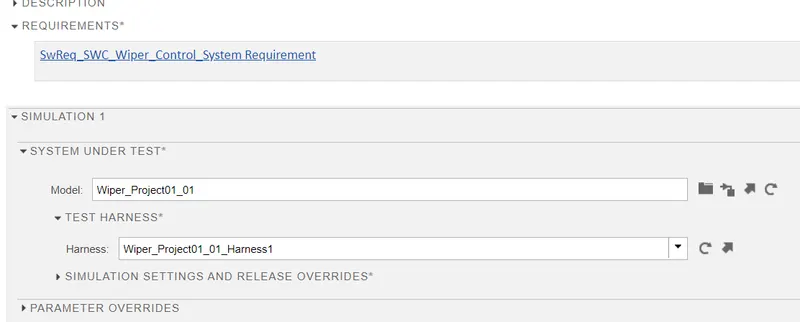
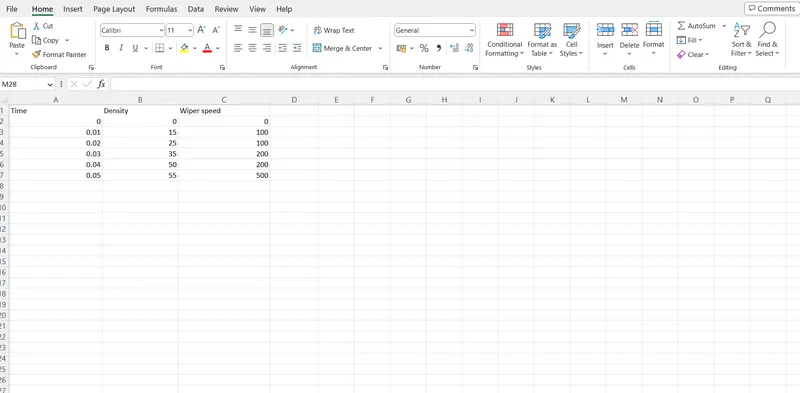
-Click on 'Input';
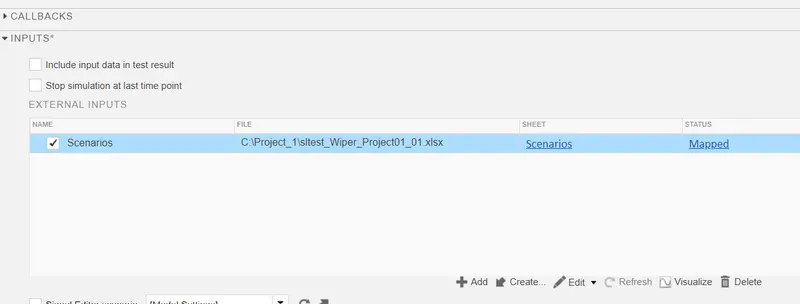
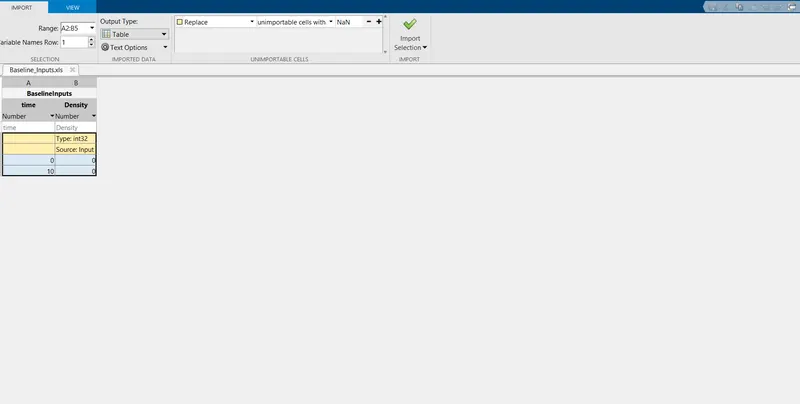
-Click on 'Baseline Criteria';
-Click on 'Coverage setting';
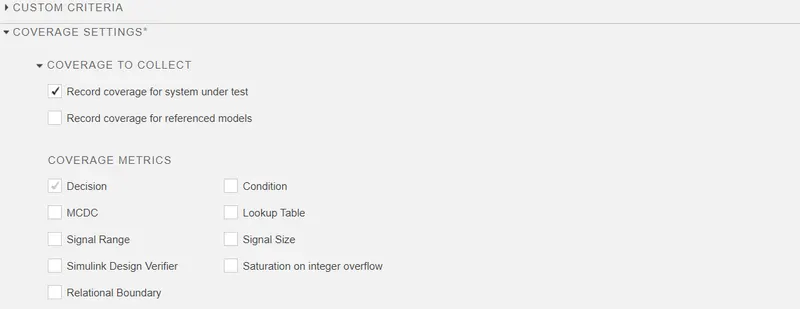
Then save and Run the Test;
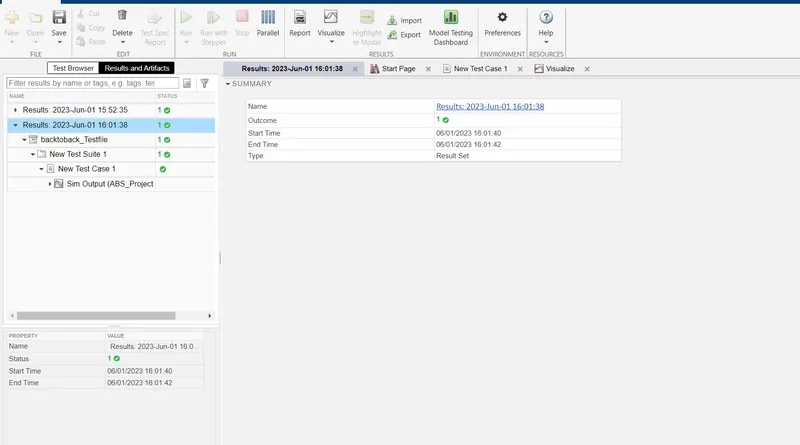
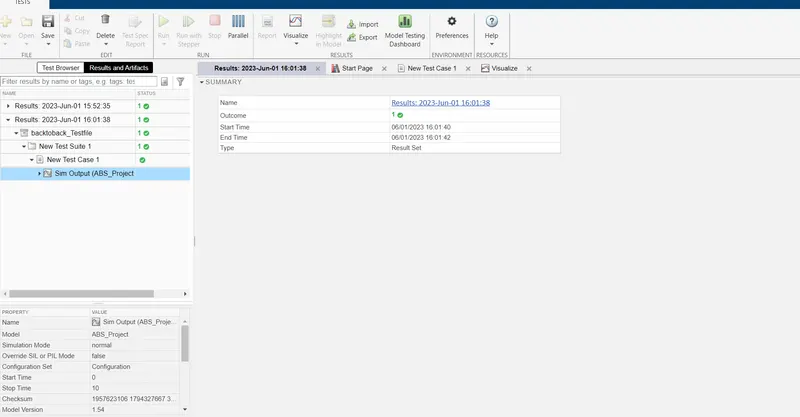
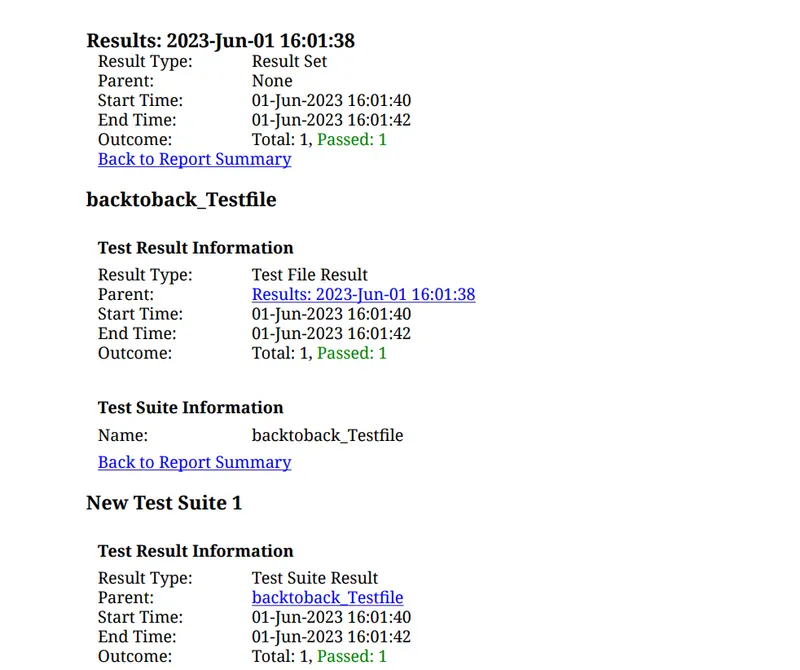
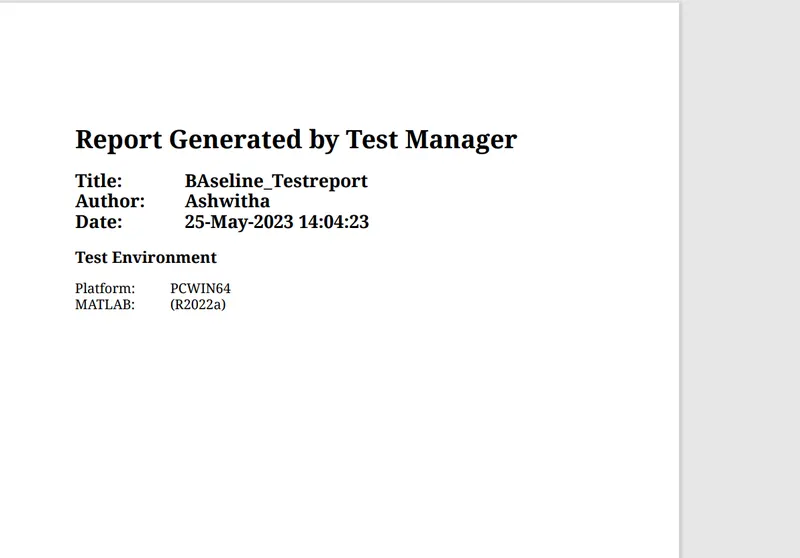
-Results:
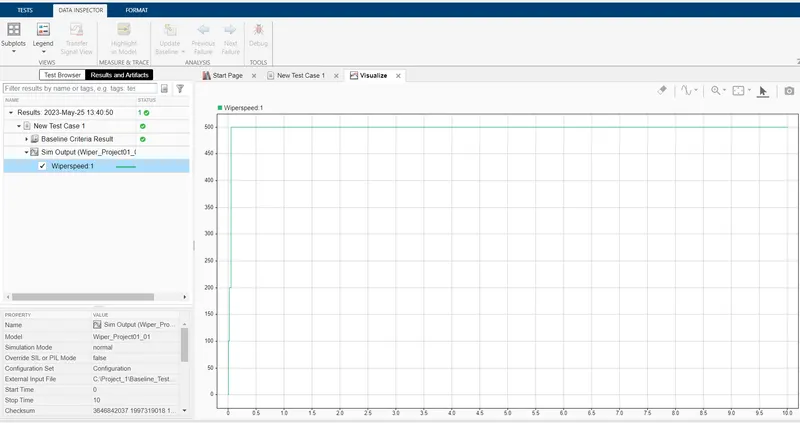
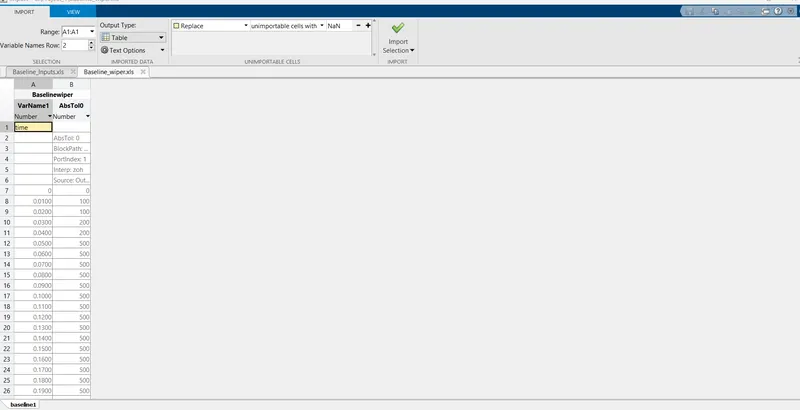
Baseline test Result Reports;
-For Back-to-Bach Testing;
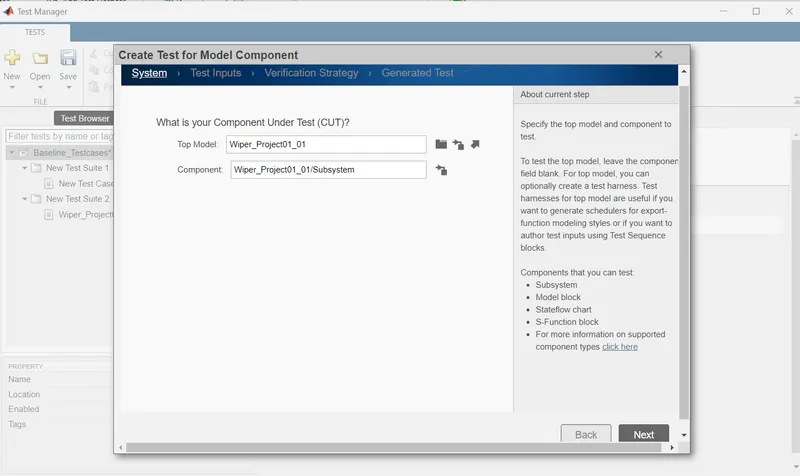
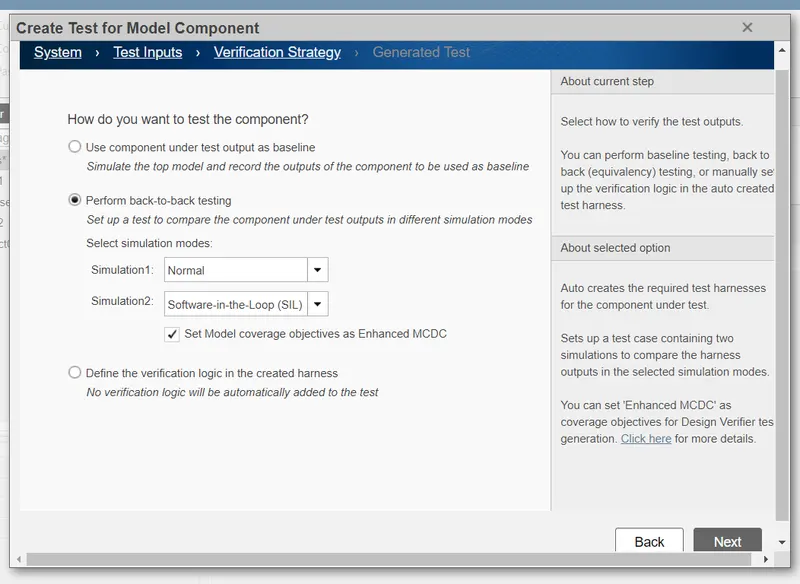
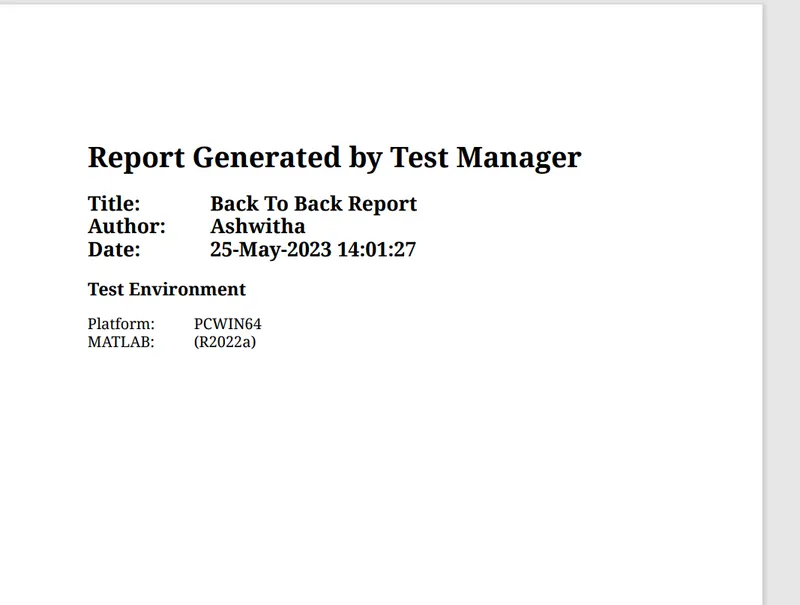
-Go to the sinulink test manager>>click on 'New'>Test file>>Again Click on 'New'>Test for model component>>Then make following settings>>Click 'Next' And 'Done' at final;
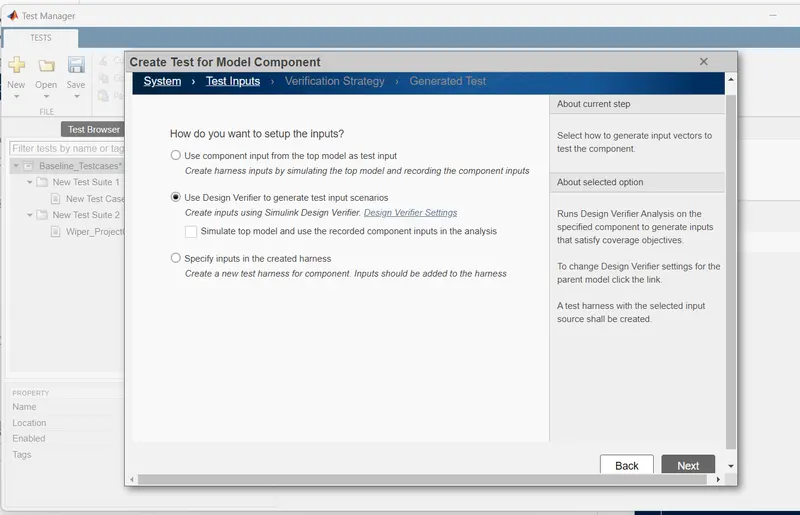
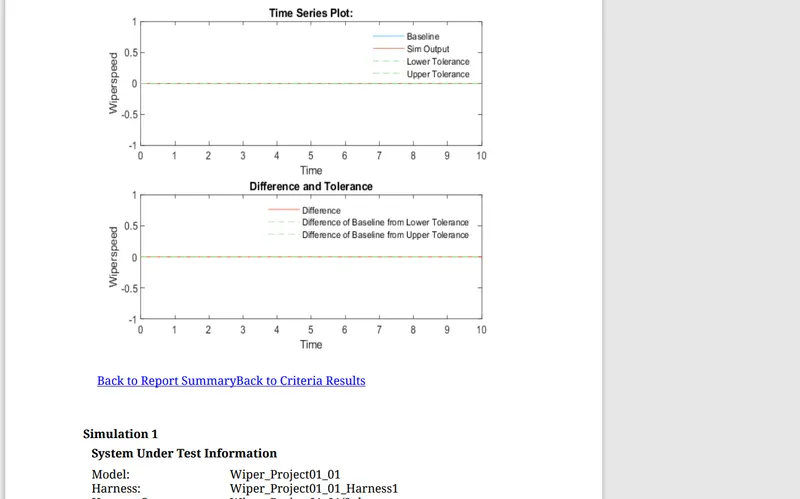
Then Go to Requirements
Add requirement and enable coverage setting
then save and Run
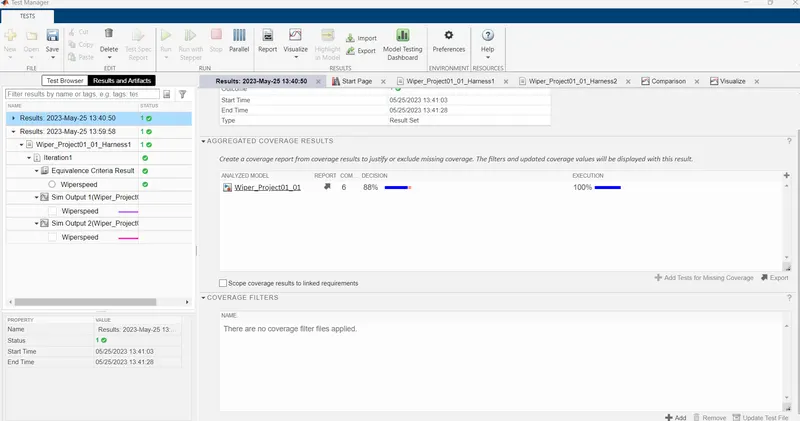
polyspace:-
. Open model and save a copy to a writable location.
2. Open the Simulink Coder app.
3. Open the Model Configuration Parameters dialog box. In the C Code tab, click Settings. Alternatively, from the command line, enter:
View the code generation report.
The report includes links to model files and associated utility and header files.
Polyspace Bug Finder:
In c & c++ embedded software, polyspace bug finder detects run time errors,as well as AUTOSAR c++14,CERT C++ & custom naming Conventions.
First we need to do the Configuration parameters settings ;In that we can see tha tha polyspace general overview.
'Project configuration' option in configuration parameters can be configured via the polyspace tool as well .
And we need to set the source code language is set to 'C.
The 'Bug finder Analysis ' option allows us to choose the criteria based on which the run time errors & other code related errors are evaluated.
Integer Overflow parameters are not available by default, hence we can choose custom & select the same .
Each defect category parameter listed here is automatically classified by the tool based on its impact & criticality:
Low , medium & high.
Inside the Polyspace workspace will be created. All the files wiil be located on the workspace.
like Target & computer ,Coding standards & code metrics as well as precision & Reporting etc..
We need to select all the options inside it .
for Auto code generation we need to set the configuration parameters as fuxed step solver and discrete continous mode , Then after code generation must be in embedded coder only.
After setting the model settings click on apps , in that choose embedded coder , click on build the the code will be generated.
We need to import files in coding standards & code metrics And we need to check the option of MISRAC2004.
And check the option of calculate code metrics.
In Bug finder analysis check the option of default.
And we can see the errors in tab.
In polyspace , the very first thing we need to clikc on the new project, and we need to enter our project name.
Before running polyspace Bug finder, generate code using Embedded coder.
Reports folder gets created in the MATLAB folder path where the model is placed .
Polyspace application opens with a new project automatically getting created in the same name as model that we created in our folder.And at last we need to analyze the code results.
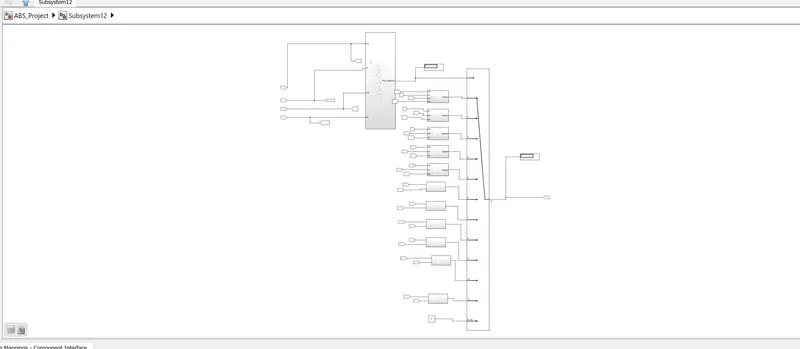
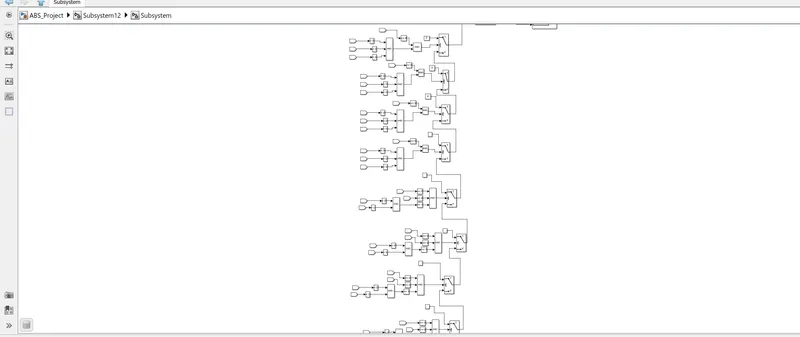
2).Vehicle speed calculation for ABS using Wheel Speed sensor.
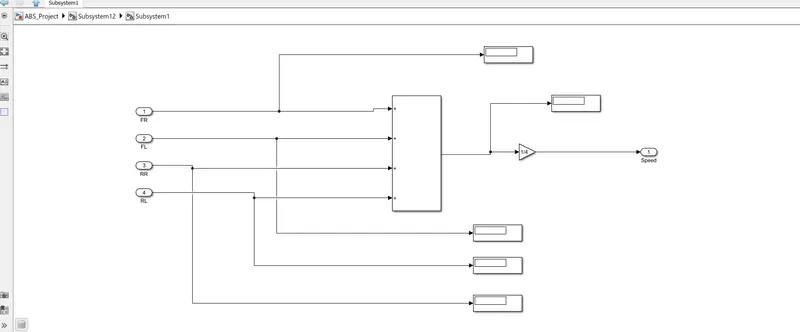
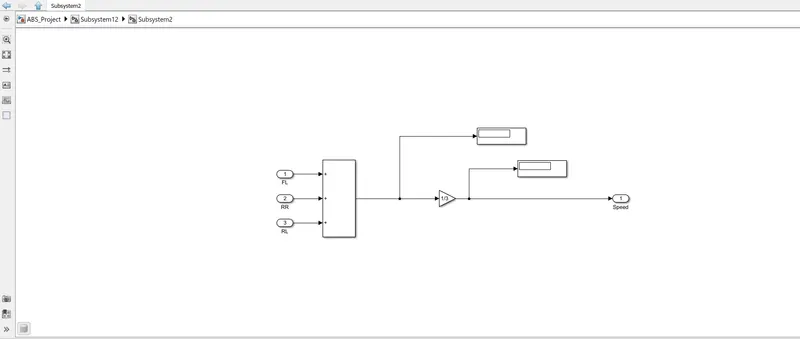
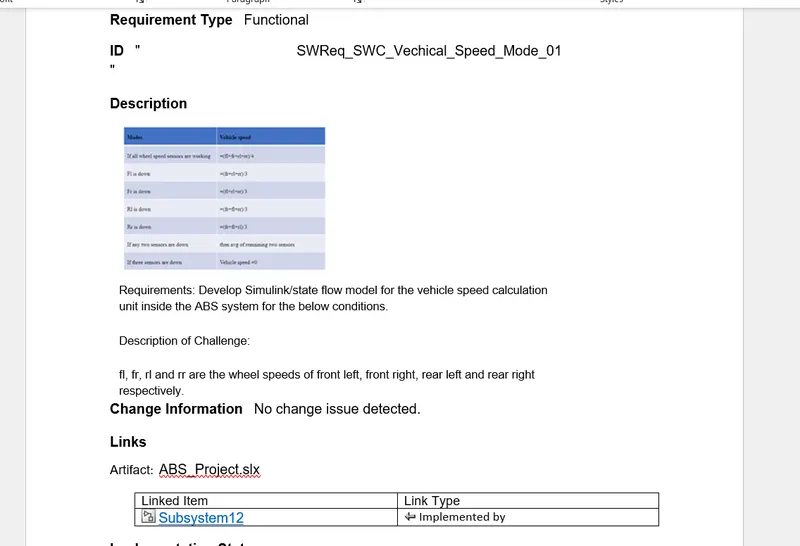
-Develop Simulink/state flow model for the vehicle speed calculation unit inside the ABS system for the below conditions.
Description of Challenge:
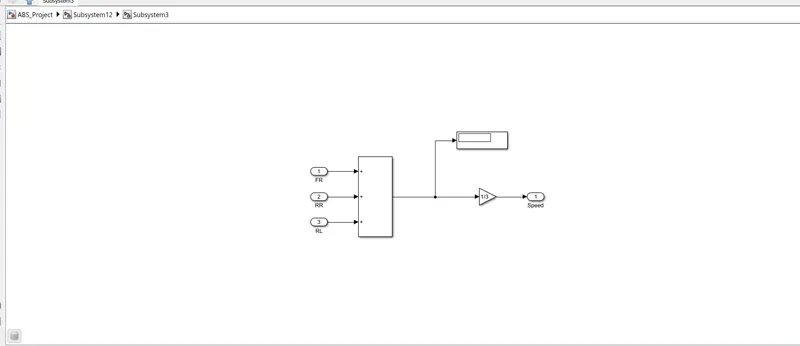
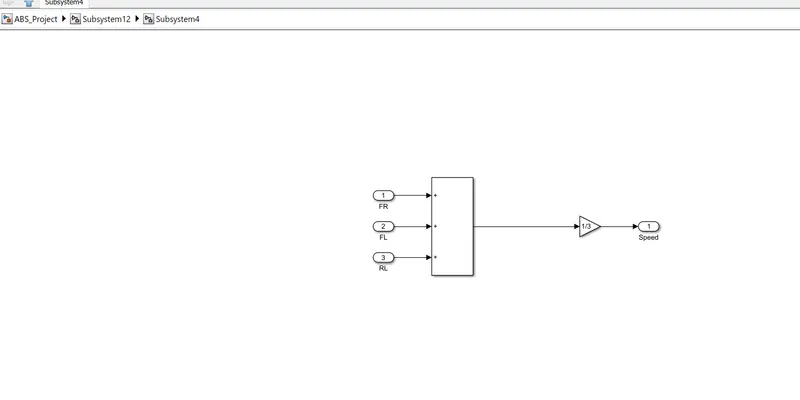
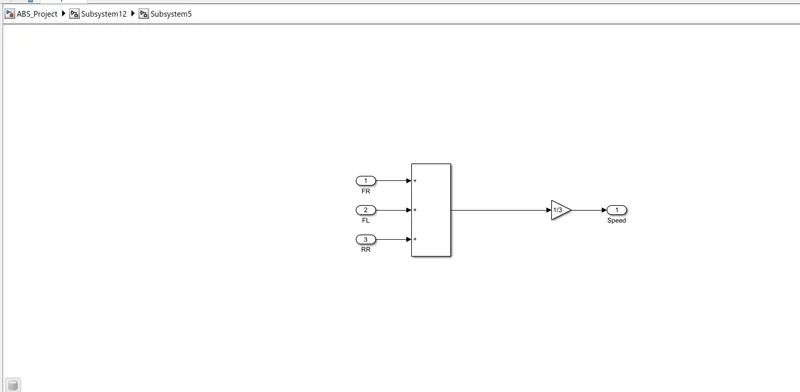
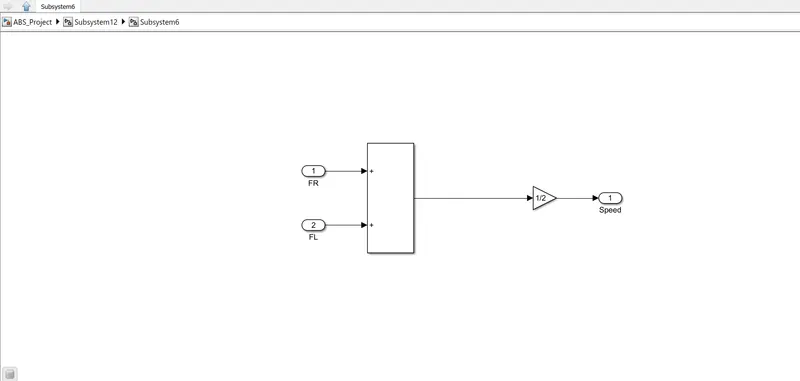
fl, fr, rl and rr are the wheel speeds of front left, front right, rear left and rear right respectively.
1)Simulink Model File:
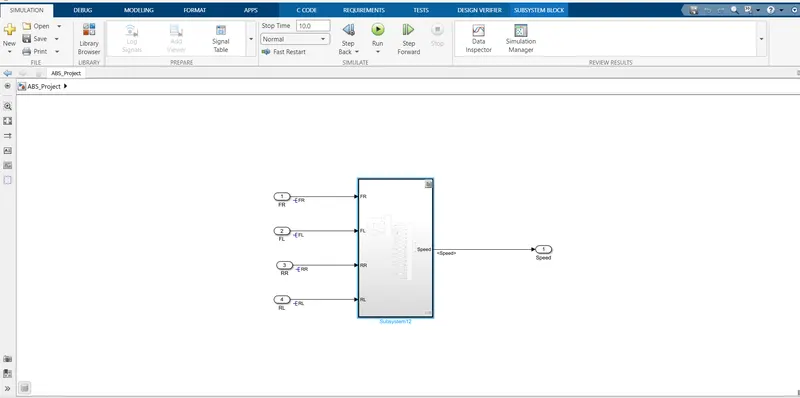
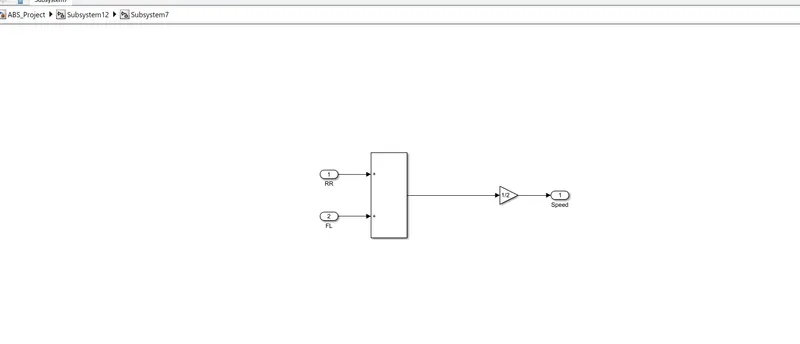
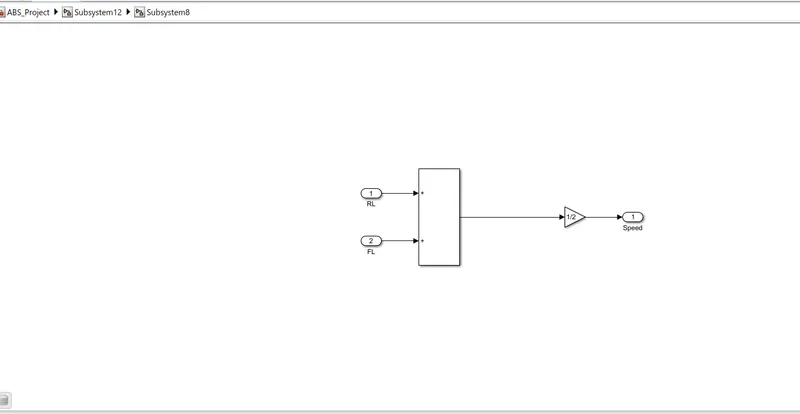
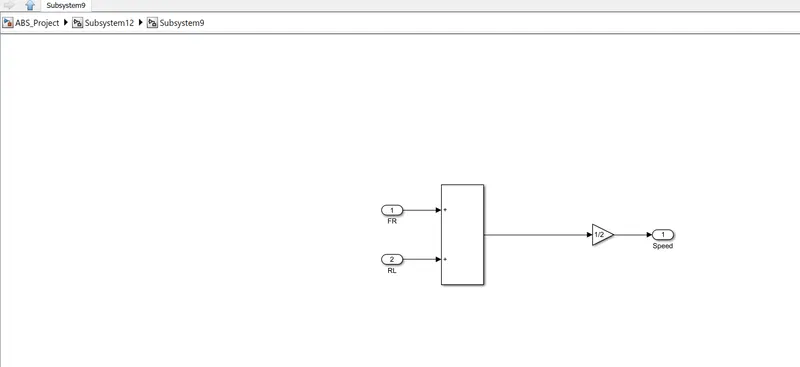
2)SLDD File:
-Create the SLDD File;
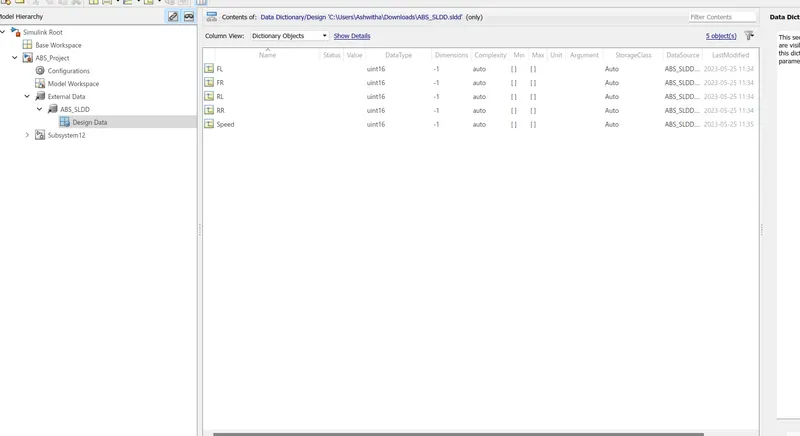
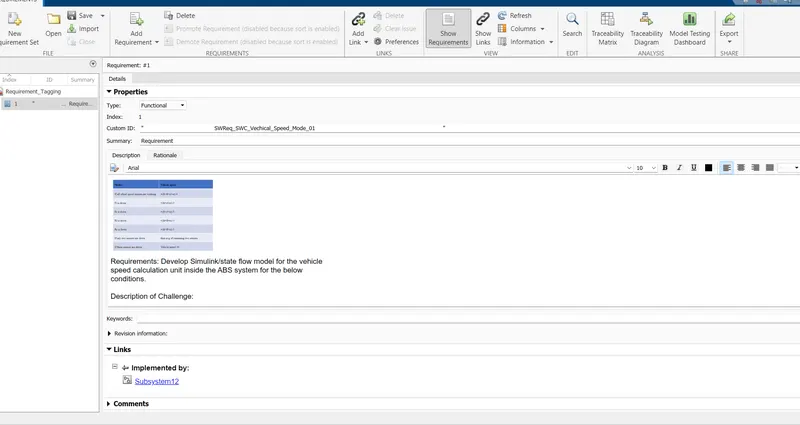
3)Requirement Tagging Report:
-Create the functional and SWReq file into the .xls File;
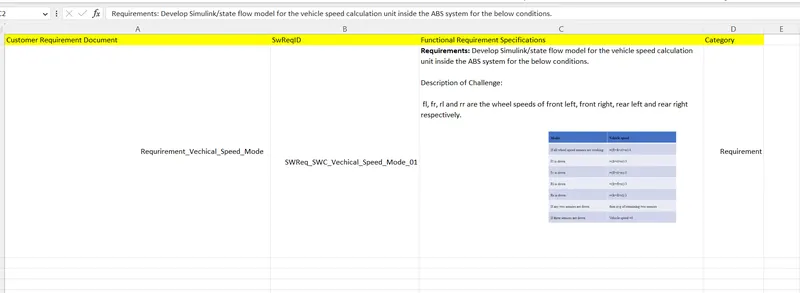
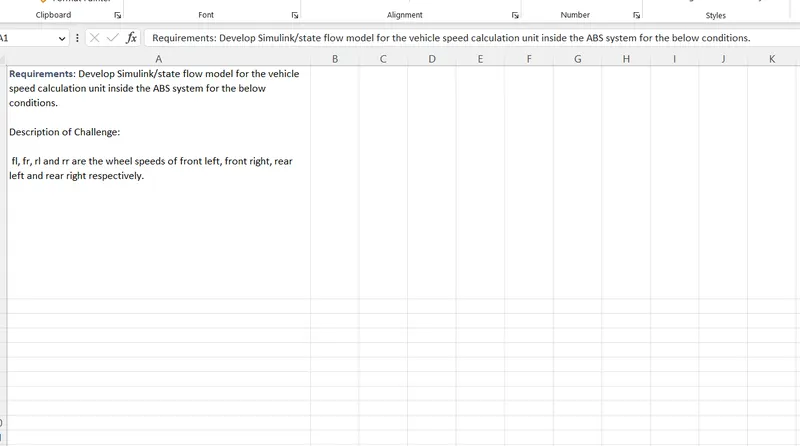
Linking the Requirement to the model using Requirement Editor:
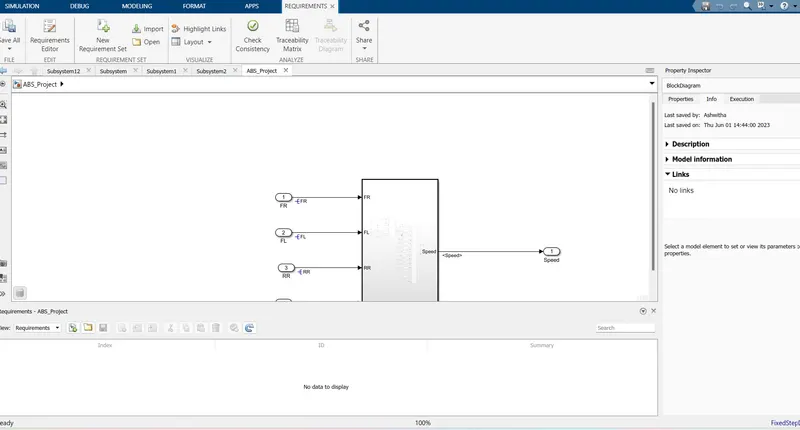
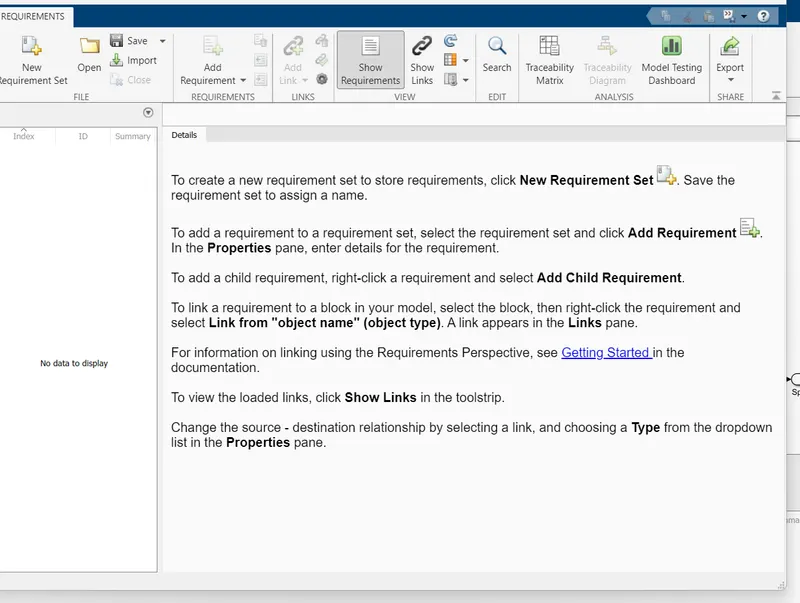
4)Model advisor-JMAAB Compliance Report:
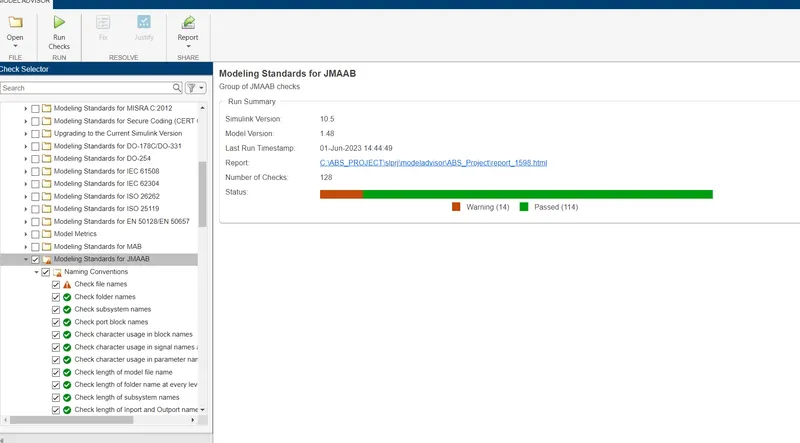
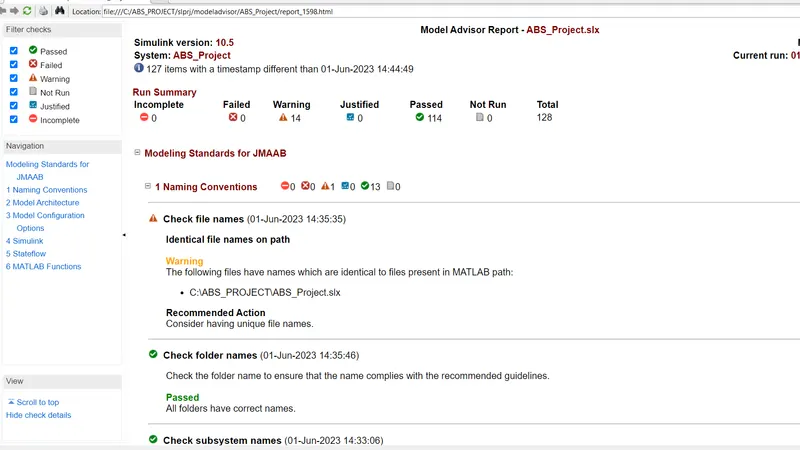
-Open the Model into the Simulink editor tab and Click on 'model advisor'>>select'Modeling standards for JMAAB and click on 'Run selected check';
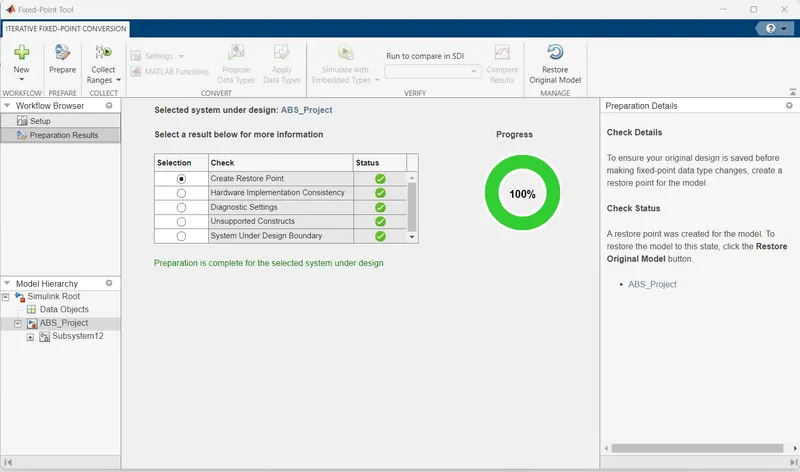
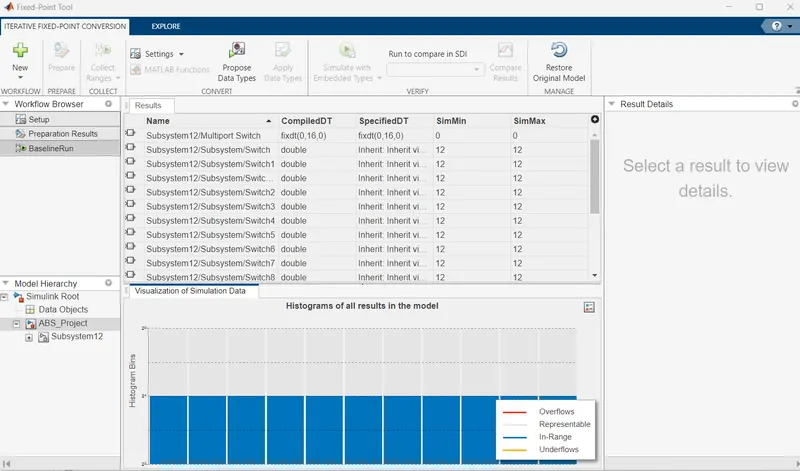
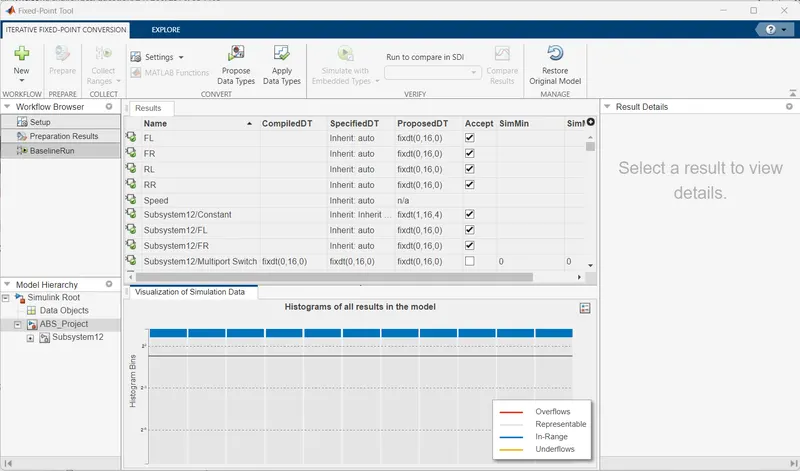
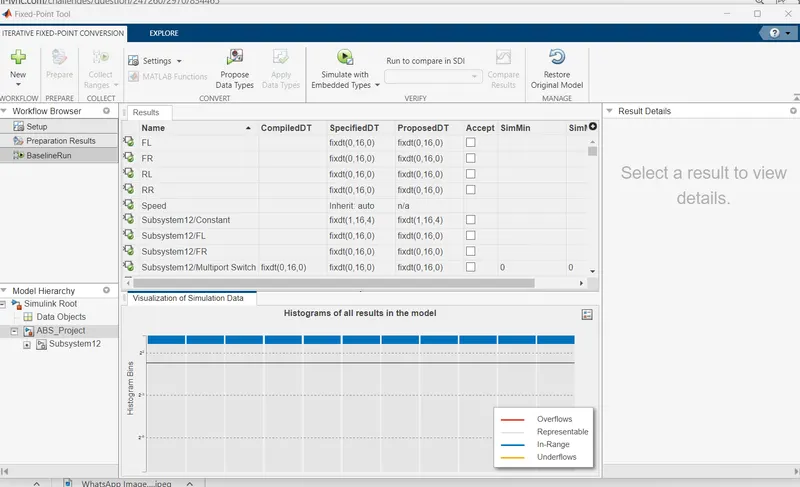
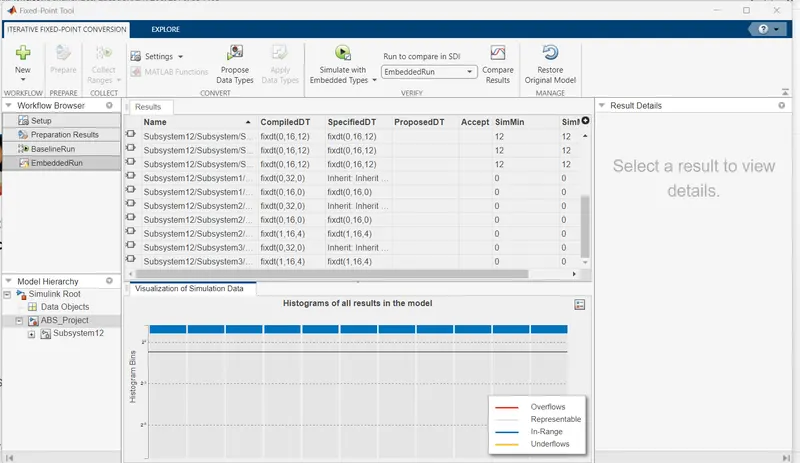
5)Fixed-point Tool:
-Run the Model error free>>Click on 'Fixed-point Tool' app>>Click on 'New'>>Click on Iterative Fixed-point conversion;
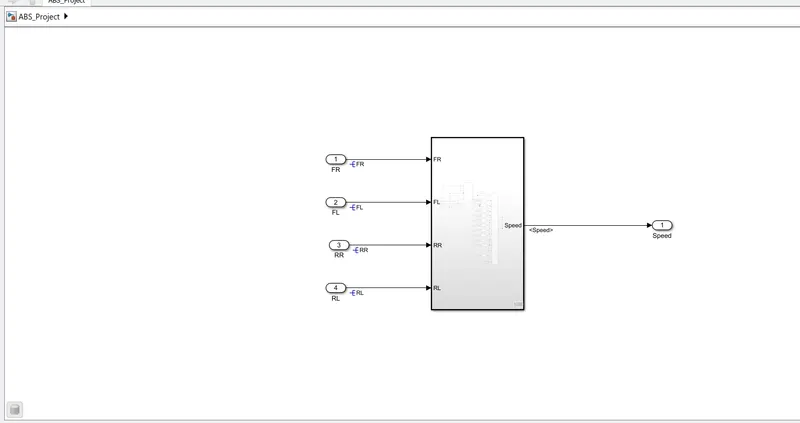
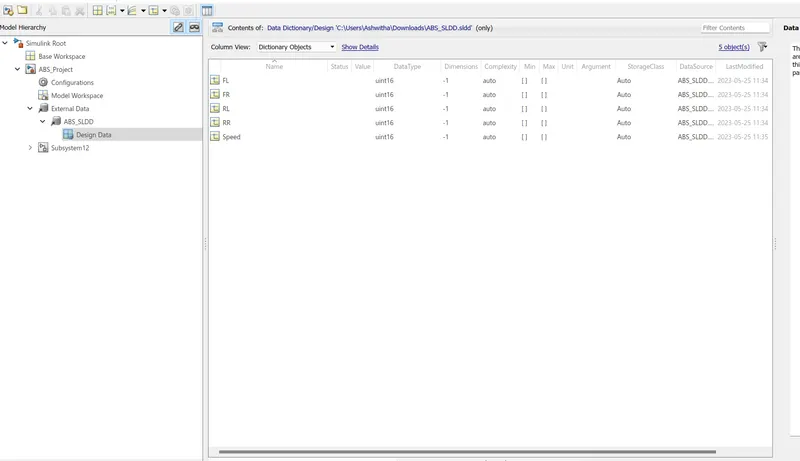
SLDD Before applying Fixed-point Tool;
Then click on 'Prepare' then click on 'collect Ranges'>>then Click on 'Propose Data Type>>click on 'Apply Data Type;
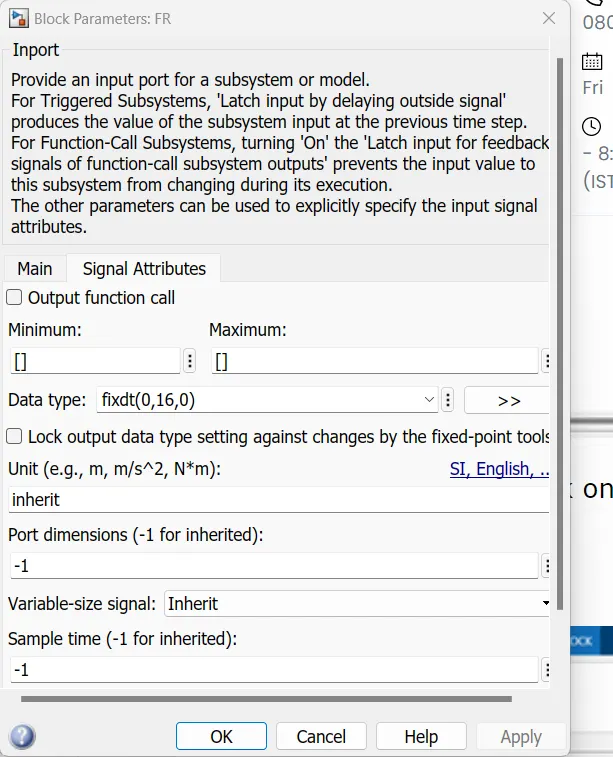
Input Signal After Fixed-Point Tool:
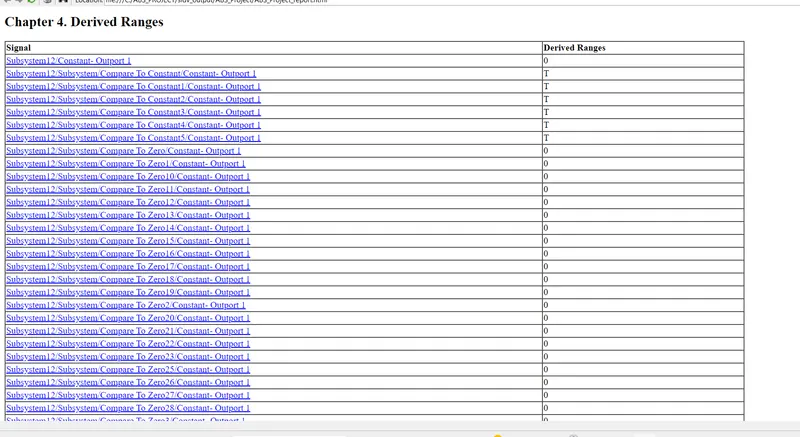
6)SLDV Design Error Detection Report:
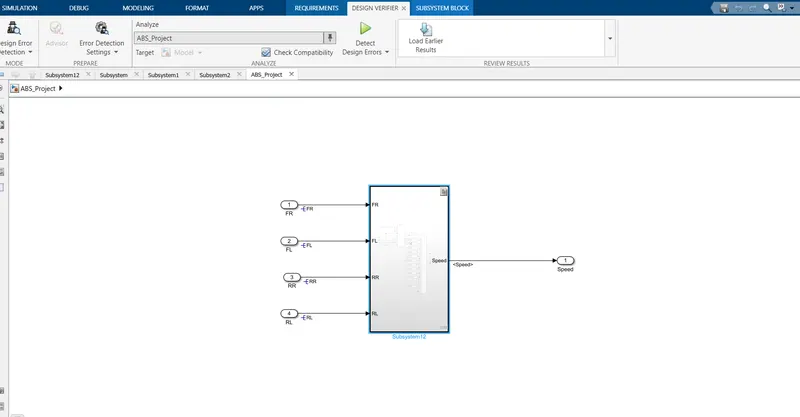
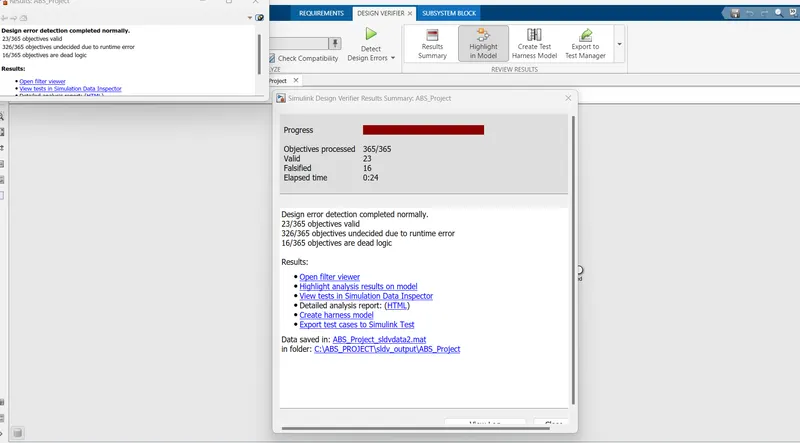
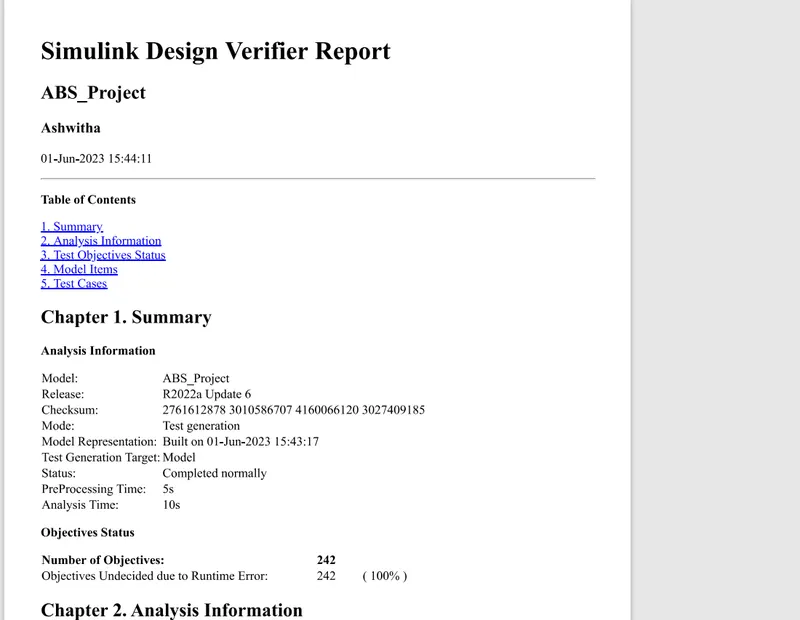
-Go to the model>>open the 'Design verifier' app>>Select 'design error Detection'>>'then Error detection setting'>>ckeack for 'compatibility'>>Click on 'Detect design Errors;
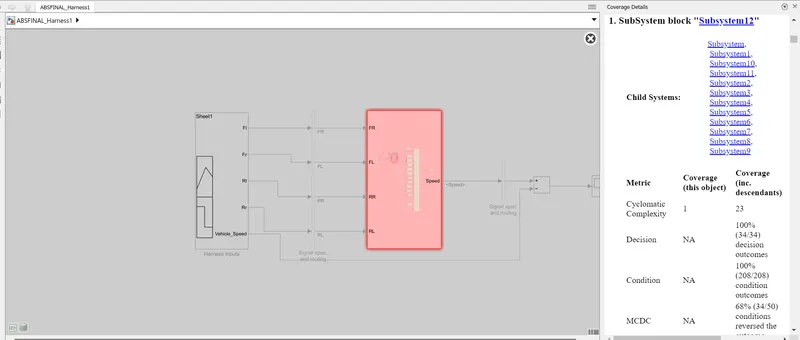
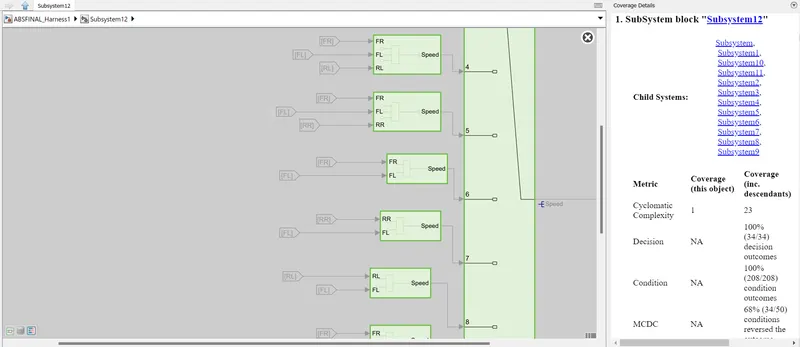
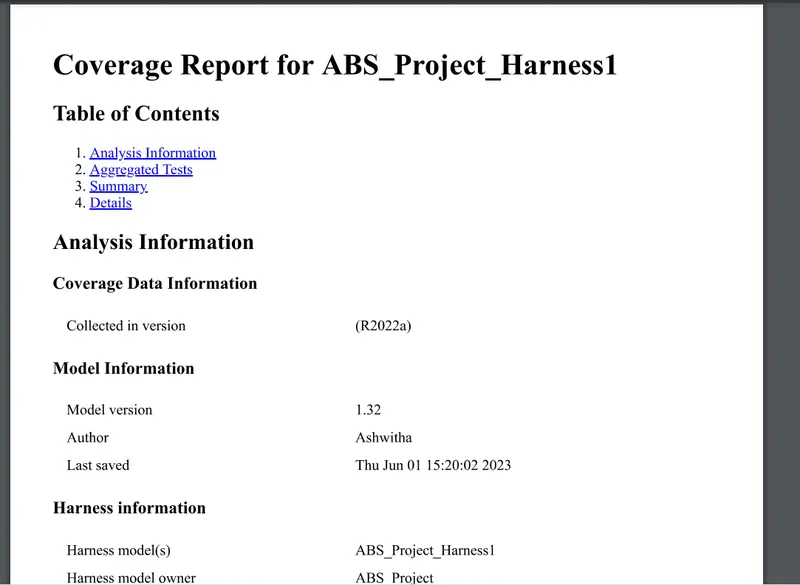
7)Functional test case,MIL & SIL harness, Coverage reports:
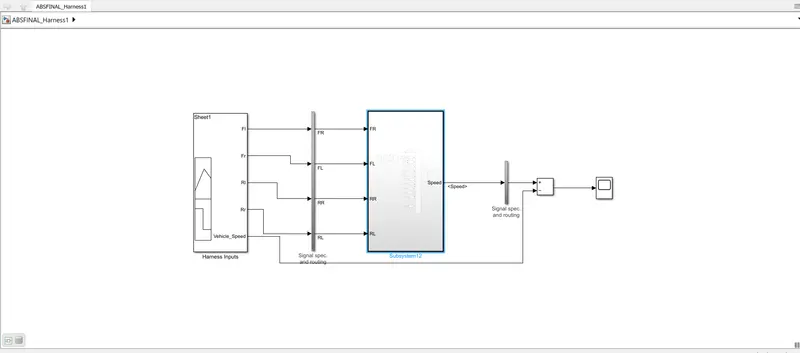
-Simulink Model;
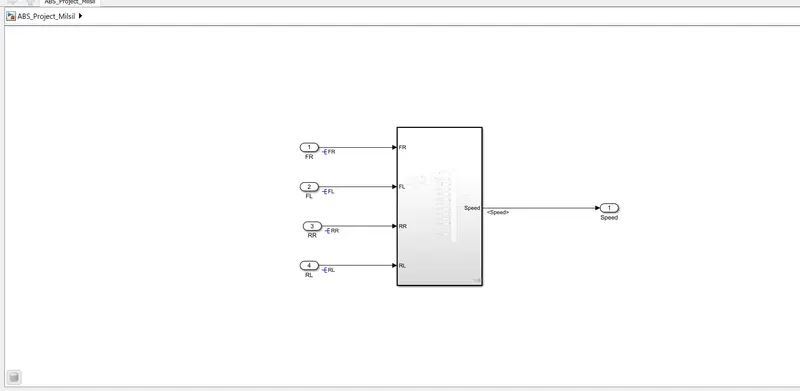
-MIL Model;
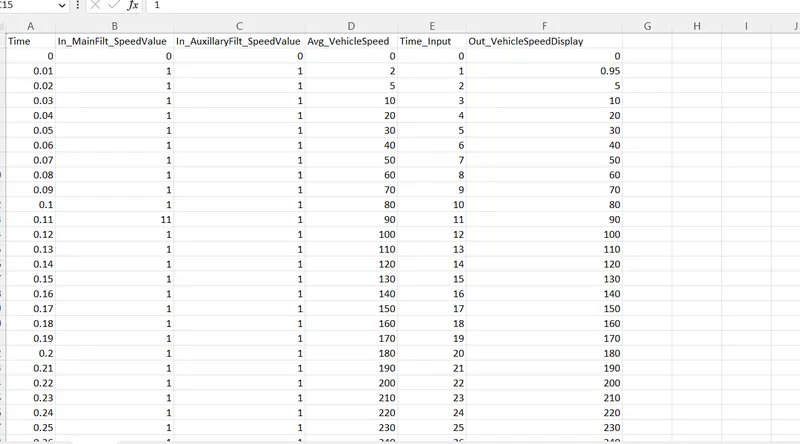
Functional test cases;
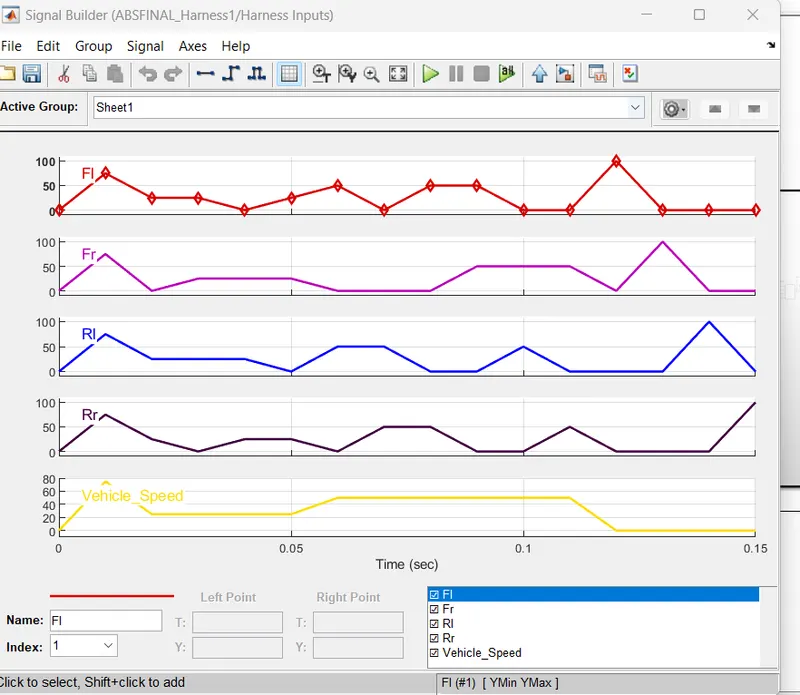
Signal builder input signal;
MIL Output;
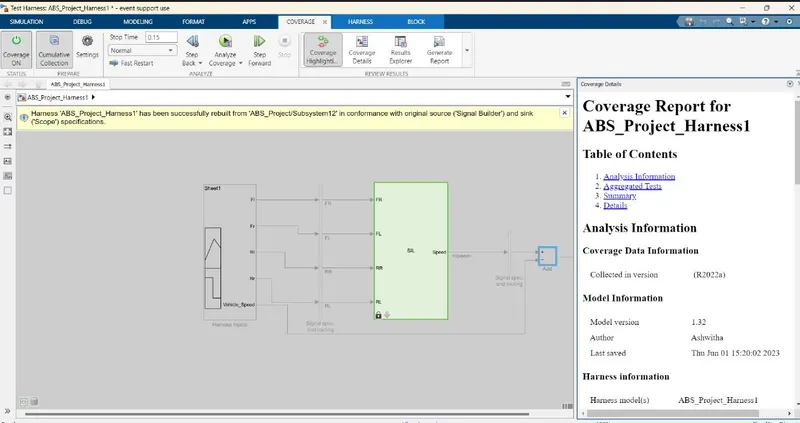
SIL Model;
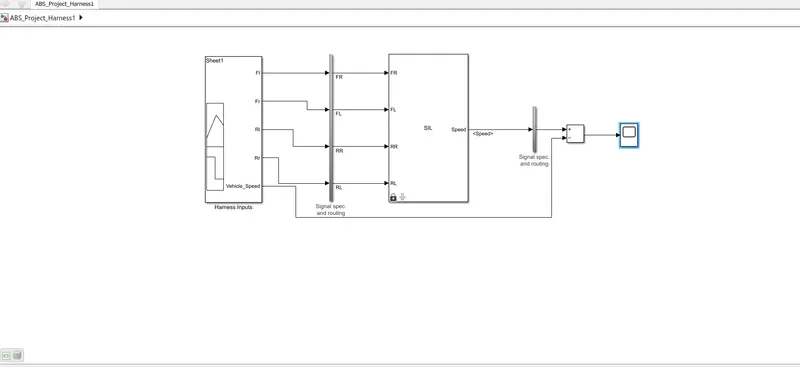
SIL Output;
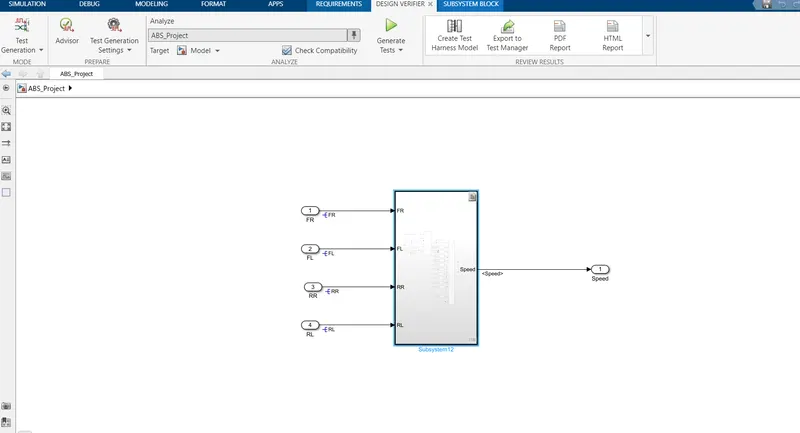
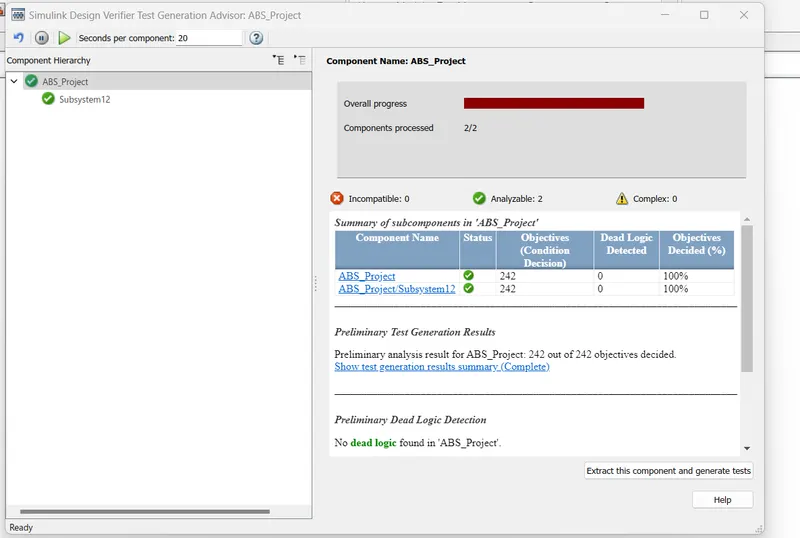
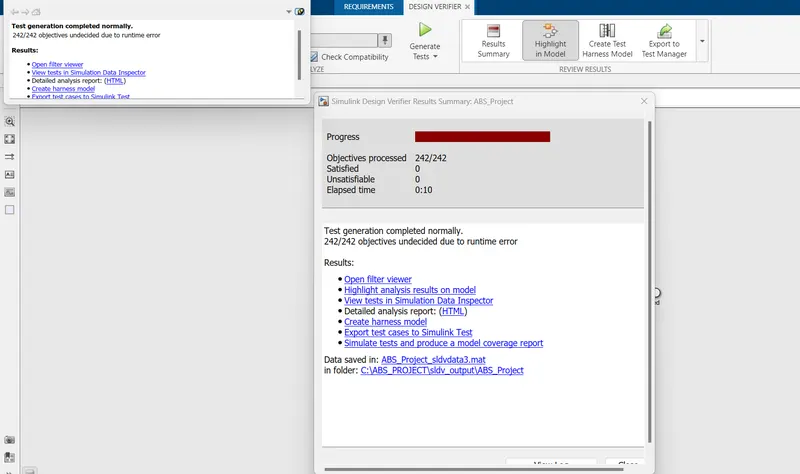
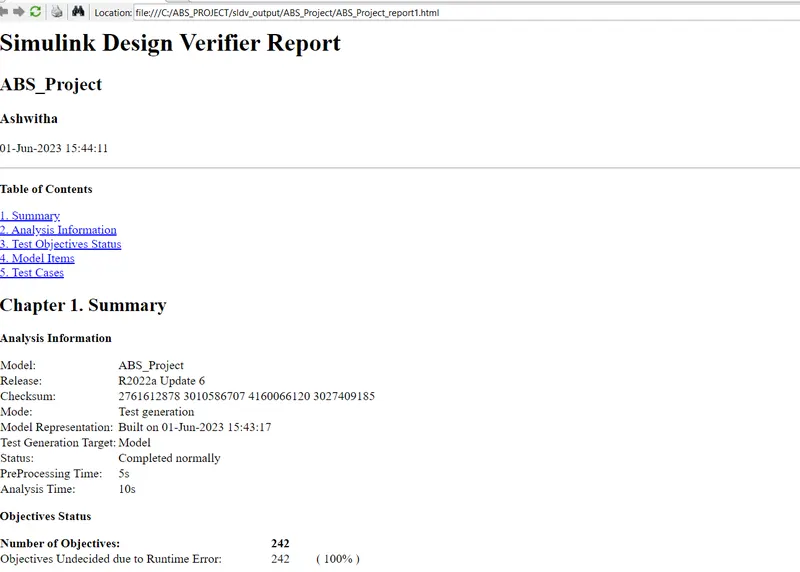
8)SLDV Test Generation Reports:
-Open the model>>Select 'Test Generation'>>Then 'Test generation setting'>> 'Advisor'>>Then 'Generate Test';
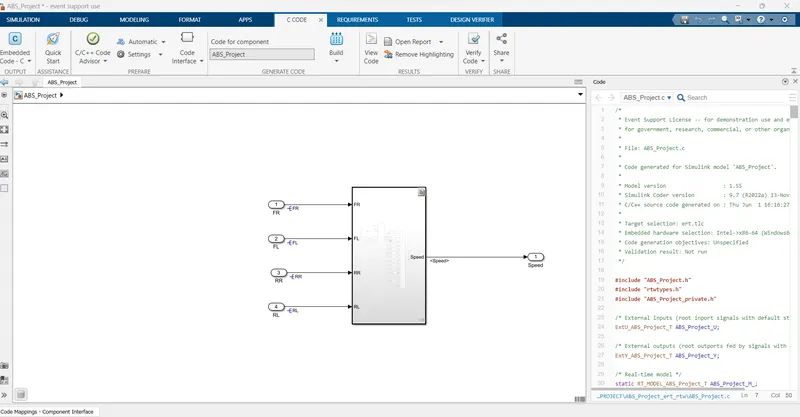
9)Auto-code Generation Report, Main .c & .h file:
-Open the model >>Model setting and make Code generation setting as 'embedded c' and make'treat as atomic subsystem'>>click on 'Embedded coder'>>And 'Generates code and built the models';
0)Poly space Analysis Report/Outputs:
-For Bug Finder;
-Make code generation setting as below and built the model for code and generates the code using auto code generation;
Open model and save a copy to a writable location.
2. Open the Simulink Coder app.
3. Open the Model Configuration Parameters dialog box. In the C Code tab, click Settings. Alternatively, from the command line, enter:
View the code generation report.
The report includes links to model files and associated utility and header files.
Polyspace Bug Finder:
In c & c++ embedded software, polyspace bug finder detects run time errors,as well as AUTOSAR c++14,CERT C++ & custom naming Conventions.
First we need to do the Configuration parameters settings ;In that we can see tha tha polyspace general overview.
'Project configuration' option in configuration parameters can be configured via the polyspace tool as well .
And we need to set the source code language is set to 'C.
The 'Bug finder Analysis ' option allows us to choose the criteria based on which the run time errors & other code related errors are evaluated.
Integer Overflow parameters are not available by default, hence we can choose custom & select the same .
Each defect category parameter listed here is automatically classified by the tool based on its impact & criticality:
Low , medium & high.
Inside the Polyspace workspace will be created. All the files wiil be located on the workspace.
like Target & computer ,Coding standards & code metrics as well as precision & Reporting etc..
We need to select all the options inside it .
for Auto code generation we need to set the configuration parameters as fuxed step solver and discrete continous mode , Then after code generation must be in embedded coder only.
After setting the model settings click on apps , in that choose embedded coder , click on build the the code will be generated.
We need to import files in coding standards & code metrics And we need to check the option of MISRAC2004.
And check the option of calculate code metrics.
In Bug finder analysis check the option of default.
And we can see the errors in tab.
In polyspace , the very first thing we need to clikc on the new project, and we need to enter our project name.
Before running polyspace Bug finder, generate code using Embedded coder.
Reports folder gets created in the MATLAB folder path where the model is placed .
Polyspace application opens with a new project automatically getting created in the same name as model that we created in our folder.And at last we need to analyze the code results.
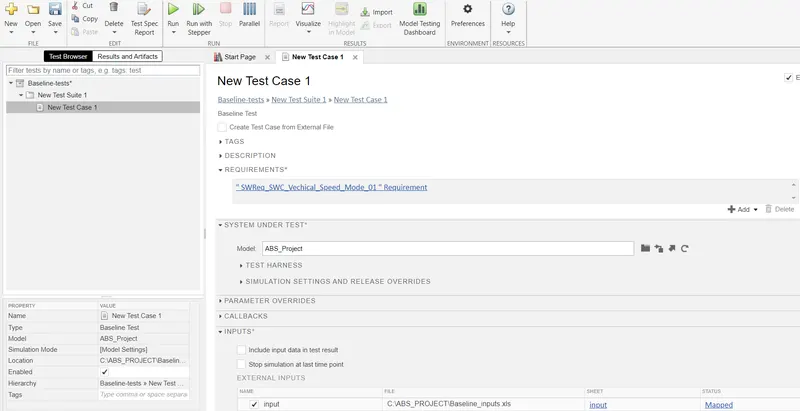
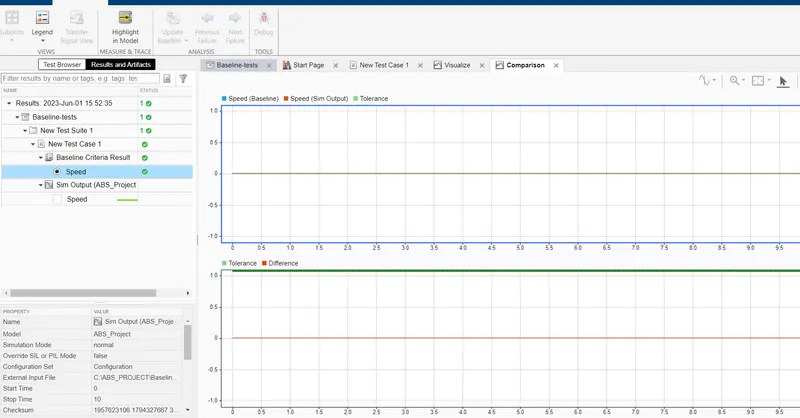
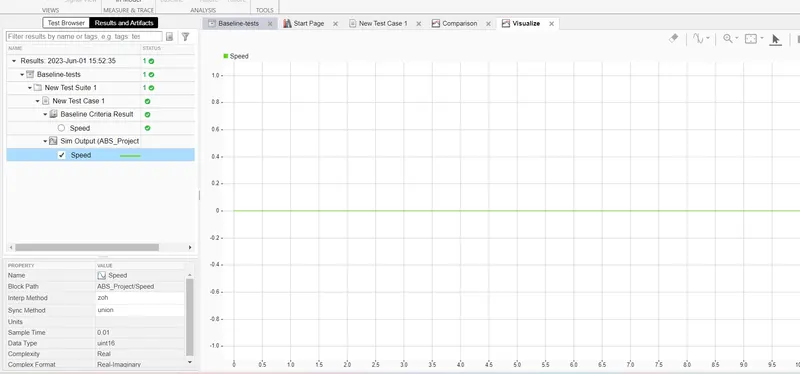
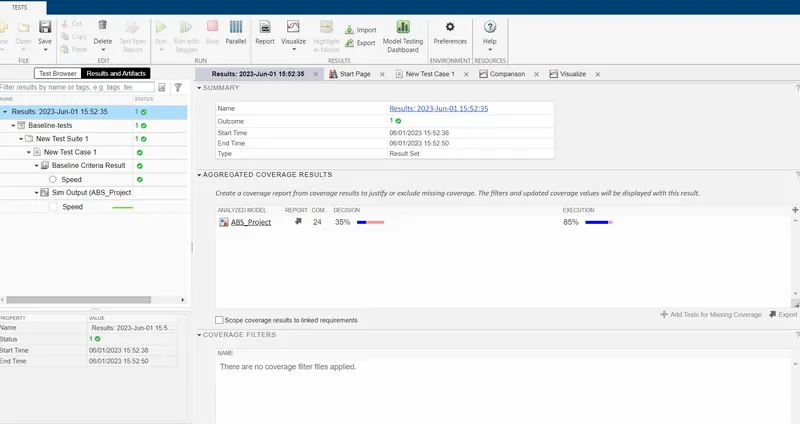
11)Test Manager Reports-Baseline and Back_to_Back Testing:
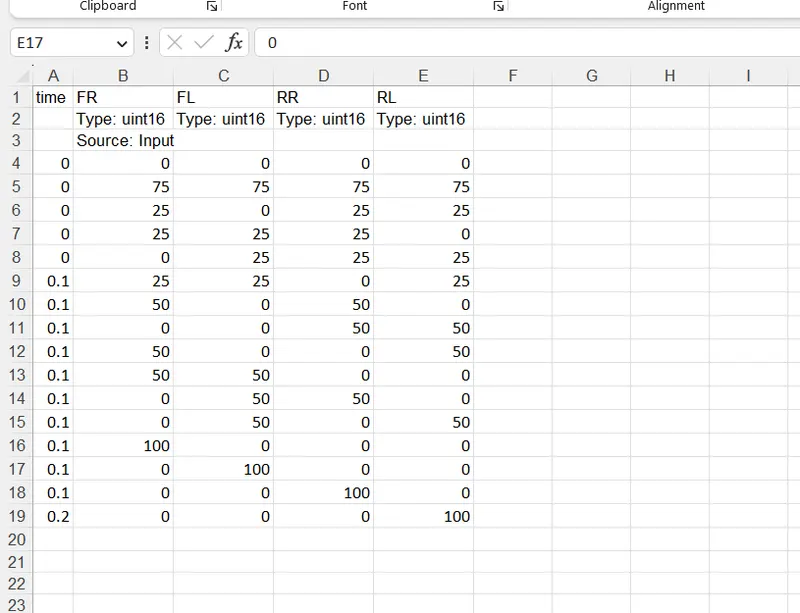
-Baseline Testing;
-Run Model>>Go to the simulink test manager>>Click on'New'>> test file'>>And create test name;
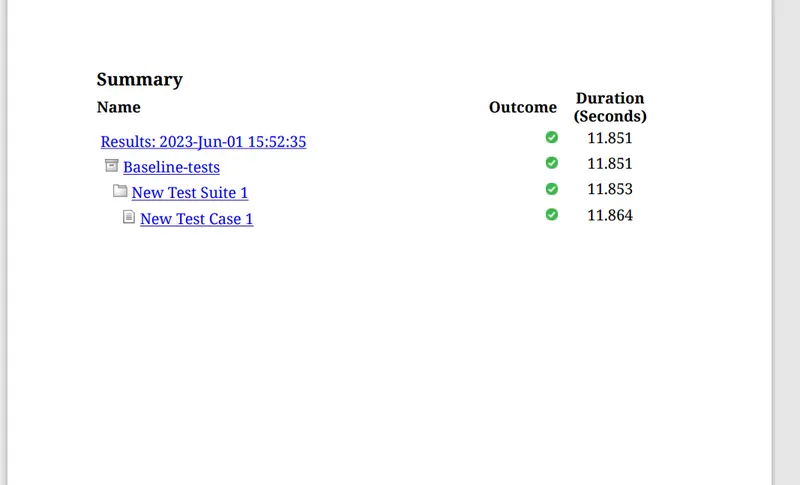
For Back-to-Bach Testing;
-Go to the sinulink test manager>>click on 'New'>Test file>>Again Click on 'New'>Test for model component>>Then make following settings>>Click 'Next' And 'Done' at final