Project 1-Meshing of Rear Wheel Holder challenge
AIM:
Target Element Length = 5 Units
| S.N | Quality Criteria | Value |
| 1 | Aspect Ratio | 5 |
| 2 | Skewness | 45 |
| 3 | Warping | 15 |
| 4 | Taper | 0.5 |
| 5 | Min. Length | 2 Units |
| 6 | Max. Length | 8 Units |
| 7 | Min angle Quad | 45 |
| 8 | Max angle Quad | 135 |
| 9 | Min angle Tria | 20 |
| 10 | Max angle Tria | 120 |
| 10 | Tria % | 10 |
Objective -
- To generate the mid surface manually and do a geometry cleanup on the component.
- To generate a mesh and to get a proper mesh flow on the given component with low tria concentration.
- To check the element's quality according to the given quality criteria.
- To assign a thickness for the component.
PROCEDURE:
1)Importing: Download the given model and Import it in the hyper mesh module i.e. IGES. file
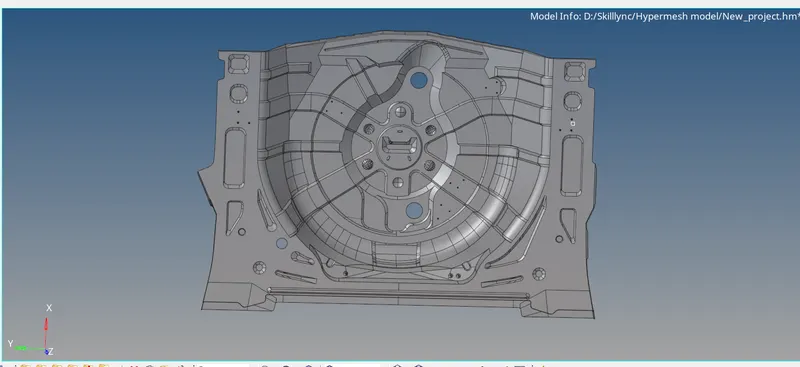
2) Delete any solids if available.
Delete [F2] >> Solids >> Select by box selection >> Delete Entity.
3)Check for the components if there are any duplicate components delete them after organizing all the models in one piece.
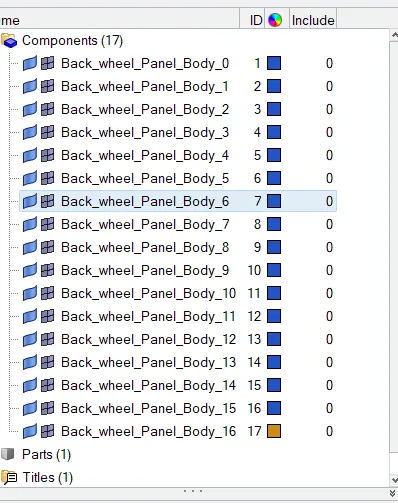
4) Check for Symmetry
- This tool is to find symmetrical surfaces or compare selected surface sets for symmetry. You can reorganize found symmetric surfaces into separate components or delete one subset of a pair of symmetric surface sets.
- This can be helpful with highly symmetrical components because you can then perform geometry cleanup on only one half, mesh it, and then mirror the mesh instead of having to clean up the entire component prior to meshing.
- Geom >> Surface Edit [Shift + F9] >> Symmetry >> Axis >> Base Point.
- Find symmetry-Locate surfaces within a single component that are mirror images of one another across a plane of symmetry that you specify.
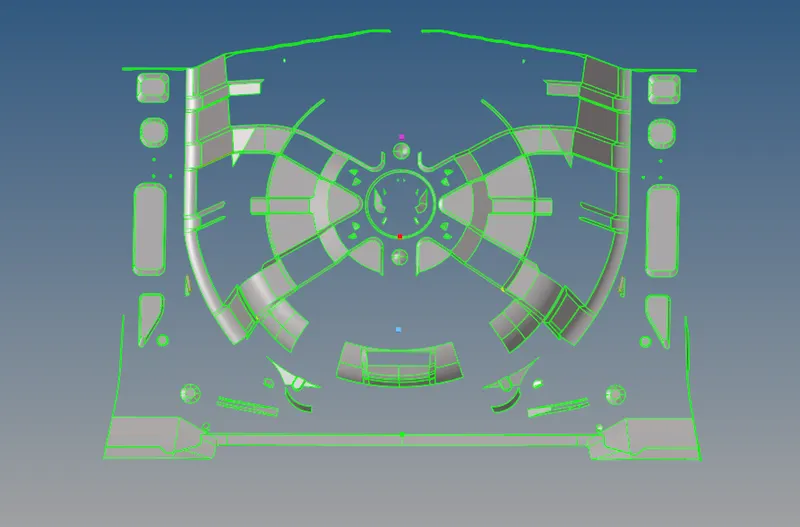
5) Geometric Clean-Up on the Parent Component
- If we want we can do geometry clean up on the parent component or after extracting the mid surface also, we can do geometry clean up on the mid surface.
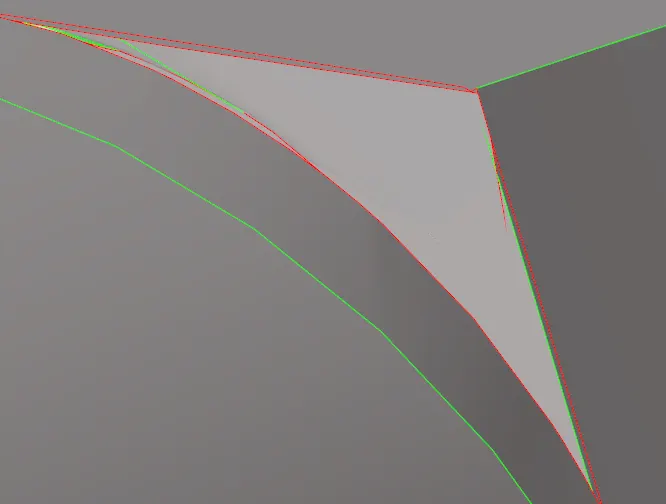
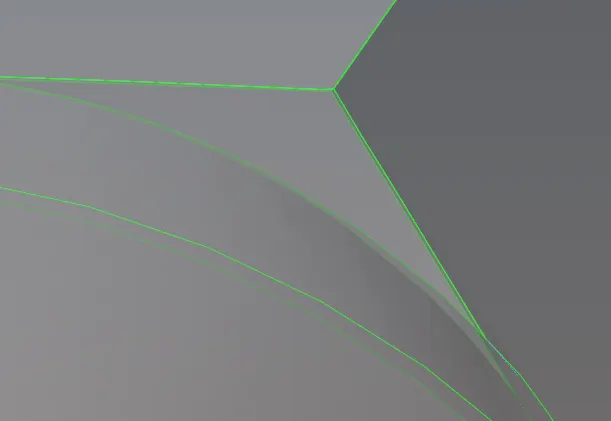
6) Check for Geometric Deformations
- We should also check for any geometric deformations like
- Damaged Geometry in some regions.
- Overlapped Surfaces.
- Free edges.
- Unnecessary Connections (Extra points and lines).
- Connectivity error.
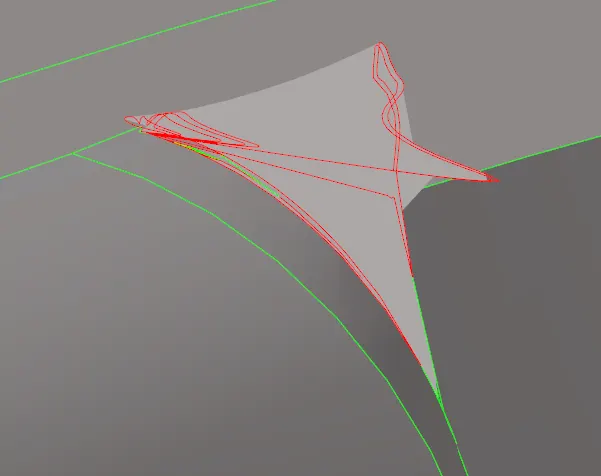
- I like to clean the geometry before mid-surfacing.
- Now fix this damaged surface by deleting the surface.
- Geometry >> Quick edit [F11] >> Delete Surface >> Surface (Select).


7) Toggling
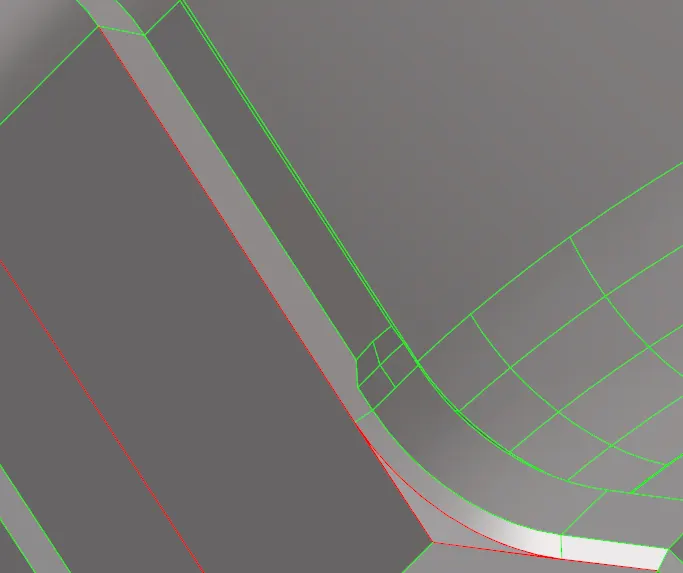
- The narrow gaps, We can toggle them using Quick Edit Panel.
- Geom >> Quick Edit [F11] >> Toggle Edges >> Lines (Select).
Toggle Edge -
- Use the lines selector to select line(s).
- Left-click a free edge (red) to make it shared (green), or a shared edge to make it suppressed (blue).
- Right-click a suppressed edge to make it shared, or a shared edge to make it free.

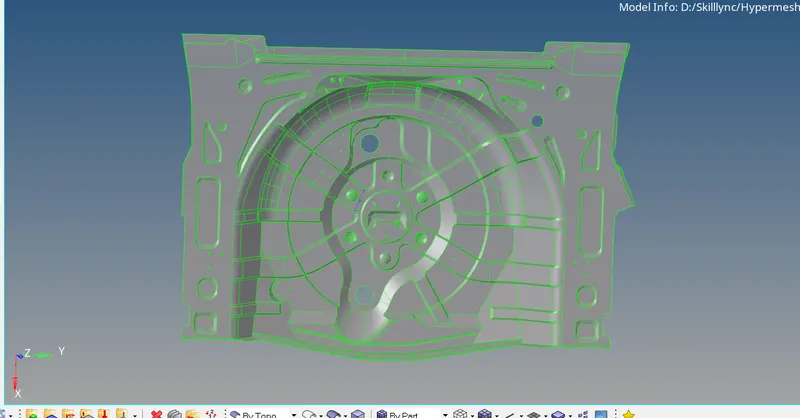
8) No free edges Parent component
9) Extracting Mid Surface
1. Obtain a closed volume of surfaces or solids
- Midsurface: Auto midsurface requires an enclosed volume.
- Use topology repair techniques if needed.
2. For complex parts, try defeaturing the surface defining the volume
- This simplifies the part and may give better results with creating solid.
3. Generate the mid surface using mid surface: auto mid surface
- Use surface pair for areas that need more control.
- Use mid-surface: editing tools for mid-surfaces that need fine-tuning.
4. View the mid-surface and correct errors using the mid-surface editing functionalities
- Can generally use quick edit.
Geom >> Mid surface >> Auto Midsurface >> Extraction process (Offset + Planes + Sweeps) >> Auto Extraction (Closed Volume) >> Surfaces (Displayed) >> Extract.


10) Mid surface
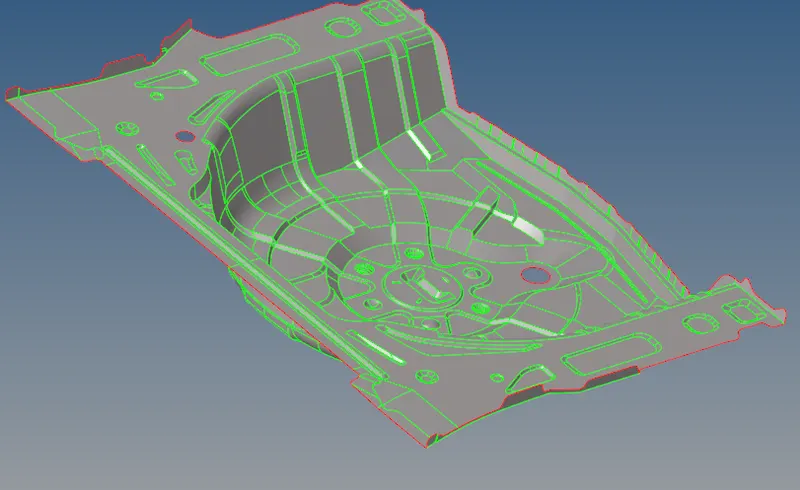
11)Geometric Clean-Up on the Mid Surface
- Do a geometric cleanup on the mid-surface extracted.
- Check for the free edges in the middle region of the mid surface.
- If there are any free edges, Toggle them and eliminate that free edges.
- We need to fill the gaps (Free Edges) to get connectivity while meshing.
- If we won't fill the gaps, There will be no connectivity while meshing.
- If we do analysis without filling that gaps, Forces won't be distributed in that regions,So fill the gaps and equivalence them.
- We can fill the surfaces by using the following tools called
- Filler Surface
- Ruled Surface
- Spline
- Skin
12) cleaned mid surface
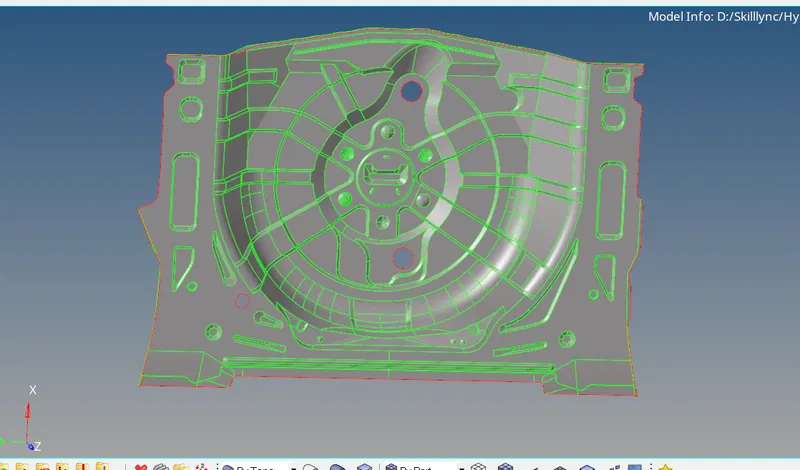
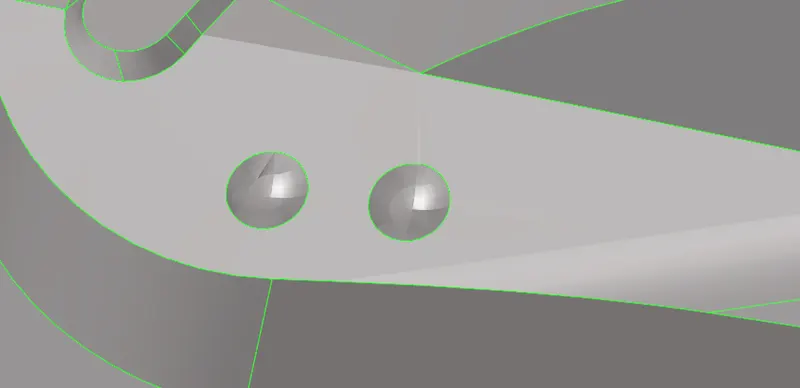
14)Delete Small Holes
- Delete the small pin holes because we can't capture the feature there.
- So delete that small pin holes, After deleting that fill that holes with the filler surface.
- Delete tool is used to delete data from a model database, preview and delete empty collectors, and preview and delete unused property collectors, material collectors, or curves.
- You can also delete an entire model database if you wish to start with a clean database.
- Go to Tool >> Delete [F2] >> Surfaces >> Delete Entity.
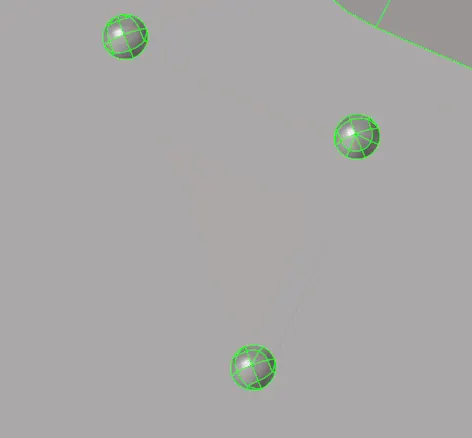
Toggle the edges which are failing for minimum length
- Toggle the edges which are failing for minimum length.
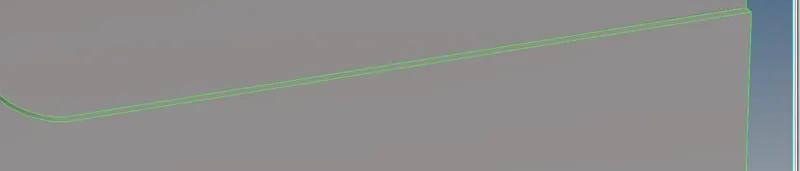
No Free Edges in Mid Region
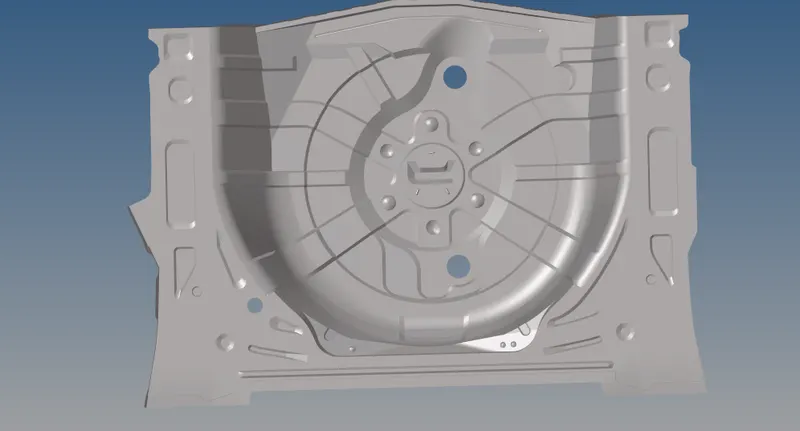
15) Enter the quality criteria what they given for the component
- Tool bar → preferences → criteria file settings → checks for the element criteria →Enter values → apply → ok.
- Before generating a mesh on the surfaces.Enter the quality criteria given tou us in the question.
- You can go and enter quality criteria in Tool bar → preferences → criteria file settings → checks for the element criteria →Enter values → apply → ok.
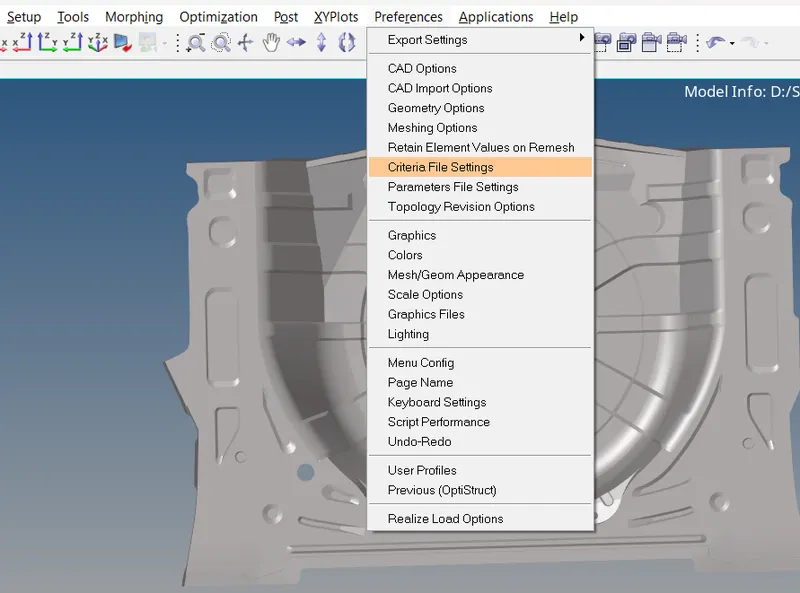
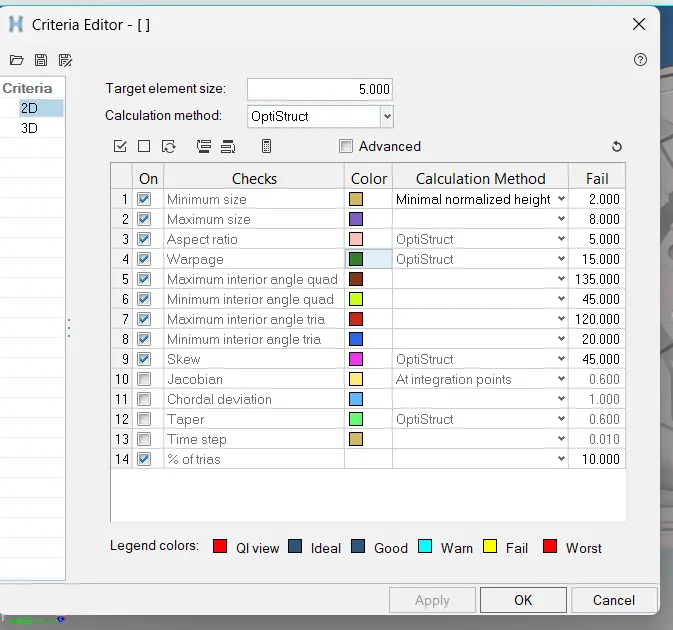
16) Now we need to mesh the mid surface
- First mesh the smaller surface than mesh the surrounding surfaces.
17) complete meshed component
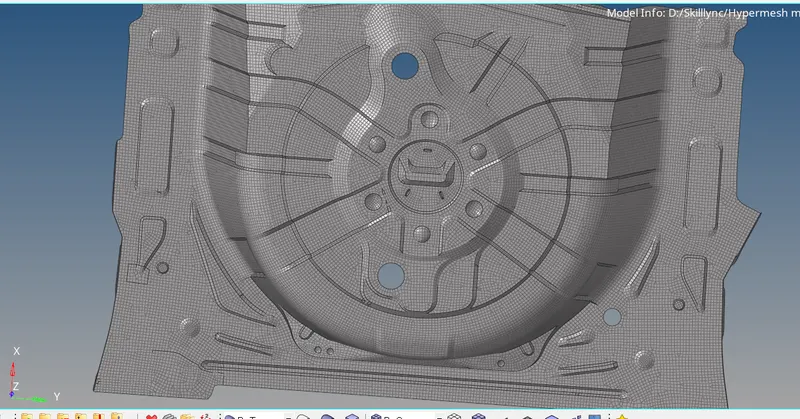
Without any quality failure
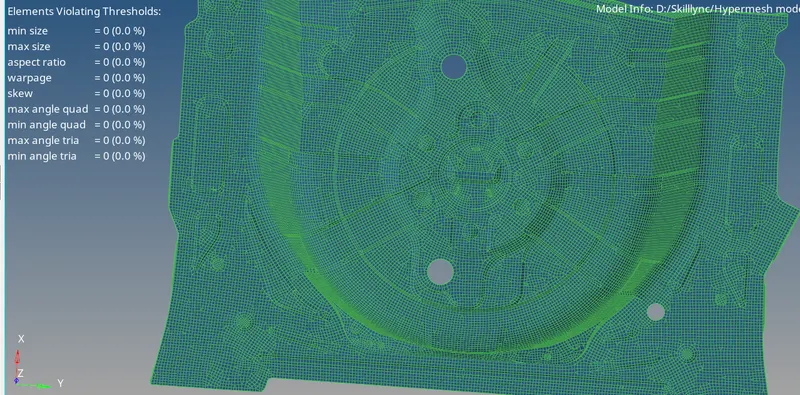
Result -
- Hence the mid surface has been extracted from the parent geometry.
- Hence there are no surface deformations in the geometry.
- Good connectivity has been established between the surfaces.
- The features have been captured properly.
- A good mesh flow has been achieved with the zero elements failing for quality