Project 1
objective: For the given geometry check the geometry errors and extract the midsurface and mesh the given component witha quality criteria and thickness of component is assigned.
Procedure:1.Import the given model and then check for the given geometry errors and then fix it auto fix or manually .
2.Take the mid surface of the component with offset the base surface by using the offset option and the remaining ribs can be offset by using the middle option in faces and extract of the midsurface for the all other features like dog house should take 0.5 as a offset.
3.After the extract of midsurface extend the ribs and dog house feature to the base surface by using the extend option in the faces repeat the same procedure until all the features is completed.
4.check for geometry errors after extract of midsurface and all features is completed and fix it if any and then set the quality criteria as per given and also set the target element size .
5.After the set of the quality criteria then start meshing of the component at one side and complete that features without going to mesh the other side and then check for the element quality and fix that quality by the use of split,swap and reconstruction option .
6.use the best option for meshing the component and cut the features into small by using cut option in faces for the obtain of good flow and proper mesh of that features .
7. use the paste option to remove the back to back trias and using the swap to make swap of trias from one place to other and use of the reconstruct option for the reconstruct of the mesh .
8.leave the quality criteria as it is where the fails minimum especilly in between the ribs and surface .
9.Remove the warpage using the move free node option in the grids that warpage fails.
10.After the meshing and clearing all the quality criterias assign the thickness to the particular component with different features.
11.first measure the thickness of the base surface and create the property for that and then set the pid for that surface and then assign the particular thickness.
12.for each of the features has the different thickness so measure each features distance and then assign the thickness to the particular component .
13.After the assign of the thickness check for draw as solid option to ensure that assigned thickness is correct or not by comparing the mid surface geometry with the original component.
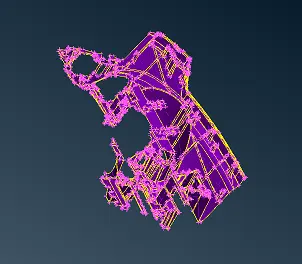
fig shows the import of geometry model
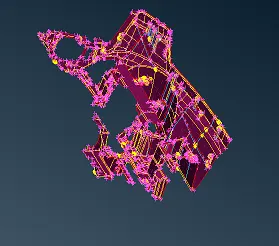
fig shows the mid surface of the component
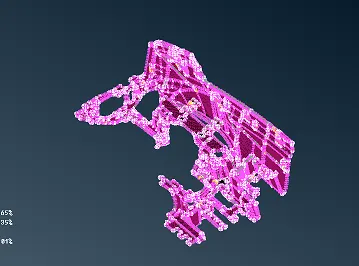
fig shows meshing of component
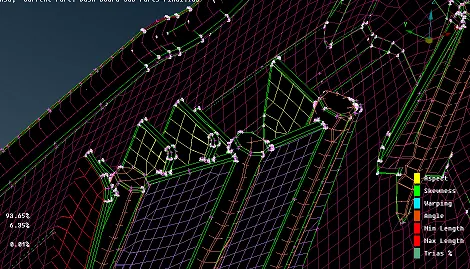
fig shows the assign of thickness to the ribs and dog house features
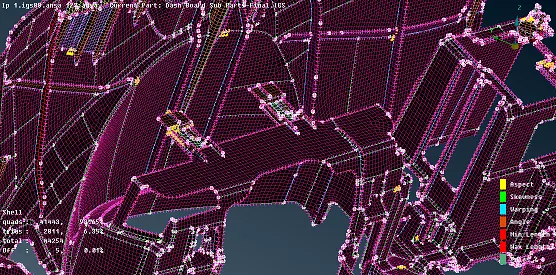
fig shows the meshing of features
How to extract the mid surface
In this component there is a uniform and non uniform thickness components so take the mid surface by offset method and middle option in the faces and then use the extend option to project to the base .
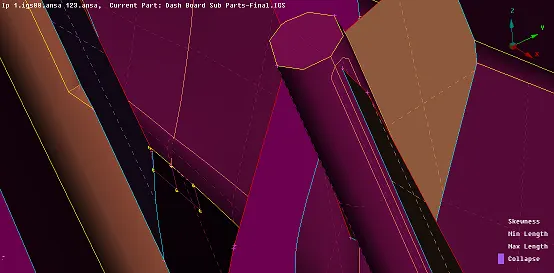
fig shows the surface extend to the base surface
How to assign the thickness
first to measure the distance of the component create the property id for the given feature of the component and then press on the set pid option and then assign the thickness to the feature of the component.
Details about the IP(Instrument panel)
Ip is also called as the dash board is control panel usually located at the head of the vehicle driver displaying instrumentation and controls for vehicle operation.
Dash board Where the dashboard originally included an array of simple controls (e.g., the and instrumentation to show speed, fuel level and oil pressure, the modern dashboard may accommodate a broad array of gauges, and controls as well as information, climate control and entertainment systems.
Contemporary dashboards may include the speedometer, tachometer, odometer, engine coolant temperature gauge, and fuel gauge, turn indicators, gearshift position indicator, seat belt warning light, parking-brake warning light, and engine-malfunction lights. Other features may include a gauge for alternator voltage, indicators for low fuel, low oil pressure, low tire pressure and faults in the airbag (SRS) systems, glove compartment, ashtray and a cigarette lighter or power outlet – as well as heating and ventilation systems, lighting controls, safety systems, entertainment equipment and information systems, e.g., navigation systems.
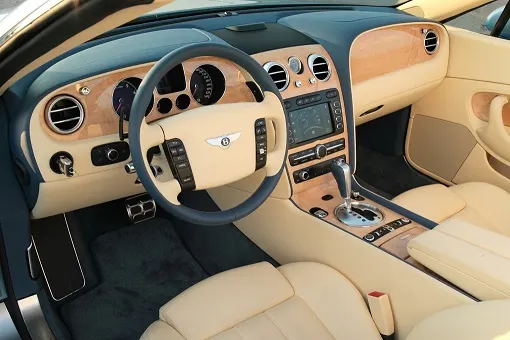
fig shows the IP console of the car
conclusion:In this component learnt about the ip console of the car and to how to take the mid surface of the complex features and the how to mesh the complex features and the thickness of the component to be assigned.