Project - 2D meshing on the instrumental Panel(Car Dashboard)
meshed model is shared via link below.
https://drive.google.com/file/d/1tbSr-NNJtnuPrJk32Lymg_HUNM-YUZ2B/view?usp=sharing
Preprocessing of instrument panel(IP) or Car Dashboard using ANSA
Objectice:
- Importing IP geometry into ANSA.
- Clean up the geometry until no topological errors is found.
- Generate midsurface for the entire component.
- Mesh the component with different manual mesh options.
- Improve the mesh flow and slove the OFF elements based on requirement of quality criteria.
- Apply thickness for the meshed components.
QUALITY CRITERIA:
Target length 4
Min. length 2
Max length 6
Aspect ratio 3
Warpage 15
Skewness 45
Jacobian 0.7
Maximum quad angle 45
Min. quad angle 135
Min. tria angle 30
Maximum tria angle 120
Tria. Percentage 15
ABSTRACT:
In this project , the model is imported into the ANSA pre-processor and mid surface is generated from the geometry by using manual methods like middle , offset. So that mid surfaces are created and extended the surfaces to connect the other surfaces. Then meshed the midsurface using the mesh options and cleared off elements without any kinks and edges.
INTRODUCTION:
A dashboard (also called dash, instrument panel (IP), or fascia) is a control panel set within the central console of a vehicle or small aircraft. Usually located directly ahead of the driver (or pilot), it displays instrumentation and controls for the vehicle's operation.
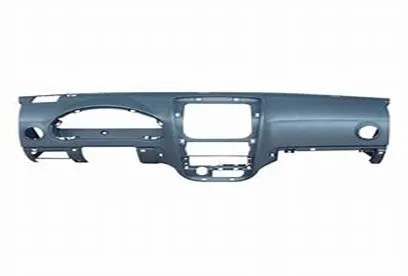
Where the dashboard originally included an array of simple controls (e.g., the steering wheel) and instrumentation to show speed, fuel level and oil pressure, the modern dashboard may accommodate a broad array of gauges, and controls as well as information, climate control and entertainment systems.
Contemporary dashboards may include the speedometer, tachometer, odometer, engine coolant temperature gauge, and fuel gauge, turn indicators, gearshift position indicator, seat belt warning light, parking-brake warning light,[3] and engine-malfunction lights. Other features may include a gauge for alternator voltage, indicators for low fuel, low oil pressure, low tire pressure and faults in the airbag (SRS) systems, glove compartment, ashtray and a cigarette lighter or power outlet – as well as heating and ventilation systems, lighting controls, safety systems, entertainment equipment and information systems, e.g., navigation systems.
A variety of materials are used to create the cars dashboard.
The more expensive the car
The more exotic the dash is.
Looking at the very basic cars and vans that are being used for industrial work the Dashboard can be made from metal as the simplest and cheapest way. This could be the same base metal as the car, which is steel. Or it could be Aluminium which is more flexible and lighter.
Holes are drilled in the dash to fit the instruments which are all connected up before the Dash is put up and bolted on.
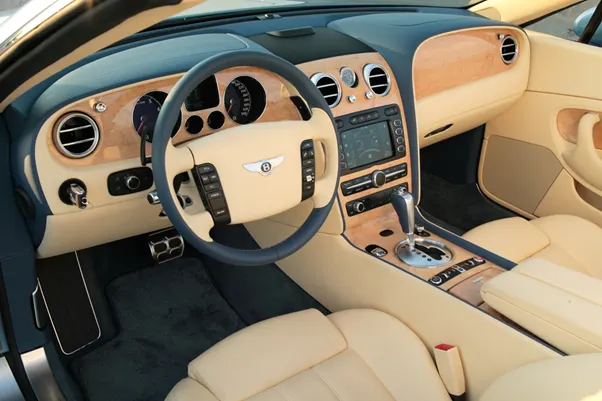
Regular cars for the masses range from a form of Plastic to Vinyl, the most common being Vinyl which will be stuck on to a backboard of suitable material then worked into a mould to shape it for the make and model if the car to which it has been manufactured for.
The more expensive luxury Cars, Arab Sheikhs notwithstanding, may have a choice of an Exotic Wood with a highly polished finish. Or whatever material is chosen if it is a Custom Car.
PROCEDURE:
Step1: import the geometry into ANSA and do topo for it to clear off topological errors. Assign PID for the whole geometry is not assigned before.
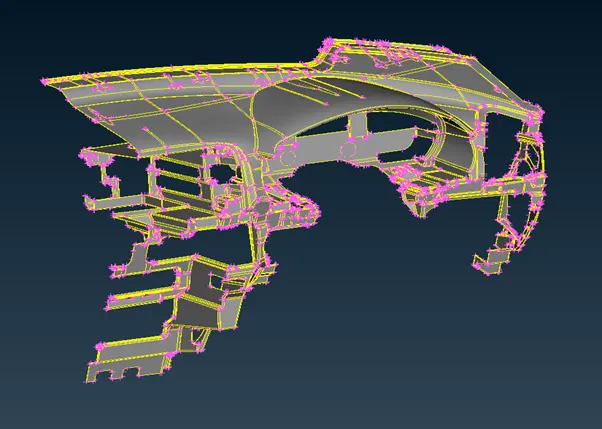
Step2:
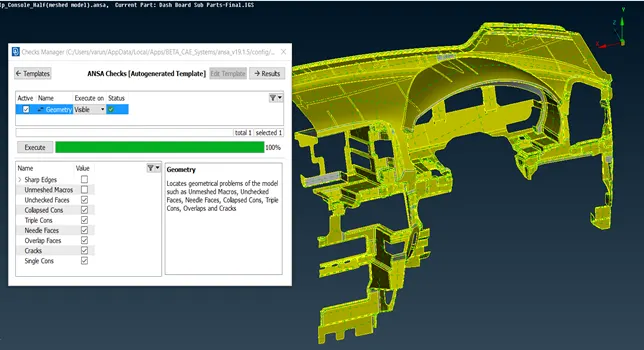
After doing topo clean up, check for the geometrical errors by enabling all the options like unchecked faces , triple cons , single cons , needle faces, overlapped faces , cracks and fix the errors by auto fix and manual fix.
Step3:
MIDSURFACE GENERATION :-
Mid surface is generated from the given geometry by using various methods , but manual methods like offset , middle will give best midsurface , so using this options mid surface is generated for various parts and connected those parts by extend option and those connections are represented by triple and double cons.
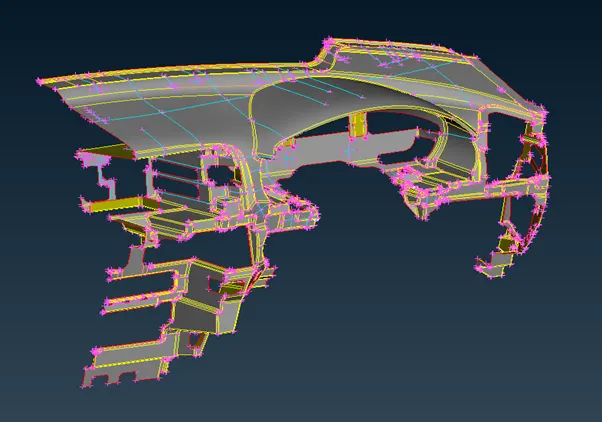
Midsurface for dog houses and ribs:
Mid surface for dog houses are created by converting the cones to curves by CONS2CURVES option and by using NEW option create the new surface with reference to that curves and extend that bottom cons to surface with EXTEND option , and the RIBS are created by using MIDDLE option, and ckeck for the geometry errors and fix them and set property id for each and every midsurface and assign thickness for them.
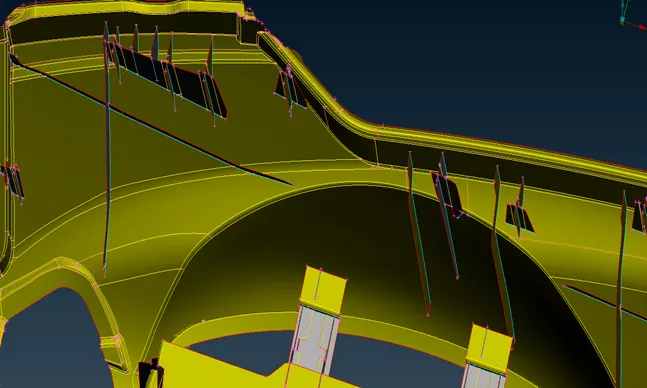
Now check whether the midsurface is generated for all the parts by switching on the transparency of original geometry.
STEP4:
MESHING :
After creating the midsurface , meshing should be done for the midsurface, but there are some areas where triple cones converge each other where we cannot fix the quality errors, apart from that all the other meshed surfaces should satisfy the quality criteria.
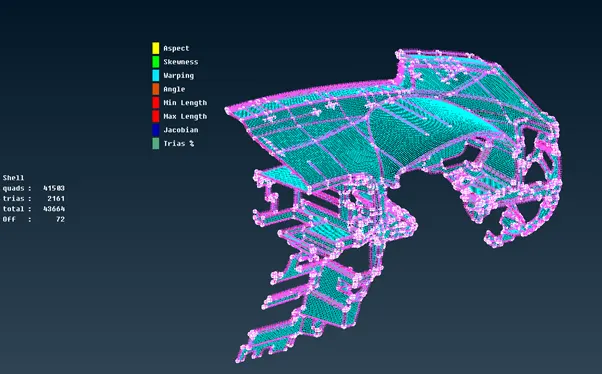
Here manual mesh is preferred as it has more features connected with each other. Manual mesh like spot mesh , batch mesh , BEST options is used for this model to mesh. As per given quality criteria , elements should satisfy by fixing the errors by using options like RECONSTRUCT , IMPROVE and SMOOTH.
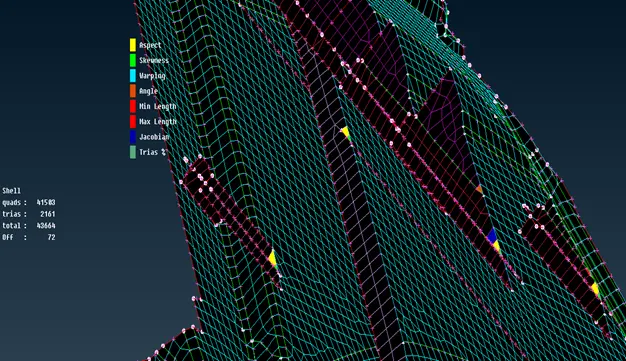
All the errors are fixed but some can’t be fixed due to triple cons converging at the ribs.
After finishing the mesh enable draw shell as solid to apply thickness for the meshed surface.
LEARNING OUTCOMES:-
- Learnt how to clean up the geometry.
- Learnt how to fix the errors.
- Learnt how to generate the midsurface for different parts with different methods.
- Learnt how to adjust some typical areas by defeaturing them for better mesh flow.
- Learnt how to mesh the midsurface manually with different mesh methods.
CONCLUSION:-
In this project , I have generated midsurface using different options available in ANSA. By defeaturing the areas and by adjusting the areas the mesh is generated by different options and applied thickness to this meshed surface