Project 1 - 2D meshing on the instrumental Panel
PROJECT 1
AIM:
To create an FEA model for a given part model. Assign properties for each piece of the model and create elements with fewer numbers of quality failures.
PROCEDURE:
IMPORT GEOMETRY:
Initially, geometry has been imported on ANSA, and connections between cons are made by TOPO.
SIZE VERIFICATION:
Model verified for dis-similarities or wrong faces which cause in-proper mesh creation. Those features are deleted and re-created. Each size of the model is inspected for thickness.
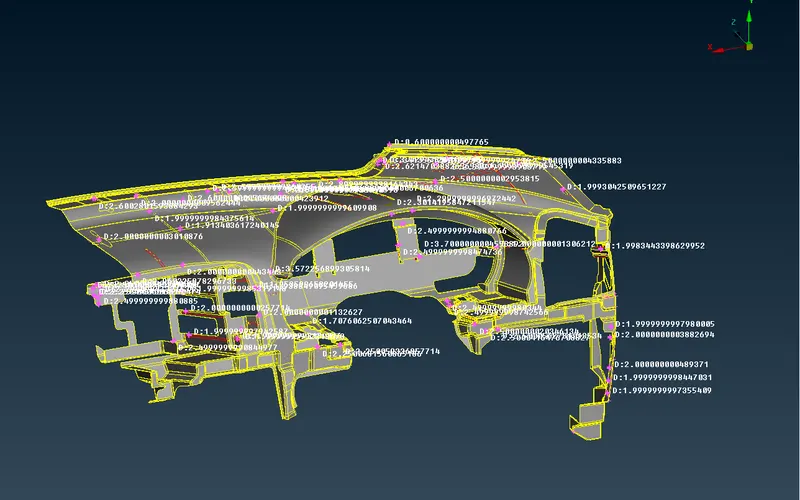
Pic 1: Model with various thickness
PARTING:
In this model, the size of the model is so large so that model has been split into 5 parts so that it can easily mesh.
Dog houses are found with various thicknesses so that all the dog house models are split from the model. Their cons are released from the main model.
MIDDLE SURFACE:
Now the model has been splinted into multiple parts according to its thickness. Now extraction of mid-surface is started. For a single model that has a common thickness, one side of the face is offset to its middle value.
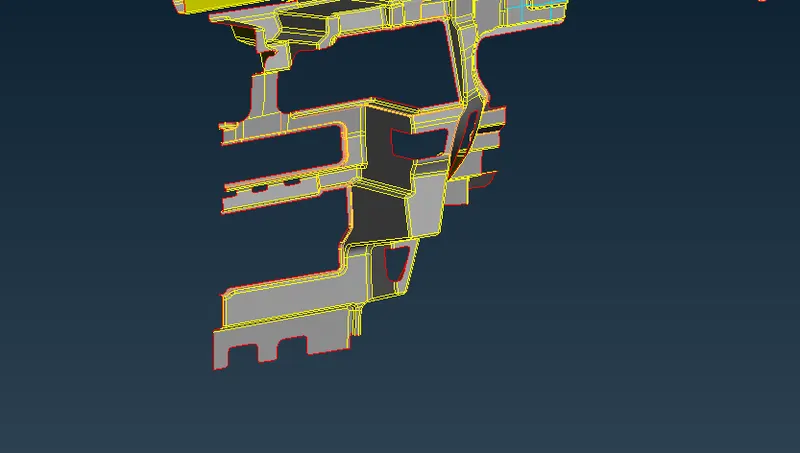
Pic 2: Normal mid surface
Dog houses:
This model has doesn’t symmetric to any axis, it cannot be offset as others. Especially cylinder shape will create improper mesh around the circumference. For cylinder surface, mid-surface created as two rectangle faces which interest each other in 90 degrees as shown in picture 3. Other rectangular faces are offset to their middle value and connected to each other. The final dog house model then EXTENDED to the main surface and created triple cons to the made a connection between the dog house middle surface and the base model.
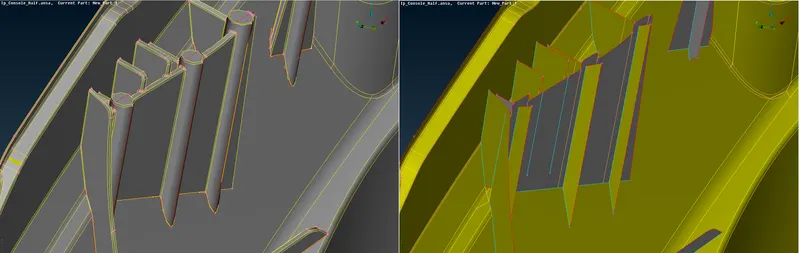
Pic 3: Middle surface for dog house.
Solid block:
There was a solid block available on the model which has features on top. For this model, base shape offset to its middle value, and other perpendicular models is offset to its middle value. Top faces are offset for 0.5 mm downwards. Edges of that feature are connected to the base model using EXTEND option.
After connections are made model extended to the base surface of the Ip console.
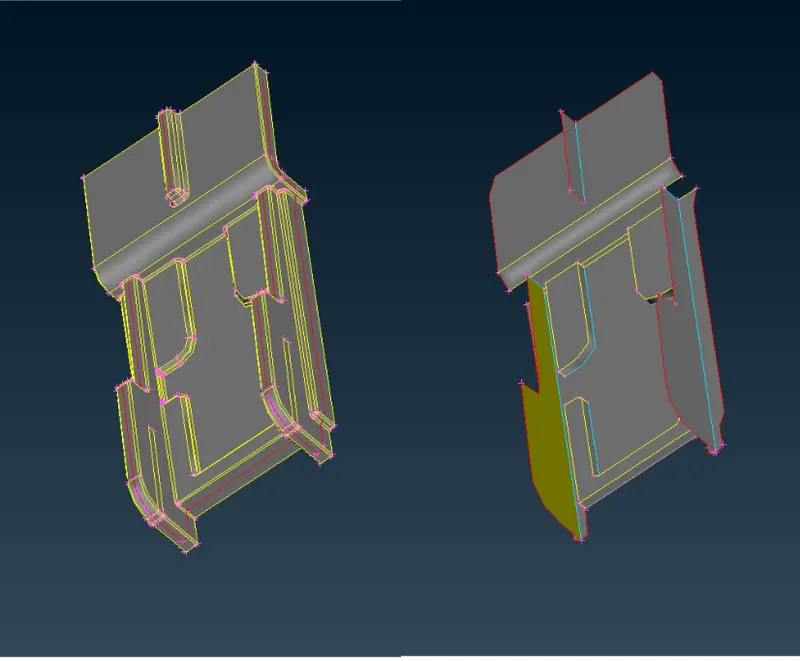
Pic 4: Middle surface for a solid block.
GEOMETRY CLEANUP:
In obtained middle surface contains a surface which inadequate for meshing. Those surfaces are again corrected in many ways. Some of them are
- Modifying cons/ edges.
- Creating a middle line for surface which has less width compare to the minimum mesh size. (Uses DACH divide face option)
- Delete and create new surfaces.
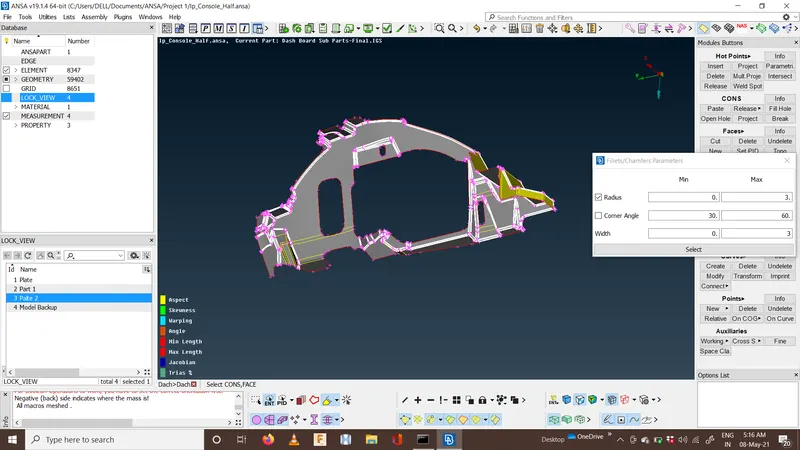
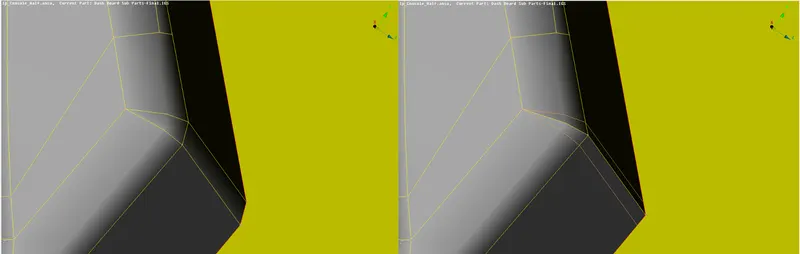
Pic 5: Dach.
MESHING:
Before starting with mesh, mesh parameter and quality criteria values are entered. The model’s perimeter is created with an equal distance of 4mm which was an average element size. Then each surface of the model is meshed using spot mesh. If any dis-similarities found on mesh then it reconstructed and improves mesh quality.
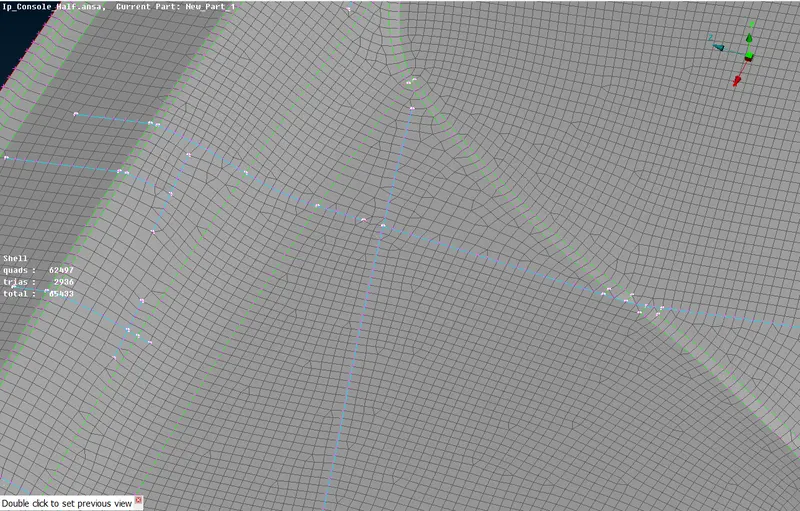
Pic 6: Mesh
SAMPLE IMAGES:
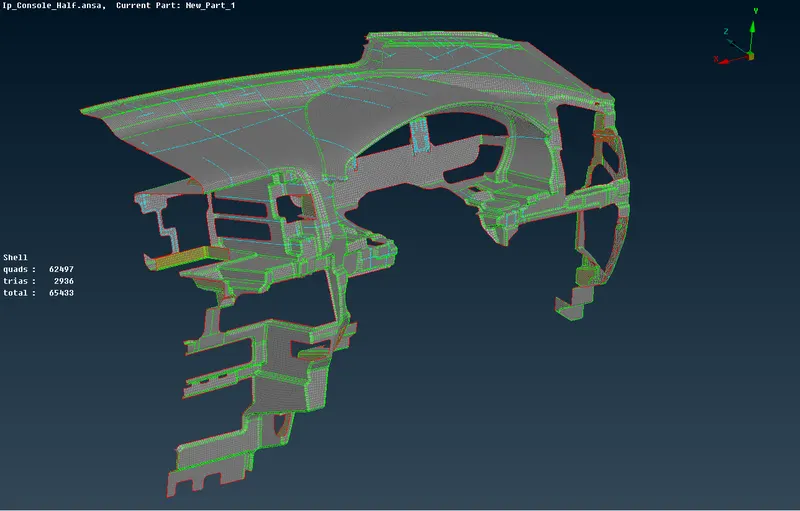
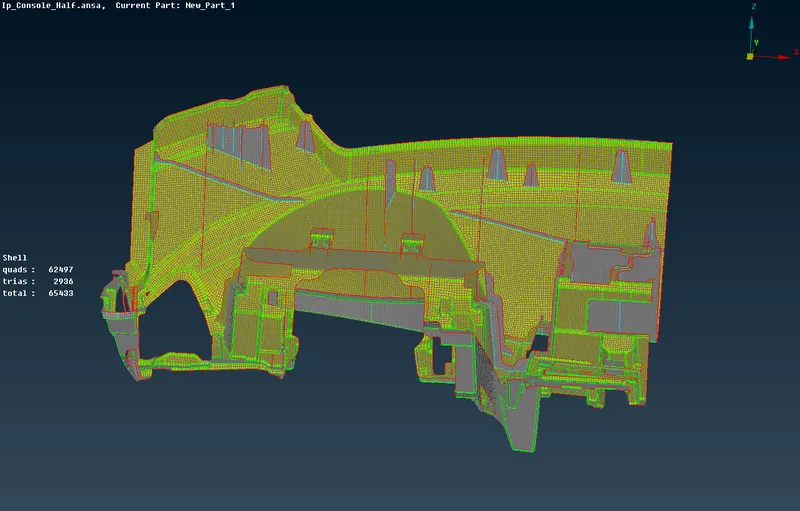
Pic 7: Sample images
PROPERTY ASSIGNMENT:
Property for different models is assigned with equivalent thickness.
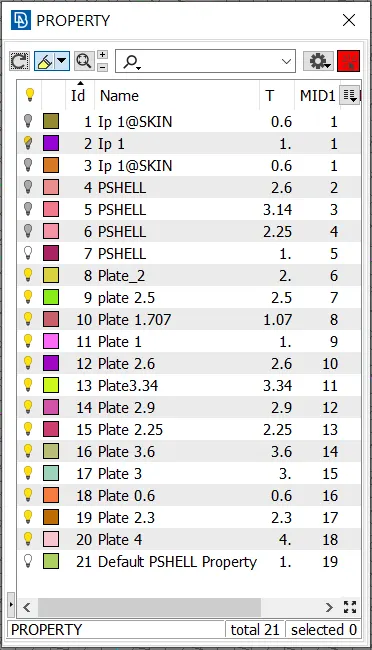
Pic 8: Property card
RESULT:
The model finally meshed with 2D elements and assigned with properties. The model inspected for quality criteria, except for elements which constrained with triple cons other elements are cleared by quality criteria.