Project 1 - 2D meshing on the instrumental Panel
Project #1:
Aim:
For the given component, check for the geometrical errors and mesh with the given element Quality criteria. After meshing the component the thickness has to be assigned.
Objective:
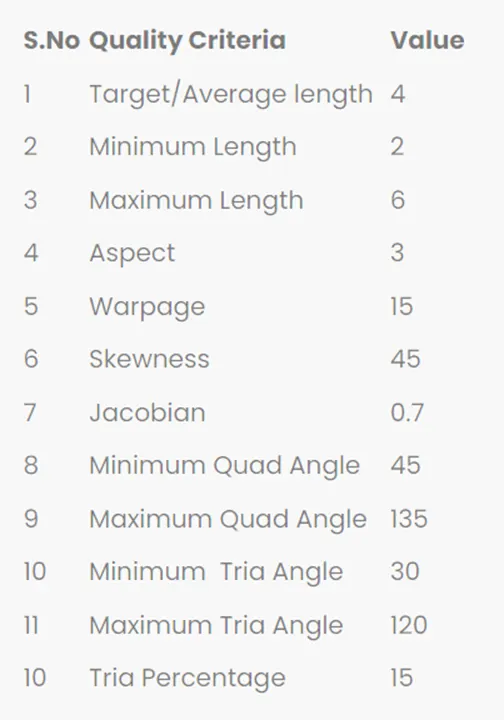
Write a detailed report on your meshing process and also mention which method you used to extract the mid-surface along with the reason.
Procedure:
How to Fix geometrical errors:
- Import the model to the Ansa work bench.
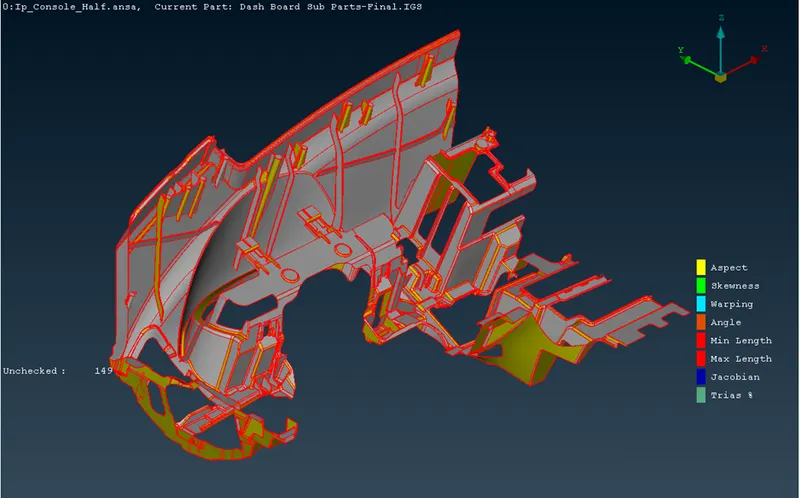
- Check for the geometry and execute there will be some errors shown some can be eliminated by right clicking on the errors and click fix geometry.
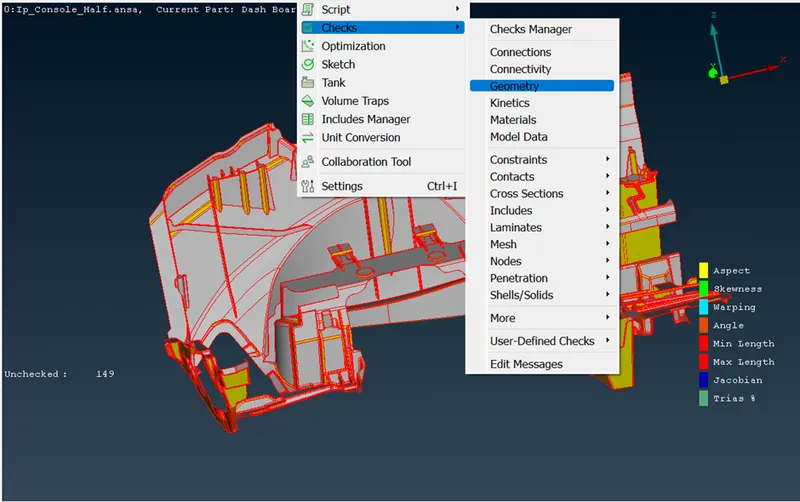
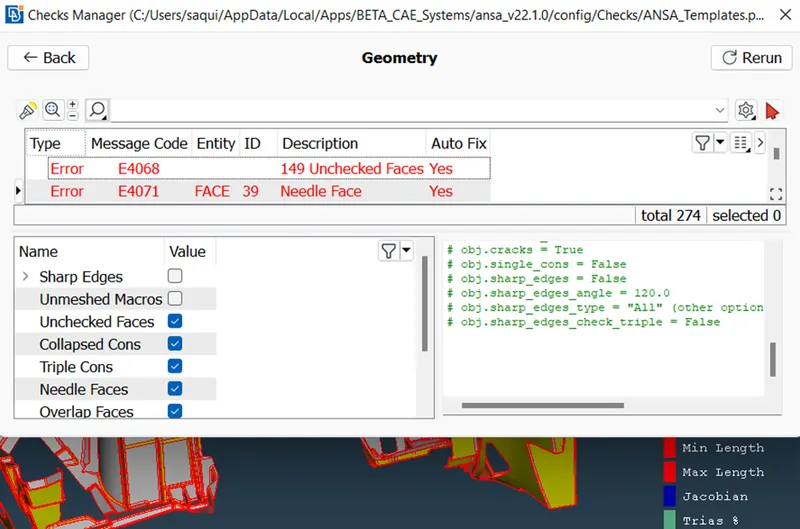
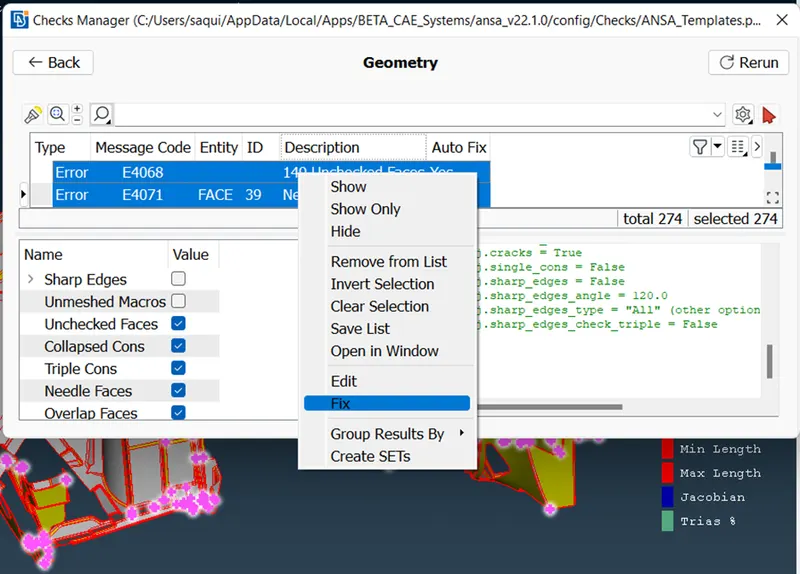
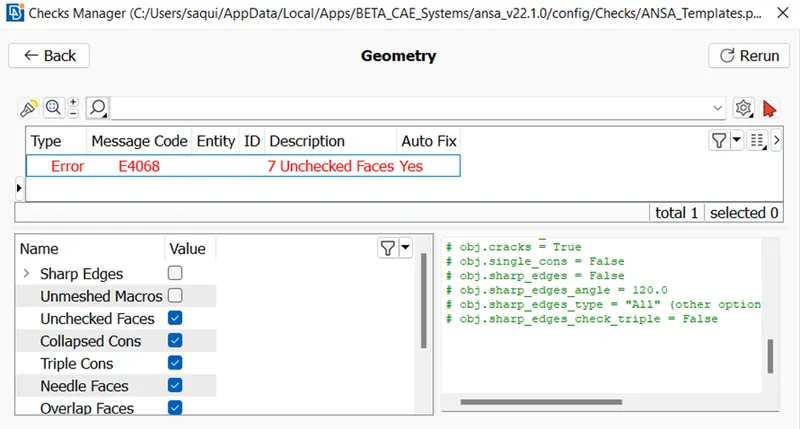
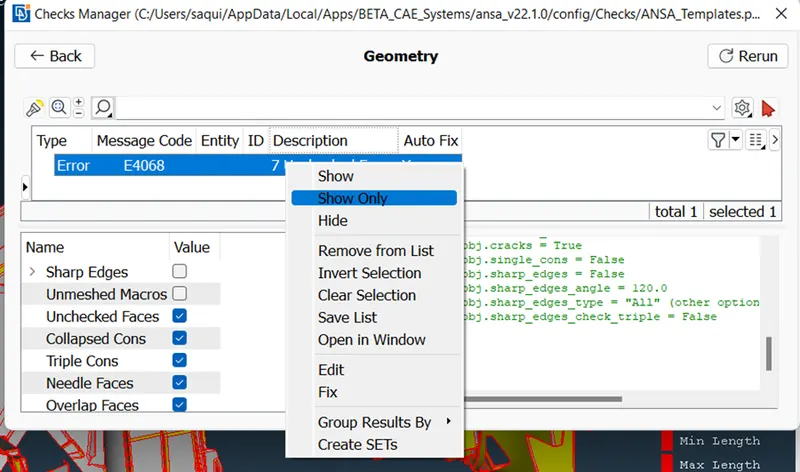
- Second method to right click on it and show all where we can see only the errors.
- So we found some minute errors which can be eliminated by using delete option.
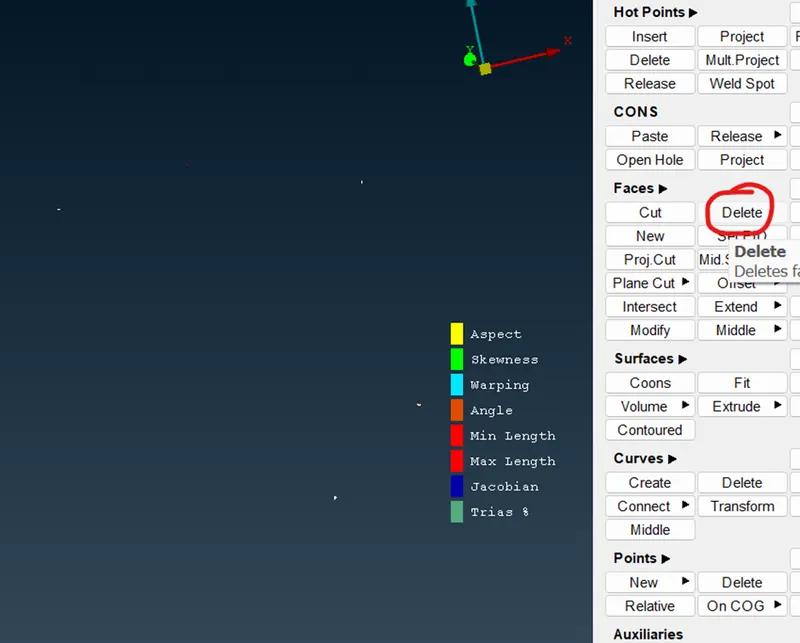
- Now after deleting the errors we can go for topology and again check for geometrical errors and repeat the process.
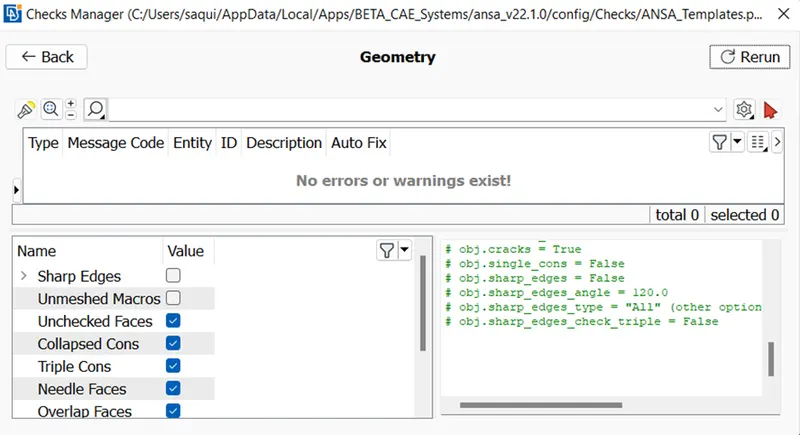
- Now after generating the model without errors now we can go for further generating the mid surface.
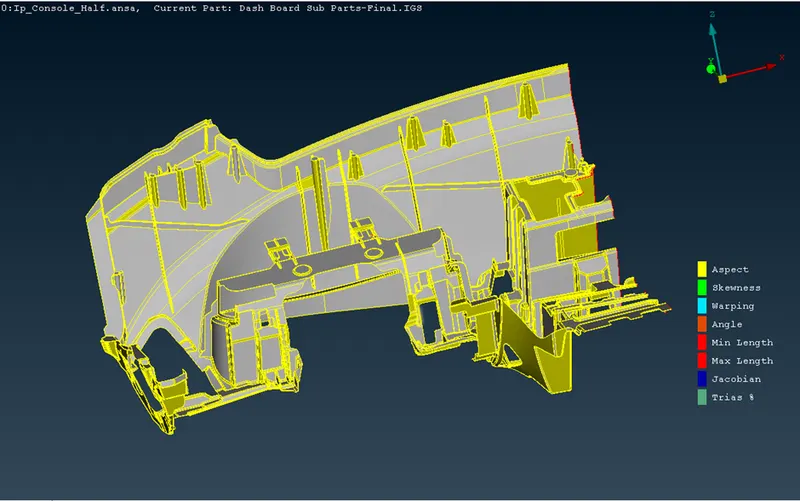
- I tried with Mid surface skin option but it didn’t work because of unclosed volume.
- We can apply new perimeter and new macro for the model to get the best view of the model. After wards we can change while meshing the model.
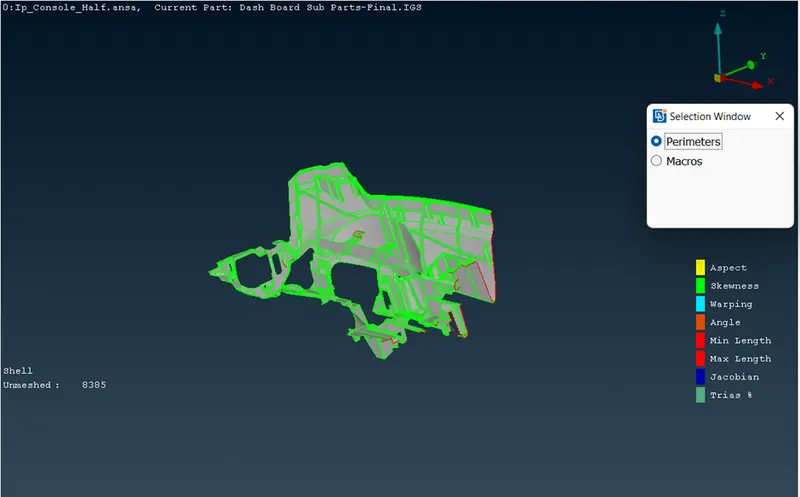
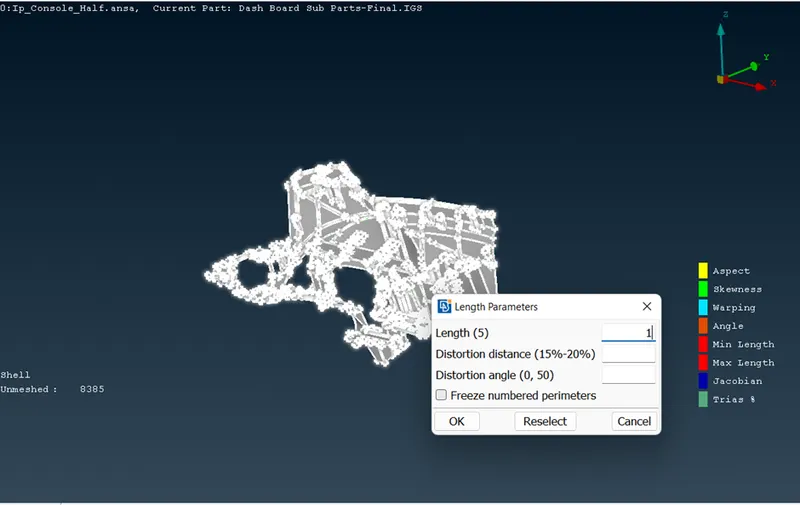
How to generate good mid surface with consuming time:
- First of all we can go for manual method selecting the parts or dividing the parts into various sub parts and doing offset.
- But it’s very lengthy process and confusing.
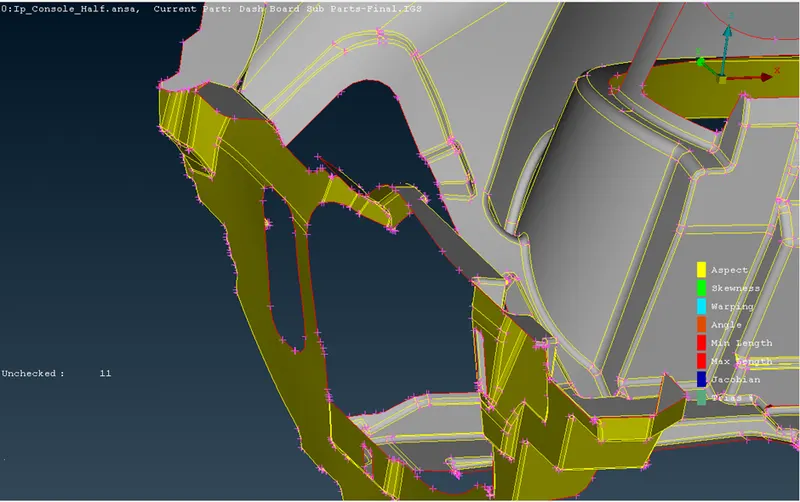
- So I used offset Plus feature method to select one face of the model and middle click now giving the parameters -0.6/2 which is the length of the edge.
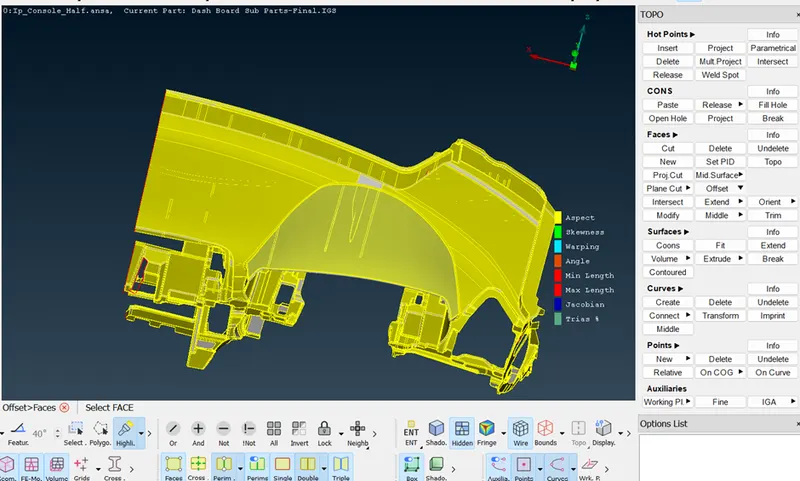
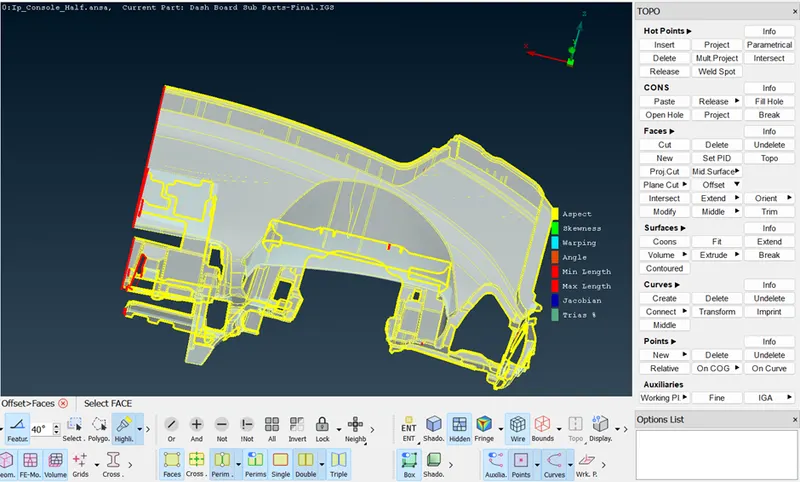
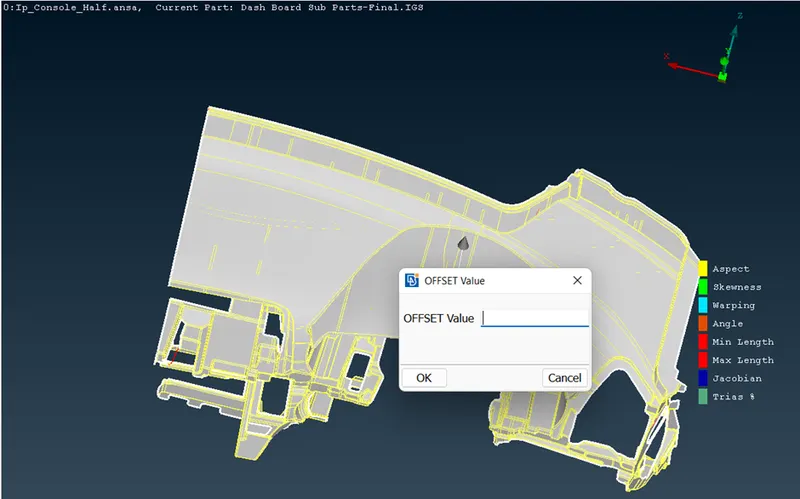
- Hitting the middle click it took sometime to generate but it’s accurate.
- Now we have generated the mid surface for the given modal.
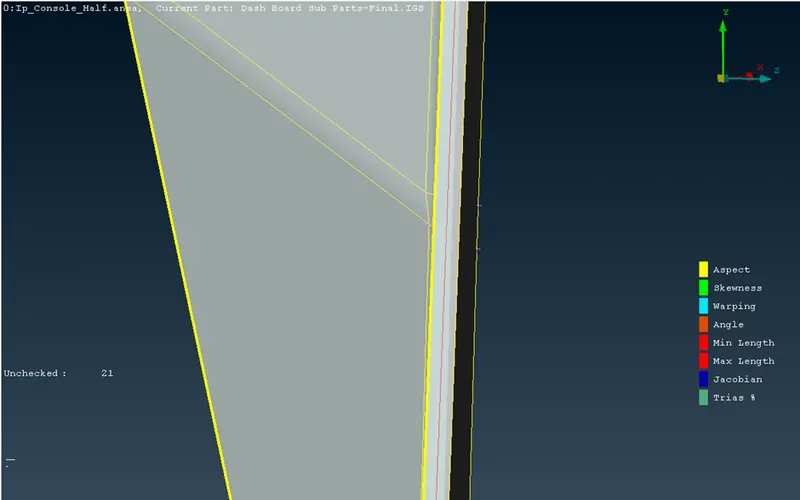
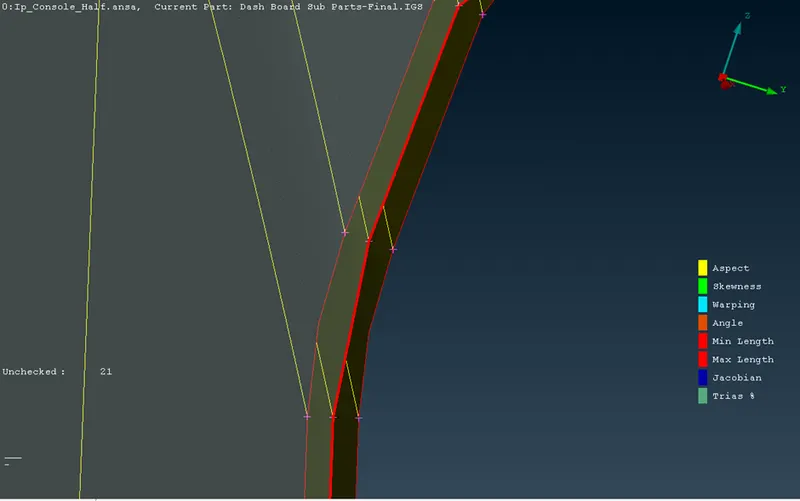
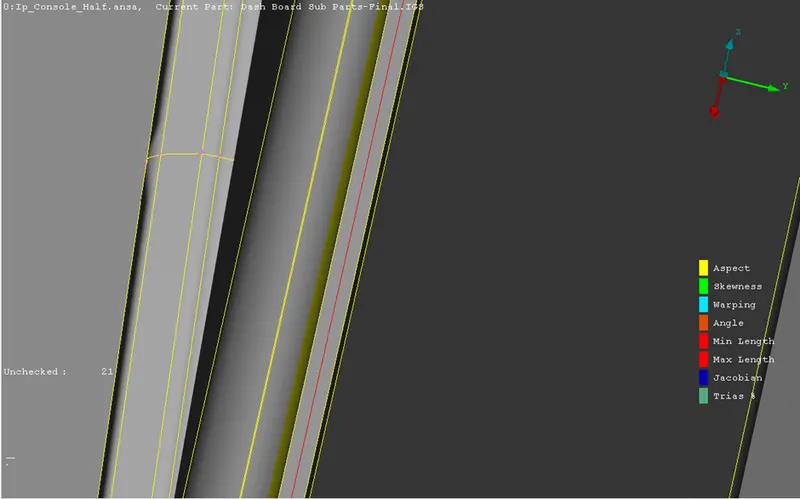
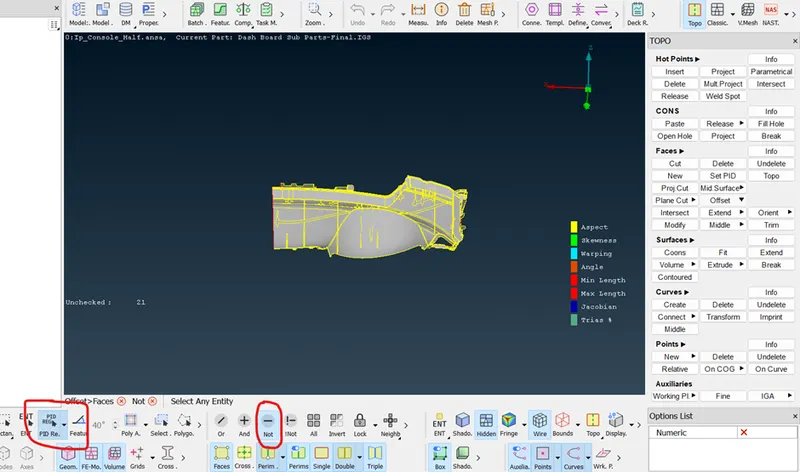
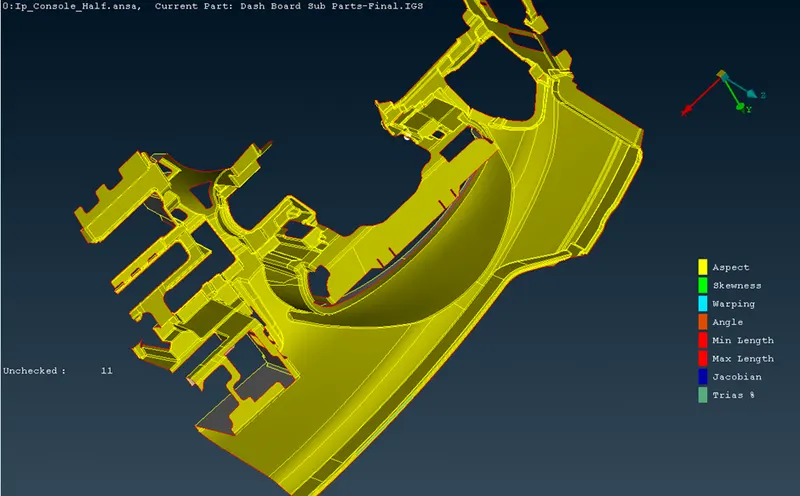
- After generating the mid surf we can use NOT put Pid region option to see the mid surface in one click.
- Here is our mid surface generated model:
How to create mid surface for the inner complex model:
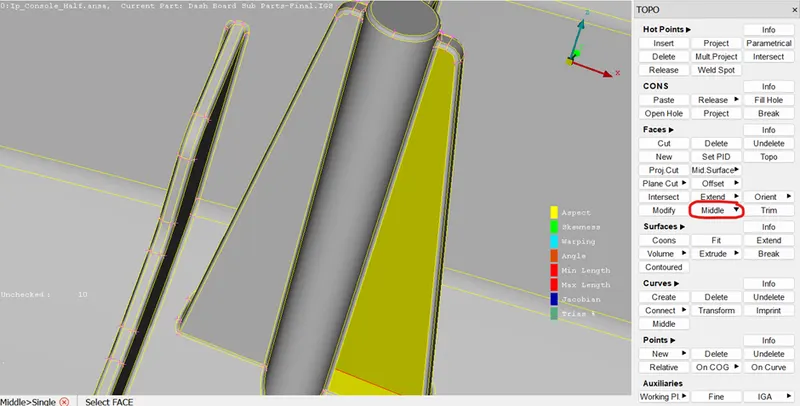
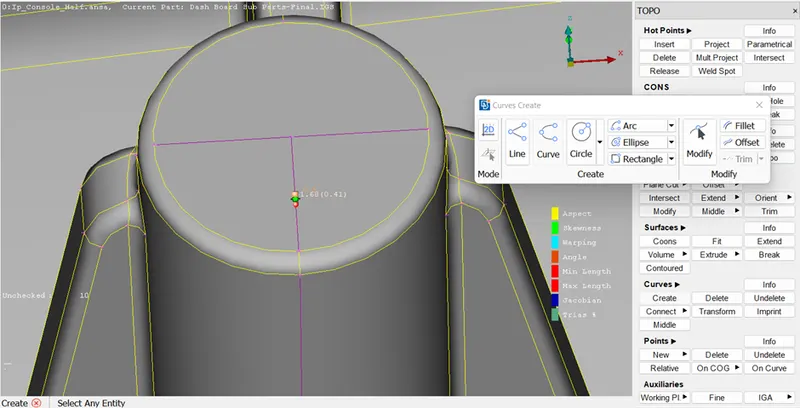
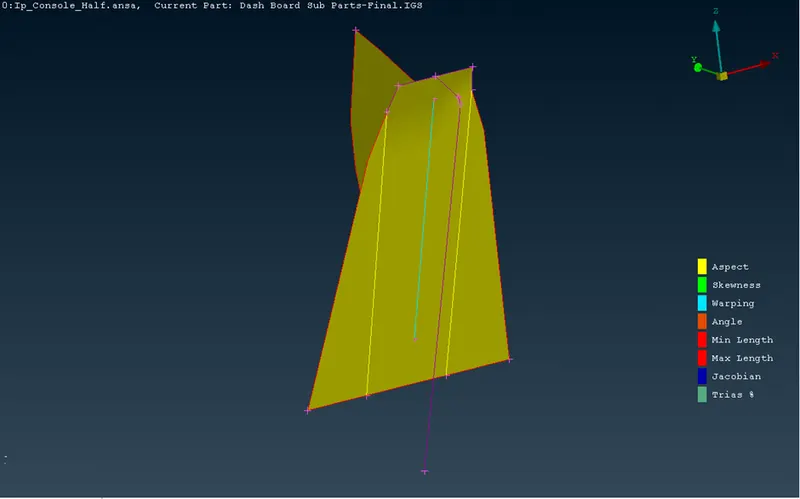
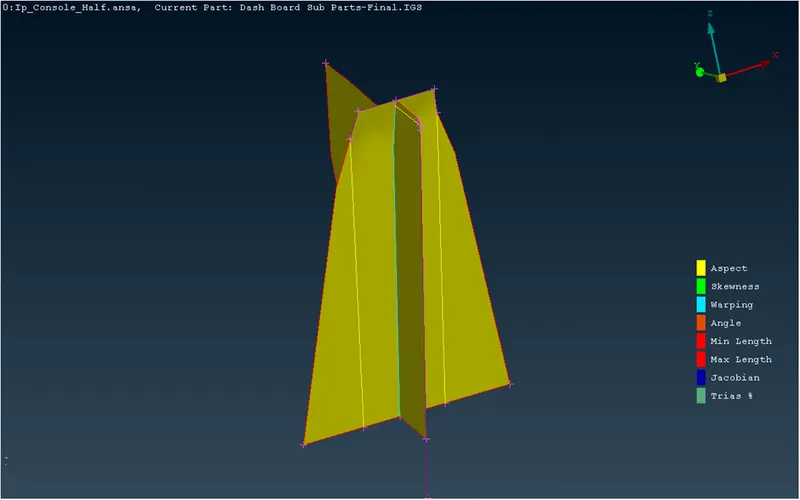
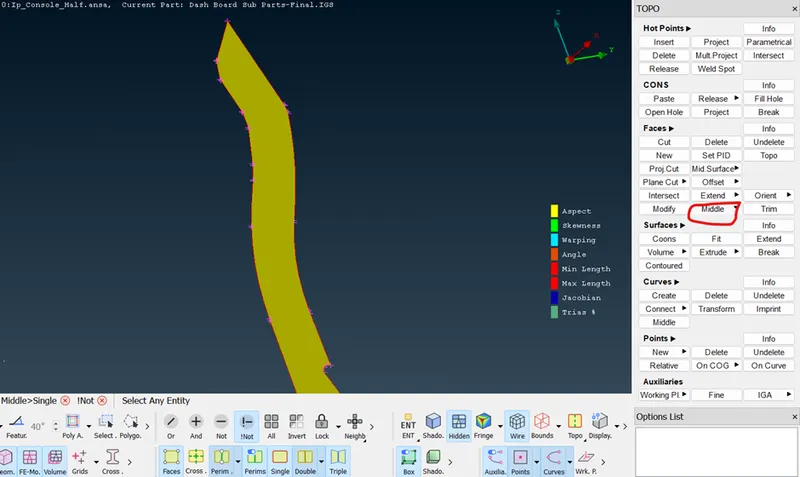
- To create mid surface for complex parts I used middle option and curves.
- I created the curve and using connection I linked two of more curves.
- Then I projected the curves.
- Then using New option I created the mid plane.
- Using the extend option I extended the planes.
- After doing all that I deleted the curves.
How to obtain mesh for the mid surface of the model:
- To create mesh we can use various methods like Best option, Free option, Spot mesh etc.
- But the best option is to use Batch Meshing which Ansa will generate auto meshing and it’s accurate and better process that manual meshing.
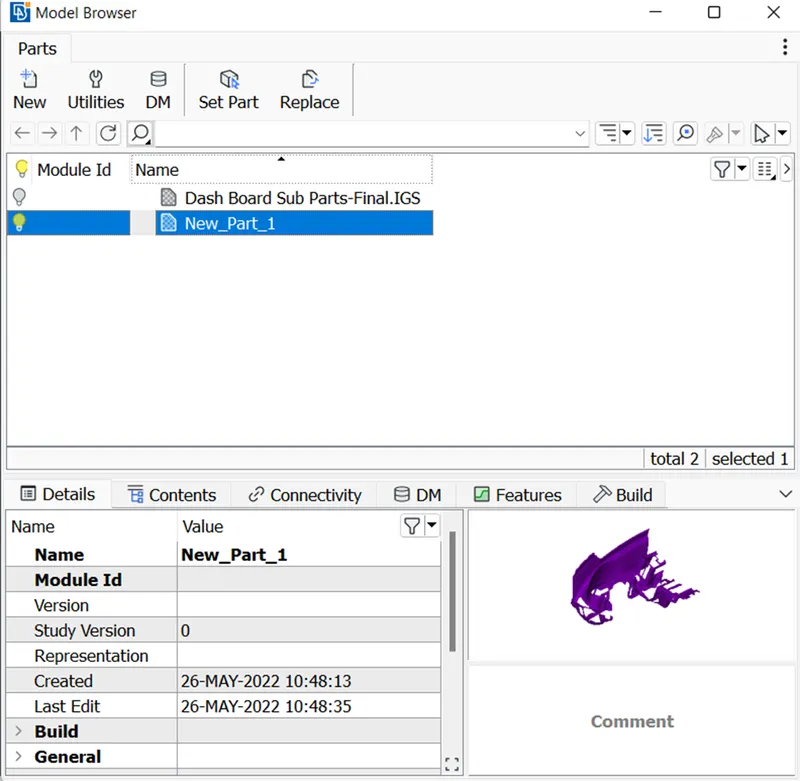
- In order to do Batch meshing we need to declear the model in the model browser.
- Then going to the batch mesh option New scenario.
- Our model will appear now check for quality criteria and target length as per the instructions.
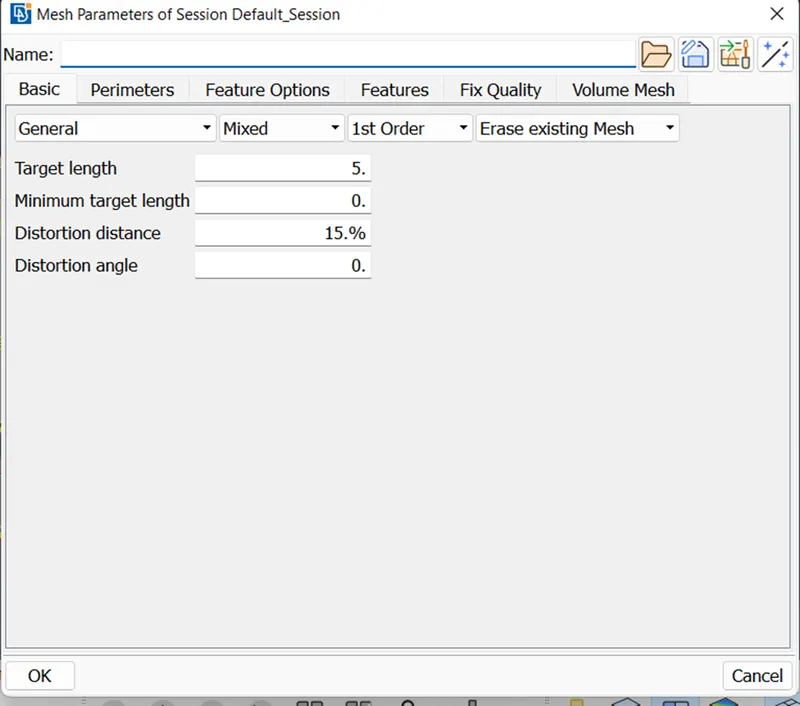
- After checking the quality we can double click on content and select the model for batch mesh.
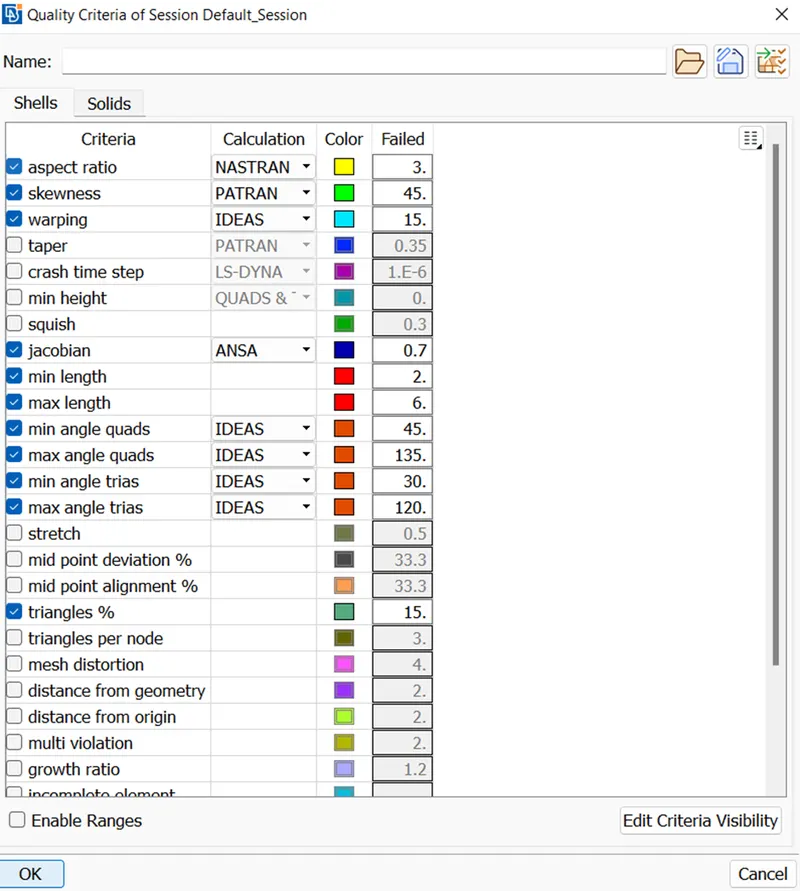
- And Hit the Run option.
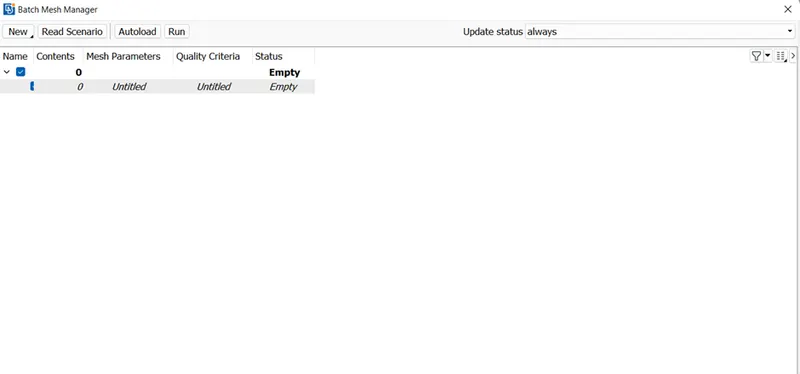
- It will take some time to do the batch mesh and caliberating the complex model.
- Now our Batch Mesh will look like this:
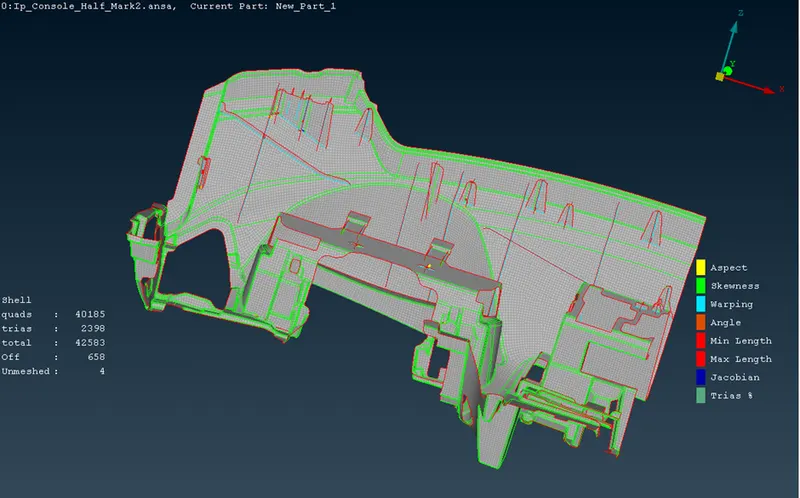
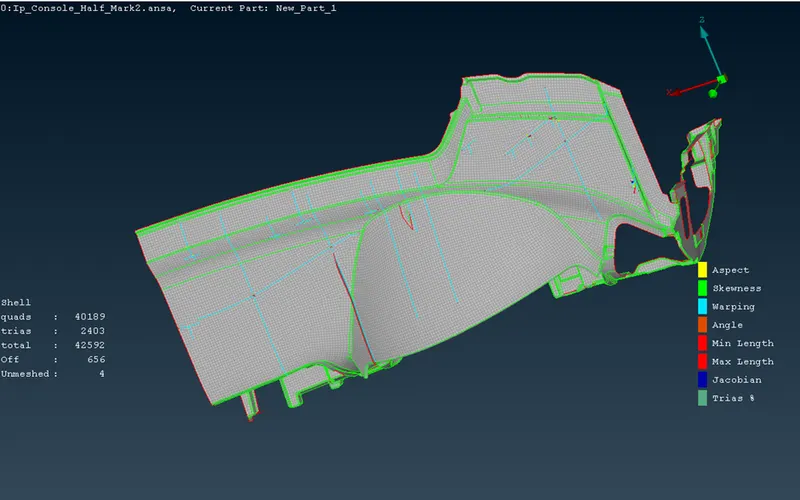
How to clear the Quality errors for the model:
- By giving the targe length for the model and using Reconstruction command we can clear the quality easily.
- Some other options are we can use the Smooth option, Split, Swap etc.
- Some errors is can’t be removed to but we can use MV free option to adjust the quality.
- So after adjusting the quality and clearing some deformation.
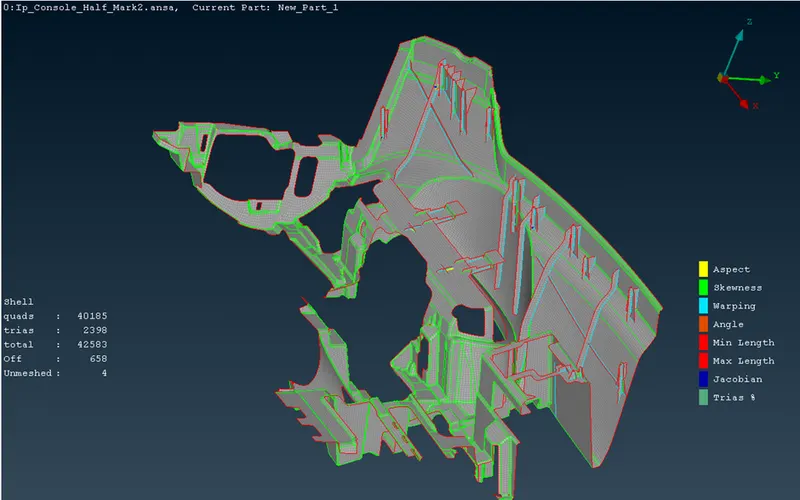
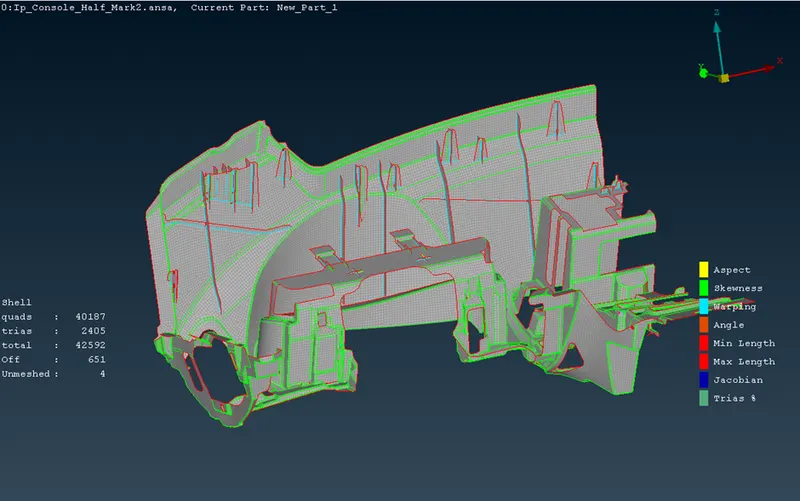
- Our model will look like this:
Learning Outcomes:
- This is a complex model I tried multiple methods to generate the mid surface it took much time and efforts.
- After doing so many times I finally learn to generated the mid surface with different methods like Offsets, Mid surf skin , Mid surf Casting etc.
- I learned different methods of obtain best Mesh by using Batch meshing, spot mesh , best mesh, free mesh etc.
- Also I learn to clear quality criteria by using different methods like Reconstruction, Smooth, split, swap, MV free options etc.
- I Also learn how to use multiple commands like Not plus Pid reg, and features options.
Conclusion:
- For the given component, we have cleared geometrical errors and generated the mesh with the given element Quality criteria. After meshing the component thickness has to be assigned.