Project 1 - 2D meshing on the instrumental Panel
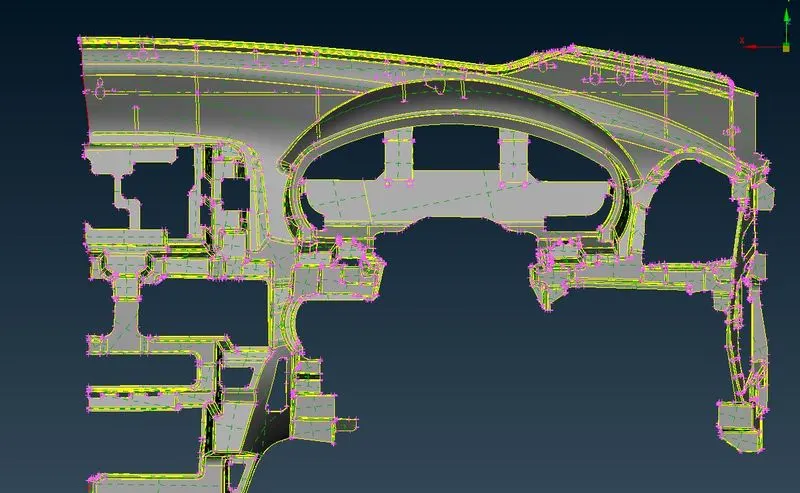
AIM:To perform a midsurface extraction and shell mesh on the Instrumental panel with given Quality criteria.
Given Component:
Given Quality Criteria:
|
S.No |
Quality Criteria |
Value |
|
1 |
Target/Average length |
4 |
|
2 |
Minimum Length |
2 |
|
3 |
Maximum Length |
6 |
|
4 |
Aspect |
3 |
|
5 |
Warpage |
15 |
|
6 |
Skewness |
45 |
|
7 |
Jacobian |
0.7 |
|
8 |
Minimum Quad Angle |
45 |
|
9 |
Maximum Quad Angle |
135 |
|
10 |
Minimum Tria Angle |
30 |
|
11 |
Maximum Tria Angle |
120 |
|
10 |
Tria Percentage |
15 |
There are various steps before going to the meshing procedure:
- Import the CAD model
- Geometry cleanup
- Mid surface extraction and assign the thickness, PID
- Meshing process
IMPORT THE CAD MODEL:
- First Import the CAD model from the files to ANSA software and go to the mesh mode there we can set the length(1mm) for perimeters as well as macros for to perform all operations properly and good visibility of model.
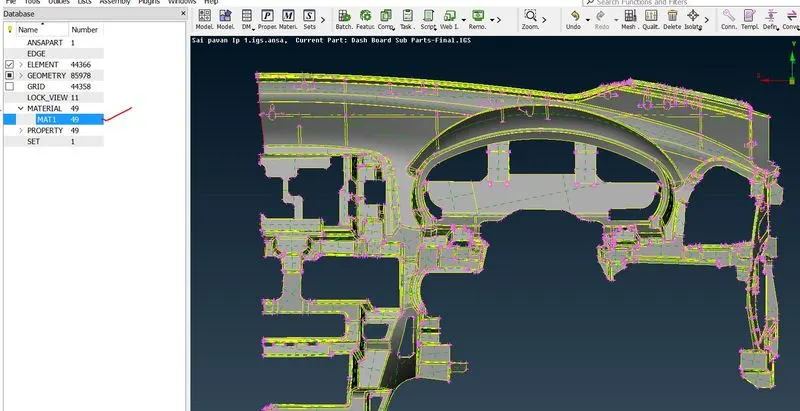
- After that do the topo to the entire model and check material Id is assigned to all property IDs and make sure that material ID should be defined as ticked in the dialogue box as shown in the below fig. If we are not defined the material, ANSA will not consider component as material.
GEOMETRY CLEANUP:
- We can check the geometry using the check geometry under the toolbar when we click on it it will show the errors like unchecked faces, needle faces, shraps edges,triplecons, single cons etc. we can remove the all those errors by using the Auto fix option. All errors cannot fix by the auto-fix option there are some errors like triple cons we can go area by area and remove them manually. After removing those we can again execute the check geometry until it shows execute 100%.
- If the Auto cleanup is not able to fix the issues then we have to manually work on it to fix the issues for that we have to split the model into parts then we have to fix that issues for our convinence.
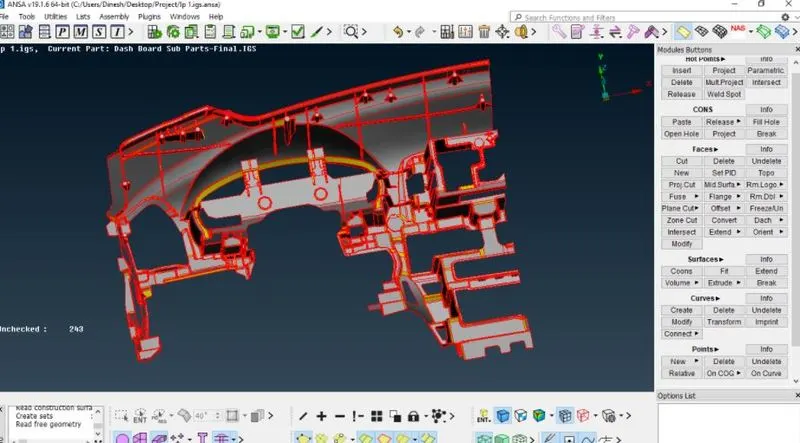
Fig1:Importing model to ANSA
- Here we have to do topo to stitch the model for that Faces >Topo>Select the entire surface.
Fig2:After performing Topo
- After performing Topo there is a some surface distorsion errors we have to fix it either manually or Autofix option.
- We can check the geometry using the check geometry under the toolbar when we click on it it will show the errors like unchecked faces, needle faces, shraps edges,triplecons, single cons etc.
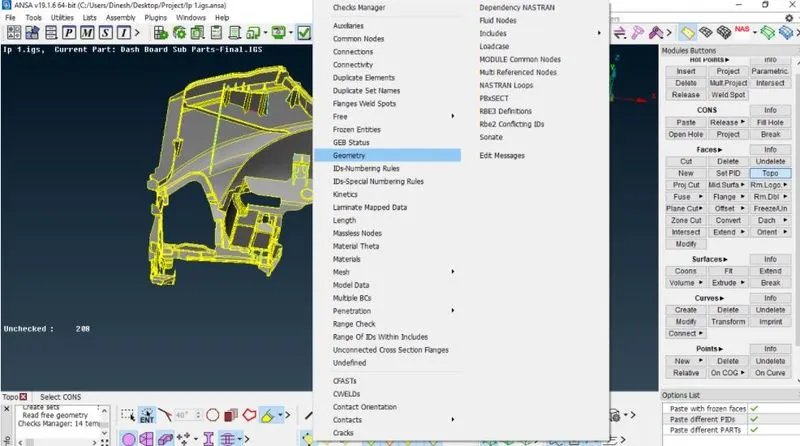
Fig3:Checking the geometry
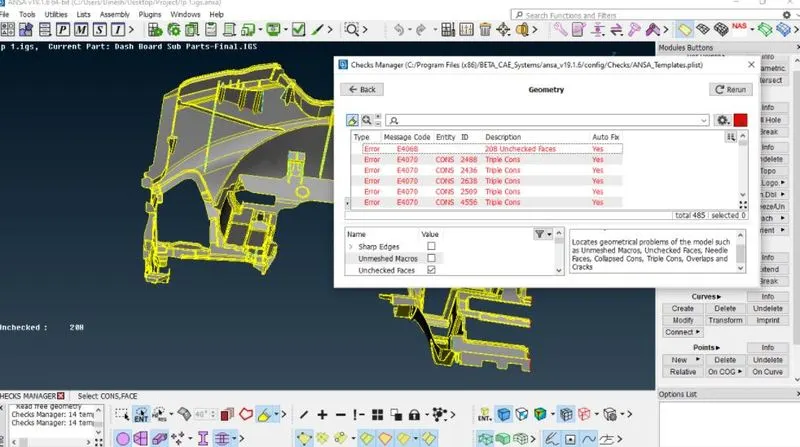
Fig4:Errors after check Geometry
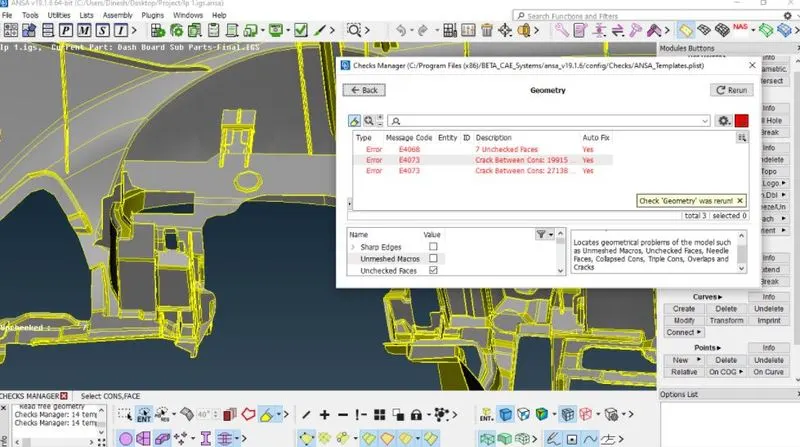
Fig5:Still some errors are there we have to fix it manullay.
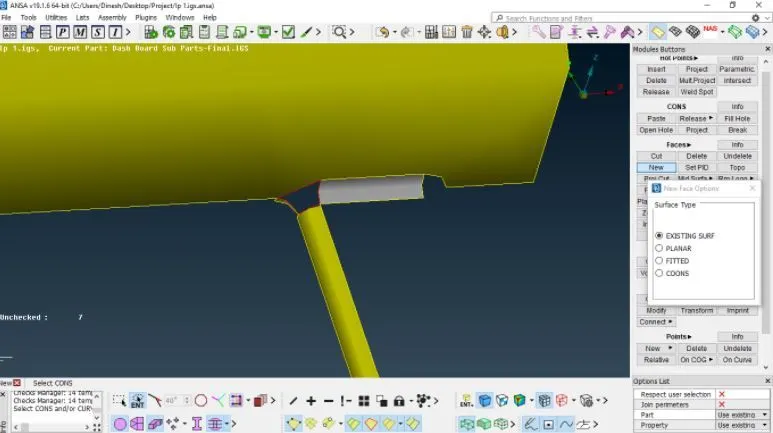
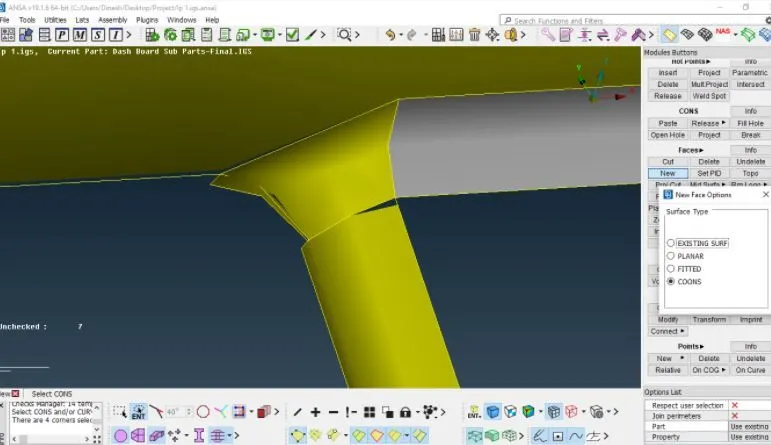
Fig6:The new surface is created as we shown in above fig.
- If there is any uncheked face is there we have to fix it maunally by releasing the hot points.
- It will occur because of the irregular geometry and constarined hot points.
- If there is any uncheked face is there then we have to select delete that hotpoint or face creating the new surface is the best way to avoid such things.
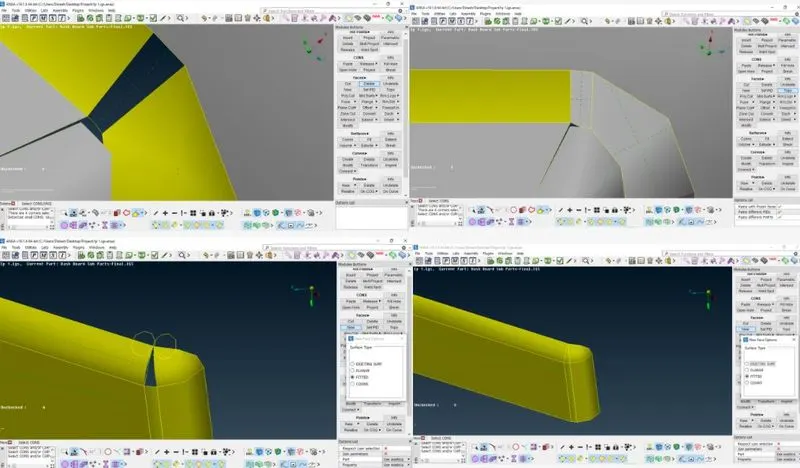
Fig7:
- All errors cannot fix by the auto-fix option there are some errors like triple cons we can go area by area and remove them manually. After removing those we can again execute the check geometry until it shows execute 100%.
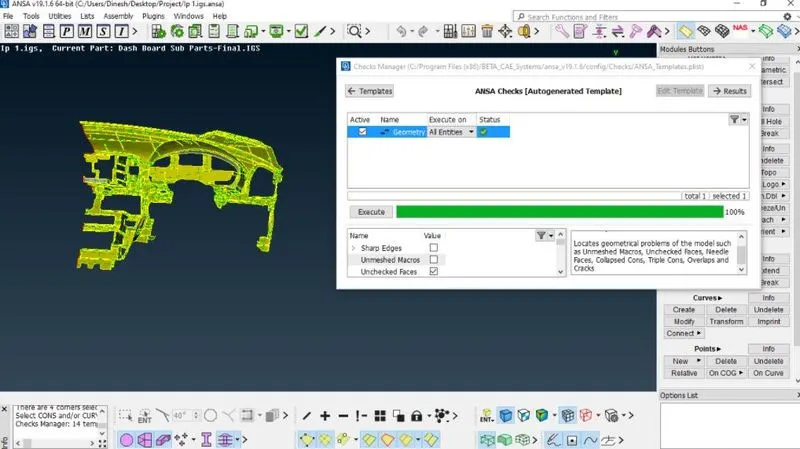
Fig8:
- AS we observe the above image all the geometrical errors are cleaned and excuted with 100%
MIDSURFACE EXTRACTION:
- We should extract the midsurface for the whole component, first go through the individual component and measure the thickness to extract the midsurface.
- Go to offset option under faces and make sure click on the feature angle to select the entire component then give the offset value then midsurface occurs in the middle of your parent body.
- We can create the new property IDs for each component by using the set PID option it will ask shell card click on that and define the thickness.
- There are many ways to extract the midsurface like offset,faces middle and curves middle for complex geometry.
Offset the surface :
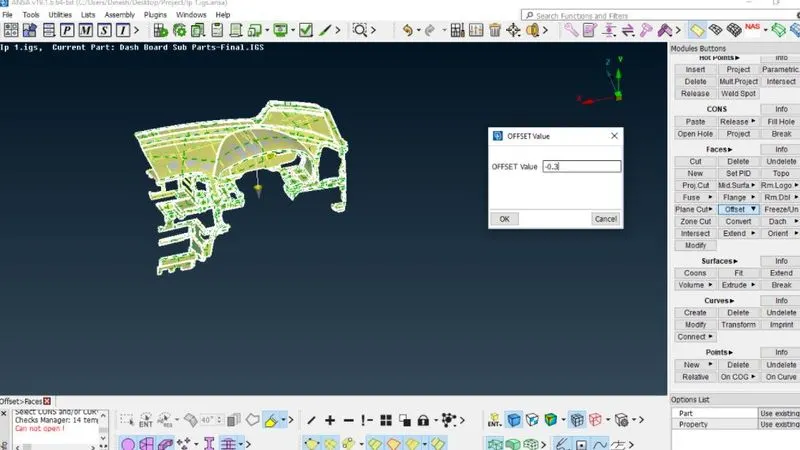
Fig9:Here we are using the offset for entire PID which having the constant thickness.
Midsurface:
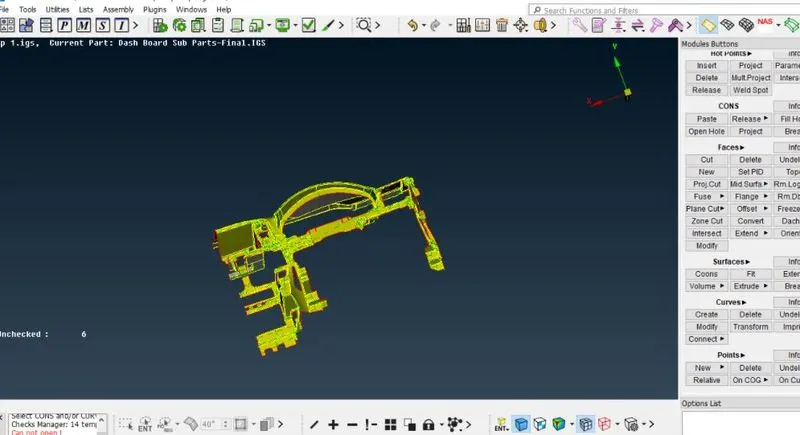
Fig10: As we can see in the above image the midsurface is extracted at the one shot.
Now we have to extract the midsuface for ribs and another features.
- Here we have to use the faces middle for ribs having the symmetrical thickness.
- select the faces middle>select the two opposite surfaces it will extract midsurface exactly at the middle.
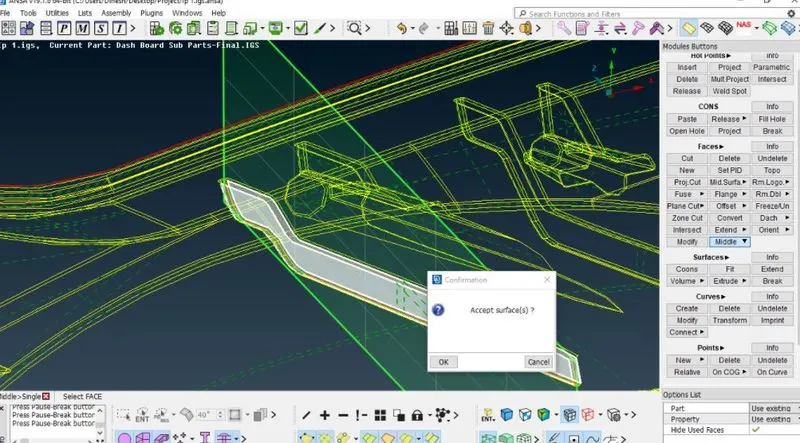
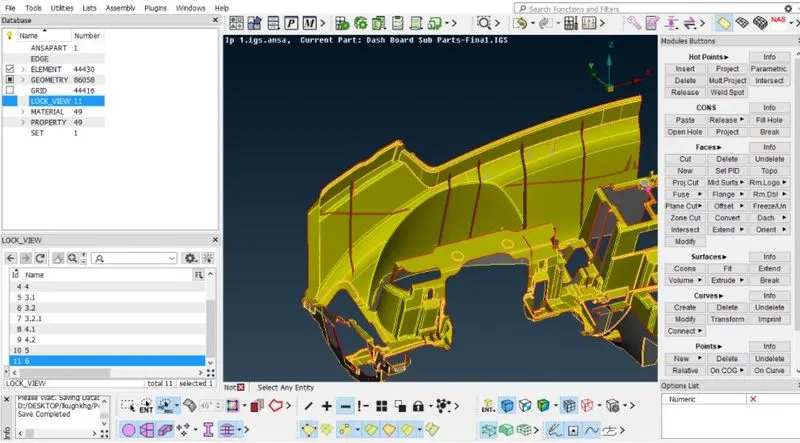
Fig11:
Extracting for doghouses:
- As doghouses are the solids we need to make assumptions to offset and capture them.
- To capture the middle surface for them we need to offset with 0.5mm and we have to give thickness is 1mm.
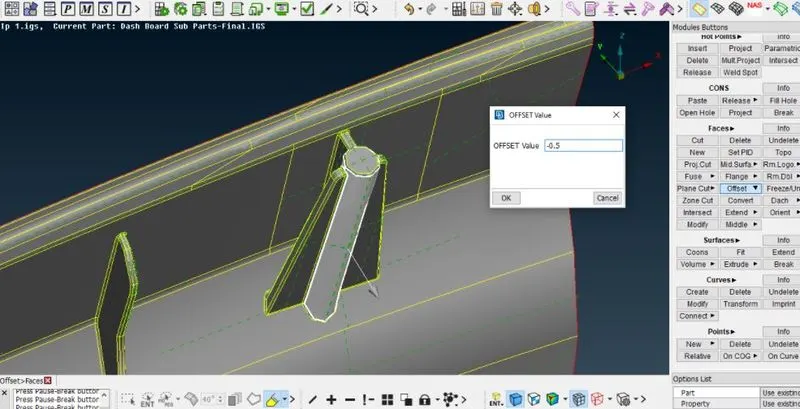
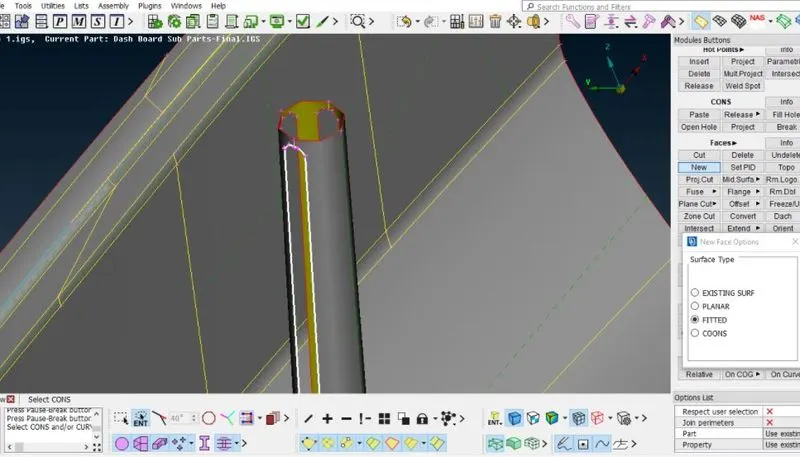
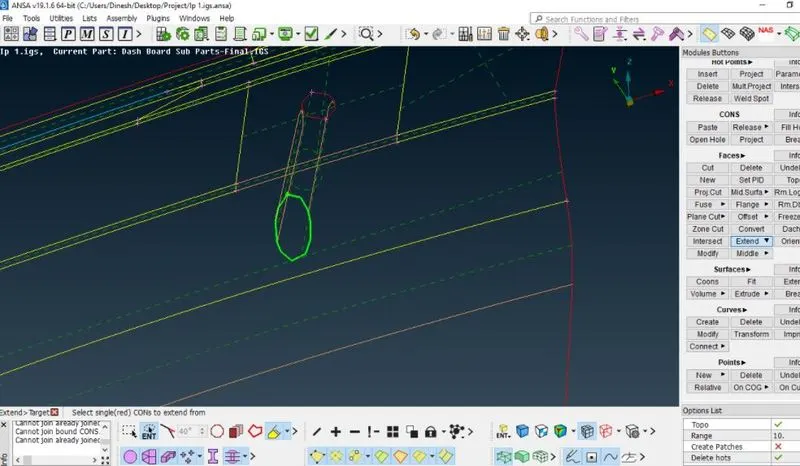
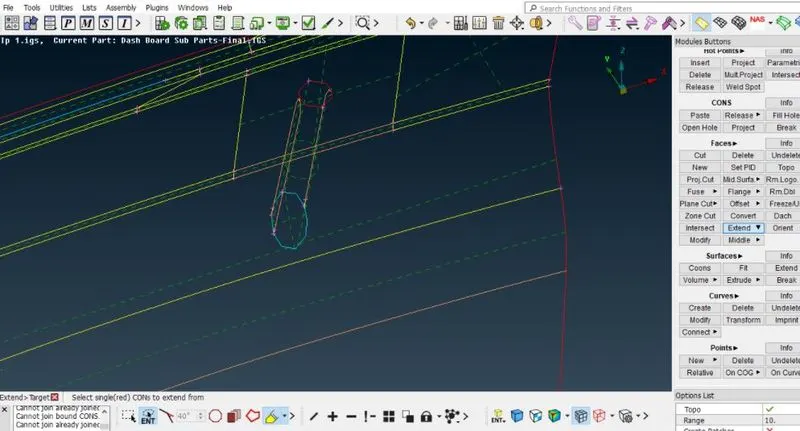
Fig12:
- Then extending the surfaces to its bases of the trims.
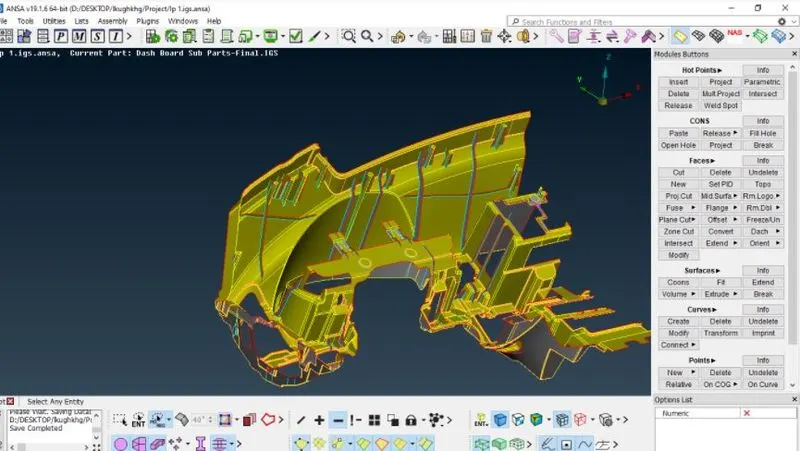
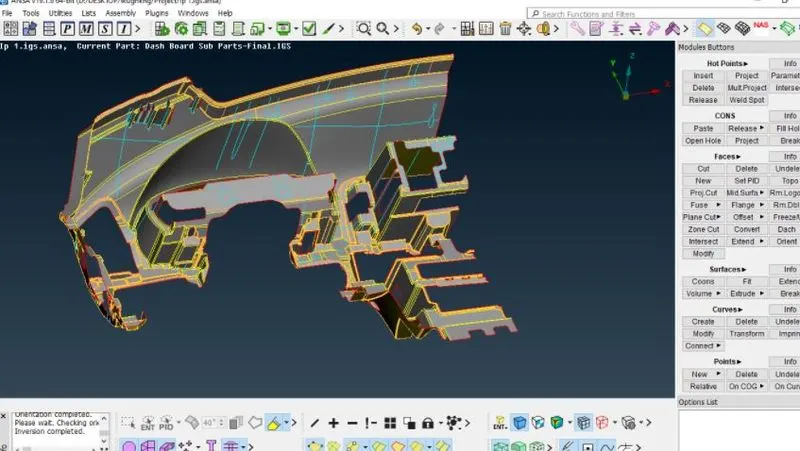
Fig13:
Defeaturing:
Defeaturing is the removal of details in the geometry in order to make the shape of the part simpler. Surface fillet, Pinholes, Edge fillets or we have to compromise on the one feature to save another feature.
- The fillet which will be less than minimum length should be defeatured.
- There two different ways to deafeature one is datch option and other is divide faces.
- datch will be delete the fillet from the sharp edge.
- Divide face will capture the fillet without any geometry distortaion.
Faces>datch>divide faces>select the surface>jion macros >enter the value as shown in below image.
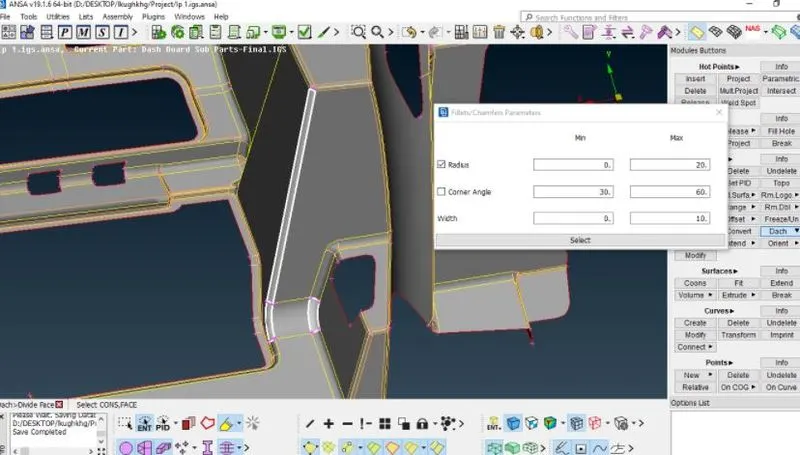
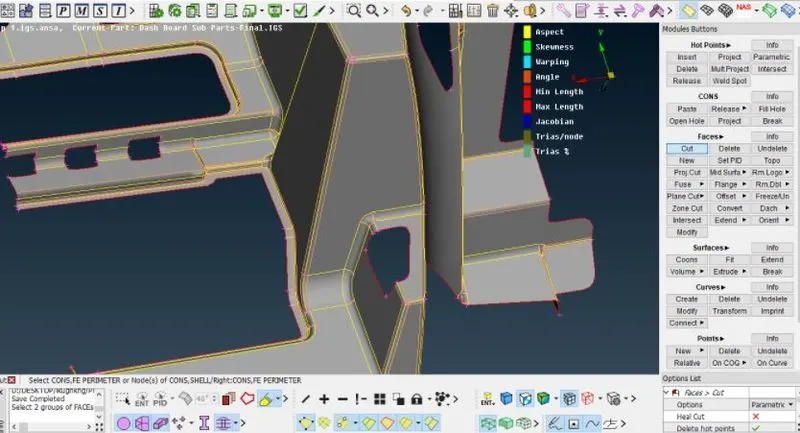
Fig14:
Meshing:
A mesh is a network that is formed of cells and points it can have almost any shape of any size and is used to solve partial differential equations. each cell of the mesh represents an individual solution of the equation when combined with foe whole network results in a solution for the entire mesh.
- Before going into the meshing we have to set the quality criteria parameters and Mesh parameters.
- In presentation parameters enable the tick to the % of elements and put the details of demand effect to all details.
- In mesh parameters we should give the target element length, min length and max length as shown below images.
- In 2D meshing for midsurface we are going with mixed mesh flow with both quads and trais as per the given Quality criteria.
Quality Criteria and presentation Parameters:
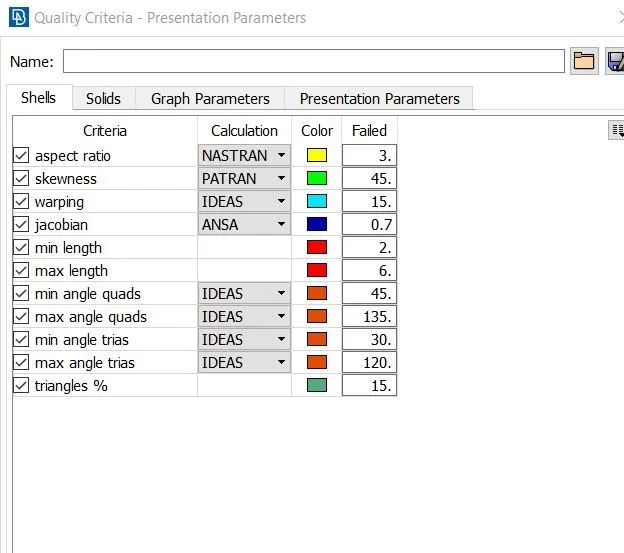
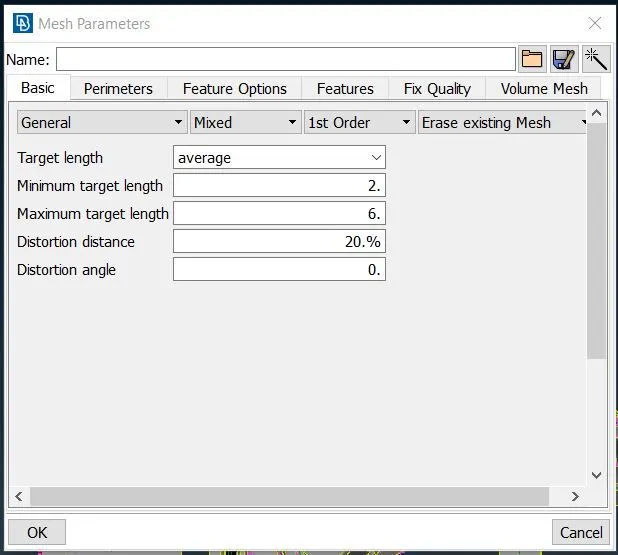
Fig15:
- Then we have to give the perimeter length and macro length.Mesh module>perimeter length>macros>enter the value.
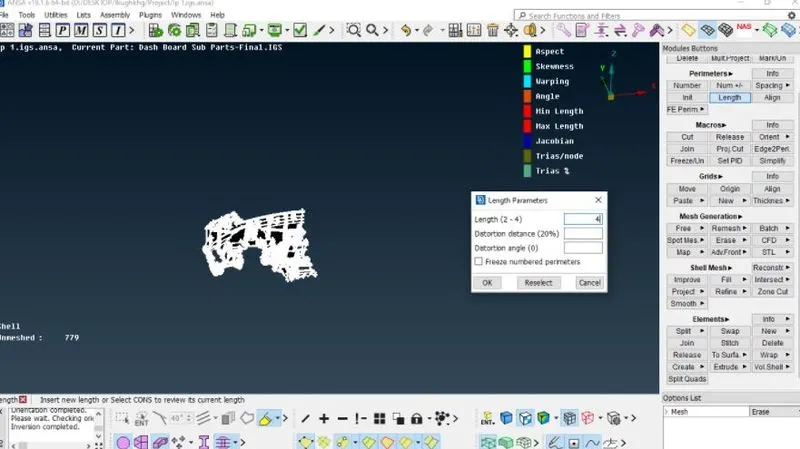
Fig16:
- Before the meshing you have to assign the thickness of the each component ,Create the seprate PID's and proced the mesh.
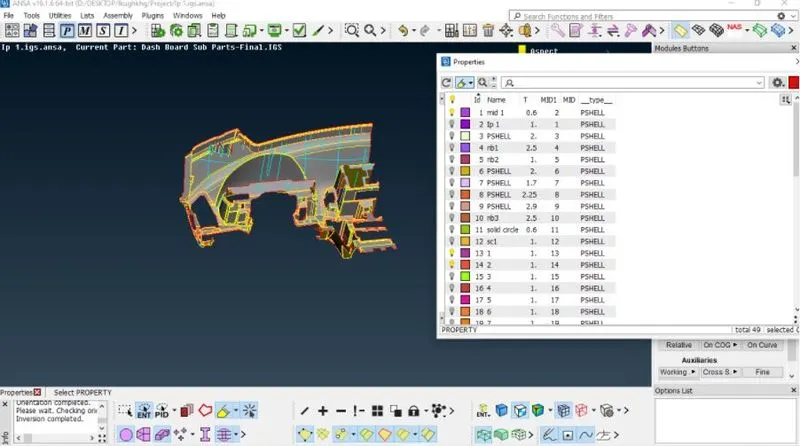
Fig17:
- After that we have to subdivide the trims into small trims for our convience mesh flow.
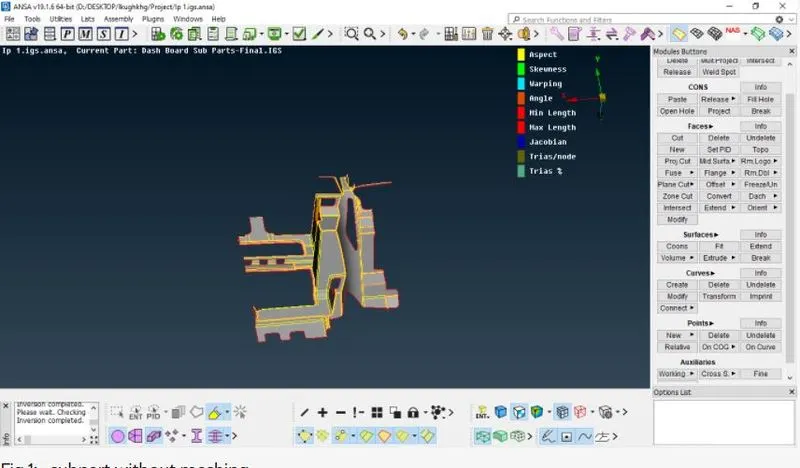
Fig18:
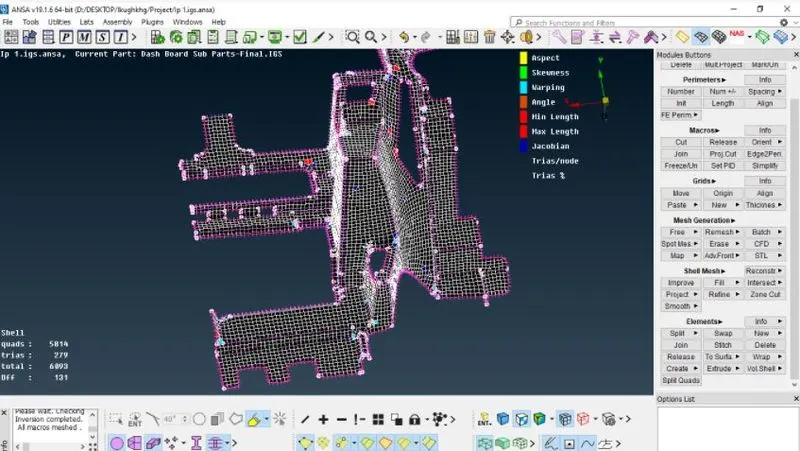
Fig19:After the spotmesh
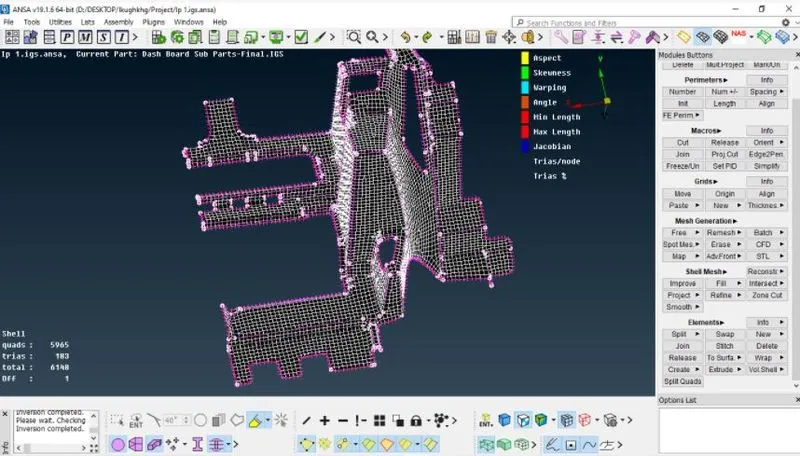
Fig20:After reconstruction and clearing the quality criteria
- We have to use split, swap, paste, reconstruction, options to adjust the trais in a perfect way.
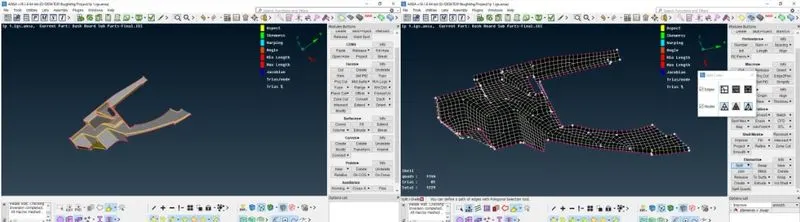
Fig21:
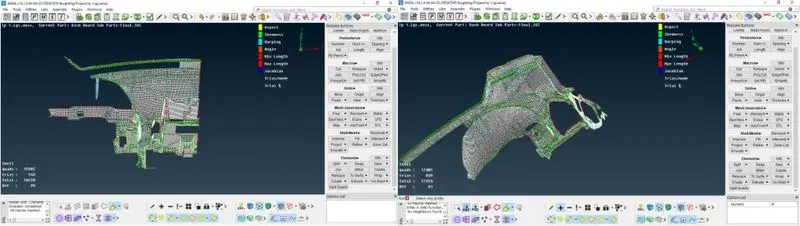
Fig22:
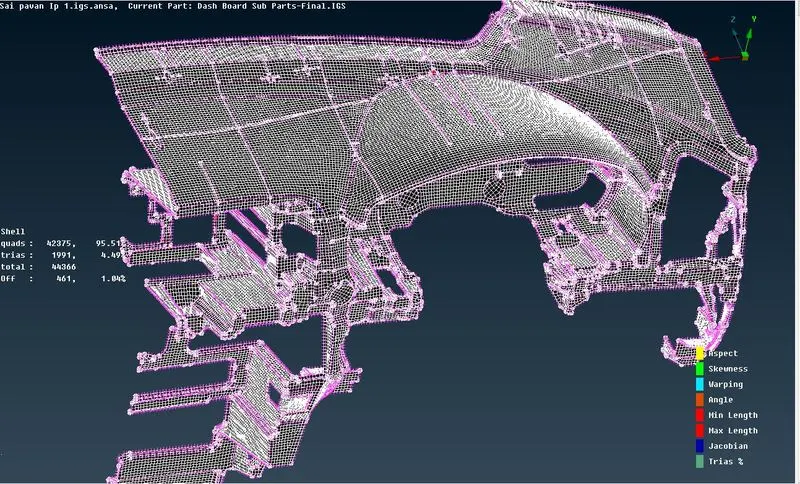
- Reconstruction is done by using the reconstruction option and smooth will reduce the elements.
Conclusion:
The given Instrumantal pannel trim is checked for the geometrical errors and taken the mid surfaces of component, it meshes with mixed elements Quads and Trias given quality criteria.
Learning Outcomes:
- I am able to understand how to obtain better mesh flow over some critical areas on fillets and also eliminating the trias by using the split, swap, rebuild options.
- In this I am able to understand the doing the midsurface of a component using both auto midsurfacing and manual midsurfacing with options midsurface and offset.
- Understood how to reduce the quality of errors in mesh.
- Understood the feature capturing of the fillet areas as well as complex geometry.