Project 1
Questions:-
1. Create Civil 3D Design File.
2. Create surface File & Create Surface by using given Survey Data.
3. Create Alignment by Using Proper Geometry Standard & apply Supeelevation.
4.Create View frames & sheet & create seperate .dst file for the same.
5. Workout quantity by using civil 3d.
Answers:-
1. Create Civil 3D Design File.
→ Create Civil 3D Design File
- Create all files required for design of road
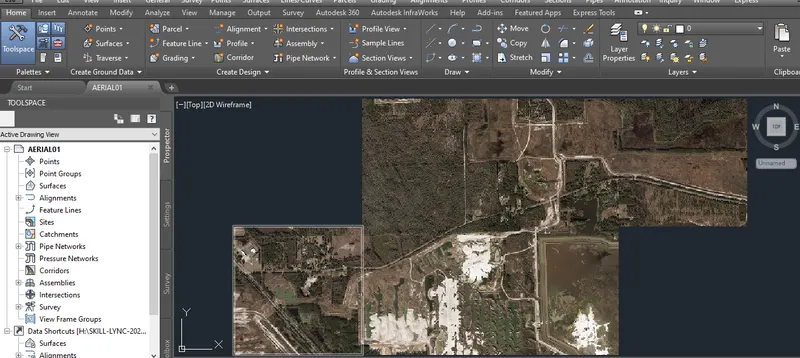
- Create AERIAL01.dwg file
- Then to insert we need to type mapinsert command
- Then "ZE" enter for zoom after which images will be visible
- Then after images are arranged then we need to check for original co-oridnate system
- Then click on drawing setting for co-ordinate system as type FL83-NF and click ok and check
2. Create surface File & Create Surface by using given Survey Data.
→ Create surface file & create surface by using given survey data
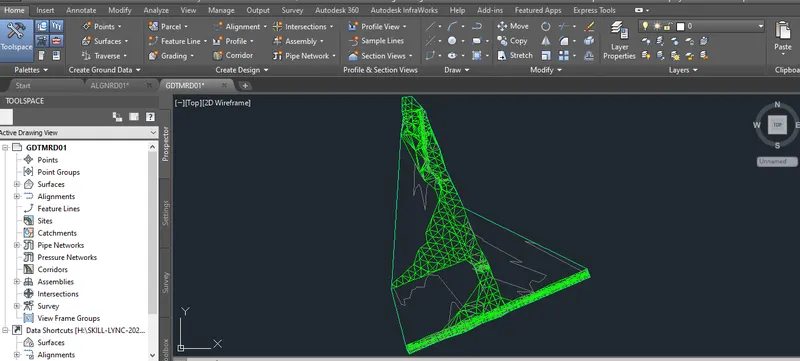
- Firstly Create GDTMRD01.dwg file
- Then in this file we create surface using given data
- After which we try to the surface in triangle form by editing its properties
3. Create Alignment by Using Proper Geometry Standard & apply Supeelevation.
→ Create Alignment by Using Proper Geometry Standard & apply Supeelevation
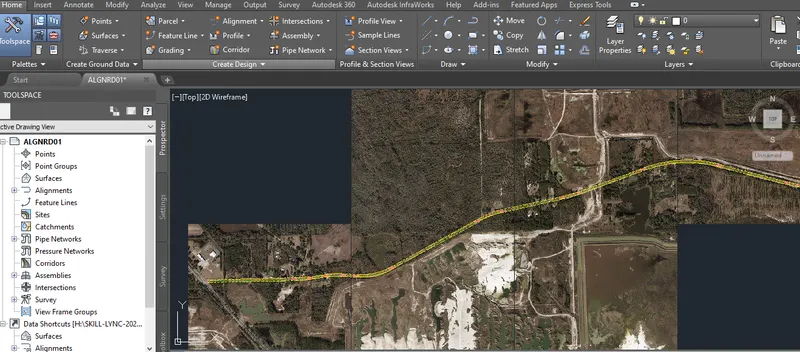
- Create ALGNRD01.dwg file
- Then in this we will create alignment for road
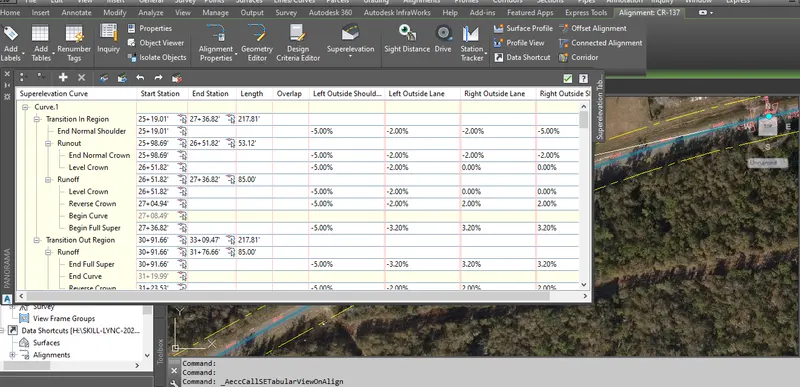
- After which we need add the curves and some additional
- Then we need to calculate superelevation then add it to the road alignment
4.Create View frames & sheet & create seperate .dst file for the same.
→ Create View frames & sheet & create seperate .dst file for the same
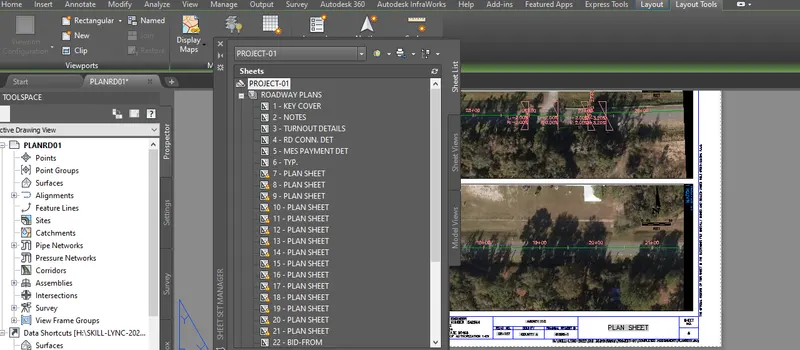
- Then for dst file we need require to set new sheet set
- After the new sheet set is named and and path is selected to be saved
- Then we need to add new subsets called Roadway Plans and Signing
and Pavement Marking Plans - Then save it again
- After the DST file we need add sheet set properties as per given
- Right click on PROJECT-01 named sheet set then click on properties
- Then add the custom property as per given name and add default value as keep the alt key pressed and type 0160 key in number lock
- Similarly repeat the same for all the properties of sheet
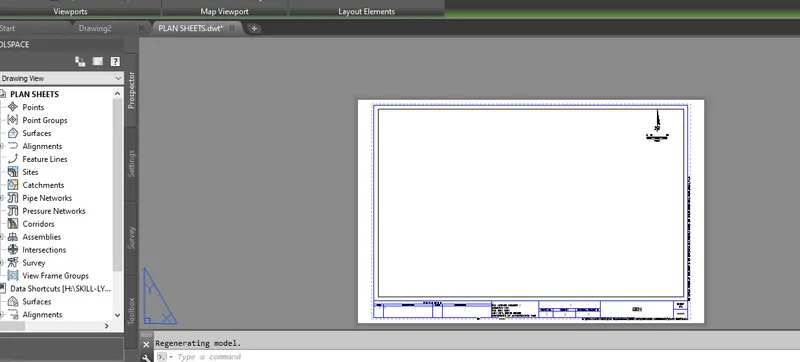
- Create PLANRD01.dwg file
- And then save the file as name Plan Sheets.dwt in folder
- We need to create a new layout as Dual plan 50 scale
- But this for dual plan horizontal before delete the remaining viewport
- And if we required then we can provide some space in all direction
- Then we need to add scale for this 1"=50' and lock it
- Save the file
- Create CLIPRD01.dwg file
- After which we need to create a view frames for layout sheet
- Then open the alignment file and create a data shortcut by the same 5 steps
- Then go manage option
- Click on set working folder then Click on New Shortcut folder then click on Set Shortcut folder
- Then in prospector tab on alignment right click on it then we click on associate project to current drawing then click on create data shortcuts and then open a created new file and in data shortcuts using create reference
- Then in CLIPRD01 file click on view frames groups then give required setting and select the dual plan then create a view frame
- Then to create a data shortcut we need to continue with 2 steps
- Click on associate project to current drawing then click on create data shortcuts on view frames
- Save the file
- For proper arrangement of sheets as per mentioned
- For this we need to right click on sheet and click on rename and renumber sheet
- Firstly right click on PROJECT-01 and click on publish
- Then click on publish dailogbox
- Then formate is PDF and mention the path to be published
- Then click on Publish
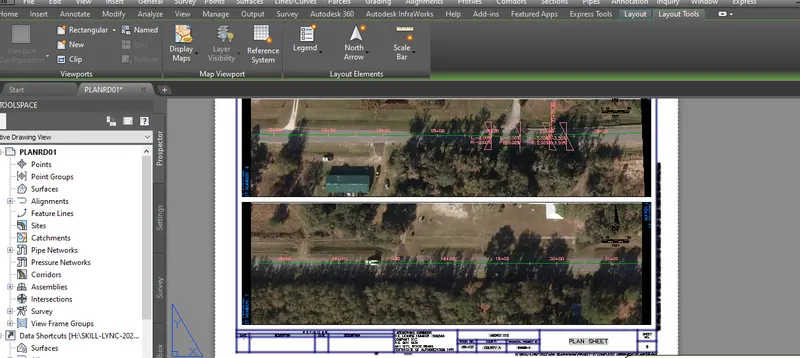
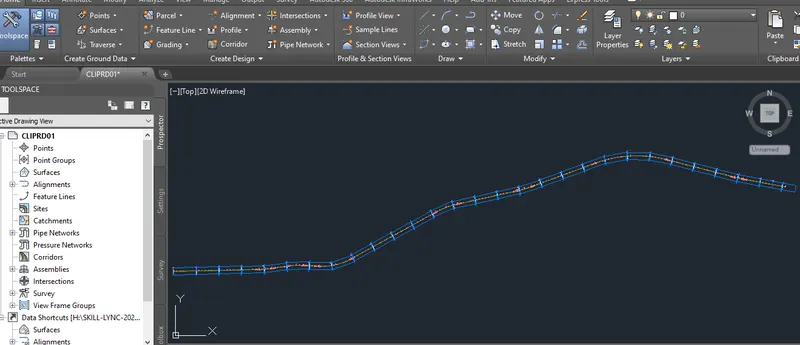
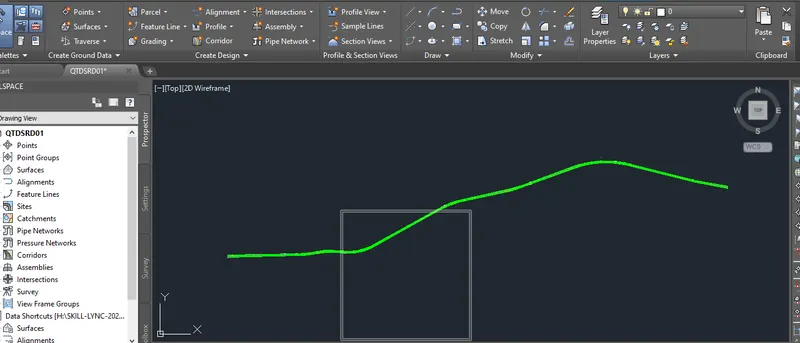
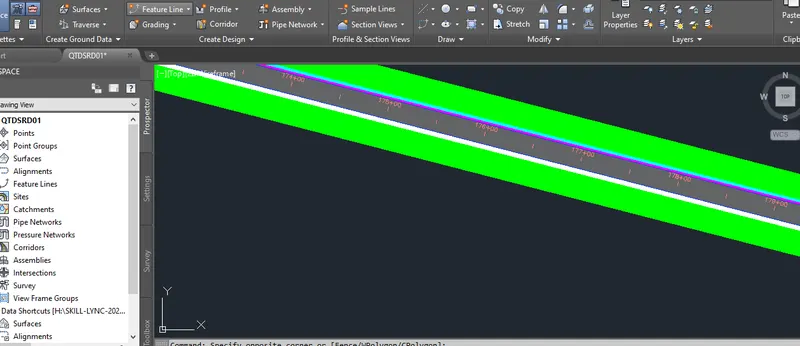
5. Workout quantity by using civil 3d.
→ Workout quantity by using civil 3d
- Create QTDSRD01.dwg file in this file we add items for particular and takeoff quantity from it
- We have to assign pay items
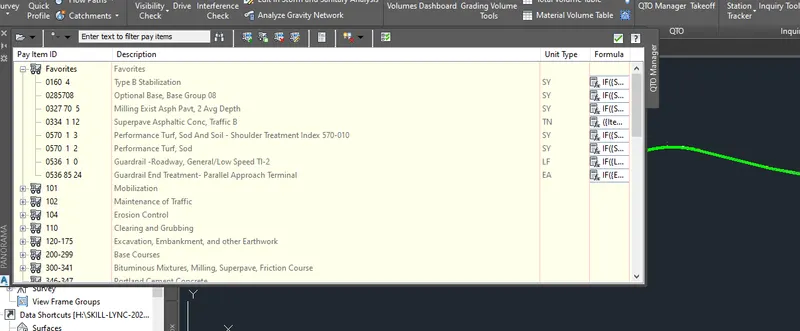
- Firstly we have to click on analyze option then click on QTO manager
- Then load the file in pay item agency file from given
- After the files are uploaded then after all pay items are available
- After the pay items are fixed
- Firstly we have to click on analyze option then click on QTO manager
- Then we have to assign a particular given items in excel sheet using their item number
- After then right click on item then assign to it
- Add to favourite list
- Some of the items given were Guardrail, lump sum, turnout, performance turf, pavement etc
- We have to properly add items to autocad objects
- To perform quantity takeoff we need to add items to autocad objects first
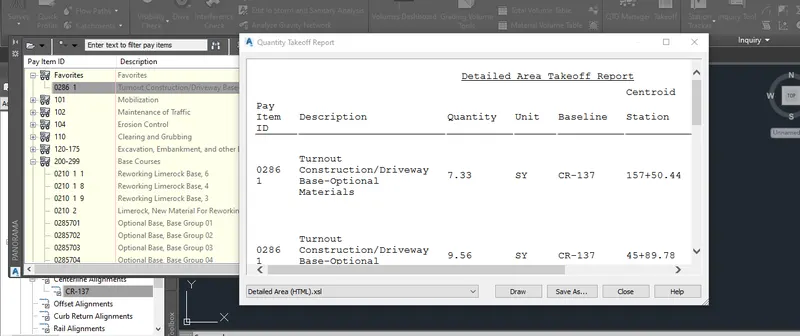
- Then after select the item then click on quantity takeoff
- Then a new dailogbox will open were we have click on either detailed or summary
- After select the road and select formate to which the data should be displayed
- Then copy the data displayed and paste it in excel sheet in other then the provided sheet
- Then link the required data in sheet provided with respective items
- Then after linking the sheets to have to link all the file with summary sheet with respective items
- And that sheet will be link to projectestimate file in which its linked to estimate sheet with respective items
- Then link the estimate sheet to bid form sheet with respective items
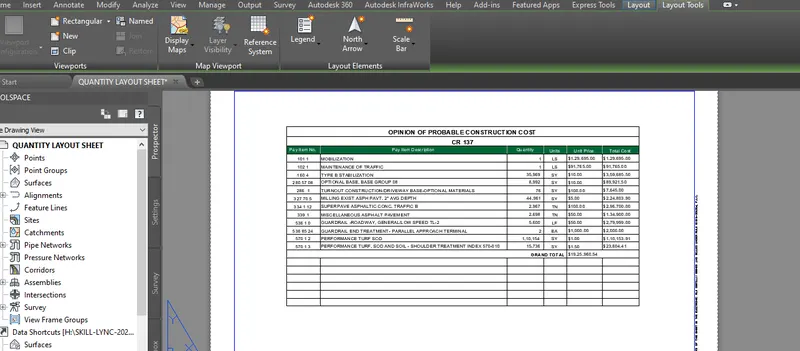
- Create QUANTITY LAYOUT SHEET.dwg file
- To create a layout open new or existing layout and name as per working excel sheet
- Then delete all the existing viewport and create a new single view port
- After which copy the titleblock from file provided to this working file
- Then set the titleblock correctly on layout by drawing diagonal on it as set is correctly
- Again delete the existing viewport on titleblock
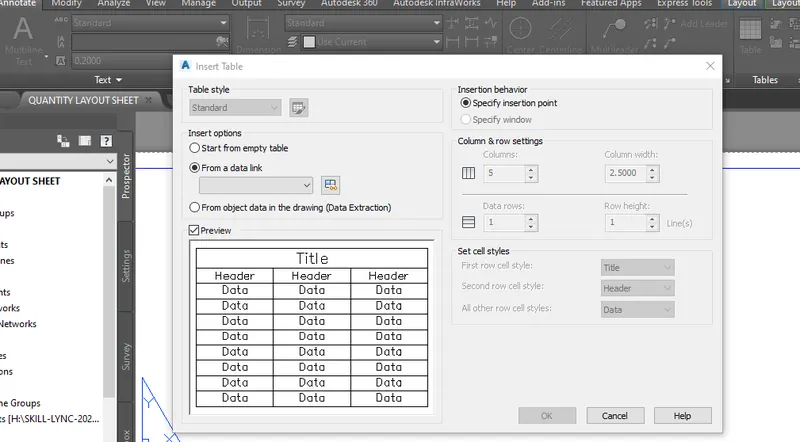
- Then click on annotate then in table ribbon click on link data
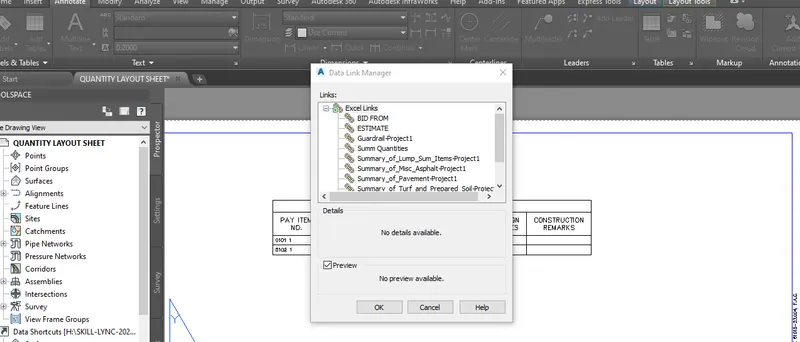
- Then name the file to be linked and link the file
- After click on table and click on link data select the file and click ok
- Then table will be linked from excel to auto cad file
- To create the pdf we to need to add it in dst file
- Then Press ctrl+3 then right click on which we are going to add
- Then click on import form layout then import all layout in dst file
- After which set the sheets as per number and proper name to it by clicking on renumber or renaming
- Then click on it after set it properly we need covert it to pdf right on roadway then click on publish
- After click on publish dialog box then select the path,name & file type to be saved
- Then save the file