Photo Realistic Rendering
MODELING OF AMERICAN CHOPPER IN SOLIDWORKS
Objectives-
The main objectives of this project are:
- To create individual parts of chopper using solidworks
- To assemble all the individual parts into chopper
- to know the application of decals,lights and camera etc
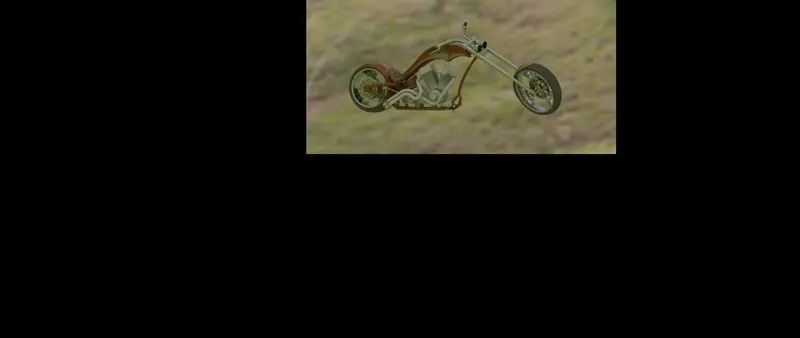
To create photorealistic model and render it using photoview 360 and solidwork visualize
Introduction-
Solidworks is one of the prominent modelling software avaliable today this software is mainly used to model 3D parts using 2D sketch.It also has the option to specify the material and look of the model which we created.It has other ADD-in features like photoview360 which helps in rendering of the final model to make it look photo realistic. In this project we learnt about detailed design of Americal chopper parts and assemblig them and rendering the final after assembly.
METHODOLOGY
- Part Modelling
- Assembly
- Rendering
Details of SOLIDWORKS Features Used -
Sketch
The sketch is used to create the 2D representation of model. In solid work there are different entities are available like as follows:
- Line
- Circle
- Arc
- Spline
- Rectangle
- Polygon
- Fillet
- Ellipse
(Some sketch entities like line, circle, spline, arc, rectangle, etc. contain more options)
- Offset
The offset command create parallel line, curve, and concentric circles through a point or at a specified distance.
- Trim and extend entity
The trim command is used to remove the selected extra line/parts of an object. And the extend command is used to extend the selected boundaries or edges.
- Covert entity
It is used to project the last sketch in to the current sketch plane.
- Mirror
Mirror is used to create remaining half of a sketch/ copy of selected sketch about a specified line.
- Linear sketch pattern
It is used to create multiple instance of feature that can uniformly specified along one or two linear paths.
- Smart dimension
It allows you to dimension the part which is created.
- Dynamic mirror
Select the dynamic mirror feature to mirror pre-existing sketch. First select line, centerline, and linear model edge about which to mirror, and then create a sketch to mirror.
Path - Tool> Sketch Tools>Dynamic Mirror
Extruded boss/base:-
It is used to convert 2D sketch into 3D model in one or both directions from sketch plane. Here you have to specify direction up to surface, vertex, value, body from sketch plane.
Extrude cut
It helps to remove material from the created 3D model by using 2D sketch. It is opposite of extrude boss/bass feature. Here also you have to specify direction up to surface, vertex, value, body from sketch plane.
Revolved boss/base:
It is used to revolve a 2D sketch (one or more profile) along a axis, line or centerline.
Revolved cut:
This feature is just opposite of revolve boss/base. The revolved cut allows to cut a profile around an axis, plane, and line to create complex geometry.
Swept Boss/Base
A swept feature is used to create a solid body by moving a closed entity/ profile along specified sketch/path. In order to complete a feature, two sketches are necessary. One will be the closed profile and second will be the path.
Swept Cut
A swept cut feature allows to cut a 3D model by sweeping a closed sketch profile along a specified path sketch. The path sketch will control the direction of cut. Profile sketch should be connected to the path sketch.
Lofted boss/base
The loft feature creates a solid body by making transition between multiple profile and guide curve. It helps to generate complex geometry in one feature.
Lofted cut
The loft cut is allows to remove material between two sketch profiles. Make sure that selections are must under the profile selection box and not the guide curve selection box
Fillet
It is used to create a rounded shapes at internally or externally faces of the part. There are different types of fillet:
- Constant Size fillet
- Multiple radius fillet
- Round corner fillet
- Setback fillet
- Variable size fillet
- Face fillet
- Full round fillet
- Asymmetric fillet
Chamfer
This feature is creates a cut on selected edge, face or a vertex. Types of chamfer:-
- Angle –Distance- Enter the values of distance and angle in the chamfer parameter box.
- Distance- Distance- Enter the values for both distances in the chamfer parameter box or on the side of selected edges.
- A vertex- Enter values for the three distances on each side of selected vertex.
Patterns
- Linear pattern – To create multiple instances of one or more feature to that can space uniformly along specified path, plane.
- Circular pattern – To create multiple instances of one or more feature to that can space uniformly along an axis, line.
- Curve Driven Pattern – To Curve creates multiple instance of one or more feature to that can space uniformly along 3D curve (open or closed curve).
Shell
It is used to define the thickness of wall, hollows out a part, leaves open the selected faces. Shell may be with uniform or multiple thickness faces.
Dome
Dome features is used to one or more dome on the same model in one feature.
- Face to dome - Used to apply dome to faces whose centroid lies outside the face.
- Elliptical Dome -Used to apply dome for cylindrical/ conical model.
Path- Insert>Feature>Dome
Split
Split feature is used to create multiple body or surfaces from one part/ surface. In the trim tool box we need to select sketch and click on cut part. In this feature we can create multiple body or consume cut bodies.
Path- Insert>Feature>Split
Combine
There are three different options are available to use combine feature.
- Add-To merge multiple bodies together into one.
- Subtract-To remove multiple bodies from main body.
- Common- To add two bodies together and keep the area that is common to them.
Path- Insert>Feature>Combine
Feature description for surface Modelling:
Surface modelling is used to build out a represent of solid objects exterior and it’s a contours. Following feature are used in design of seat, gas tank of chopper.
Swept Surface
The surface is created by sweep profile and sweep path.
Lofted Surface
The surfaces are generated by multiple 3D curves / existing edges. There should be a tangency between the selected curve/edges.
Boundary Surface
The boundary surface creates surfaces that can be tangent or curvature continuous in both direction. In most of cases, we get high quality result as compare to lofted surface.
Filled Surface
The feature create a surface to fill the gap in a model.
Surface Trim
It is used to cut away material from a surface.
Extend Surface
This feature extend the surface by selecting as edge, multiple edges or a face.
Surface Knit
The surface knit feature combine multiple faces and surfaces into one. Surface edges must be adjacent and not overlapping.
Appearance
An appearance is define the visual properties of model which include color and texture. We can apply appearance to the individually to the complete model / one or more face /edges .It does not affect on physical property which are defined by material.
COMPONENTS DESIGNED
- Transmission Belt
- Kick Stand
- Front Fender
- Rear Fender
- Chain
- Oil Tank
- Pedal
- Front Wheel
- Rear Wheel
- Front Fork
- Chassis
- Engine
- Gas Tank
DESCRIPTION
TRANSMISSION BELT
-
Features used
- Offset entities
- Extrude boss
- Fillet
- Appearances
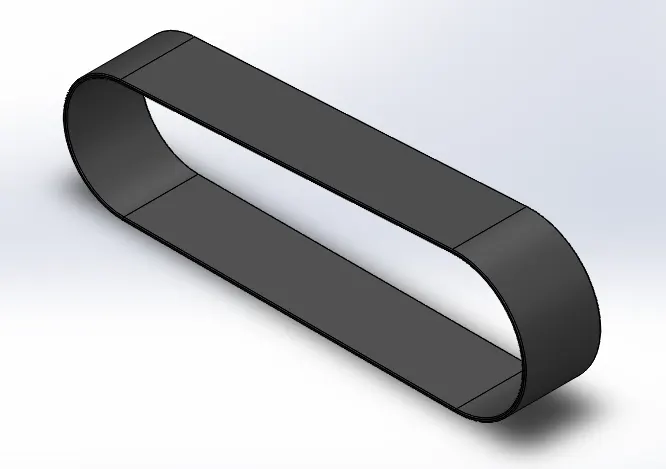
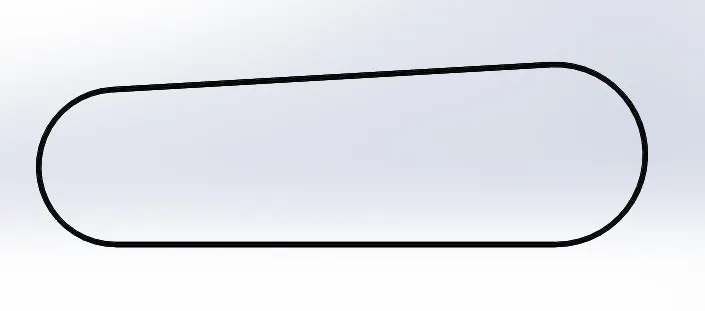
This transmission belt is designed to adapt to the two pulleys created on one side of the engine block. It is a simple model created using very fewer tools like line,curve and extrude boss/base.
KICK STAND
- Feature used
- Loft boss
- Extrude boss
- Extrude cut
- Dome
- Split
- Fillets
- appearance
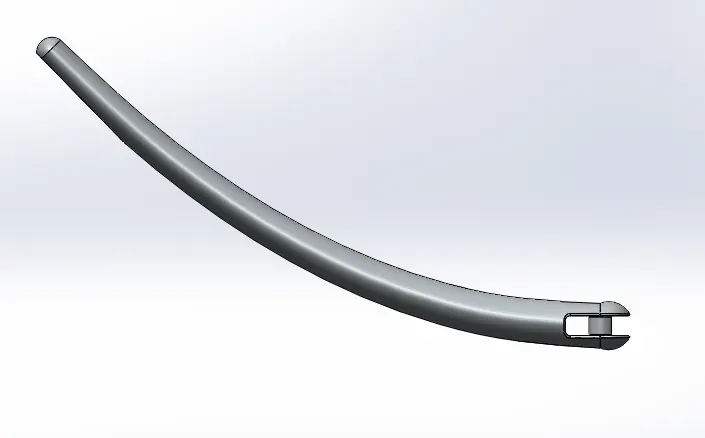
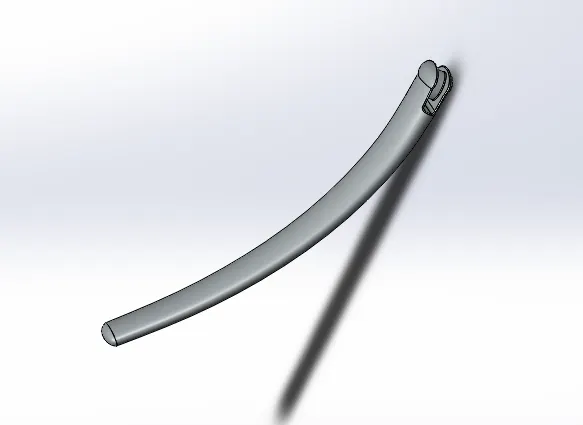
Kickstand for this bike is of a very simple kind made by the application of sweep feature. An opening is kept for it to fix it to the chassis and the Dome is applied at the ends of the kickstand.
FRONT FENDER
- Features used
- Offset entities
- Trim entities
- Revolve boss
- Dynamic Mirror
- Split
- Appearances
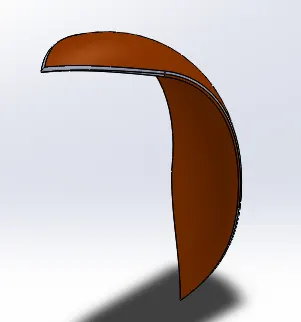
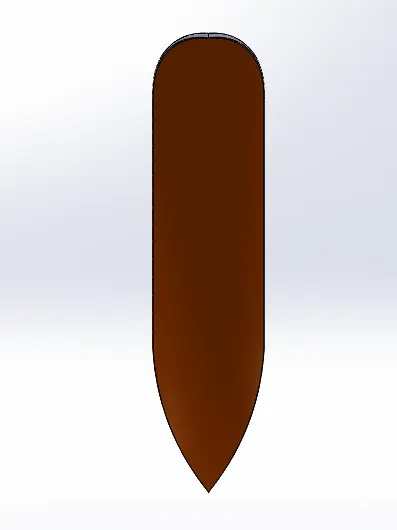
The front fender for this bike is designed simply by revolving the cross-section and cutting away material at the end to make it pointed. Revolve and split tools are the most used tools here.
REAR FENDER
- Features used
- Offset Entities
- Trim Entities
- Revolve boss
- Appearances
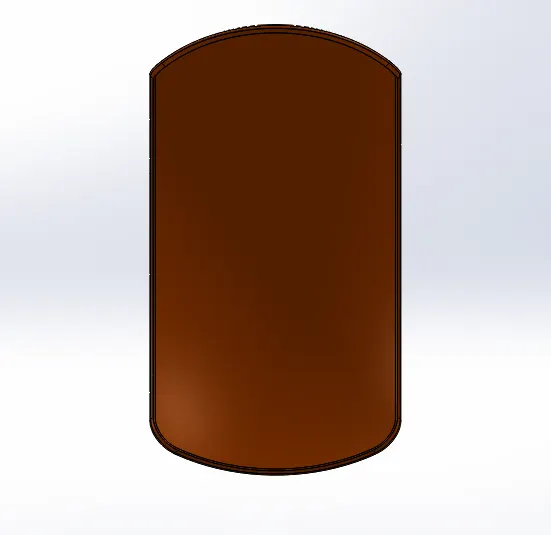
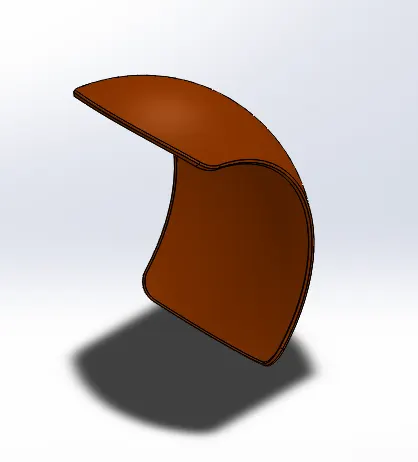
The rear fender is thicker but shorter compared to the front fender. It doesn't have a pointed end like the front fender, rather rounded end as in the Idea of sketch. Revolve and split tools are the most used tools here.
CHAIN
- Features used
- Trim entities
- Fillet
- Blocks
- Extrude boss
- Linear Patterns
- Appearances
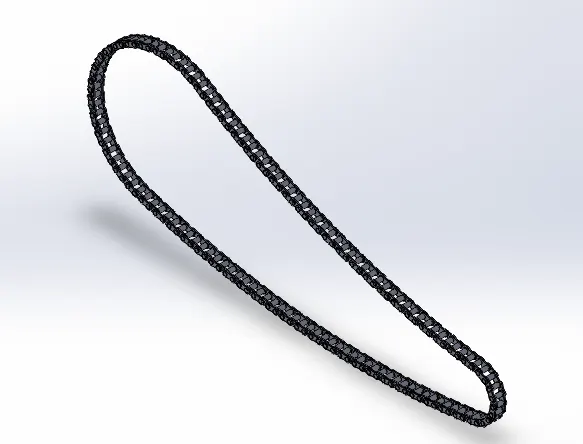
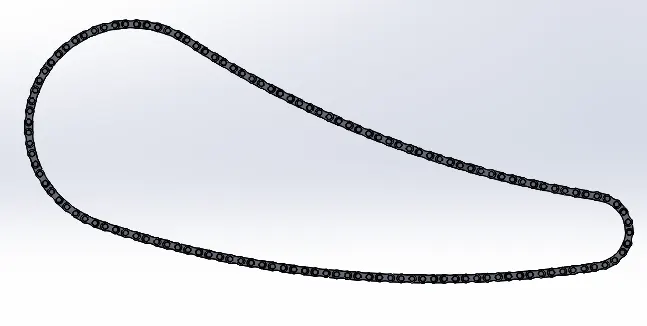
It is the most complex part of the whole design project. It consists of 390 bodies including separate bodies for all the inner plates, outer plates, and the pins. The major feature used in this part is the Curve driven pattern which allows each instance of chain parts to follow the curve drawn initially for the chain. It is essential to keep all the elements of this chain as a separate body because it has to rotate along the curve and around the sprocket which is not possible if it is merged to make a single body.
OIL TANK
- Features used
- Boss Extrude
- Combine
- Fillet
- Shell
- Appearance
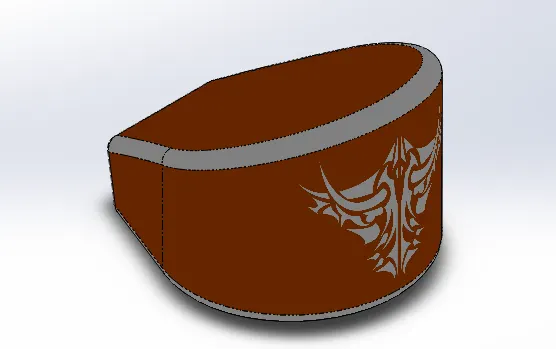
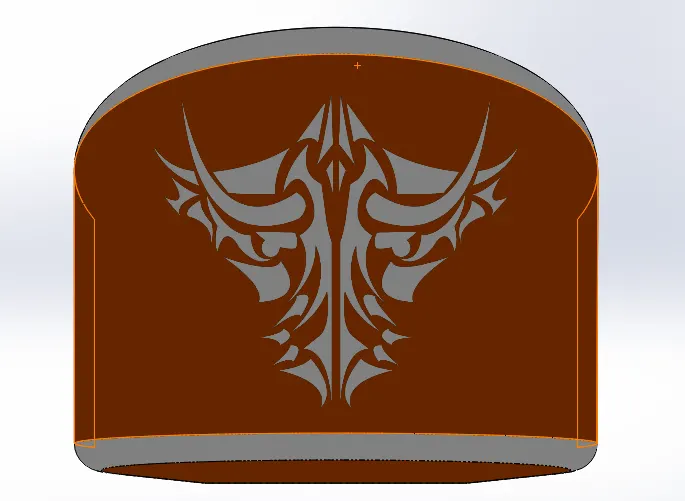
The oil tank is placed above the engine block which is also made hollow inside. Extrude and shell are the major features used in this part.
PEDAL
- Features used
- Extrude boss
- Fillet
- Linear pattern
- Dome
- Chamfer
- Appearance
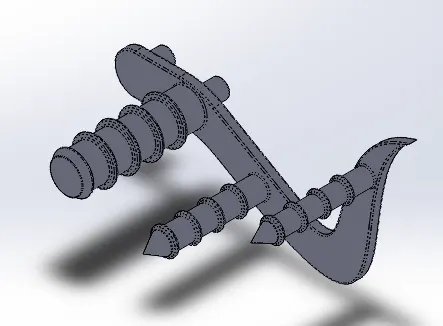
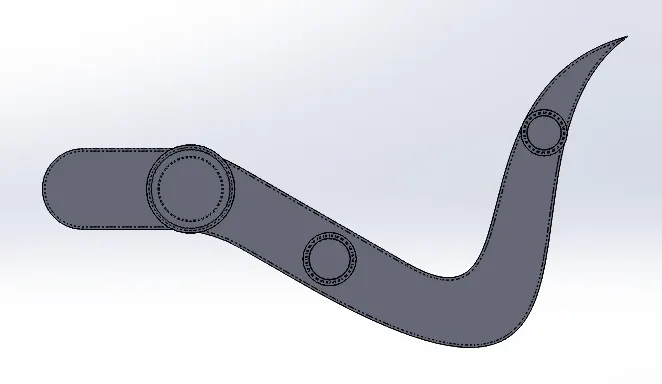
There are two pedals, left and right. Among them, only the right pedal was sketched and designed in the part design environment and the left was made using the in-context features of the assembly environment. It is designed to sit into the holes provided at the bottom of the chassis on both sides.
FRONT WHEEL
- Features used
- Revolve boss
- Trim entities
- sketch fillet
- Boss Extrude
- Revolve Cut
- Linear Pattern
- Chamfer
- Cut Extrude
- Circular Pattern
- Appearance
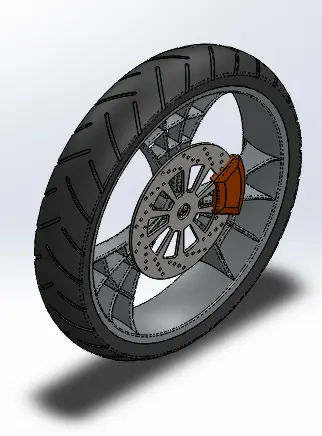
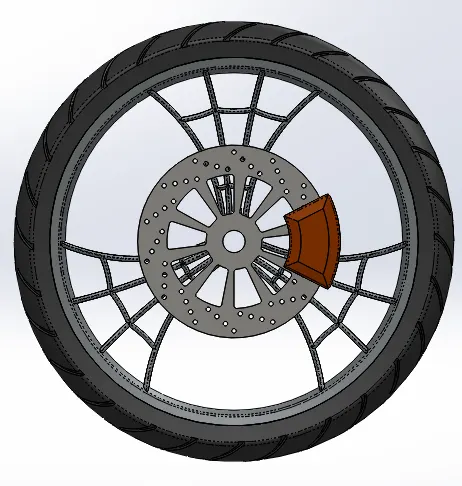
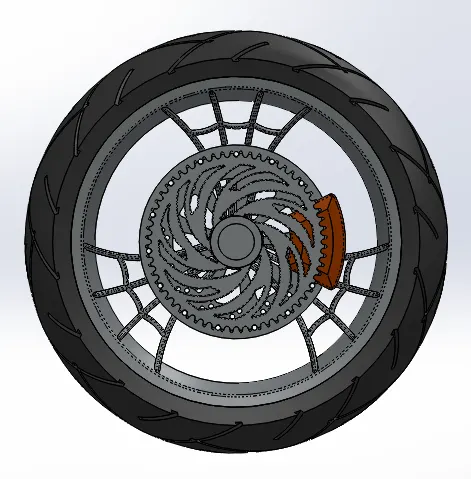
The front wheel is thinner than the rear wheel. It is designed to be a multi-body part consisting of the rotor, sprocket, rim, tire, and the calliper all are made to be single bodies. Mostly used features include revolve, extruded cut, and circular pattern.
REAR WHEEL
- Features used
- Revolve boss
- Trim entities
- Fillet
- Extrude Boss
- Planes
- Revolve cut
- Linear pattern
- Chamfer
- Fillet feature
- Extrude Cut
- Circular pattern
- Appearance
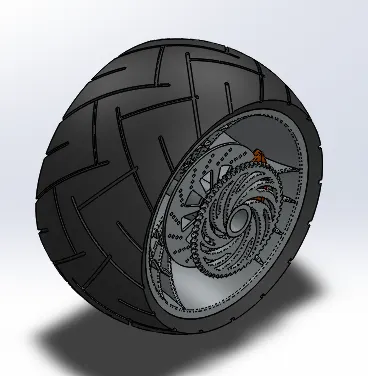
The rear Wheel is much thicker than the front wheel. Just like the front wheel, it is also designed to be a multi-body part consisting of the rotor, sprocket, rim, tire, and the calliper all in a single part. Mostly used features include revolve, extruded cut, and circular pattern.
FRONT FORK
- Features used
- Extrude boss
- Trim entities
- Revolve boss
- Split
- Move/copy bodies
- Dome
- Mirror
- Combine
- Projected curve
- Sweep boss
- Appearance
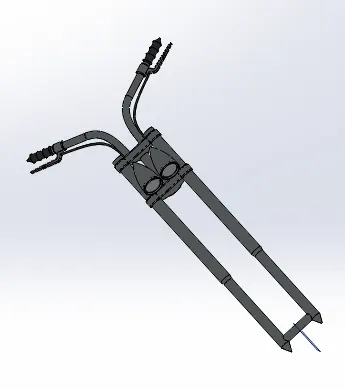
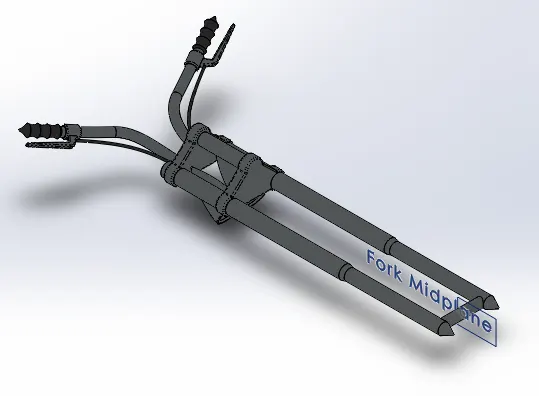
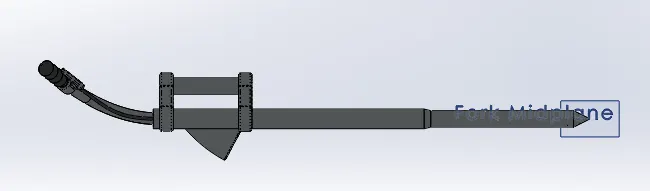
It is the most unique part of this American Chopper bike. It is longer than usual bikes and the angle is extremely low with respect to the horizontal. The handles are shorter and are customized according to their comfort. For this model, revolve features is mostly used. It consists of two headlights
CHASSIS
- Features used
- Offset entities
- Convert Entities
- Project Curve
- Trim entities
- Sweep boss
- Split
- Revolve Cut
- Extrude boss
- Fillet
- Combine
- Appearance
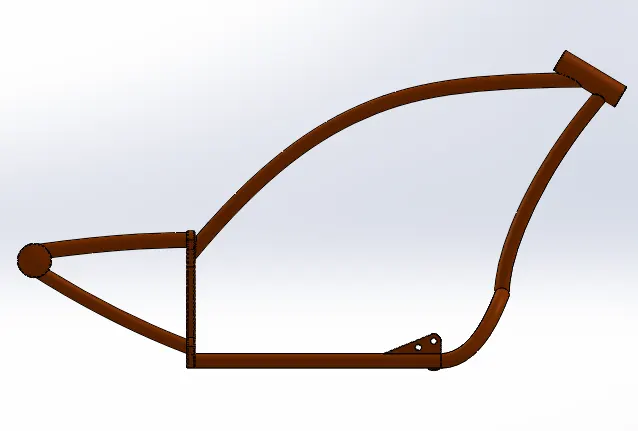
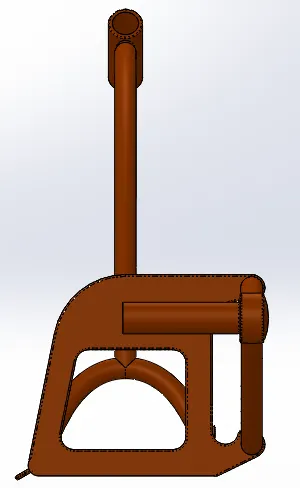
The chassis is the frame that bears most of the load on the bike. In the design process of this chassis, the mostly applied features are splines, sweeps, project curves, split, etc. The lower tube is mirrored with respect to the mid-plane. The rear plate supports the rear arm which holds the hub from only one direction so it is designed to be stiff enough.
ENGINE
Features used
- Trim entities
- Revolve Boss
- Extrude Cut
- Offset entities
- Dome
- Fillet
- Projected Curve
- Composite Curve
- Sweep boss
- Mirror
- Circular pattern
- Split
- Appearance
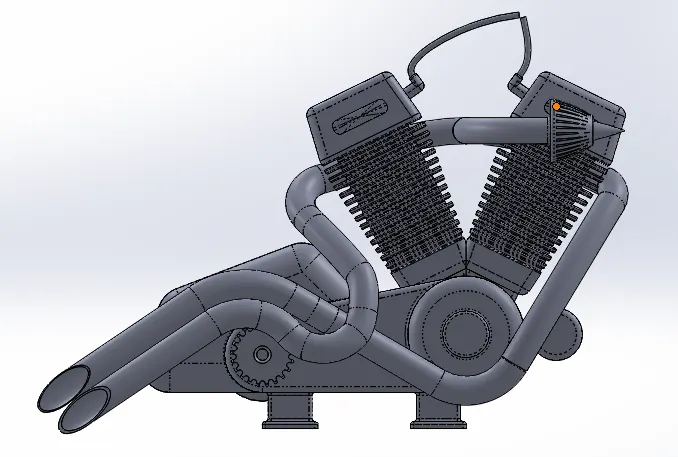
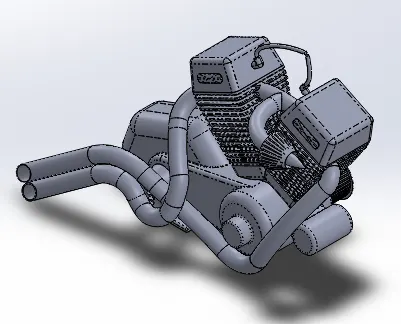
The engine used in this bike is a V engine with two exhaust pipes. Although it is the solid modelling of the engine block, it covers most of the aspects of the engine block. It incorporates the cooling fins, spark plug representation, intake and exhaust manifolds, transmission unit with the transmission belt, and pulleys.
GAS TANK
- Features Used
- Projected curve
- Trim entities
- Sweep boss
- Loft surface
- Knit surface
- Sweep Cut
- Fillet
- Appearance
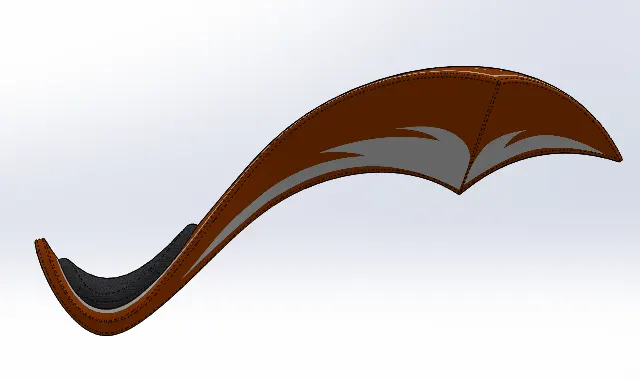
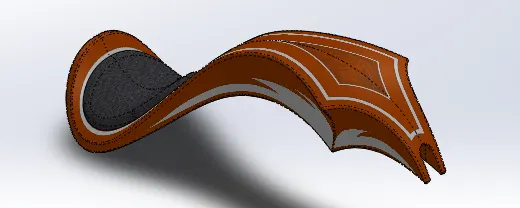
The fuel tank for this American Chopper is designed as per the info sketch. It is hollowed out to make a tank for the fuel inside. The mostly applied features include extrude surface, boundary surface, shell, and knit surface. Sienna is assigned as its appearance and decals are applied.
Assembly of American chopper
- All part modelling windows should be opened.
- Initially, chassis part is inserted in to the main assembly environment by using insert part option and press ok to fix the chassis.
- Similarly other parts also inserted into the main assembly environment and give them possible mates to fully define. Following is the part insertion sequence:-
- Chassis
- Engine
- Pedal
- Kickstand
- Transmission Belt
- Oil Tank
- Rear Wheel
- Rear Fender
- Chain
- Gas Tank
- Front Fork
- Front Wheel
- Front Fender
Features used to create assembly-
- Insert Components
- Mates
- Mirror
- Save the assembly- American Chopper
Insert components
We can insert component in the assembly which is need to be mated with fix component.
Mates
Mates creates geometric relations with the components which are inserted into the assembly. While making assembly we used various type of mates like –
- Standard Mates- concentric, parallel, coincident, tangent, distance, angle, etc.
- Advanced Mates- Limit, Width, etc.
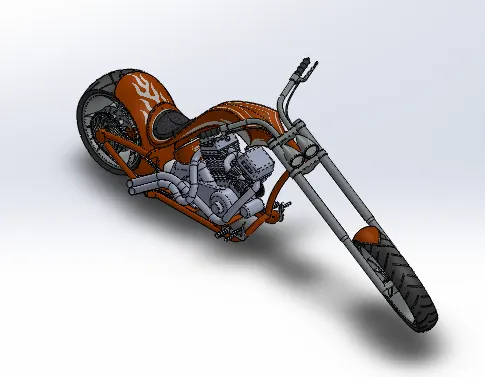
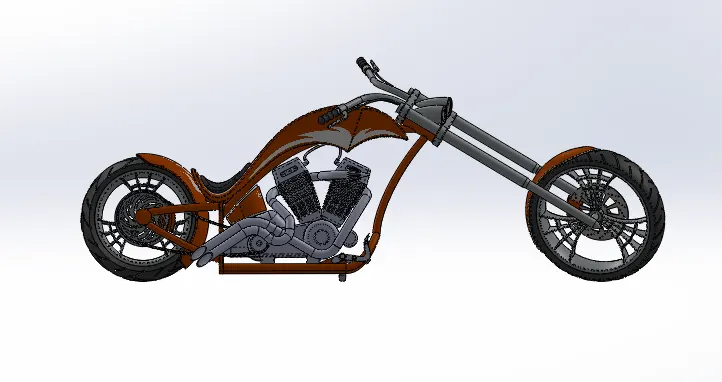
Rendering for American Chopper
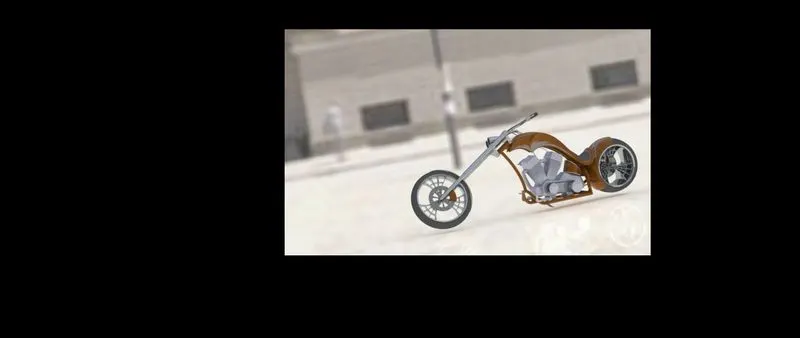
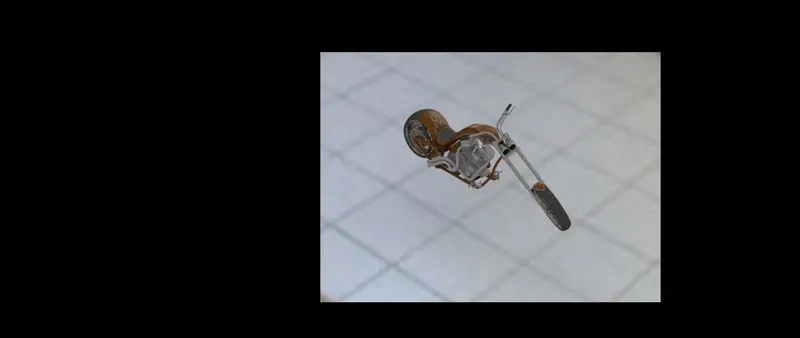
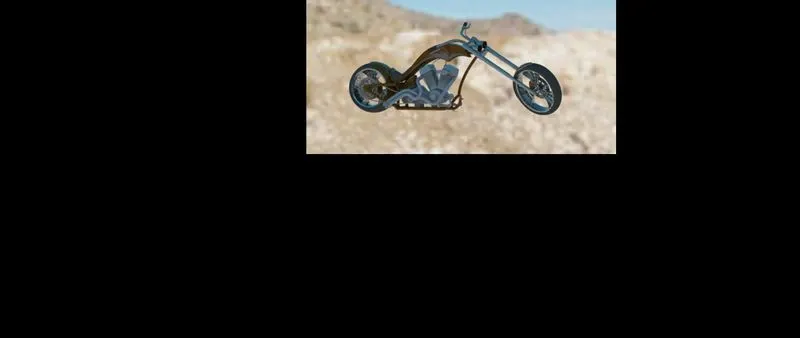
Rendering is process of creating realistic images of the model with environment.
In rendering various aspects such as camera, light, environment, background scene, appearance, etc. are taken in consideration before final rendering. To check the all thing preview rendering option is used.
There are two ways of rendering in SOLIDWORKS.
- Photoview 360
- Solidworks Visualize
In photorealistic model, some of the mates and conditions are changed to render realistic model. So we have to change as per different view before rendering.
Conclusion:-
- The parts are sketched and modelled in the SOLDWORKS.
- The modelled parts are assembled with possible mates in to the main assembly of American chopper.
- The decals are applied to faces of parts.
- The realistic images was rendered with use of both ways “Photoview 360 and Solidworks Visualize.