Photo Realistic Rendering
- Title of the Project
To do the modelling & Rendering of American Chopper Using Solidworks & Photoview 360. - Objective
To Learn how to Model, Assemble & Render American Chopper Parts such as Pedal, Gas Tank, Chain, Wheels, & Fenders etc. - Introduction
This Report Include the Approch to model, Assemble & Render the American Chopper. - Design methodology
The Approach to make the American Chopper includes three Steps:-
- Part:- In Part we use different sections like Sketch, Features, Surfacing & Appearance to create Different Components of American Chopper like Wheels, Fenders, Front Fork, Kick Stand, Engine, Tanks & Chasis etc.
- Assembly:- Assembly is very usefull section. It helps to join or Assemble Different Parts Together with help of mating and references.
- Rendering:- Rendering helps us to provide realistic view to our Model by choosing different environment, Background and Scenes for our model. Rendering Can be done in Photoview 360 as well as in Solidworks Visualisation. We can add Various Decals, Sketches to our model with help of Rendering Tool.
5. Description
- Part
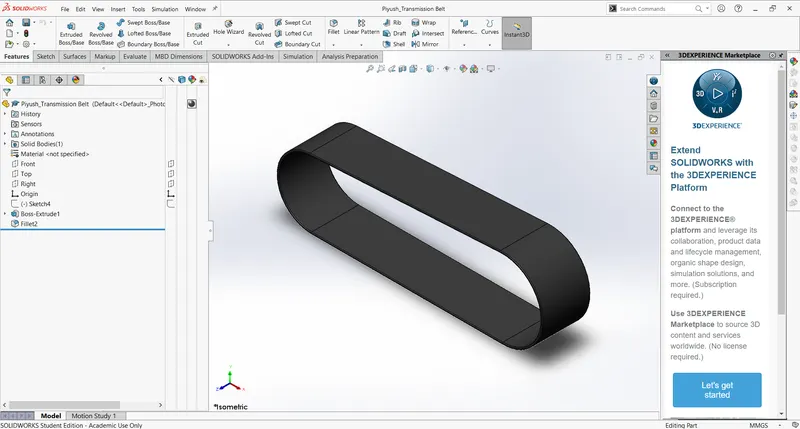
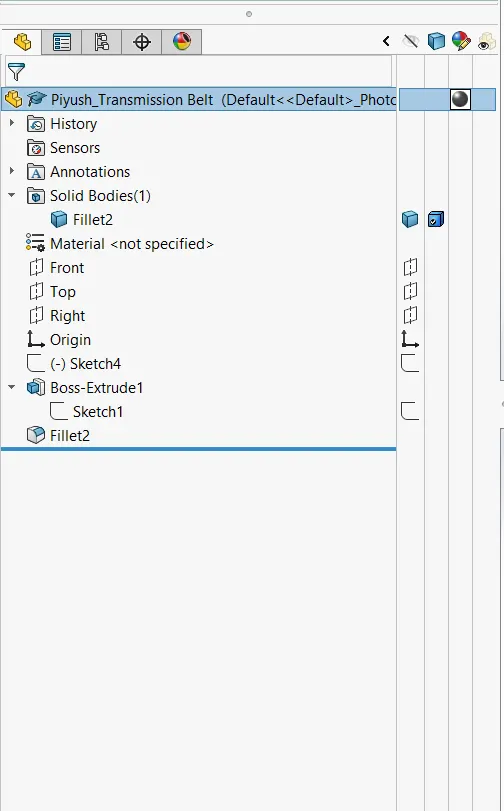
a) Transmission belt
It is a member which transfers Power between two rotating shafts.
Used Features
- Extrude on sketch
- Fillet around edges
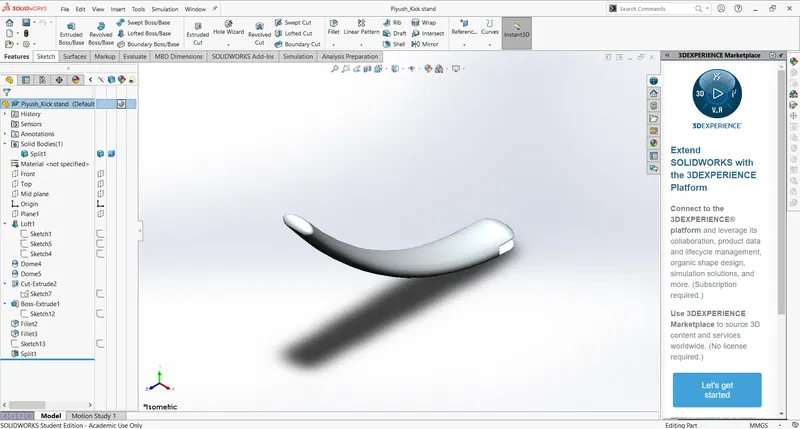
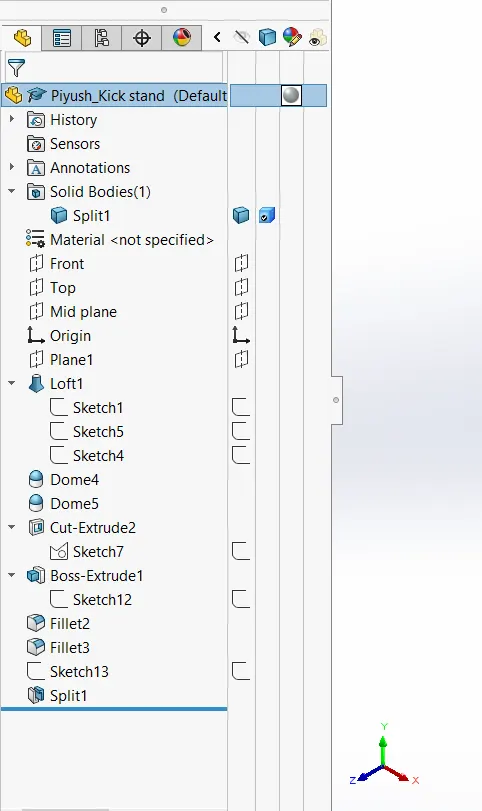
b) Kickstand
Kickstand is a member on which the Chopper Stands on the floor. Kickstand Follows hinge movement with the chasis.
Used Features
- Loft on sketches
- Create Dome on the loft Faces
- Cut extrude to create hinge for kickstand
- Use extrude to create hinge
- Create fillet for smooth surface
- Use Split command on the bottom of Kick stand for better allignment with floor.
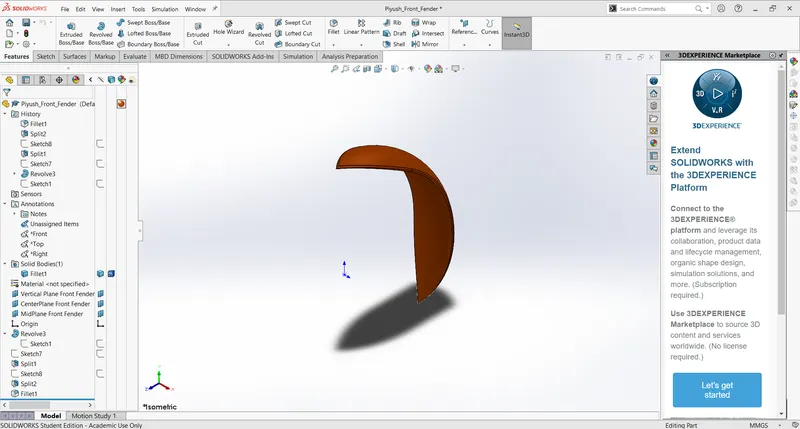
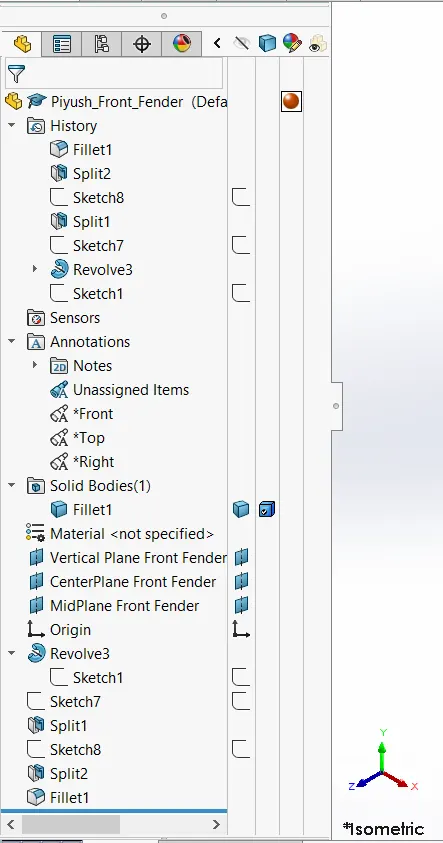
c) Front Fender
Front Fender is a part of chopper which Covers the Front Wheel also helps Rider to prevent from Dirt and soil.
Used Features
- Use revolve along centerline.
- Use split command by creating sketch to give edges on both ends of fender.
- Create fillet for smooth edges.
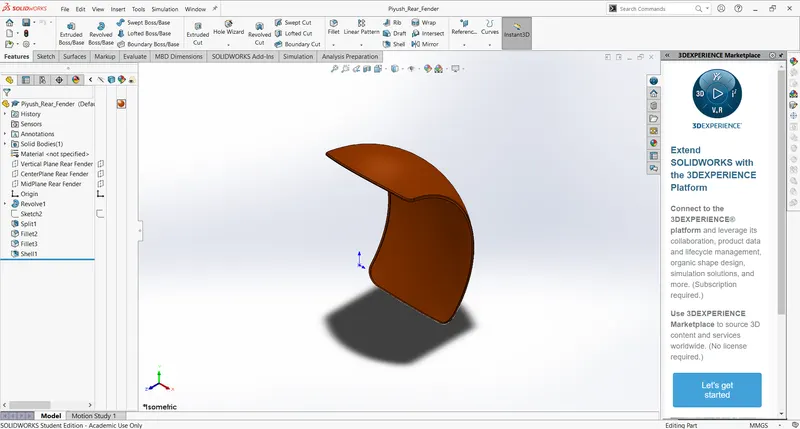
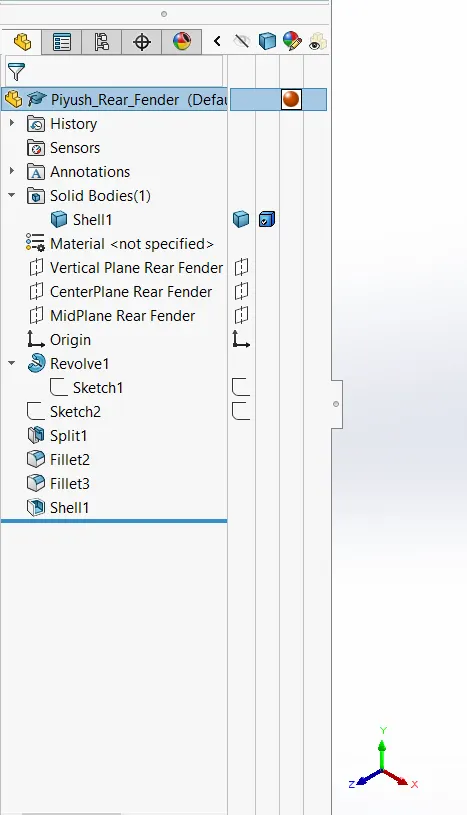
d) Rear fender
Rear Fender is a part of chopper which Covers the Rear Wheel also helps Rider to prevent from Dirt and soil.
Used Features
- Use revolve along centerline.
- Use split command by creating sketch to give edges on both ends of fender.
- Create fillet for smooth edges.
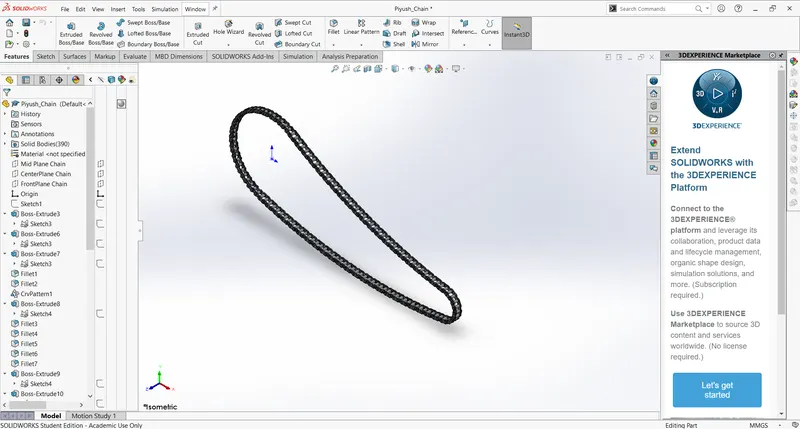
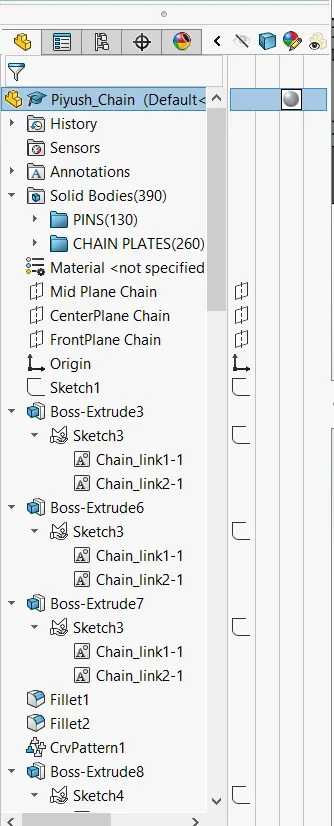
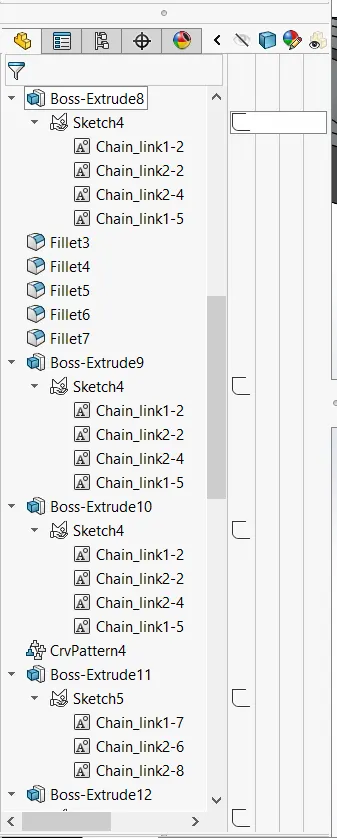
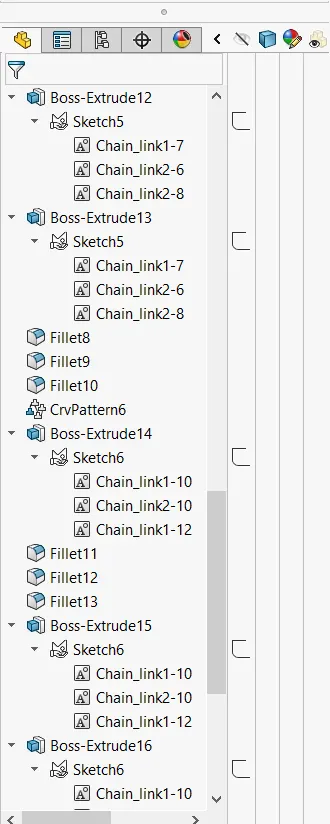
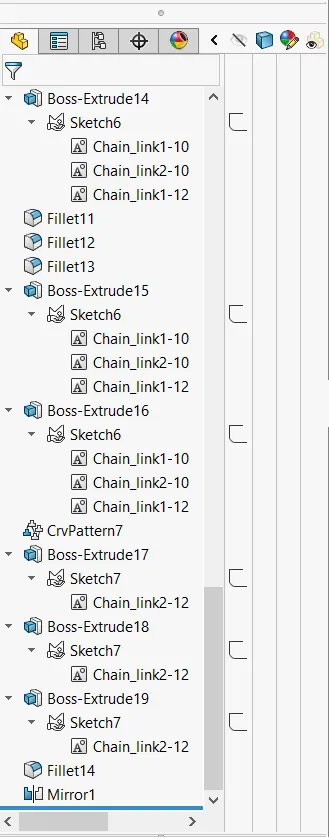
e) Chain
It is of combination of small inter-linked member(male-female) that connects together and helps to transmitt power to the rear wheel.
Used Features
- Extrude the sketches which will inter-linked together.
- Apply fillet to sprocket to give smooth edges.
- Use Curve Driven pattern feature to make multiple sprocket and connect them.
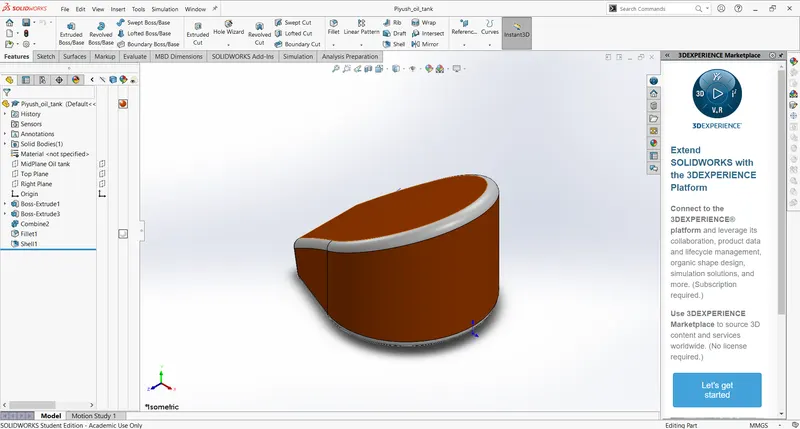
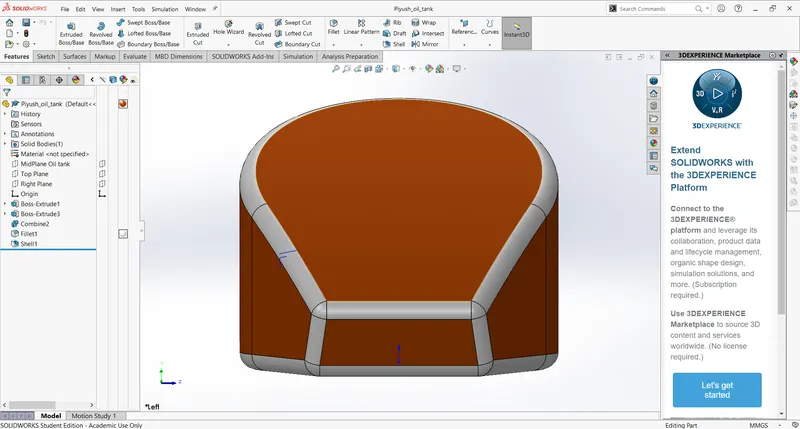
f) Oil Tank
Oil Tank is a container Placed above the Engine that store oil & give supply to the engine to Run the Vehicle.
Used Features
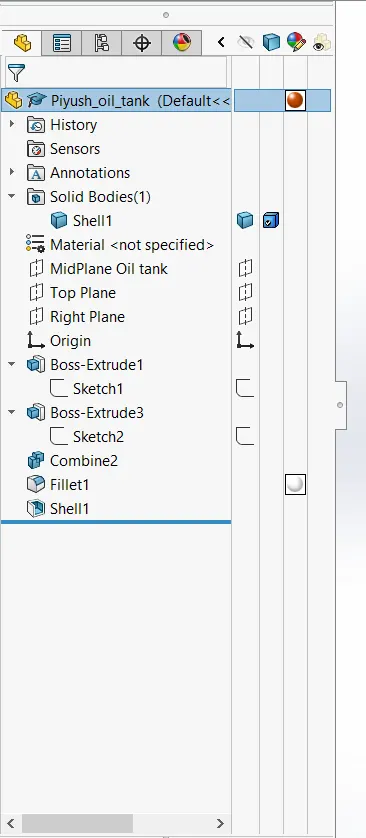
- Creat sketch in vertical & front planes.
- Extrude the sketches.
- Use Combine command to take out Common Volume from the solid bodies.
- Apply fillet to Oil tank edges.
g) Pedal
Pedal is the member on which the rider puts his foot while driving. It is attached to Chasis with the help of bolts and nut.
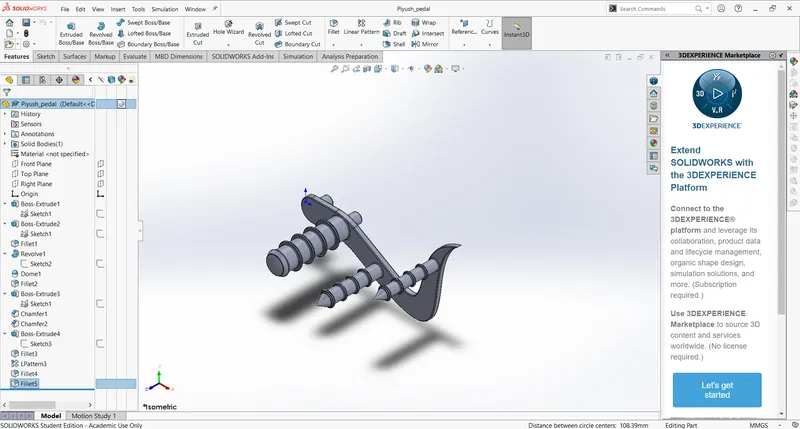
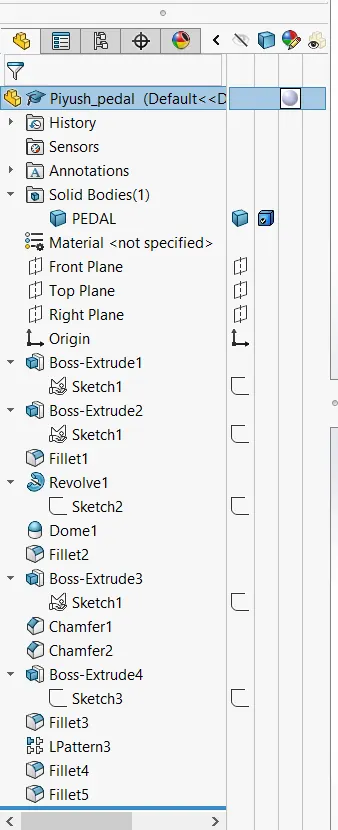
Used Features
- Use extrude Command to create the pedal plate.
- By revolving Command we can make pedal bars.
- Use fillet, chamfer & dome commands to give actual shape to pedal.
h) Front wheel
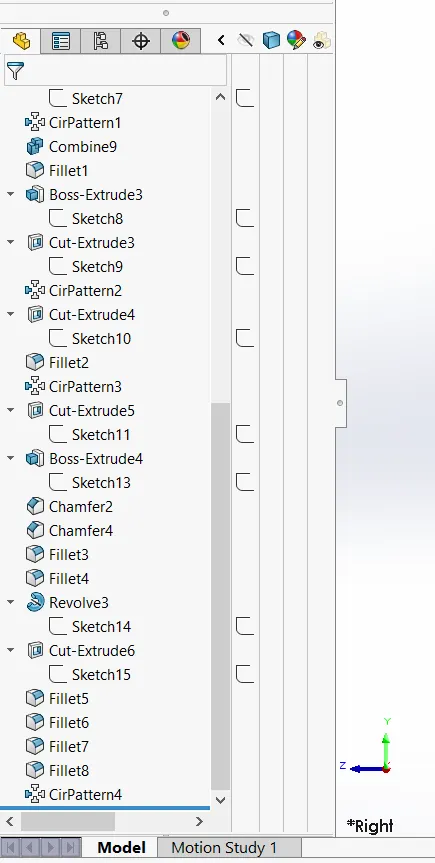
Front wheel is member which rotates about its own axis and helps chopper to move forward and backward. It composed of
Rim, Rotor, Caliper & tyre. It Assembled with Fork and rotates with the direction of the fork.
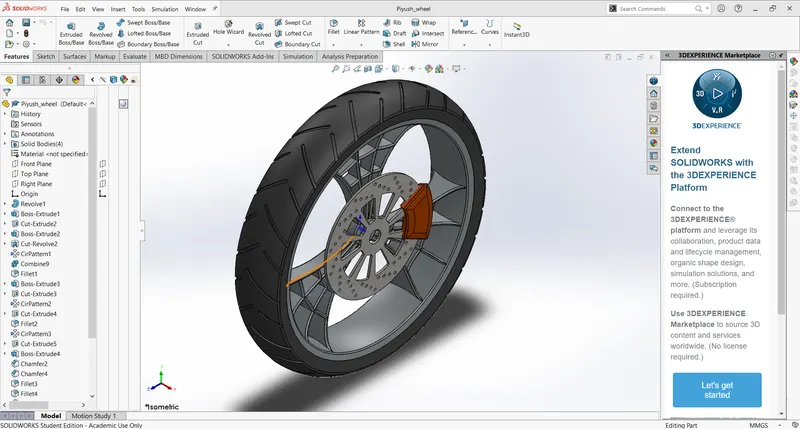
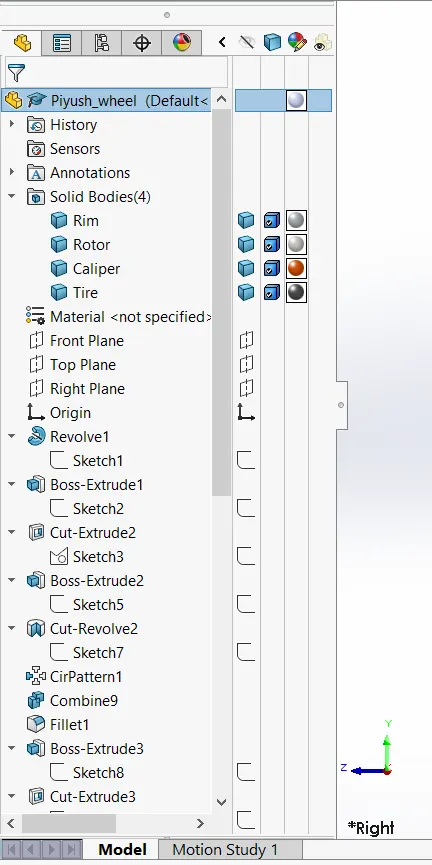
Used Features
- Use Revolve Command to create Rim & Tyre.
- Use Extrude, cut extrude & circular pattern Command to create 3 webbed Rims.
- Use Extrude, Cut-exturde, Circular pattern & fillet to make Rotor of wheel.
- To make Calipper Extrude, Chamfer & fillet commmands are being used.
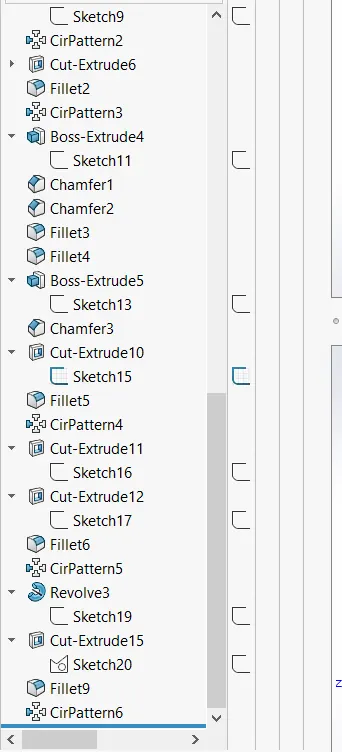
i) Rear wheel
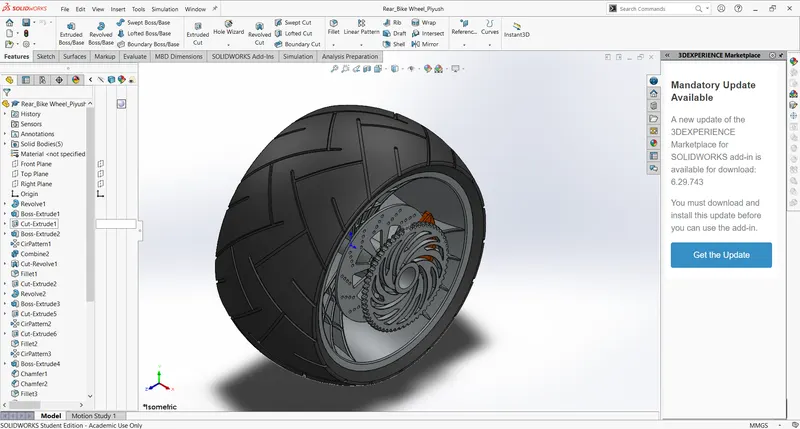
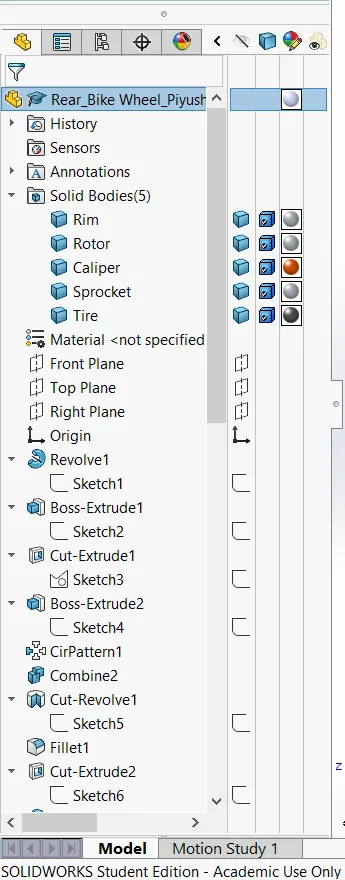
Front wheel is member which rotates about its own axis and helps chopper to move forward and backward. It composed of
Rim, Rotor, Caliper, Sprocket & tyre. It Assembled with Chain and rotates with the rotation of Chain.
Used Features
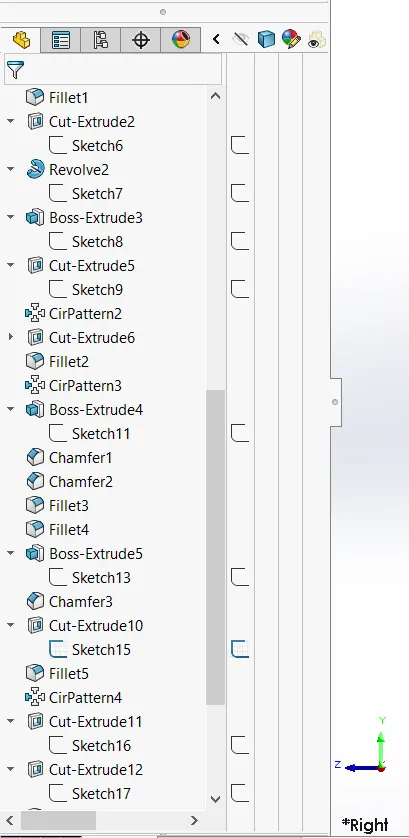
- Use Revolve Command to create Rim & Tyre.
- Use Extrude, cut extrude & circular pattern Command to create 3 webbed Rims.
- Use Extrude, Cut-exturde, Circular pattern & fillet to make Rotor of wheel.
- To make Calipper Extrude, Chamfer & fillet commmands are being used.
- Use Extrude, Cut-extrude, Fillet & circular pattern features to create Sprocket.
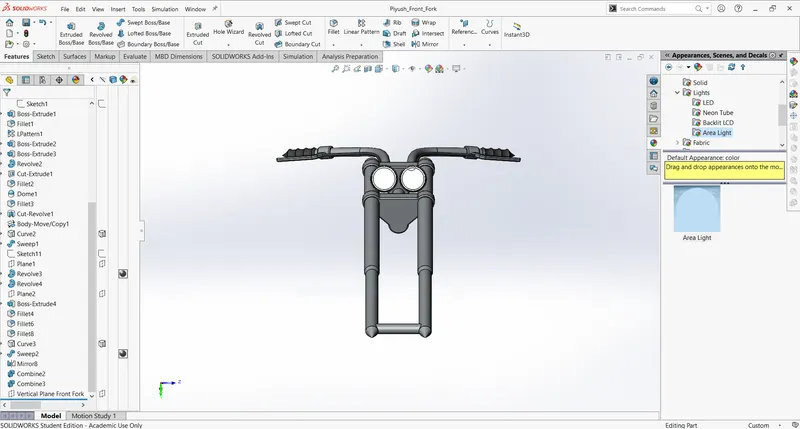
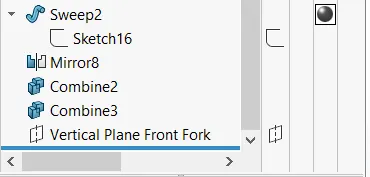
j) Front fork
Front fork is member with headlight, Handle & Brake. Fork connects with Front wheel and can rotate in limit angle. Fork use is to give the direction to moving chopper and increase speed and apply brake to stop.
Used Features
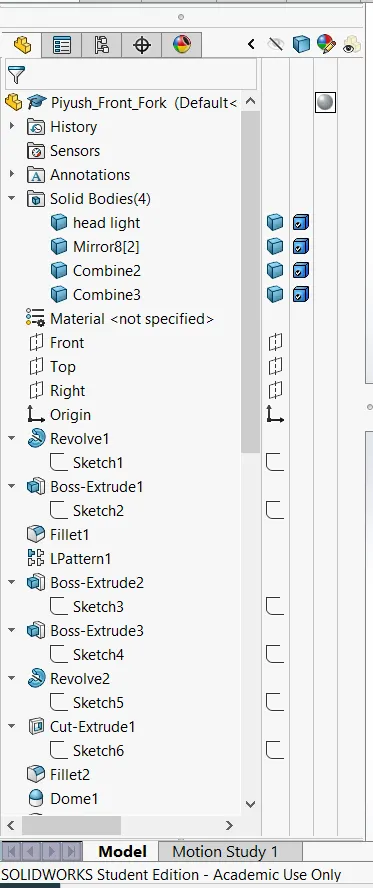
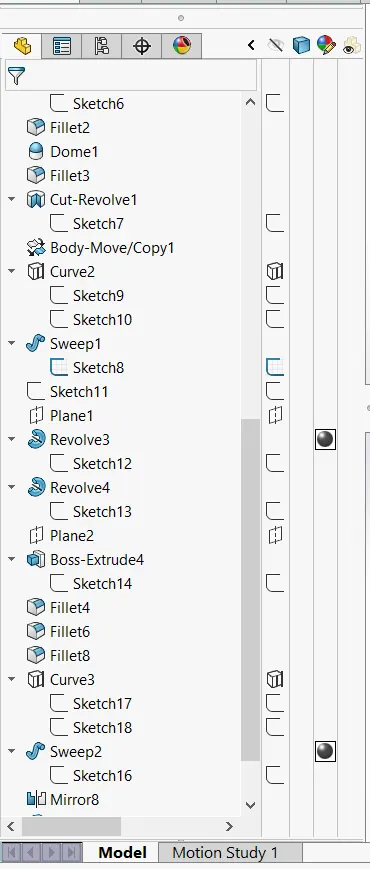
- Use Revolve, Extrude, Fillet & Dome to create fork.
- Use Extrude, Sweep, Projected Curve Features to create handle and brake.
- Use Extrude, Dome & Fillet to create the Head light.
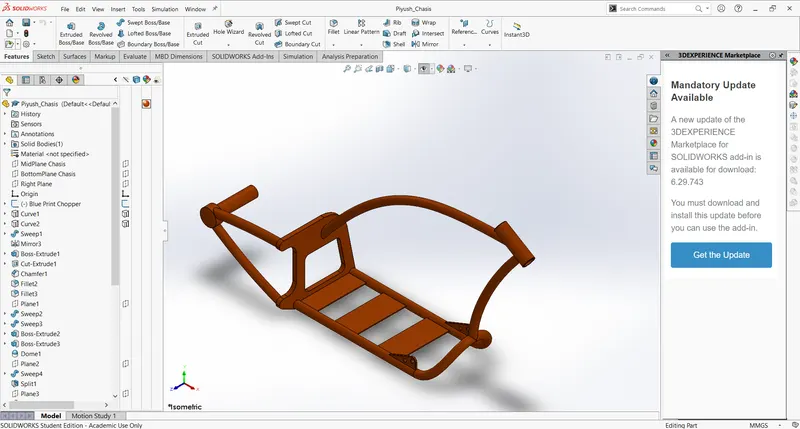
k) Chasis
Chasis is metal frame which bears the load of parts of chopper like Engine, Gas Tank, Oil Tank etc. All the parts of chopper are fit and assesmbled on the chasis.
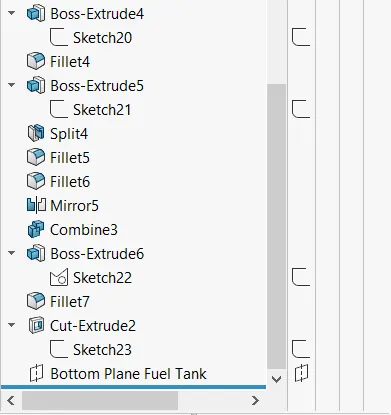
Used Features
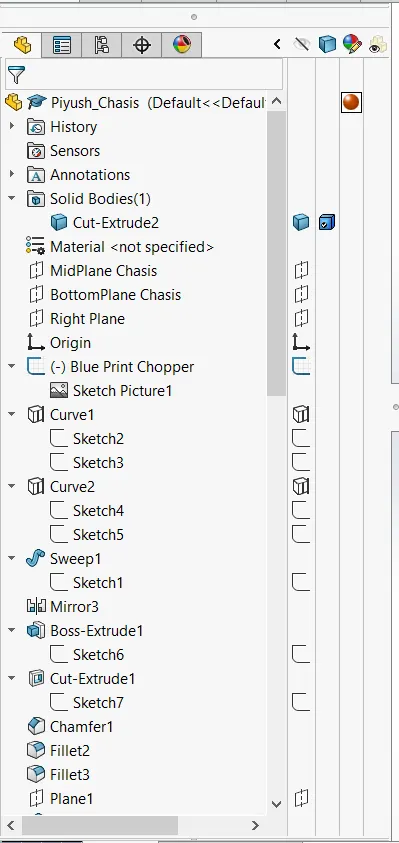
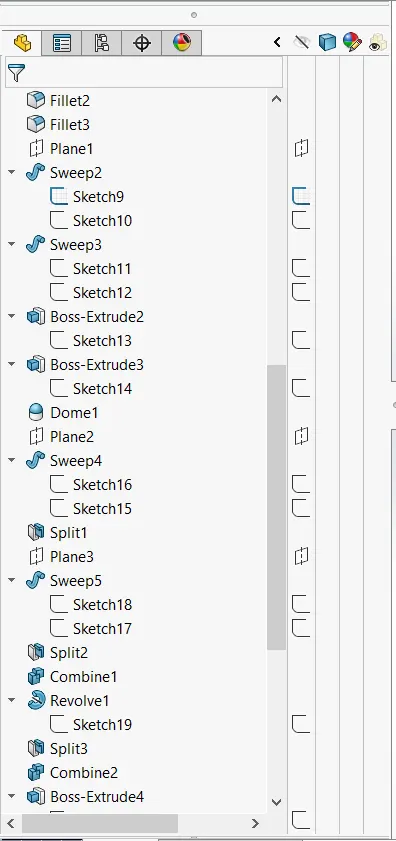
- Use Projected curve feature to create sketch for sweep
- Use Extrude, cut extrude, mirror, dome, revolve, fillet, chamfer, Combine & split commands were used to make complete chasis(As shown in above attached snip).
l) Engine
Engine is the part of chopper that produces power and help vehicle to move. Engine consist of pistons, fins, crank shaft & spark plug etc that helps to produce power. Also, Exhaust pipes helps to pass out the exhausted gas from the engine after combusion.
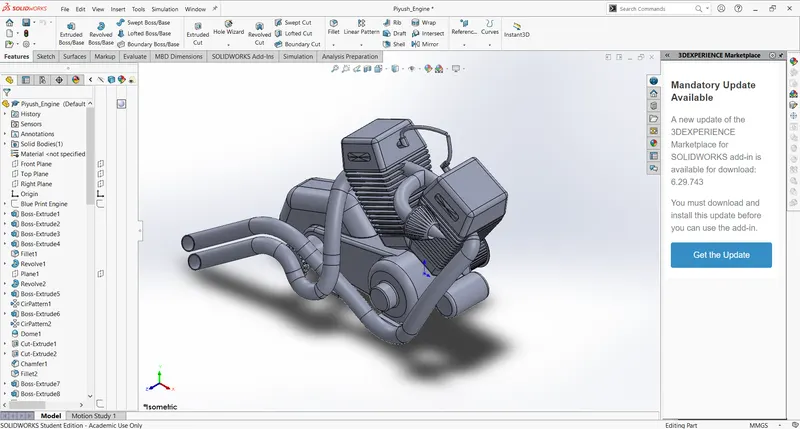
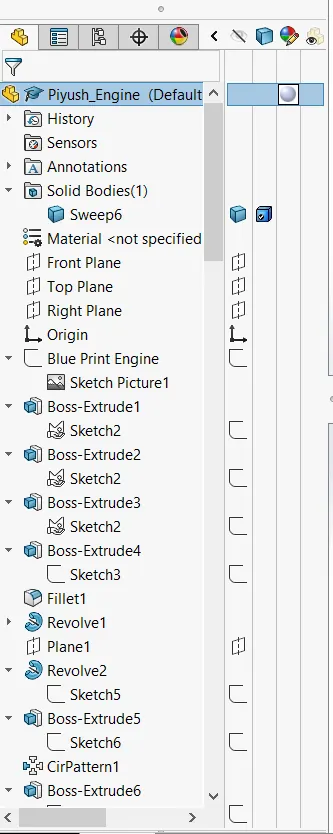
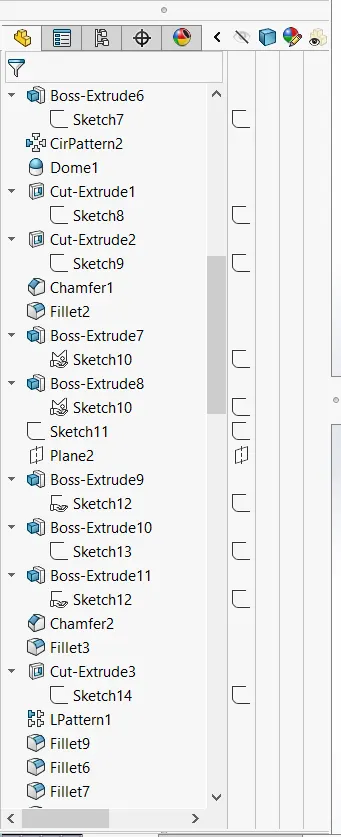
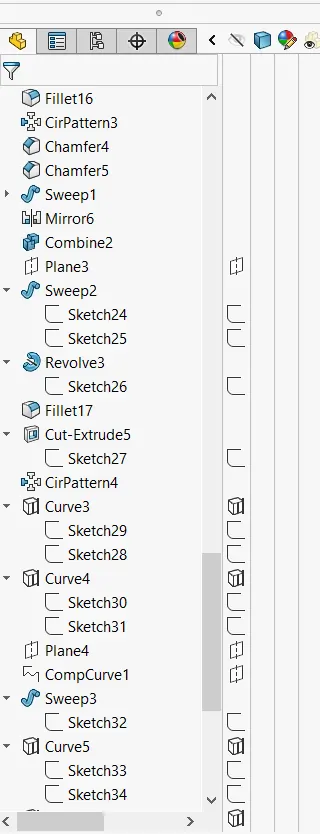
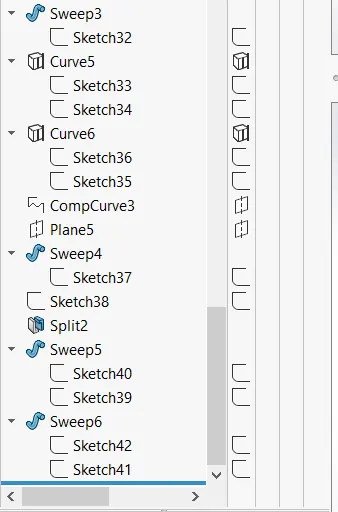
Used Features
- Use extrude and fillet commands to create Bottom of engine.
- By using revolve, circular pattern & dome features to create shaft for transmission belt.
- use extrude, cut extrude, chmafer, fillet and linear pattern to create the engine.
- Use Projected curve feature to create sketch for exhaust pipe.
- Use Extrude, cut extrude, mirror, dome, revolve, fillet, chamfer, Combine & split commands were used to make complete engine(As shown in above attached snip).
m) Gas tank
Gas tank is a chamber that stores gas as an alternative fuel for the chopper. It includes the seat for sitting of rider & it is assembled with the chasis.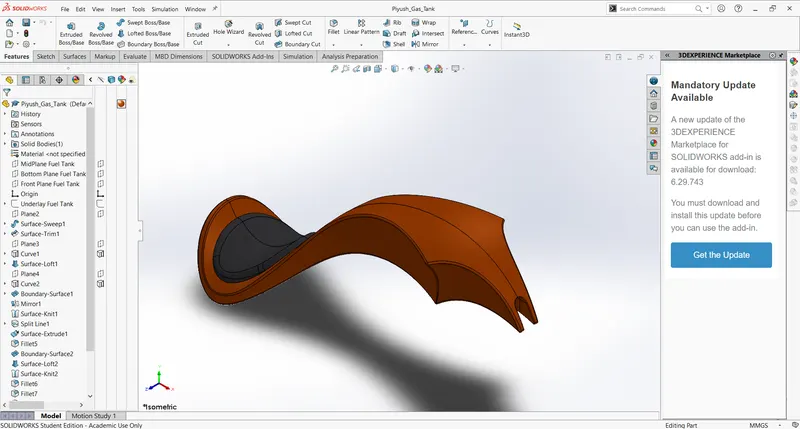
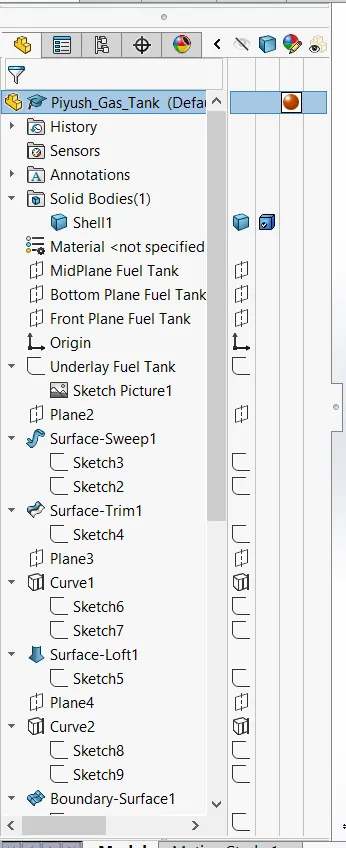
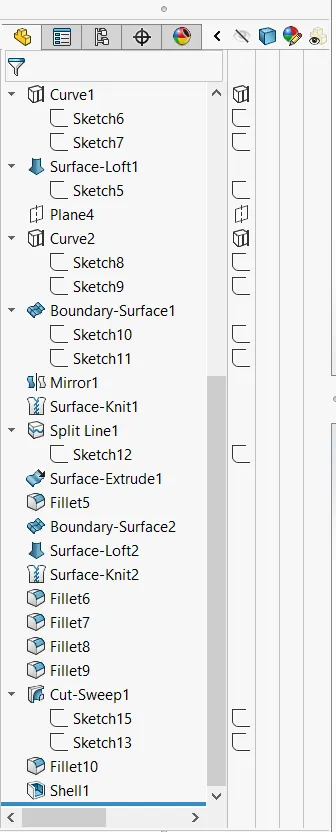
Used Features
- Use surface sweep, surface trim, composite curve & surface loft features to create the gas tank.
- By using surface extrude, fillet, Boundary surface feature to create seat of chopper
- To make gas tank hollow we use shell feature.
- Assembly
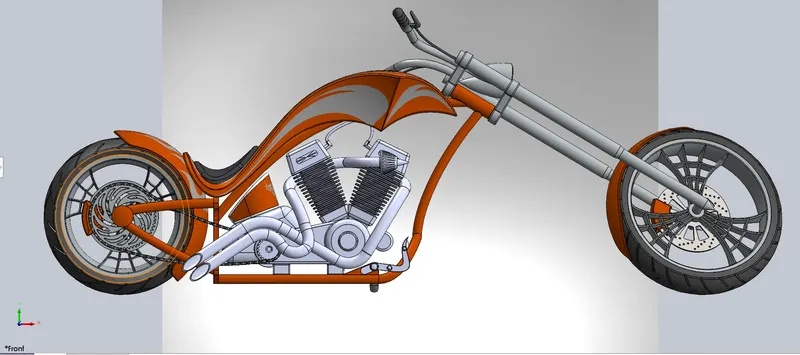
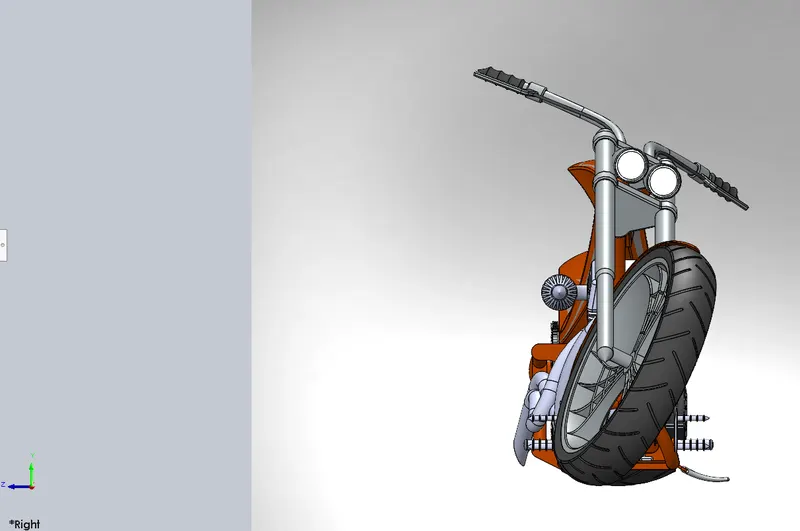
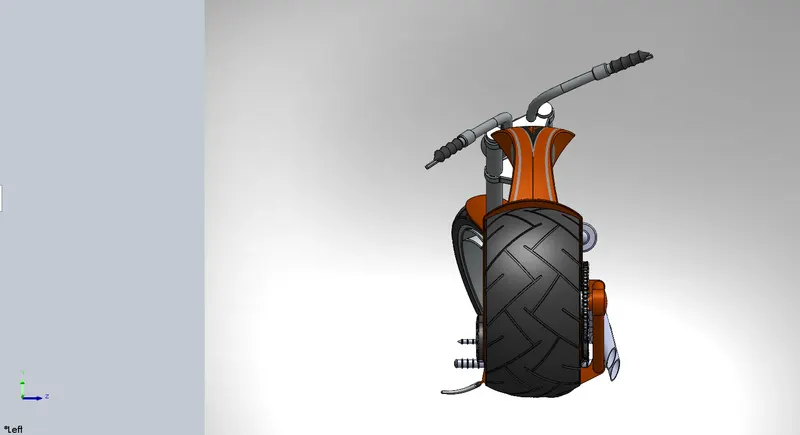
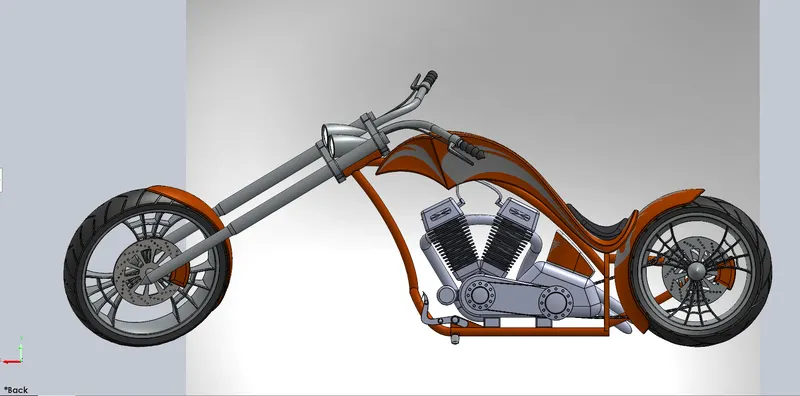
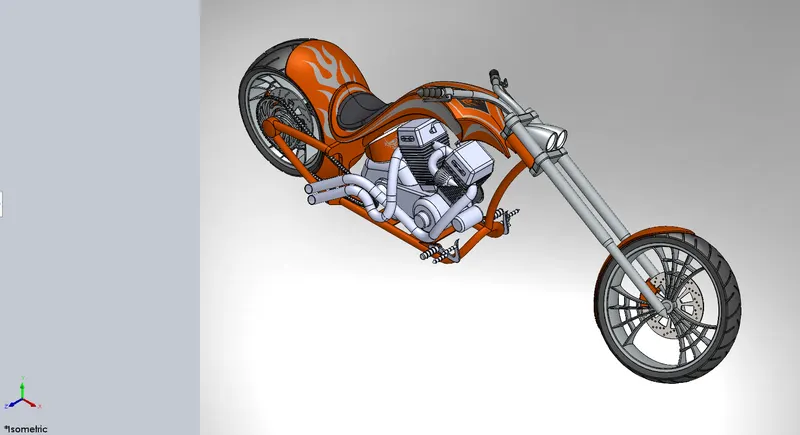
Joining/Attaching of all the parts as per their requirements to make them run known as assembling. Assembling in solidworks works with the references and mating of the parts with each other. Assembly is very important section as our purpose gets served in this section.
6. Five Assembly Snips of Chopper
FRONT VIEW
RIGHT VIEW
LEFT VIEW
BACK VIEW
ISOMETRIC VIEW
- Rendering
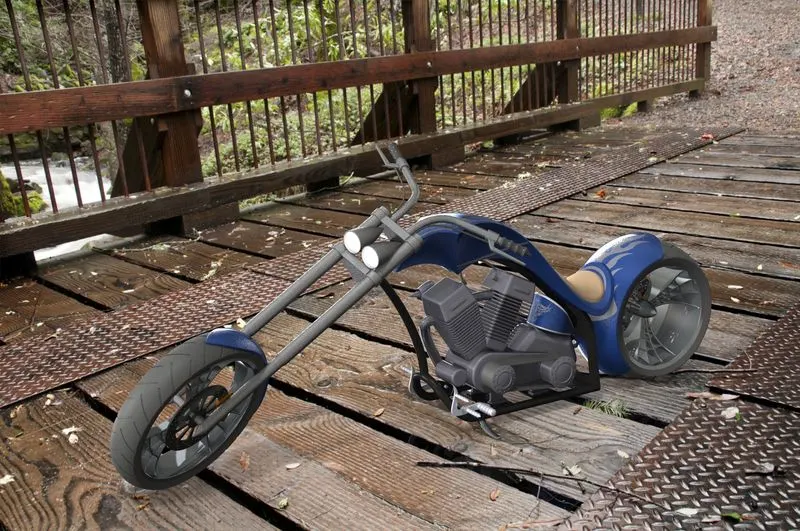
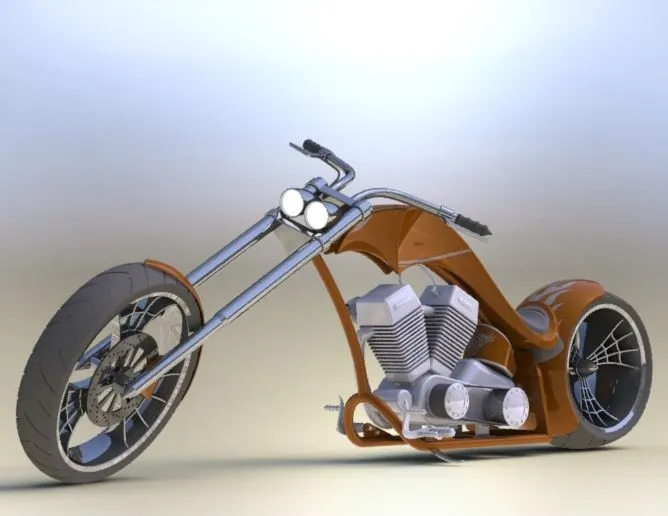
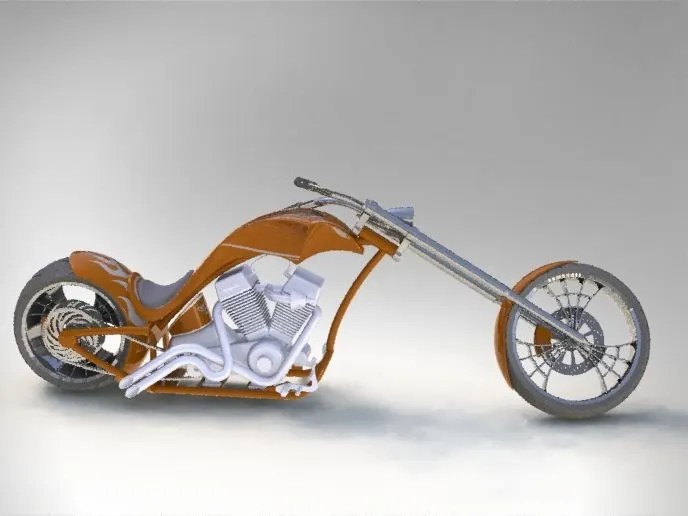
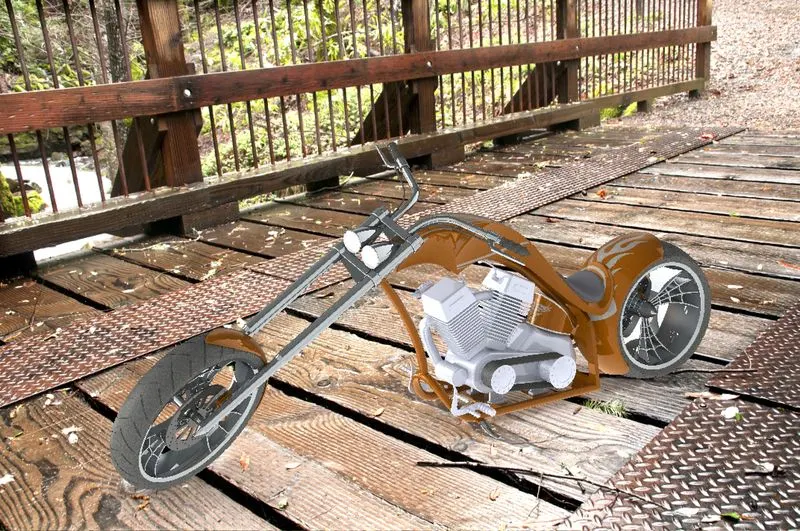
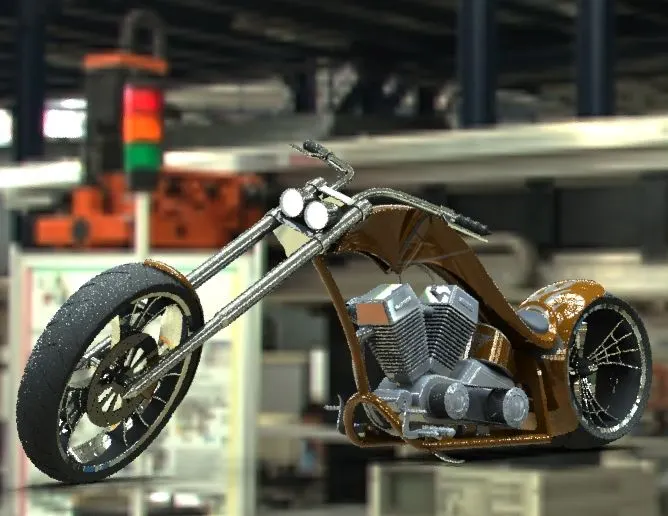
Rendering is the third and last section in the modelling of American chopper. Rendering gives the realistic touch to the Chopper by applying different apperances, Scenes & Decals on the parts.
Rendering can be done in two ways:-
1. Photoview 360
2. Solidworks visualisation
Both the platform provides a very fine and good rendering to the chopper. However Visualisation has large diversity of option to do the rendering Thus, Rendering quality is better in Visualisation.
Rendering Display manager consist of three options & these options helps us to give more realistic rendering.
- Appearances : It includes the library of materials, colours & Apperance of parts such as glass, lights, fabric etc.
- Decals : In this section we apply the stickers, Images, and graphics to the surface of body.
- Scenes: This section provides the background and environment to the parts and asssemblies.
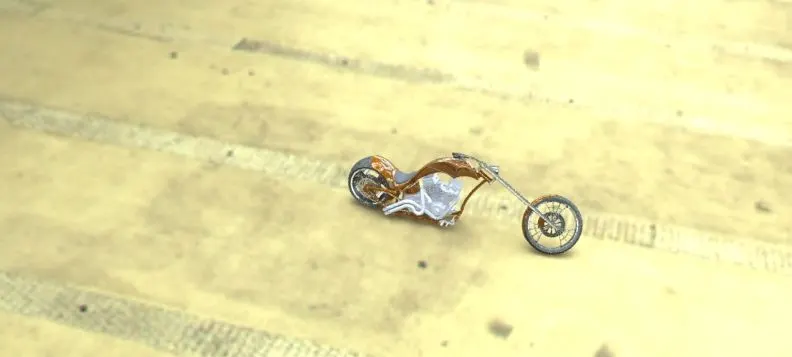
7. Detailed Rendering Images of Assembly
Some Detailed Rendering Images of Assembly are given below:-
8. Conclusion
This report will provide steps & idea to model the Chopper and to do the rendering.
Please find the Link of Rendered images.
https://drive.google.com/drive/folders/1oWWURlK0MJcITTyeuPdXZYqgrOiY5chy?usp=sharing