Photo Realistic Rendering
Solid Modelling, Assembly and Photo Realistic Rendering of an American Chopper
Objective:
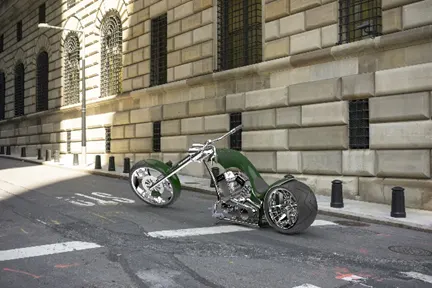
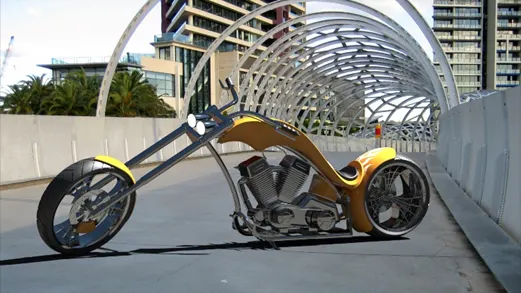
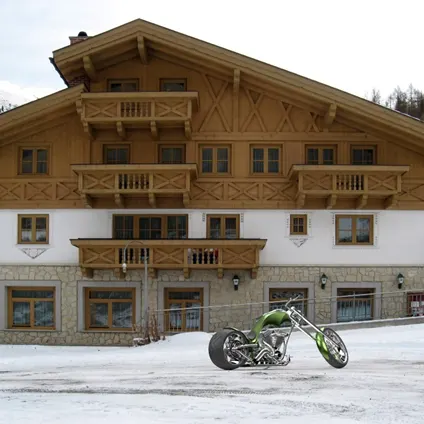
To model parts of an American chopper bike and assemble them in SolidWorks. After the assembly, the bike then rendered for photo realistic view using SolidWorks Visualization.
Introduction:
SolidWorks is a 3D modelling software developed by Dassault systems. It enables the user to create/model parts, assemble them and sheet metal design etc., The designing of model is achieved by using various features in the software and most used features have been listed below:
Commonly used features in Part design:
- Part design has two types of features i.e., sketch tools and 3D features
- Sketch tools consists of 2D elements like line, Polygons (different types of rectangles), Circles, Arcs, Splines (a 2D line which can be controlled by control points), etc.,
- A 3D feature converts the sketch or 2D element into a 3-dimensional object by using features like Extrude, extrude cut, revolve base, Revolve cut, Sweep, Lofted base etc.,
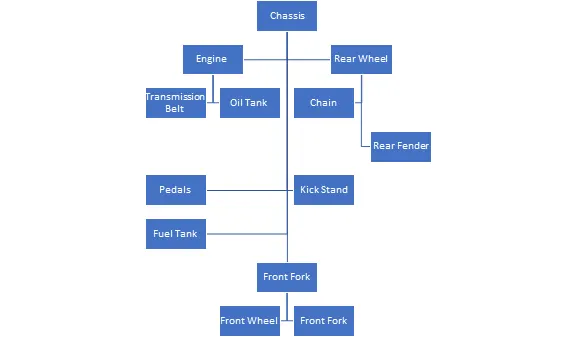
The design approach starts with a sketch of desired object which is an American Chopper in this case. The sketch will act as a reference or blueprint for the 3D modelling of complex parts which eases the job of modelling. The components of chopper in this design are:
- Transmission belt
- Kick Stand
- Fenders
- Oil Tank
- Pedal
- Chain
- Wheels
- Front Fork
- Chassis
- Engine
- Fuel Tank
The most commonly used features while designing/modelling these parts are discussed below:
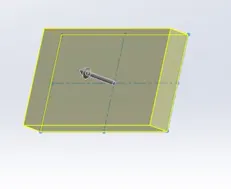
Extrude: It is a 3D features which will be used in all most every part design. It adds thickness to a given sketch or 2d drawing. Depending upon the requirement of design, different types of extrudes are available.
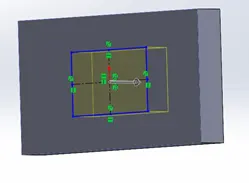
Extrude Cut: It is similar to the extrude except it removes the material from the object. It also has different types depending upon the type of removal.
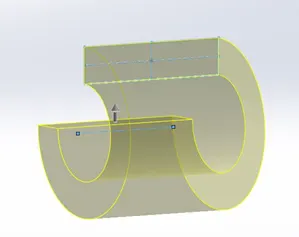
Revolve: This feature is used to generate circular bodies around an axis. When a cross-section is revolved around an axis by adding material, then 3D object is produced.
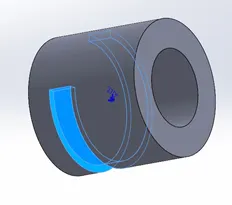
Revolve Cut: It removes the material from an object in a revolved manner about an axis. The required cut of the material is achieved by revolving a cross-section around desired axis.
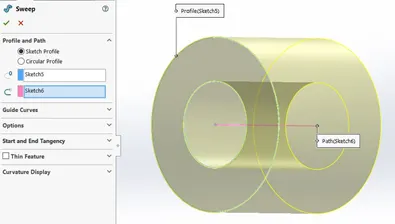
Sweep: It is produces 3D objects of uniform cross-section from two sketches of which one acts as cross section, and another sketch acts a guide curve or center line which guide the given cross-section through out the span. The cross-section can be a rectangle, circle, square or any closed path while the guide curve may be a straight line, spline, or arc, etc.,
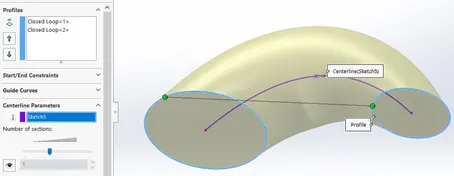
Lofted Base: It produces 3d objects from the sketches which are on different planes. Objects with Variable cross-sections are produced using this feature. The path of cross-section of the object can be monitored by guide curves.
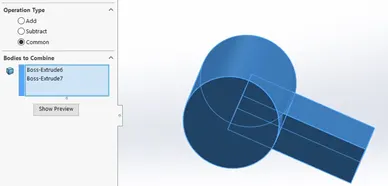
Combine: By using this feature, Solids of different shapes or cross-sections can be combines to generate a new complex design.
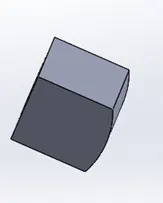
Split: When two bodies are merged into on another, by using spilt feature they can be separated or to avoid the surfaces of an object, split can be used to avoid the merging.
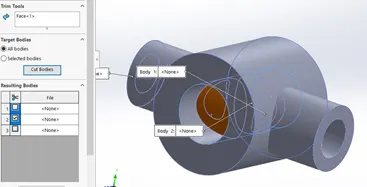
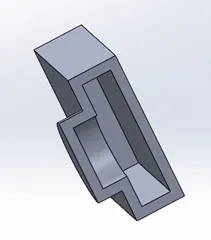
Highlighted part will be deleted
Plane: This feature is used to generate new planes as it is not possible to create body on the given planes.
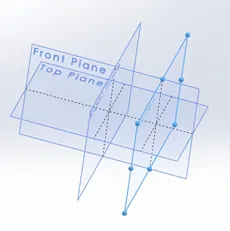
Mirror Entities: This feature is used to mirror the bodies or features with reference to an axis or a plane.
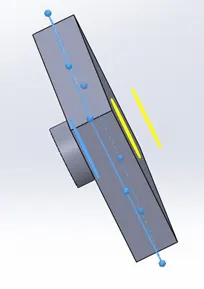
Patterns: This feature is used to copy an object for multiple times in a single operation. There are different types of Patterns like Linear pattern, Circular pattern and Spline or curve driven patter.
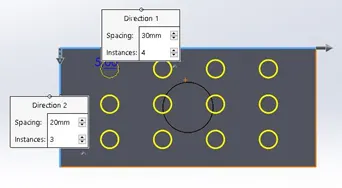
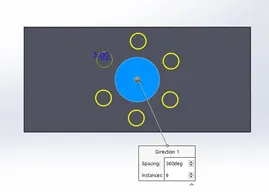
Linear Pattern in 2 directions Circular Pattern
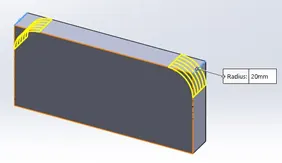
Fillet: this feature eliminates the sharp edges by adding a rounded edge. It can be either constant radius fillet or variable radius fillet.
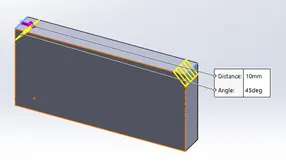
Chamfer: This feature also eliminates the sharp edges but by adding a sloped edge. It can be added by giving the distance from edge onto two face or depth of chamfer with an angle.
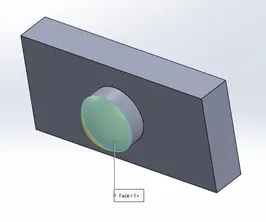
Dome: This feature provides concave or convex surface on flat surfaces.
Shell: This feature produces the hollow parts for solid bodies with defined thickness.
Design Approach:
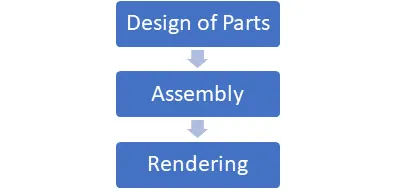
- Assembly:
- Rendering:
PART DESIGNING:
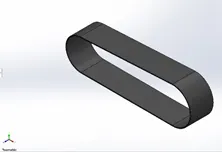
- Transmission Belt: It is used to transmit power from engine to gear box. The features used to model this component are:
- Offset
- Extrude
- Fillet
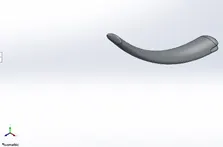
- Kick Stand: It supports the chopper while it is in rest. It bears the load of chopper when it is parked.
- Lofted Base
- Dome
- Fillet
- Extrude
- Extrude cut
- Fenders: These are placed on wheels to avoid spilling of dirt or mud onto the rider of the chopper. These are placed both front and rear wheels.
- Revolved Base
- Split
- Fillet
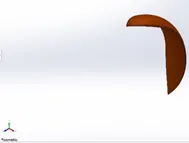
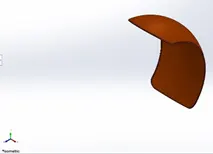
Front Fender Rear Fender
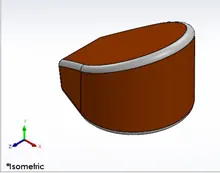
- Oil Tank: This Tank stores the lubrication oil for the smooth contact of metal parts of engine to reduce friction and wear of the parts there by increasing its life.
- Extrude
- Combine
- Fillet
- Shell
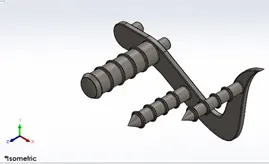
- Pedal: It serves as footrest for the rider and supports gear lever to change gears according to the speed of chopper.
- Extrude
- Revolve
- Linear Pattern
- Fillet
- Chamfer
- Dome
- Chain: It transmits the power from gear box to rear wheel\which enables the motion of chopper.
- Blocks
- Curve based pattern
- Mirror
- Fillet
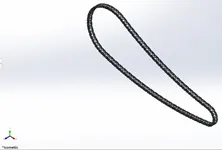
Blocks saved files of the sketches which are used multiple times. Instead of creating multiple sketches of same part, we can create a block of those sketches and can use them for multiple times. In this design, sketches of sprockets are created and converted them into blocks.
- Wheels: Wheels enable the motion of any vehicle. Chopper has two wheels Front and Rear. Both front and rear wheels have brake disc and brake shoe to stop it. A gear is mounted on the rear wheel to facilitate chain to provide motion when the engine is turned on. Threading is provided on the wheels to avoid slippage.
- Revolve
- Extrude
- Revolve Cut
- Circular Pattern
- Fillet
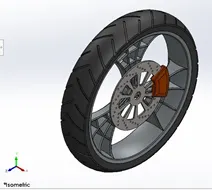
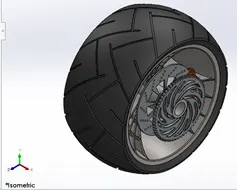
Front Wheel Rear Wheel
- Front Fork: It is connected to chassis of chopper and holds the front wheel. It controls the direction of chopper movement. It holds the headlights and other controls. Handle is connected to fork.
- Revolve
- Extrude
- Offset
- Additional Planes
- Projection Curves
- Revolve cut
- Move entity
- Dome
- Mirror
- Combine
- Fillet
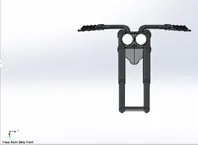
A projection curve is a 3D curve which is derived from the combination of two planar curve as it is not possible to construct a 3D curve directly from planes.
- Chassis: It is the main body of the chopper to which all parts are connected. It provides the support for remaining parts of the chopper.
- Sweep
- Mirror
- Extrude
- Extrude Cut
- Offset
- Projection Curve
- Split
- Combine
- Fillet
- Dome
- Additional Planes
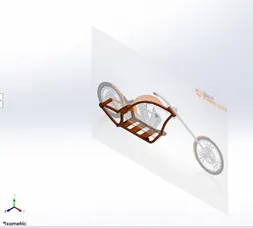
- Engine: Engine is heart of any automobile. It converts chemical energy(fuel) to mechanical energy which is responsible of the chopper’s motion. Fins are provided on the engine to provide cooling. Exhaust system is connected to this engine.
- Extrude
- Extrude Cut
- Additional Planes
- Projection Curves
- Composite Curves
- Sweep
- Mirror
- Combine
- Circular Pattern
- Revolve
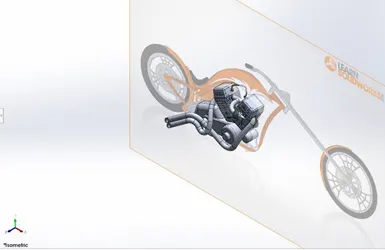
A composite curve is the combination of two projection curves.
- Fuel Tank: It stores and supplies fuel to engine. Seat is positioned on the fuel tank. Due to its complex shape, the surfaces designed first and after checking their validity, then it is converted into a solid shell.
- Spline
- Projection Curve
- Composite Curve
- Knit
- Surface Closure
- Sweep Cut
- Fillet
- Shell
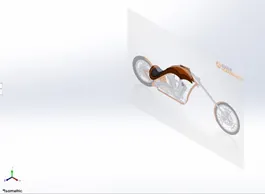
Knit feature is used to combine the surface of the object.
ASSEMBLY:
After the completion of part modelling, the next step is assembly of those into a chopper.
The relation between the parts is defined by mates. There are different types of mates in the assembly:
- Concentric Mate
- Tangent Mate
- Coincident Mate
- Parallel Mate
- Width Mate
- Offset Mate
- Angle Mate
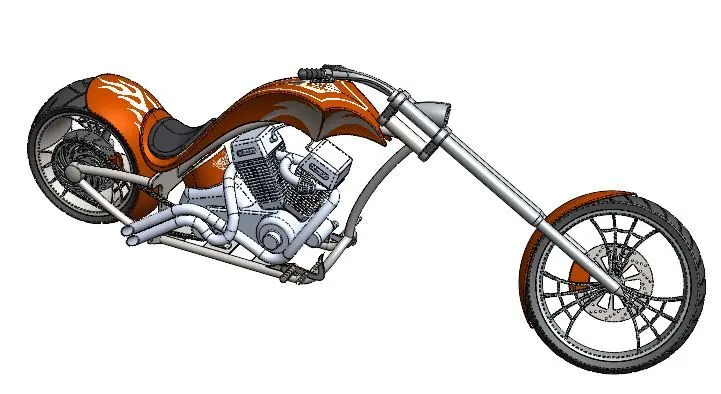
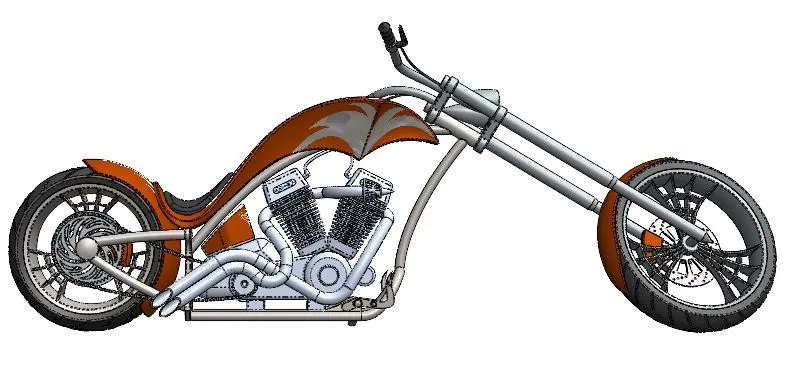
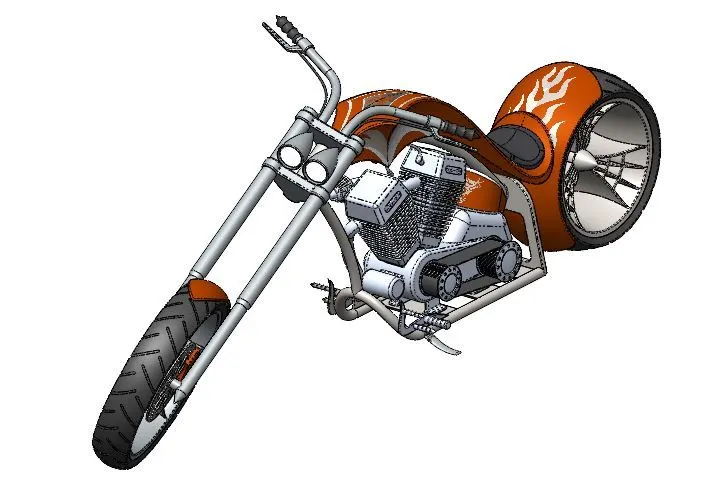
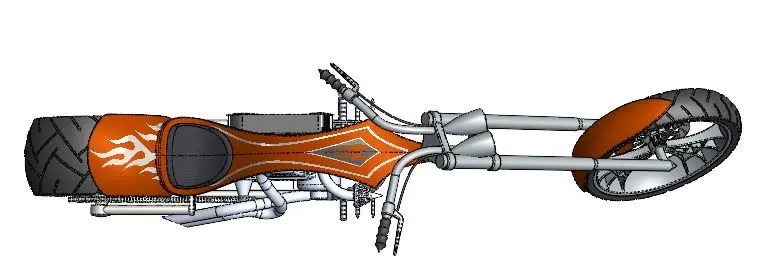
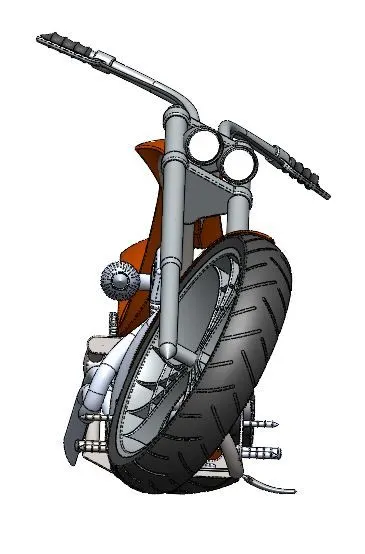
Appearances of parts is done in assembly to have an idea about design or materials of the parts. Different appearance is assigned to the parts according to their nature.
Decals are imposed on the surfaces of the parts to give it an aesthetic look. These can be images or patterns or any kind of designs according to the choice of designer/owner.
Note:
- The sketches should be fully defined i.e., the position of entities must be defined fully with respect to origin or any other references like construction lines.
- Avoid the mates between planes of parts and assembly planes. Instead create mates with respect to main component (for example: chassis).
RENDERING:
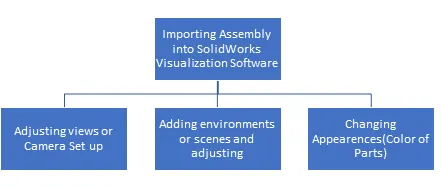
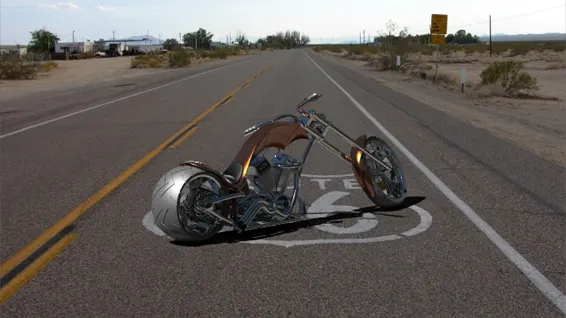
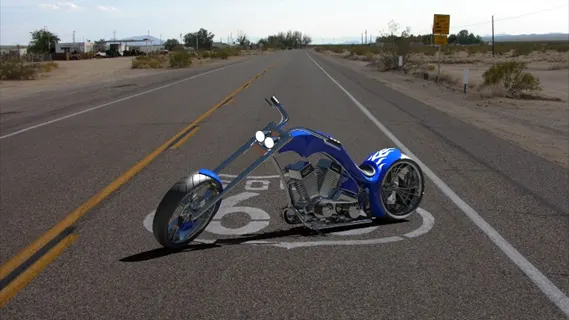
Rendering is done to apply real time graphics to the chopper. We can assign a scene or environment in which the chopper is placed, and we can modify the colors or looks of the bike. We can use different situations like sunny, or dark environments to check the behavior or looks of the chopper under a particular condition. We can apply different view positions to view the bike from different positions and angle to come to a conclusion about its design.
Conclusion:
The design of American Chopper will help us to explore the most tools of part design. We will get an idea about different types of mates, their application and importance in assembly. Solidworks is a great tool not only for part designs or assemblies but also for the visualization to parts.