Photo Realistic Rendering
AMERICAN CHOPPER ASSEMBLY AND RENDERING
INTRODUCTION
We have to use SOLID WORKS and SOLID WORKS VISUALIZE to assemble and render the American Chopper.
We have Deal with different set of commands and properties in order to make our sketch faster and more efficient way without consuming more time. Prior to making sketch we must customize our shortcut tab which include 2D ,3D sketch tools and all other essential view, dimensional tools & settings. Ensure units is set to MMGS before sketching a part.
- Parts that are to be drawn for an assembly chopper are
- Transmission Belt
- Kick Stand
- Rear Fender & Front Fender
- Chain
- Engine
- Oil tank
- Gas tank
- Front fork
- Front and rear wheel, rims sprockets and calipers
- Chassis and pedal
COMMANDS:
Commands and Properties used for sketching is mentioned below
- Insert command includes different
- Boss/ Base command – This command has different set of sub commands which convert different types of 2D sketches into 3D models using reference line/axes and planes.
- Cut- This command uses references and geometries to discard extra solid bodies from 3D models in different shapes and directions as required.
- Feature- This is the most important command tab where different 3D operations are performed
- Fillet/chamfer
- Dome, shell
- Combine
- Split
- Move/Copy
- Draft
- Mirror/pattern- This command is used for making cloned parts like that of reference part without redrawing it many times. We can make them linear, circular and sketch driven. This is mainly used in part CHAIN for sketching.
- Surface- This command works like 1 & 2 but done for surfaces only.
- Reference Geometry – With this command we can create plane, axis, coordinate system and point wherever we can inside the sketch using references.
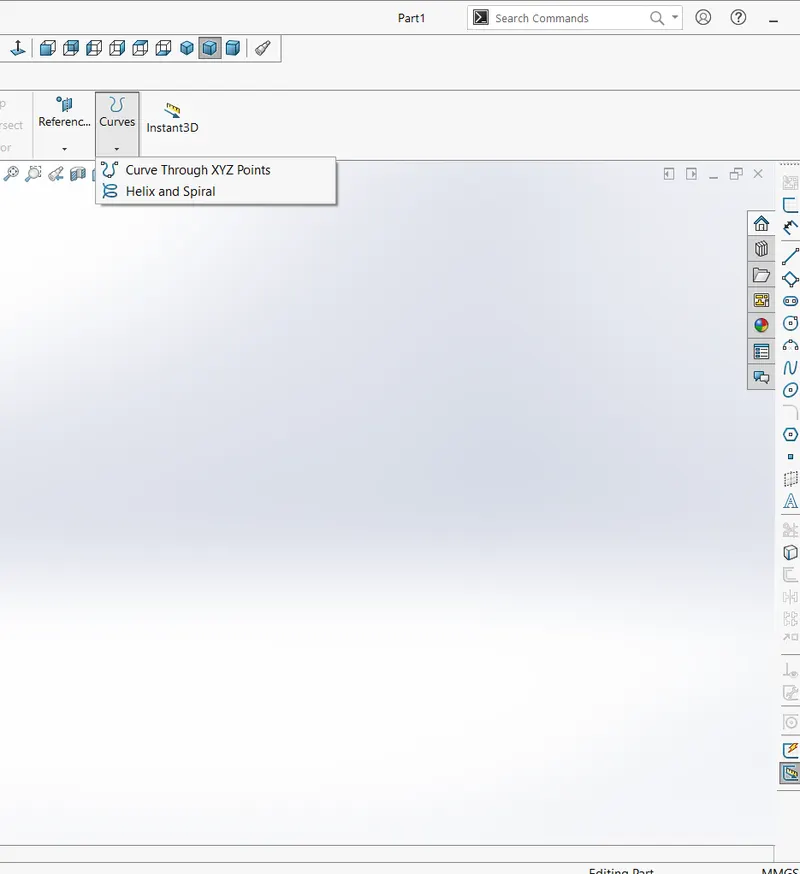
- Curves- This command is used for combining 2 different curves to get the desired projected curve out of it.
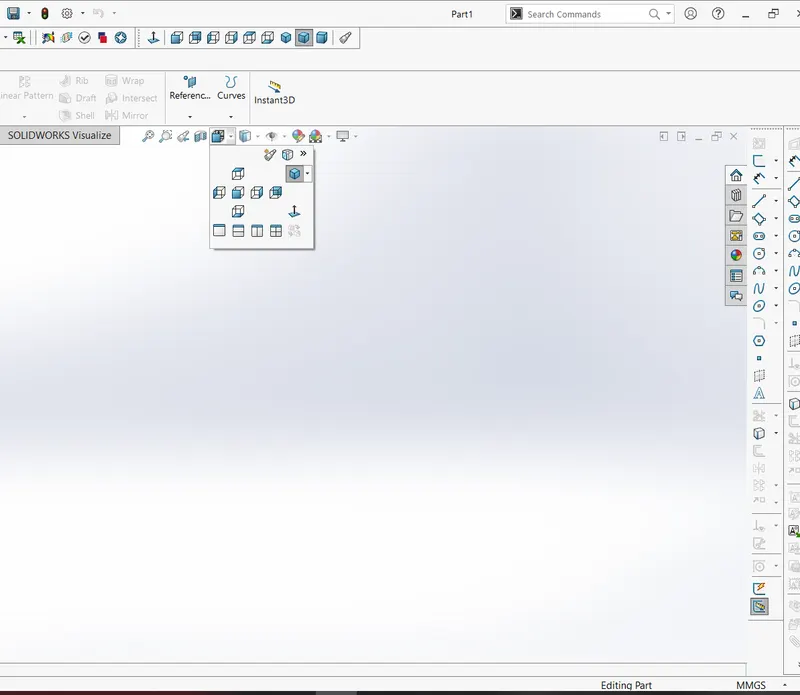
- View orientation- This section provides us all the possible views for out sketch. For example-front , left, top and isometric views.
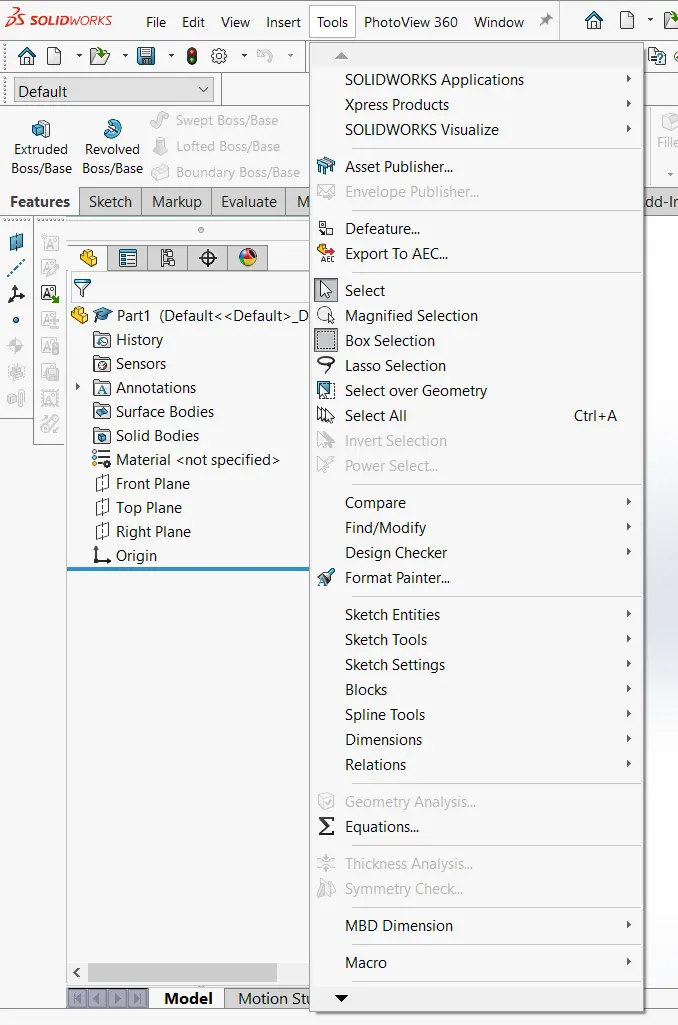
- Tools Command includes
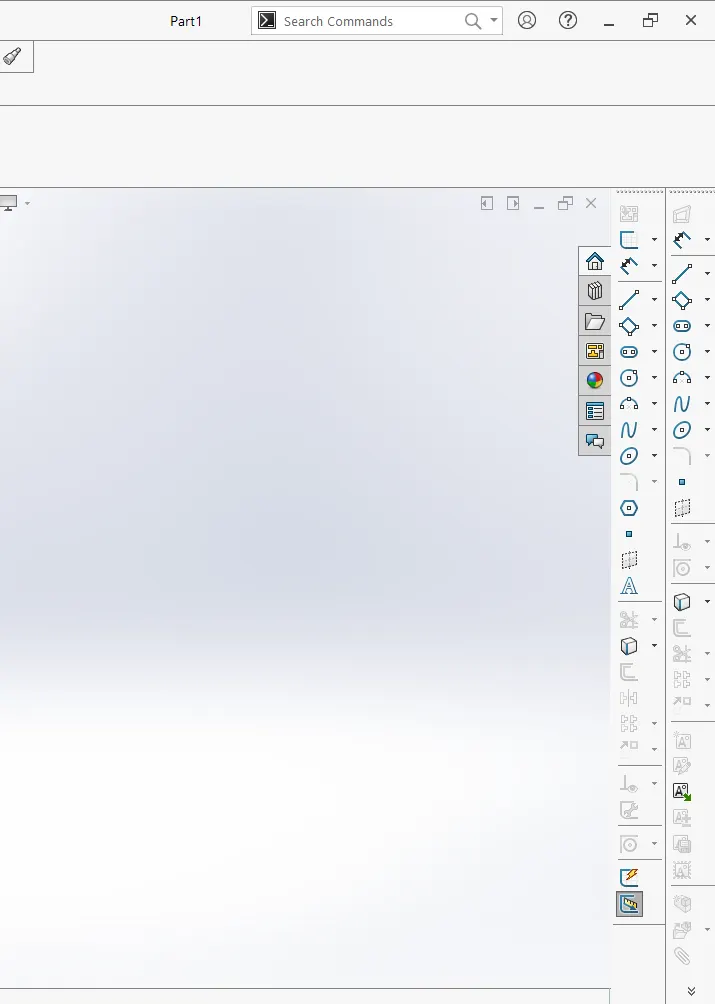
Sketch tools and sketch entities where all the commands required for 2D sketching like
- Line
- Spline
- Circle
- Arc
- Offset
- Fillet
- Rectangle
- When it comes to assembly section, we mainly use MATES command for different set of parts to assemble using planes.
These are some of the basic commands we will use for modeling of our American chopper.
BELOW IMAGES ARE REFERENCE for above mentioned commands-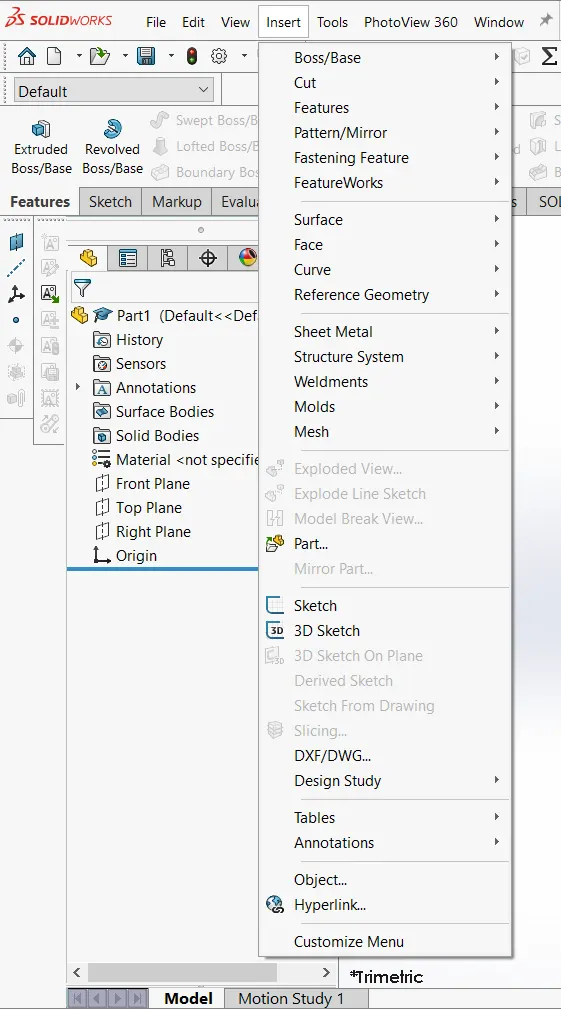
Now we check out the few different parts we have drawn using the commands mentioned above
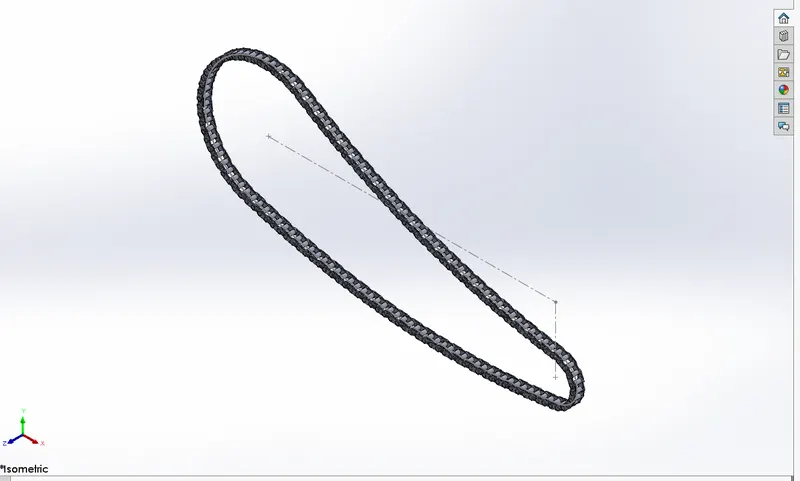
- Chain: Isometric view of chain where we used patterns for sketching pins and other elements.
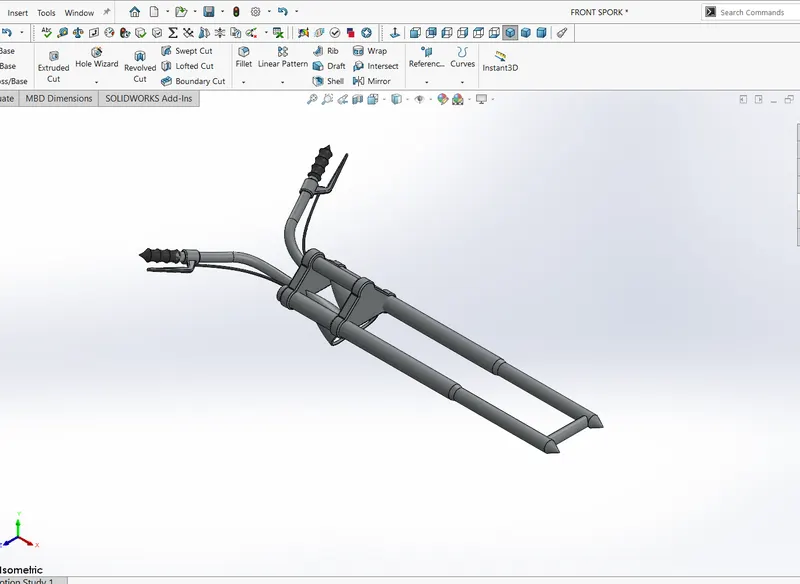
- Front Fork: We use commands like Sweep , extrude , fillet , combine for drawing this part. We also added appearances for forks , brake wire and handle grips in the appearances column.
- Front and rear wheel:
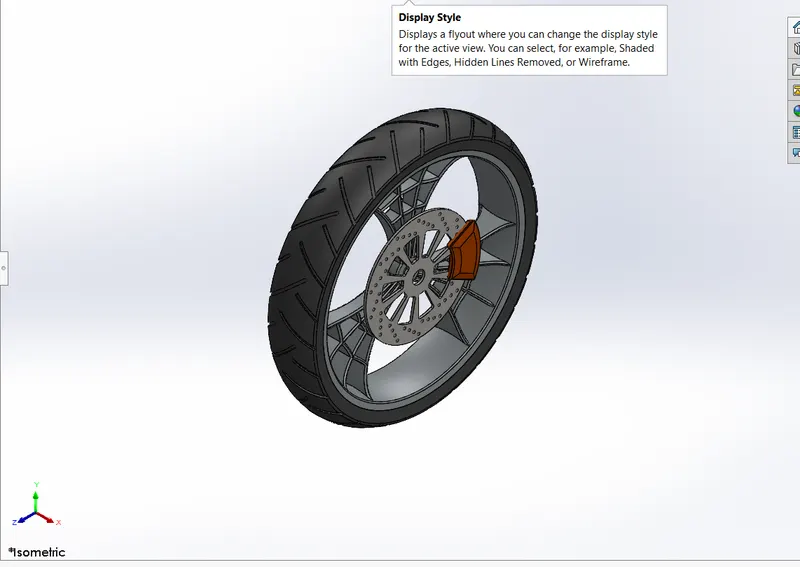
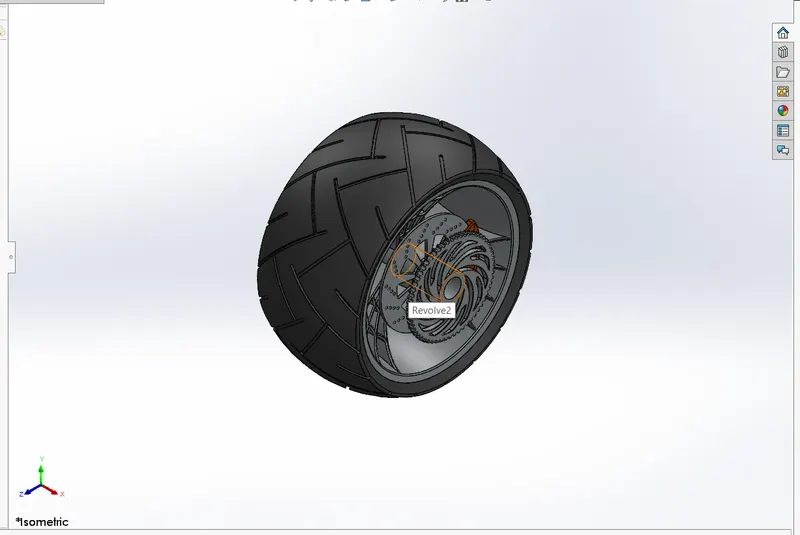
These wheels are included with all the added appearances and constraints to restrict movement unwantedly.
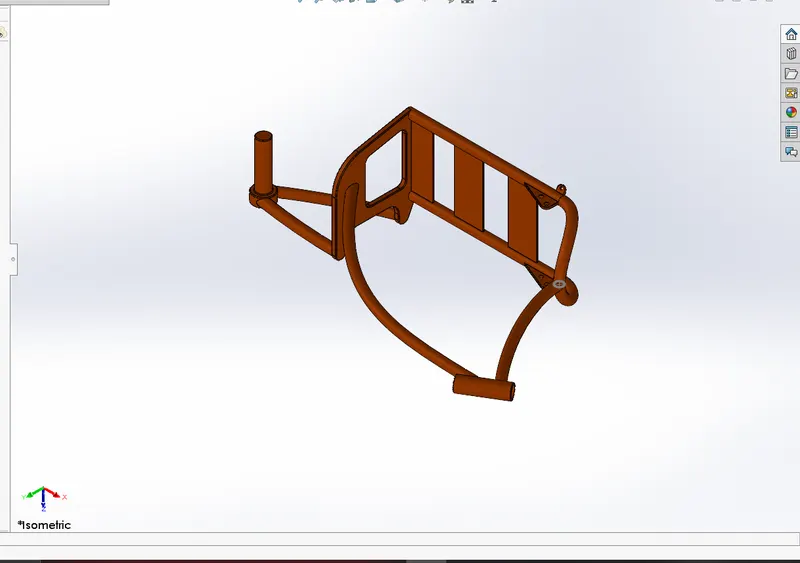
- Chassis: This part is drawn using line, circle and projected curves mainly. We also use sweep, extrude cut and appearances such as Siena for bright visual.
Other Images of parts are below:
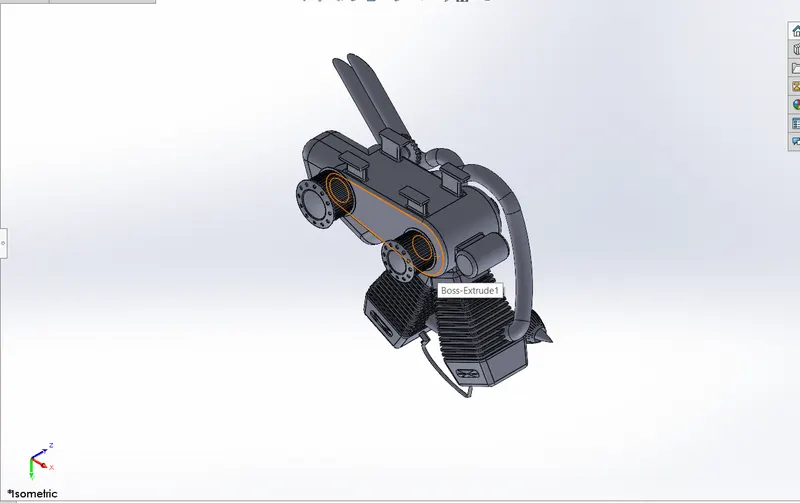
~ Engine:
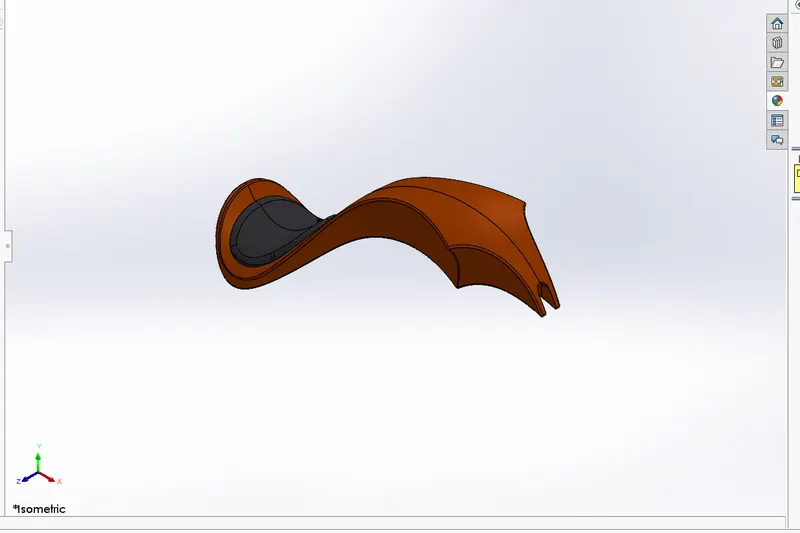
~Gas tank:
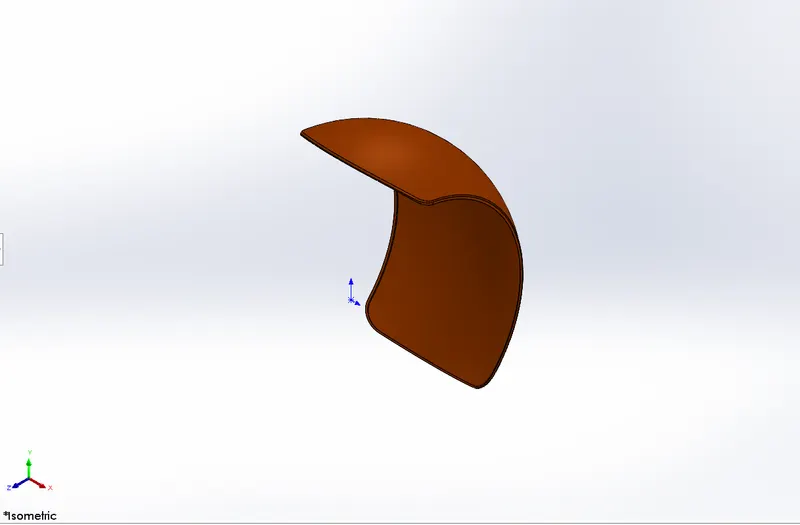
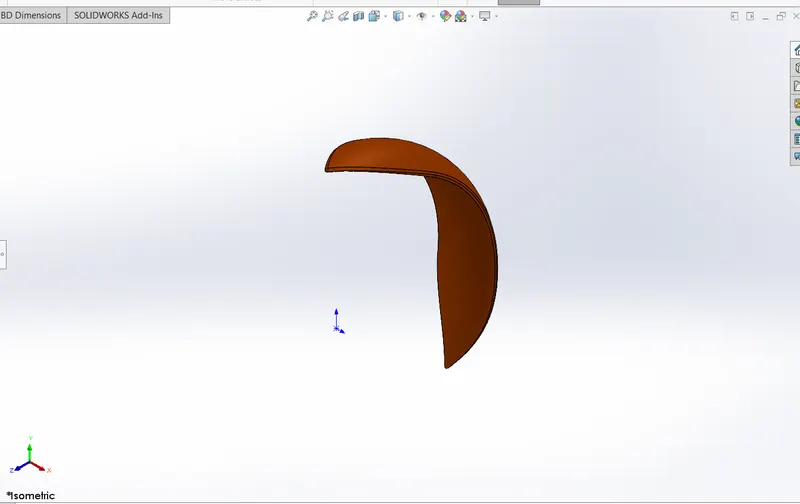
~Rear and front fender:
ASSEMBLED CHOPPER IN 3D:
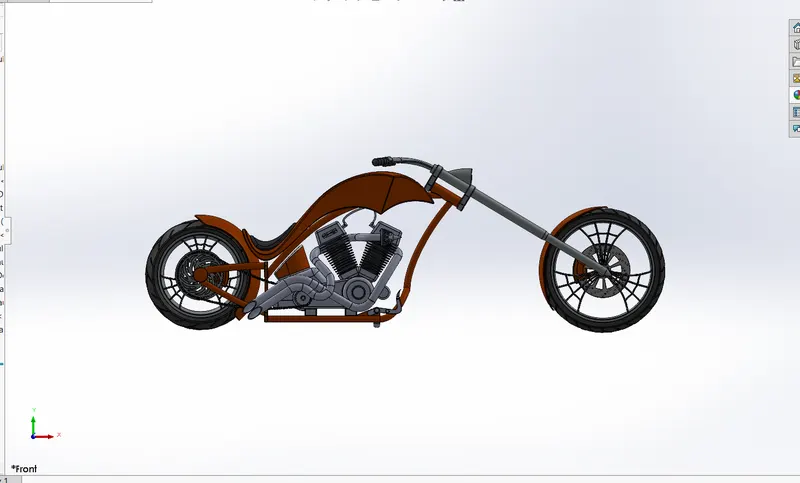
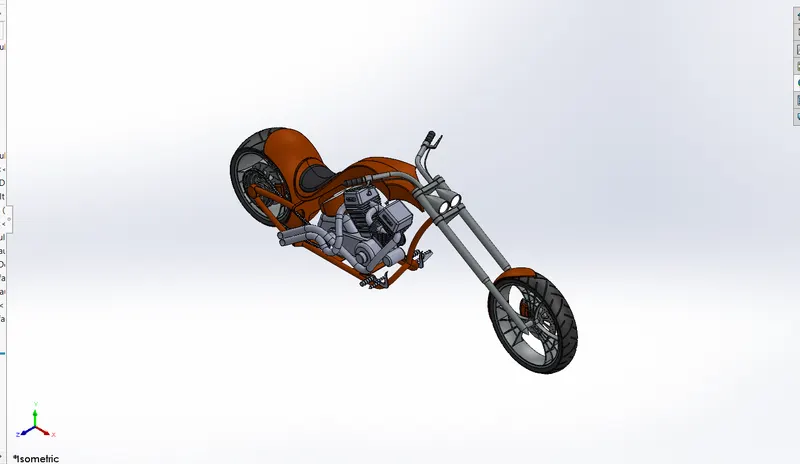
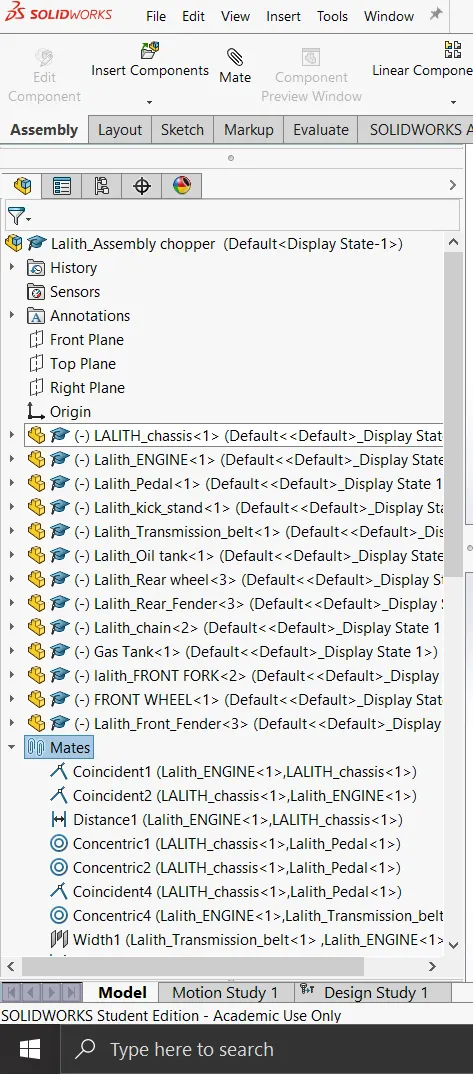
Every sketch has a tree which have all the history, solid bodies defined, commands used and planes used for references.
Example of assembled chopper tree.
RENDERING:
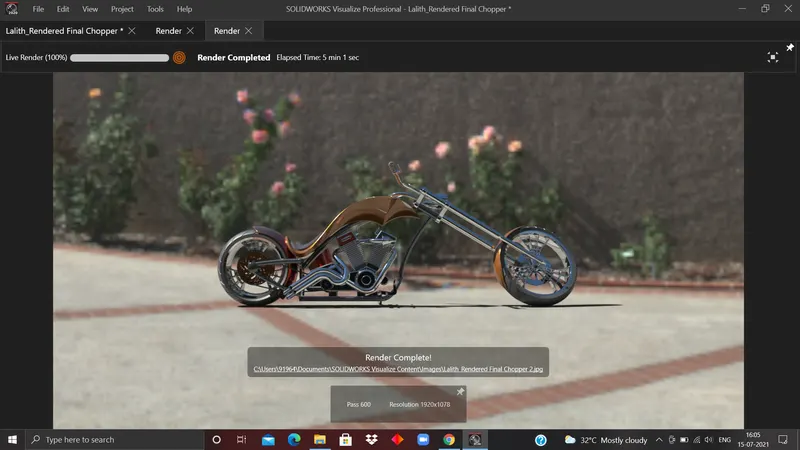
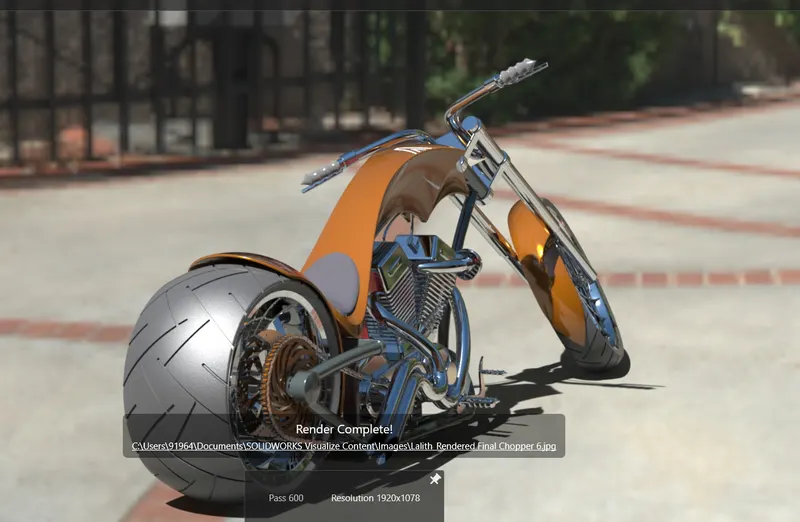
This is used for making the 3D sketch more realistic and to create a good environment for better display of our model.
We also add cameras, lights and all other necessary changes for our 3D model under different circumstances to look better.