Introduction to REVIT concepts
Ans 1.
- Open Revit
- Click on New Option
- Now choose Template file whatever you want to choose.
- Here I choose Structural Template
- Now Revit Screen appears
- Click File Menu and select save option.
- Choose the Destination of File ( where you want to save)
- Rename the File and Click on Save.
Ans 2.
- Open the Revit Screen or project on which you working.
- Click File Menu and select save option.
- After saving, Go again on File Menu in Toolbar and click close.
- Now Select open and choose the File which you saved and your file will get opened.
Ans 3.
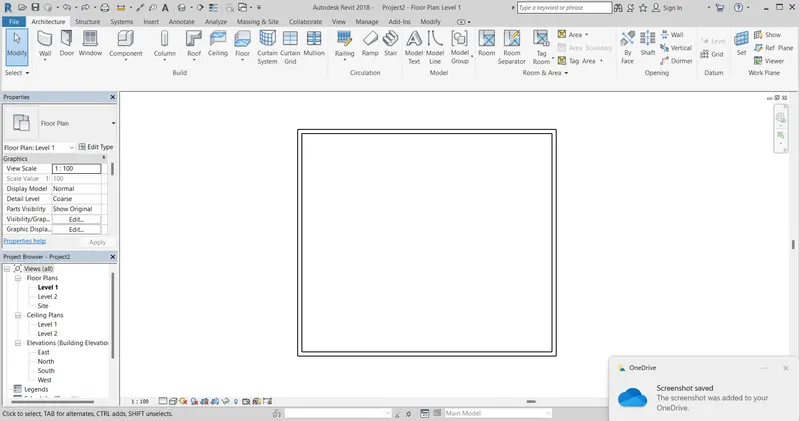
- Open Revit Screen.
- Click on wall icon.
- Now choose line from Draw menu.
- Now draw a rectangular wall 40' x 35'.(12.39 x10.86 meter).
Ans 4.
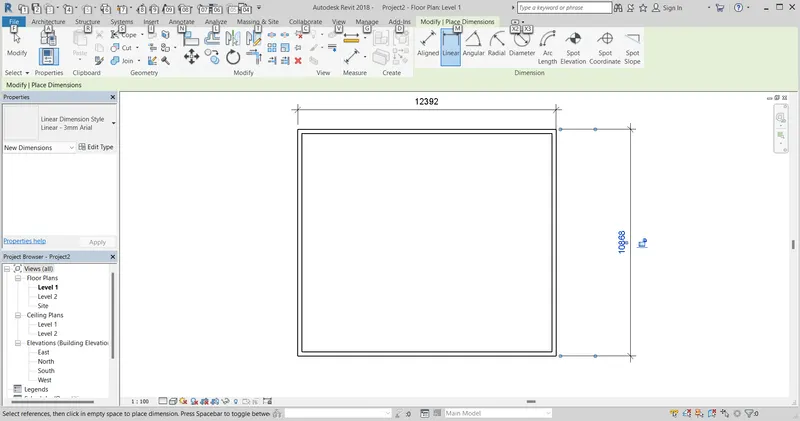
- Open Revit Screen and open the Drawing you saved the last.
- Now Select Annotate from Tool bar.
- Choose linear option.
- Select the corner to corner point to measure the distance.
Ans 5.
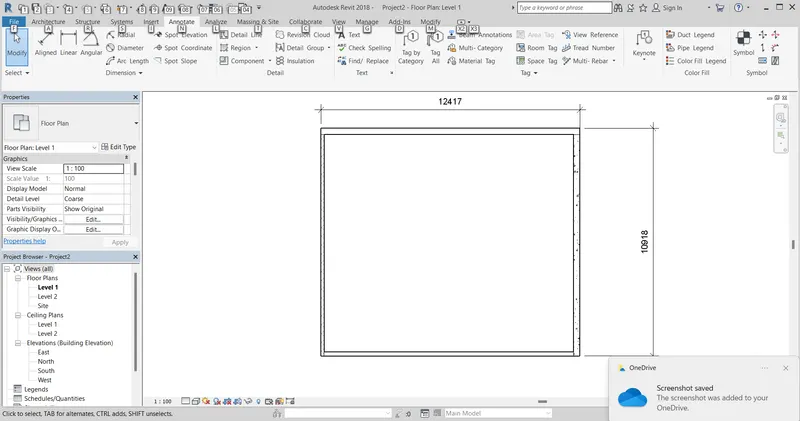
- Open the Revit software and Open the Rectangluar Wall layout that we have saved.
- In this , click the wall and the size of that wall with thickness is showing in Properties Browsers.
- Click the down the option by selecting the Wall icon, here is various options, select the option you want.
Ans 6.
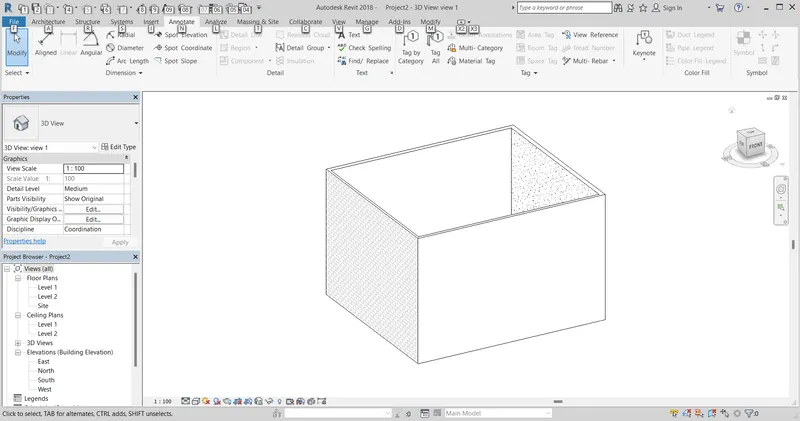
- Open Revit software and open last saved File.
- At top of Revit software you have option of Default 3D view, drop down and select Default 3D view.
- Automatically, it Redirect in 3D and change from view cube and save the by click roght at corner of cube and click in on save view.
- Rename the view and click ok.
Ans 7.
- Open the Revit software and open the Last open drawing.
- We have tool at right call Navigation Bar. if not available click on view menu, go the user interface and click on Navigation bar to make visible.
- We have many option like orbit, pan zoom etc
- Select Orbit and view the wall created in last drg from all directions.
- Select the Pan to go through the model.
Ans 8.
- Open the drawing in revit.
- In down bar we have Vissuality Style and you have various option.
- Click on Realistic and view change in Realistic.
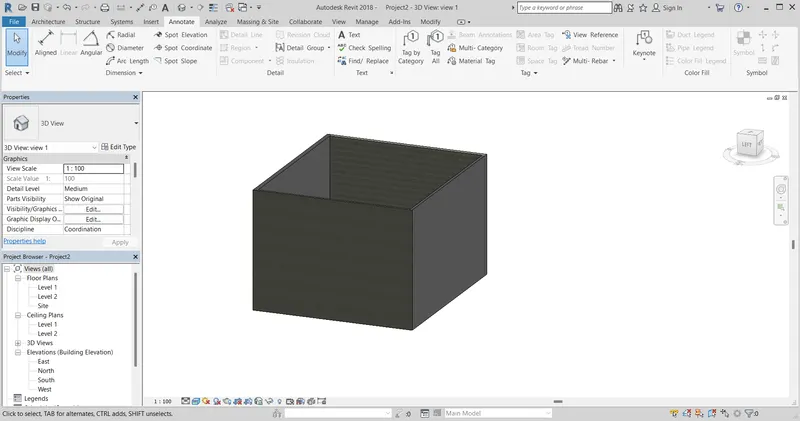
Ans 9.
- Open the Revit and open the Wall layout in 3D view.
- In bottom tool bar we have Sun path , select and turn on.
- By right on that, change the sum view.
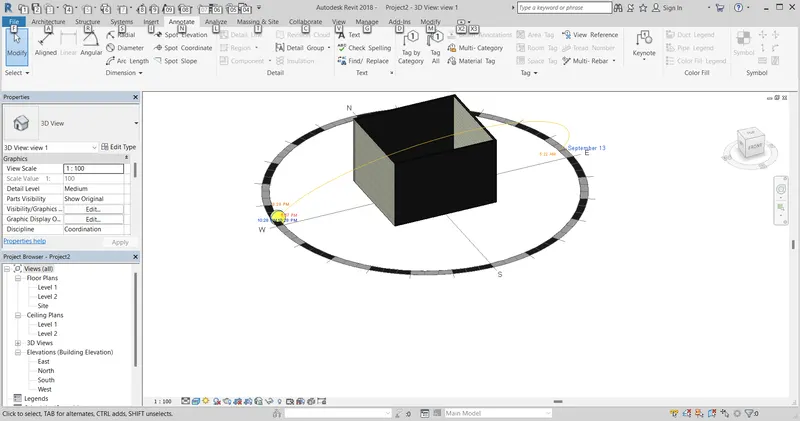
Ans 10
- Open Revit.
- Click on Manage Tab.
- Click on Project information icon.
- Edit the setting like change organization name, description, Building name, project issue date, project status, project address , project name, project number etc.
Ans 13.
Collaborate -
Enables the work sharing, through work sharing uses on same local area network can work together in same revit model.
It collaborate tab helps to-
- Work together -multiple revit model can be link together allowing work in context. When their is need for collaboration to occur among users who are not in same geographical location.through this Mulitple people can worl together without any disturbance.
- Cloud sharing
Work sharing- by enabling it involves creating a master project model know as central model from existing model. central model store the current ownership information for all workset and elements in project acts as a distribution point for all the changes made to the project. So all the users have their own copy of central model. They can also sync with central model so other can see project.
- Central model
Ans 11
In Revit their is Analyze Tab , in this analysis tab whereyou perform various structural analysis of building. It has various options to enables the analysis process.
- Boudnary conditions
- Load option.
- Load cases.
- Load combination
Ans 12 . In revit, their is 3 link system
- Revit Link- Link the another Revit model to the current model.
- Link IFC - Link an IFC file to current project to reference its information for additional design work.
- Link CAD- link a CAD file to the current revit project.