Introduction to REVIT concepts
1) From the file menu, create a new project (Structural / Architectural / Construction template) and name the project appropriately
Step 1: Open the REVIT
Step 2: Click on the dialogue box new start a new working space and a dialogue box will appear
Step 3: Now click on Construction template
Step 4: Name the project as Challenge 1
2) Save the new project file. Close and open using icons from file toolbar
Step 1: Click on the save icon to save the File
Step 2: Click on the close button
Step 3: Open the file by clicking on the Open and select the challenge 1 project and open it.
3) From the architecture/ structure toolbar familiarize with options to draw a wall. Create a rectangular layout of walls of about 40’-0” X 35’-0”
Step 1: Select the Architecture from the toolbar
Step 2: Select the wall from it
Step 3: Now by giving the value given draw the wall by given size
4) From the Annotate toolbar use the aligned option to add dimensions to the layout
Step 1: Select the Annotate toolbar
Step 2: Now select the Aligned option from the toolbar
Step 3: Aligned the wall by Clicking on the wall corners
5) Use the properties browser to switch to different wall types
Step 1: Select the wall
Step 2: In the left side a properties browser dialogue box will appear
Step 3: There is given different properties of wall then applied to the selected properties to particular wall
6) Create a 3D view from the view toolbar and save the view with the appropriate name
Step 1: Select the Cube in the Right corner of working space to see in different views
7) Navigate through the 3D model using the view cube. Orbit/pan through the model layout created
In the bottom of the view cube there is there is a cycled created select it and select the Pan and orbit option
8) Use the visibility settings option below to switch model to shaded, realistic, hidden lines options
By Visibility settings Select to switch to shaded and realistic views
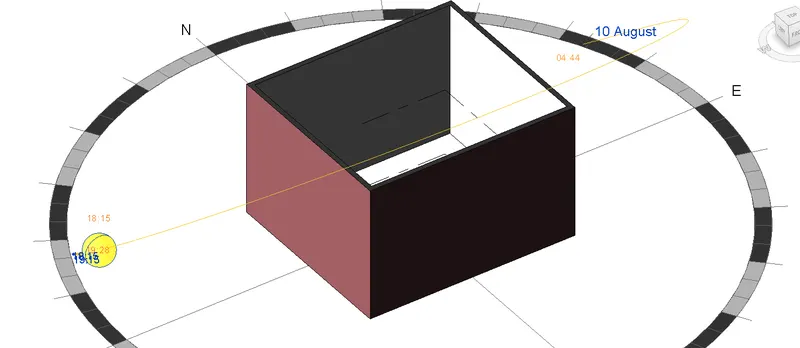
9) Turn the sun path on and off to view shadings in the layout created
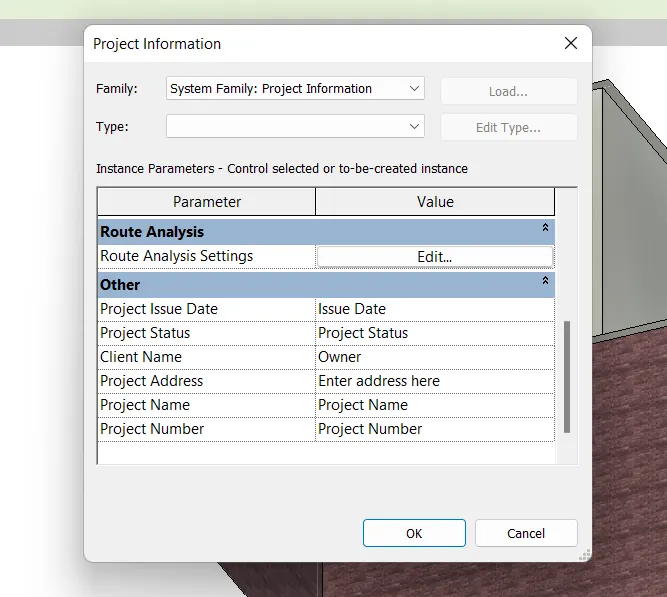
10) Use the Manage toolbar to enter project settings, project name, and project issue date (choose according to your convenience).
11) What is the Analyze toolbar used in Revit? How it is beneficial for design and modelling
Analyze tool bar helps in creating revit models, this tool bar consists of many other options which help in load combinations, boundary conditions, load and cases adjustment and support systems are one amoung the tool under this analyze tool bar where in we get to adjust the model and add aditional support to the present model, it also verifies the analytical and physical model for the consistency.
12) What are the links that Revit supports to be linked to the model?
This dialog (Revit Links) is arranged in a tree structure with the parent nodes referring to separate files (the primary linked model), and the child nodes referring to instances (copies) of the model in the project. Changing the parent node affects all instances, while changing a child node affects only that instance.
13) Why do you need the Collaborate tab in Revit? How it supports modeling and its efficiency
Usage of Revit software decreases the field cycle time which further saves construction time. 3D BIM modeling is very much useful in this matter. Better organization and collaboration A singular centralized data source is used in Revit BIM modeling which makes the management easier and faster.