Introduction to REVIT concepts
Introduction to REVIT concepts.
Revit is the BIM software and building information modeling software which is used in building information modelling of mechnical electrical Plumbing setup design in one platform for in 3 d view .
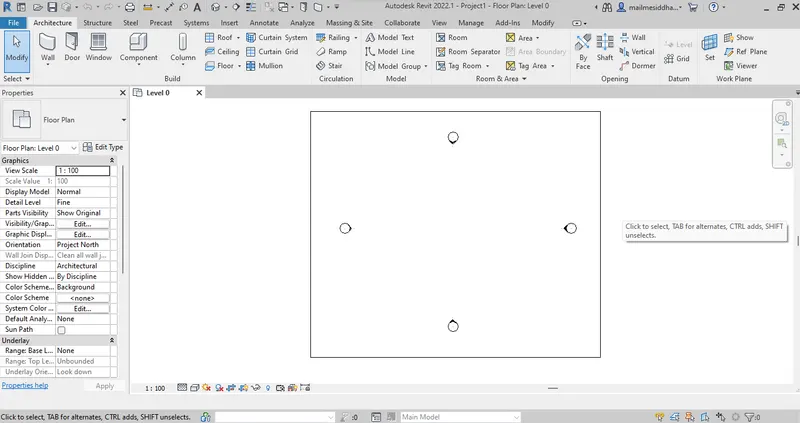
Aim- From the file menu, create a new project (Structural / Architectural / Construction template ) and name the project appropriately.
Command - open revit software click on model click on -> template as per your use.
command- click on template and select ok .
command- New template will be opend .
command - New file will be created .
Result -
The Template will apper and start working .
2) Save the new project file. Close and open using icons from file toolbar
Command - open revit software click on model click on -> template as per your use.
command- click on template and select ok .
command- New template will be opend .
command - New file will be created .
Result -
The Template will apper and start working .
Command - click on file menu and
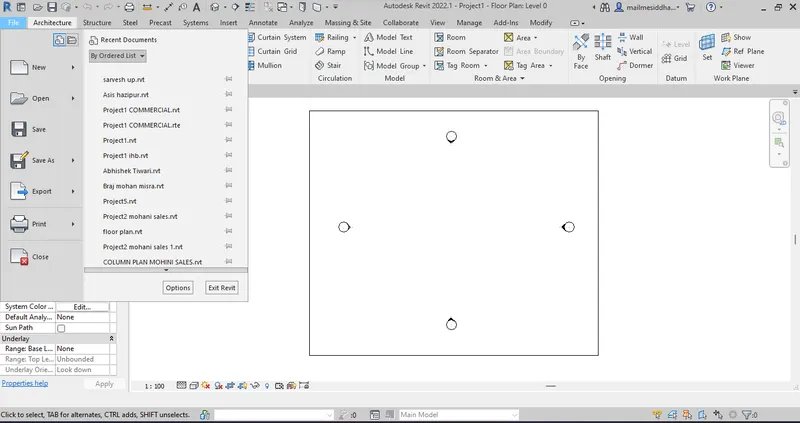
Command - click on save as and select save as option
command - click on save as and name the file according to the drawing .
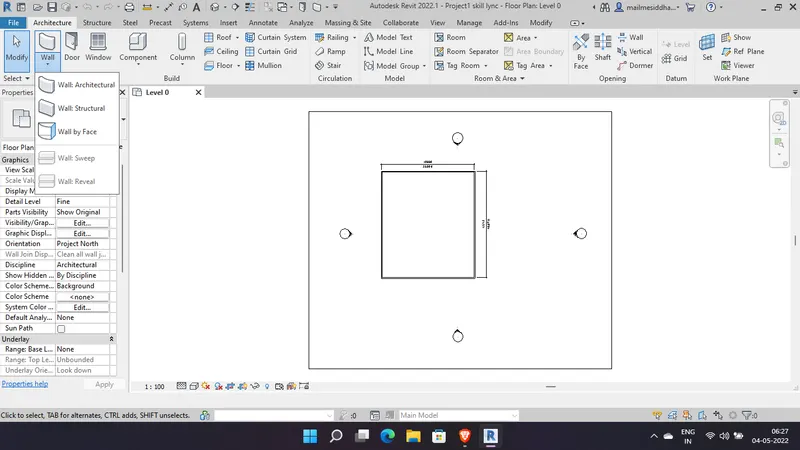
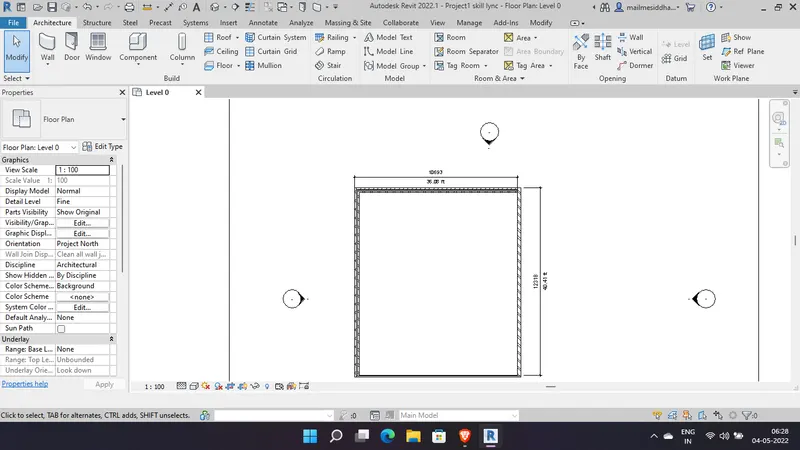
Aim- From the architecture/ structure toolbar familiarize with options to draw a wall. Create a rectangular layout of walls of about 40’-0” X 35’-0”
Command - open revit software click on model click on -> template as per your use.
command- click on template and select ok .
command- New template will be opend .
command - New file will be created .
Result -
The Template will apper and start working .
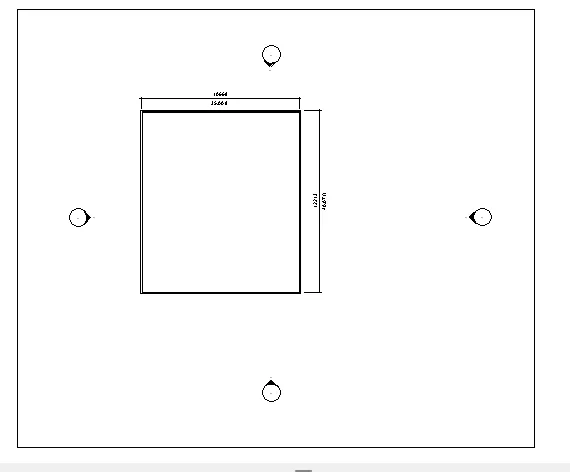
aim -4) From the Annotate toolbar use the aligned option to add dimensions to the layout
Command - Open annotate tab.
command-select alinged dimension and press tab button
command- select outer face of the wall and then annotate the the other direction .
result
The dimension occured as per measurement taken at the time of drawing the line .
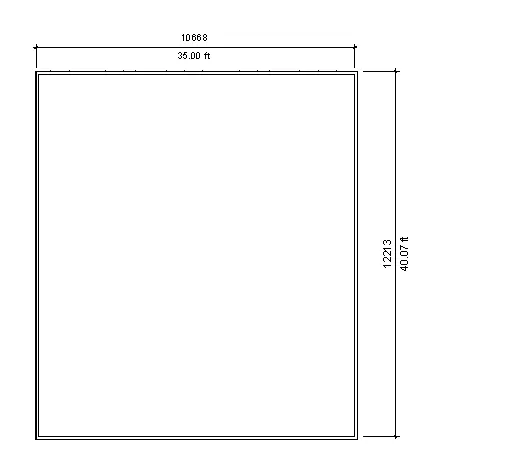
aim- 5) Use the properties browser to switch to different wall types
Command - Select the existing wall in the given drawing
command- select the exesting wall and then Move the curser to the
command- click on architectural wall and point the courser to the architectural tab and then select the type scroll the tab to the architectural wall type as per your use and choose it .
command - select ok.
Result -
aim- 6) Create a 3D view from the view toolbar and save the view with the appropriate name
Command - Draw the appropriate drawing and select the view from the view tab as per view.
command -Select the 3d view in the view tab and and then open the tab as the required drawing you want to view .
command - create a 2d drawing and annotate the dimension and then select the view tab .
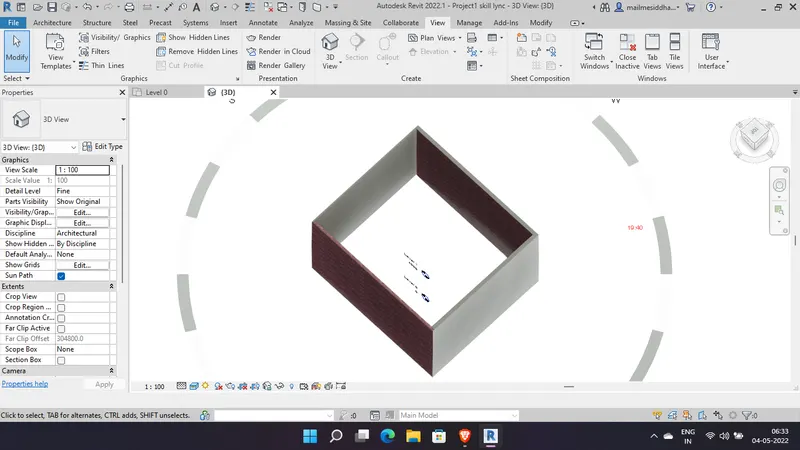
As a result we got the required view as per our selection.
Aim -7) Navigate through the 3D model using the view cube. Orbit/pan through the model layout created
command - select the compass .
command - scroll isometric view , top view , side view rotate ao view upto 360 degree
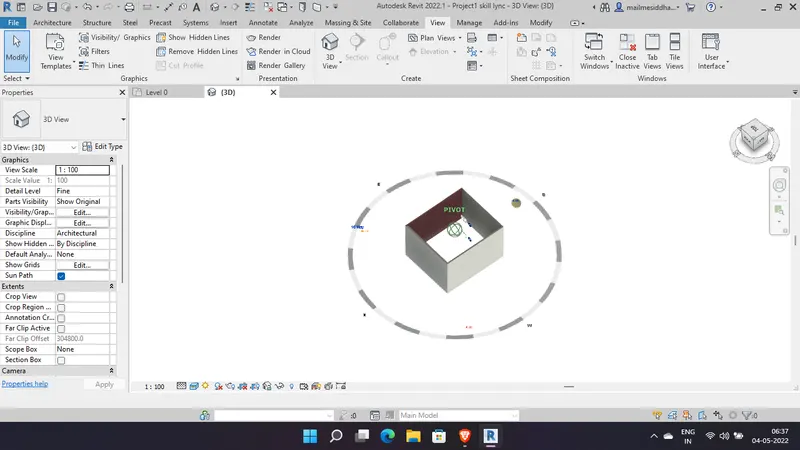
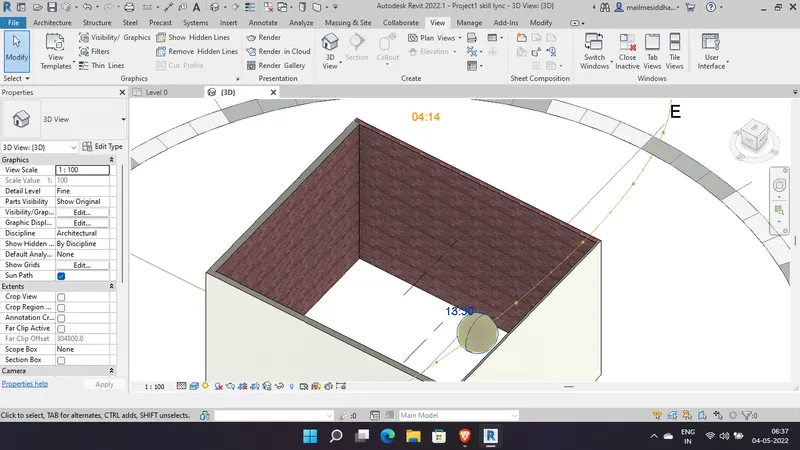
8) Use the visibility settings option below to switch model to shaded, realistic, hidden lines options.
Command - Use visiblity tab as per option available in the select wire frame view .
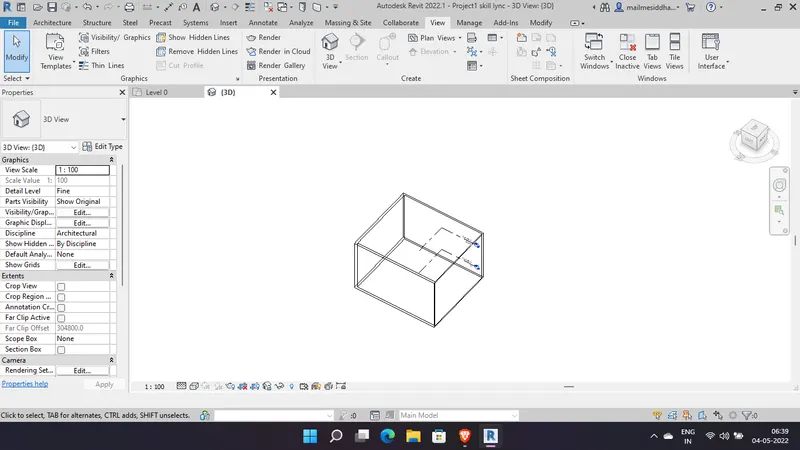
select hidden line view
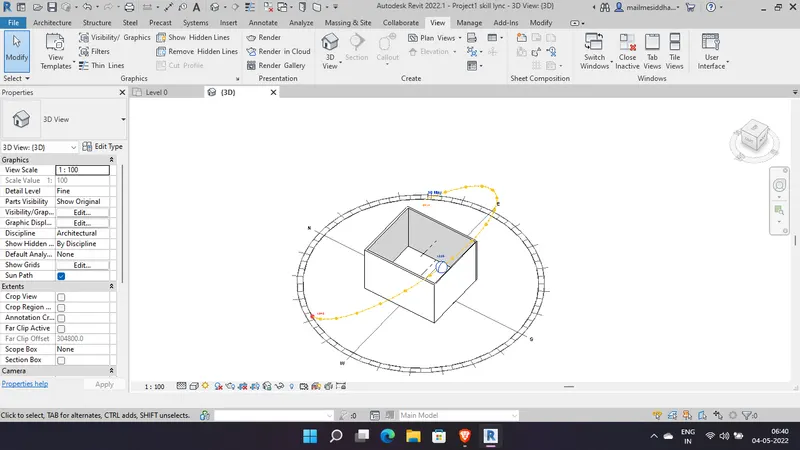
Select Realstic view .
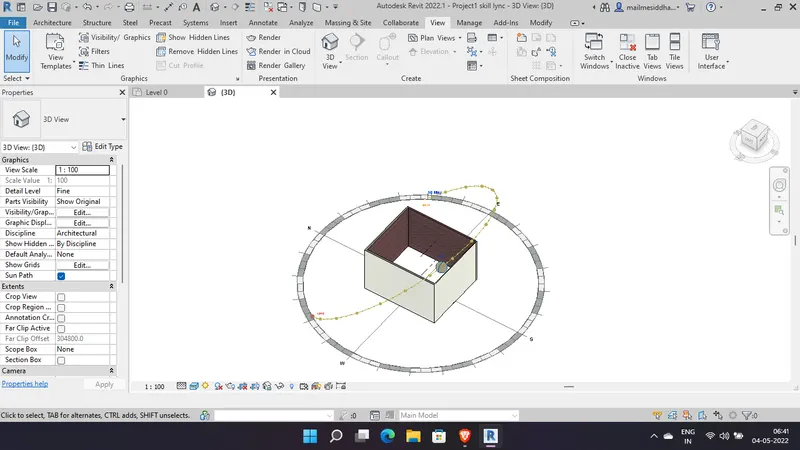
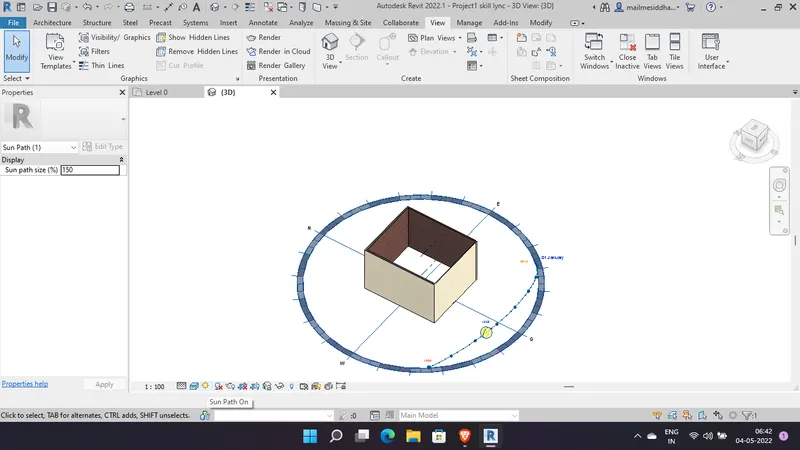
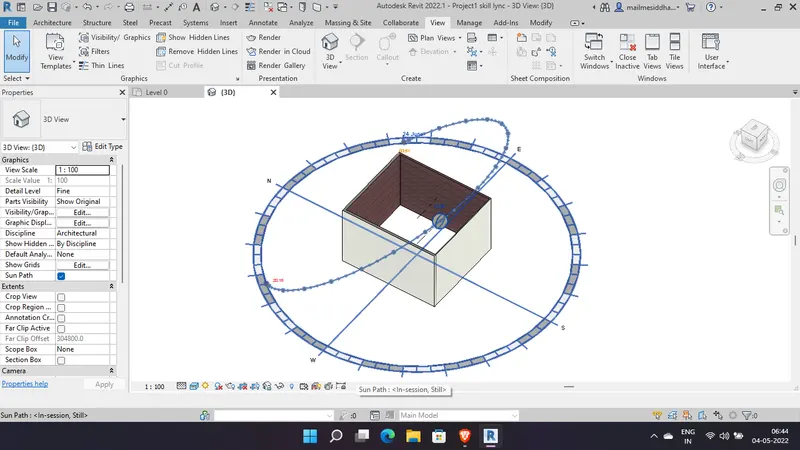
aim - 9) Turn the sun path on and off to view shadings in the layout created
Command - select the sun path on and then select to the
command - click the sunpath in appropriate way the prime time as per view .
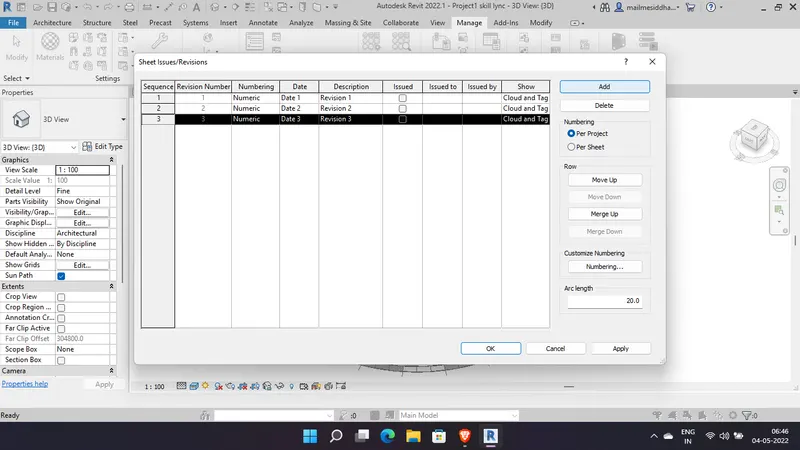
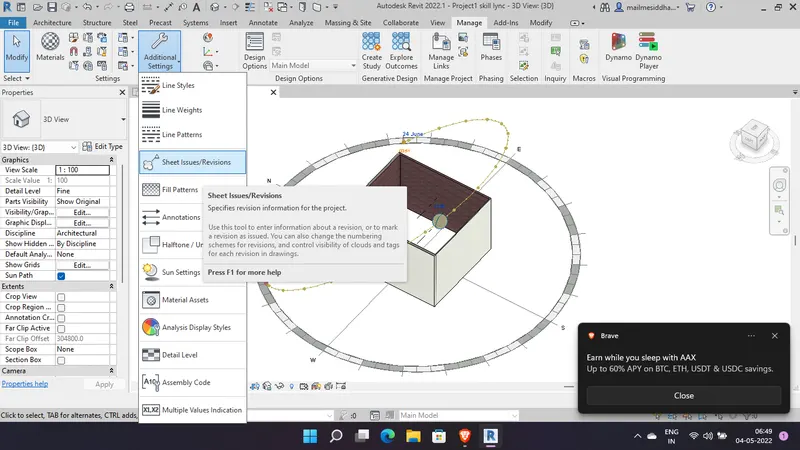
10) Use the Manage toolbar to enter project settings, project name, and project issue date (choose according to your convenience).
command - Click on manage tab
command- open to manage tab and select the
aim- 11) What is the Analyze toolbar used in Revit? How it is beneficial for design and modeling
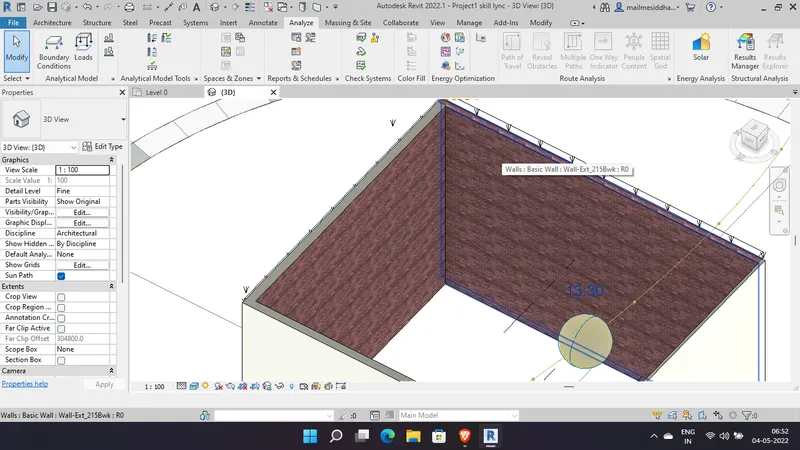
Introduction - Analysed toolbar is used for structural detailling and to place the loads on the structure to analyse the the load and study the load to design the sufficient required reinforcement .
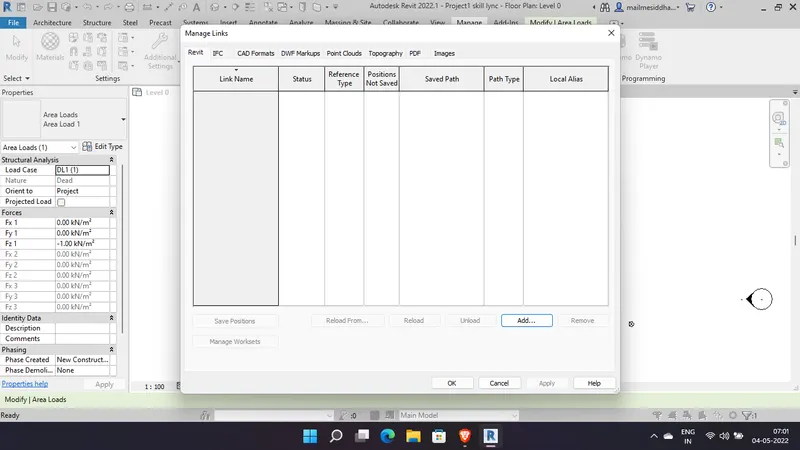
aim- 12) What are the links that Revit supports to be linked to the model?
ans- Provides options for managing links to building models, CAD files, DWF markup files, and point clouds.
From the Manage Links dialog, you can also link Revit models and CAD files to the current project.
aim- Why do you need the Collaborate tab in Revit? How it supports modeling and its efficiency
Intro--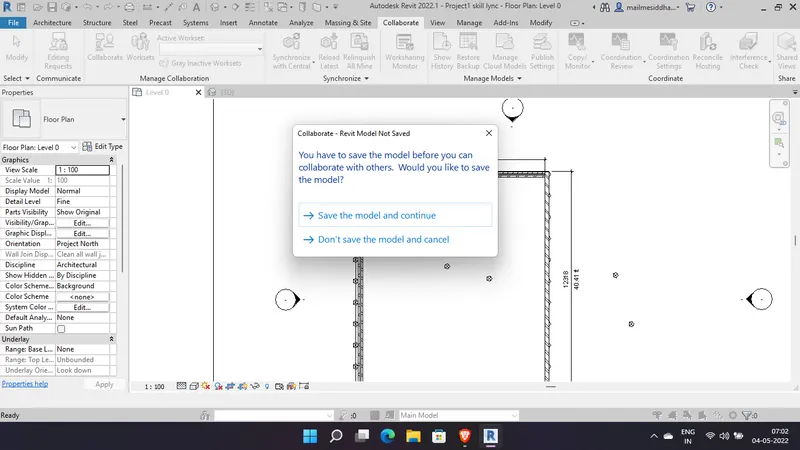
collaboration using computer network or in the cloud
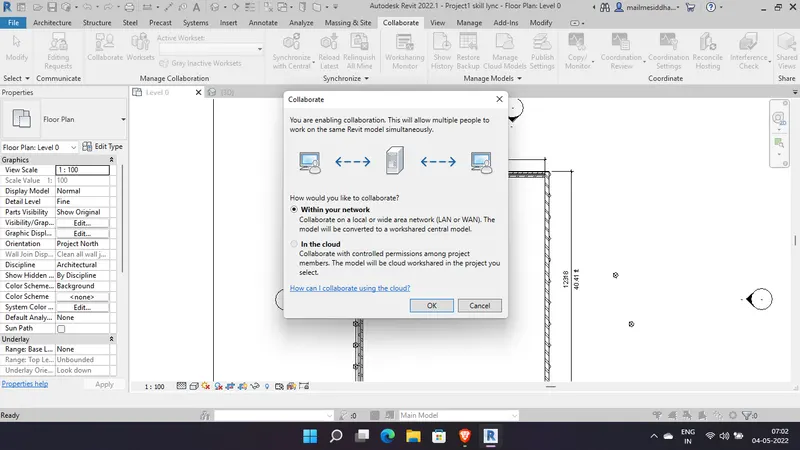
collaboration feature makes revit a unique software the main feature is of collaboration feature and collaboration feature help 3-4 engineers work together at sametime and if any changes made the each and evey changes recorded at same time and notified to every one as per they can update their drawing .