Introduction to REVIT concepts
QUESTION 1
AIM
To create a new project (Structural / Architectural / Construction template ) and name the project appropriately
INTRODUCTION
- Revit architecture is designed to accommodate various ways to work so that you can concentrate on your building models rather than on adapting to the methodology to software
- Revit architecture is a powerful building information modeling software for architects, engineers, designers, and contractors. This is the fast-paced, intensive course guides students through the introductory command of Revit architects to produce working and presentation drawing
PROCEDURE
- Start the Revit software
- From the model table and click NEW
- Click on a metric-architectural template
- Press OK
- Finally, the new workspace will be loaded. Name the project
- Go to file menu, save and enter the project as project 2
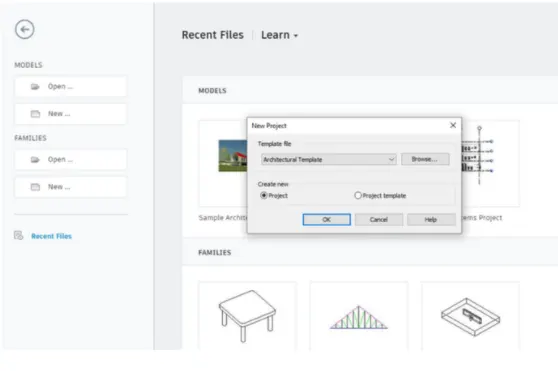
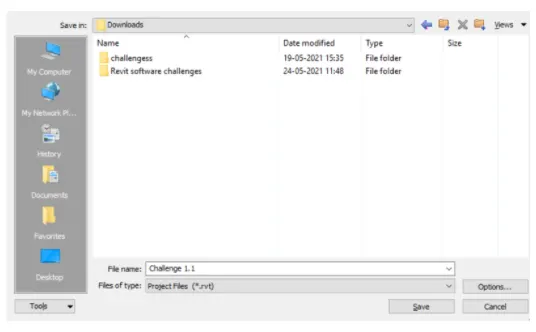
RESULT
The new file is created with the name of project 2
QUESTION 2
AIM
To save the new project file. Close and open using icons from the file toolbar
INTRODUCTION
- Revit architecture is designed to accommodate various ways to work so that you can concentrate on your building models rather than on adapting to the methodology to software
- Revit architecture is a powerful building information modeling software for architects, engineers, designers, and contractors. This is the fast-paced, intensive course guides students through the introductory command of Revit architects to produce working and presentation drawing
PROCEDURE
- Go to the File menu, click the save option in it
- Then give the name to the field and click the save button
- To change the location of the saved project, click on save as and enter a different location
- To open a file, in the file menu open the project
- I want to close the menu bar as same go to the menu and click the close option
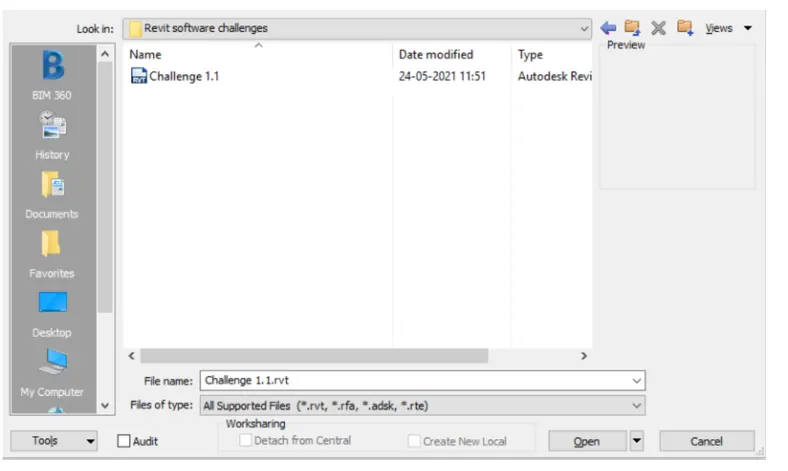

RESULT
the file saved and opened and closed by file menu
QUESTION 3
AIM
To create the rectangular layout wall of about 40'*35'
INTRODUCTION
- Revit architecture is designed to accommodate various ways to work so that you can concentrate on your building models rather than on adapting to the methodology to software
- Revit architecture is a powerful building information modeling software for architects, engineers, designers, and contractors. This is the fast-paced, intensive course guides students through the introductory command of Revit architects to produce working and presentation drawing
PROCEDURE
- Open Revit software, select a new, and select imperial-architectural template
- Click on the wall from the architectural tab-basic wall 8"
- Click on the floor plan area and enter 40'
- Move the mouse downwards and type 35'
- Again type 40' placing the mouse left
- Again type 35' upwards
- A rectangle is created
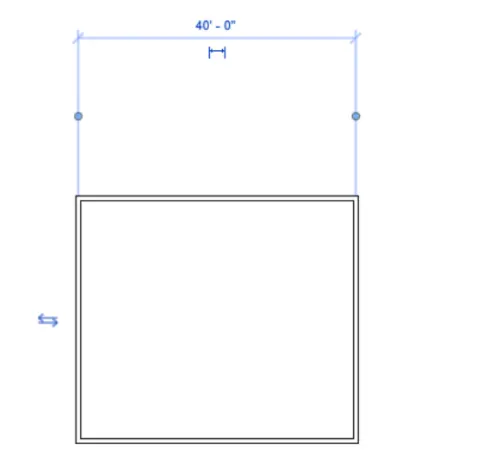
RESULT
A wall of 40'*35' is created using a wall tool
QUESTION 4
AIM
To use the aligned option to add dimensions to the layout using the annotated toolbar
INTRODUCTION
- Revit architecture is designed to accommodate various ways to work so that you can concentrate on your building models rather than on adapting to the methodology to software
- Revit architecture is a powerful building information modeling software for architects, engineers, designers, and contractors. This is the fast-paced, intensive course guides students through the introductory command of Revit architects to produce working and presentation drawing
PROCEDURE
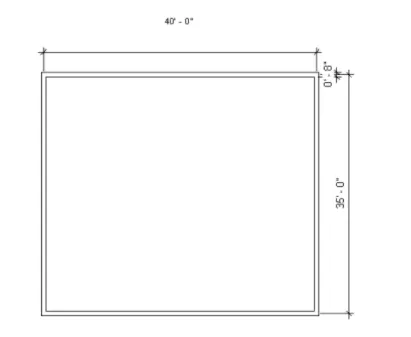
- Click on the annotated toolbar
- Click on the aligned option
- Click on the side of the wall where the start menu option is available and drag the dimension line we needed
- Similarly, do the same on another side
RESULT
The dimension is done using annotate toolbar using aligned option
QUESTION 5
AIM
To use the properties browser to switch to different wall types
INTRODUCTION
- Revit architecture is designed to accommodate various ways to work so that you can concentrate on your building models rather than on adapting to the methodology to software
- Revit architecture is a powerful building information modeling software for architects, engineers, designers, and contractors. This is the fast-paced, intensive course guides students through the introductory command of Revit architects to produce working and presentation drawing
PROCEDURE
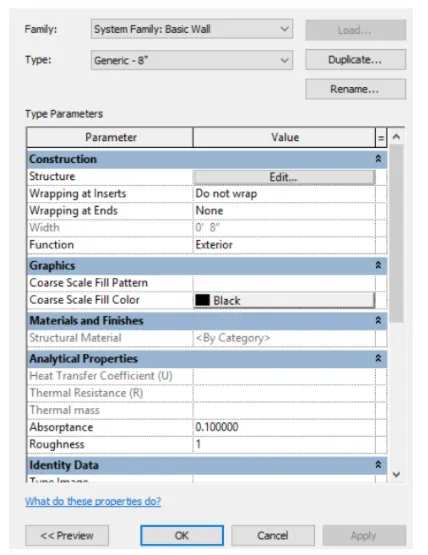
- Select the wall tool at the top of the icon
- Select required wall type
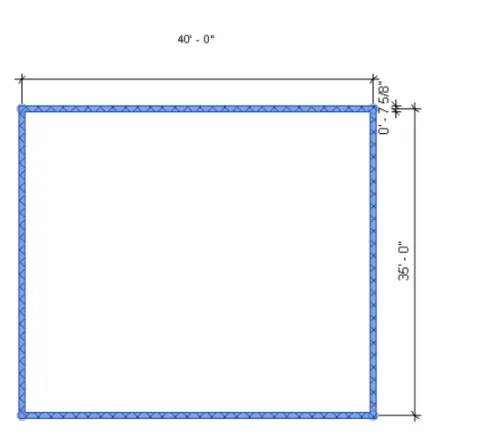
- Use the wall one by one
- Select the required wall height and width
RESULT
With the use of the property browser, the wall type has been changed
QUESTION 6
AIM
To create a 3D view from the view toolbar and save the view with the appropriate name
INTRODUCTION
- Revit architecture is designed to accommodate various ways to work so that you can concentrate on your building models rather than on adapting to the methodology to software
- Revit architecture is a powerful building information modeling software for architects, engineers, designers, and contractors. This is the fast-paced, intensive course guides students through the introductory command of Revit architects to produce working and presentation drawing
PROCEDURE
- Press the view bar on the view cube on the right-sided of workspace
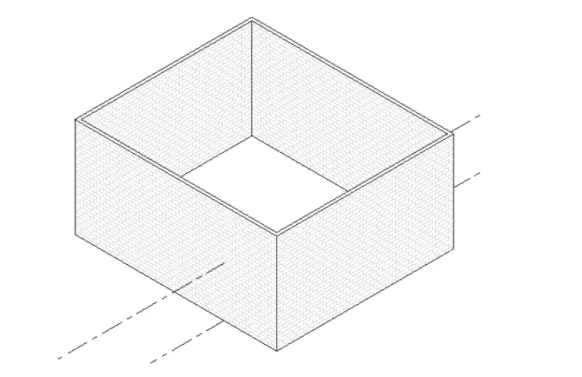
- Open the 3D view
- Click on the view template and click on create a template from the current view
- Then the view dialogue box, insert the name as 3d view, and click view
- Then the view will be created and we can take the view from apply template properly to the current view
RESULT
The 3D view is created by and saved by name 3D view
QUESTION 7
AIM
To navigate through the 3D model using the view cube
INTRODUCTION
- Revit architecture is designed to accommodate various ways to work so that you can concentrate on your building models rather than on adapting to the methodology to software
- Revit architecture is a powerful building information modeling software for architects, engineers, designers, and contractors. This is the fast-paced, intensive course guides students through the introductory command of Revit architects to produce working and presentation drawing
PROCEDURE
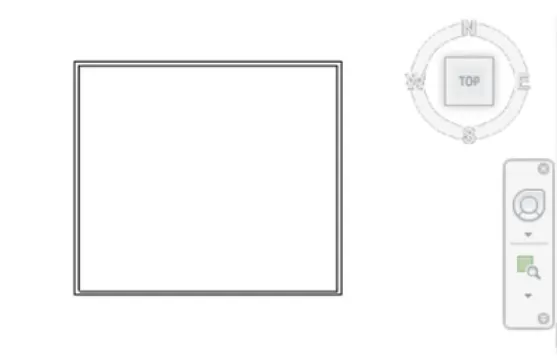
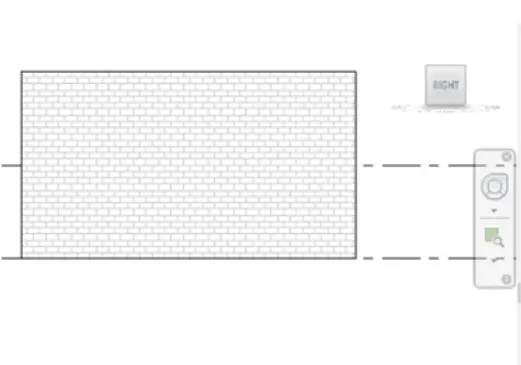
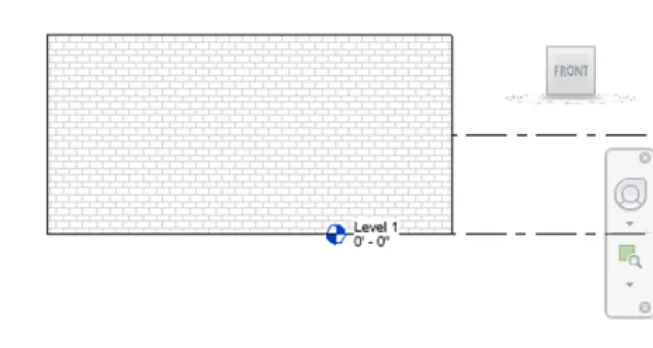
- Press the view bar on the view cube on the right side of the workspace
- Click the different views
- To pan, click on the navigation wheel below the view cube
- Click on the option
- Click on the left cursor and move the mouse to the pan
RESULT
Use of view cube and pan in navigation wheel is shown
QUESTION 8
AIM
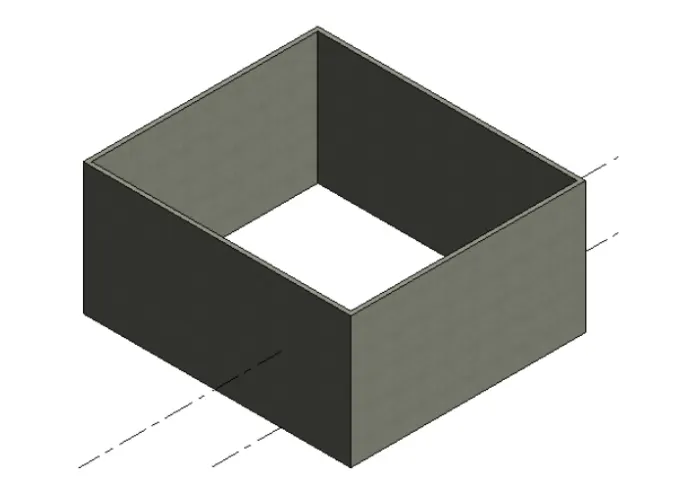
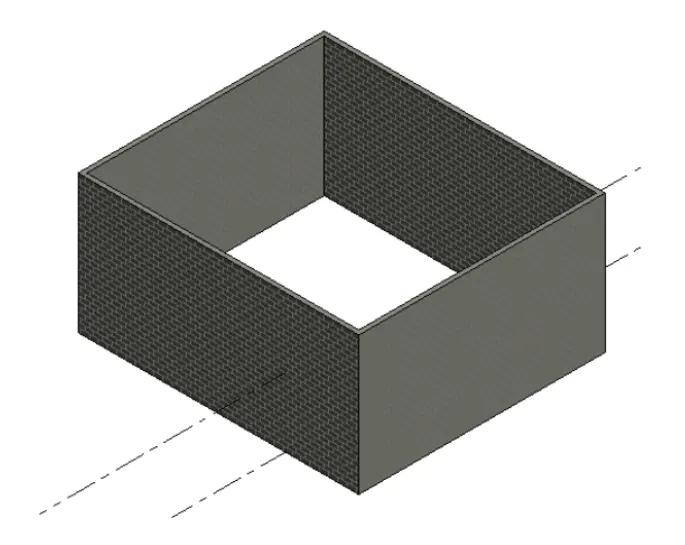
To use the visibility setting option below to switch model to shaded, realistic, hidden line option
INTRODUCTION
- Revit architecture is designed to accommodate various ways to work so that you can concentrate on your building models rather than on adapting to the methodology to software
- Revit architecture is a powerful building information modeling software for architects, engineers, designers, and contractors. This is the fast-paced, intensive course guides students through the introductory command of Revit architects to produce working and presentation drawing
PROCEDURE
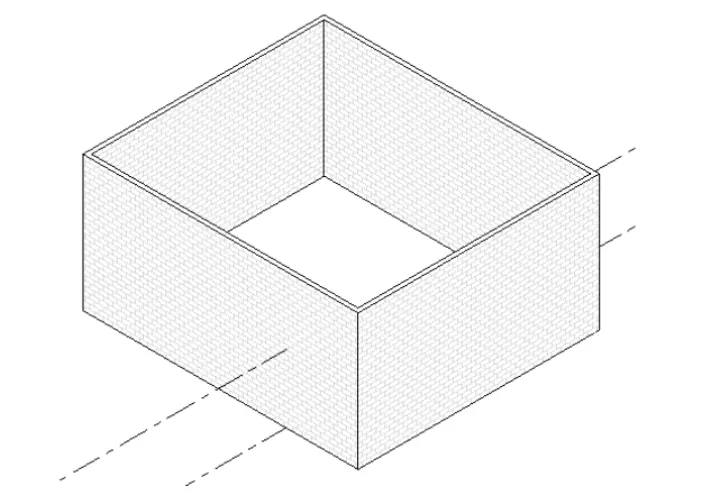
- Click on the cube at the bottom toolbar-visual style
- Select the hidden line
- Select the model shaded
Hidden
REALISTIC
SHADED
RESULT
Hidden lines, shaded, realistic options are done by visibility settings
QUESTION 9
AIM
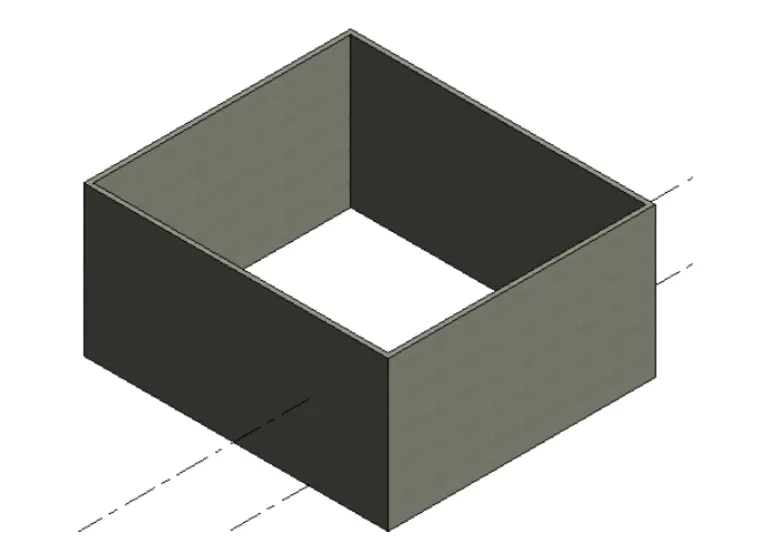
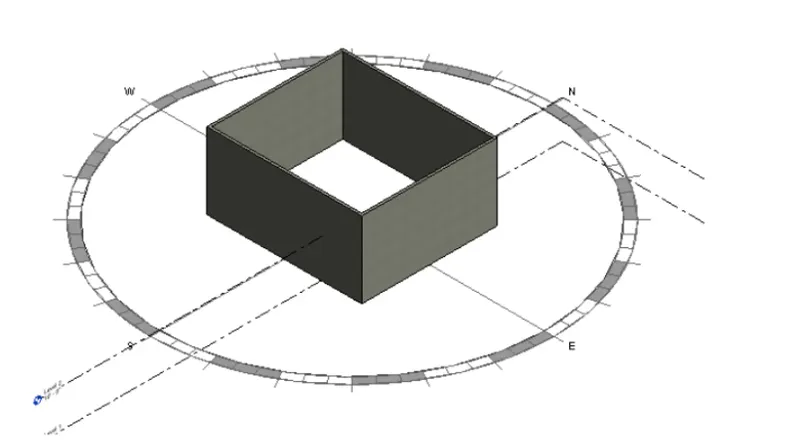
To on and off sun path to view the shadings in layout
INTRODUCTION
- Revit architecture is designed to accommodate various ways to work so that you can concentrate on your building models rather than on adapting to the methodology to software
- Revit architecture is a powerful building information modeling software for architects, engineers, designers, and contractors. This is the fast-paced, intensive course guides students through the introductory command of Revit architects to produce working and presentation drawing
PROCEDURE
- Click on the icon of the sun on the bottom toolbar
- Click it so that the sun path is on
- The date and time will be visible
- Similarly, put the sun path off
Sunpath off
Sunpath On
RESULT
Use of sun path on/off is done
QUESTION 10
AIM
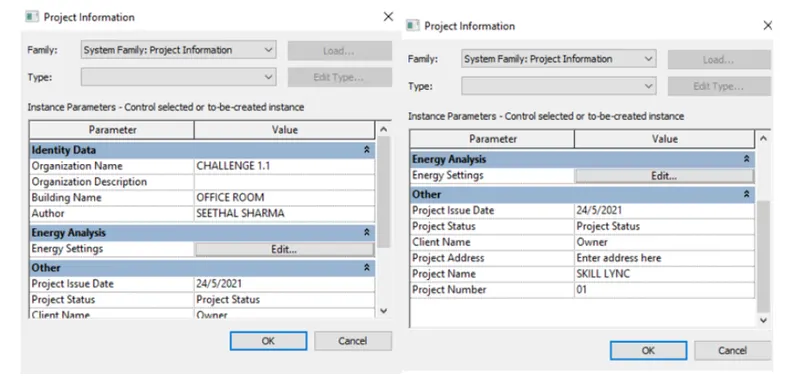
To use the manage the toolbar to enter project setting, name, and issue date
INTRODUCTION
- Revit architecture is designed to accommodate various ways to work so that you can concentrate on your building models rather than on adapting to the methodology to software
- Revit architecture is a powerful building information modeling software for architects, engineers, designers, and contractors. This is the fast-paced, intensive course guides students through the introductory command of Revit architects to produce working and presentation drawing
PROCEDURE
- Click the manage toolbar and project information
- Project information dialogue box appears
- From the other click on project issue date and give a value
- Similarly, select the project name, project status, client name, project address, and project number
RESULT
The Manage toolbar to enter project settings, project name, and the project issue date is created
QUESTION 11
ANALYZE TOOLBAR
- Analyze toolbar helps in creating Revit models, this toolbar consists of many other options which help in load combination, boundary conditions, load and case adjustment, and support system are one among the toolbar wherein we get to adjust the model and add additional support to the present model, it also verifies the analytic and physical model for the consistency
- Space separation, space naming, space tagging are also the option available assigning the names and numbers the architectural rooms
- Colour fill energy optimization are the tool that helps to know how far the present model is eco-friendly and economical
QUESTION 12
The links that Revit supports to be linked to the model
- Link Revit: Link one Revit model to the other or the current Revit project
- Link CAD: link CAD file to the present Revit project
- Link IFC: Links an IFC file to the current project for the information that is required for additional design work
- Link Topography: It links the existing topography to present Revit model
- Link Image: It allows us to link an image for the progression Revit model
- Manage link: It manages the link such as CAD, mark up the DWF files, and all the BIM works that are related to the present file
- Link PDF: It allows us to link an image for the progressing Revit model
- Coordination model: It links up an NWD or NWC file to extract content for the Revit model
- DWF Markup: It links the marks up DWF files into the present Revit project so that we can see mark-ups in the corresponding sheets
- Point Cloud: It links a point cloud file to the current Revit project
QUESTION 13
COLLABORATION TAB IN REVIT
- The collaboration tab in Revit enables work sharing. Through work sharing, users on the same Local Area Network can work together in the same Revit model
- Multiple Revit models can be linked together, allowing to work in the context
- When there is a need for collaboration to occur among users who are not in the same geographic location, use Revit Server or Revit cloud sharing
- Enabling work-sharing involves creating a master project model, known as a central model, from an existing model
- It keeps all parties updated with the current project via work-sharing backed by Revit cloud sharing
- It allows key design features to be communicated effectively via visual template and color fills
- It allows the user to divide the model into workset, which can be made editable or not editable by the current user to avoid confusion and lessen computing load
- It allows users to define parameters as the design progresses, to make model-wide changes quick and easy