Hood design-Week 2
Introduction:
A car hood panel is one of the most important component of the BIW (Body In White), it is considered as the closure sheet metal component. A hood panel consist of two panels that are hemmed together to form the automotive hood assembly.
The inner panel of the hood is not visisble to the customer but this is the engineerimg feature of the outer panel. The outer panel has the aesthetic look to it but on its own is very weak and not capable of handling force during impact. This puts the passengers life in danger, so we need to design the inner panel so as to provide strength to the outer panel.
Objective:
The objectives of the projrct are as follows
- Check the given styling surface for any discontinuties.
- Develop the inner panel and outer panel from the given styling surfcae according to the Euro_New car Assesment program.
- Develop the necessary reinforcements for the innerpanel.
- Develop the necessary embosses on the inner panel.
- Develop the hem for the outer panel.
- Check the manufacturing feasibilty of the inner panel by draft analysis.
- Check the position of the latch with respect to the hinge axis.
Given:
- Master section of the hood panel.
- Hood Hem data.
- The thickness of the inner panel, outer panel and reinforcement.
- Styling surface.
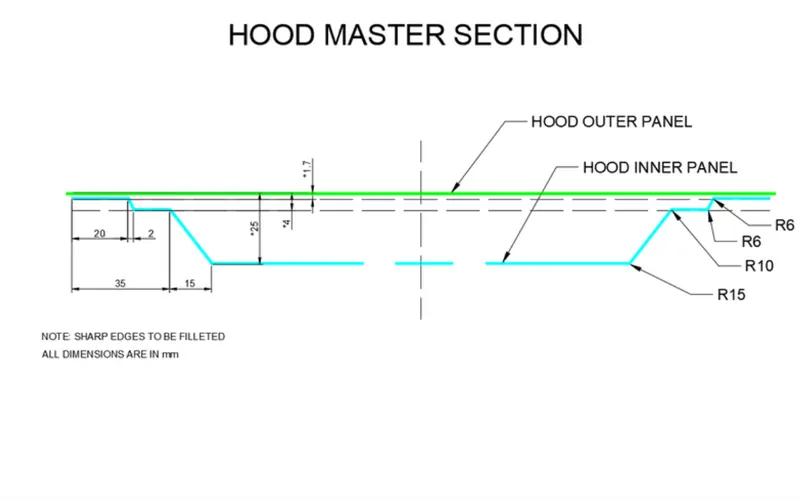
DESIGN METHODOLOGY
Design of Inner panel:
To design the inner panel we need to extract the given styling surface and break any link with the given surface. This will act as a reference surface for the inner panel. Before proceeding further we need to follow certain design guidelines in design.
- Create an origin point and place an axis system on it. All the sketches in the design will be linked to this axis system.
- Maintain a structure tree as many other designers will work on this project and it will be easier for them to understand how we have created a particular part.
- First, we need to develop the master section of the inner panel. The master section is a very important part of the design procedure as it is made using all the information from the car. For example, how is the design placed, how much depth is required for the inner panel, etc.
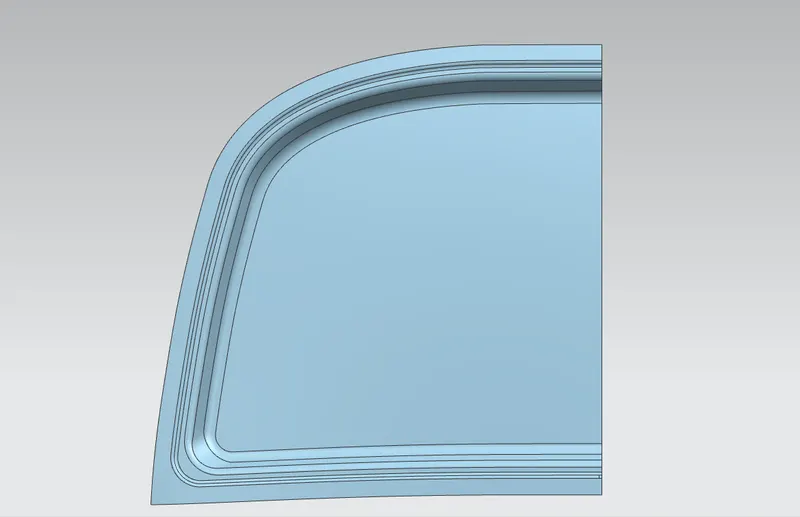
Fig. Design of inner panel surface using Master section
Embosses on the inner panel
The embosses on the inner panel are designed to distribute the impact forces on the outside which protects the passenger during a crash. These embosses are designed in a particular shape (Y or V shape). The shape mostly depends on the output from the CAE team.
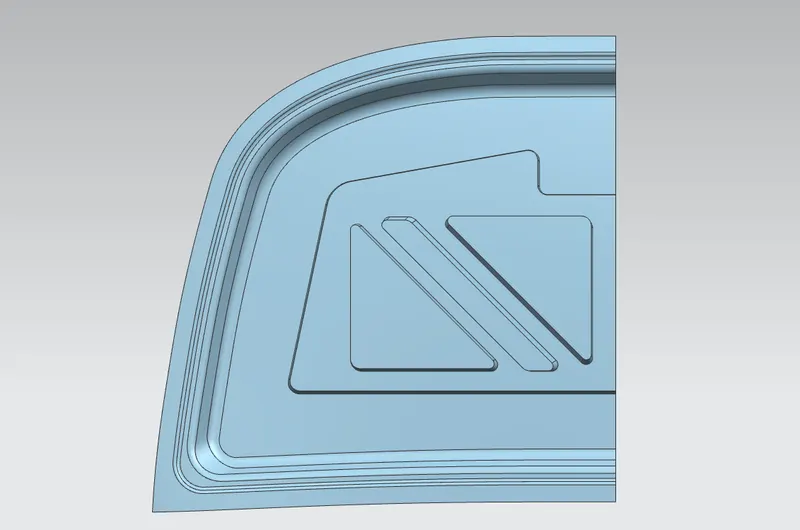
Fig. Design of Embosses on the inner panel
Mastic points:
Mastic poits are areas where the inner hood panel is joined with the outer panel hem using a mastic glue. This mastic glue keeps the inner panel stuck to the outer panel.
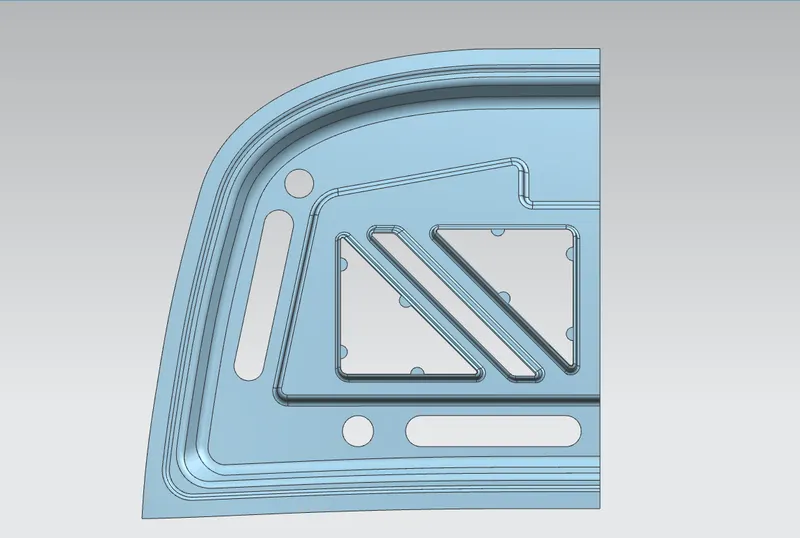
Fig. Embosses with Mastic Points
Inner panel Design:
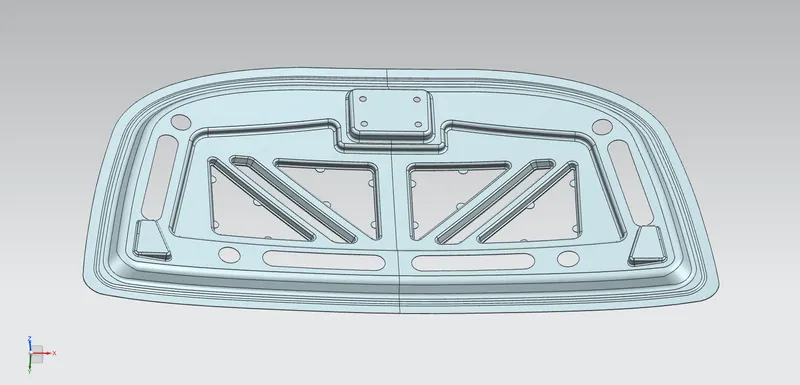
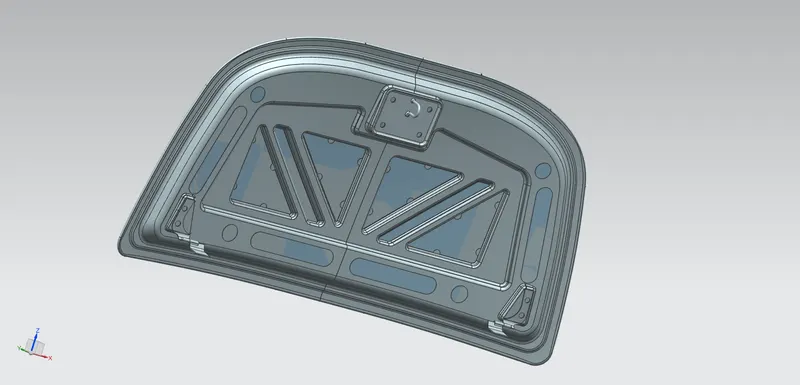
Fig. Isometric view of Inner panel
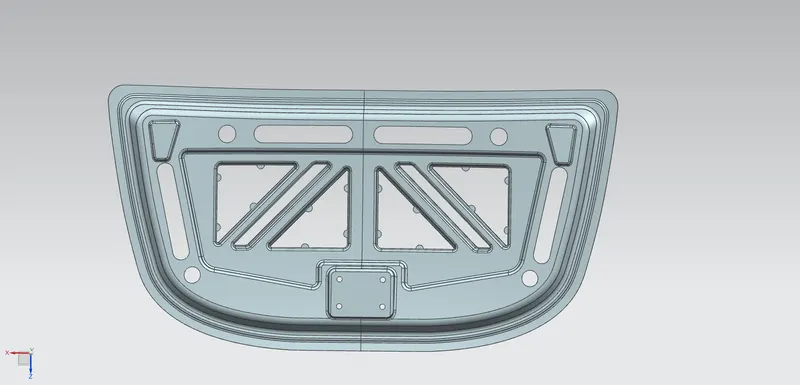
Fig. Front view of Inner panel
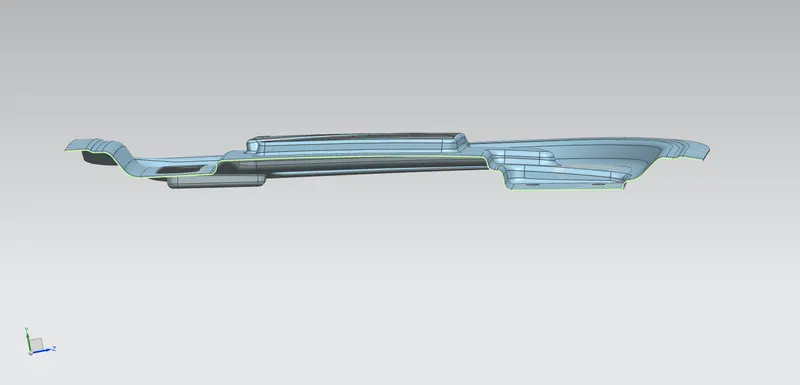
Fig. Master section of Inner panel
DESIGN OF OUTER PANEL
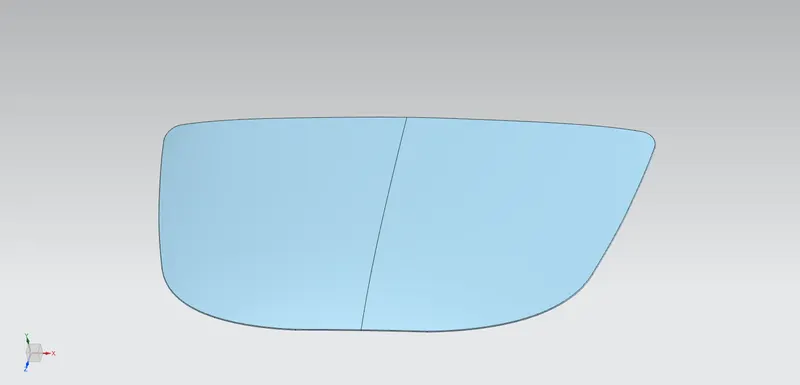
Fig. Outer panel Design
LATCH AND STRIKER POSITION CHECK
Checking the position of the latch and striker assembly:
To check we need to create an axis from the hinge assembly. Tentatively we have to position the hinges and extract the axis. On the axis, a point is placed at the center of the axis and a circle is drawn taking the point as the center. To check for the correct position of the hinge it has to be tangent to the circle. This study is conducted to check the location for the latch and striker mechanism to make the hood manufacturable.
Latch Trajectory:
The latch trajectory is the path which the striker will follow when the hood is open/closed while pivoting on the hinge axis. The latch trajectory is taken as a circle with the hinge axis as the center of the circle. The striker is placed 90 degree such that it tangent to the circle.
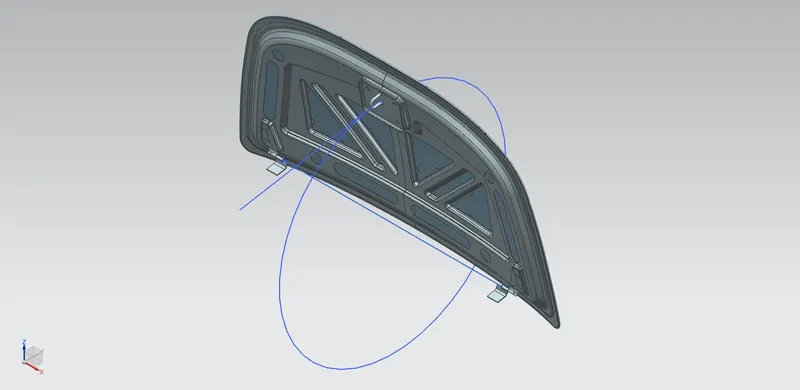
Fig. Latch Trajectory
HEM FOR OUTER PANEL
The inner panel and outer panel are joined using mastic which is applied on the hem of the outer panel and edge of the inner panel.
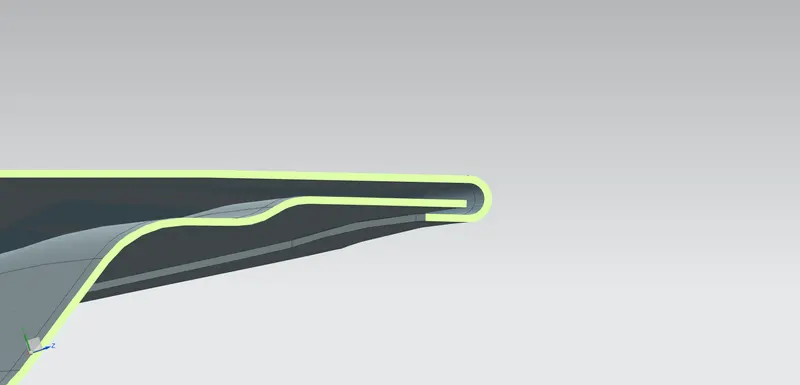
Fig. Hem for the outer panel
Hood Panel Assembly Parts
Fig. Outer panel
Fig. Inner Panel
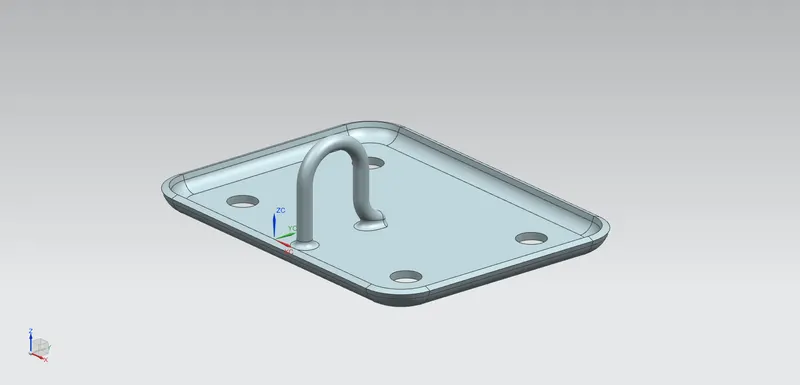
Fig. Striker
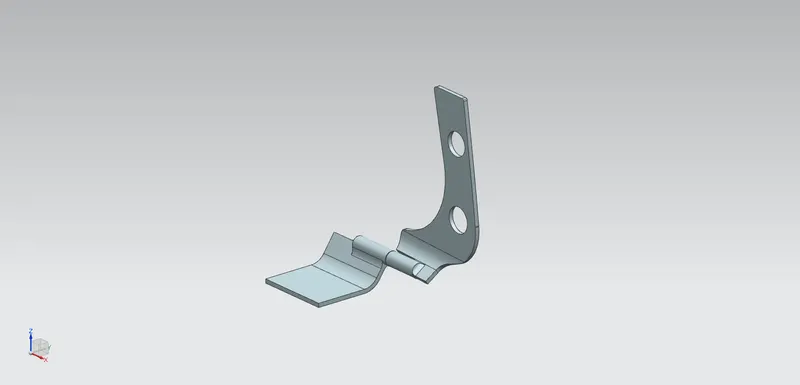
Fig. Hinges
FINAL ASSEMBLY
Conclusion:
The inner panel, the outer panel has been designed from the given styling surface according to the Euro-NCAP standards. The latch and striker position were studied. Finally Hood panel disign is completed using NX CAD-12.