Hood design-Week 2
OBJECTIVE:
To understand the design strategy and consideration that goes under designing and developing an automotive hood to achieve maximum safety for everyone in and around the vehicle. With this understanding, an industry-standard hood panel is to be designed which can very well be manufactured and assembled. In other words, the design has to follow DFM and DFA standards as well.
INTRODUCTION:
Hood, which also goes by the term bonnet, mostly in the commonwealth countries, is essentially a type of door that covers the powertrain and other vehicle propulsion system components such as drive belts, battery, fluid levels and lamp units in the frontal (or rear, based on the engine placement) region of an automobile. Aside from being a hinged cover to engine providing easy access to maintenance and repair, it acts as a critical safety component both for the vehicle occupant as well as the pedestrian
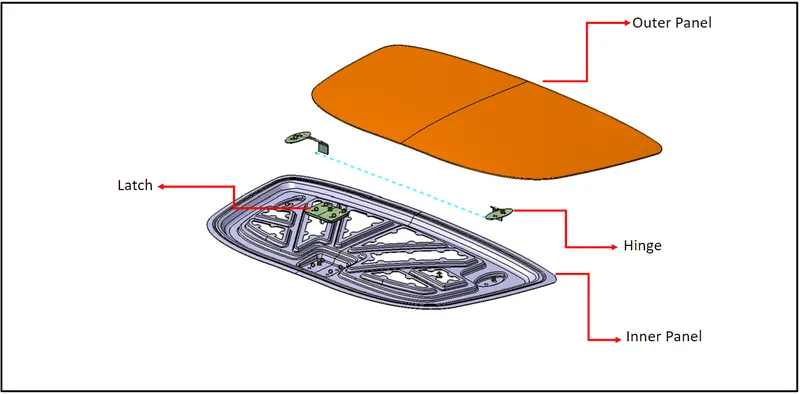
Hood is one of the other major closure systems in a vehicle and is fundamentally a reinforced skin with many design quality and safety regulations. Hood may come with several subcomponents, but the two most important ones are the outer and inner panels. The inner panel serves as a structure for the vehicle to dissipate and channel shock waves at the event of a crash while the outer panel serves more as an aesthetic for the automobile's overall presentation and to channel airflow over the vehicle. Hence, both require critical precision as well as a dedicated strategy right from the design conceptualization to the production step. The initial design goes through iterative design modification based on structural analysis such as fatigue analysis and crash analysis to name a few before it sees the light of the day.
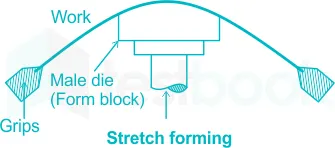
Once the design for the two subcomponents is finalized, the manufacturing process begins. The inner panel is generally manufactured by the deep drawing process. Once manufactured, the outer and inner components are united to form one unit by one or combination of several types of joining methods such as hemming, riveting, gluing, and spot welding to name a few. In this project, hemming was utilized to join these two components. Hemming is performed after the parts have been deep drawn, trimmed, and flanged. It involves folding of the outer overlap portion around the inner panel and pressed using hemming rollers to maintain a consistent surface joining.
DESIGN CONSIDERATION OF PEDESTRIAN SAFETY
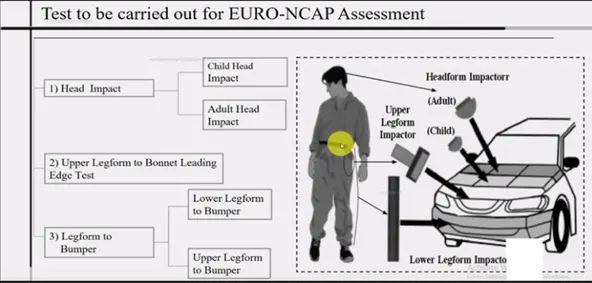
As discussed in the earlier section, the hood plays a critical safety function in an automobile, not only for the occupants of the vehicle but also for the pedestrian. Hence, a lot goes in while designing the hood and must be compliant with the standards and considerations. In this project, the European New Car Assessment Programme, popularly know as EuroNCAP, was followed to understand the consideration and standards one must follow while designing a hood. EuroNCAP plays an instrumental role in raising awareness on safe and effective design for the pedestrian. It programs and develops test series and rating systems for accessing design safety for pedestrian during impact with a vehicle. The tests are generally executed for vehicle hit speed at around 40 km/h and covers the pedestrian body interaction with the vehicle upon collision.
Below represented chart throws light on some of these considerations for the frontal crash of a vehicle with a pedestrian.
Pedestrain rating:
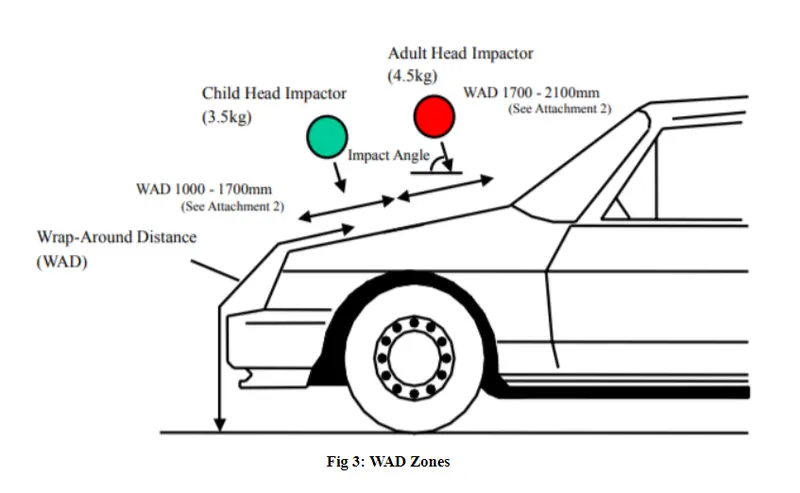
The most important thing is a safety regardless of anything. So there are times that pedestrains will be hit by the hood a car. While the head is laid on the hood that specific portion should absorb the energy instead of resisting to prevent causes. The hitting zone will be different because of so many factors like ages, country, etc.
Wrap around distance:
When the car crashes on a pedestrain the whole body wraps around the shape of the car. and the head impact on the windscreen. The distance on which the head impacts the car from the ground is called (WAD).
Child's head impact zone=1000mm to 1700mm(3.5kg)
Adult's head impact zone=1700mm to 2100mm(4.5kg)
LATCH TRAJECTORY:
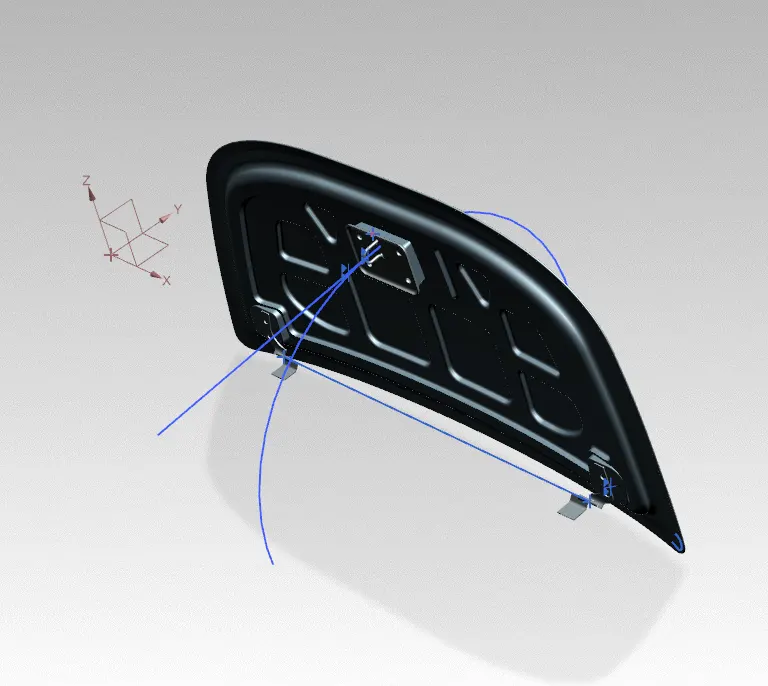
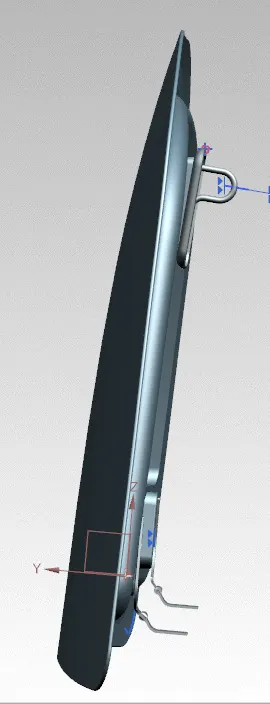
It is the path along which the hood rotates during opening and closing movement. The stricker on the hood follows a particular path while opening or closing the hood, which is along circumference of a circle with centre at the hinge axis. This path is nothing but latch trajectory. It is a very important aspect in hood design, in order to decide hinge, latch and stricker installation points.
MASTIC SEALANT:
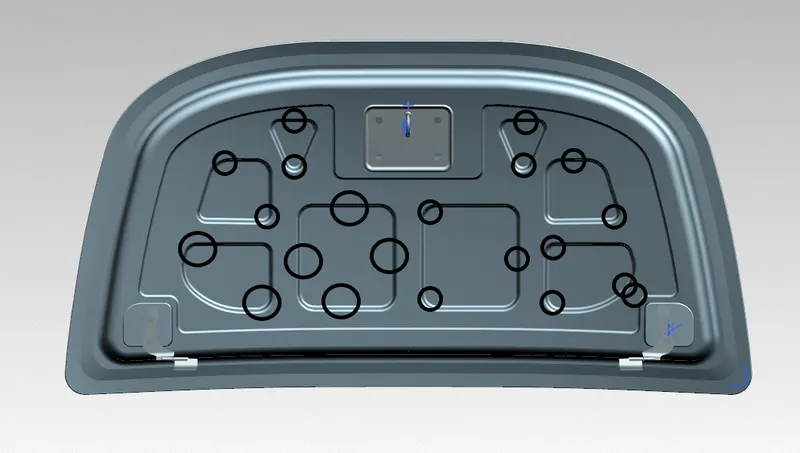
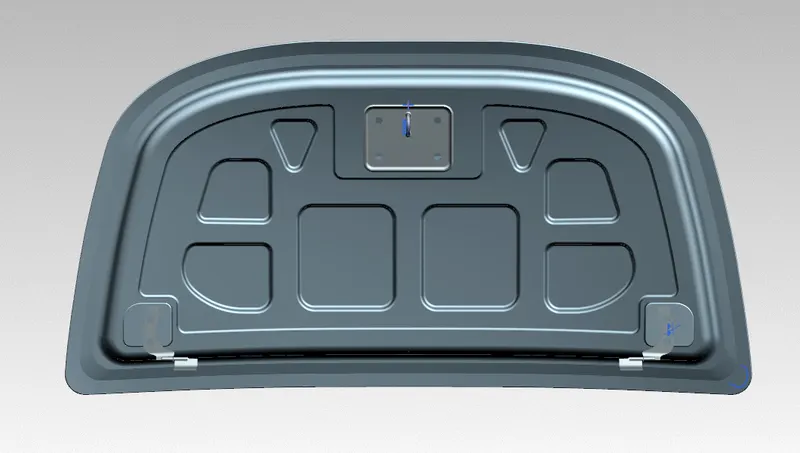
Mastic sealant helps to ,ocally improve strength of the hood. It is generally a hard rubber part, which is introduced as a paste in between inner and outer panel of the hood, which will get hardened inside the furnace. Every mastic sealant point will have a tendency to improve the local strength in around 80mm diameter. Considering this, the mastic points are positioned such that most of the hood region is covered. Cirlces in the images denoting a perfect place for applying mastic sealant.
FORCE DISTRIBUTION:
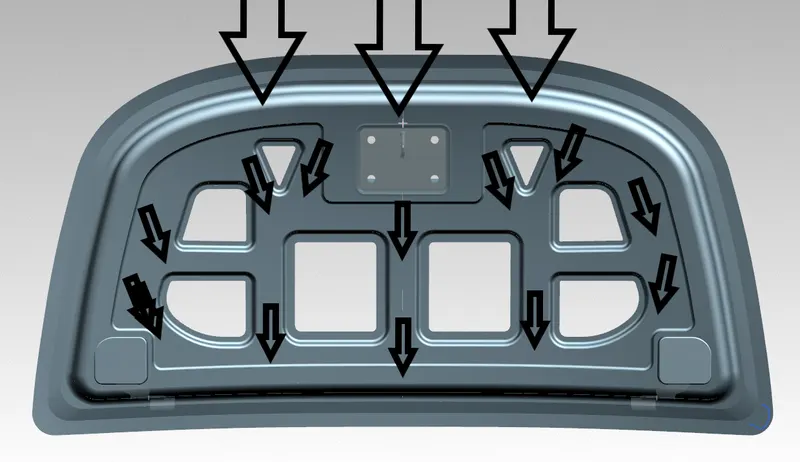
It is used to dissolve the hight impact force while get hitting on the hood of the car. The cutpart of the inner part used to divide the direction of the force.
DESIGN METHODOLOGY:
The procedure following for designing the hood and its components is as follows.
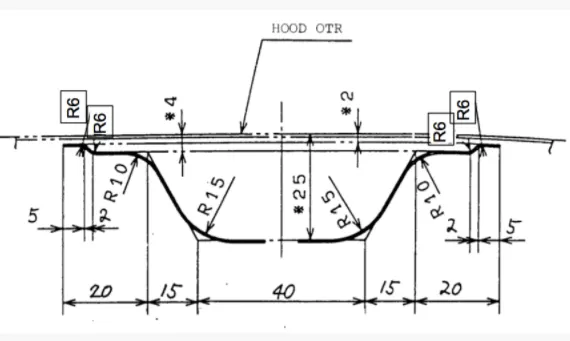
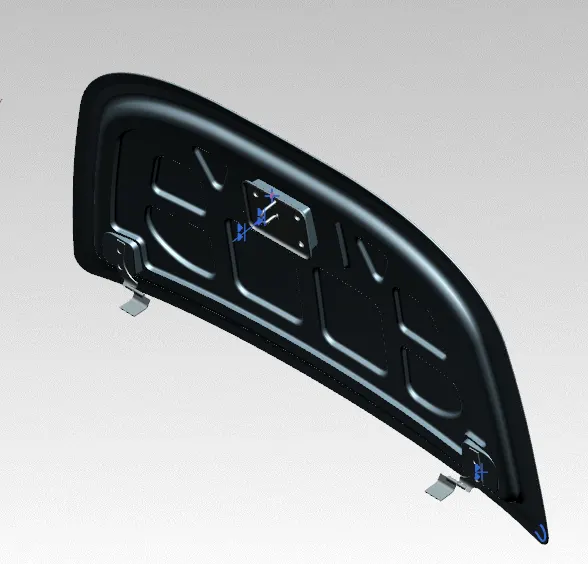
- First the inner panel is designing from the given master section using the various commands and features. We create the embossing using the offset surface from the original master section. Similarly, we create the cuts on the emboss by sketching and using trim surface option.
- Then the outer panel is designed from the same master section. Here we are supposed to provide the hemming for outer panel. The parameters of hemming are taken as per given values.
- Now, on the inner panel, the embossing for hinge and striker are produced by considering their respective dimesions and assembly positions. First the emboss for hinge is created and then by fixing the hinge into its position, we draw an axis passing through both side hinge axes to form a common axis. And then we position the striker is decided and we can create emboss for the same.
- using the hinge emboss we created, we can create our hinge reinforcement by creating new parts in the assembly itself.
- Data provided-outer panel thickness - 0.75mm
inner panel thickness - 0.75mm
Reinforcement thickness - 1.5mm
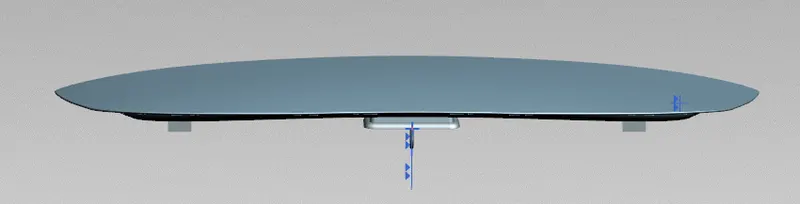
MANUFACTURING PROCESS OF HOOD:
CONCLUSION:
With the completion of the design and analysing it for successful manufacturability, we can conclude that this can be utilized for a vehicle. Also, the design was executed under the EuroNCAP safety standards and hence satisfies hood safety both for occupants and the pedestrains.
HOOD DESIGN GOOGLE DRIVE LINK:https://drive.google.com/drive/folders/1HbWaYOPygw5cZht1aTJdXQRns4-Gi7Ab?usp=sharing