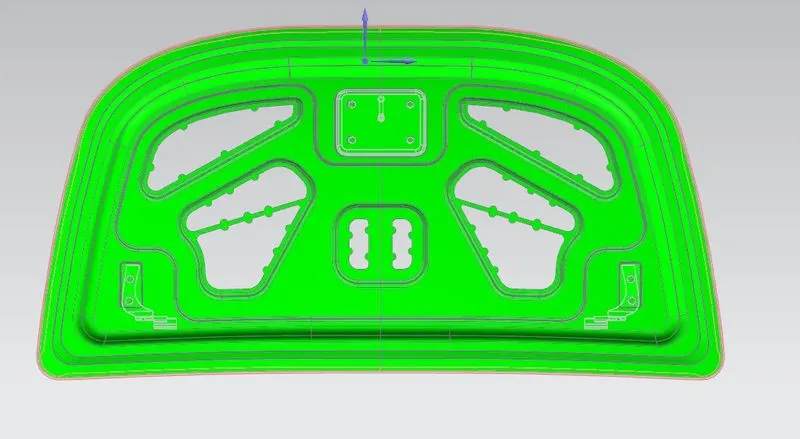
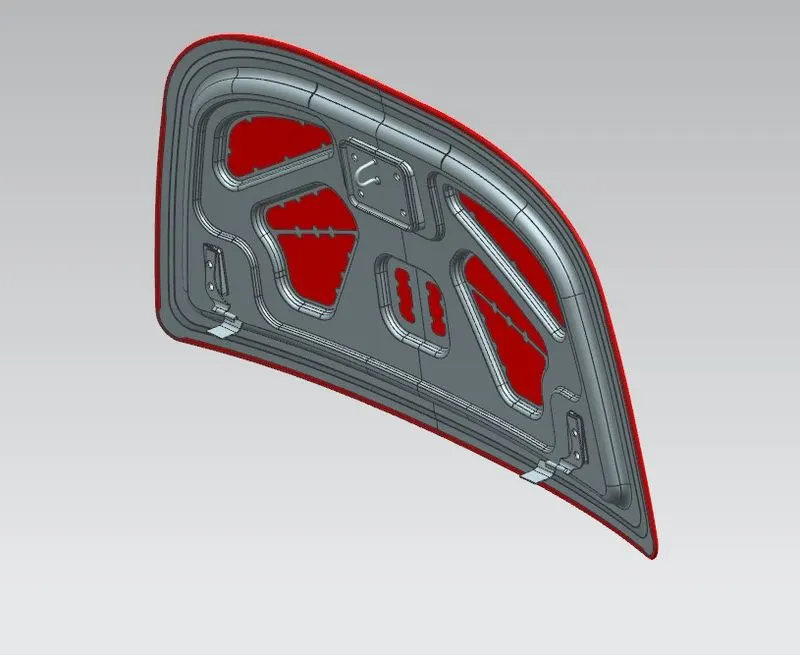
Hood design-Week 2
PROJECT TITTLE:-AUTOMOTIVE HOOD DESIGN
OBJECTIVE:-To design a hood commodity of an automoble using the available skin data and master sketch.
Components of an assembly of hood
- Outer panel
- Inner panel
- Hinges
- stickers and lock
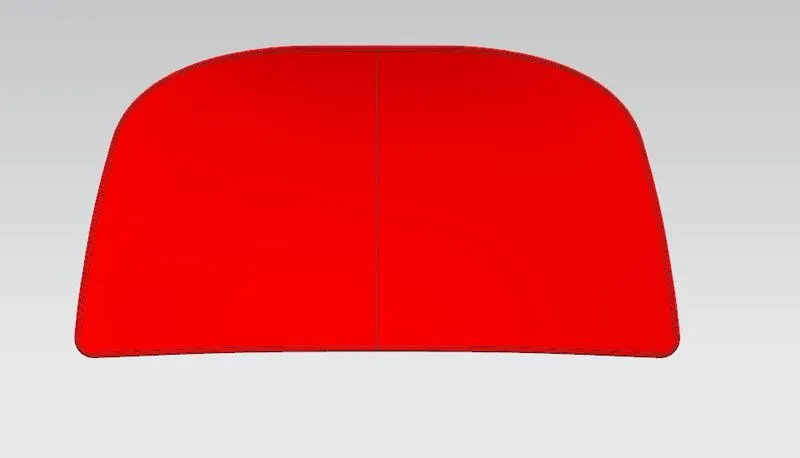
Skin_data:-skin data is a data which could be given by the styling team its like the outer look what we are seeing at a vehicle
METHODOLOGY:-
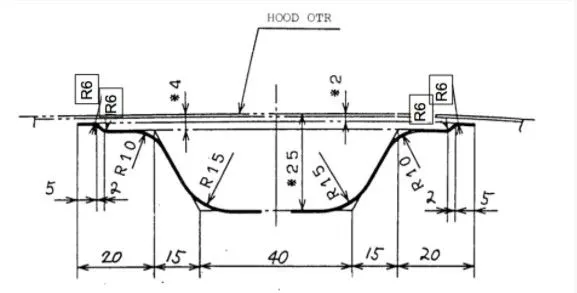
step 1:-Designing of inner panel
Using the skin data create the Inner panel here in this master sketch we have three flanges in our inner panel from the outer hood at 2mm ,4mm and 25mm by creating these flanges/offset surrfaces make that inner panel in any desired or yours handy cad software here i did this project using nx cad
IN NX
commands used :-
- offset surface
- offset curve in face
- through curves
- trim and extend
- trim
- law extension
Procedure:-using offset surface i created my flanges at desired distance from the hood outer then using offset curve in face created the offset edges of outer hood on the flanges using thoses curves as boundary and flange as trim body i trimmed the unwanted material.using through curves join the two flages and applied edge blend at edges but with last flange the distance between two flanges is high and also we have to provide the perfect draft angle so that here i used the law extension to join the both falnges and uses the trim and extend command to remove unwanted material and to give a nice corner and edges.This is how i created the inner panel.
What is inner panel? and why is inner panel?
Inner panel the is the BIW component of hood commodity which is like skeleton of the hood which provides the strength to the bonet and have to withstand for frontal crash,heat that exhibited from the engine keeps the engine safe from outside moisture,thats why their is inner panel and that is what the inner panel.
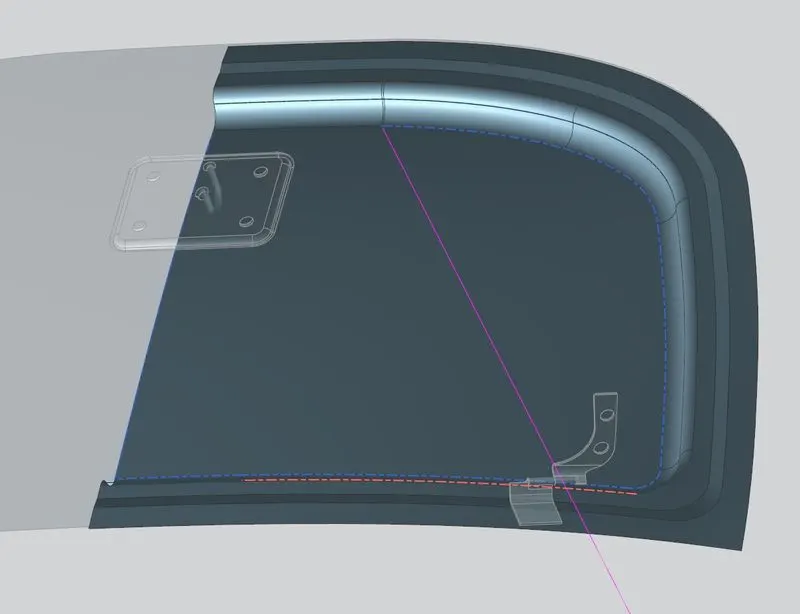
step 2:-Creating emobosess
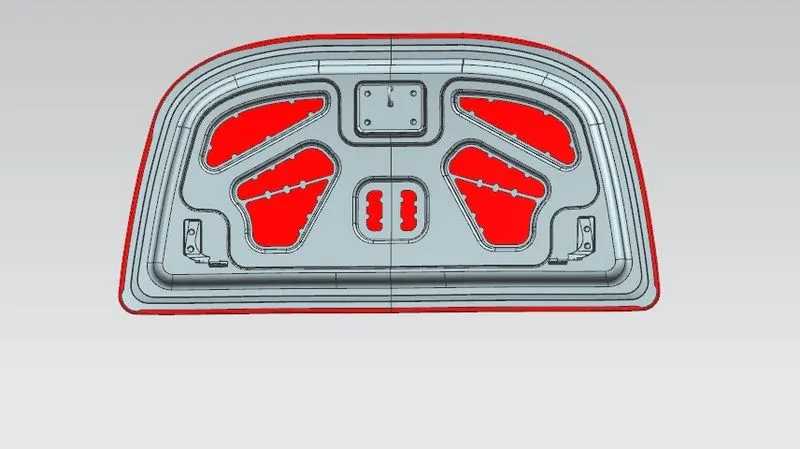
embosses is also the drawn of the material from the downside of the inner panel using stamping tool,why Embosses are created?,Beause to remove the material in order to reduce the weigth,to avaoil the the required amount of the space for mastics and to the incease the min section modulus in order to with stand for frontal crash.that's why we are creating the embosses by leaving the space for sticker and hinges.
IN NX
- project curve
- offset curves
- emboss
- mirror geomentry
- thicken
using offset curves and some other sketch commands i created a closed sketch profiles on the plane on which we can see the face of the flange and projected those sketch profile on to that flange and then create embosses using emboss tool by specifying the draft angle,cross section,end section,after creating all the geomentry using sew all the surfaces and mirror the second half and thickened it
step 3:-designing of the outer panel
Outer panel is the panel which we able to see at outside/surface of hood ,using skin data we can design the outer panel,outpanel itself having two procedures
- Hemming
- Relif
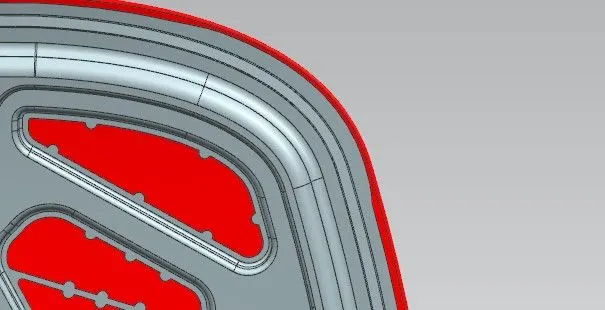
Hemming:-hemming is the procedure to avoid the spot welding in the processes of integration of outer panel and inner panel What is the need of avoiding spot welding? because which ultimately effects the design of the outer panel
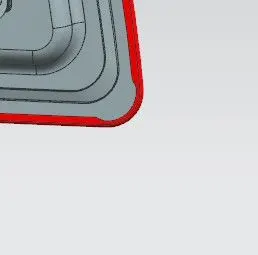
Relif:-we are giving the relif at the corners of the panel why beacause we are doing this hemming using rolling operation ,while doing rolling the deformation of the panel will occur at the corners,so that we provide the some relif at the corners which can easily hemmed without inducing much of forces.
In NX
- offset surfaces
- offset curves on face
- law extension
- trim
- bridge curves
- swept curve
- sew
- thicken
- mirror geomentry
- unite
using offset surfaces i created offset surface using offset curve on faces i created curves that were used to make law extension i created a symmentric law extension which intersects both the surfaces using law as aboundary i trimmed the material from both the surfaces and created a bridge curve which joins the edges both the surface and used swept surface bridge curve as profile and edges as guide lines i join both surfaces and removed unwanted material from the second flange and then creted the relif then sewed the surfaces and thicken it then mirrored it.
TOP DOWN APPROCH
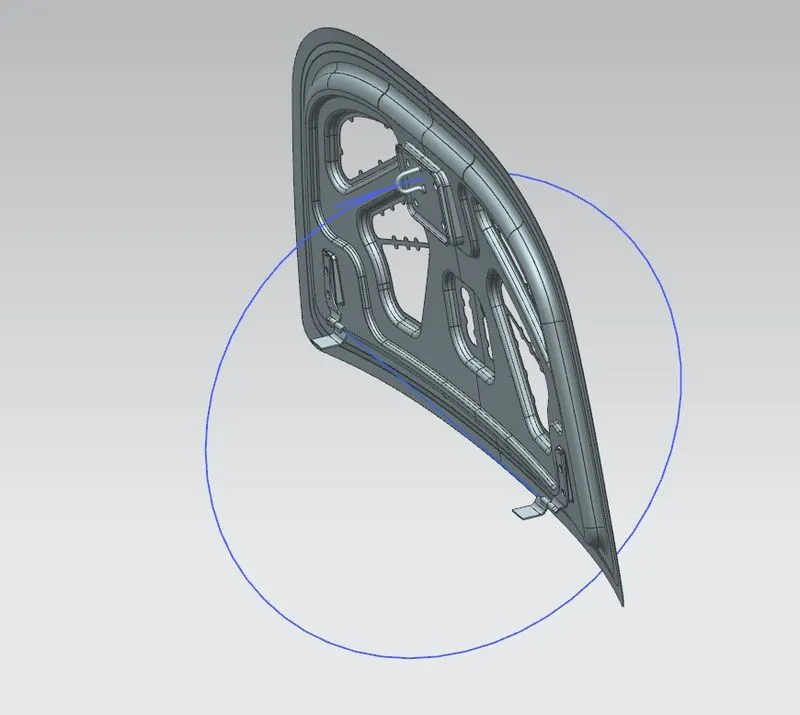
In CAD designing we heard this term very frequently ,Top down aprroch is the approch which starts from assmebly level to component level.here in the case oof hood design we follows this top down apporch to determine the placements of hinges and those sticker and lock.
Positioning and alignment of hinges and sticker & lock?
If we are working on the upgrade version of a car we can carryover these positions else we have to determine the position where the hinge doesn't have contact with other components and where the opening angle is good after determining the positions of hinges and sticker we have to draw a trajectory path with the centre of midpoint of axis of hinges and passes through the end point hook of the sticker and make the line passes though through the sticker point and perdicular to sticker should tangent to this trajectory thats how the locking point should get into its position when we close the bonet.
DRAFT ANALYSIS
draft analysis is the anlysis by which we can determine the manufacturing ability of our designed product when the manufacturing should be done with stamping/pressing,for this type of operations we a tolerance/draft angle which able to drwan back our tool from product without dusturbing the shape.To check this we use draft analysis.