Hood design-Week 2
Dear Team,
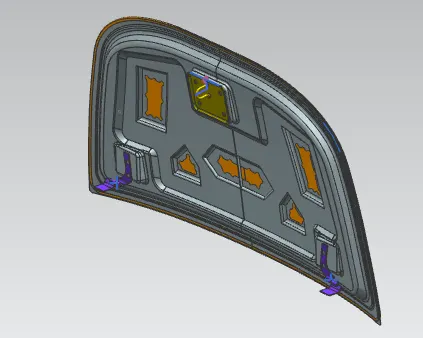
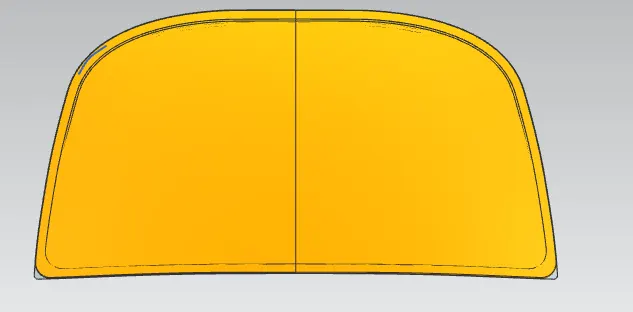
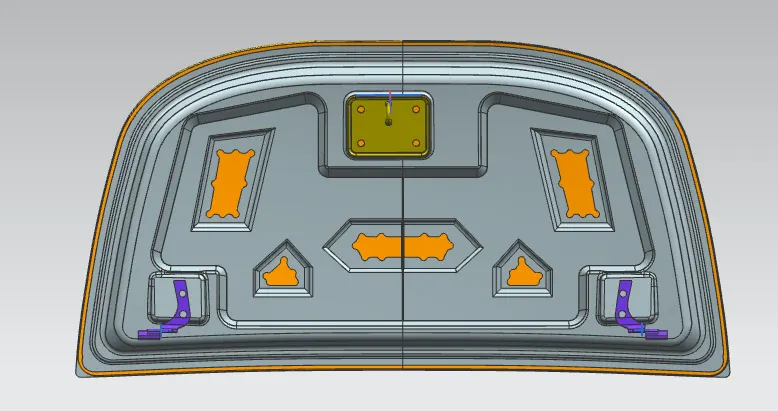
Please find the attached Images of Hood assembly and zip file for your reference.
Creating Inner panel:
I created a assembly and added Outer panel. offset the surface to given distance. and created the tooling axis . I cut it into half using trim sheet option.then I trimmed the surface to required shape.and using throgh curve option ,I joined both surfaces. done it for further two surfaces.later,I created a sketch by creating datum plane. and project it on the surface and done the embose. and done the same to create another emboss and also for the center cutout.
after done this I mirrored it to another side using mirror geometry option.and sewed it properly.
Hinge Assembly:
I added hinge assembly and done touch constrain and parellel constrain using assembly constrain option.and mirrored it using mirror assembly option to the other side.
Striker Assembly:
I added striker part and created a sketch for finding the corect position to fit the striker. and made touch constrain using assembly constrain option and assembled it with the Innerpanel. for seating emboss in Inner pannel, I done law extrusion and used trim and extrude option to done the emboss. and I thickened the Inner pannel.
Outer pannel modification for hemming process:
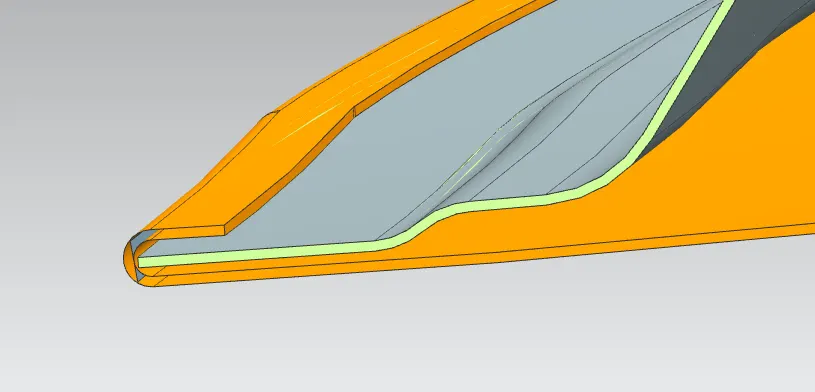
I offset the outer pannel for required distance and done three face faceblend to cover the inner panel inside the outer panel.and done the required cut which is necessery for hemming process using bridge curve , curve on surface and trim options.
finaly i thickened the outerpannel and ensured the proper assembly of Hood.