Hood design-Week 2
Hood Design
OBJECTIVE:
Design outer panel and inner panel of the hood and desing the perfect Latch and Hinge for hood. Provide the mastic data and develop all the necessary reinforcement for hood design. provide detailed explanation about hood and its components, Latch trajectory, Mastic data, Emboss definitions, manufacturing process like deep drawing and hemming, and all the parameters.
INTRODUCTION:
Hood is also know as Bonnet which covers the engine part of the vehicle.is the hinged cover that rests over the Engine of a front-engine vehicle. Its purpose is to provide access to the engine for repair and maintenance. A concealed latch is typically used to hold down the hood. On vehicles with an aftermarket hood and on racecars, hood pins may be used to hold down the car hood. Car hoods are typically constructed from steel and sometimes from aluminum. Aftermarket car hoods may be constructed from various other materials, including carbon fiber, fiberglass, or dry carbon. The hood design may vary from one make and model to another, including SUV.
DESIGN METHODOLOGY:
- Studying the given diameter and styling surface
- Design and develop the inner and outer panel of the Hood according to the Euro-New car Assessment program
- Develop the necessary Reinforcement and Embosses for Inner Panel
- Develop the Hem for Outer Panel
- Chech the position of the latch with respect to hinge axis
Data to be used:
Hood Thickness Information
- Outer Panel Thickness = 0.75mm
- Inner Panel Thickness = 0.75mm
- Reinforcement Thickness = 1.5mm
MASTER SKETCH:
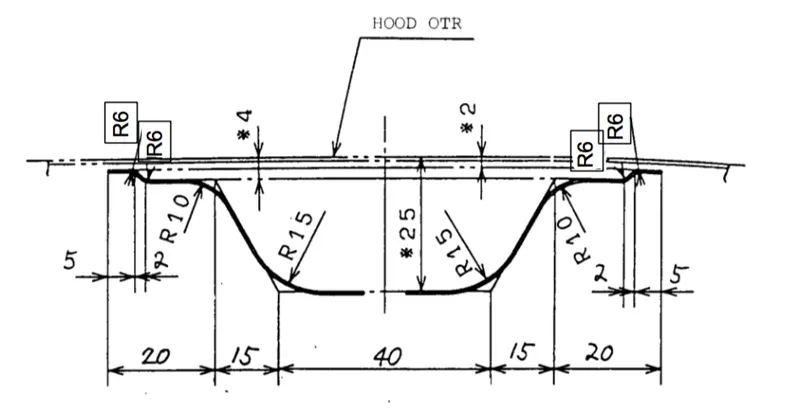
OUTER PANEL :
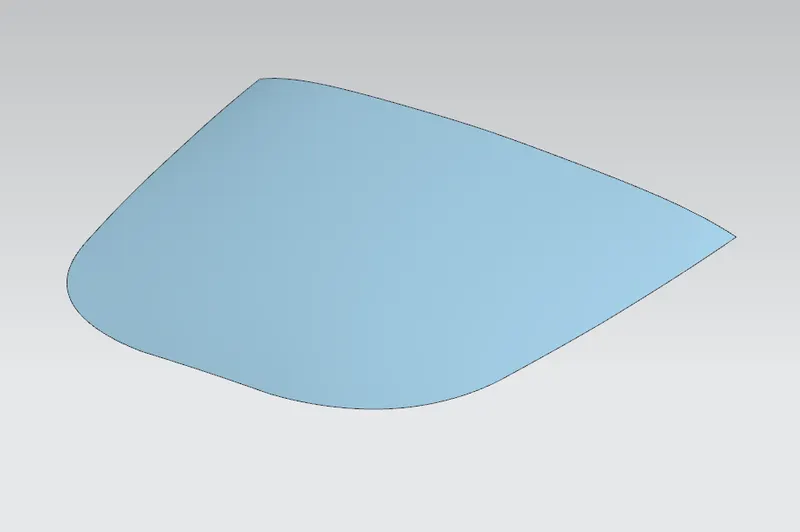
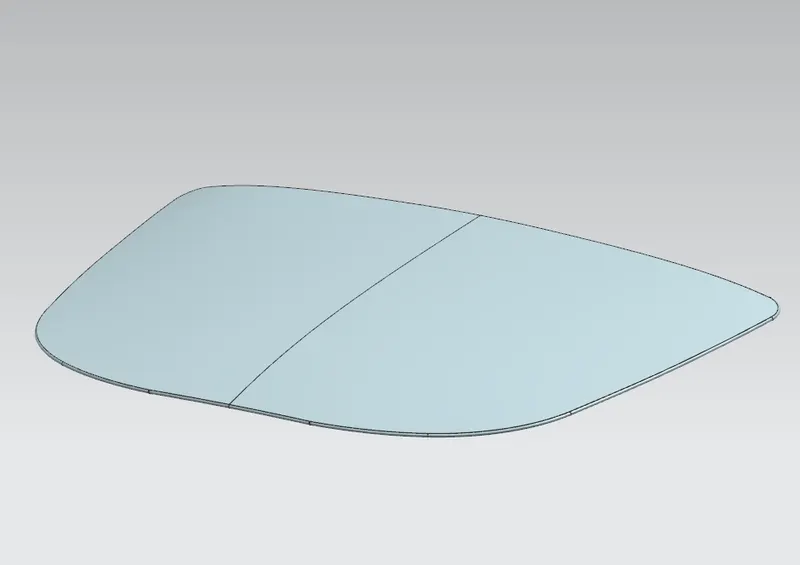
- This is the outer panel of the hood. this is most importent and very thinny Surface of the hood which thickness is 0.75mm. Car hoods are typically constructed from steel and sometimes from aluminum. Aftermarket car hoods may be constructed from various other materials, including carbon fiber, fiberglass, or dry carbon. this surface is very thin because one for reduce the material weight and we have to protect the pedestrian walking on the road whenever the car hits a pedestrian it should cause minimum damage to the pedestrian. For this, we have to remove material from the inner panel at specific portions that is why bonnet outer surface is very thin for flexibility and safty purpose.
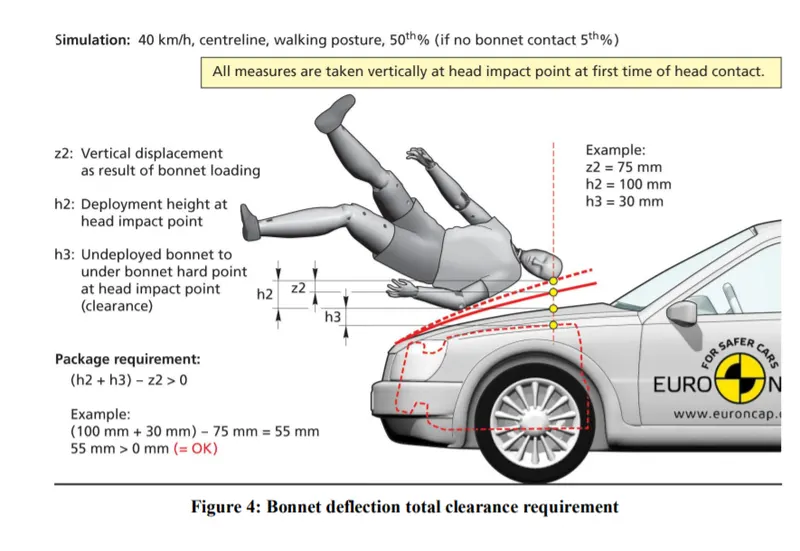
- Given that deployable bonnets may have reduced support from their peripheral structures compared to passive systems, Euro NCAP requires that head protection is not compromised by bonnet collapse.This is done by measuring and comparing the Z displacement at the position of head contact for both a deployed and undeployed bonnet at the time of first head contact. At the position of head impact the difference between deployed and undeployed bonnet can be no more than 75% of the generated deployment height at that point
- The evaluation shall be calculated with the use of CAE without the ‘package’ being present. The package meaning engine and ancillaries. All body in white structures and bonnet supports must be present. However, all components that load the legs and pelvis must be included.
HEMMING DATA:
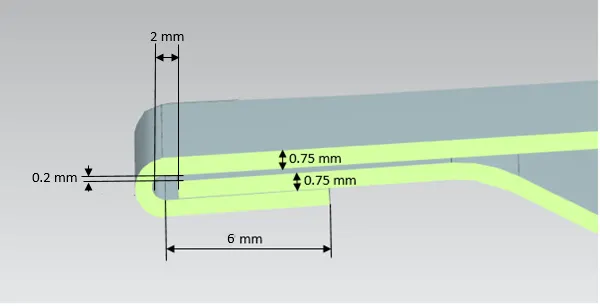
- Hemming are two similar Metalworking processes in which a Sheet Metal edge is rolled over onto itself. Hemming is the process in which the edge is rolled flush to itself, while a seam joins the edges of two materials.There are two types of hemmed edges: closed hems and open hems. Closed hems are completely flush while open hems have an air pocket in the bend. The major difference is that the tonnage required for a closed hem is much greater than that for an open hem
RELIEF SECTION:
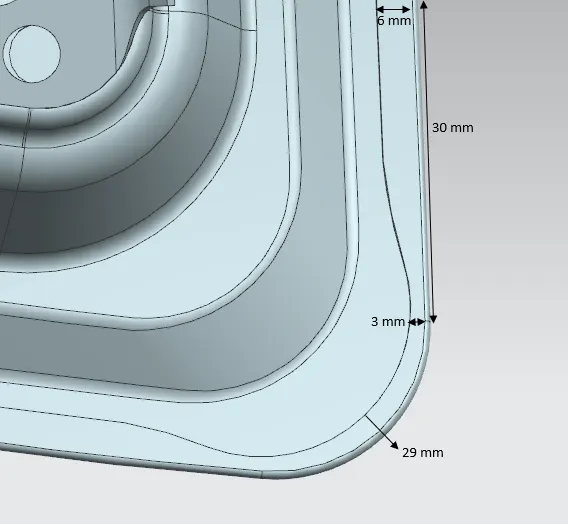
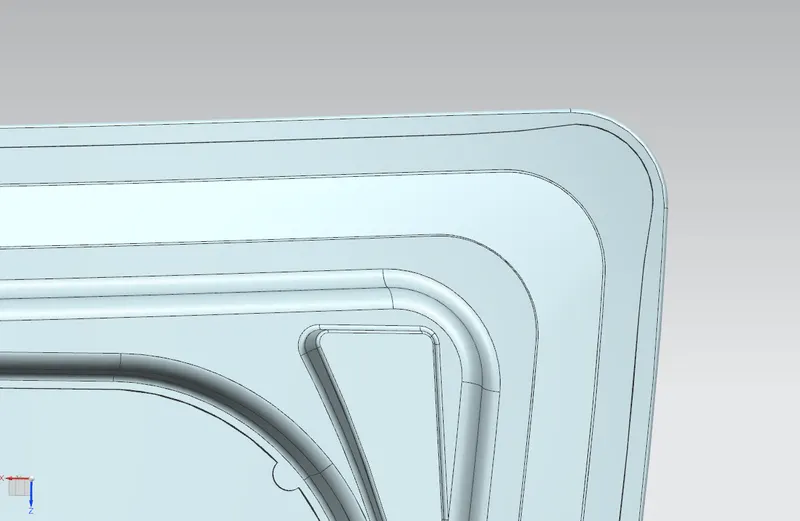
INNER PANEL:
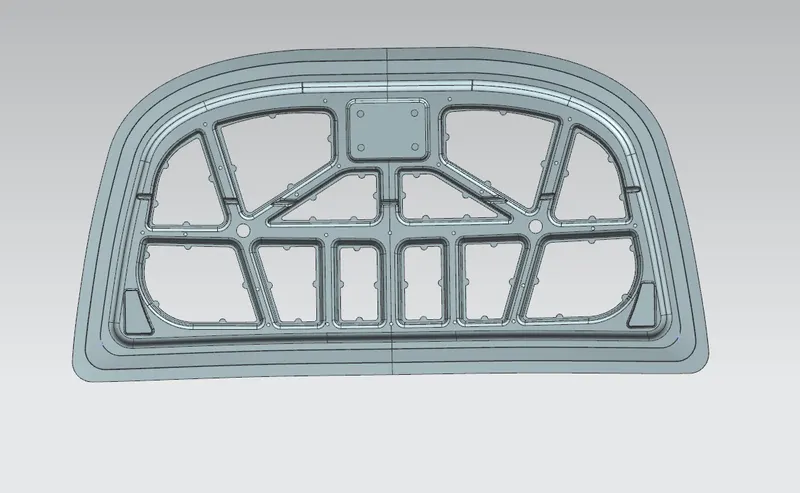
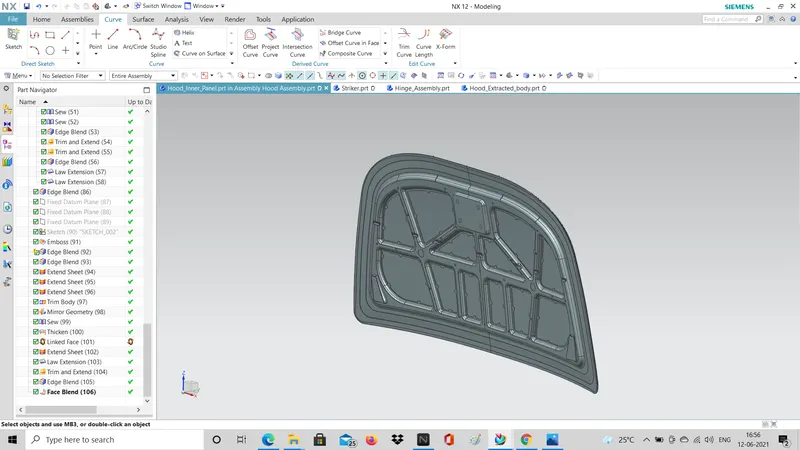
Part Name : Inner Panel
Operations : Sketching Environment, Projected Curves, Offset Surface, Offset in Face, Trim sheet, Through Curves, Law Extension, Trim and Extend, Face Blend, Edge Blend, Bridge Curves, Emboss, Mastic Points, Extend Sheet, Mirror Geometry, Sew, Thicken.
It as stiffening members to make the outer skin structurally rigid when the two parts are bonded, which is how the inner panel is designed and punched from sheet metal.
- saves weight and materials (though the remaining material is scrapped)
- retains nearly as much stiffness as it would without the holes
- the holes allow e-coating, surface prep, and primer to drain from the cavities in between the hood skin and hood skeleton after the chassis is dipped into these during production.
- the holes allow water, grime, and road surface treatment chemicals (salt, beet juice, magnesium chloride, etc) to drain from within the hood shell so the low points don’t rot out
- the holes allow ventilation so that remaining water and grime can be mostly blown back out or evaporated.
HINGE:
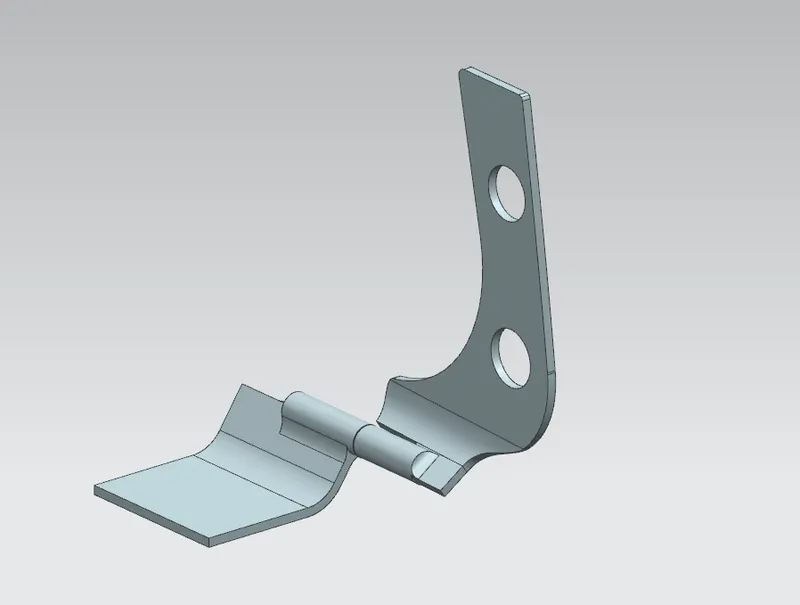
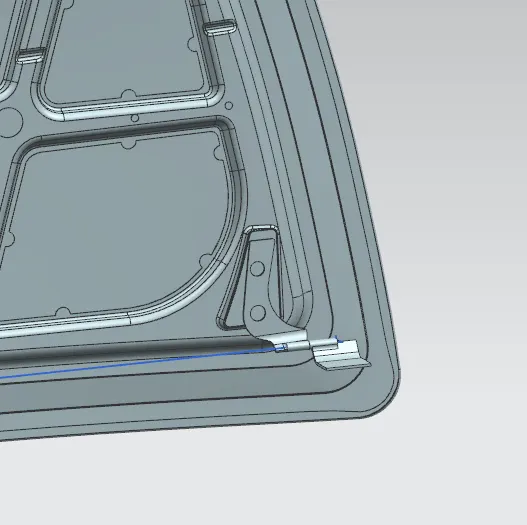
Part Name : Hinge
Operations : Sketching Environment, Extrude, Face Blend.
- The hood hinge is a mechanism that makes it possible for you to open and close your hood. This part allows the hood panel to move up and down, similar to how a hinge allows the movement of doors and windows.
- Hinges are used to operate the doors in many systems in automobile Door etc. It facilitates the opening and closing of any type rotating doors. Generally, door hinges are either welded or fixed with Nut- bolt system to the doors and to the body of the system.
LATCH:
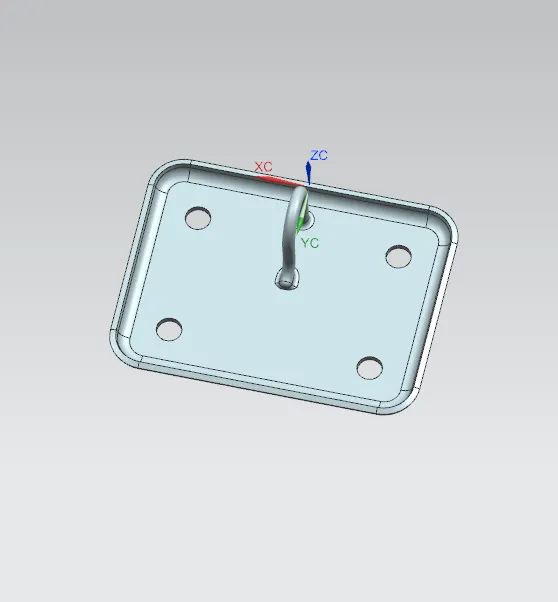
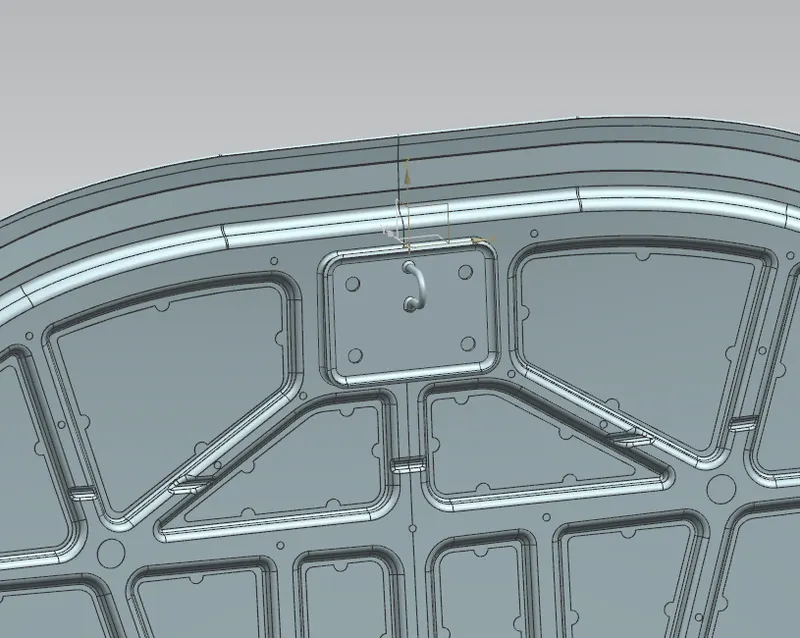
Part Name: Latch
Operations : Sketching Environment, Extrude, Edge Blend.
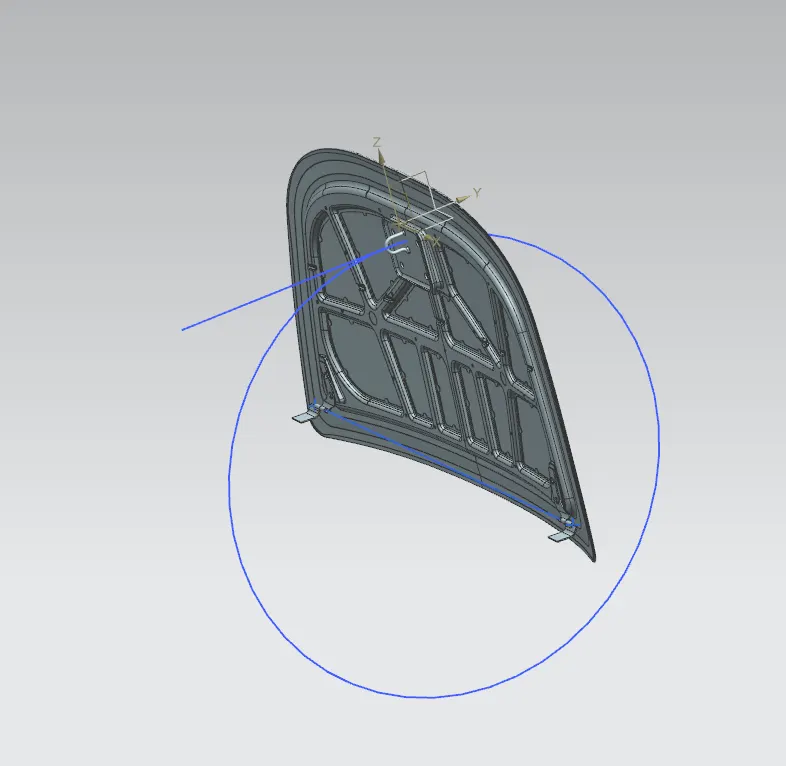
- It keeps your hood closed. When the hood is closed, the latch slides over what is called a catch, and a spring covers the latch to keep it snug. When you pull the knob inside the car to open the hood, the hood latch cable opens the latch, allowing it to bypass the catch and open.
- At the front of the vehicle, a safety latch retains the hood. Locating and releasing the safety latch releases its hold on the hood and then the hood is allowed to open.
MASTIC SEALENT:
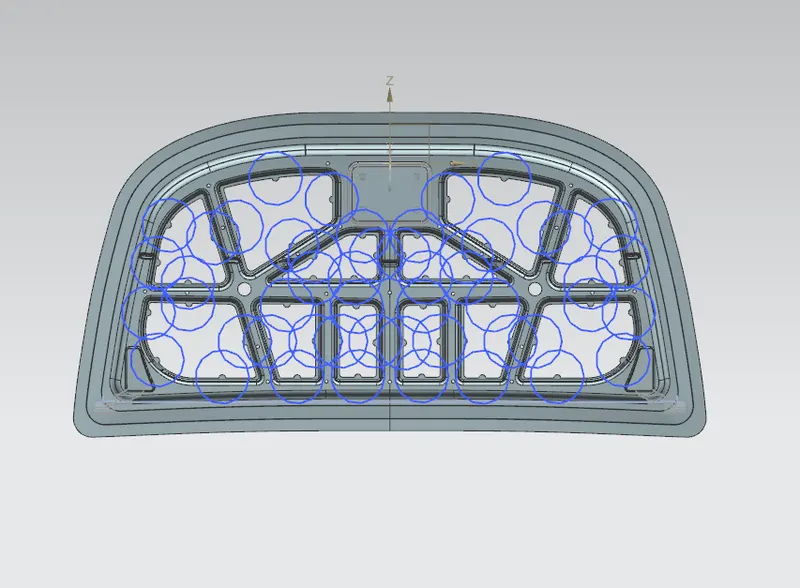
- Mastic Points are Areas where the inner hood panel is joined with the outer panel hem using a mastic glue. this mastic glue Keep the inner panel Stuck to the outer Panel
Positioning the Latch and Striker:
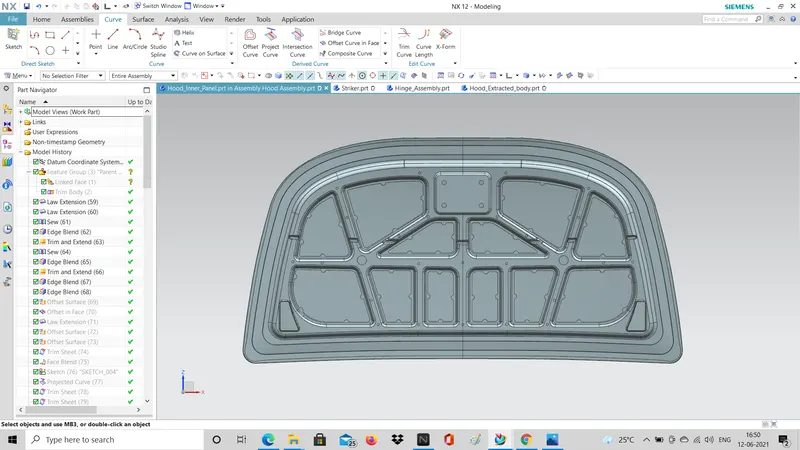
ASSEMBLY OF THE HOOD:
(i) Front View of the wood:
(ii) Bottom View of the Hood:
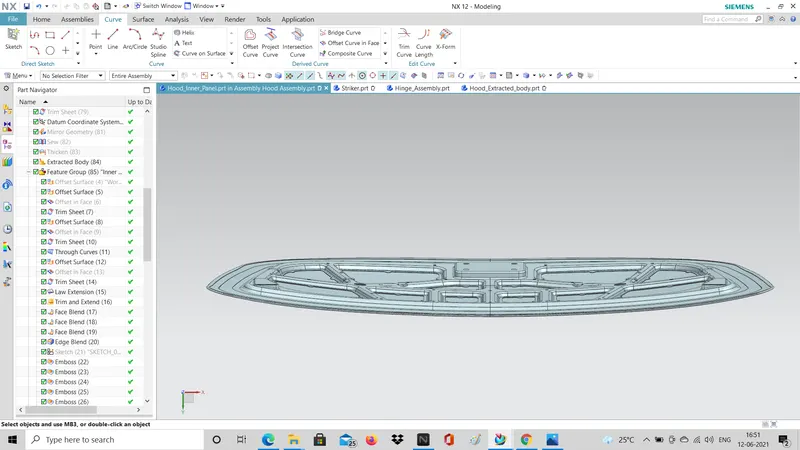
(iii) Side View of the Hood:
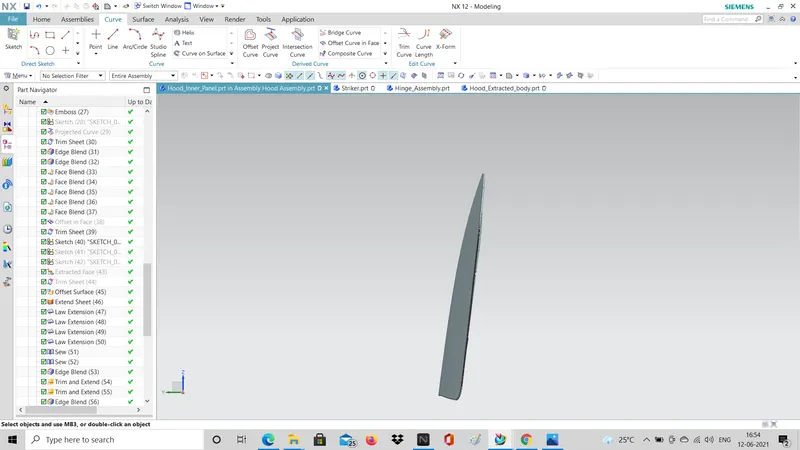
(iv)Isometric View of the Hood:
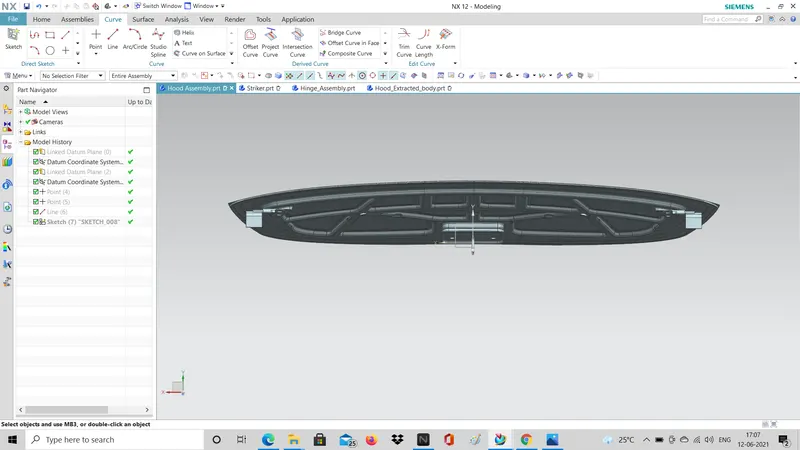
(v)Front view With Latch and Hinge:
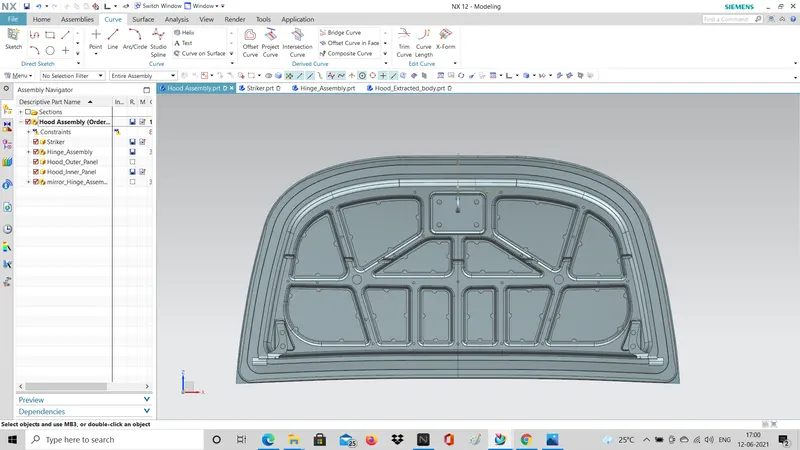
(vi) Top view of the Hood Assembly :
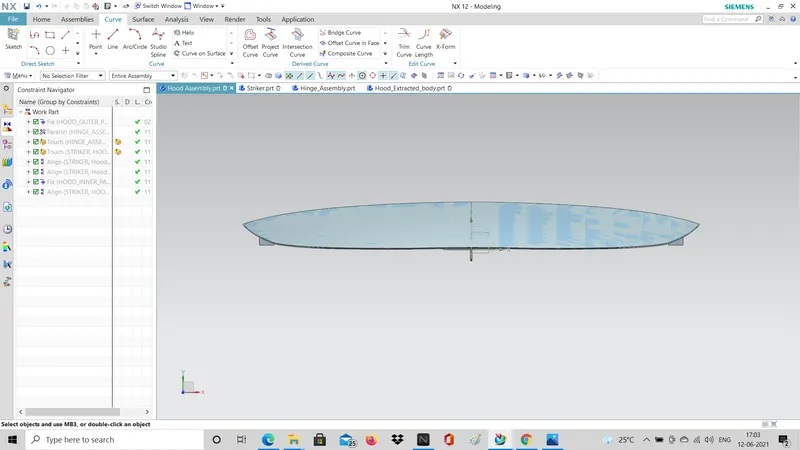
(vi) Bottom view of the Hood Assembly :
CONCLUSION:
Finally the Perfect and Stylish outer and Inner Panel of Hood Assembly Successfully Designed by using Siemens NX CAD Tool.