Hood design-Week 2
HOOD DESIGN
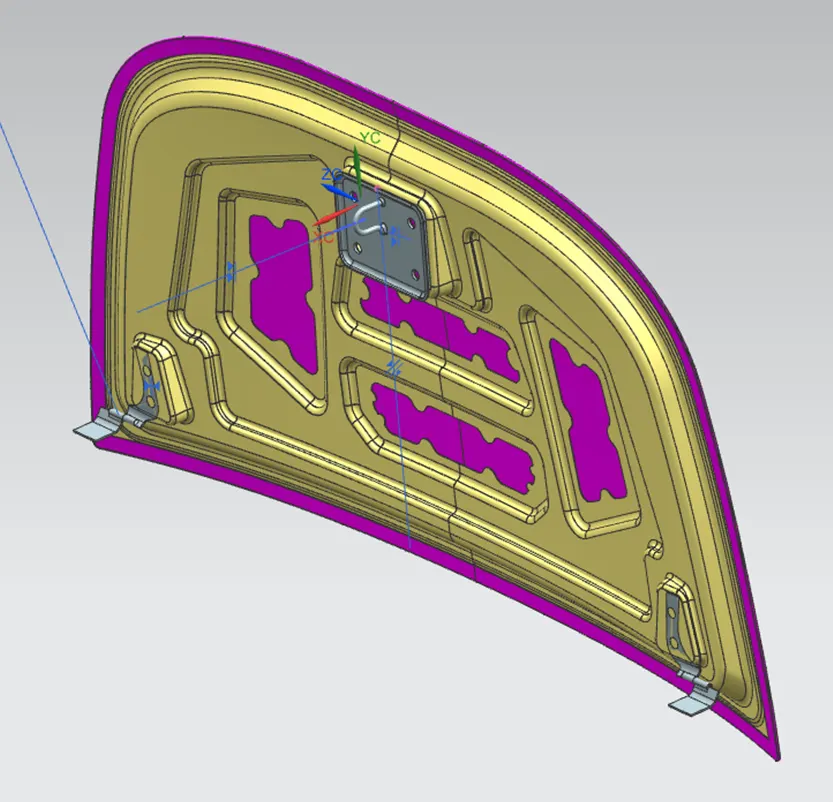
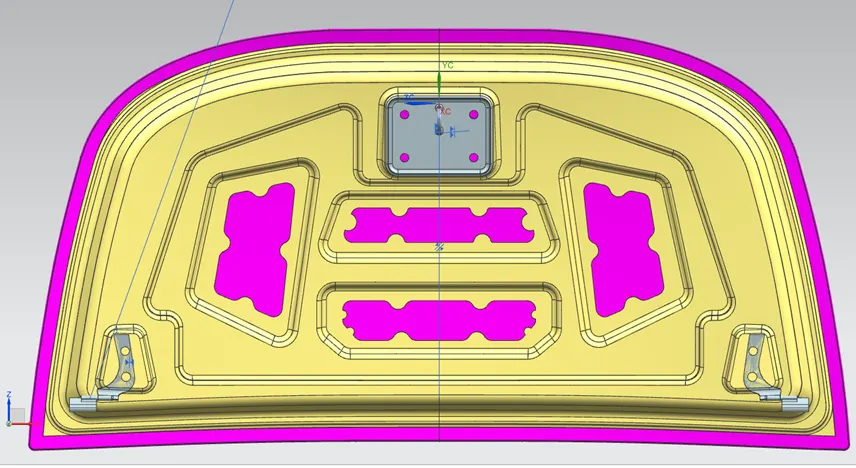
AIM – To design hood using the given master section as input and considering all design criteria and make a complete hood assembly
HOOD – The hood of a car is the hinged cover over the engine of a front-engine vehicle. It can be opened to allow access to the engine compartment for maintenance and repair. In the hood there are two different – different panel first outer panel and second inner panel. Outer pane functions as metal part and inner panel to provide strength.
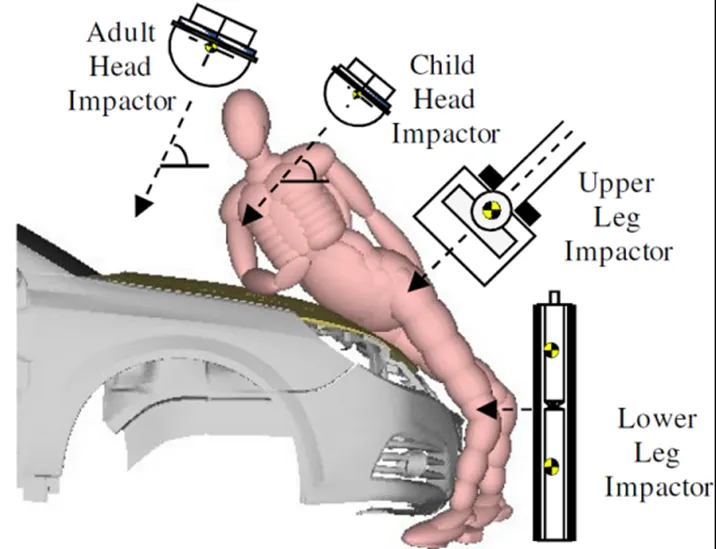
LATCH TRAJECTORY - A latch trajectory is the path that the hood latch follows when the hood is opened or closed. It is determined by the position and orientation of the hood hinges and the latch striker. The latch trajectory should be designed to ensure that the hood latch can securely lock and unlock the hood.
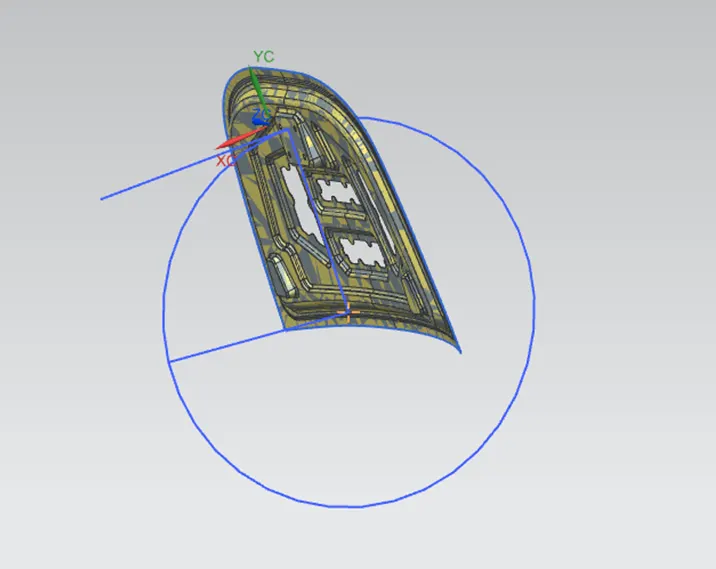
MASTIC DATA - Mastic data is the information about the location and size of the mastic points on the inner panel of the hood. Mastic points are the areas where mastic are applied to join the inner and outer panels of the hood. Mastic data is important for the hood design because it affects the strength, stiffness, and safety of the hood. Mastic data should be optimized to ensure that the hood can wear various loads and impacts, and it does not interfere with other components or pedestrians in case of a collision.
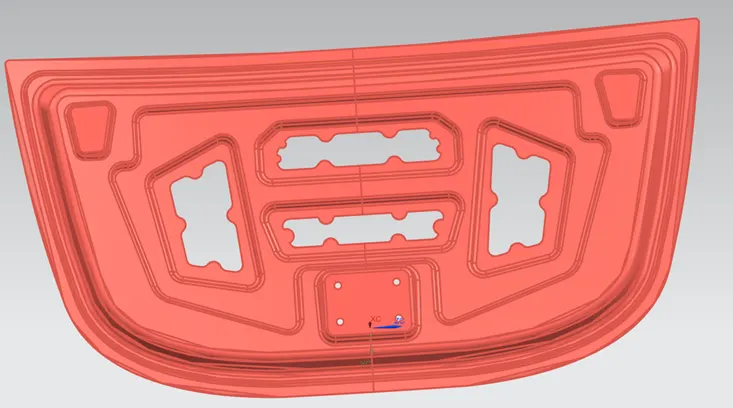
EMBOSS - Emboss in hood design is a term used to describe the shape and size of the protrusions on the inner panel of the hood. It helps to provide strength on component.
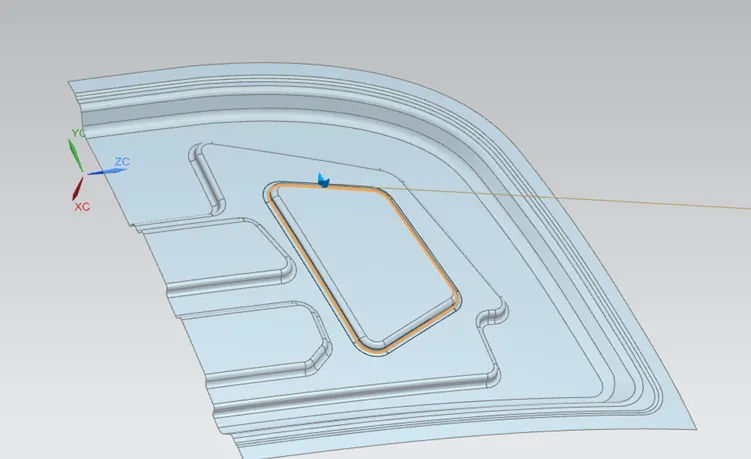
DEEP DRAWING PROCESS - Deep drawing is used to create hood inner panels, which provide bulk shape and rigidity to the hood. Deep drawing is a sheet metal forming process that involves a sheet metal blank being radially drawn into a forming die by the mechanical action of a punch. The process is considered “deep” drawing when the depth of the drawn part exceeds its diameter.
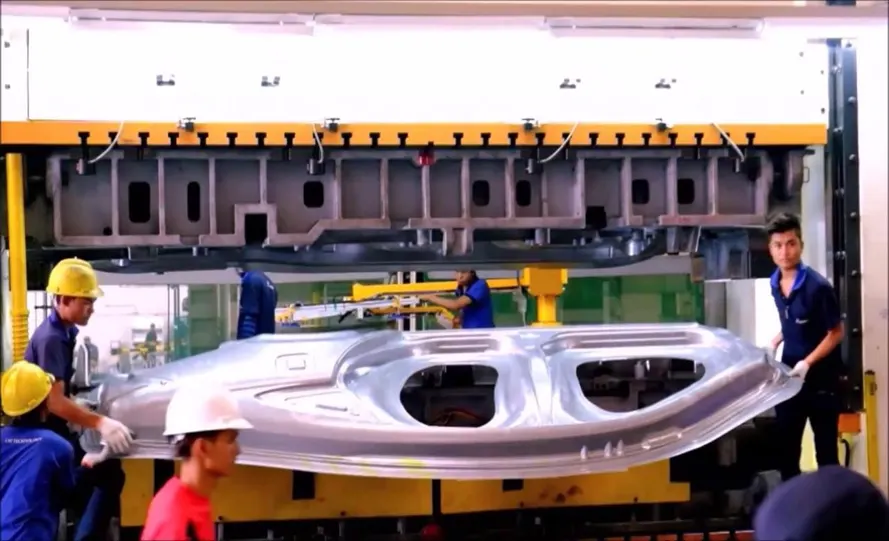
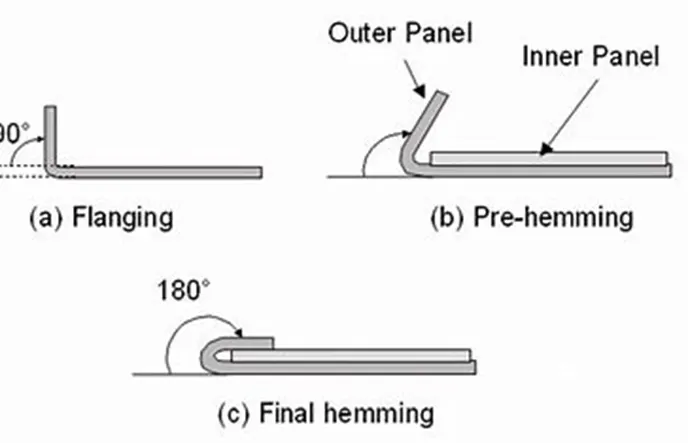
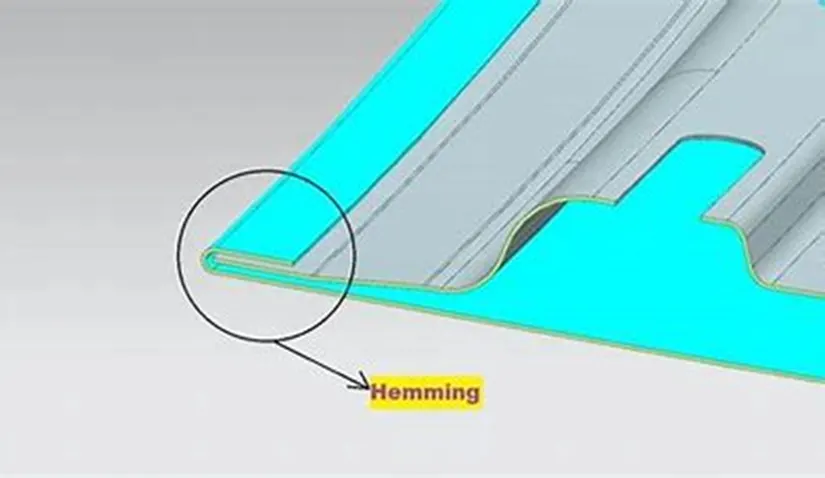
HEMMING - Hemming in the hood design is a process of folding the edges of the sheet metal panels that form the hood of a car.
HOOD DESIGN
There are several process used to create the design of hood.
HOOD INNER PANEL – Creation of hood inner panel takes different-different stage, these are follows:-
STAGE 1 – Preparation of inner panel - In this stage I used wave geometry linker command to extract the outer panel of hood and then trimmed it by a plane and took the half portion of hood outer panel.
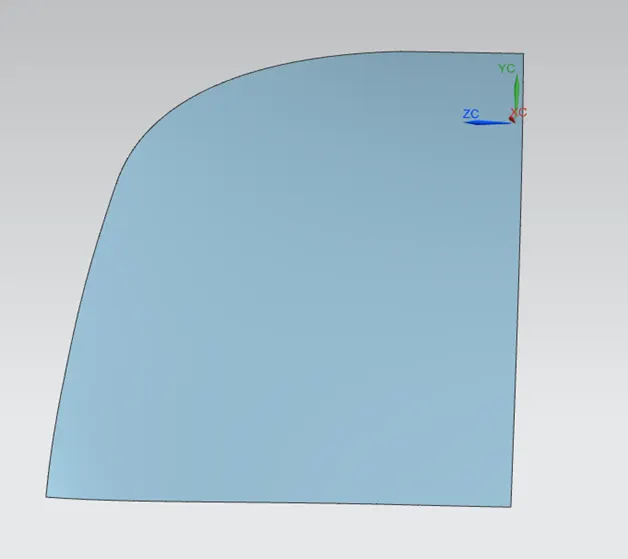
STAGE 2 - Tooling axis – In this stage I created a line by using the corner point of surface then created another perpendicular line.
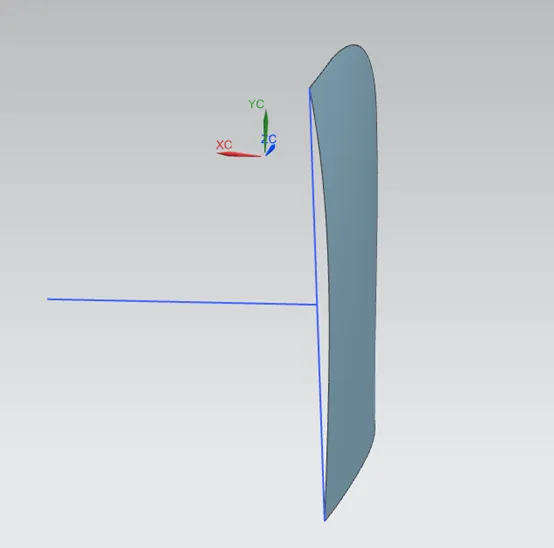
STAGE 3 – Emboss 1 – In this stage I created the multiple embosses according to sketch given in challenge and gave edge blend to all.
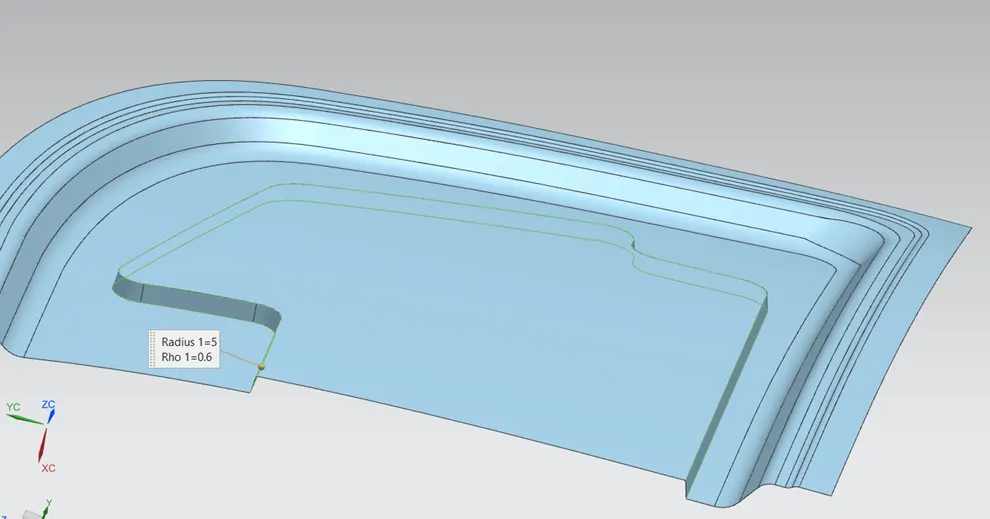
STAGE 4 – Emboss 2, 3&4 – After making the inner surface of hood by emboss then I created another embosses in inner panel of hood to provide mastic and it helps to improve the strength of inner panel.
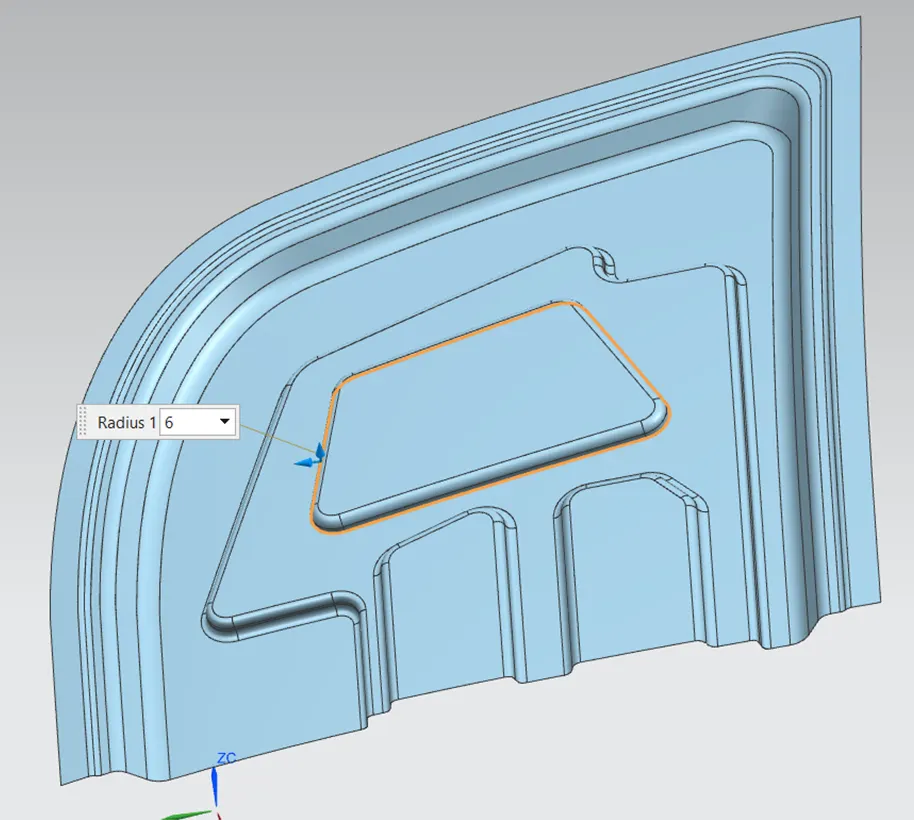
STAGE 5 – Mastic 1, 2&3 – In this stage I created multiple sketch to make the mastics on embosses. At first I make the sketch and then projected it on the surface and then trimmed the surface. Thus I created the mastics in the inner panel.
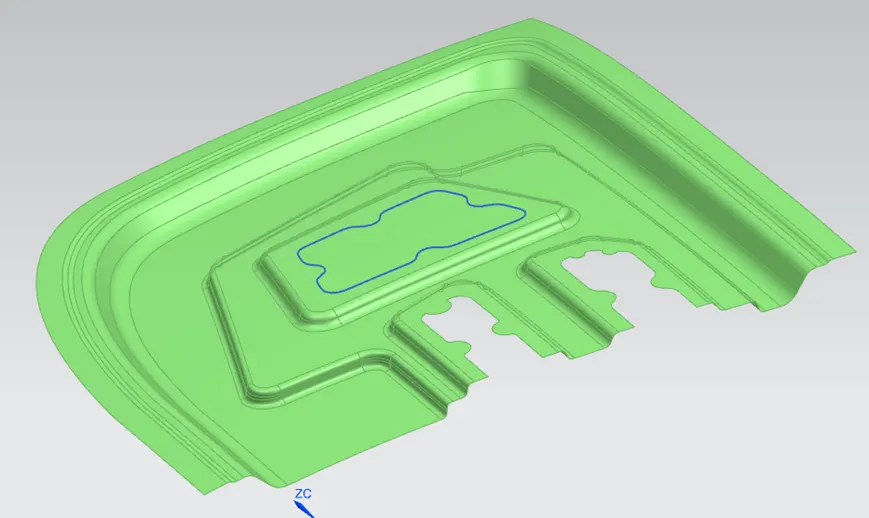
STAGE 6 – Hinge mount – First of all in this stage I created a datum plane parallel from the inner panel to provide the proper surface contact to hinge and hinge mount surface. After that I created a sketch providing the minimum 3mm gape between emboss and hinge mount then project it on the surface and created the emboss by using the datum plane. After that I gave some edge blends.
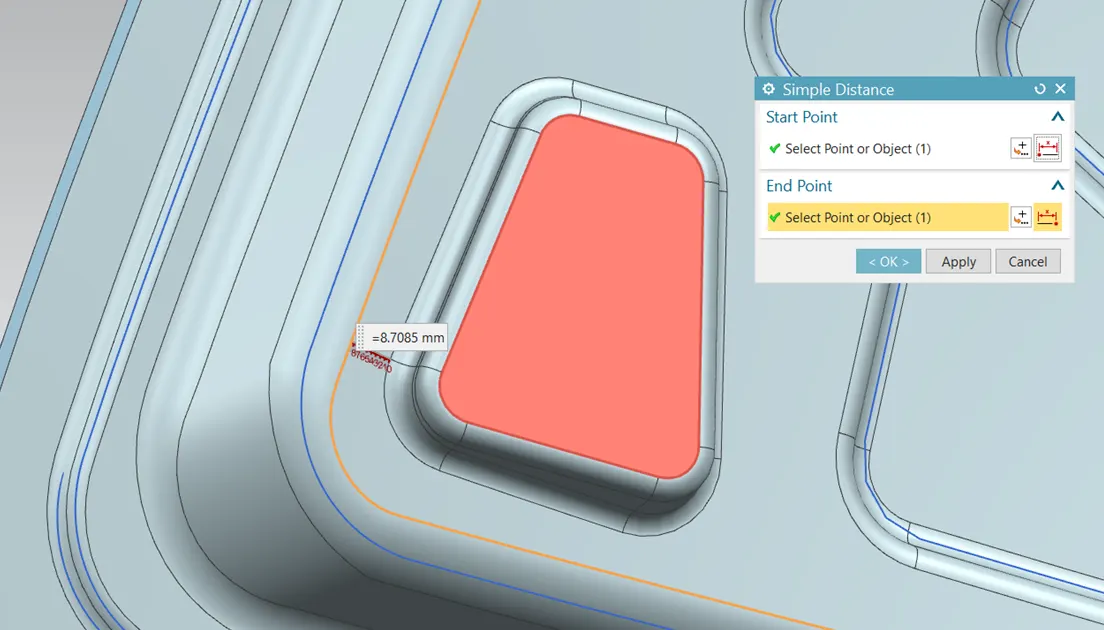
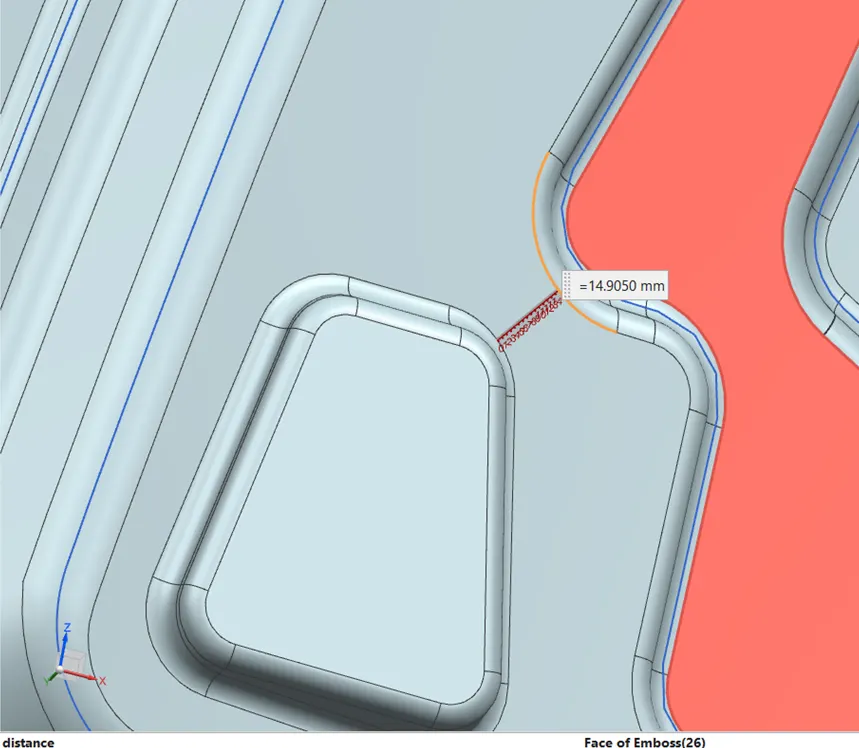
STAGE 7 – Mirror geometry – In this stage I extend the surface and trimmed it using the YZ plane and mirror it using the YZ plane and sew it.
STAGE 8 – Striker mount – In this stage I used the wave geometry linker command and extract two curves from the strike where I mounted and then created a centre point and then created a line. After creating line I created a lane middle of that line to create sketch. After that I a proper sketch. After that I extract the below surface of striker and extend it. After that I used the law extension and extend the surface on 12 degree from XC vector. After that I sew it with the extracted surface of striker and law extension surface and then trimmed it using trim and extend command and gave some edge blend.
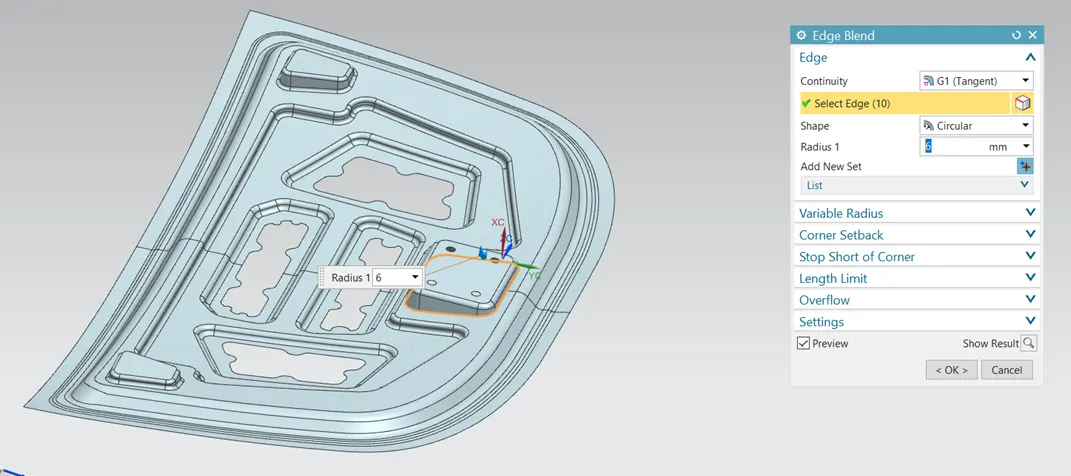
STAGE 9 – Thicken surface – In this stage I created a curve on the corner of surface and mirror it. After that I trimmed it. After that created a curve on inner panel of 2mm and trimmed the surface and thicken the surface by 0.75 mm in the direction of outer panel. Thus I created the inner panel of the hood.
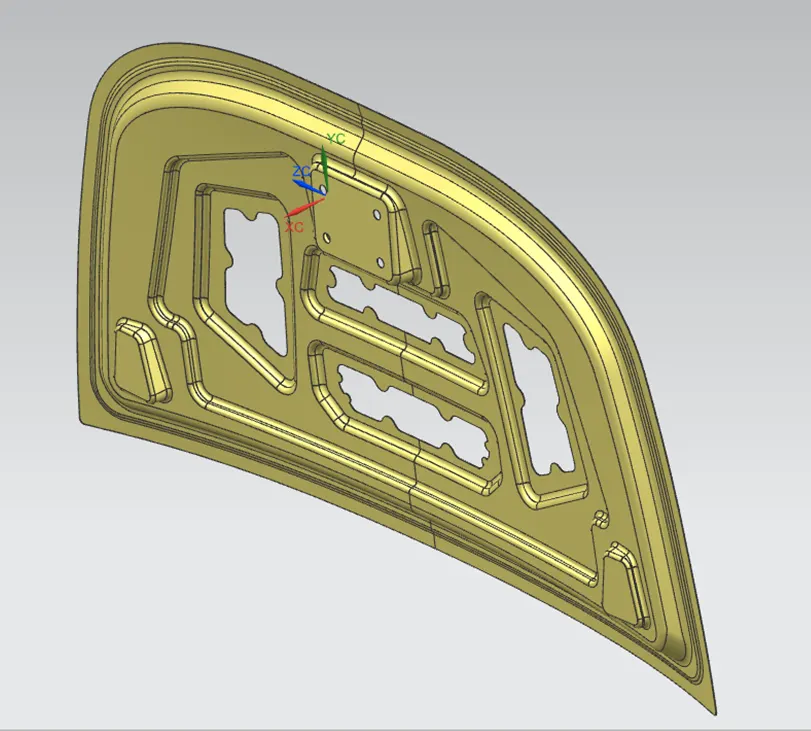
HOOD OUTER PANEL – I created the outer panel of hood in several steps:-
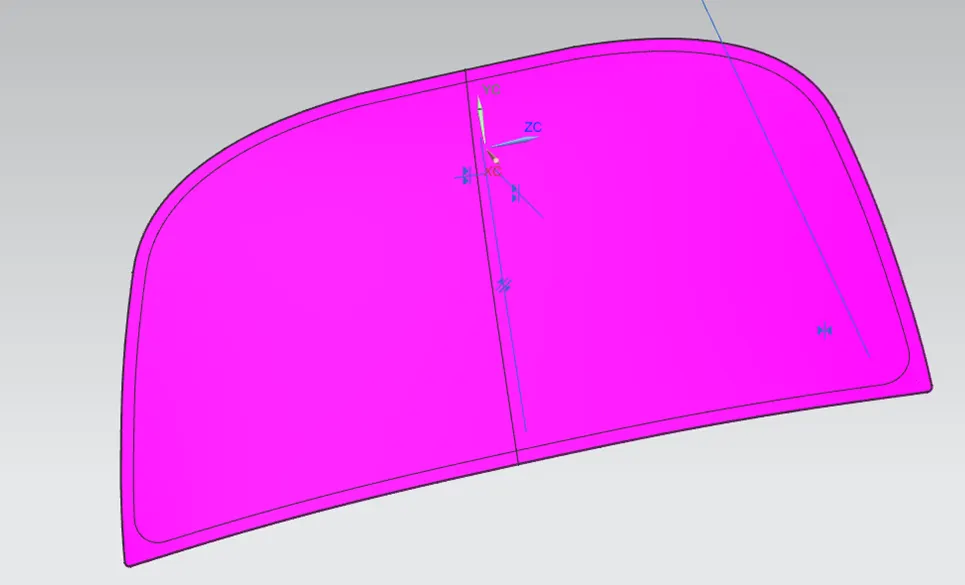
STEP 1 – Outer surface preparation – In step I trimmed the given body and created bridge curve on corner of outer surface to make it as blended shape and trim the bridge curve with the surface.
STEP 2 – HEMMING – In this step I offset the surface by 2.6mm as given in the challenge. After that I offset the curve of surface by 7mm because when I gave the fillets it will be reduced and also gave the 0.1mm curve offset of offset 5. After that I used the law extension and extended the offset 5. After that I used the three face blend and blend a surface.
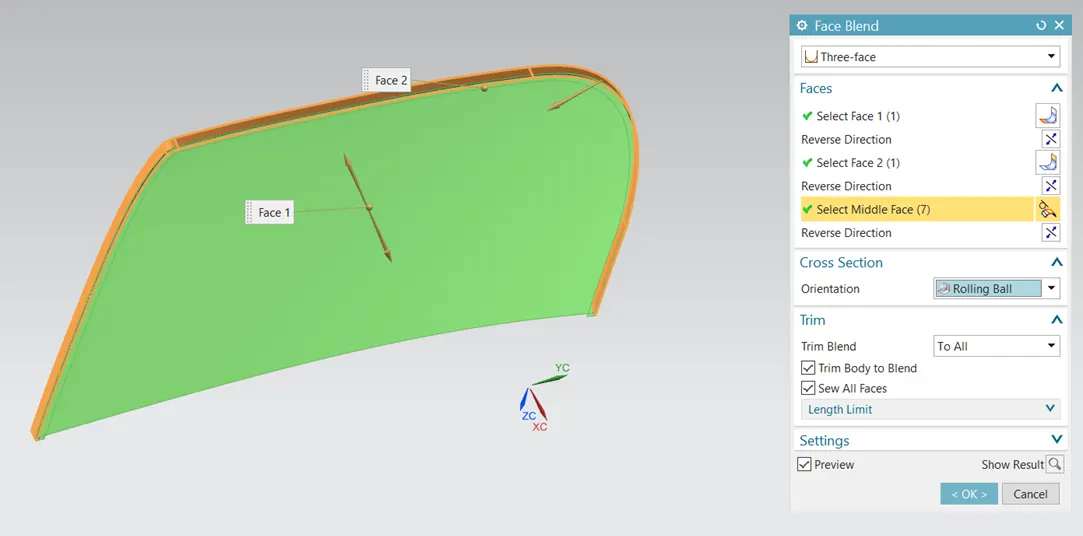
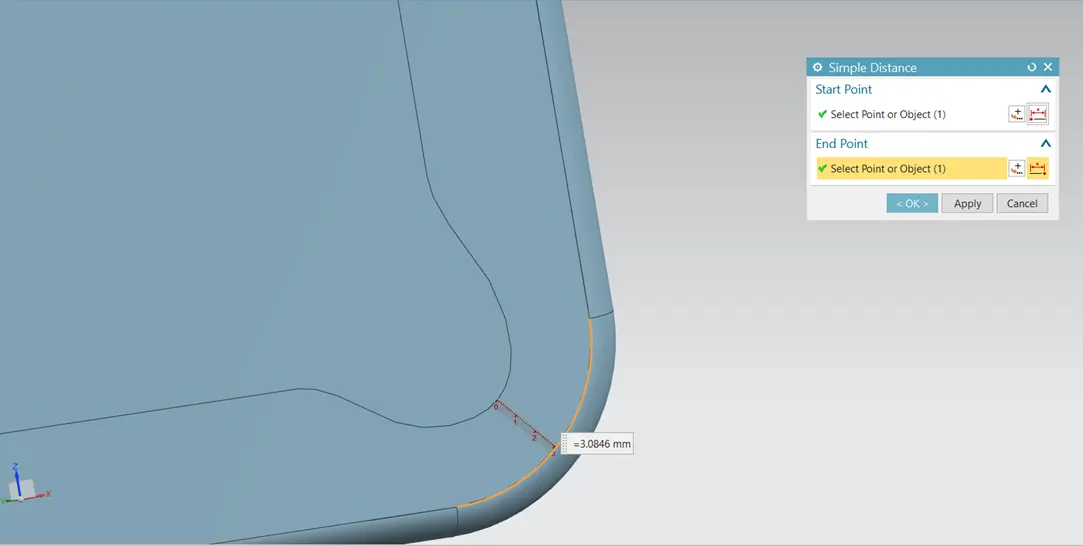
STEP 3 – Rear relief – In this step I used the curve on surface command made a curve on face blend 10 by giving minimum 3mm relief from the corner of surface and trimmed it by the surface.
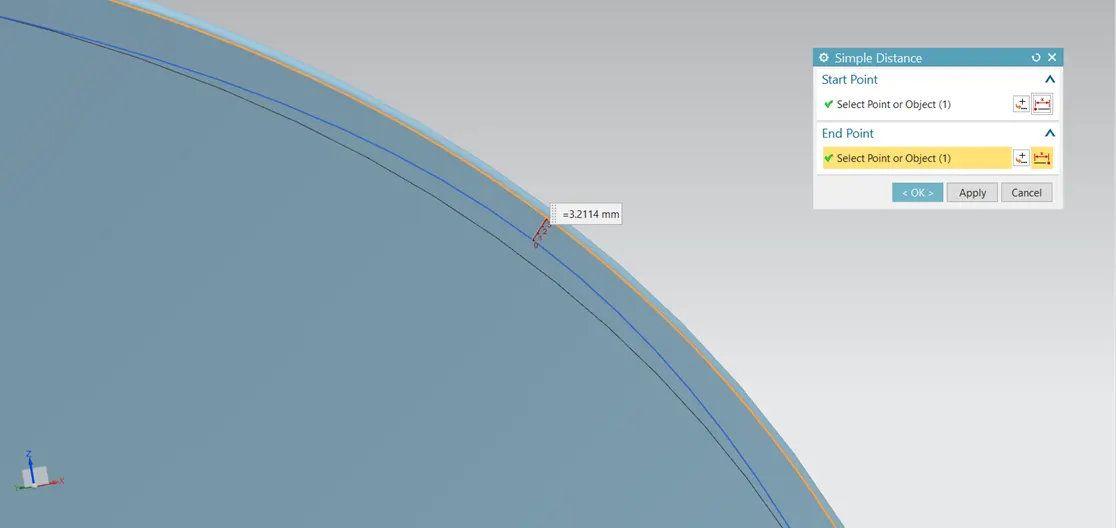
STEP 4 – Front relief – In this step once again I used the curve on surface command made another relief of upper side of panel and trim it by surface.
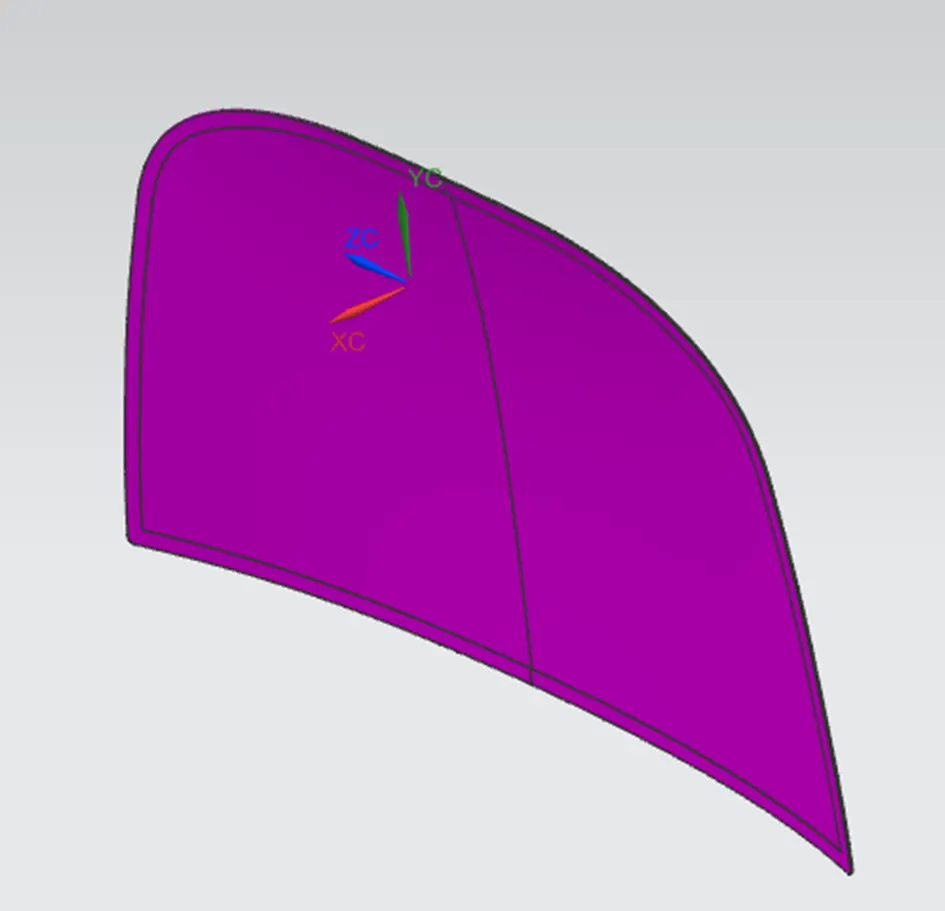
STEP 5 – Thicken surface – In this step I extended the outer panel and trimmed it using the plane and mirror it. After that I sew both surface and thicken it by 0.75mm on the direction of inner panel. Thus I created the outer surface of hood.
STRIKER AND HINGE ASSEMBLY – I added the given striker and hinge assembly and mirror the hinge assembly using YZ plane.
Assembly of hood
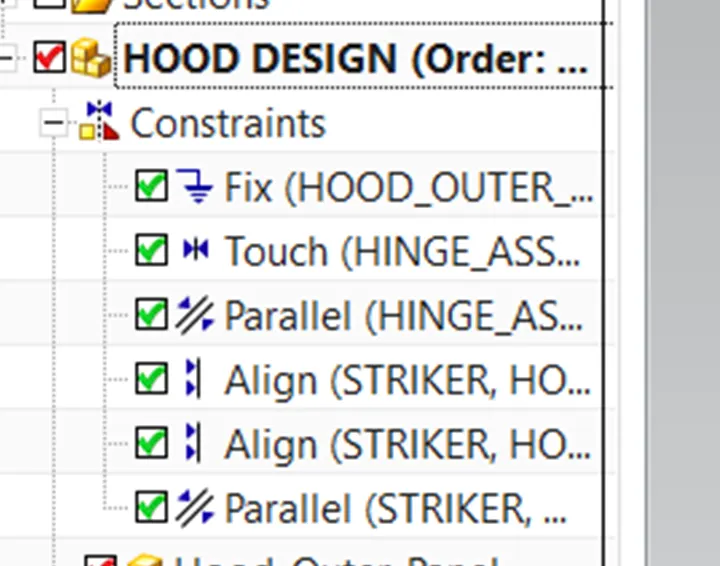
Already I fixed the outer panel. After that I gave the parallel constraints to hinge assembly and YZ plane. After that I aligned the striker with hood inner panel. After that I aligned the striker with striker mount surface of hood inner surface. After that I gave the align constraint to striker with the YZ plane witch I had already created in hood inner surface. Thus I created the assembly of hood design.