Week 8 - Challenge 1 - Base Bracket Design
Base Bracket Design
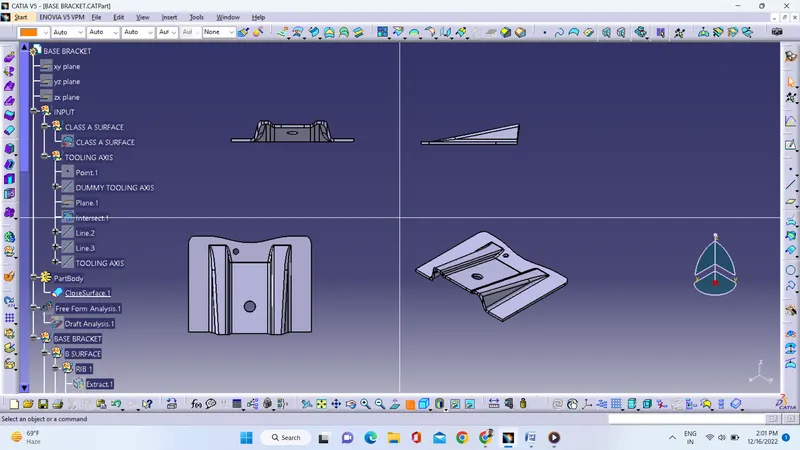
First of all I receive the class A surface design.
TOOLING AXIS – I created the tooling axis by simple bisecting method. In this method i take a point in the center of circle and create the dummy tooling axis by using point direction. In Y – direction we can easily view the all parts of surface A design so I take a YZ plane on to the point which I have created. Now I create an intersection in class A surface then I created two lines in intersection by using point to point. Now I created tooling axis by using bisecting method.
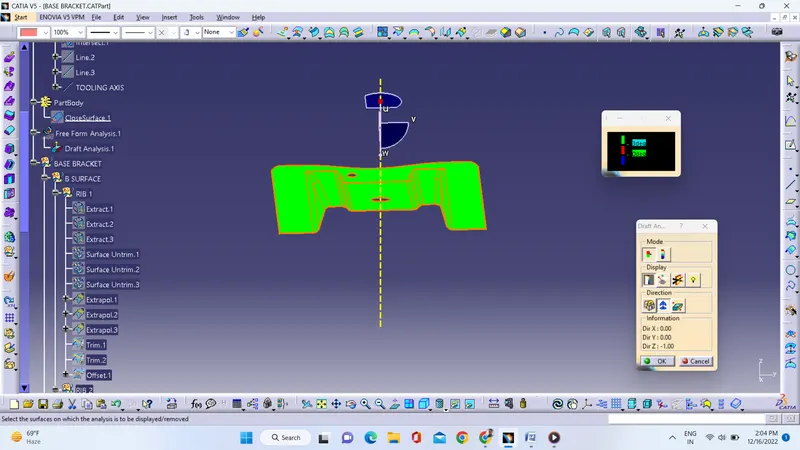
DRAFT ANALYSIS – I put the surface A in to the material mode then take feature draft analysis and put the compass on to the tolling axis then I select the surface A its shows green colour , the minimum draft angle 3 degree is given, if draft angle is more than 3 degree then it will shows blue colour then we have to flip the draft direction then it will be coloured in green.
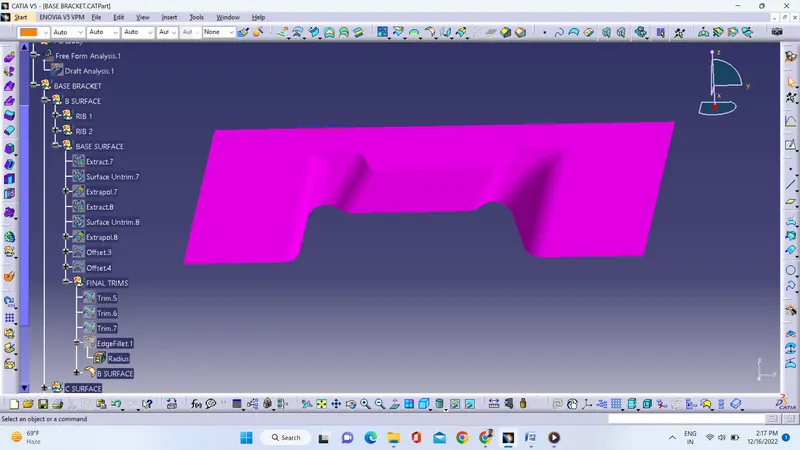
SURFACE B – In the surface a I extract the rib 1 and then I untrim them line by line and also extrapolated them after that I trimmed them. Finally which I got offset that 2.5mm which is the thickness of component. At that method I created rib 2. In the same method I created slop surface and base base surface, at last same I offset them 2.5mm which is the thickness of component and I trimmed the rib 2 with slop surface and then trimmed with rib 1 at last I trimmed with base surface then I got the surface b.
SURFACE C – I created outer boundary of surface a then gives the sweep. In sweep we take the second option which is named as line. In line we take subtype named as with draft direction and we give the tooling axis as the draft direction and give angle value 3 degree. I got the swept surface. Thus I take the outer boundary of both circle which are laying on slop and base surface, then same method I swept them and I got two sweep (sweep 2 and sweep 3), and then I joined the class a and sweep 1. At last I joined join 1 and the both sweep (sweep 2 and sweep 3) and then I got the surface c.
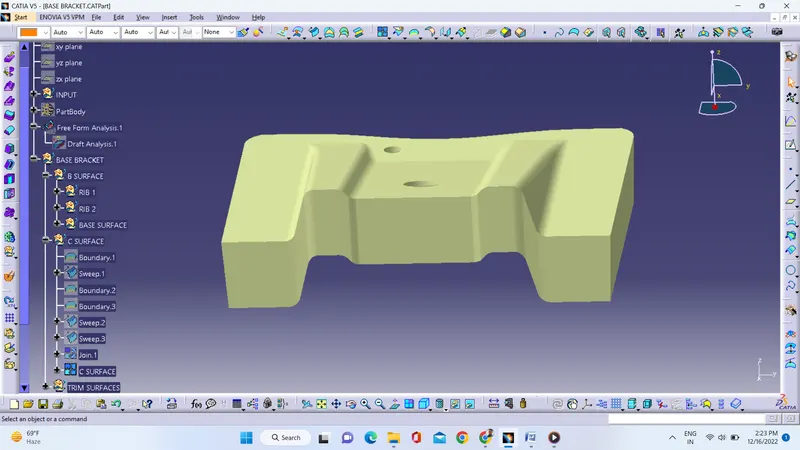
CLOSE SURFACE – When I got the three surfaces a, b and c then we trim them together and we got a close body. Now we go into part design and define the part body choose the option close surface and close the body. At last we got the close surface.