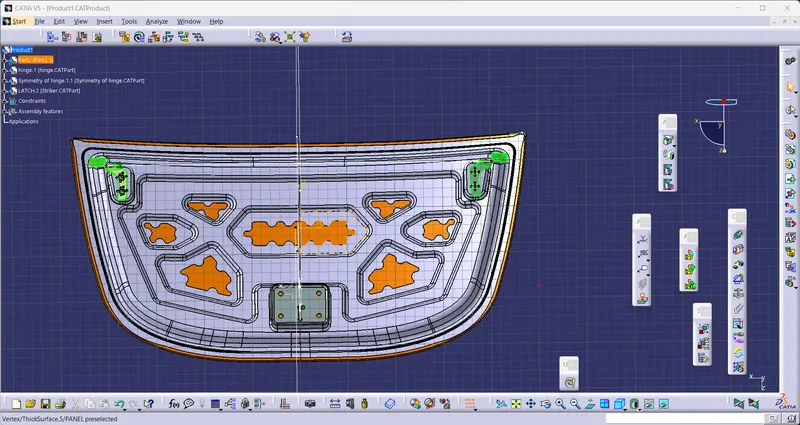
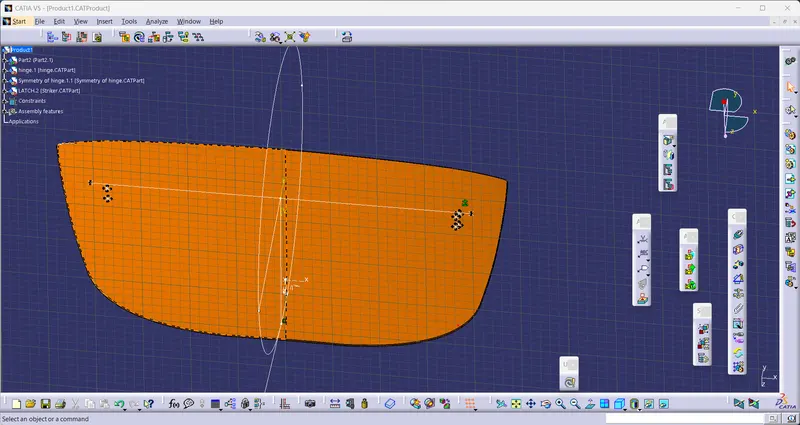
Hood design-Week 2
DESIGN AND MODEL OF HOOD ASSEMBLY
Objective: The main objective of this project is to design front hood or bonnet of car which satisfies manufacturing requirements, functional requirements and as well as EURONCAP standards.
Software: CATIA V5
Introduction of Hood:
The hood or bonnet is considered as the frontal BIW enclosure component of a car. The function of the hood, for greater majority of cars, is to provide access to the engine compartment and related systems, part of the air conditioning system, a number of fluid tanks, the windshield wiper system, a relevant part of the electric harness and the front lamps for maintenance and repair. It is made aerodynamic in shape to reduce air effect and drag. They also serve a great deal of purpose in protecting passengers inside the car and pedestrians during the event of accident.
The hood inner panel has been created by considering the following Design
Parameters:
- Master Section:
- Hood Thickness information:
Outer Panel Thickness: 0.75mm
Inner Panel Thickness: 0.75mm
Reinforcement Thickness: 1.5mm
The different panels and components are as follows:
- Inner panel
- Outer panel
- Hood stay
- Latch & Striker
While designing hood following design for manufacturing guidelines should be considered:
- Minimum Fillet radius: 3mm + Thickness
- No sharp corners inside the components.
- No curvatures lesser than 5 mm.
- Small embosses should not exceed the maximum depth of 6-7mm (for safer side).
- Mounting and welding areas needs to be flat.
- Provide appropriate corner relief at the area of curvature.
Design of inner panel:
Designing starts with creation of the parent surface to work upon, then followed by operations like offsetting the surface, offset curve of face, trim surface and curve on surface like that. These operation were used in the designing of basic structure.
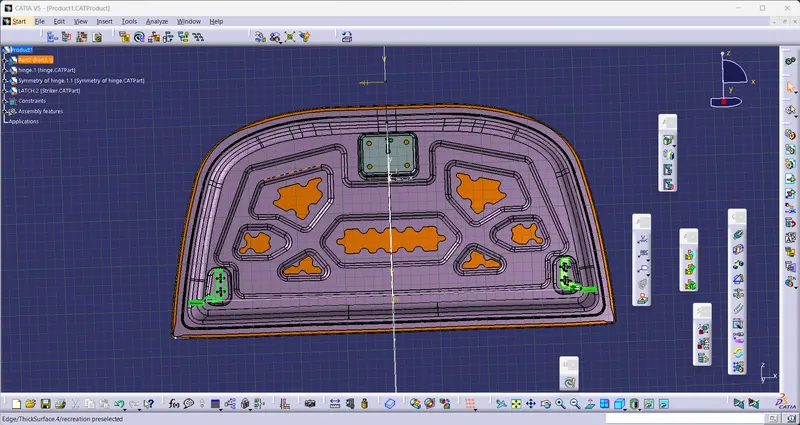
Emboss definition:
Emboss are an important part of an inner panel as these structure not only support the outer panel but also help in the distribution of the impact force.
Latch and Striker assembly:
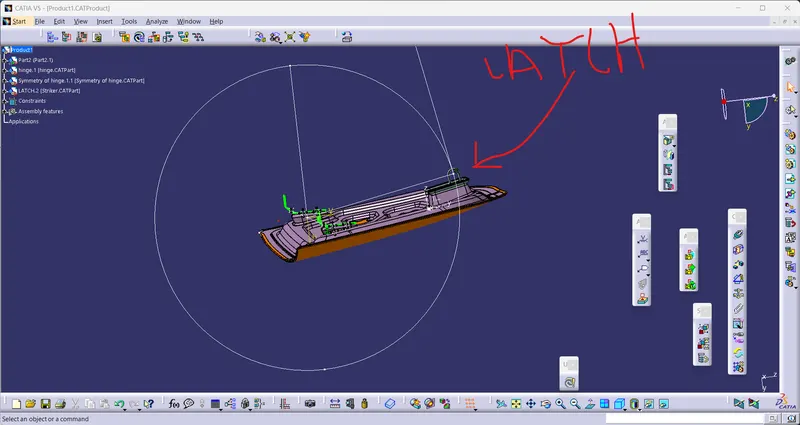
The major functional requirement of the hood is easy and proper opening and closing of the hood. This is done with the help of the latch and striker. To position the latch and striker effectively, the hinges are positioned properly at suitable location and the hinge axis is drawn. For proper opening and closing of the hood, the striker should be perpendicular to the trajectory of the hood. Using the hinge axis as the centre, a big circle is drawn to the position where the latch needs to be placed.
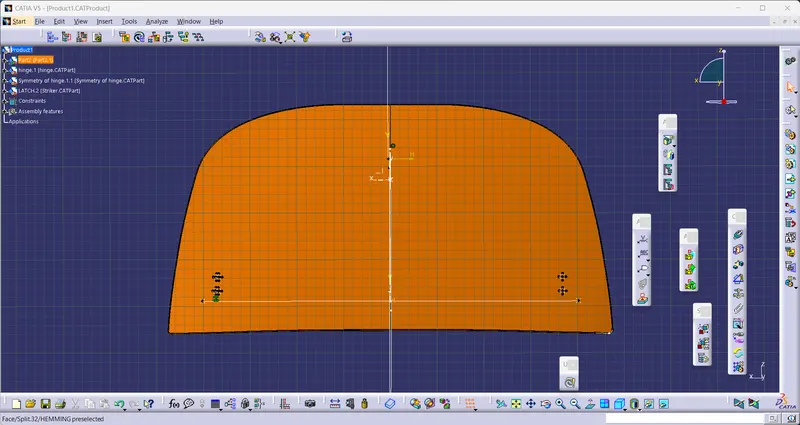
Design of Hood Outer Panel:
Hemming:
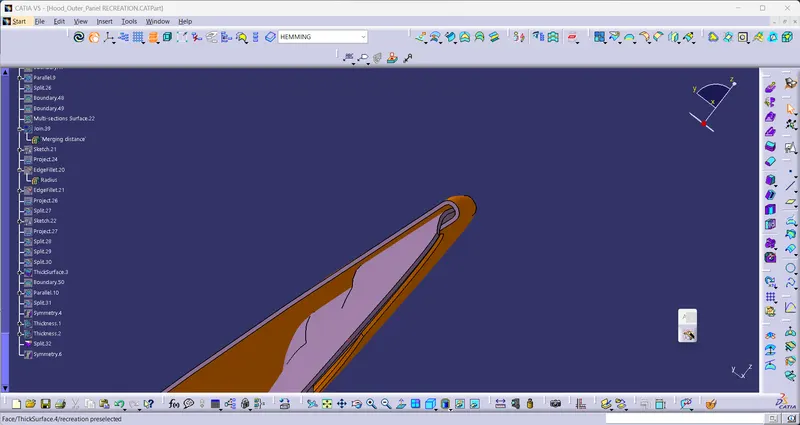
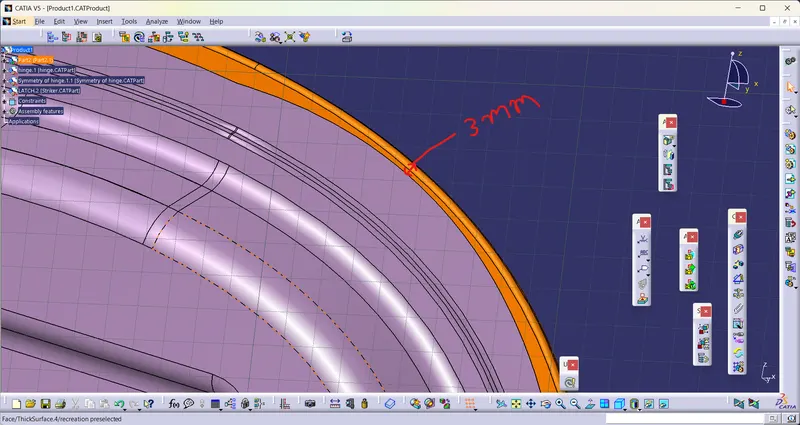
Hemming is the process in which the edge is rolled flush to itself using rollers, while a seam joins the edges of two materials. The hemming process wraps the edges of the hood outer panel featuring drawn surfaces around the inner panel with the help of rollers and hold it tightly. Hemming can stiffen the hood border and, when adequately sealed, protect against corrosion.
After hemming process corner relief is provided at the corners of the hood for the ease of manufacturing.
Hood Models:
The final design of the Hood with all the reinforcements are shown below.