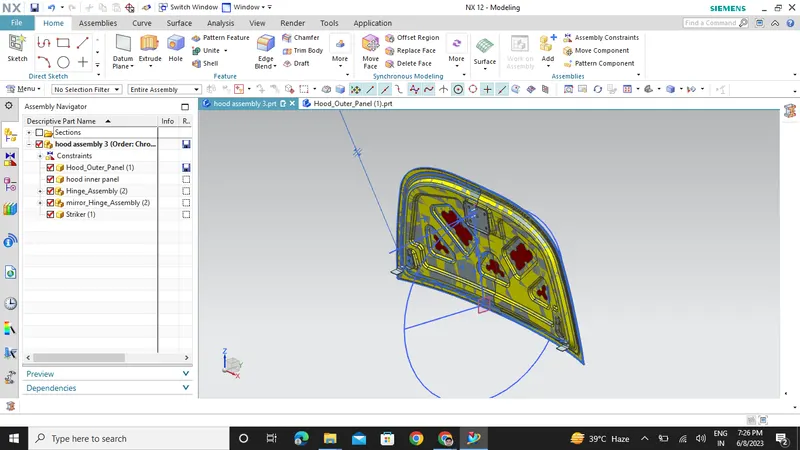
Hood design-Week 2
HOOD DESIGN NX 12.0
OBJECTIVE
Design hood outer panel, inner panel and reinforcements with the given outer hood skin, master section and design parameters.
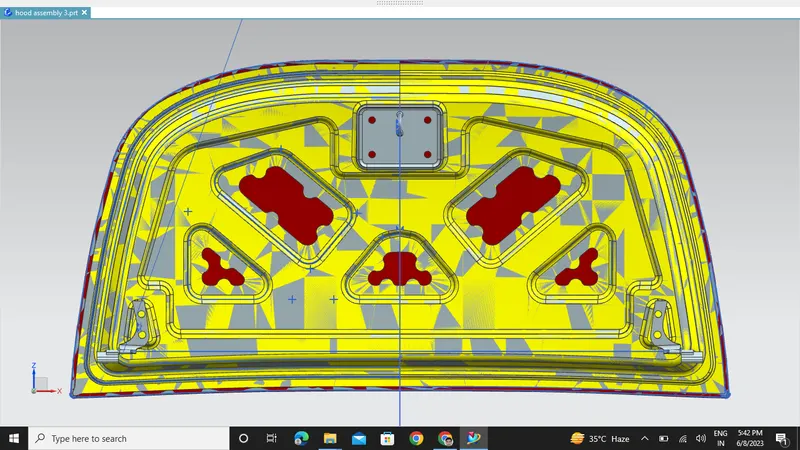
INTRODUCTION-
The car hood, also known as the bonnet in some countries, is a vital component of an automobile's body structure. It is the hinged cover located at the front of the vehicle that opens upward to provide access to the engine compartment. The car hood serves several important functions, including protecting the engine and its components from external elements, providing access for maintenance and repairs, and contributing to the overall aesthetics of the vehicle.
The car hood plays a role in pedestrian safety. Modern car hoods are designed with pedestrian protection in mind, incorporating features such as energy-absorbing materials and shapes that help reduce injuries in the event of a collision.
The car hood is an essential component of a vehicle, serving functional, safety, and design purposes. It is a key element in protecting the engine and ensuring the overall performance and appearance of the automobile.
DESIGN PARAMETERS-
Hood Thickness Information
Outer Panel Thickness = 0.75mm
Inner Panel Thickness = 0.75mm
Reinforcement Thickness = 1.5mm
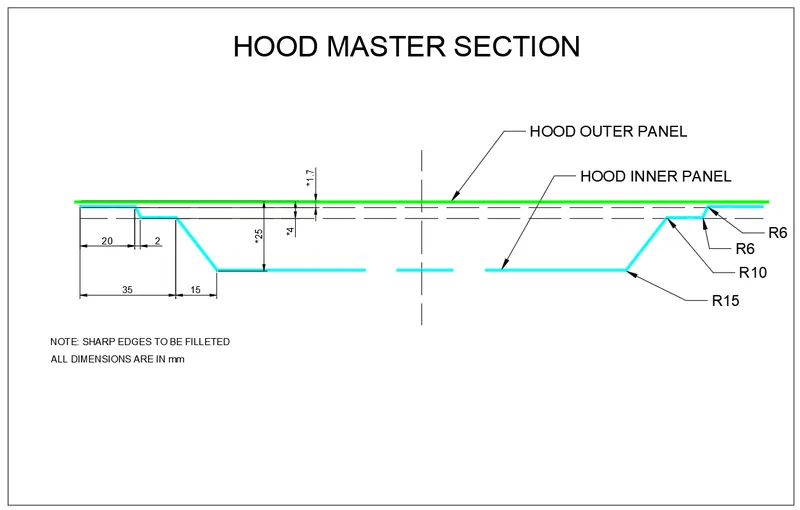
COMPONENT -
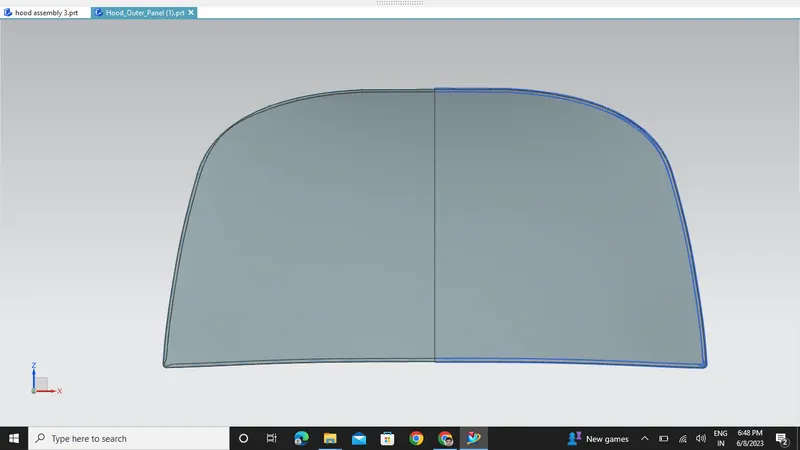
HOOD OUTER PANEL-
Outer panels are the aesthetic elements of a car. It is the styling team who provides the skin for the outer panel. The shape, position and size of the hood should satisfy the safety norms. So while designing the hood we should give more importance to pedestrian safety. The outer panel is attached to the inner panel by hemming. So, it is necessary to provide required hemming flange and reliefs for the hemming operation. We also provide mastic sealants between outer panel and inner panel to reduce vibration.
HOOD INNER PANEL-
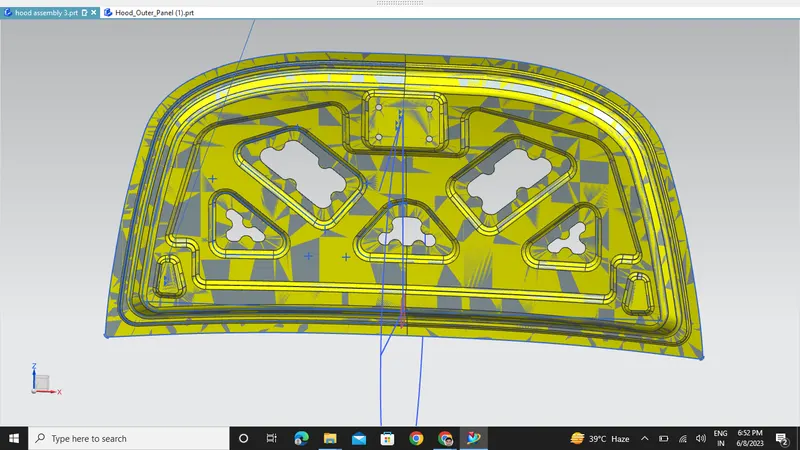
Inner panel is the part that gives strength and rigidity to the outer panel. The master section represents the initial emboss shape and size. Then we provide the emboss for the latch and hinge elements after fixing the location.
REINFORCEMENT
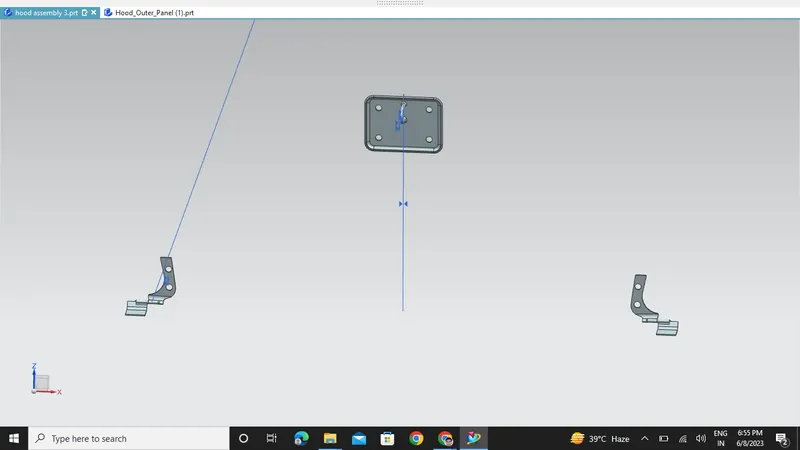
Reinforcements are provided according to the design requirements. Mainly it is provided at the hinge and latch regions to improve the strength locally. Usually thickness of reinforcements will be higher than that of the inner panels and the value varies according to cost and requirement. According to the design requirement here it is given 1.5mm thickness to both hinge and latch reinforcements.
LATCH TRAJECTORY
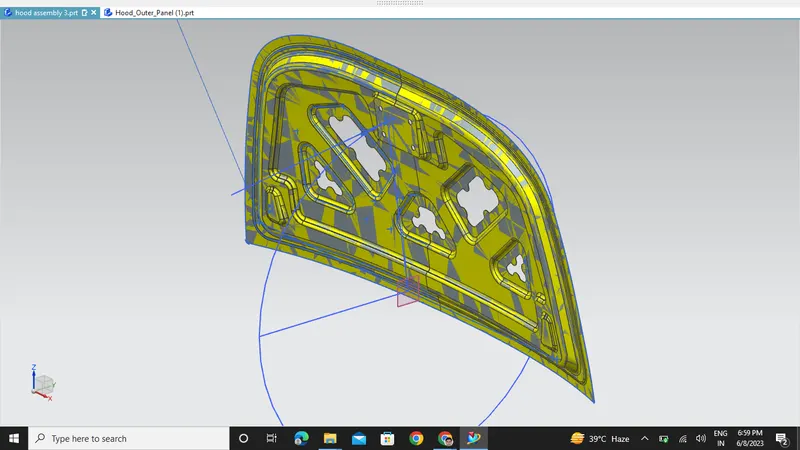
Latch trajectory is given by the circle drawn from the hinge axis point. Hinge axis point is the centre point of the hinge axis. First, we can fix either the latch or the hinge. If we have fixed the hinge position then we should plot the Trajectory circle for the latch. For proper mating condition the striker axis through the tip of the striker should be tangential to the latch trajectory.
EMBOSSING
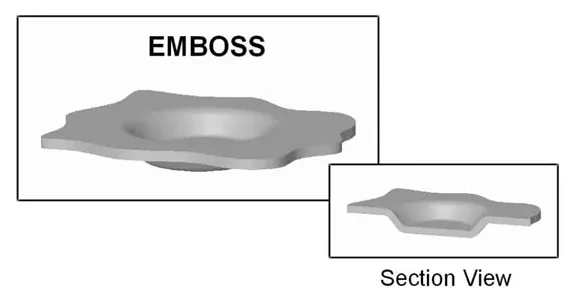
Embossing is a process used to create raised designs on a sheet of material, such as metal or plastic. When it comes to the hood outer panel of a car, embossing can be utilized to add visual interest, branding, or functional elements.
MASTIC DATA-
Hood commonly possess large surface area and hemming can only be provided through its boundary. We cannot use other joining techniques like welding, riveting etc because they leave marks on the outer panel which spoil its aesthetic appearance. So, mastic sealants are used to stick the inner surfaces of outer panel and inner panel. Mastic sealants are elastic compound that behave like rubber. It is applied between the inner and outer panels at specified spots. Each spot of mastic sealants has its effect around a circular region of 80mm diameter. Thus, the mastic points are arranged in such a way that it covers the areas away from the hemming which are more vulnerable to vibrate.
DEEP DRAWING
Deep drawing is a manufacturing process used to form sheet metal into a three-dimensional shape with a significant depth, typically without thinning or tearing the material. It is commonly used to produce components with a cylindrical or box-like shape, such as automotive parts including car hoods.
In the context of car hoods, deep drawing is employed to create the overall shape and contour of the hood. Here's an overview of the deep drawing process:
-
Material Selection: The first step is selecting a suitable sheet metal material, such as steel or aluminum, that possesses the necessary properties for deep drawing. The material should be ductile enough to withstand deformation without cracking or tearing.
-
Blanking: The initial step involves cutting the sheet metal into a blank, which is a flat disc-shaped piece of material. The size and shape of the blank are determined by the desired final shape of the hood.
-
Placing and Fixing the Blank: The blank is placed onto a die, which consists of a recessed cavity in the shape of the desired hood. The blank is then firmly held in place using a blank holder or clamps.
- Drawing: A punch is used to apply force to the center of the blank, pushing it into the die. The blank flows and stretches over the contours of the die, taking on its shape. The depth of the draw is gradually increased by moving the punch deeper into the die, forming the desired shape.
HEMMING
Hemming is a sheet metal forming process used to create a folded edge by bending a section of the material over itself. It is commonly used in the manufacturing of car body panels, including car hoods. Hemming is employed to enhance the strength, durability, and appearance of the sheet metal component
Important Features used in designing:
- Trim Body – It is used to trim one or more bodies using a face or plane. You can also specify the bodies to retain and the bodies to discard.
- Offset Surface – It allows you to offset one or more existing surfaces.
- Offset in Face – This command will allow you to offset particular edges or curves on selected faces.
- Trim Sheet – It is used to trim off a portion of a sheet body using curves, faces, edges or planes.
- Through Curves – It will allow you to create a body Through multiple sections, where it’s shape changes to pass through each section.
- Law Extension – This command extends a curve or edge to create a sheet body at desired angle length by changing the rules under angle law and length law.
- Trim and Extend – It helps you to trim and extend intersecting surfaces and make corner at their intersection.
- Face Blend – It creates fillets between faces.
- Edge Blend – It creates fillets on edges.
- Extend Sheet – It will allow you to extend an existing surface to required distance.
- Emboss – Emboss command creates an embossing by modifying a body with faces created by projecting a curve/section along a direction. You can modify the emboss using options like endcap location and draft angle.
- Projected Curve – It is used to project an existing curve/curves on a selected plane or surface by selecting a direction for projection.
- Mirror Geometry – As name suggests, it allows you to mirror geometries about selected plane or surface.
- Sew – It combines sheet bodies together by sewing their common edges. There shouldn’t be any gaps larger than specified tolerance.
- Thicken – It is used to convert a surface to solid body by providing thickness.
- Extrude – It helps you to create a feature from a sketch. You are also able to create thin feature using a sketch or curve under this command.
- Wave Geometry Linker – With this you can create, associative or linked copies of any entity of a part into other parts. It may be a surface, edge, curve, body, sketch etc. The changes made to the original entity will be reflected in the copy of that entity.
FINAL ASSEMBLY-