Hood design-Week 2
Introduction:
A car hood, also referred to as a “bonnet” in some countries, is the hinged cover that rests over the engine bay of a front-engine vehicle. The car hood protects the engine and connected parts from the elements while providing easy access for repairs and maintenance.
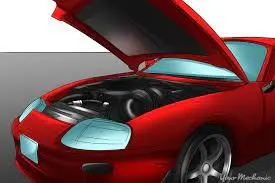
Following parts are using in hood assembly for this report,
- Hood outer panel
- Hood inner panel
- Hinge assembly
- Striker assembly
Hood thickness-
Outer panel thickness= 0.75 mm
Inner panel thickness= 0.75 mm
Reinforcement thickness= 1.5 mm
Inner panel:
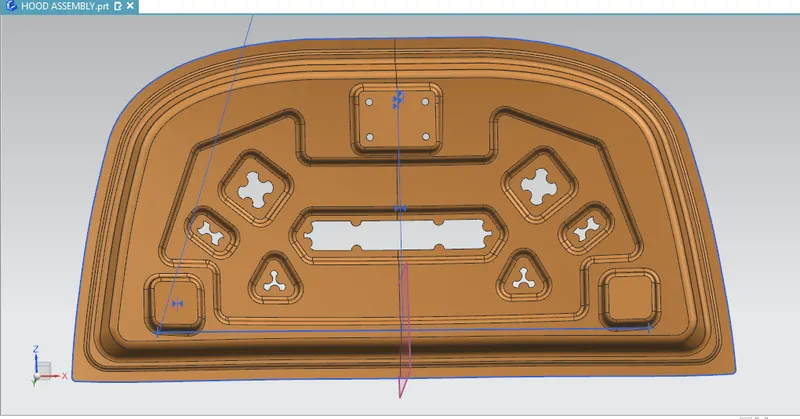
the hood inner panel plays an important role in the hood design,The main purpose of an inner panel is to increase stiffness and strength of the outer panel without a significant increase in weight of the overall hood.
Its designed in such a way that the force exerted on the outerpanel after any collision is dissipated through the emboss to the outer, which causes the humans to exert a lesser force of impact or harm.
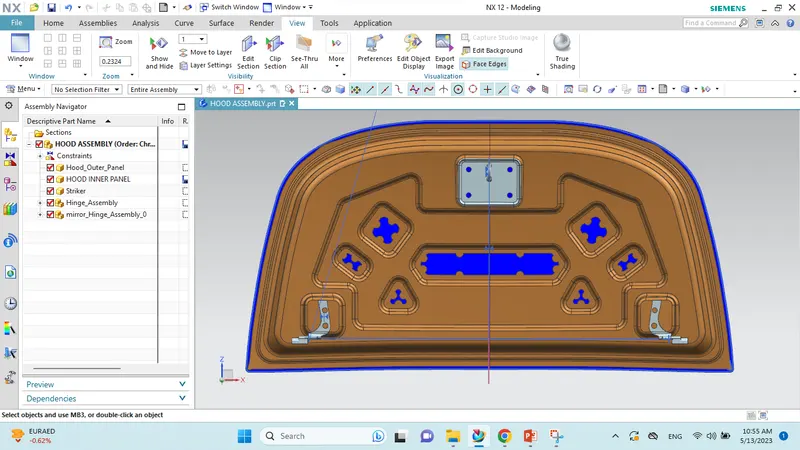
the components like the striker and the hinges are attached on to the hood inner panel.
- The outer panel is offset at a distance of 1.7 cm and trimmed .different flanges were cut and joined (20mm,13mm and 20mm)
- different embosses were created on to this (10 mm,8.5mm )
- under cuts were put on to the embosses.
- an emboss were created on the lower left bottom so that the hinge can be attached
- the hinge was attached using the assembly constraintts and then mirrored to the other half .
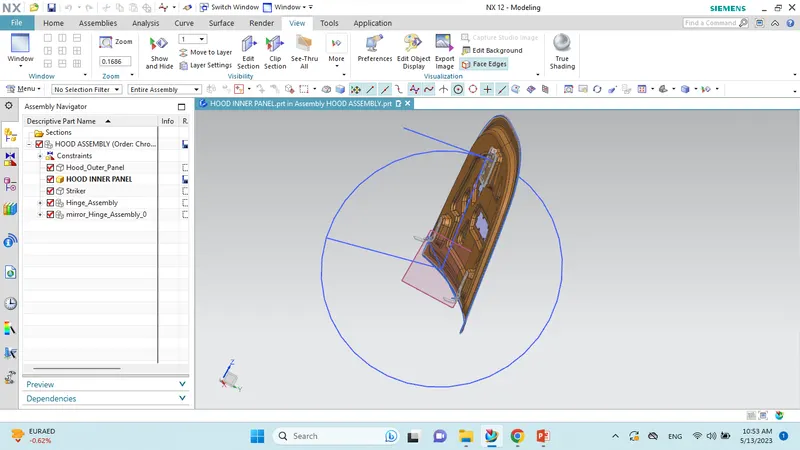
- for the fixing of the striker , the latch trajectory was created,using the axis of the hinges ,a circle of 690 mm was created and and a tangent was taken to the circle.
- a datum plane was created on the above axis ,thus taking horizontal and vertical lines fro centre to the circle as in the picture.
- a datum plane is created on the striker at the centre thus creating a line at the centre .
- using assembly constraints the striker is fixed at the inner panel.
- While opening or closing the hood, the latch must be perfectly aligned to the fixing or striker point. For that, the latches trajectory must be perpendicular to the hinge axis.
- the latch trajectoryis the path of the striker on the opening and closing of the hood.
HOOD OUTER PANEL:
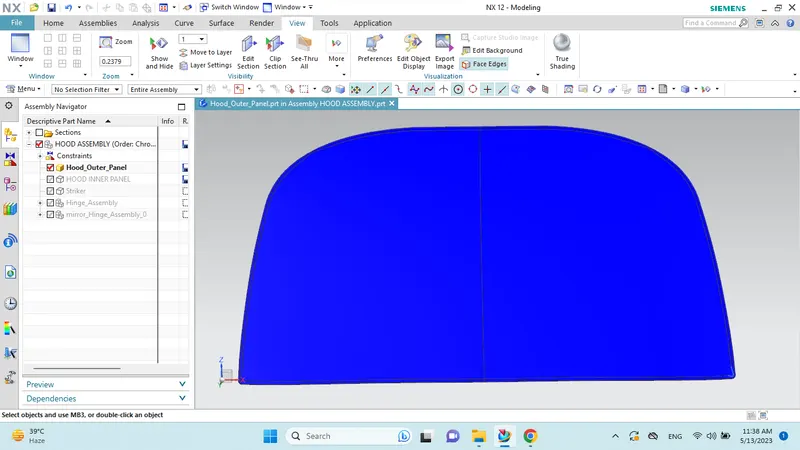 We can also call it as cover of inner panel. It is the part, which gives luxurious look to the hood or bonnet. Outer & inner panel can not join by any welding process like spot welding or rivet, which spoil the outer look of a car. The outer panel is generally extracted model from the prototype design.
Hinge Assembly:
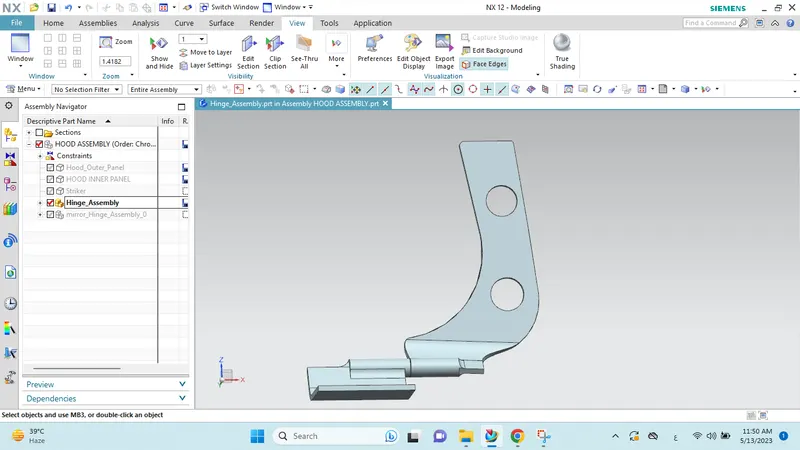
The latch must be fixed perpendicular to the hinge axis so that the hood opens or closes properly.Hinge is a component that fixes the hood to the fenders of the car.
Hemming process:
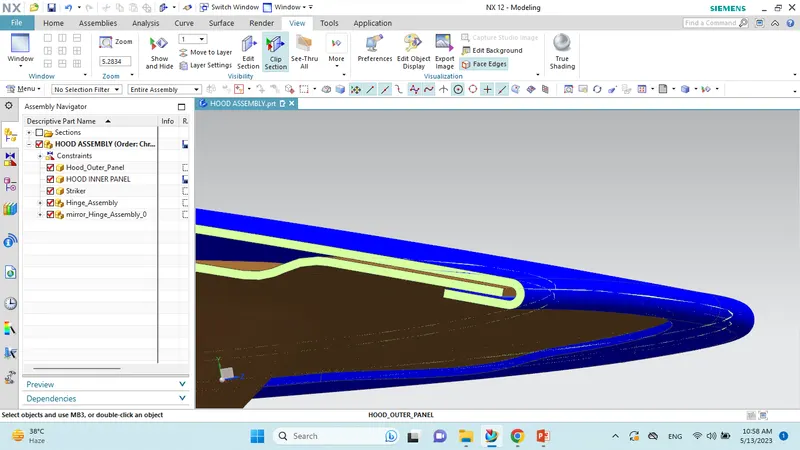
- The hood outer panel was created by creating an offset surface from the styling surface and then trimmed into half.
- Then for creating the Hem flange around the outer panel for creating the hold with the inner panel.
- Then law extensions were used on the outside curve and the generated surface was offset to 6mm and then the remaining portions were trimmed.
- By using the Face blend the hem flange were created.
- By using the curve on surface and trim sheet the required corner relief was provided on the top and bottom corner as requirement.
- Now the other half was mirrored and sewed together
STRIKER:
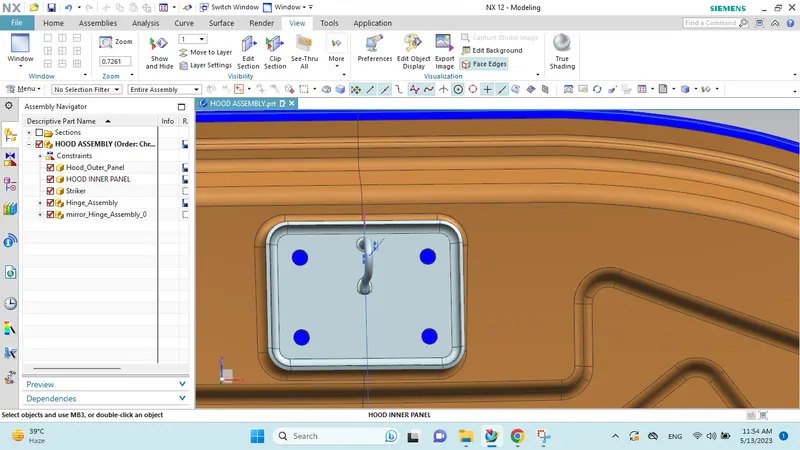
THE STRIKER AND THE LATCH ARE ALIGNED USING THE LATCH TRAJECTORY. The latch must be fixed perpendicular to the hinge axis so that the hood opens or closes properly.
Hemming process:
- The hood outer panel was created by creating an offset surface from the styling surface and then trimmed into half.
- Then for creating the Hem flange around the outer panel for creating the hold with the inner panel.
- Then law extensions were used on the outside curve and the generated surface was offset to 6mm and then the remaining portions were trimmed.
- By using the Face blend the hem flange were created.
- By using the curve on surface and trim sheet the required corner relief was provided on the top and bottom corner as requirement.
- Now the other half was mirrored and sewed together
DEEP DRAWING:
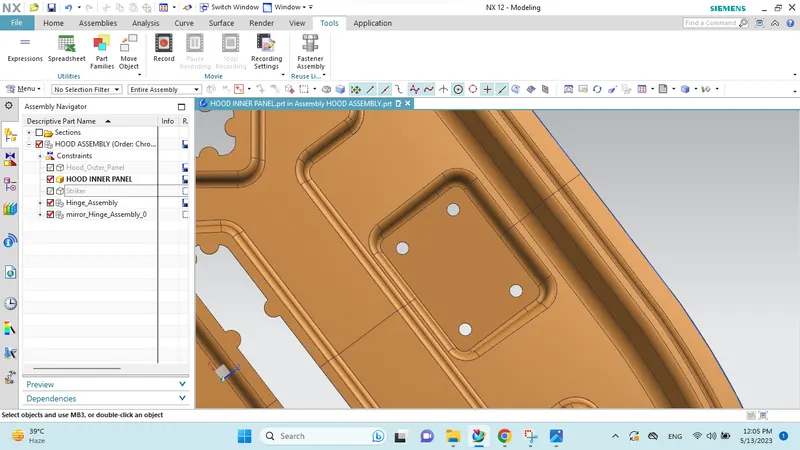
the deep drawing is where the striker holds on to,
its amanufacturing process where the sheets are made into cup like boxes using punch and die.