Hood design-Week 2
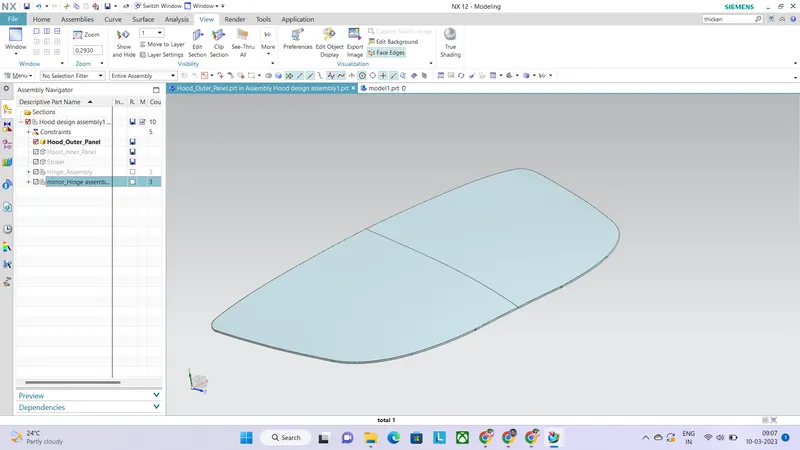
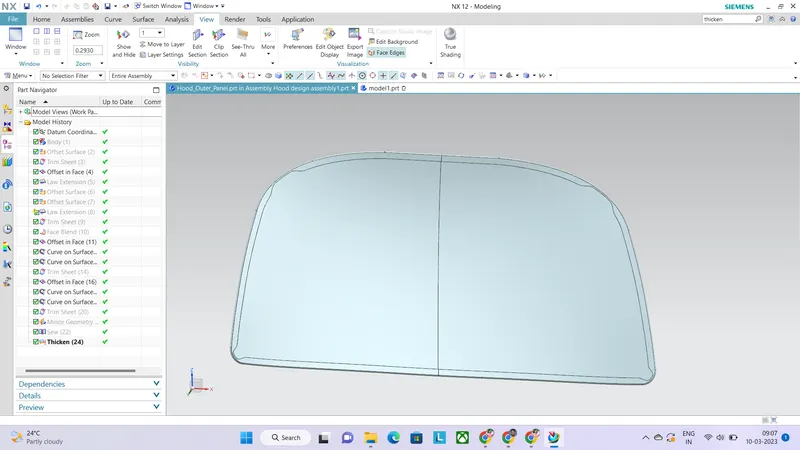
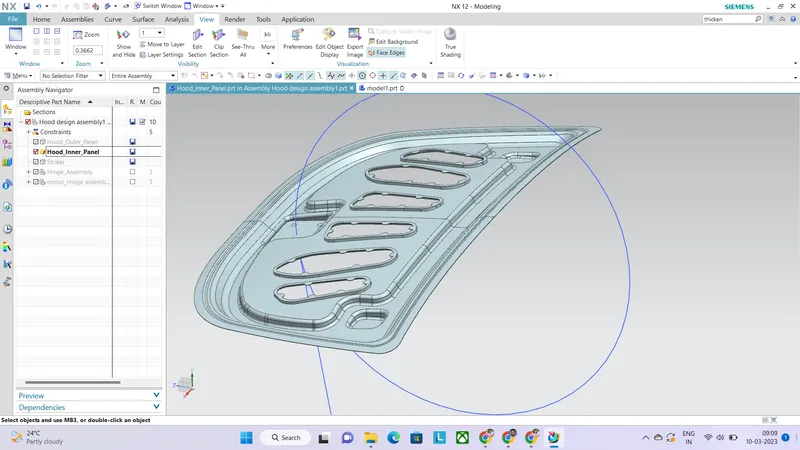
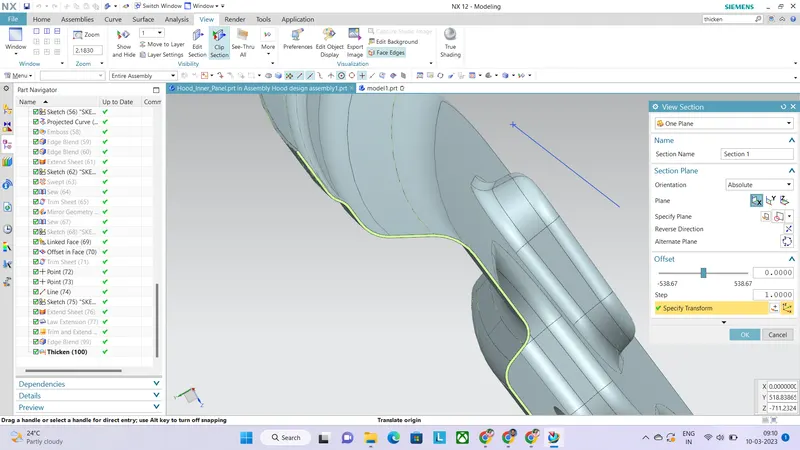
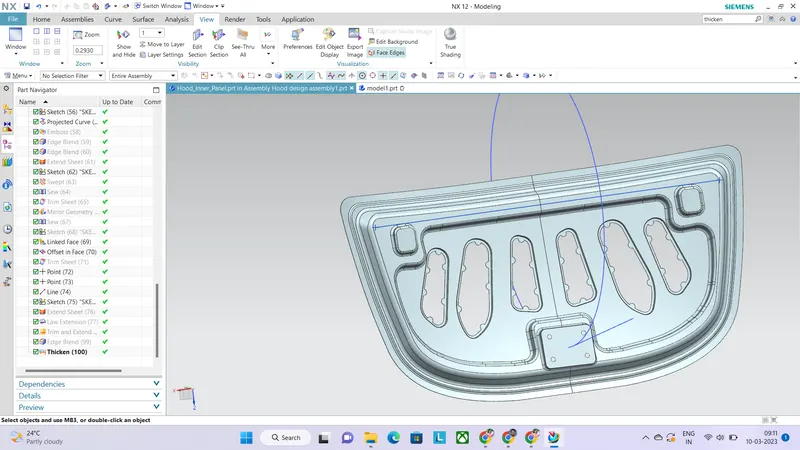
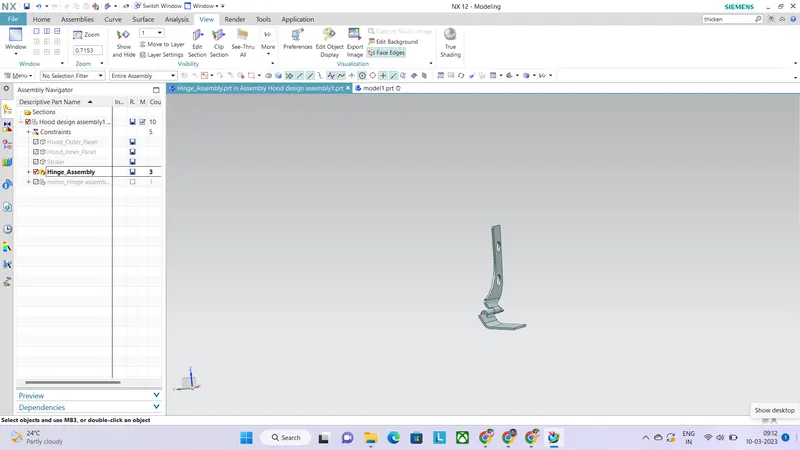
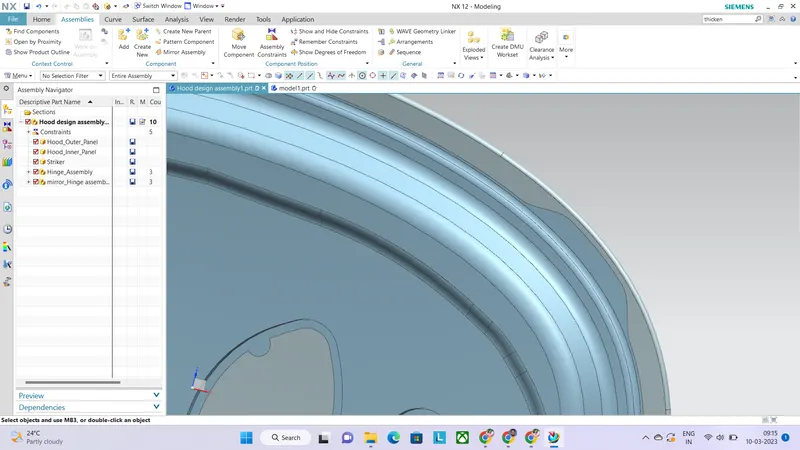
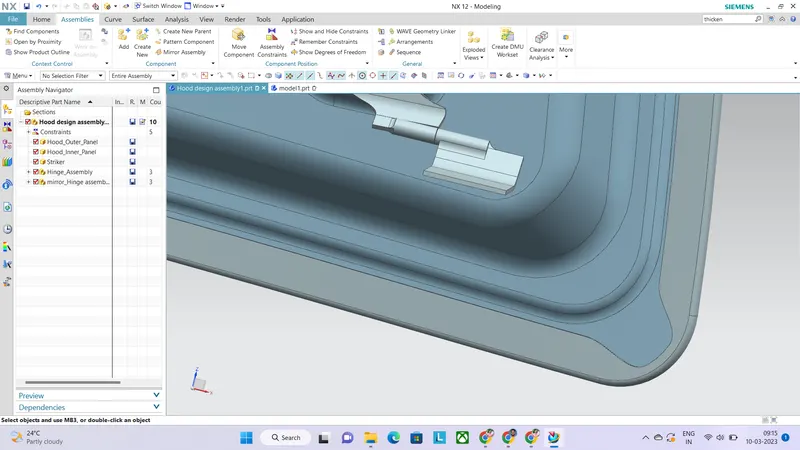
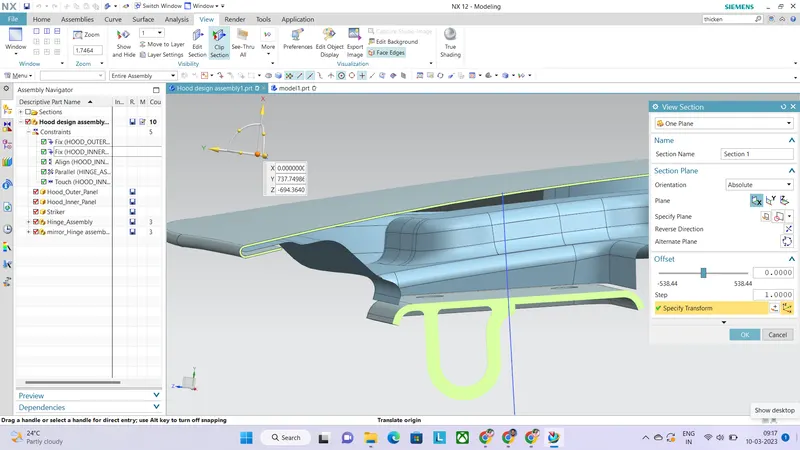
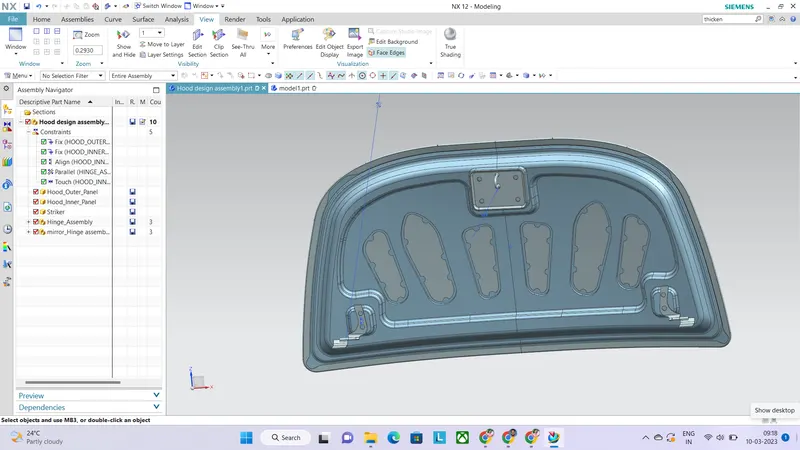
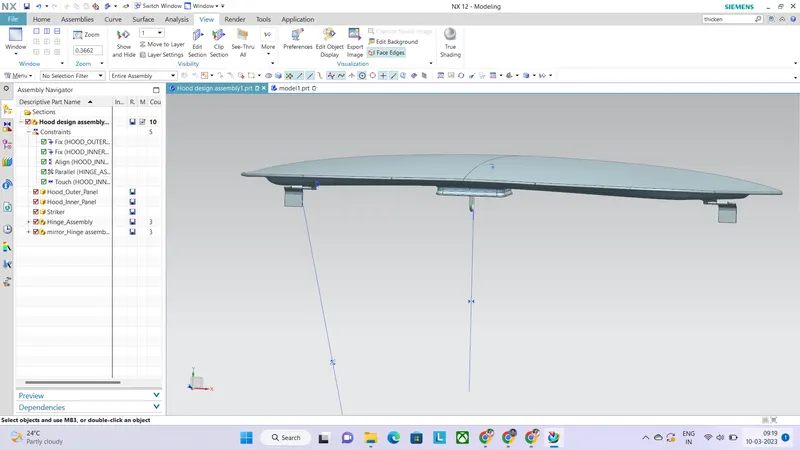
Note : When assembly is enabled,hood inner panel is not getting thickened. Not able to rectify this error.
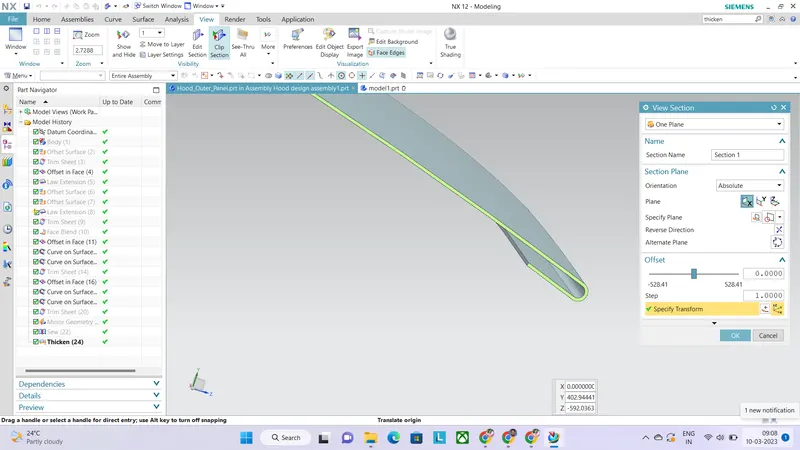
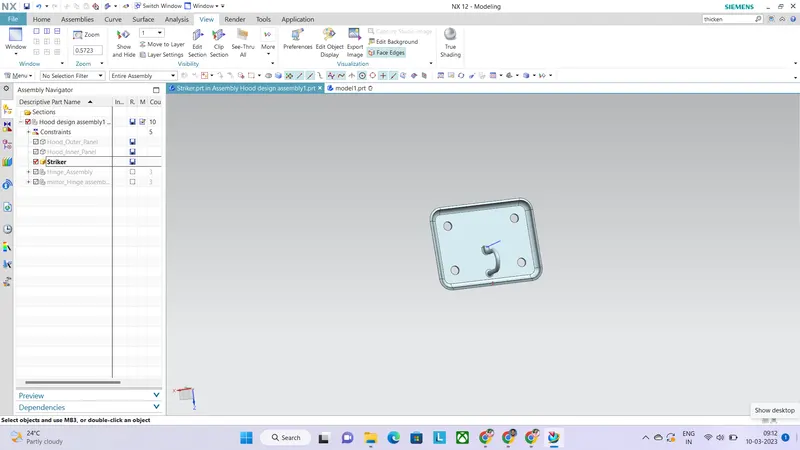
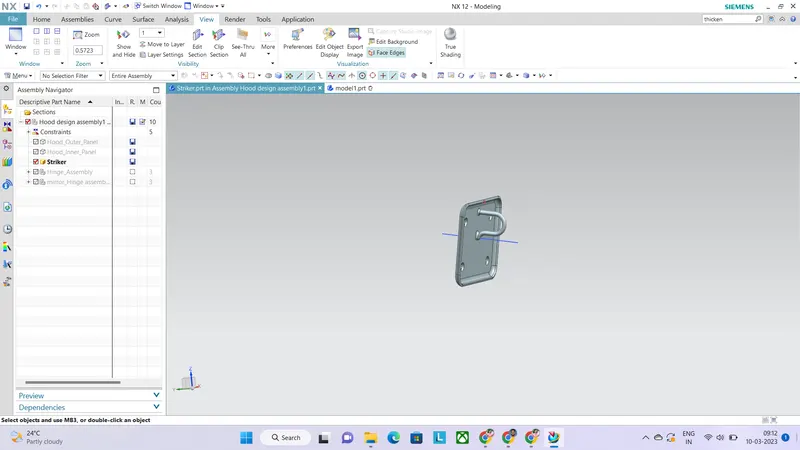
Report : For carrying out hood design using NX CAD, we are seperately designing the different parts of the hood. This includes hood outer panel, hood inner panel , striker component and hinge assembly part. Of which striker component and hinge assembly part were already provided and hence rest of the parts that is hood outer panel and hood inner panel were designed in this challenge. For this design to carry out, we have taken the assembly file in NX CAD and we used various NX CAD options such as Sketch, offset surface, offset curve on face, trim sheet, through curve, edge blend, face blend, emboss etc. to seperately design hood outer panel and hood inner panel. Emboss is that feature where we are able to provide and create a raised platform above which we can assemble or place a relevant automotive component.We are creating primary and secondary emboss during this design.We are providing hemming feature on the outer panel so that inner panel gets perfectly interlocked with the outer panel and assembly can be made complete. The hood should be opened and closed following the latch trajectory then only it will be safe for the passengers everytime the hood is opened. And there should be atleast a clearance angle of 80 degree so that hood does not hit the persons head. Latch Trajectory is drawn and mentioned in the hood inner panel design. Here we are following the parameters and dimensions given in the master section which is a type of deep drawing and some standard automotive dimensions also we are using here.And finally we are done with our hood design. Thank you.