Hood design-Week 2
HOOD DESIGN
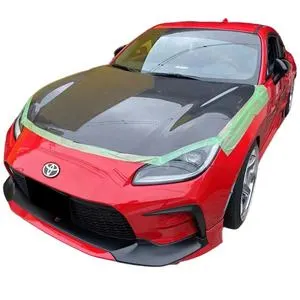
Hood is an open body panel that covers the engine in a front engine vehicle.The hood is also known as a bonet of the car, it is also considered as another type of door as it consists of an outer panel and inner panel.Both outer and the inner pannel are 0.75 mm in thickness.
HOOD OPENING ANGLE :
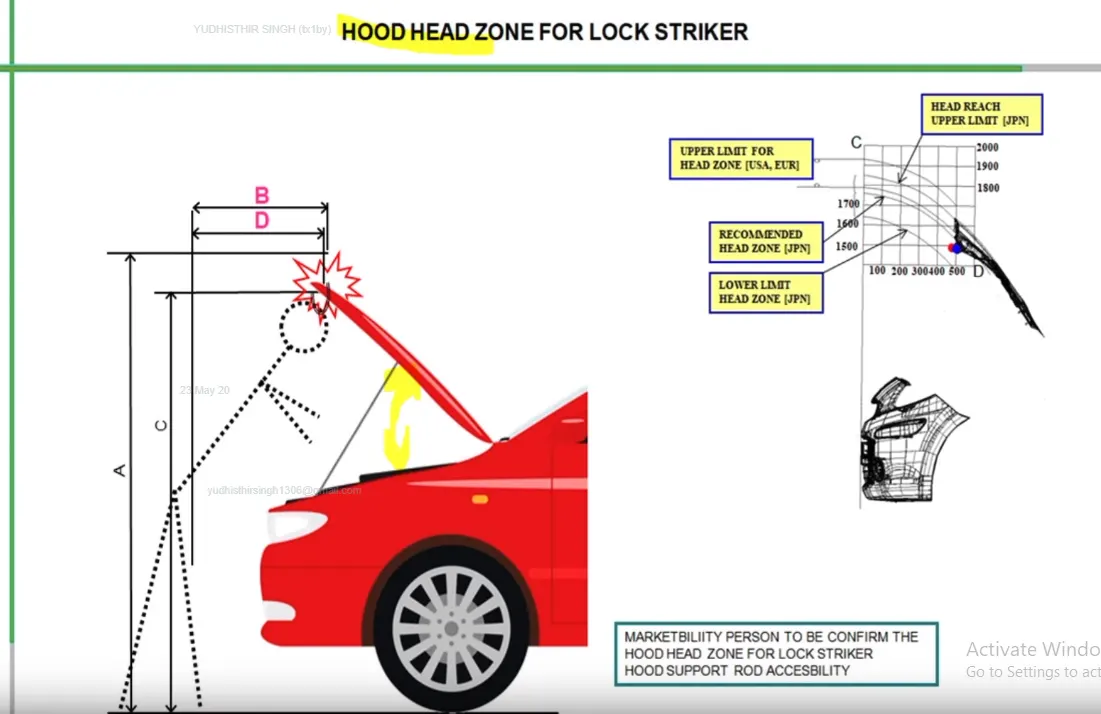
We have to design hood opening in such a way that the angle between the hood and the car is sufficient as it varies from region to region according to regions average passenger height with the help of the head reach graph we can understand how the hood opening angle changes from region to region.
HOOD STAY :
Stay is an apparatus for an engine room of a car which can safely keep an engine hood in an open state even if the external force is abruptly generated due to vibration, wind and can facilitate and opening/closing of the engine head.
Basically we use 2 types of hood stay
1. Support Rod:
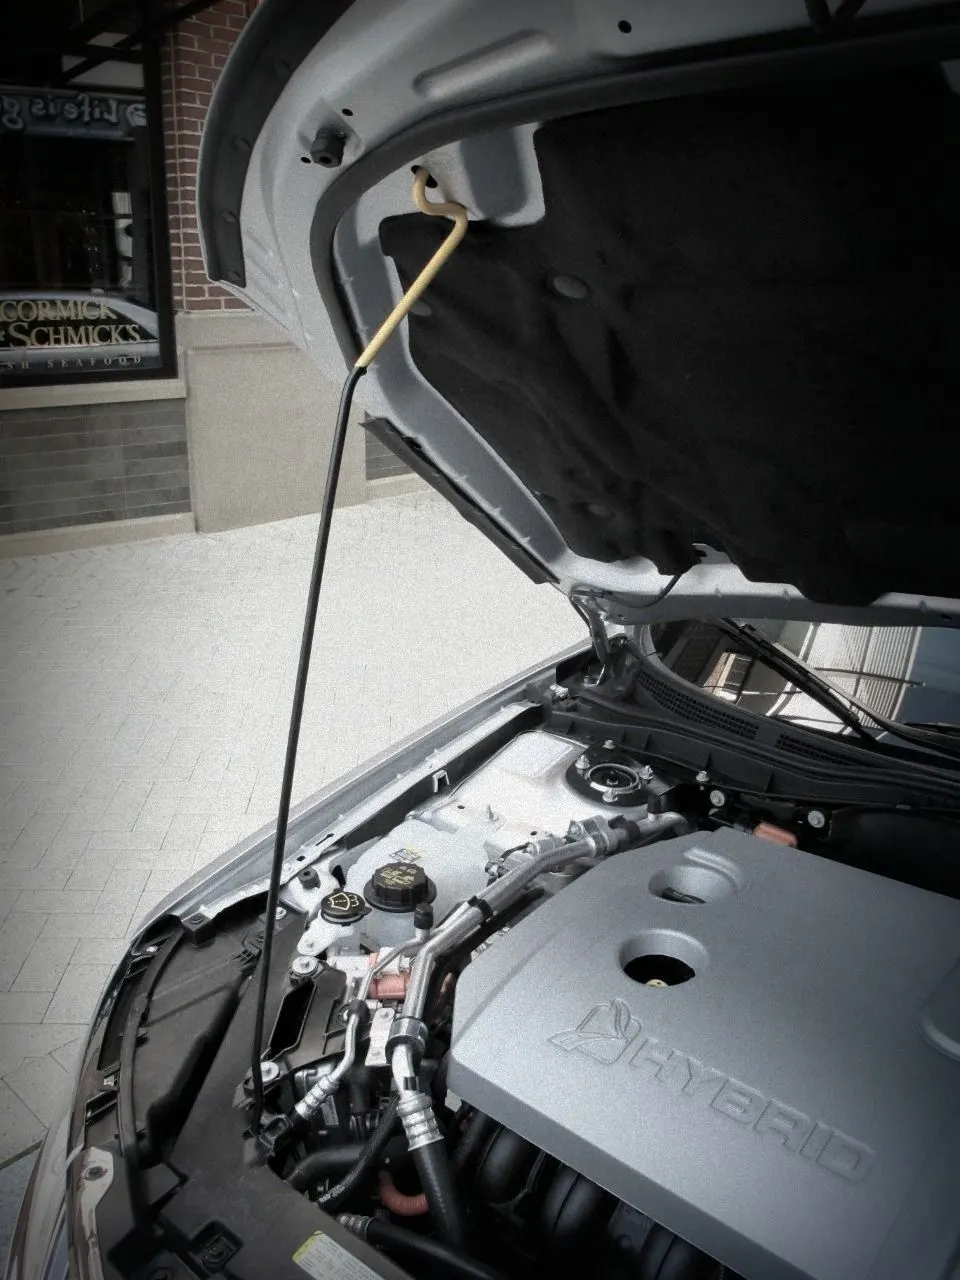
Support rod is basically long cylindrical rod. It safely keep an engine hood in an open state even if external forces are abruptly generated due to vibration & wind.
0. Grommet:
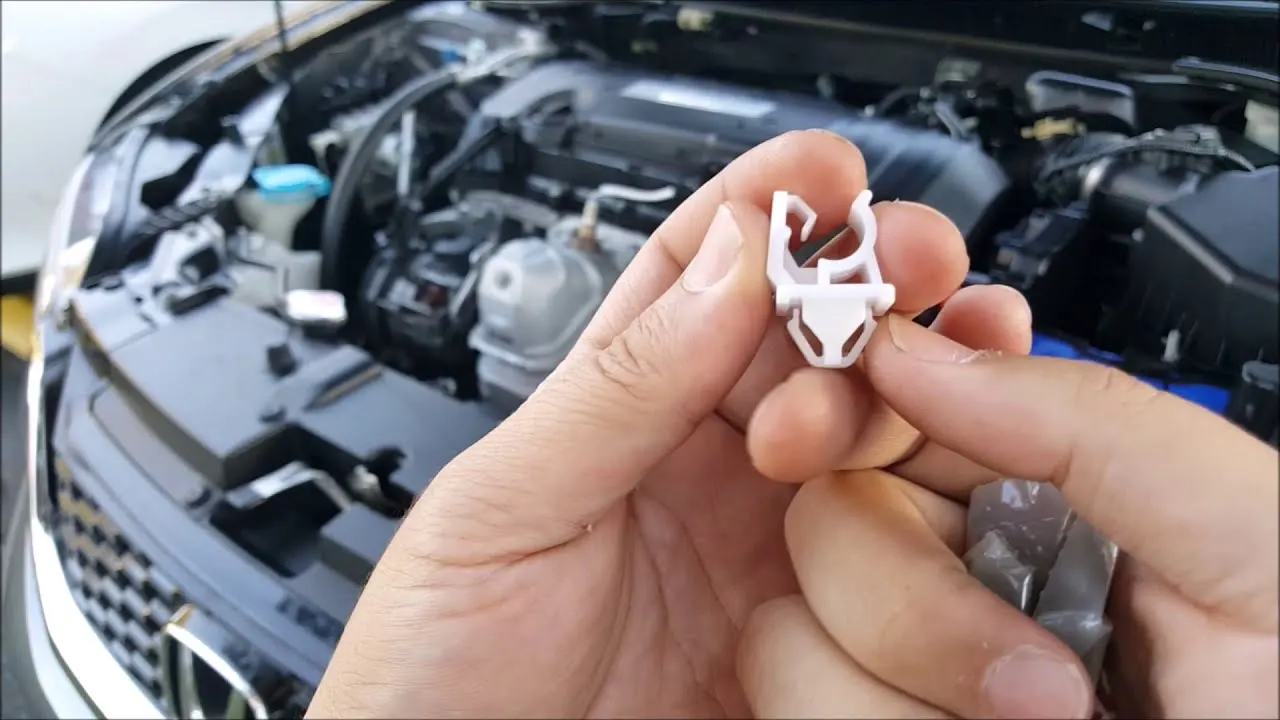
It is a standard part used to keep the support road in rest position.
2. Gas Stay:
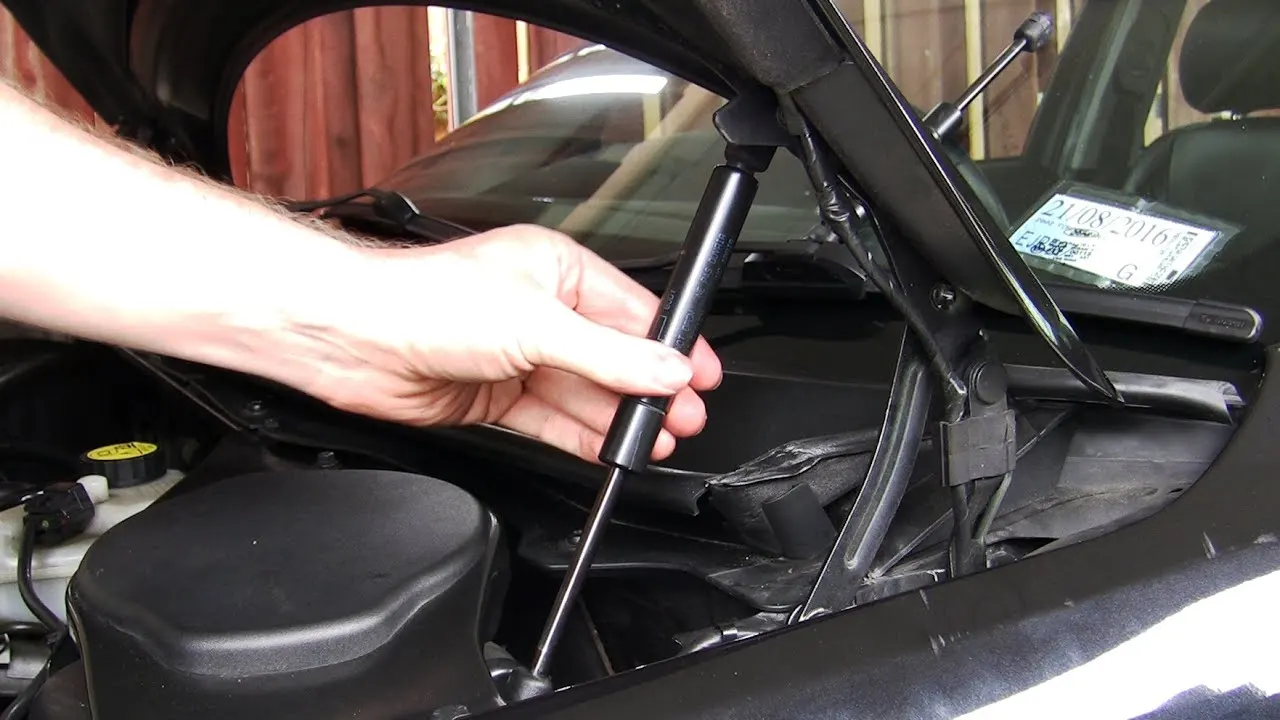
gas stay operates due to the force exerted by the compressed gas (usually Nitrogen) stored inside the cylinder. Luxury carmakers provide a gas strut to lift the hood and hold it in place.
0. Stud Ball:
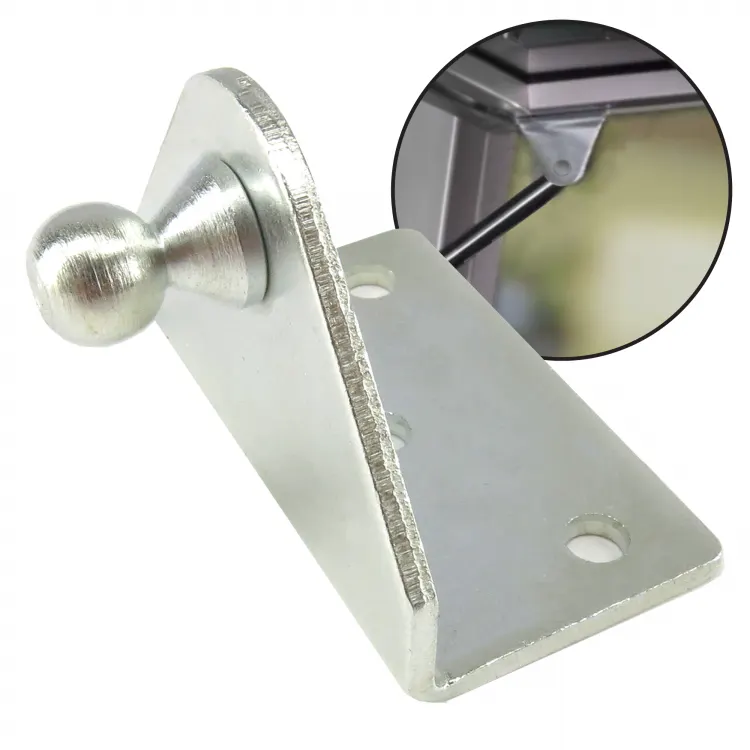
we use ball stud on both the sides of the gas stay while assembling.
Stiffener pad:
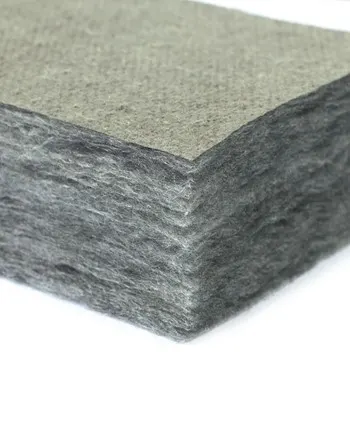
Sponge like material harder it is between inner panel and outer panel to reduce NVH.
Latch:
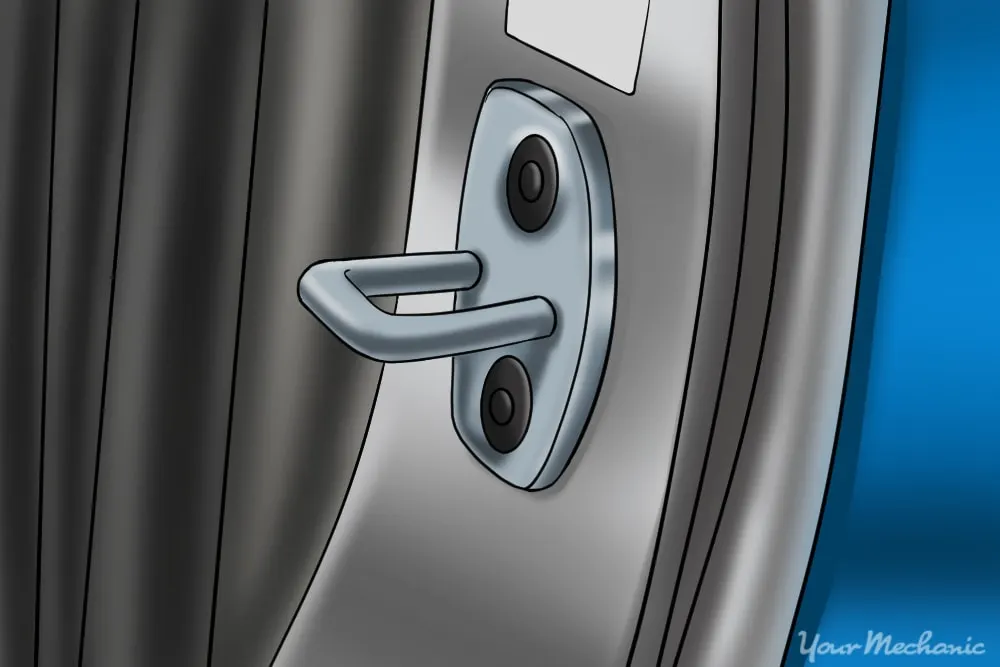
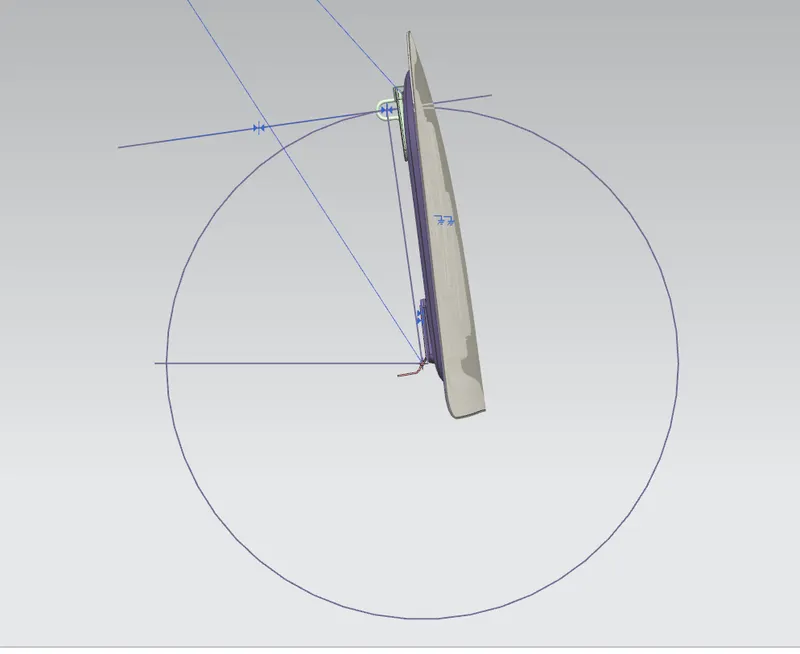
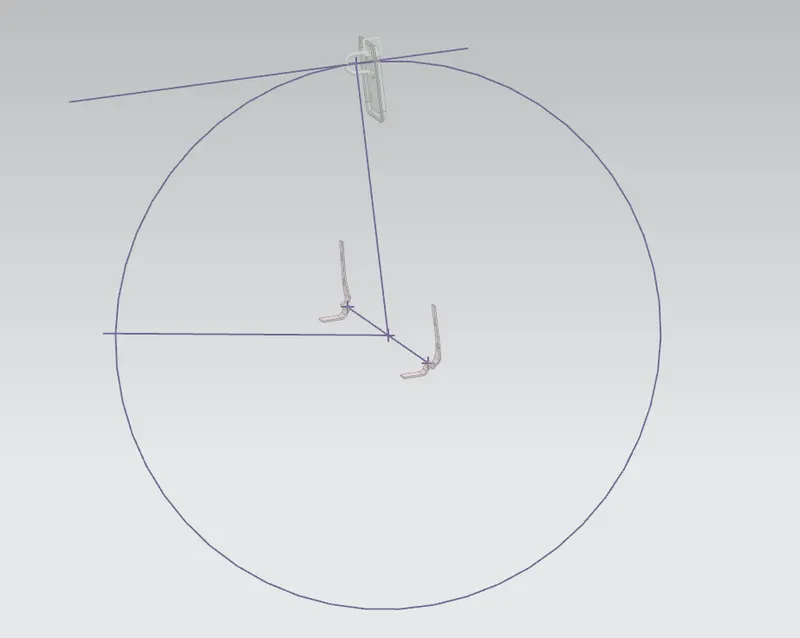
The latch is a locking mechanism for closing the hood. The placement and the trajectory of this striker is determined by the circle drawn with pivotal axis of the hinge as its center. This is called 'latch trajectory'.
Latch Trajectory:
The latch trajectory is the path which the striker will follow when the hood is open/closed while pivoting on the hinge axis. The latch trajectory is taken as a circle with the hinge axis as the center of the circle. The striker is placed 90 degree such that it is tangent to the circle.
Outer Pannel:
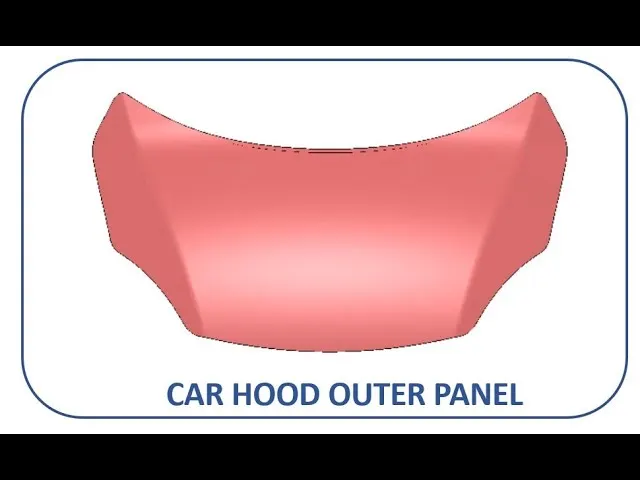
The outer pannel is the pannel we see most of the time. Its purpose is to style or to give looks to the car. This pannel is 0.75 mm in thickness.
Inner Pannel:
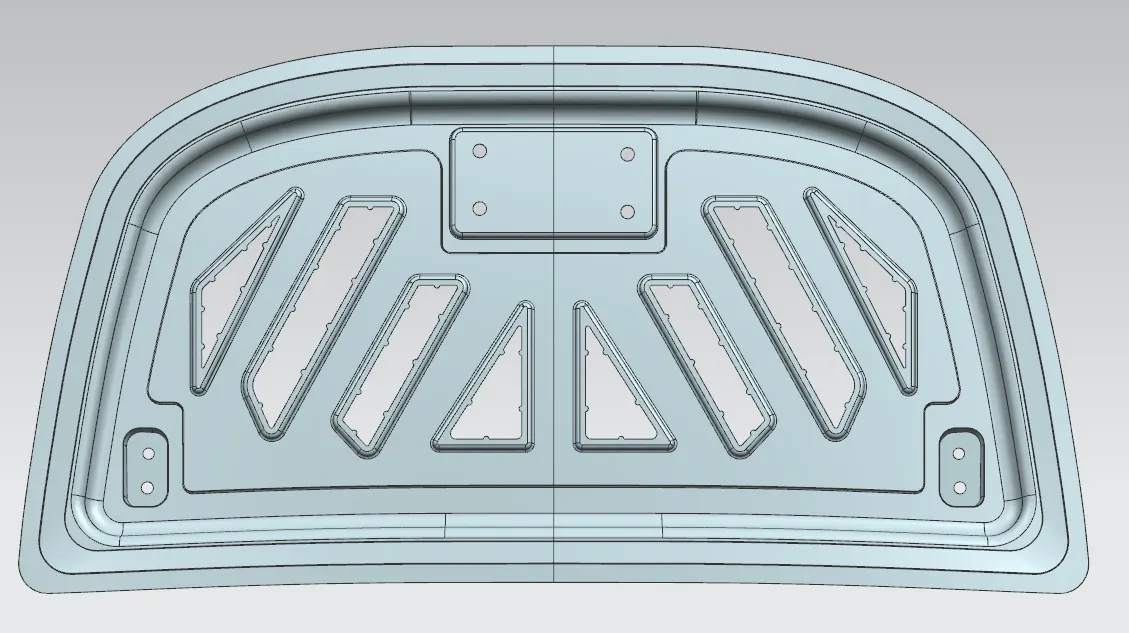
The inner pannel is a reenforcement pannel. The purpose of this pannel is to make the outer pannel strong. This pannel is also responsible for dissipatating or minimizing the force during a head on collision. The pannel is designed with V or Y shaped embosses to divert the force side ways so as to reduce the force acting on the cabin. This pannel is 0.75 mm in thickness.
Reinforcements :
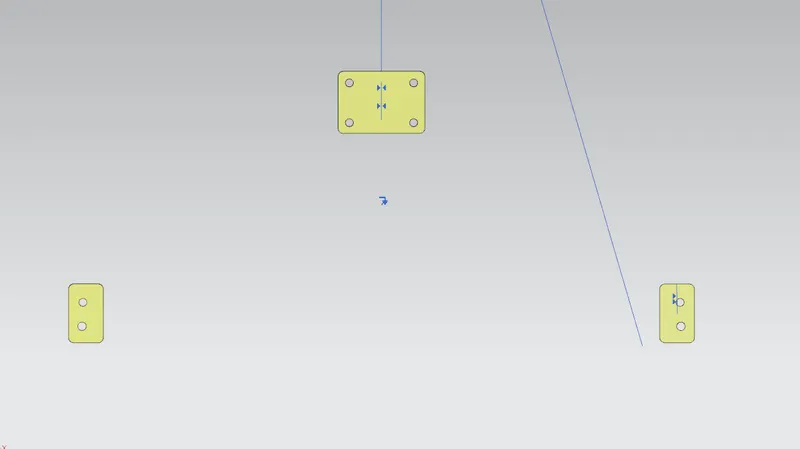
The reinforcements are provided to add material to the inner panel to provide extra strength to the hood to compensate for loss of strength near component installation regions.
Mastic Data:
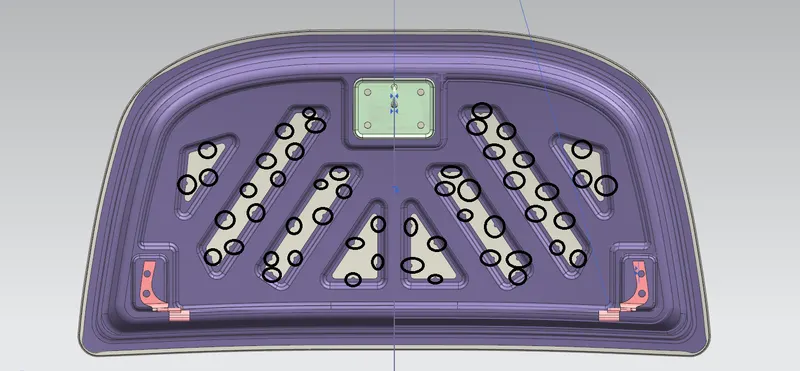
A mastic sealent is used between the outer and the inner pannel of the bond the two pannels to reduce NVH. The mastic also provides the strength for the hood outer pannel. This can be a glue or a rubber which is placed in between the inner and the outer panel at points known as 'mastic points'.Every mastic sealant have the tendency to improve strength around locally in 80 millimetre diameter.
DISTRIBUTION OF FORCE DURING COLLISION:
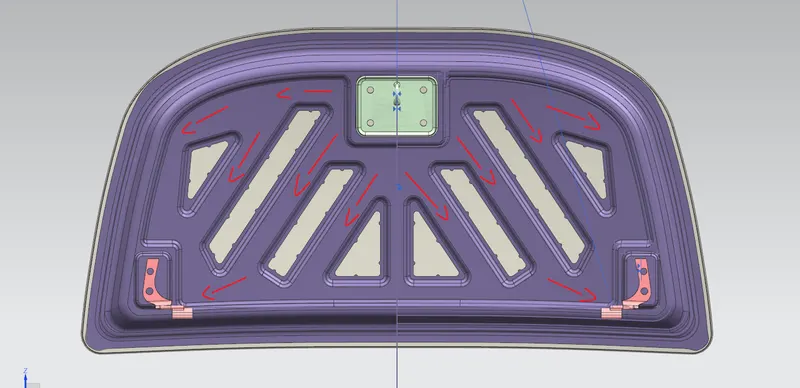
The inner panel is designed in such a way that the force produced during the collision is delivered on the outward direction so that the damage to the passenger and the driver is to be reduced.
Sheetmetal Operations in Car Hood Manufacturing Process:
Emboss:
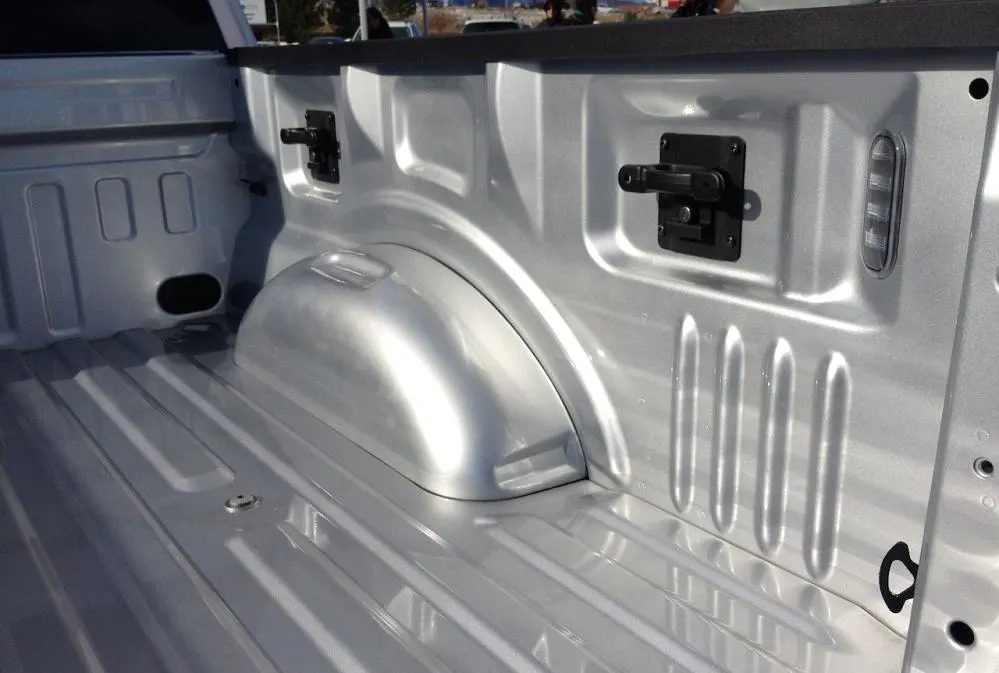
An emboss is a metal forming process in which a high pressure is applied on a die to make a imprint on the working surface. The imprint can be raised or sunken. In this process it is assumed that the metal thickness remains the same while embos.
Deep Drawing:
It is a sheet metal forming process in which a sheet metal blank is radially drawn into a forming die by the mechanical action of a punch. The process is considered deep drawing when the depth of the drawn part exceeds its diameter.
Hemming:
Hemming is a forming operation in which the edges of the sheet are folded over other part or simply folded in order to achieve a tight fit. In car part production, hemming is used in assembly as a secondary operation after deep drawing, trimming and flanging operations to join two sheet metal parts (outer and inner) together.
Blanking:
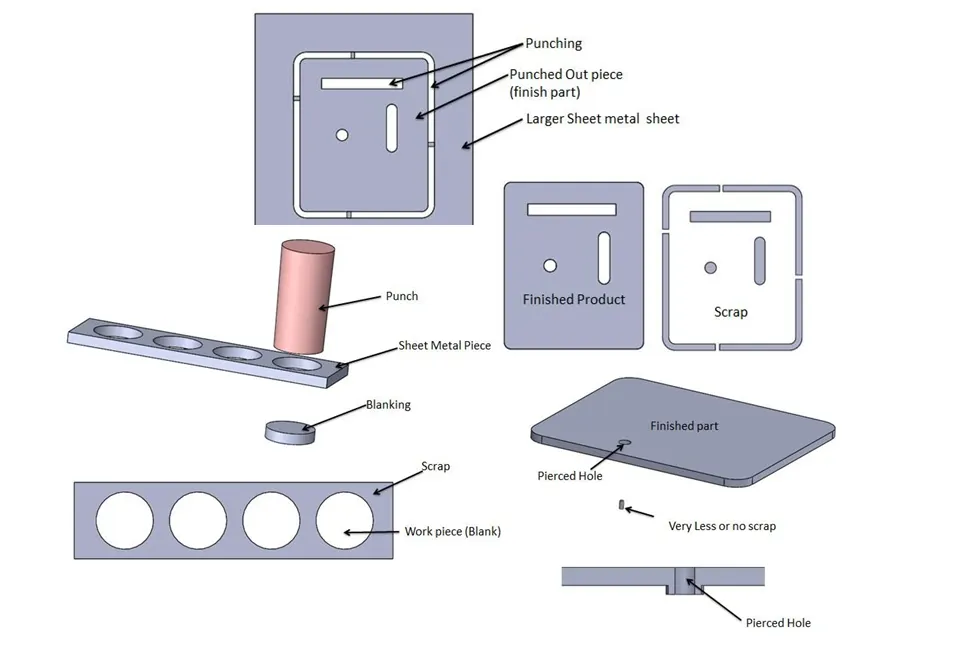
It is a shearing process in which raw sheet metal is pierced with a machining tool, resulting in the creation in a particular shape hole in the sheet. The major difference between blanking and piercing is that in blanking the cut out is the workpiece and outer part is scrap, while in piercing, the cut out is scrap and the outer sheet is the workpiece.
Important Features used in designing:
- Trim Body – It is used to trim one or more bodies using a face or plane. You can also specify the bodies to retain and the bodies to discard.
- Offset Surface – It allows you to offset one or more existing surfaces.
- Offset in Face – This command will allow you to offset particular edges or curves on selected faces.
- Trim Sheet – It is used to trim off a portion of a sheet body using curves, faces, edges or planes.
- Through Curves – It will allow you to create a body Through multiple sections, where it’s shape changes to pass through each section.
- Law Extension – This command extends a curve or edge to create a sheet body at desired angle length by changing the rules under angle law and length law.
- Trim and Extend – It helps you to trim and extend intersecting surfaces and make corner at their intersection.
- Face Blend – It creates fillets between faces.
- Edge Blend – It creates fillets on edges.
- Extend Sheet – It will allow you to extend an existing surface to required distance.
- Emboss – Emboss command creates an embossing by modifying a body with faces created by projecting a curve/section along a direction. You can modify the emboss using options like endcap location and draft angle.
- Projected Curve – It is used to project an existing curve/curves on a selected plane or surface by selecting a direction for projection.
- Mirror Geometry – As name suggests, it allows you to mirror geometries about selected plane or surface.
- Sew – It combines sheet bodies together by sewing their common edges. There shouldn’t be any gaps larger than specified tolerance.
- Thicken – It is used to convert a surface to solid body by providing thickness.
- Extrude – It helps you to create a feature from a sketch. You are also able to create thin feature using a sketch or curve under this command.
- Wave Geometry Linker – With this you can create, associative or linked copies of any entity of a part into other parts. It may be a surface, edge, curve, body, sketch etc. The changes made to the original entity will be reflected in the copy of that entity.