Hood design-Week 2
HOOD DESIGN
AIM-
To Design Hood outer panel, inner panel and the necessary reinforcements by following the Master-sections mentioned with the Design parameters.
INTRODUCTION-
The HOOD (North American English) or (Commonwealth English) is the hinged cover over the engine of motor vehicles. Hoods can open to allow access to the engine compartment, or trunk (boot in Commonwealth English) on rear-engine and some mid-engine vehicles) for maintenance and repair. The hood release system is common on most vehicles and usually consists of an interior hood latch handle, hood release cable and hood latch assembly. The hood latch handle is usually located below the steering wheel, beside the driver's seat or set into the door frame.
While crash the hood is the major part that goes through. So as to prevent the passengers in cabin from any major accidents the hood is prepared in such a way that it distributes its impact to all of it and not let the impact exceed the hood also. As the time passed by the hood is also been designed in Pedastrians Safety to prevent them from more vital head impact.
The Hood basically consists of two panels namely Inner and Outer. The Outer panel is the styling surface which we can see and the inner panel is that which is designed with features like Latch, Striker, Hinges and its reinforcements.
The hood panels(Inner and Outer) are joined with Hemming process and mastic is also used.
(Hemming is a sheet metal forming process in which sheets are joined by bending it usually to 180°).
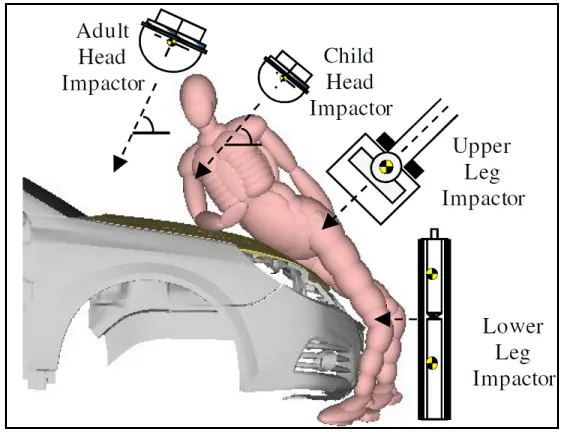
The height, weight and age of the pedestrian all play a role in the kinematics of the event and in his ability to survive. Most fatalities for the younger population are related to brain damage caused by head impact on the bonnet. For older people additional risks include rupture of arteries in the lower limbs and pelvis from bumper and bonnet leading edges. All major insurance and regulating authorities have studied this topic in order to put in place a range of measures to reduce mortality rates and the severity of injury resulting from pedestrian impacts. These studies have produced test procedures and systems to rank and regulate vehicles for pedestrian safety.
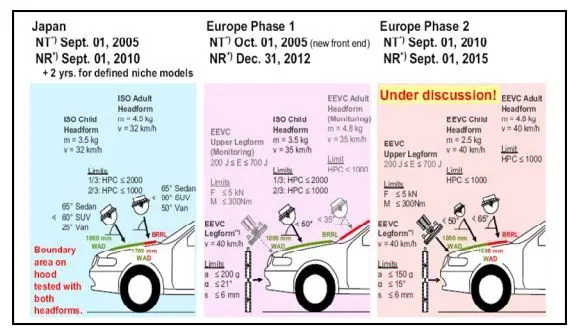
Evaluation of pedestrian safety for a bonnet must be carried out in the context of its surrounding elements:
- Vehicle styling, size (wrap around distance “WAD”) and under bonnet clearance to other elements (considered as hard points).
- Local bonnet stiffness is influenced by mounting point stiffness such as hinges, bump stops and latches.
- This is better understood by superimposing the kinematics of a dummy onto the test conditions.
PROCEDURE-
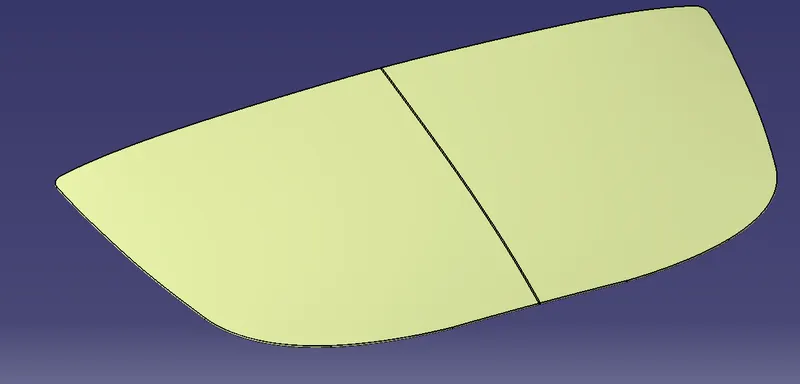
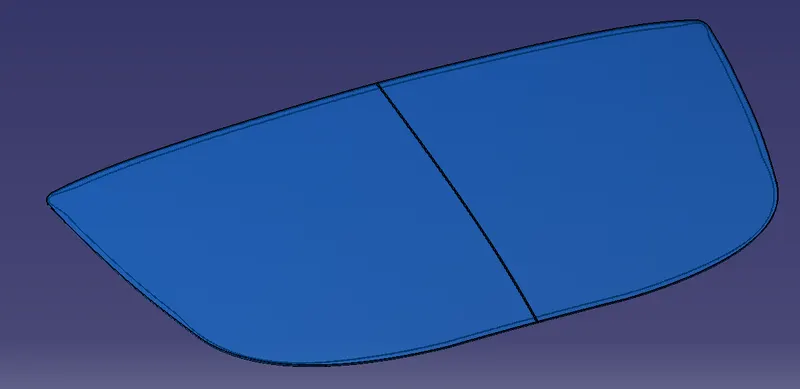
- OUTER PANEL:
- Spilt the surface into half and offset it to 2mm.
- To create the flage Extract the edge of the surface and use Parallel Curve to move a distance of 6mm.
- Now spilt the surface with a parallel curve as a cutting element.
- Extract the edges of both surfaces, use Multi Section Surface to create a connecting surface.
- Join all the surfaces and give edge fillet to all sharp edges.
- Create a new body and thicken to 0.75mm.
- INNER PANEL:
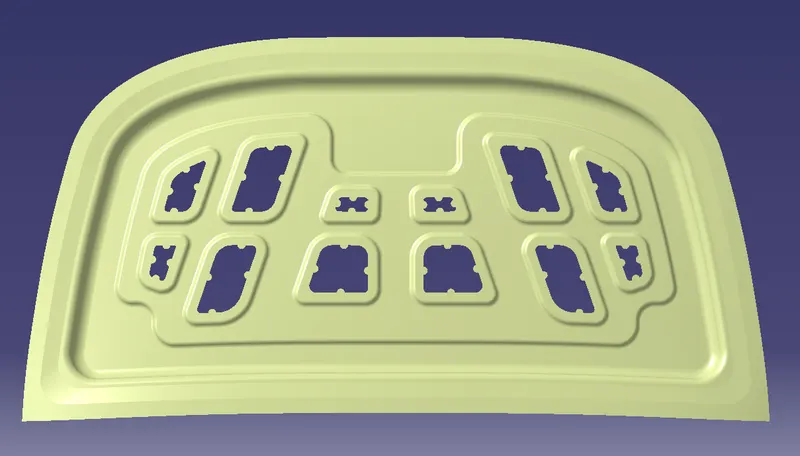
- Spilt the outer hood panel Class A into half and copy it in the newly created geometrical set ‘Inner Hood’.
- Create surfaces using offset, spilt options as per Master Section given for inner hood panel.
- Use Edge Fillet option by joining the surfaces, to minimise the errors.
- Use Boundary option for any discontinuity around the surfaces.
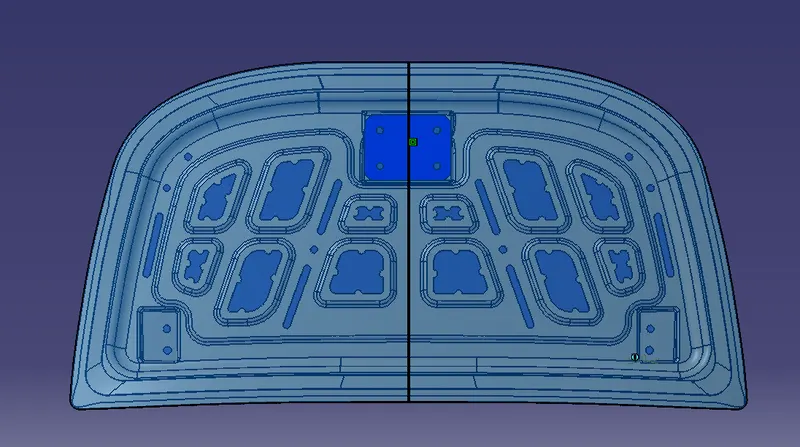
The inner panel without embossments:
Embossments:
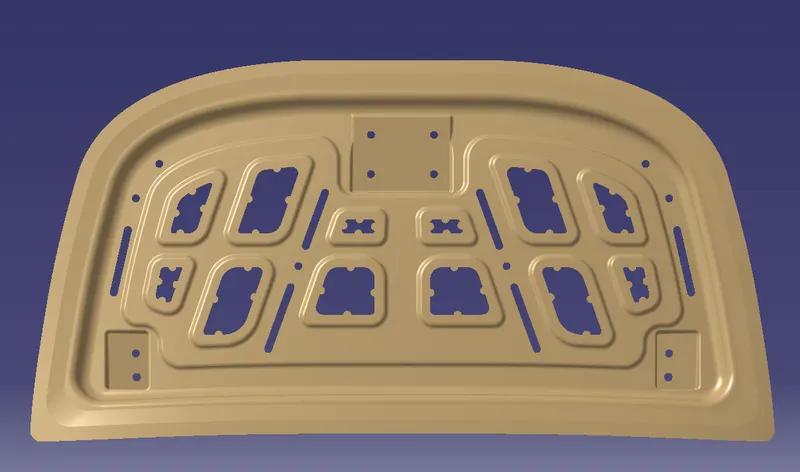
Embossments are created on the inner hood panel as it gives strength and also reduces production cost. As the outer panel has a thin layer sheet,it has less strength. Holes are made in between because of pedestrians safety.
- Design a new sketch and project it on the surface using the Projection option.
- Sweep the projected curve with a 7degrees draft angle in draft direction.
- Offset the extracted surface to the required embossment length.
- Trim the unwanted surface and join all the surfaces.
- Repeat the same steps for required embossment shapes.
- After completion of creating embossments, Join all the surfaces and Mirror it.
- Use the Boundary option for the perfect inner hood panel.
- Thicken the entire surface in the new body created.
Reinforcements:
- Extract the hinge bottom surface and thicken it to 1.5mm.
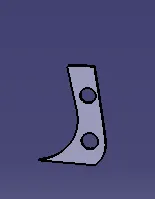
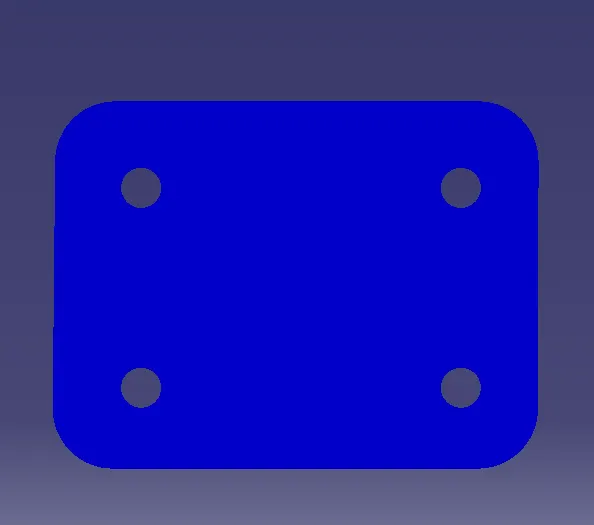
- Repeat the same for the latch part.
Assembly:
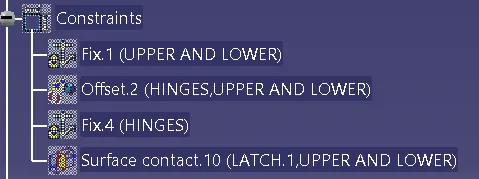
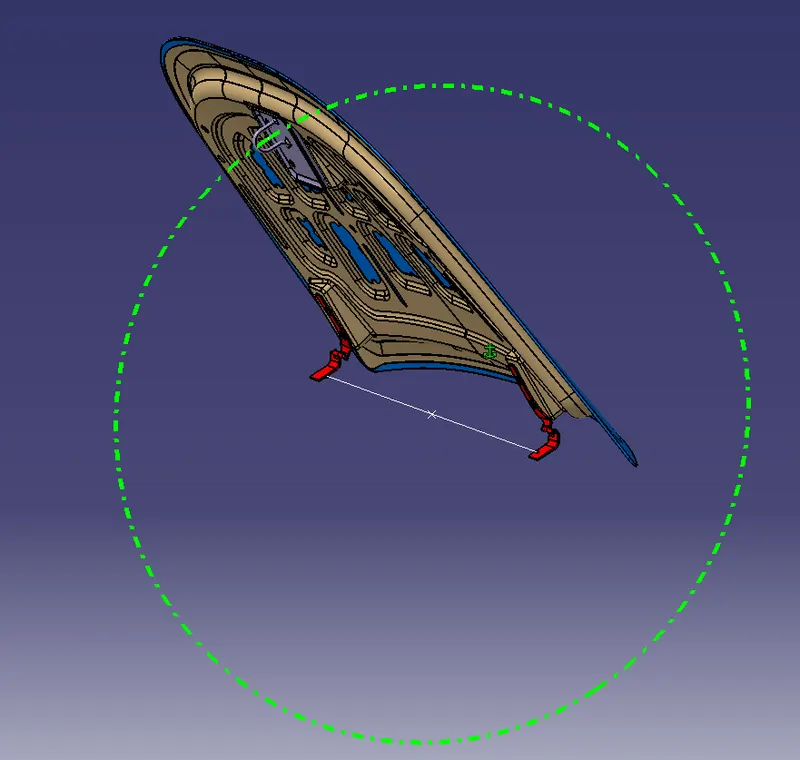
- Import the parts into Assembly workbench.
- Select hinge part and set in required position by Manipulate option.
- Once part is posiitioned, Use offset option to get attached by 0 mm distance.
- Select axis hinge part and axis of inner hood panel then use Coincidence Constraint.
Result:
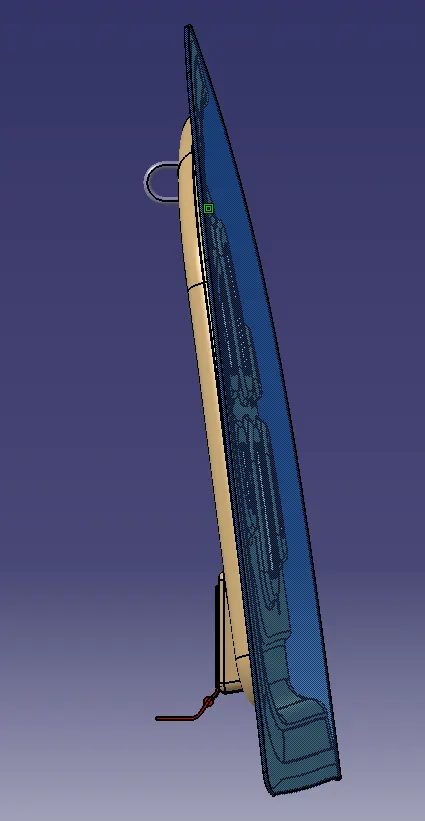
Hood was created and attached with hinges, stickers and the reinforcements to it.
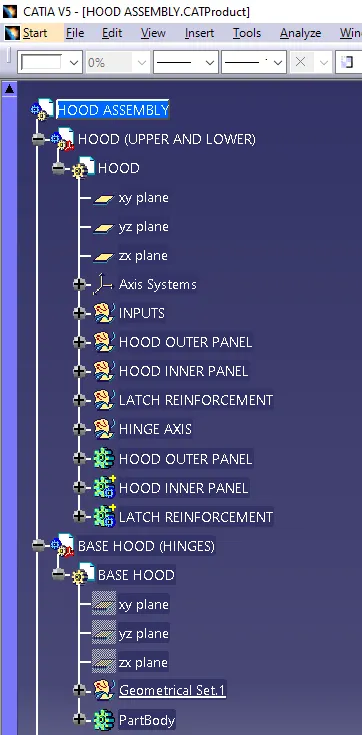
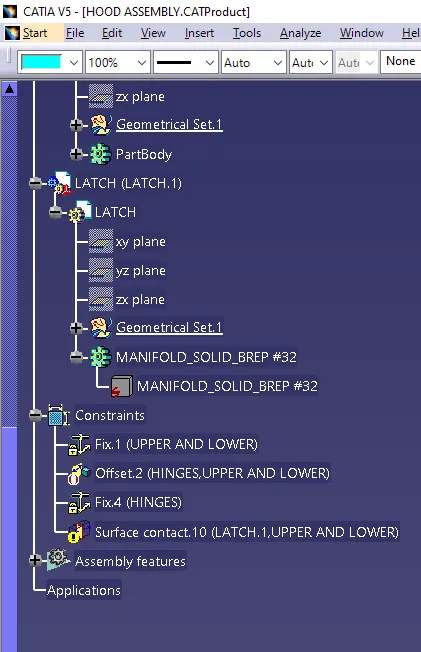
FEATURE TREE: